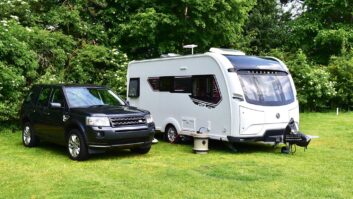


Before you head off on your caravan holidays, make sure you check your caravan’s tyres. Follow our guide to securely jacking a caravan built on an Al-Ko chassis, and to inspecting its tyres to assure yourself and your family of safe touring. Use this advice about jacking up the caravan before you adjust the caravan’s brakes, too.
There are some myths about jacking a caravan that’s built on an Al-Ko chassis. Which jacks can be used? Where should they go? I contacted Paul Jones, the marketing manager of Al-Ko in the UK, for definitive answers.
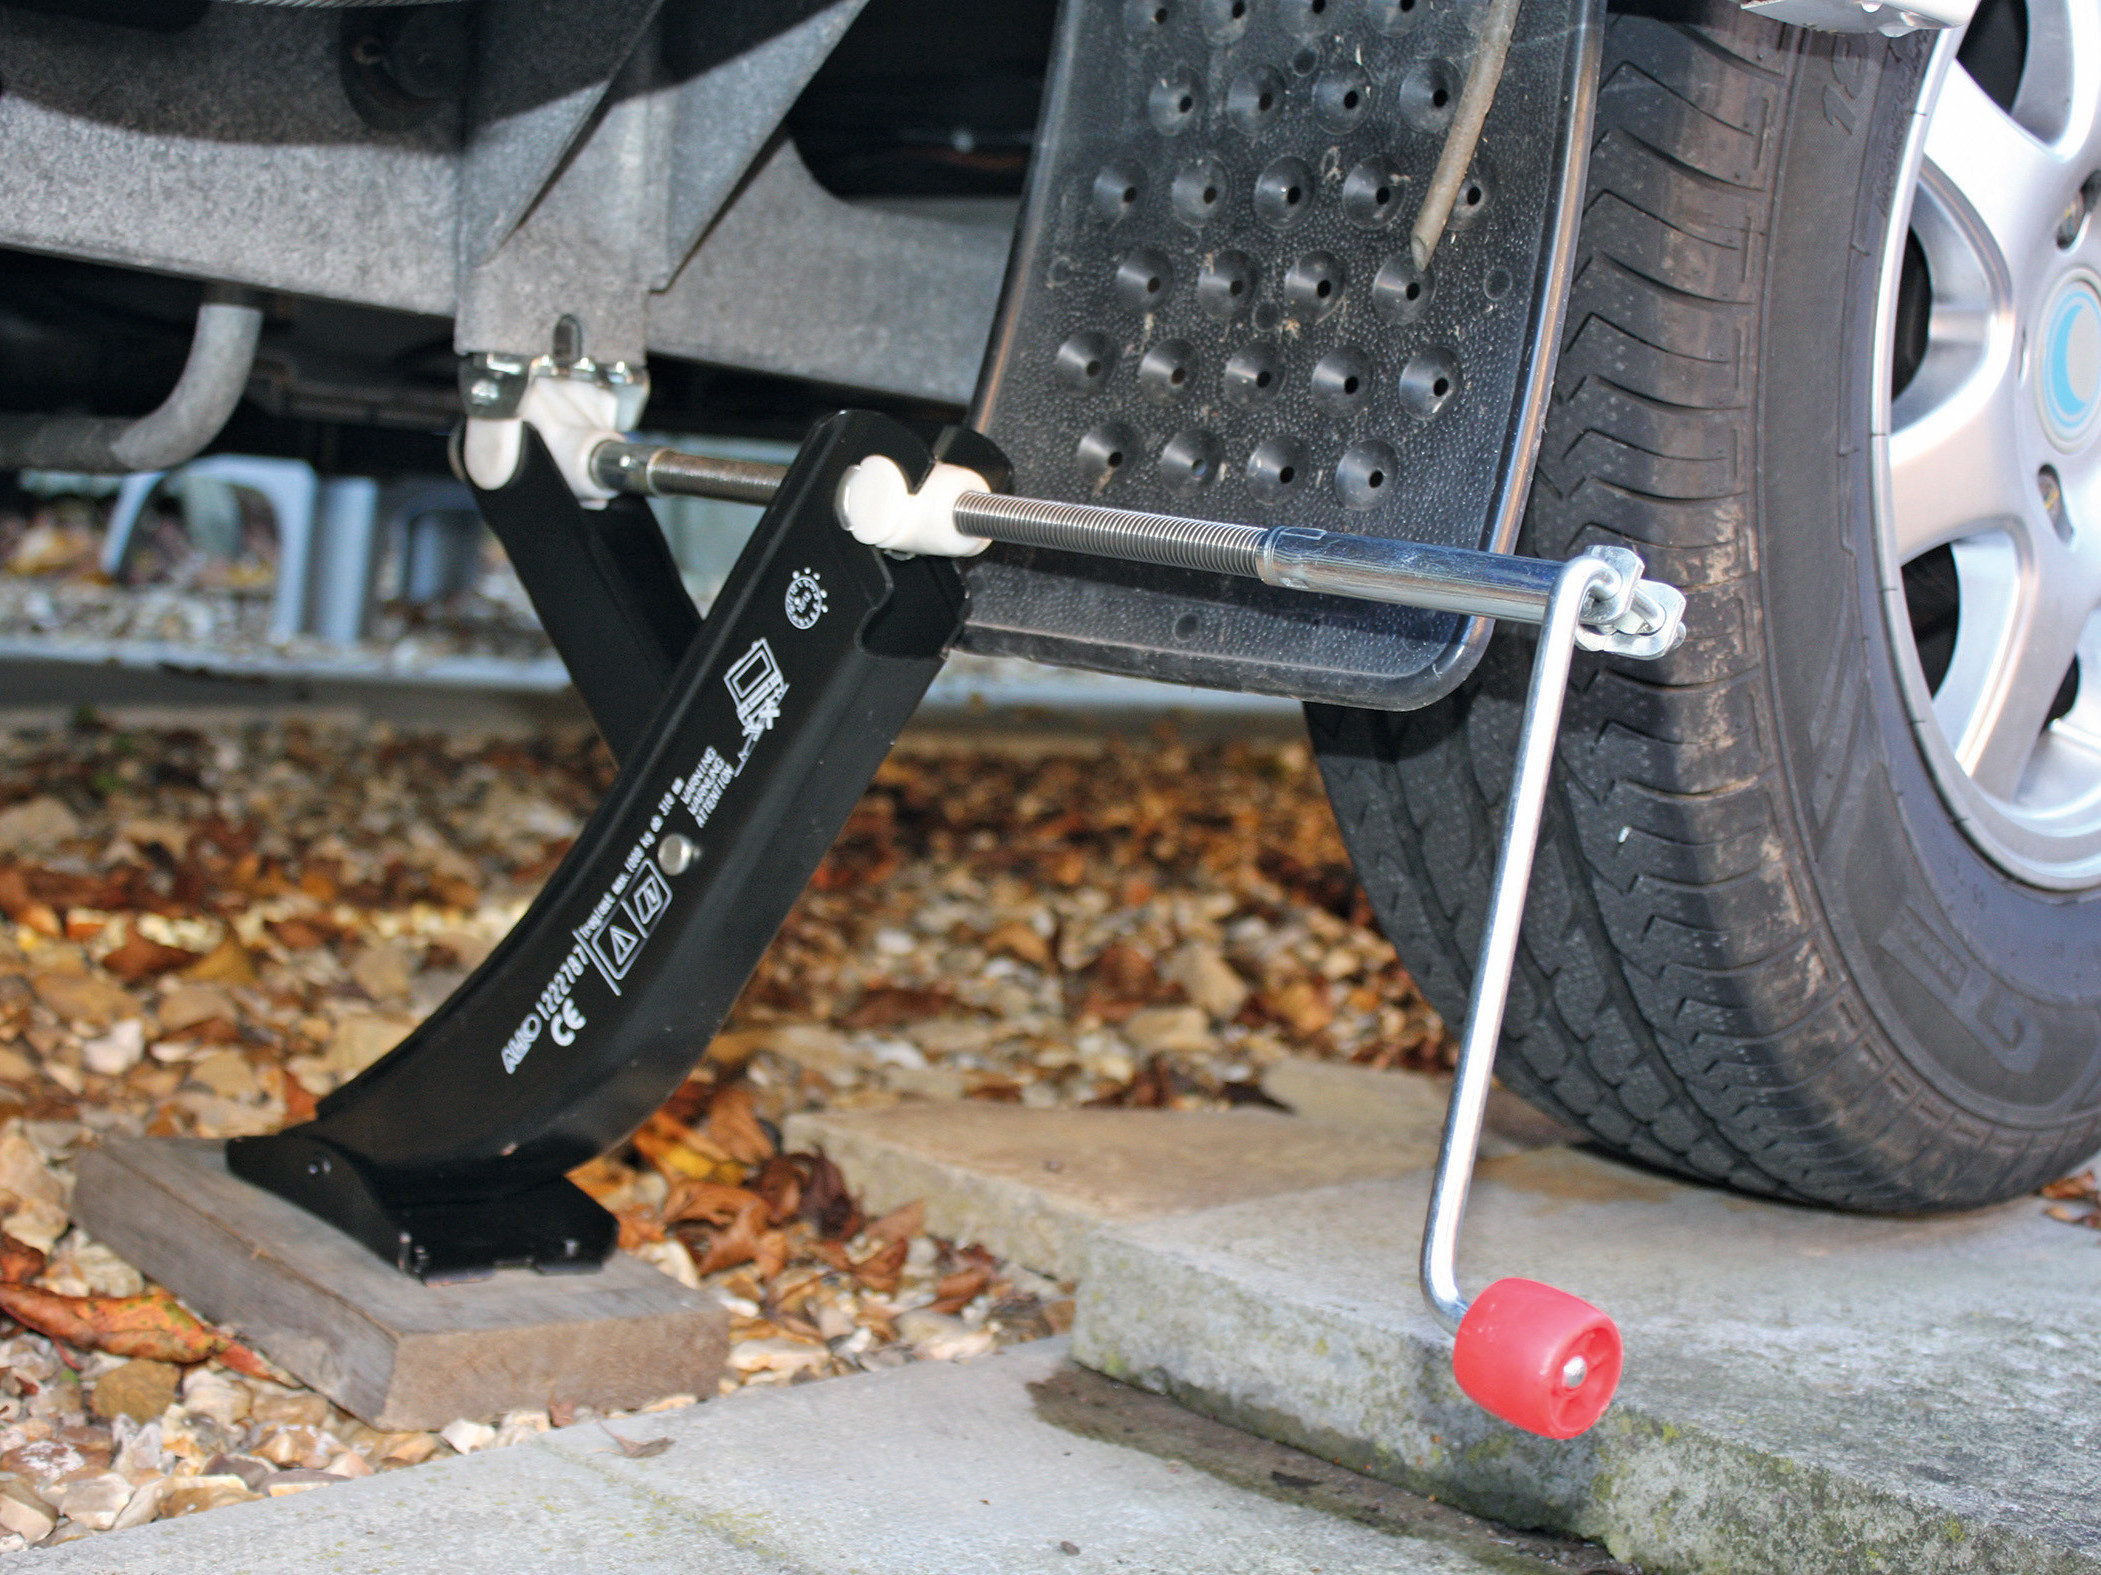
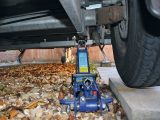
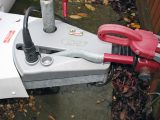
There are various types of jacks, but Jones says his company recommends using its own side-lift model, which is designed for the chassis and has specific mounting points. Other products do as well, making them suitable. However, no alterations to the chassis must be made, because this would invalidate the van’s warranty, and can weaken the chassis structurally.
Set the side-lift aside
There are occasions, though, when the use of the side-lift jack is not practical, such as when a mover is fitted to the rear of the caravan axle. This is more likely on a twin-axle caravan when a 4×4 system is fitted.
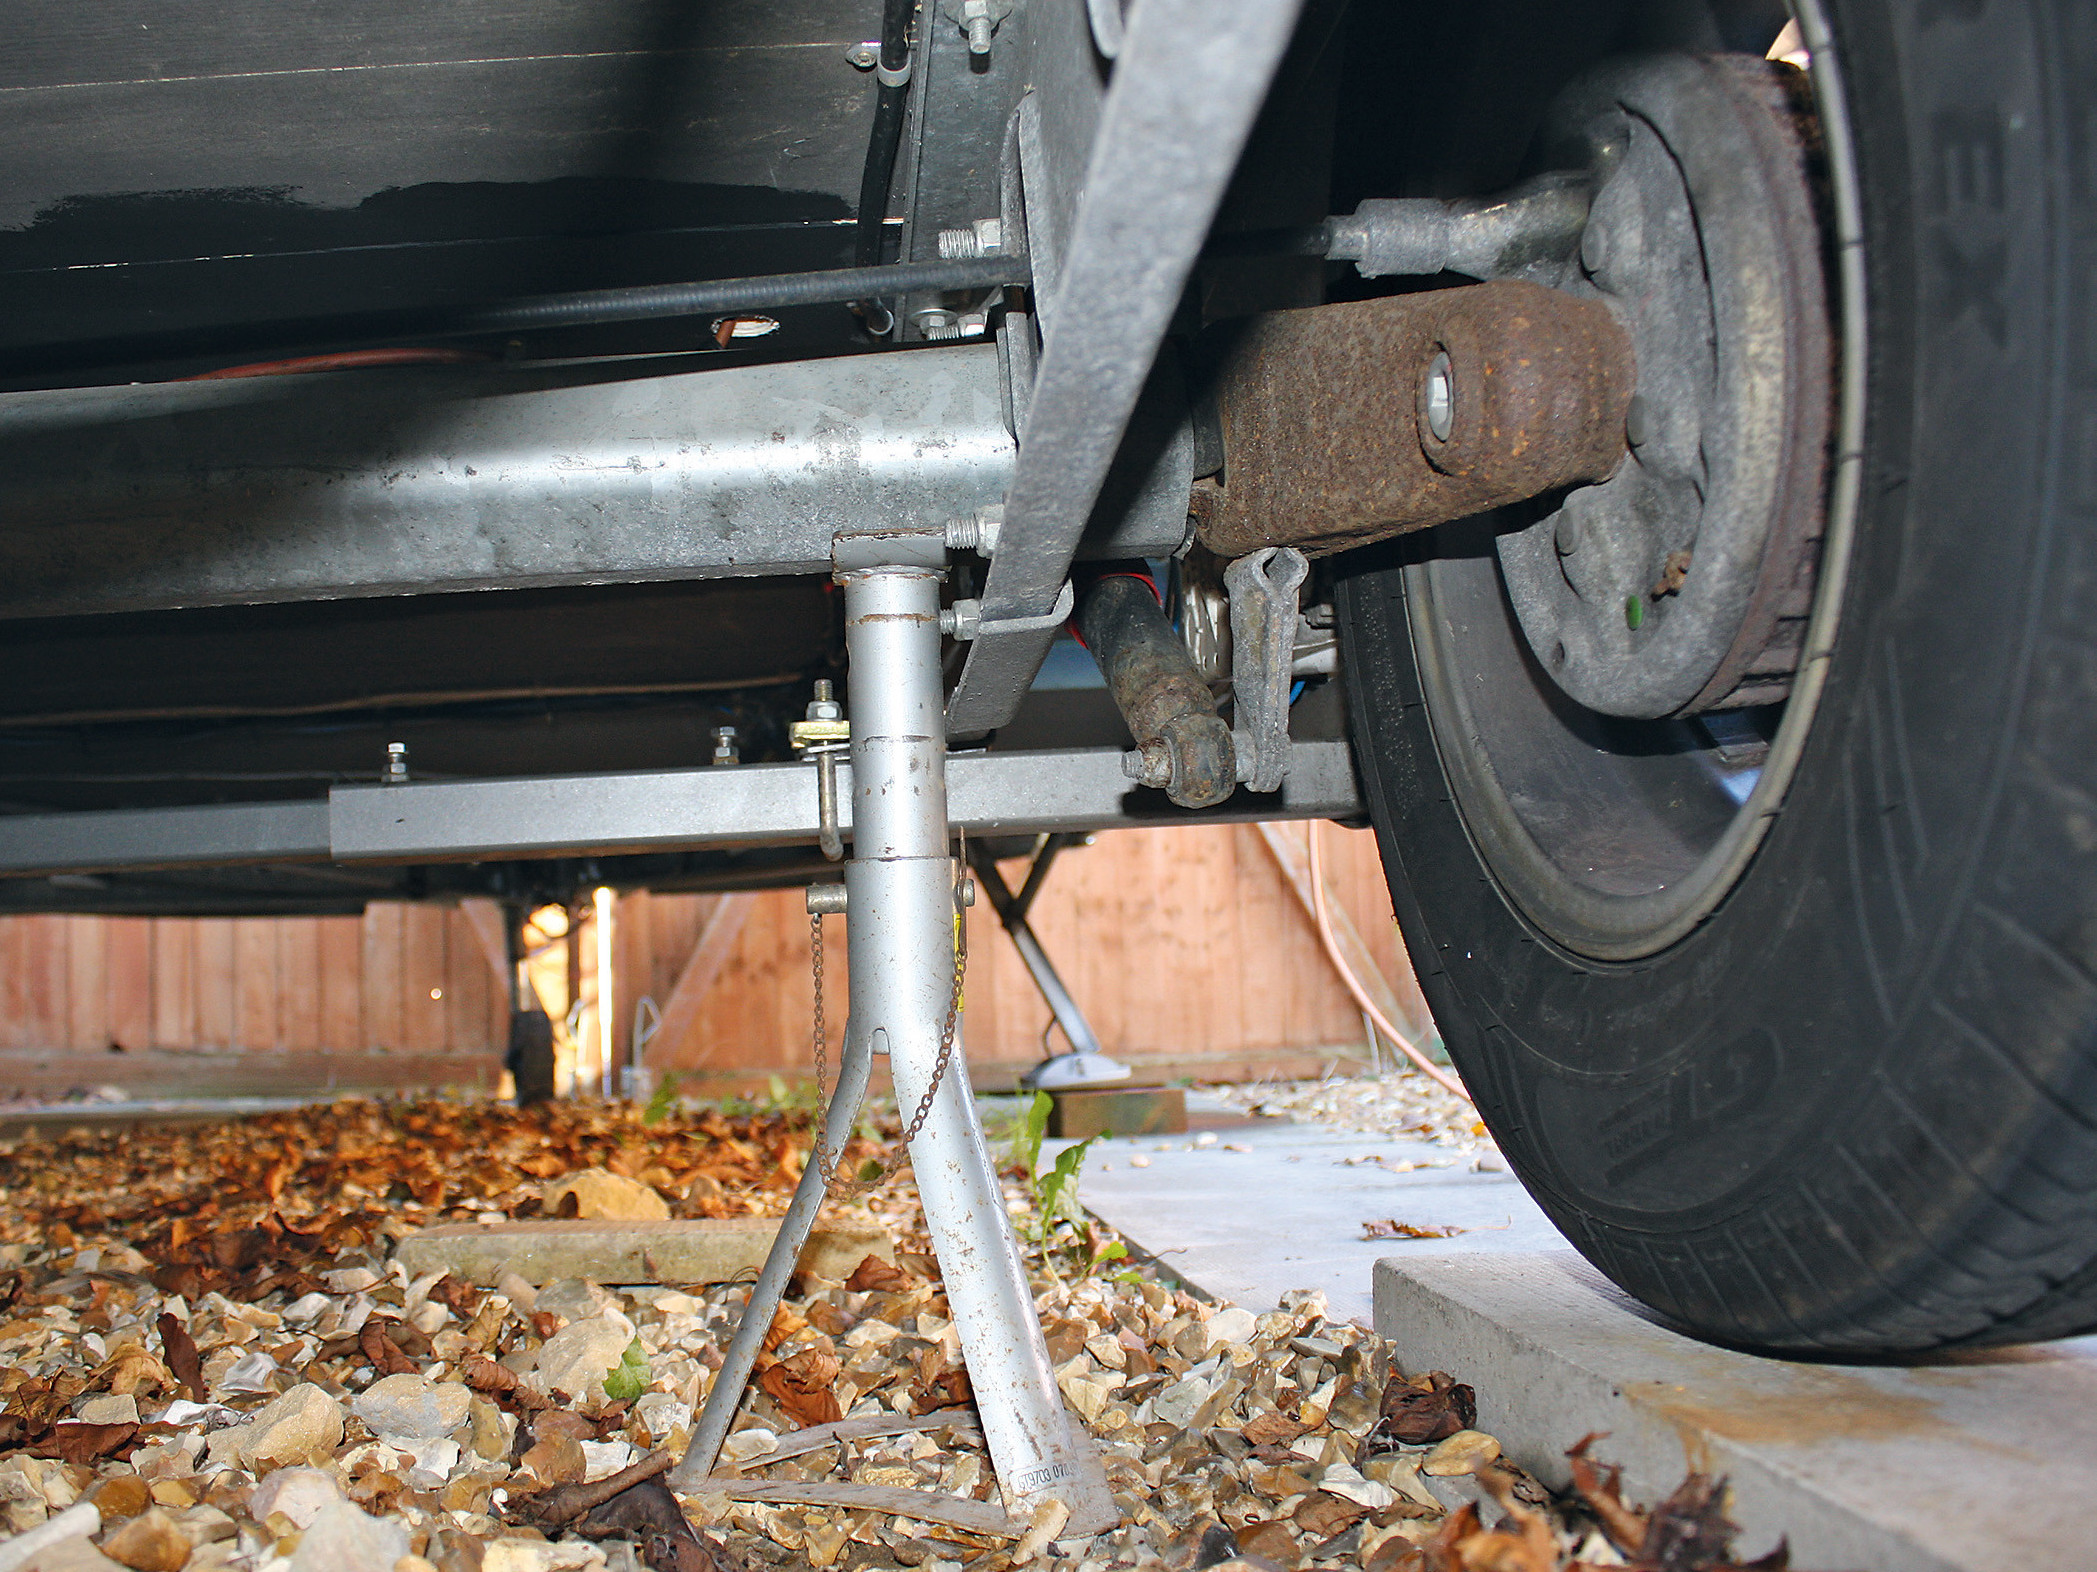
The second option is to use a trolley jack. This will generally have quite a wide head and is thus suitable for using on the chassis. It must be placed under the chassis plates directly (or as near as possible) beneath the axle tube. The chassis plates are welded to the axle tubes and are part of the larger axle assembly.
However, a trolley jack cannot be used on any part of the chassis because that could cause distortion. As with alterations to the chassis, this may weaken the structure of the frame.
As a last resort, a scissor jack with a flat top may be used and placed in the same place as a trolley jack, but great care must be taken when using one because its much narrower footprint may cause instability.
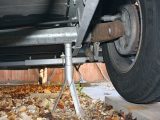
If axle stands are to be used, they should be placed directly beneath the axle tube itself, as near to the chassis as possible. The reason for this is not only for stability, but also due to the construction of the axle itself. In essence, the outer ends of the axle tube contain the compressed rubber and other suspension components, thus filling the void within the tube. However, further towards the centre there is nothing inside the axle tube, so there is potential for the tube to be crushed or its shape distorted.
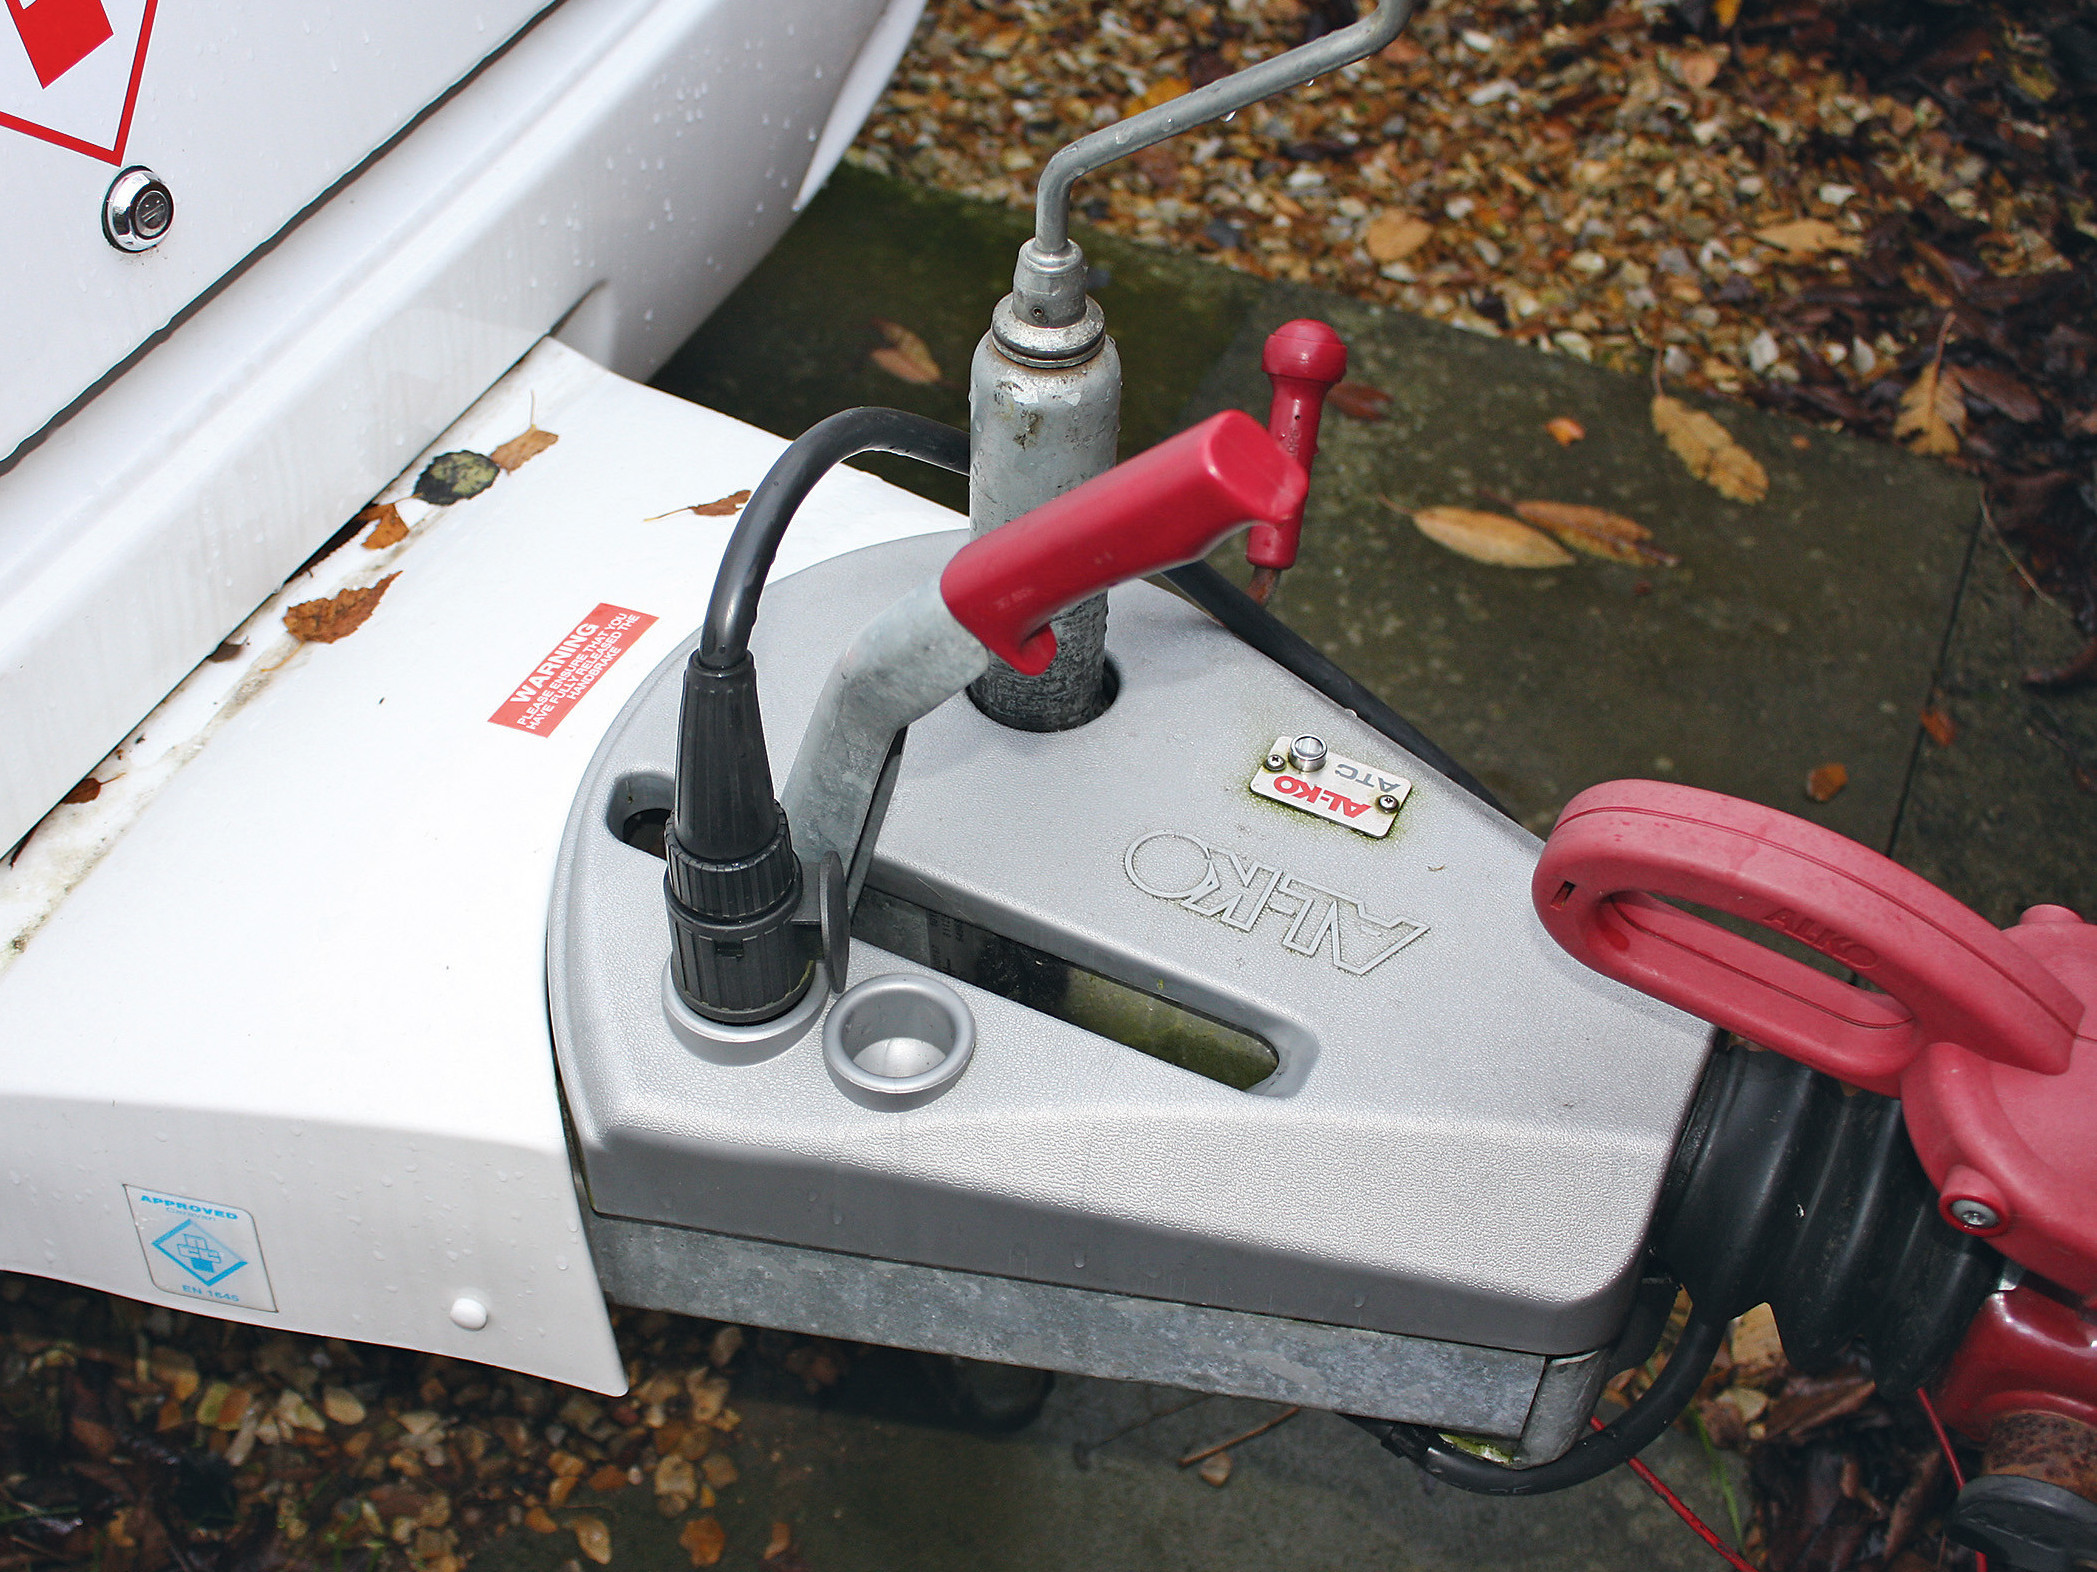
Unhitch the outfit
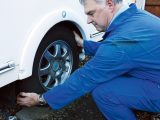
We’ll now look at jacking up the caravan and how to do basic wheel and tyre checking. There are a couple of primary reasons for jacking up a van: to change a wheel or to maintain the ones you’ve got. For the latter, unhitch the van from the tow vehicle in all cases.
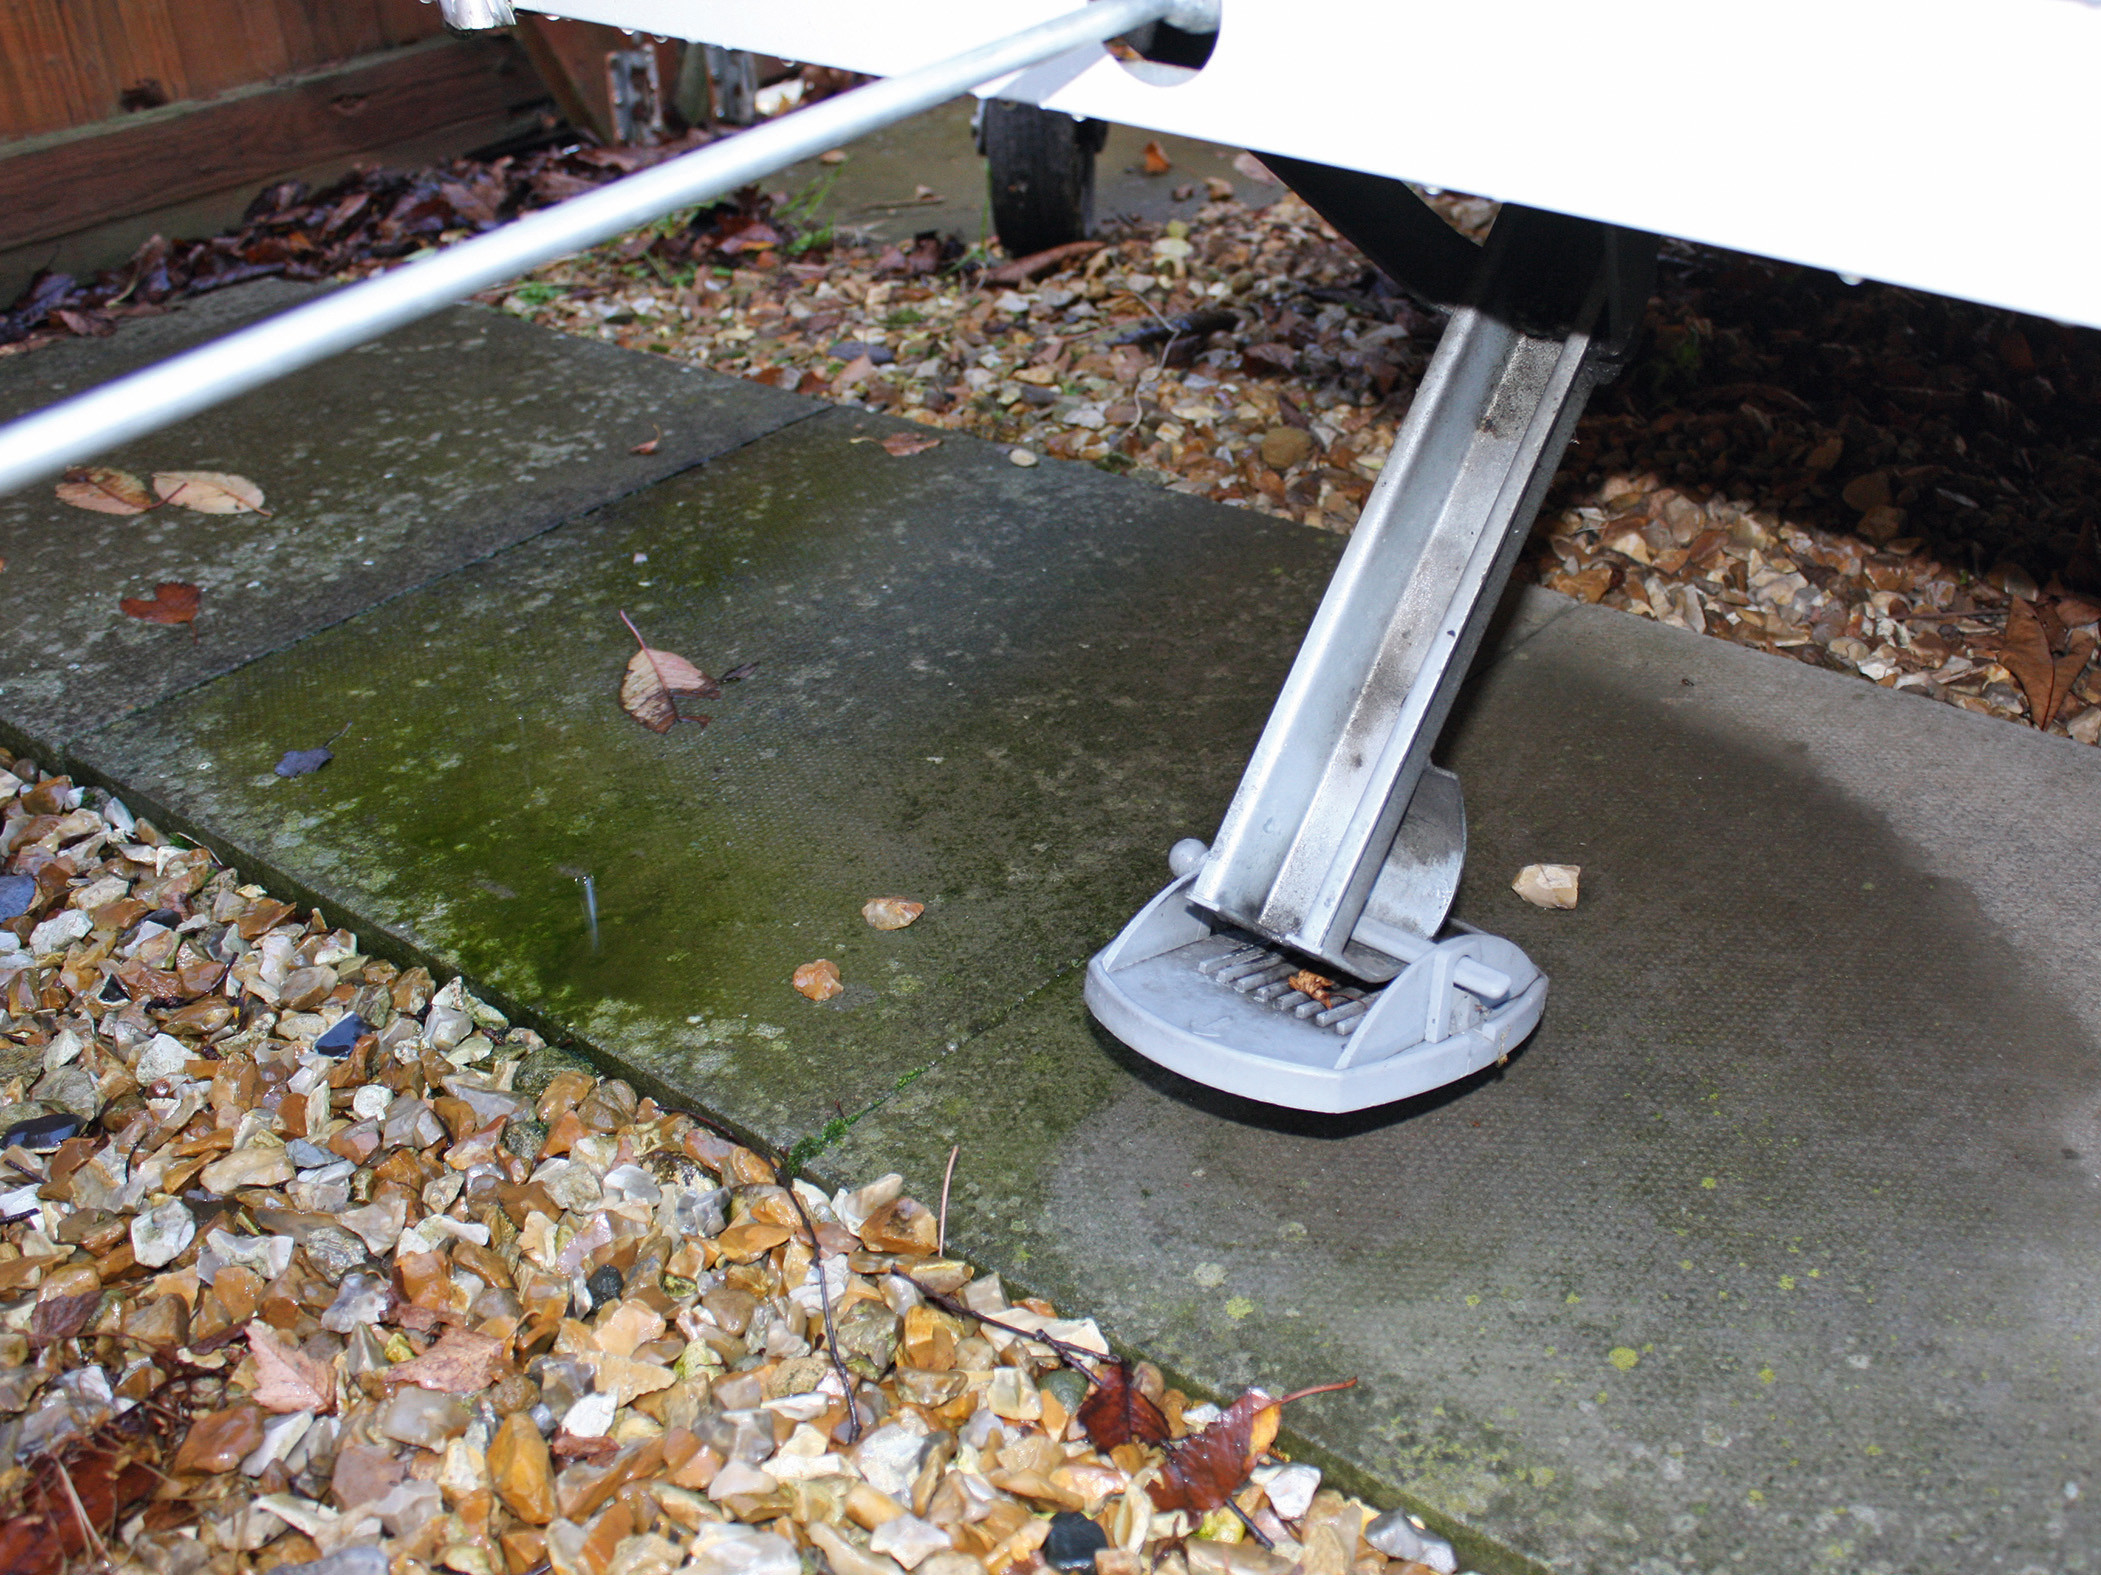
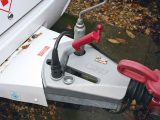
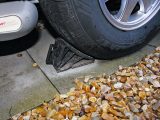
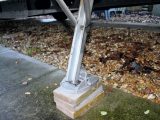
First of all, ensure that the handbrake is fully applied, and chock the opposite wheel to the side of the caravan that’s going to be lifted. Then, wind all four corner steadies up by a few inches so that they are clear of the ground. This is especially important for the ones on the opposite side because they could become damaged as the caravan leans over towards that side when it’s being lifted.
Once that’s been done, using whichever jack you have, raise that side of the caravan. I have an Al-Ko side-lift unit fitted to my caravan, and find that it’s easier to use if I put a wooden block under the jack. Without the block, it’s easy for the end of the jack’s thread and winding handle to clout the skirt of the caravan. Putting the block there alters the angle enough to prevent this.
If you’re jacking up the caravan to change a wheel following a puncture, always keep the outfit hitched. Just as an aside, a handy tip if you are changing a puncture is to run the punctured wheel up a levelling ramp if you can. It makes it much easier to get a jack underneath.
Checking your tyres
Once you’ve raised the caravan so that the tyre is a couple of centimetres off the floor (unless you’re going to put axle stands under it) and you’re happy that it’s secure, wind down the steadies. It may be that blocks are required under those on the side that you’ve lifted. Then carefully release the handbrake, but be ready to put it back on if the van starts to move.
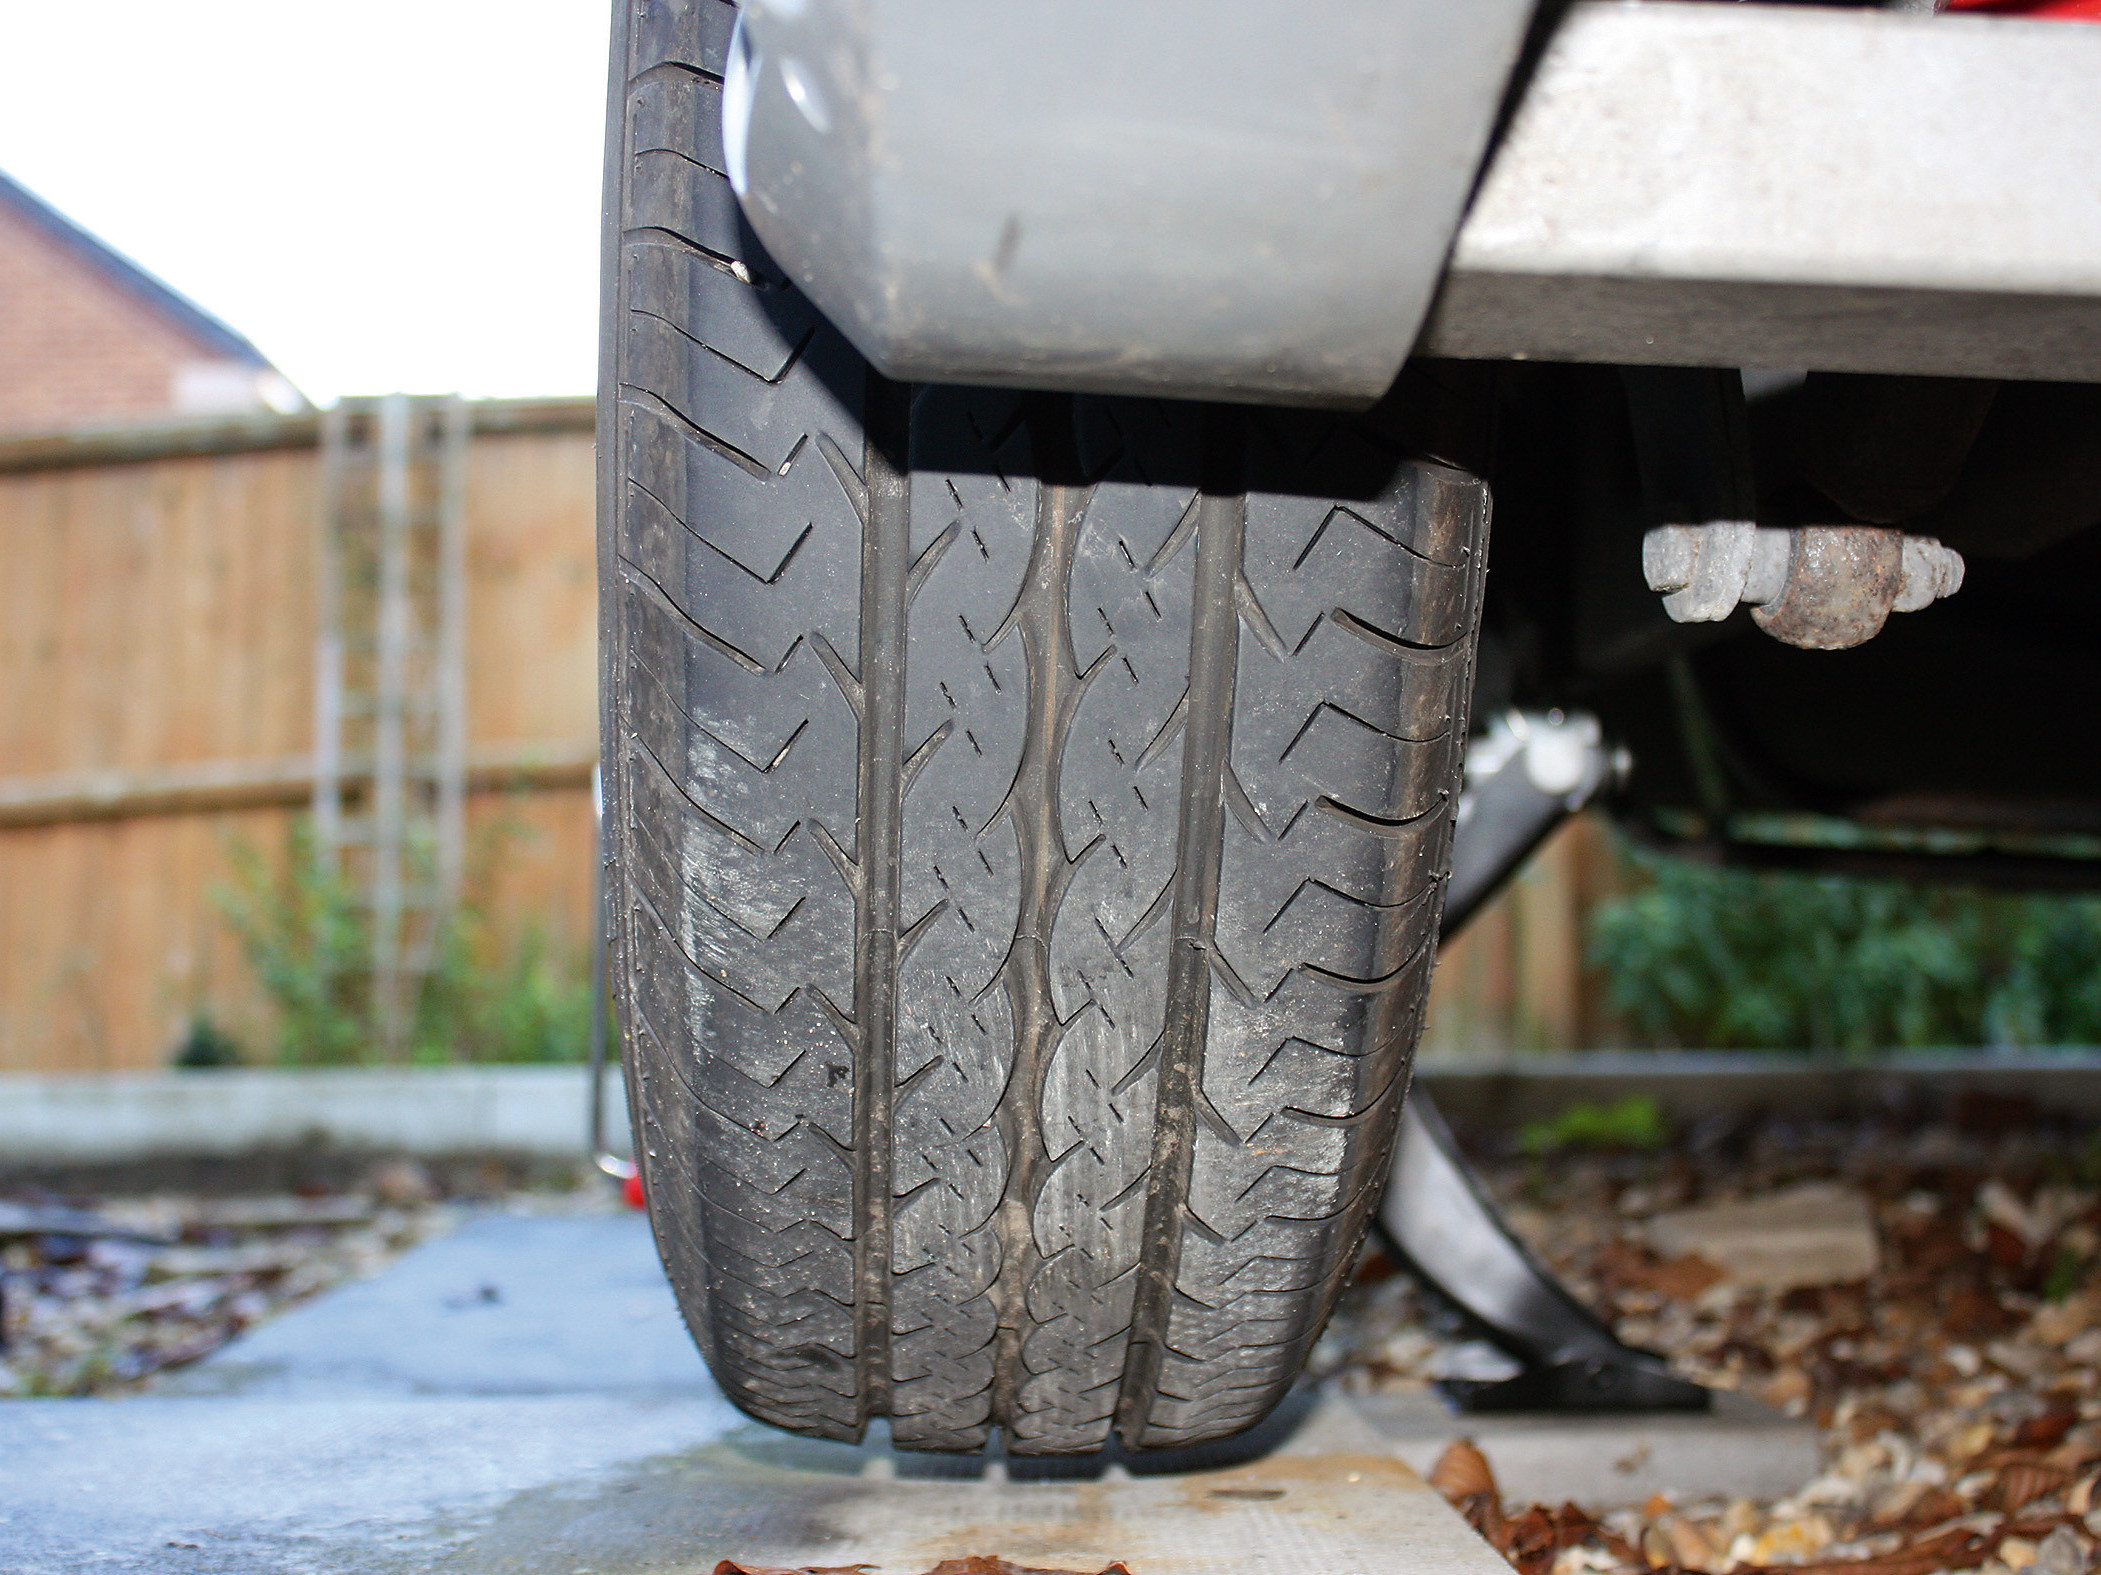
When you’re certain that the tourer will stay still, go to the raised side and grip the front and rear of the tyre (right and left as you face it — not top and bottom in case the caravan drops).
Tug the tyre gently at the front while gently pushing it at the rear. Then do the reverse. Feel for any play — there shouldn’t be any. If there is, this may hint at a failing or loose wheel bearing. Turn the wheel, again gripping the sides, and test the whole circumference of the wheel. If there is any play, further investigation is essential.
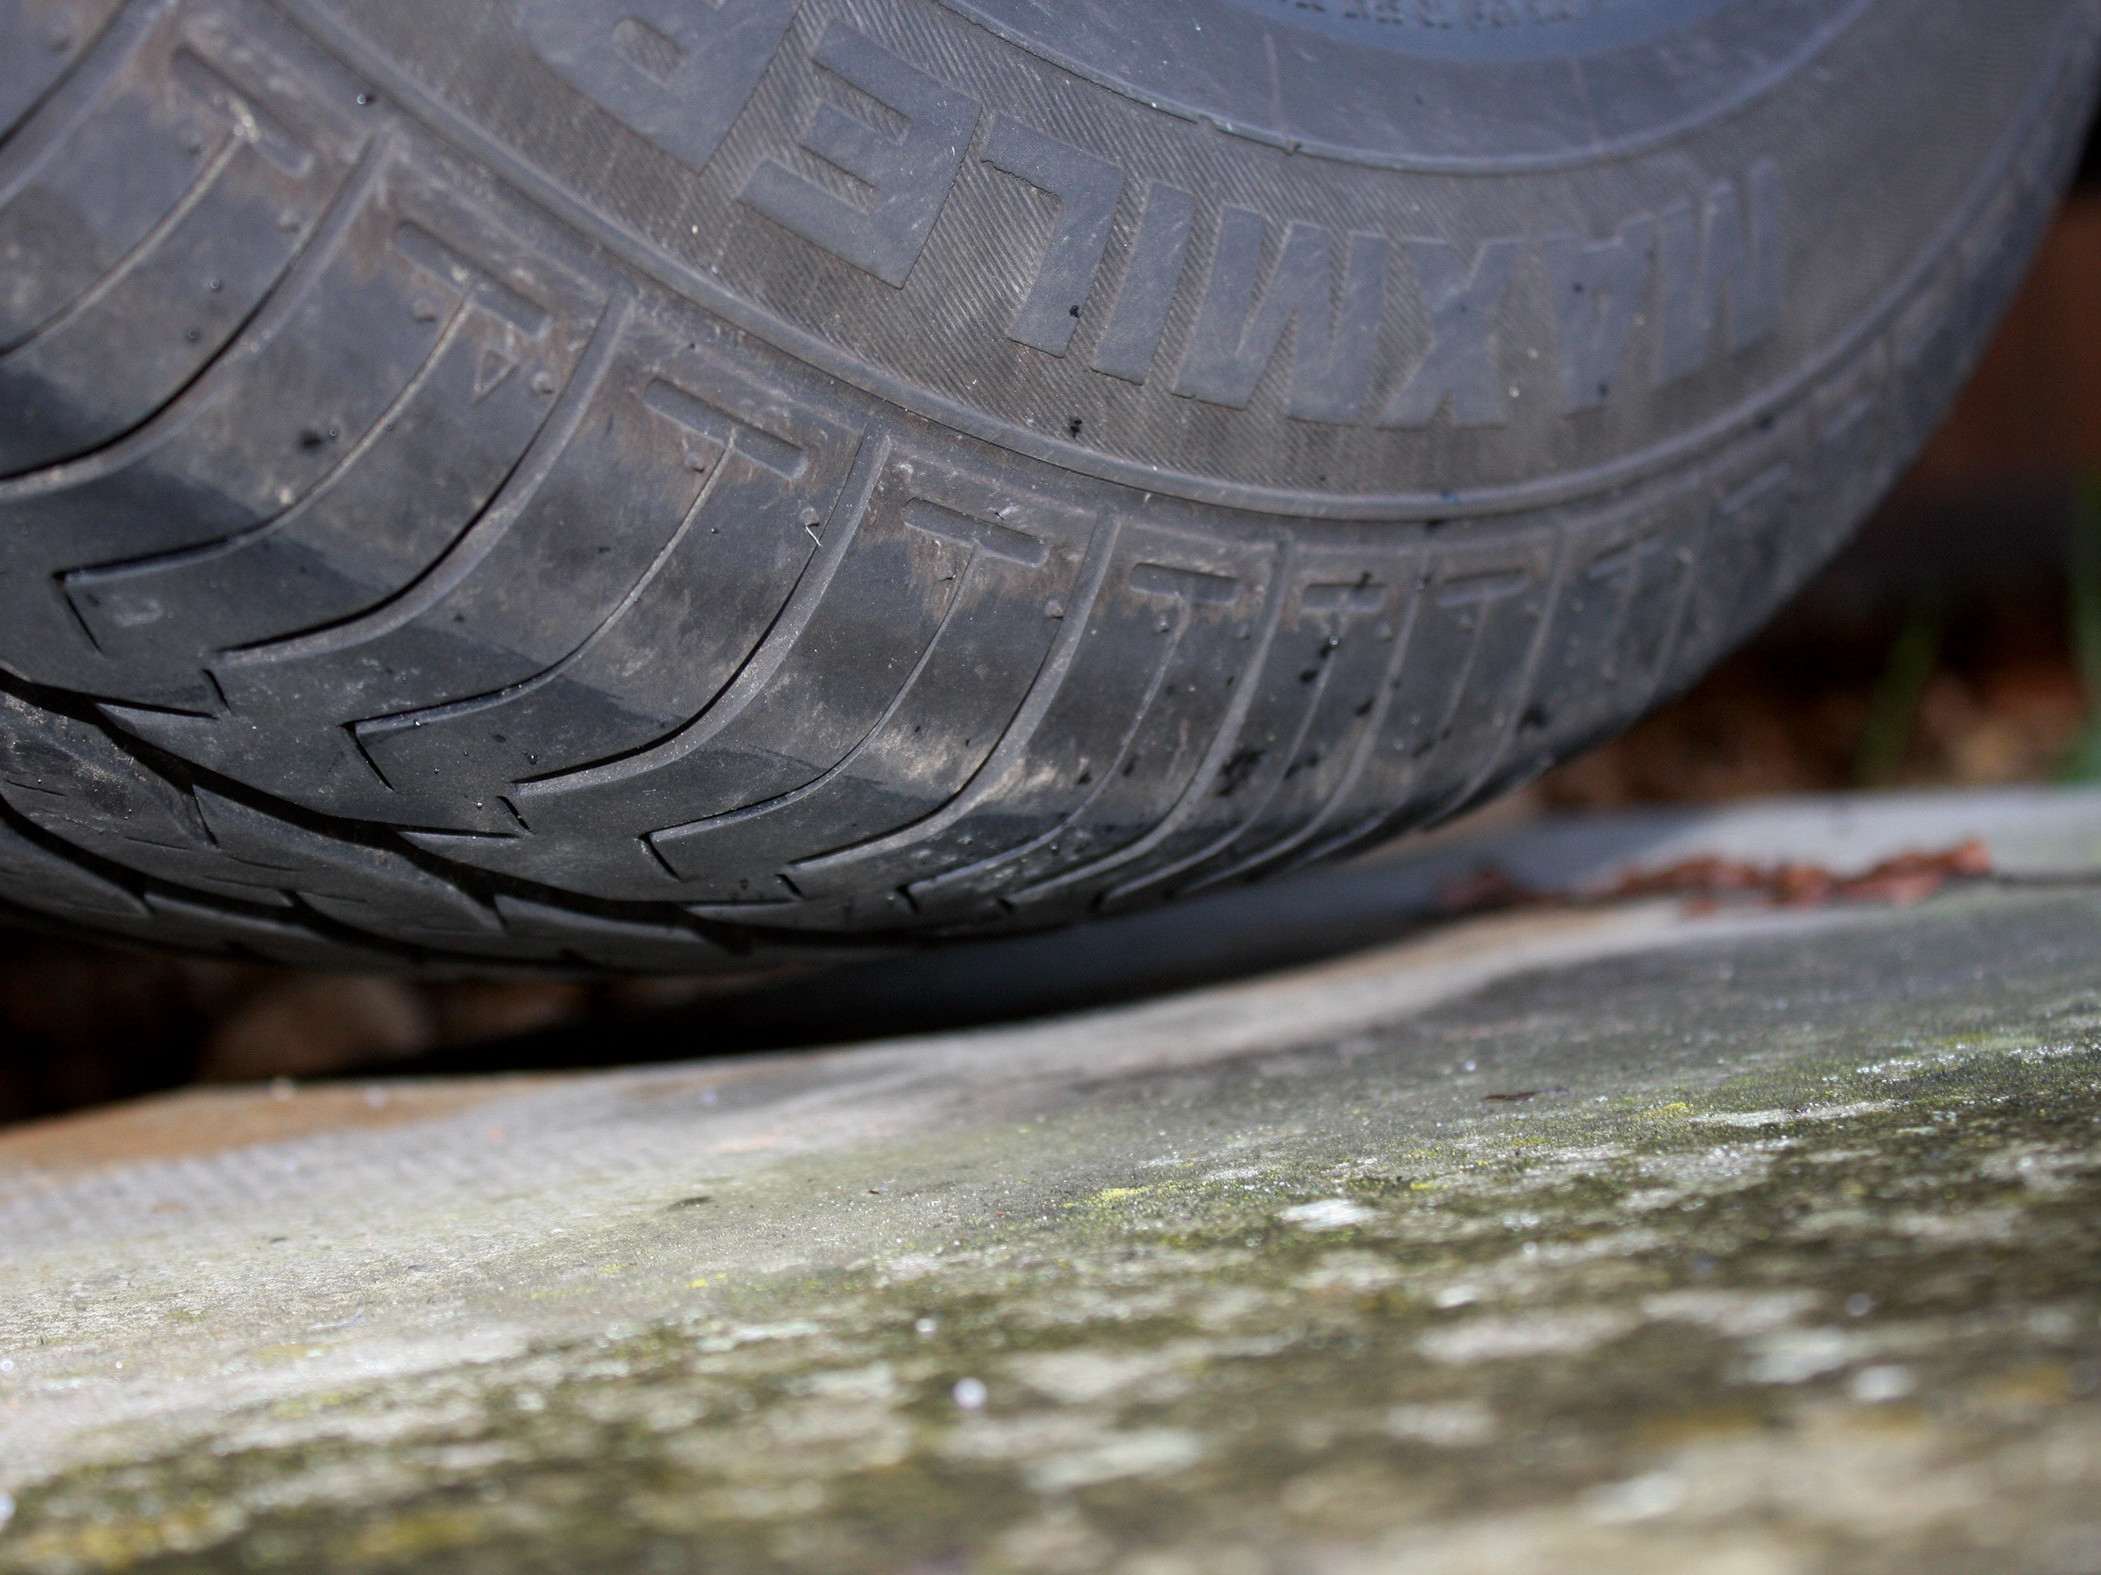
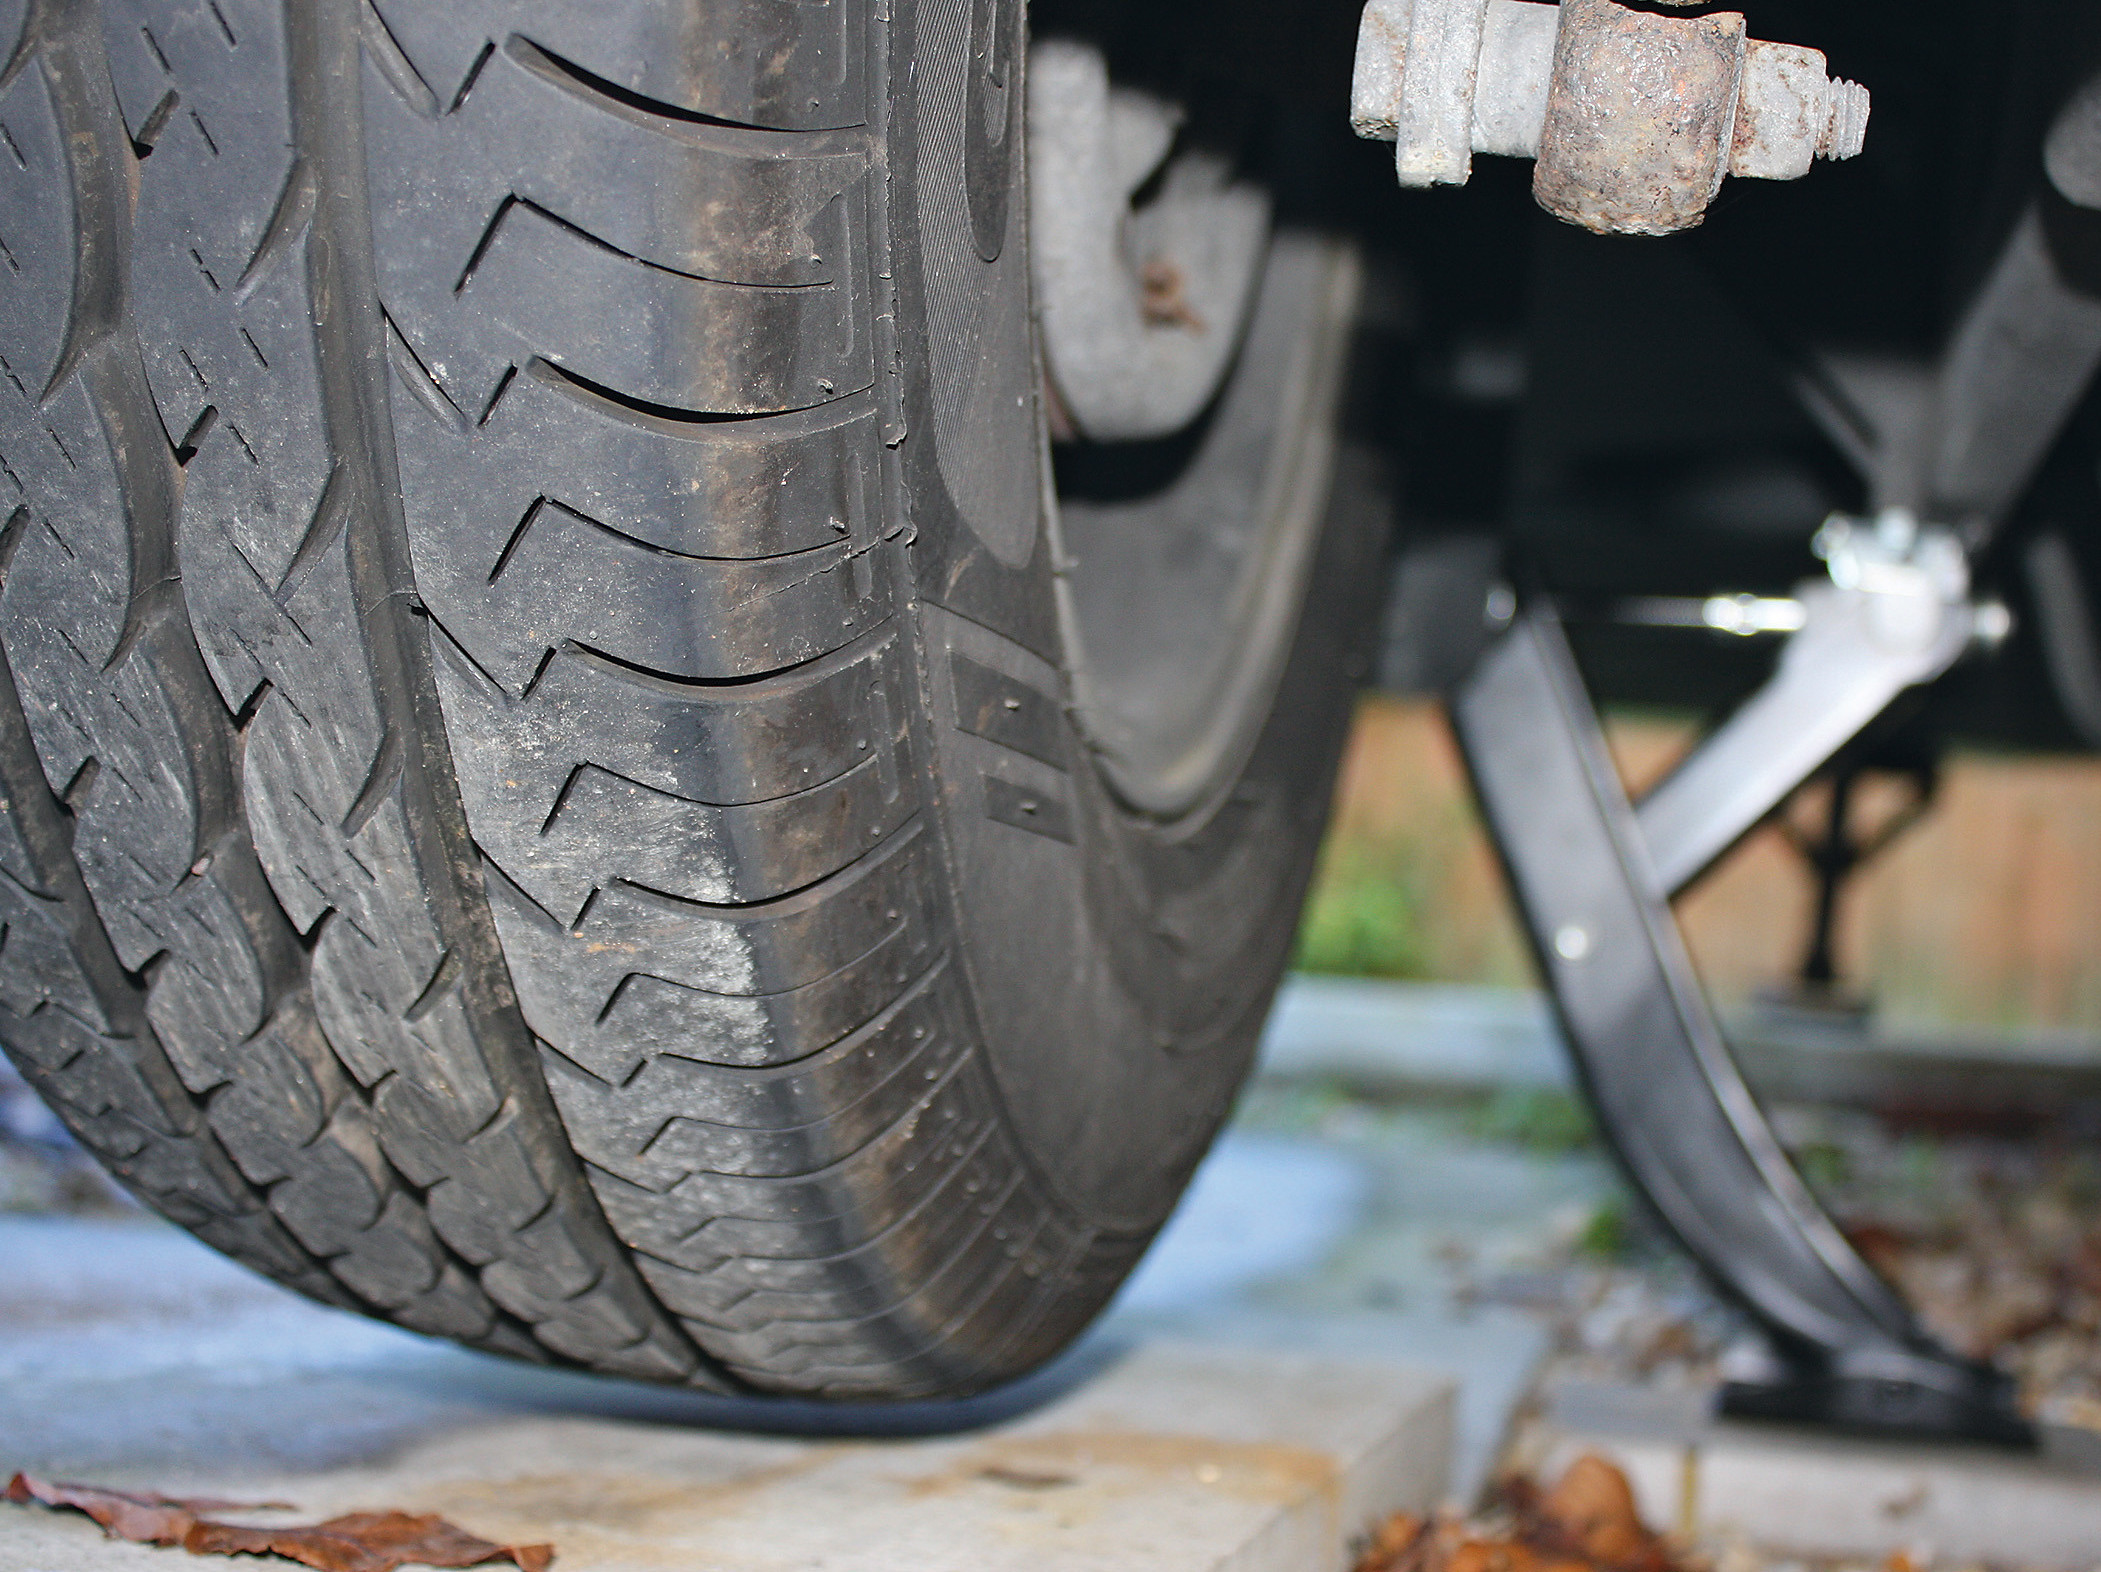
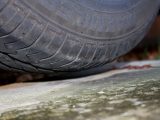
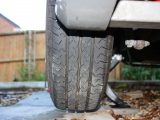
Next, lie in front of or behind the wheel so you face the tread, and rotate the wheel to find deformities. What sort of deformities? First, look for cuts or bulges on the inside (under the caravan) of the tyre. You should also inspect the tread, which must follow a straight course all around the tyre.
A few years ago, I took a pair of tourer tyres in to be balanced. They were only a couple of years old, according to the production date on them, but the fitter said he couldn’t balance them. He showed me the tread, which was so crooked that it appeared to have had too many drinks. I was worried because the caravan had only been in the same position for two months. That was still enough to lead to a wavy tread. This shows how important it is to check the tyres on your tourer to keep you safe on your caravan holidays.
Test the wheel for any play — there shouldn’t be any