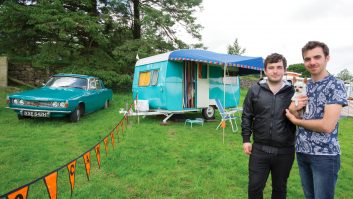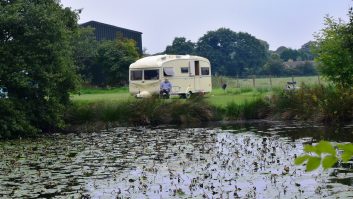


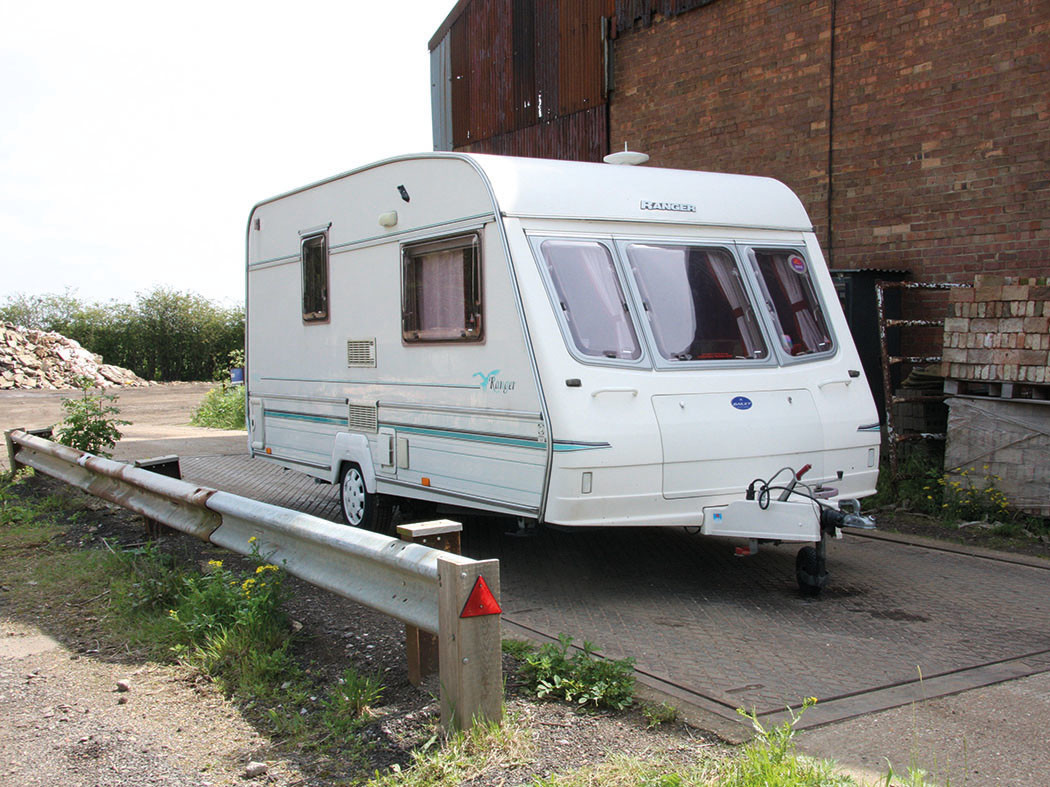


There’s a fine line between the restoration of classic caravans built years ago and renovation work on more recent models. In practical terms, the spotless ‘classics’ exhibited at shows and featured in some of Practical Caravan‘s ‘Me and my caravan‘ articles are usually too precious for day-to-day touring.
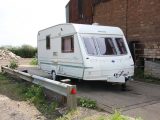
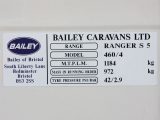
In this overview, the focus is primarily on caravans built over the past 40 years. The period embraces models that have an insulated sandwich floor panel, a lightweight chassis, and most caravans with ‘plastic’ windows. The Elddis Tornado adopted this style of construction, although its early Al-Ko chassis was painted rather than galvanised. Similarly, its frameless acrylic plastic windows had single panels: double-glazed units were only fitted in top-of-the-range caravan models in the early 1980s.
However, I did cheat a bit when selecting my photos here. Avid enthusiasts may notice a handful from a slightly earlier van – I challenge you to spot them!
That aside, my aim is to draw attention to issues that sometimes prematurely send older vans to caravan breakers. Typically this happens when the cost of repairs at a dealer workshop far exceeds the value of a faulty model. The situation isn’t quite the same when a keen and competent owner is prepared to spend time repairing – or improving – a leaky old van.
Project van strategies
No two projects are alike, and the photos here merely highlight a few of the jobs that I’ve tackled after buying used caravans. In some instances the topics are about remedying faults that have arisen through poor maintenance or product malfunction.
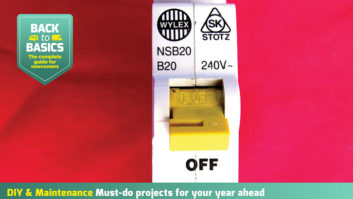
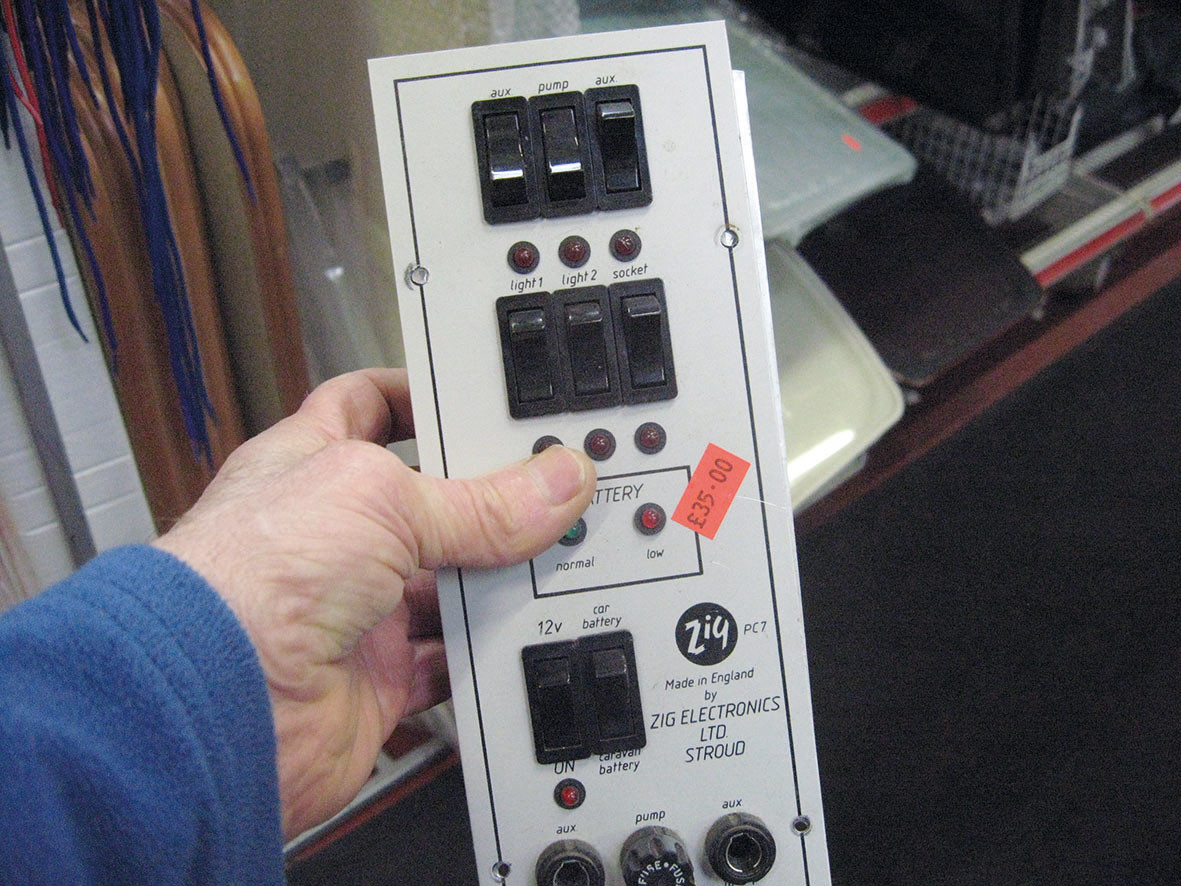
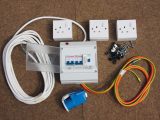
Others adopt a different focus, and could be better described as ‘improvement projects’. For example, a few decades ago caravans seldom had a 230V wiring system designed to draw electricity from a mains hook-up – many sites didn’t even offer 230V connection points. That subsequently changed, and accessory specialists started selling 230V kits with pre-connected safety controls to help owners upgrade their caravan electrics.
Also be aware that the accompanying photographs adopt a timeline, and take safety issues into consideration. For instance, it worries me that many well-meaning owners add all kinds of accessories without any thought to their caravan’s weight limits. There are also some caravans on the roads whose brakes and coupling systems have never been checked or adjusted by a service technician. Accordingly, part of this illustrated overview urges owners to adopt a safety-critical approach, both at the beginning and the end of their work.
Tackling the work on your caravan
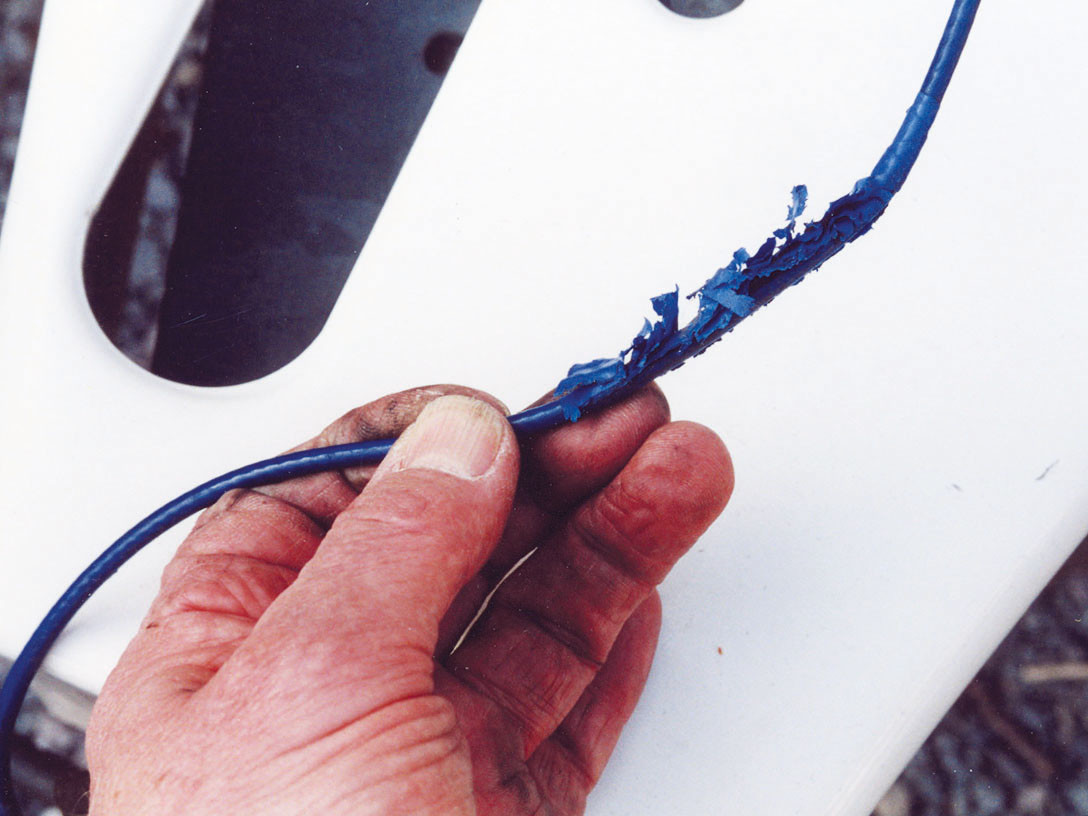
You should be aware that the main objective of this report is to provide an insight into typical jobs – there’s not space to conduct step-by-step instructions on tasks such as adjusting the brakes, fitting a new breakaway cable and so on. There are also only scant references to gas appliances and supply systems – that’s an area where an unqualified owner must enlist professional help from a qualified gas specialist.
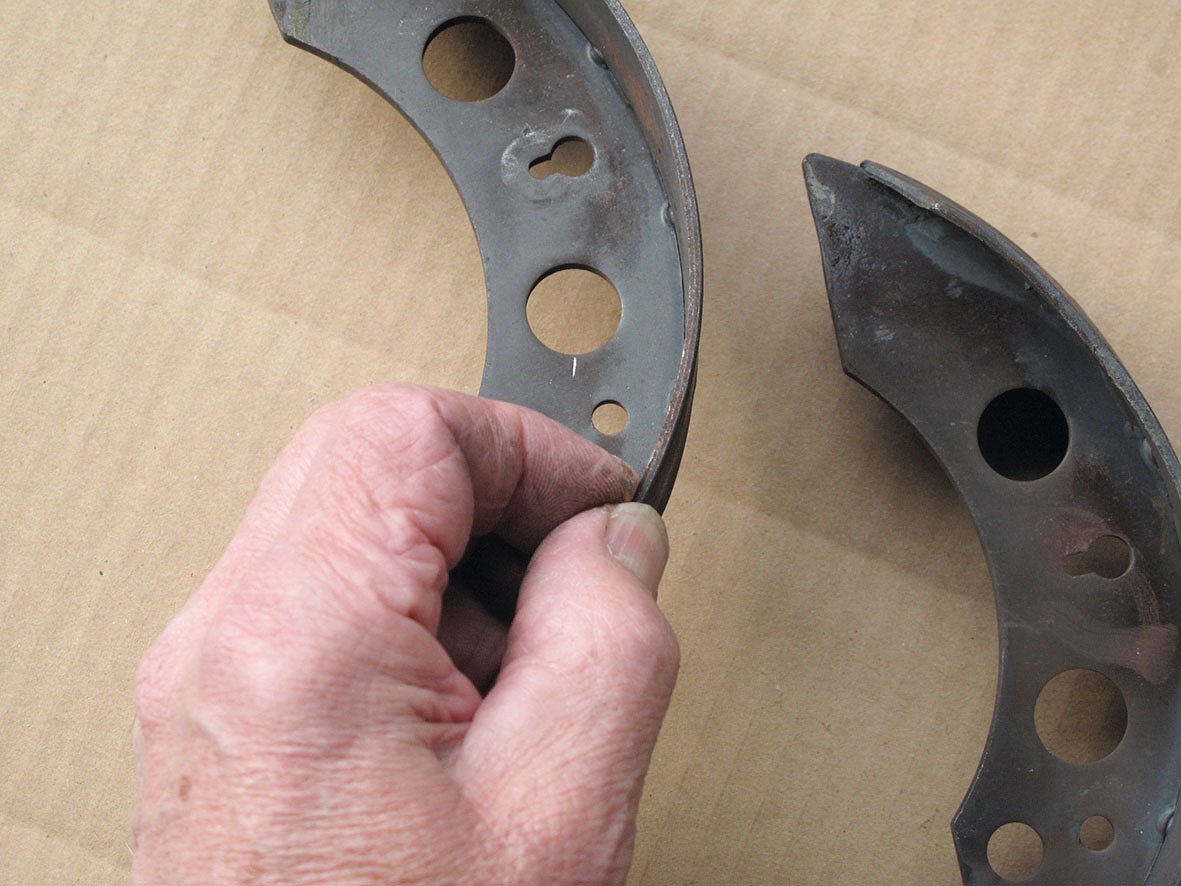
It’s important to realise that, while brake assemblies on 1980s caravans were fairly easy to dismantle and reassemble, things changed in the early 1990s. When sealed bearings and ‘one-shot nuts’ were introduced, gaining access to brake shoes required ownership of specialist tools such as a costly torque wrench. For that reason, I strongly recommend that anyone undertaking a major renovation project should have a mobile caravan service specialist get items such as brakes in safe running order from the outset.
Practical Caravan regularly reports on particular issues in some depth – so we have other articles on used caravan interiors, how to maintain and fix caravan toilets and how to find caravan spare parts for sale. Similarly, if you want more information on technical topics such as brake assemblies, installing TV aerials, toilet repairs, upgrading caravan water systems, keeping caravan water systems safe, improving the lighting and so on, have a look at the Practical Caravan website’s advice section and also my book, The Caravan Manual, Haynes Publishing.
Now, though, I’ll take a look at each specific area of the caravan in turn.
Kitchen and heater
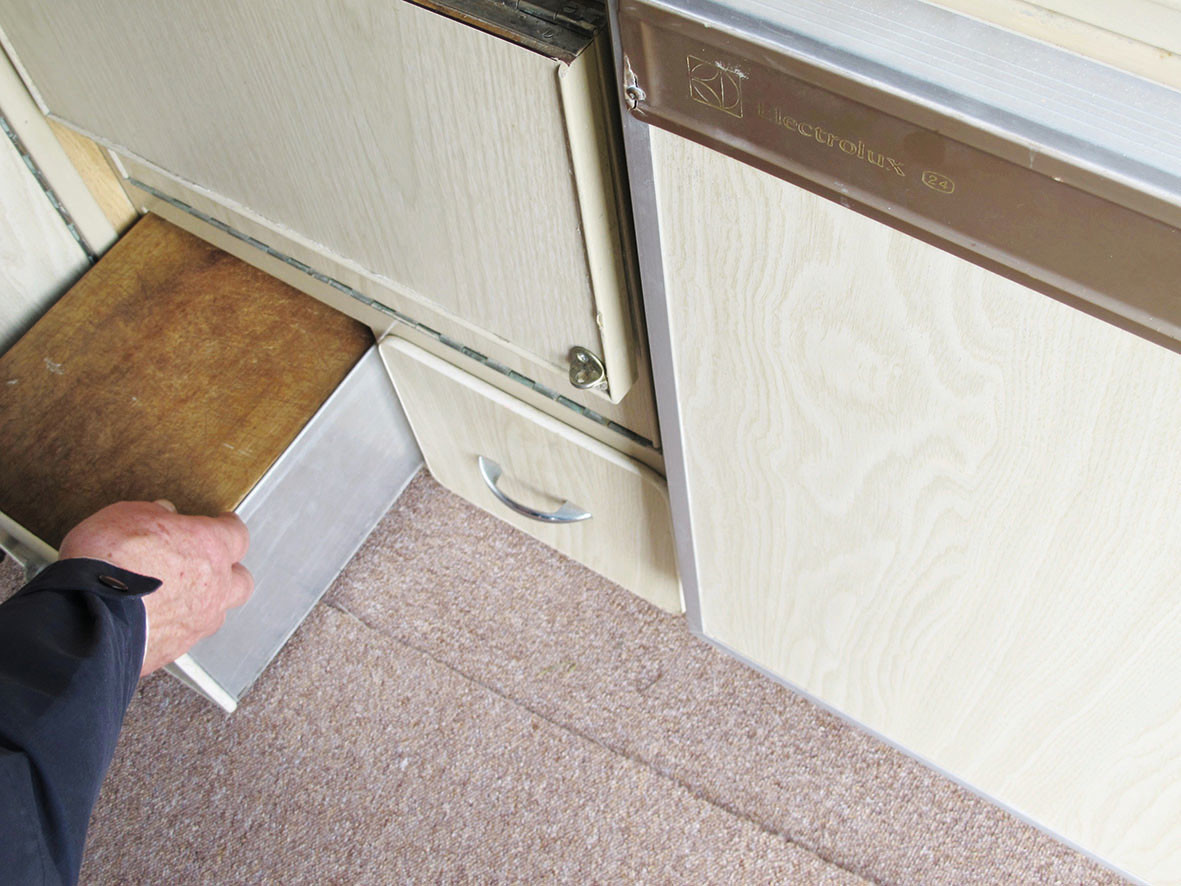
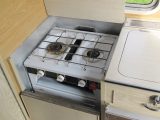
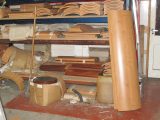
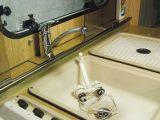
Without doubt, the kitchen unit in the older van and its appliances bear little resemblance to those in a modern caravan; but, as in our homes, kitchens are costly to replace. They also encompass the heaviest group of appliances in a caravan, and a kitchen’s location in the overall layout can be significant. For instance, when a chassis is designed and the position of a caravan axle is calculated (in order to achieve the appropriate noseweight), kitchen position is a key factor.
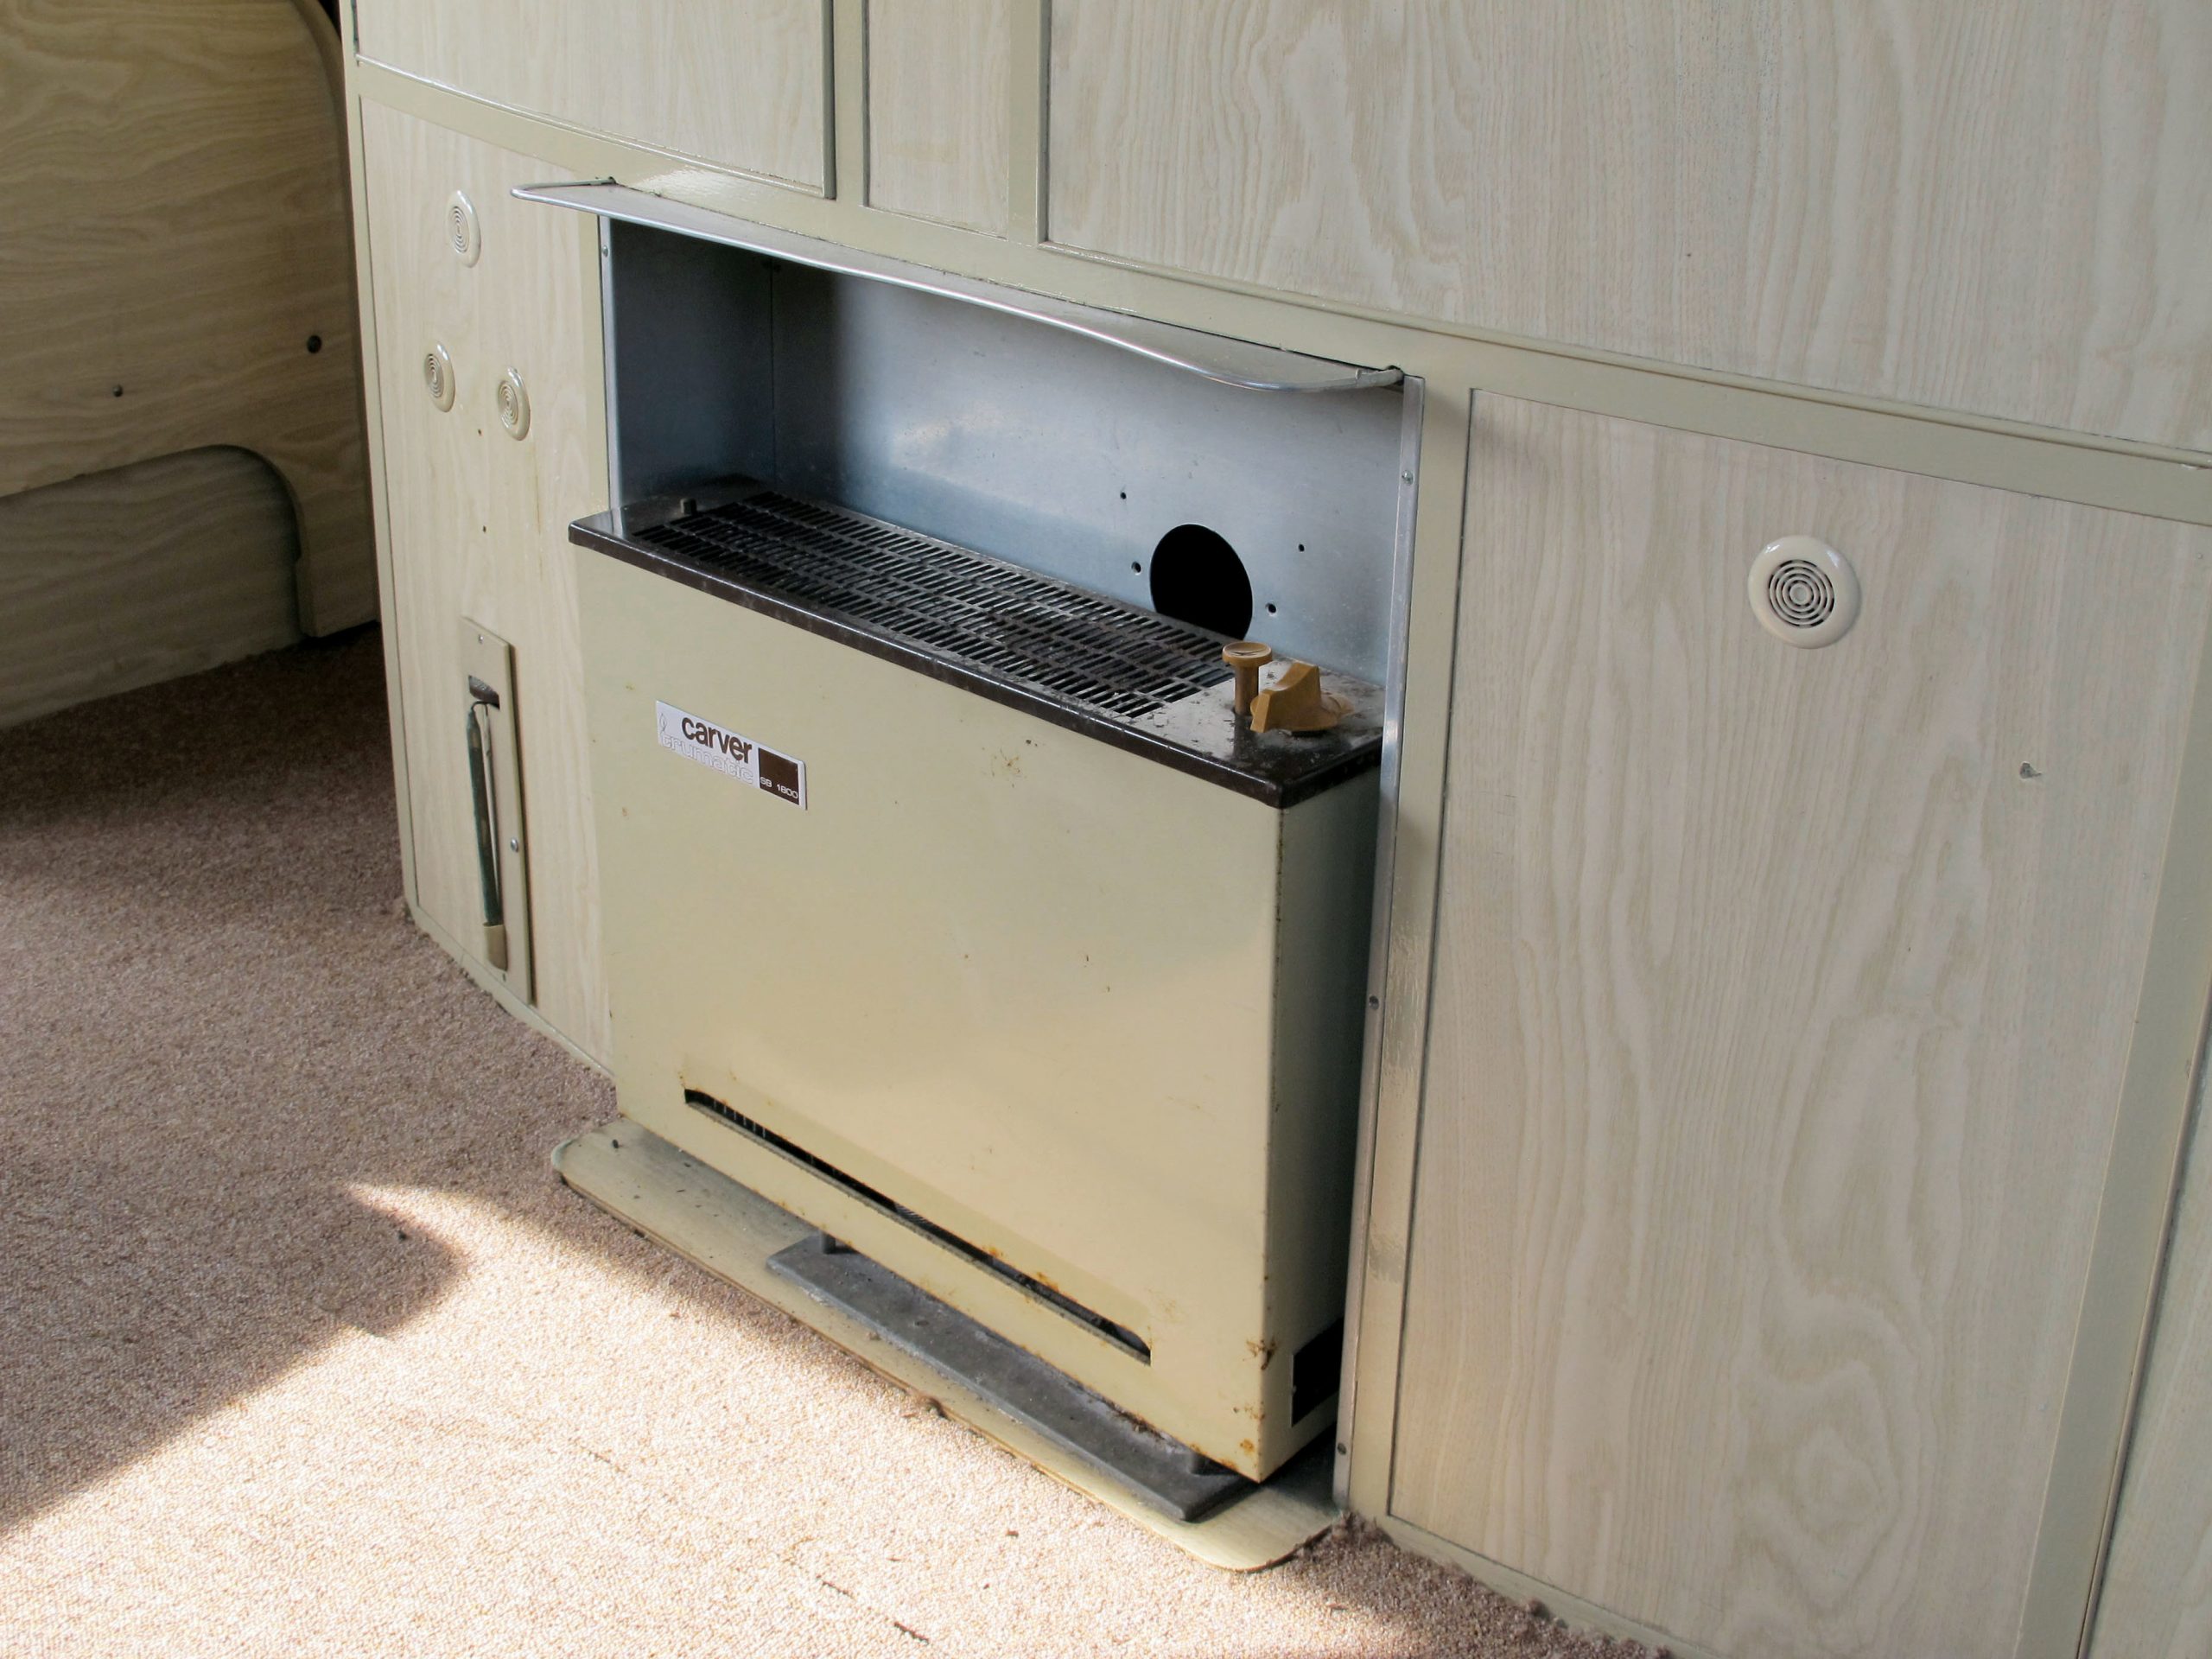
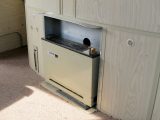
The old caravan kitchen pictured above would benefit hugely from some newer kitchen appliances, but I’d install them in the same location. Similarly, the space-heater recess could take a newer replacement; although minor changes to the furniture may be necessary to achieve that.
Altering furniture and mounting a gas appliance in accordance with its manufacturer’s instructions is something a skilled joiner can usually manage, but that’s as far as it should go: installing a new gas-supply pipe and coupling it up to an appliance must only be carried out by a competent and experienced gas installer.
Caravan safety on the road
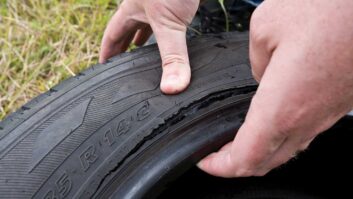
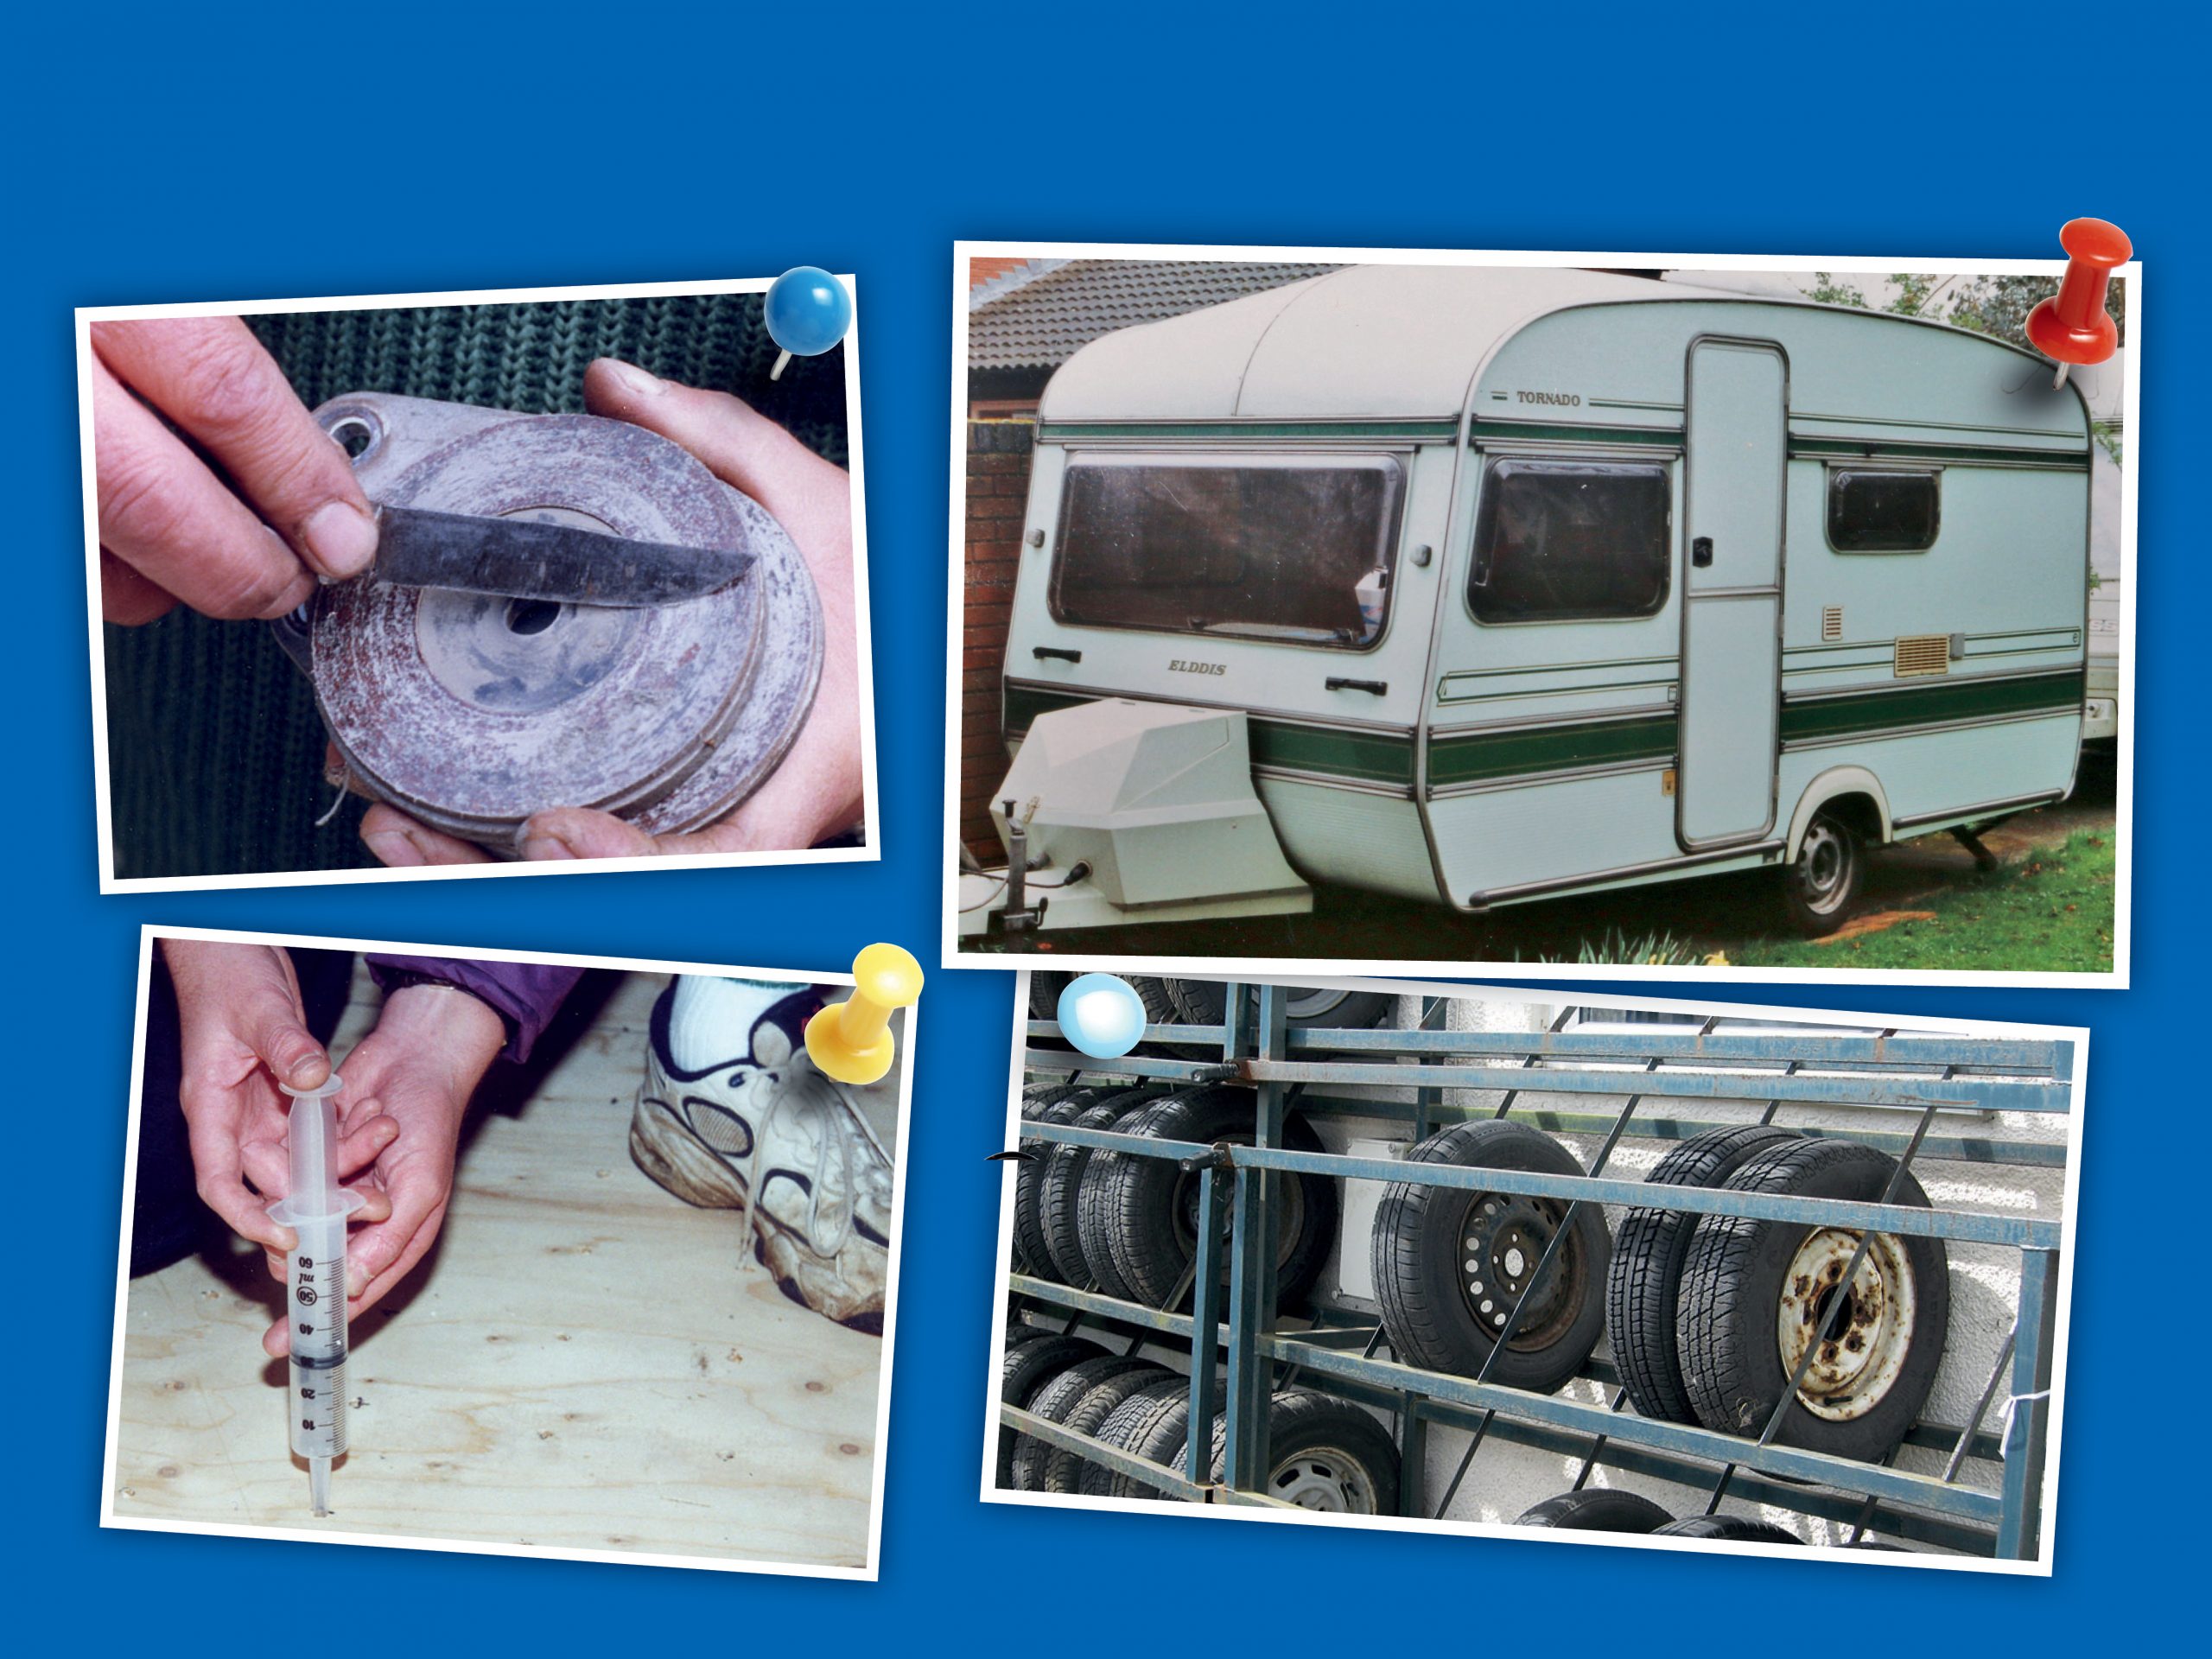
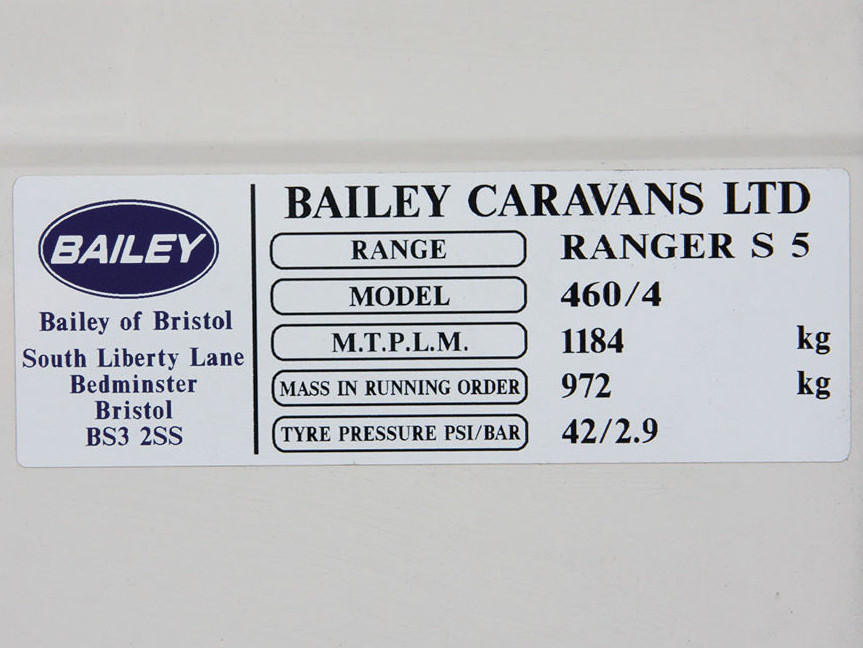
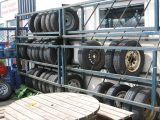
Older caravans didn’t have spare wheels, so a puncture used to cause all sorts of problems. Some owners wisely purchase and install a spare, but later discover that it’s the wrong size. Reading the marking on the sidewall of a tyre is most important; so, too, is conducting a check of the wheel fixing holes. Here’s some more advice about how to check your caravan tyres.
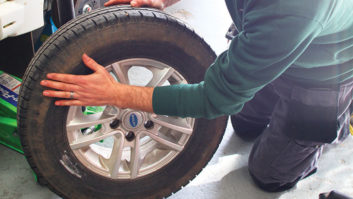
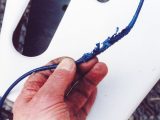
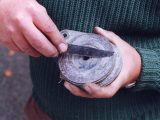
Coupling heads (‘hitches’) have also changed over the years, and this is something to check. Similarly, inspect the handbrake and all items related to towing. In particular, the brake assemblies must be inspected and adjustments made as required. (Read about how to check your caravan hitch head, jockey wheel and corner steadies here.)
Similarly, some of the road lights on a caravan might not be functioning correctly; most DIY owners would check the bulbs and connections.
Of course, getting this vital safety work carried out by a dealer could mean towing an old caravan to the workshop when it isn’t fully fit for the road. It would therefore be a safer strategy to contact one of the Mobile Service Engineers who have gained accreditation under the NCC Approved Workshop Scheme. That means the job can be done where the van is parked.
Weight checking
When you’ve stripped out unwanted appliances and furniture, and have a caravan whose towing and running gear are safe and serviced, it’s time to take it (empty) to a weighbridge.
Local authorities compile an address list of weighbridges in their area, some of which are linked to a factory or agricultural facility. I always phone first, because a few can’t deal with private vehicles due to insurance issues; I check whether there are busy periods to avoid. Equally, a weighbridge is sometimes closed for calibration testing by Weights and Measures inspectors.
The fee I pay is £12.50 (2015 price), and a certificate is printed that gives details of the caravan, its weight and the date. When engaged in major refits involving heavy appliances, I also arrange visits when work is progressing to ensure there’s still plenty of payload for all my personal gear. I don’t wait until the final weight check in case I’ve left too small a margin for operational items (gas cylinders, for example) and basic equipment such as lightweight caravan crockery, food and clothing.
Structural concerns
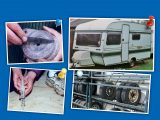
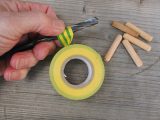
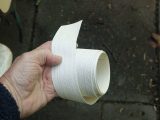
Around 1980, caravans were built with a three-layer sandwich comprising block insulation and thin, treated plywood. The bonding adhesive holds each layer together in close register, and achieves remarkable strength without being heavy.
However, some floor panels fail when the bonding agent shears in high-use zones (typically just inside the door, and also around the kitchen). Once this delamination spreads, the floor loses its strength dramatically. Incidentally, you should suspect problems if part of the floor starts creaking badly and feels ‘springy’ in places. In a severe case, the top layer of ply rises up like a shallow blister.
Fortunately, delamination can usually be cured and kits are available with detailed instructions. Since an error can have disastrous effects, some kit manufacturers only sell their product to dealer workshops. As an example, if you forget to mix the hardener chemical into the two-part bonding agent, the repair will fail. See the photographs and captions above for a quick overview of the process.
Side and roof panels
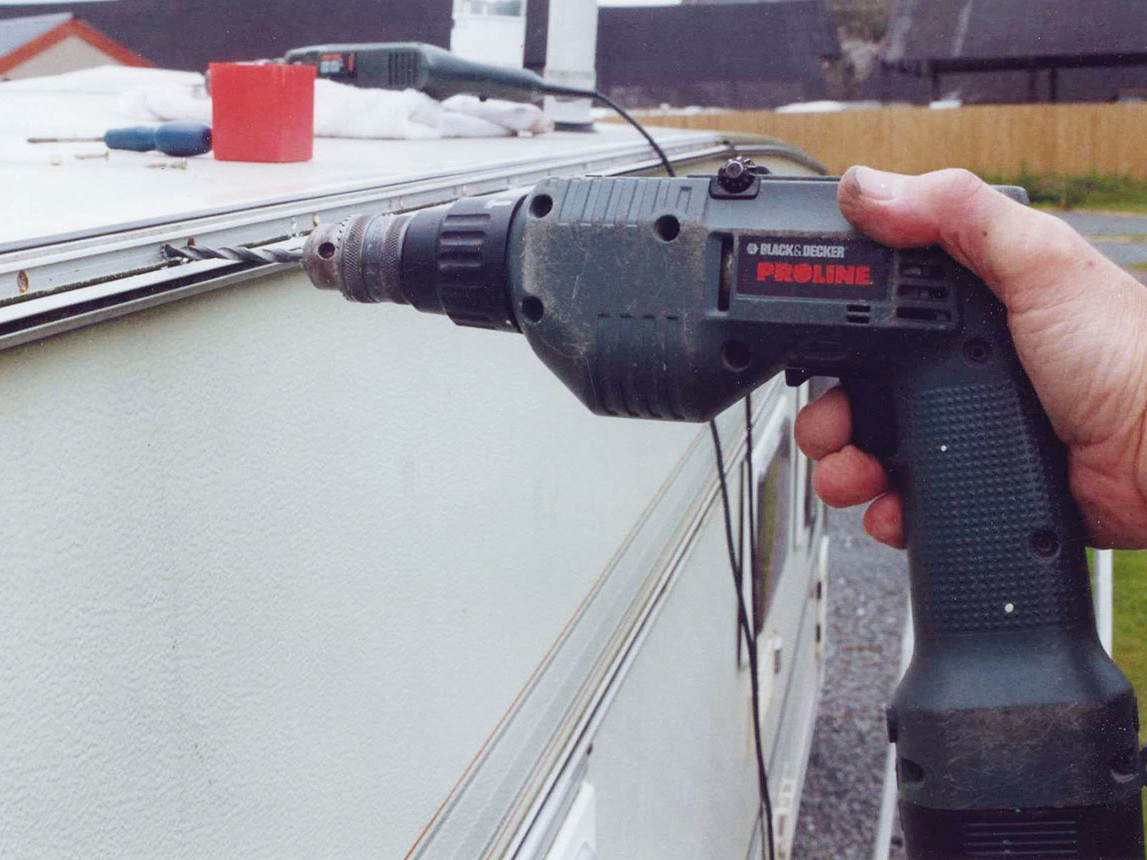
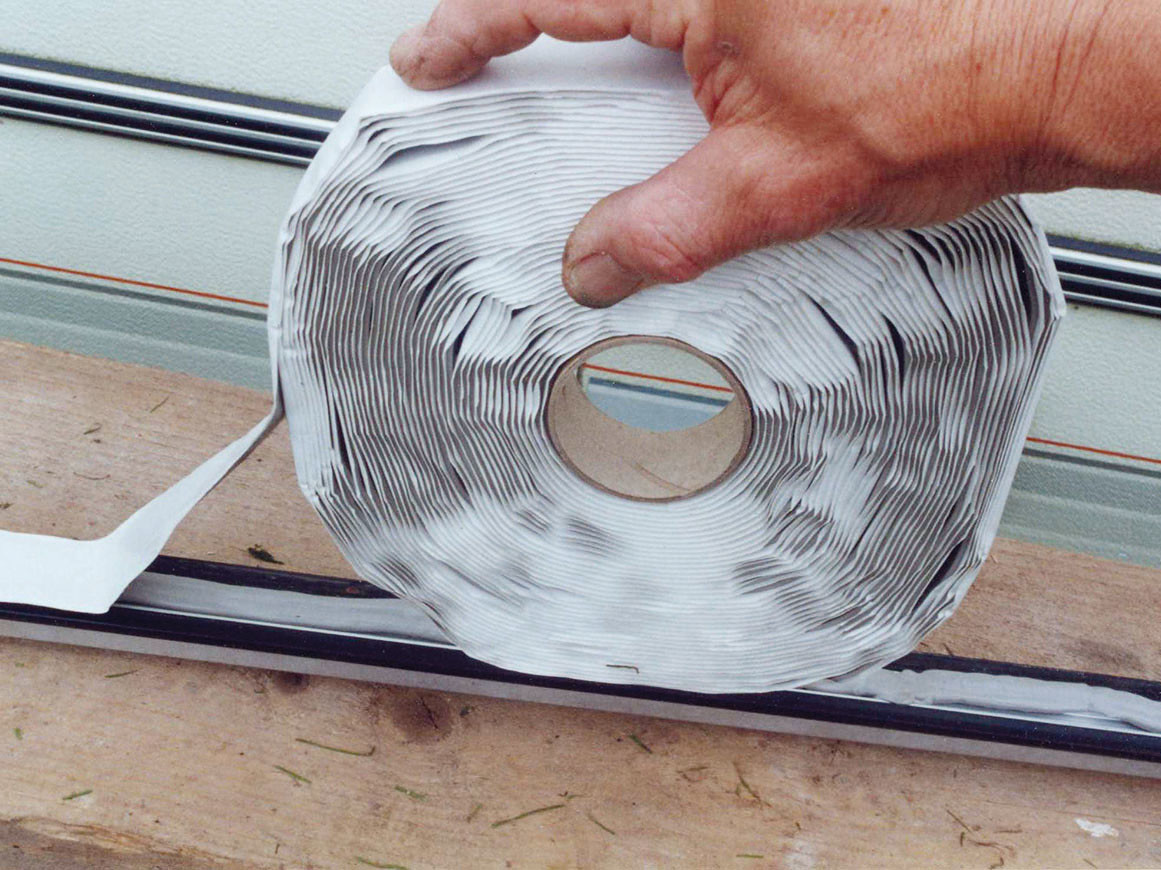
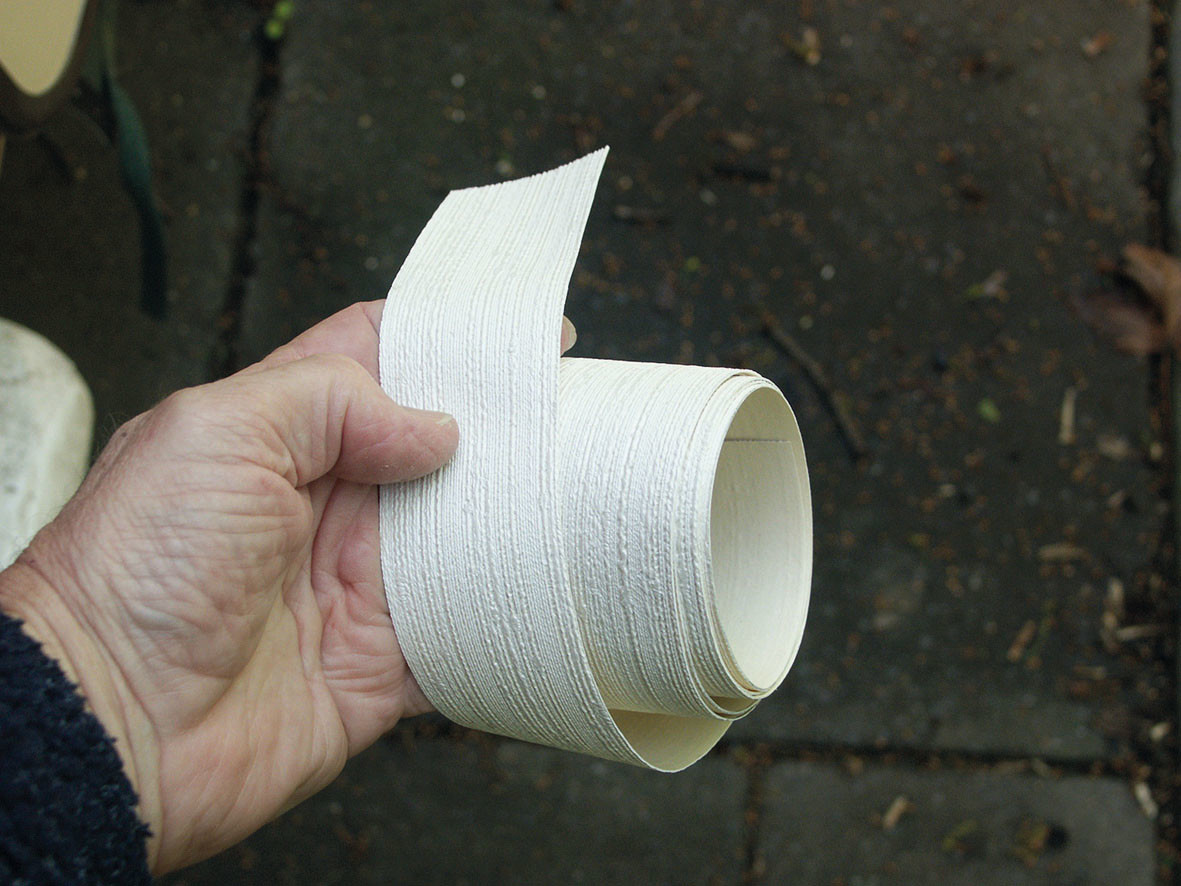
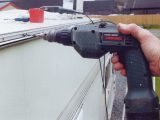
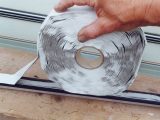
Countless caravans have been affected by leaks in the past. Although ill-fitting items such as windows can sometimes cause weak spots, most problems occur where the screws that hold trim strips deteriorate. That’s especially common when ordinary steel screws have been used (instead of stainless-steel fixings). Every screw hole represents a potential leak point, so a flexible mastic is used, too.
Unfortunately, the heat of summer eventually dries the mastic, whereupon it loses its flexibility, cracks and falls away. That’s when the mastic must be replaced, new holes drilled and stainless-steel screws used throughout. If this job is delayed, the core of the wall becomes damp, and timber struts start rotting. Then, the decorative ply on interior walls develops damp patches and goes mouldy.
Replacement parts
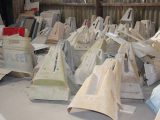
Many new parts may be needed in a general upgrading project. Unfortunately, lots of the items fitted in our homes aren’t suitable for use in caravans; they could be too heavy, for example.
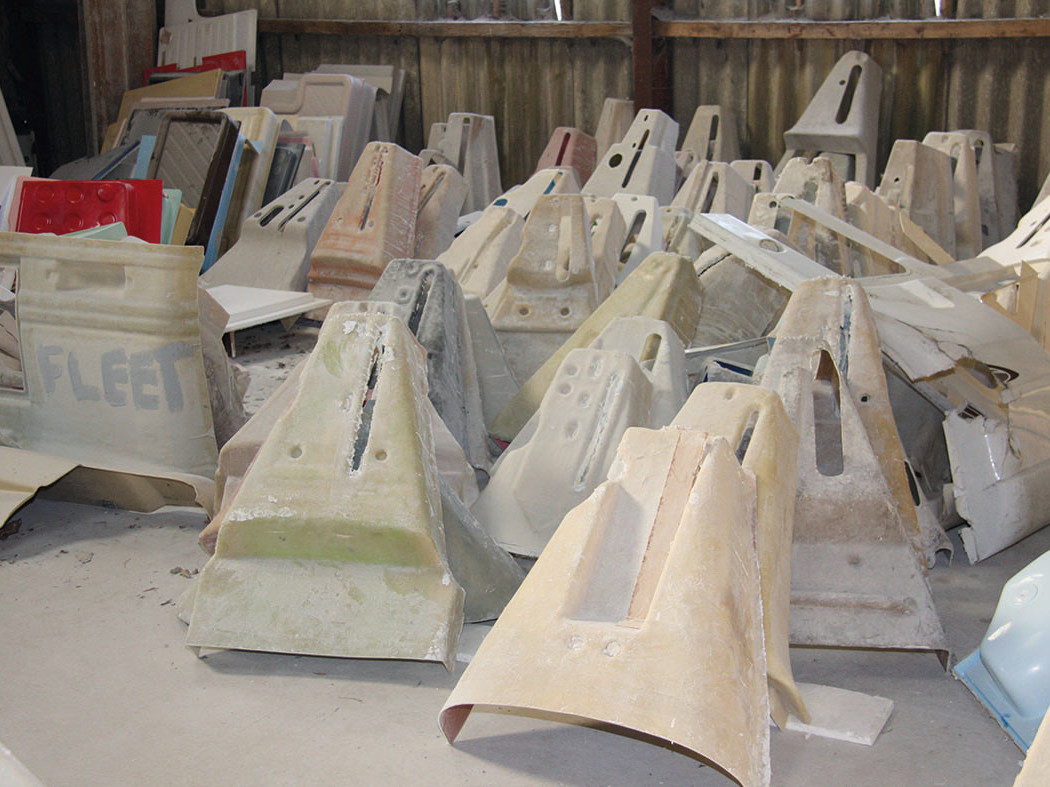
Then you may need to get hold of the all-important decorative panels of 3mm ply. The latter is seldom sold in DIY stores, and caravan repairers use suppliers within the industry. Fortunately there are several stockists who also deal with owners, though: Magnum Caravan Surplus in Grimsby, for example, buys up patterned plywood from caravan manufacturers when they change their models.
Alternatively, moulded caravan fronts, wheel spats, fairings, shower trays, washbasins and so on are made to order at the Caravan Panel Shop, near Preston. In other words, there are different sources of spare parts to consider.
Essential services
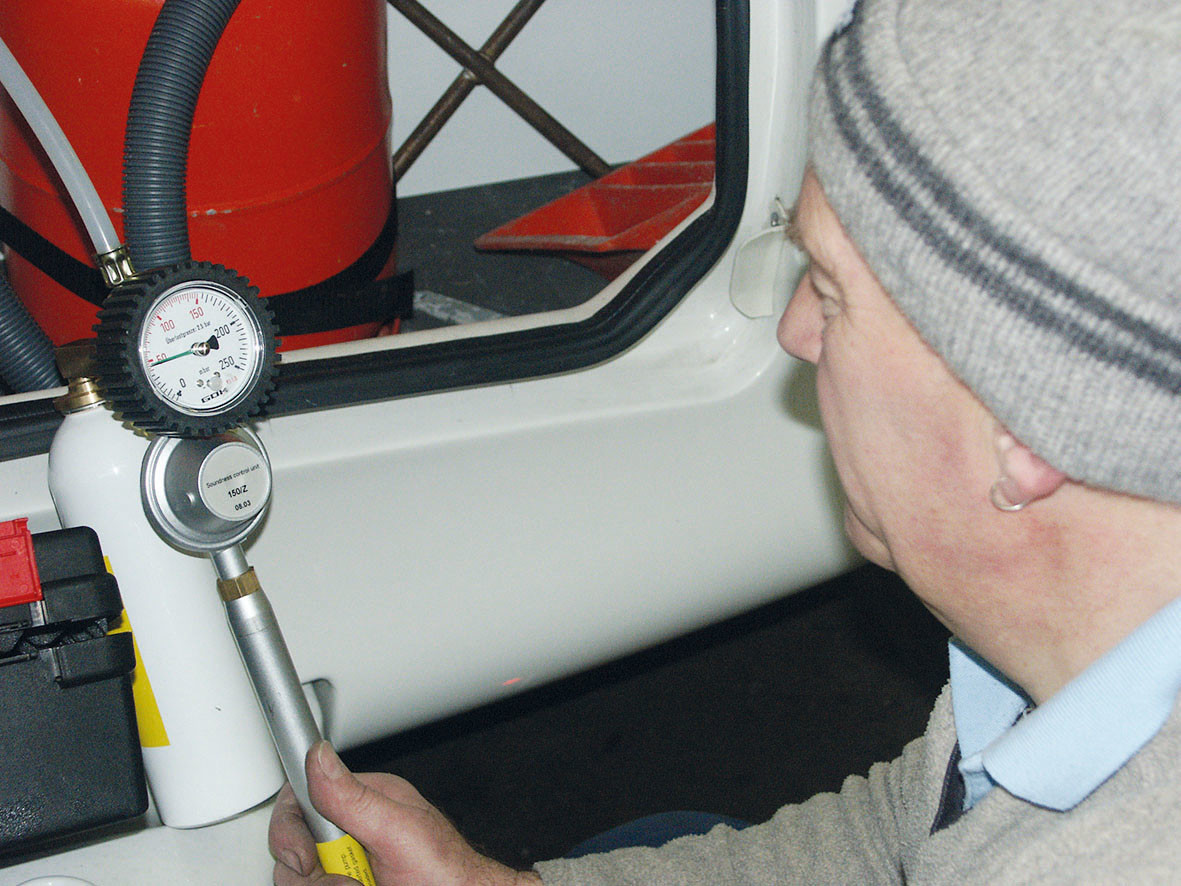
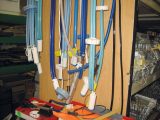
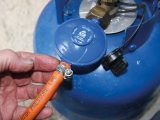
Without exception, renovating a caravan is going to involve a critical look at the basic supply systems. As already mentioned, gas supplies should be left to experts, although you can replace cylinder-mounted regulators and items such as the flexible coupling hose.
When it comes to caravan electrics, you must be aware that both 230V and 12V systems can potentially lead to fires and fatalities. However, some owners have extensive experience of using the appropriate cables, switches, fused control units and so on. Accordingly they adhere to safety advice, and wire-up interior caravan lights and couple-up leisure batteries. However, anyone who has doubts about their own knowledge, ability or experience should entrust such work to an electrical specialist who is familiar with the practices adopted in caravans.
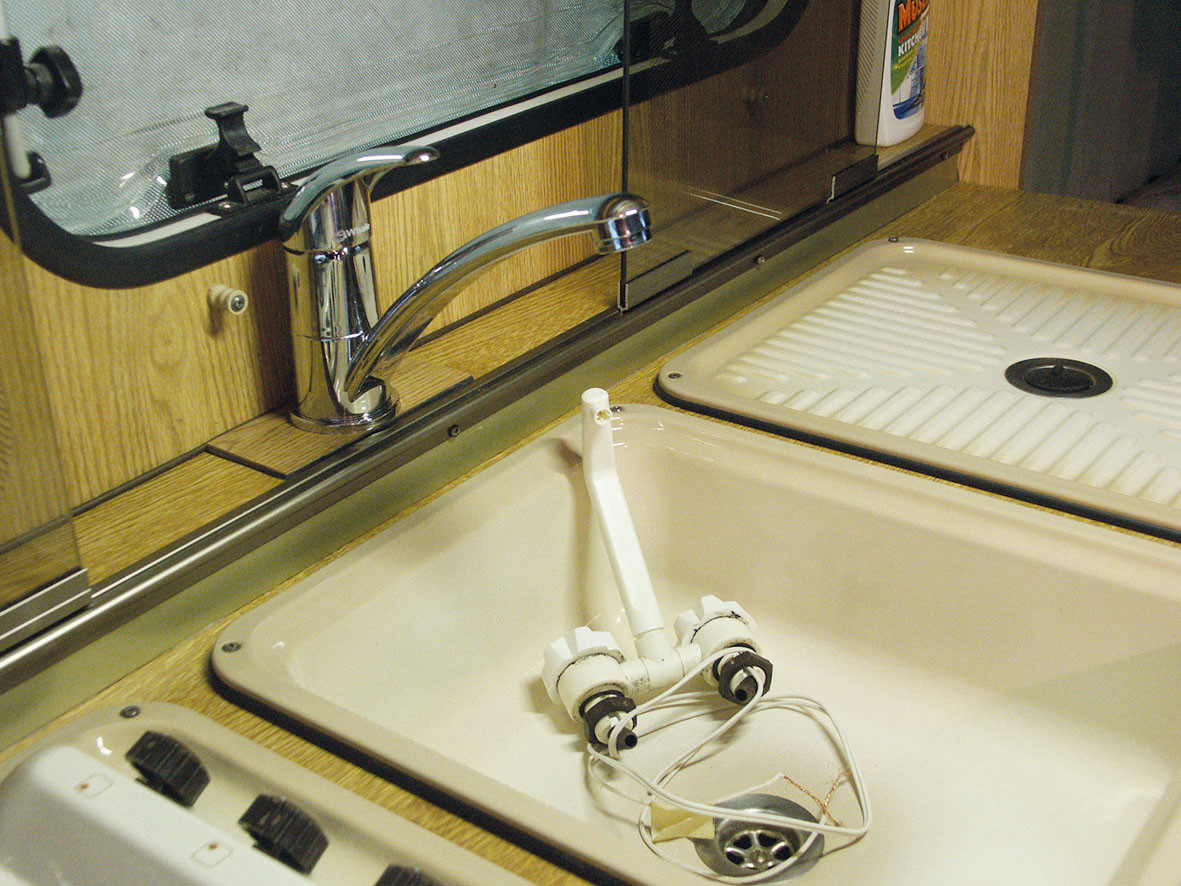
Waste- and fresh-water supplies are considerably easier to understand, and the low-pressure plumbing in caravans is less tricky to deal with than the domestic version. I’m often disappointed by the plumbing provision in caravans, but there are numerous ways to improve standard systems. For instance, far too many waste-pipe runs have downturns – and some include uphill slopes!
Finally, fit these detectors
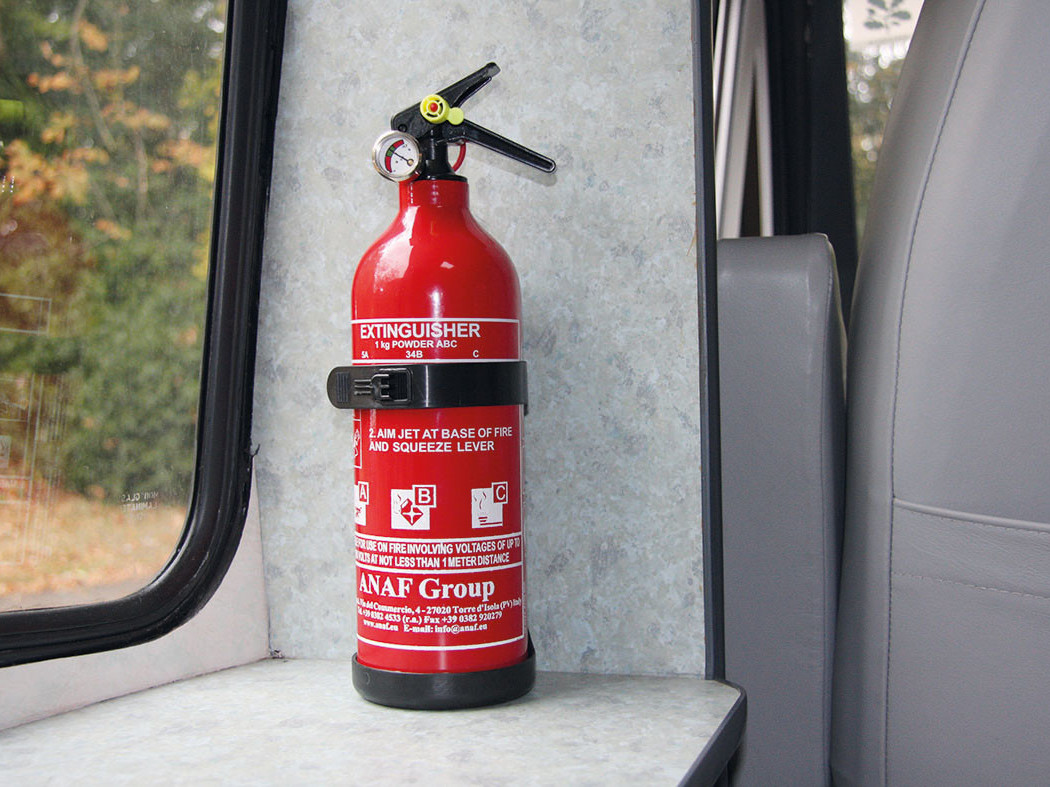
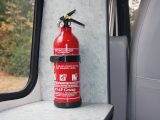
The provision of safety equipment is far more regulated than it was in the past. While DIY owners don’t always have to fit the warning devices now obligatory in modern vans, it’s silly not to adopt the latest practices. So when your upgrading work is reaching a conclusion, consider purchasing (and mounting in the appropriate place) items such as a smoke alarm, gas leak detector, carbon monoxide alarm, fire extinguisher and fire blanket. These items are readily available in caravan accessory stores, car accessory stores and even some large supermarkets. They may never be needed, but why take any risks?
My aim is to draw attention to issues that sometimes prematurely send older vans to caravan breakers