


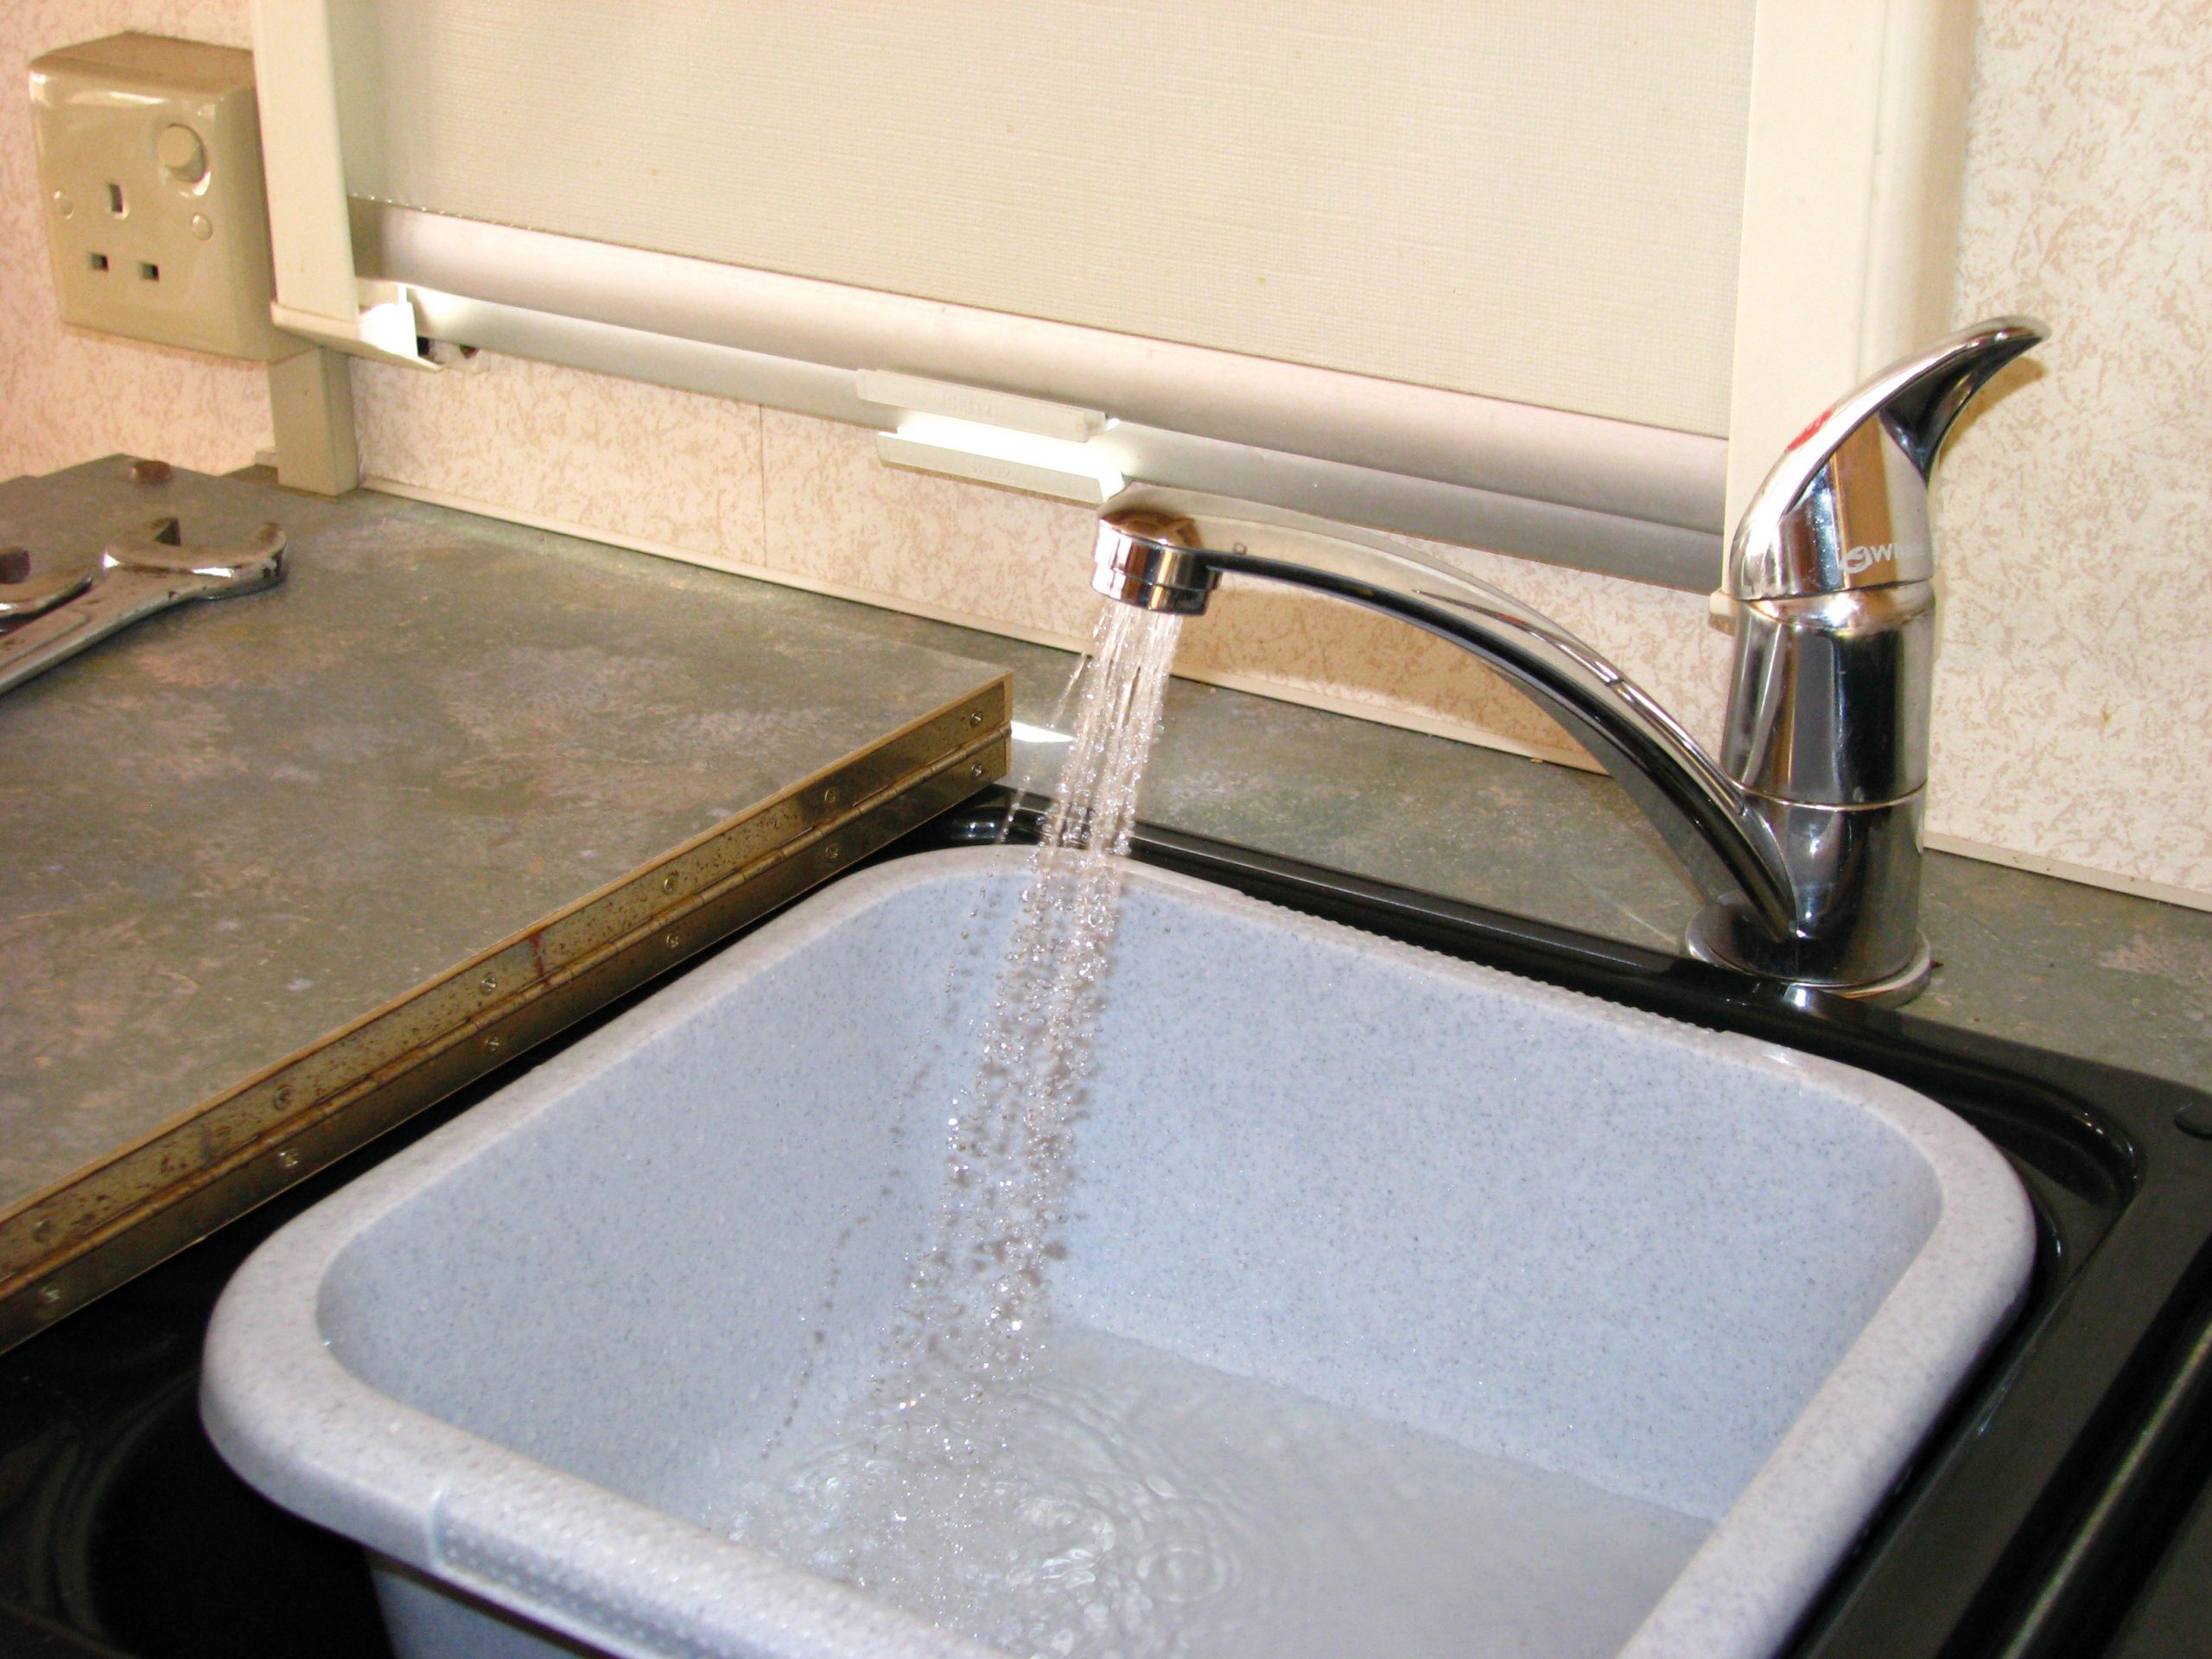


There are basically two types of caravan fresh-water system: first, there’s the pressurised type that works as follows. When a tap is turned on, the pressure in the water system drops; this triggers a switch in a sensor that turns the pump on, thereby building up the pressure up again.
The other type includes a microswitch that’s located inside the tap unit and which turns the water pump on.
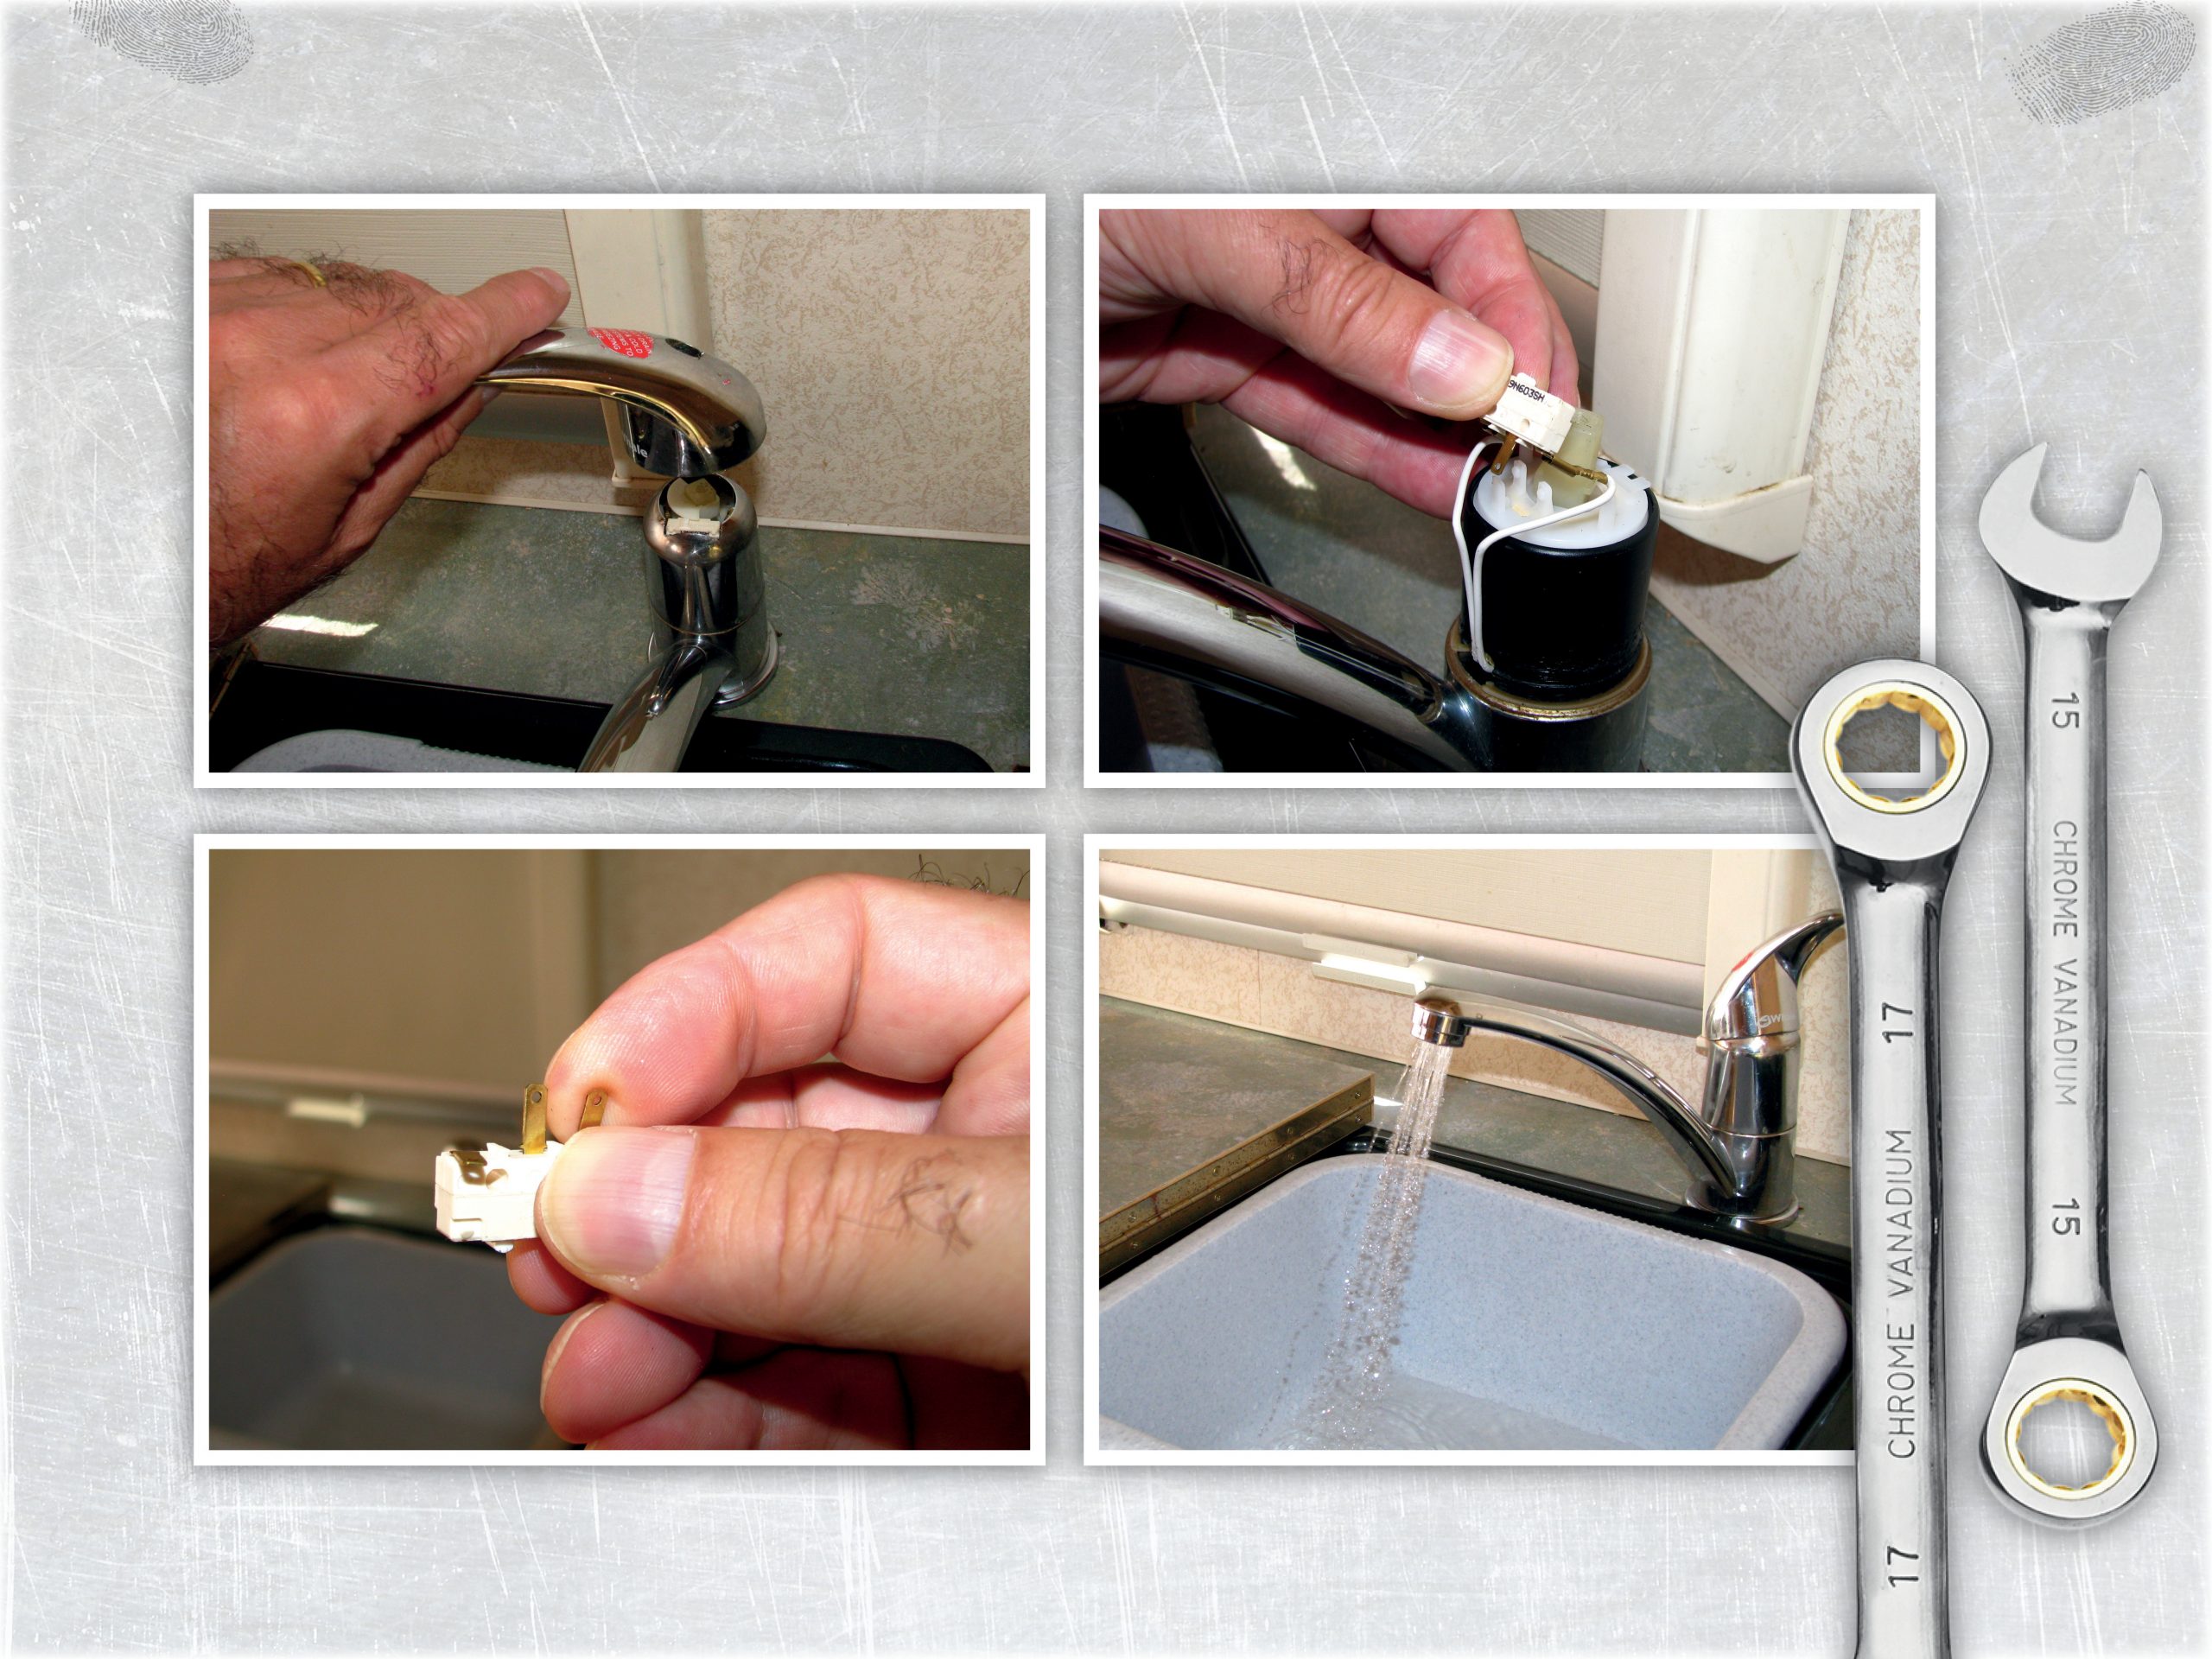
It’s not uncommon for these microswitches to fail, so it’s worth keeping a spare or two in the caravan. Here we look at how to change a microswitch, and also clean out the tap spout aerator — it’s amazing the amount of grit/debris that can collect in there, which can reduce the flow of water.
Tools required for this job are a small flathead screwdriver or sharp knife, a crosshead screwdriver and a 22mm open-ended spanner.
Does the fix fit?
Before starting work, determine whether your taps include microswitches. Look under the surface where the tap is fitted; if wires lead to it, you have them. (Caravans fitted with a pressure sensor are unlikely to have them.)
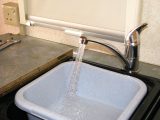
You must also eliminate other possible reasons why water is not flowing from your tap. Start by trying another one; if that one works, proceed with the project.
If not, the problem lies elsewhere. (For John Wickersham’s advice on caravan water pipes and pumps click here.)
Ensure the pump’s master switch is turned on and that the pump is properly plugged in. Once you’ve confirmed both of these, check the fuse — perhaps it has blown.
Disassemble lever
Once you’ve established that the microswitch is faulty, protect yourself from the danger of electric shock by ensuring that the power to the tap is off.
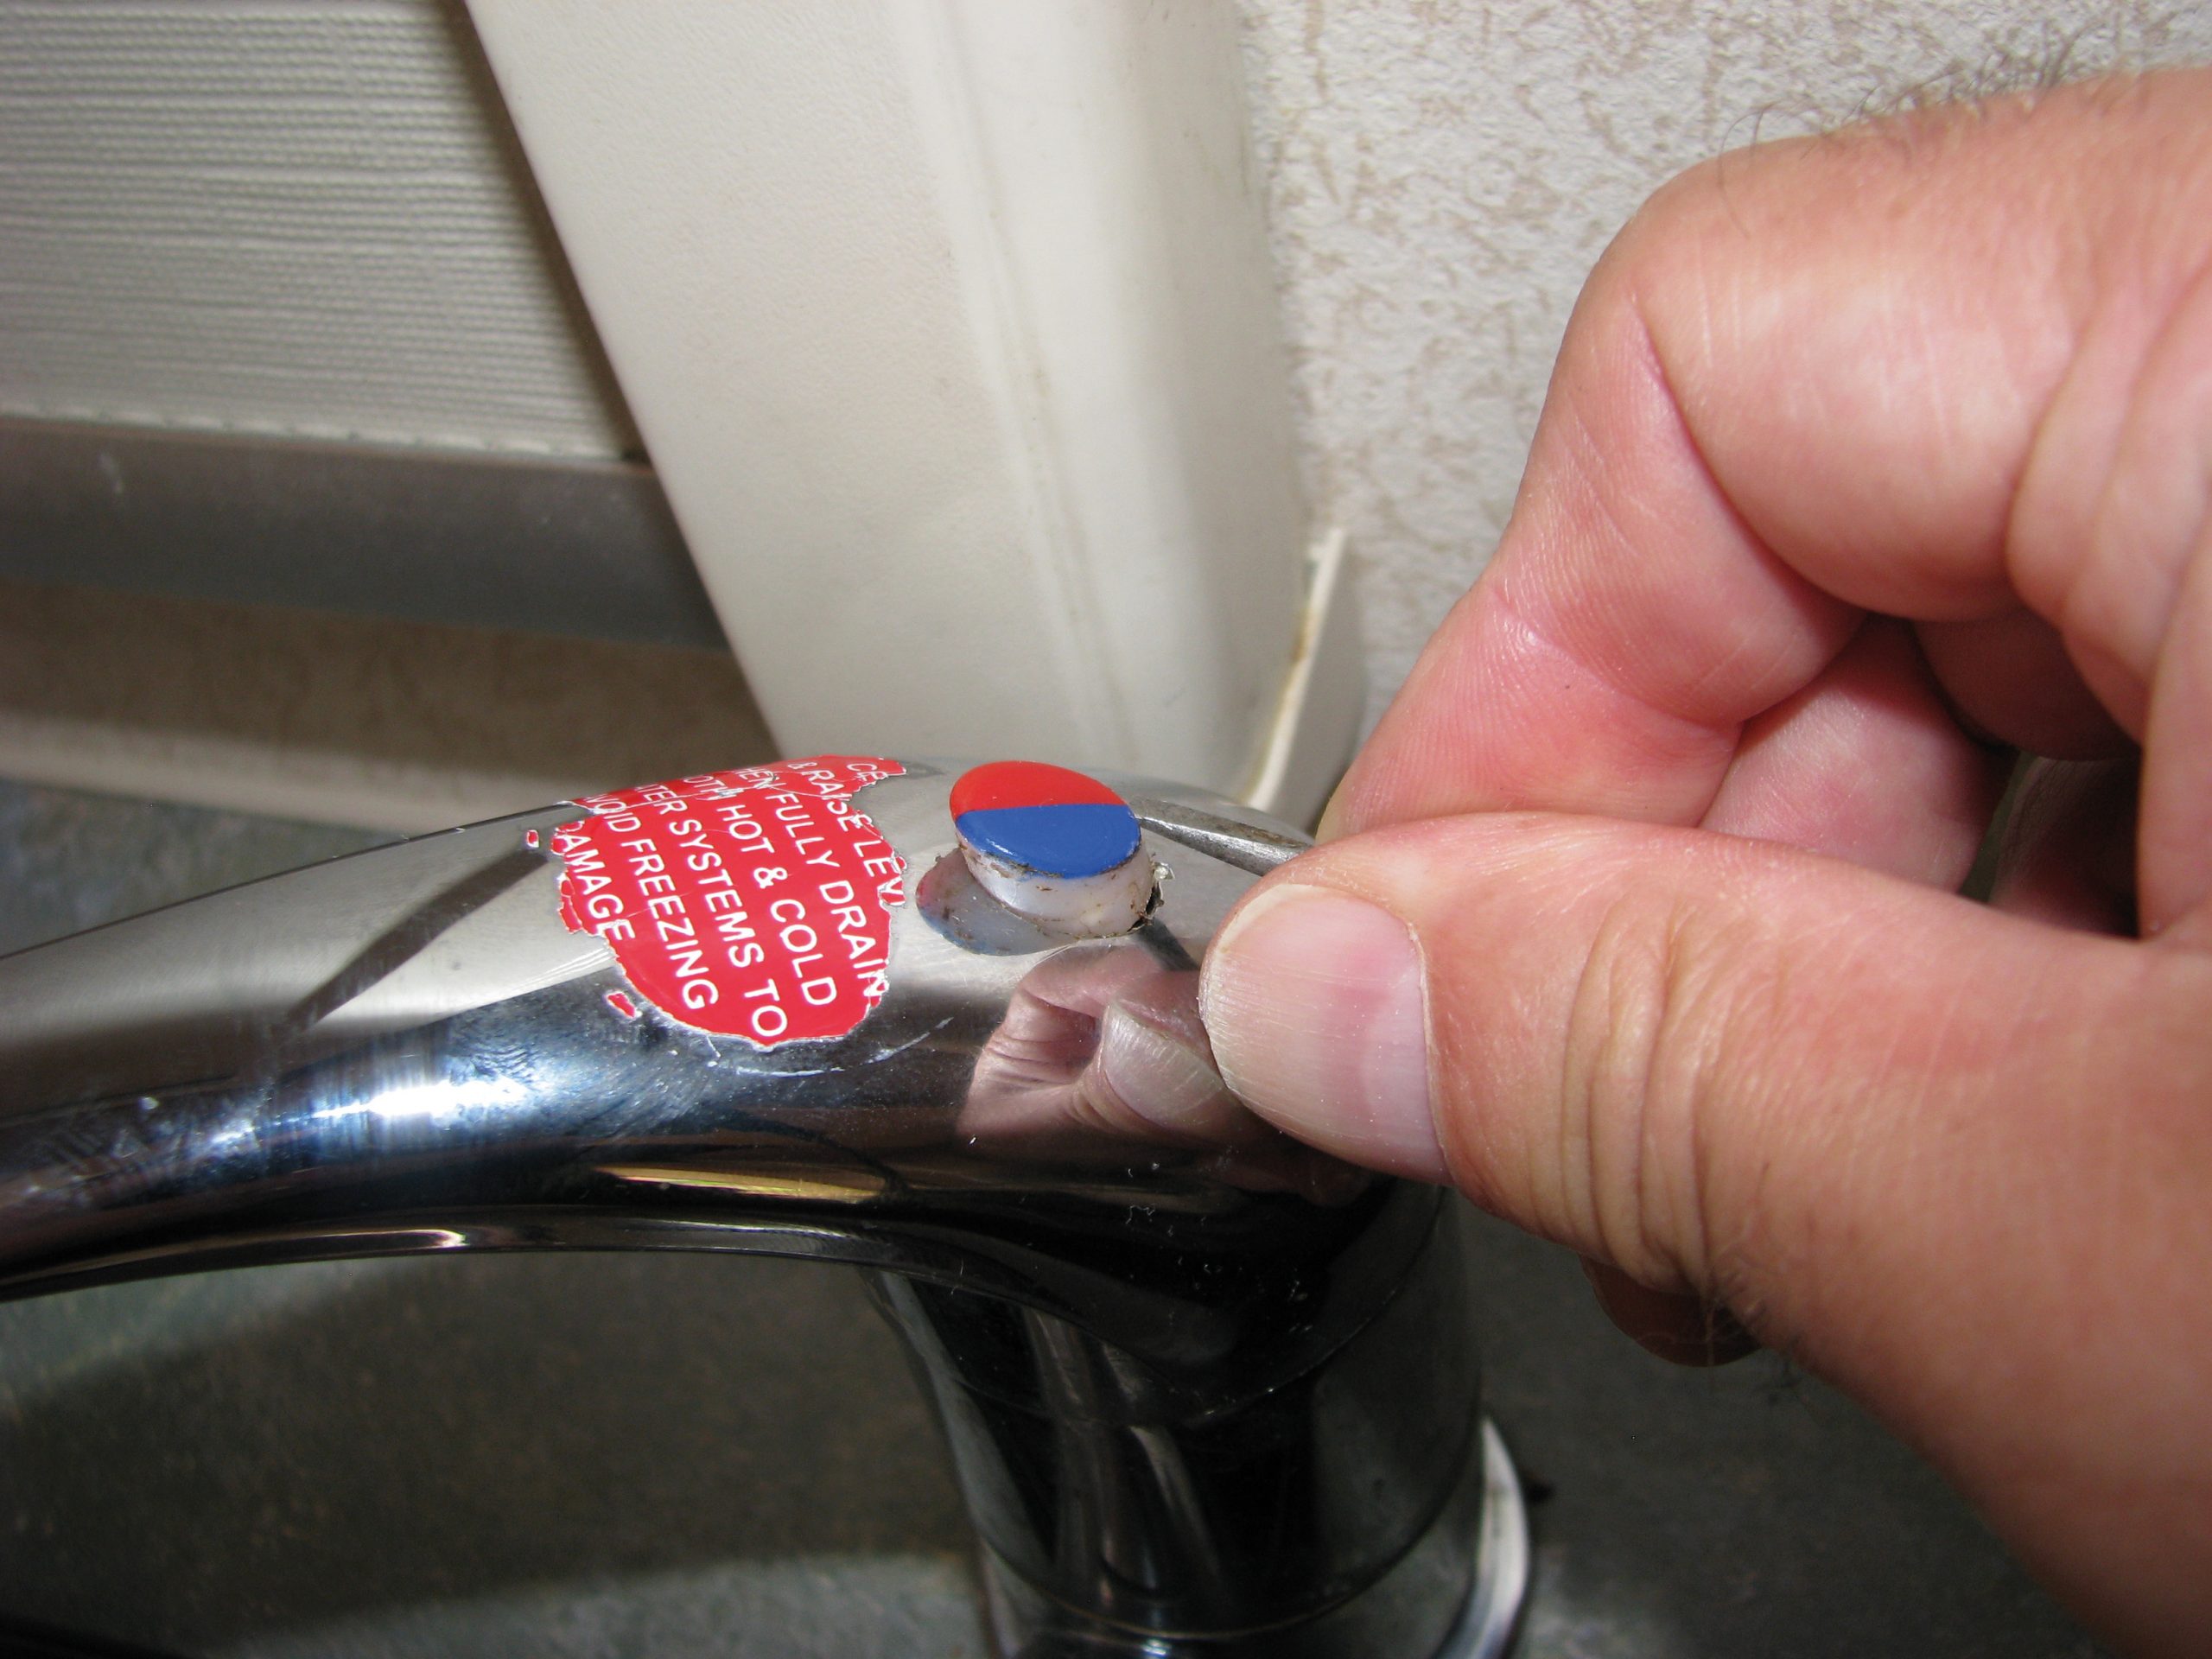
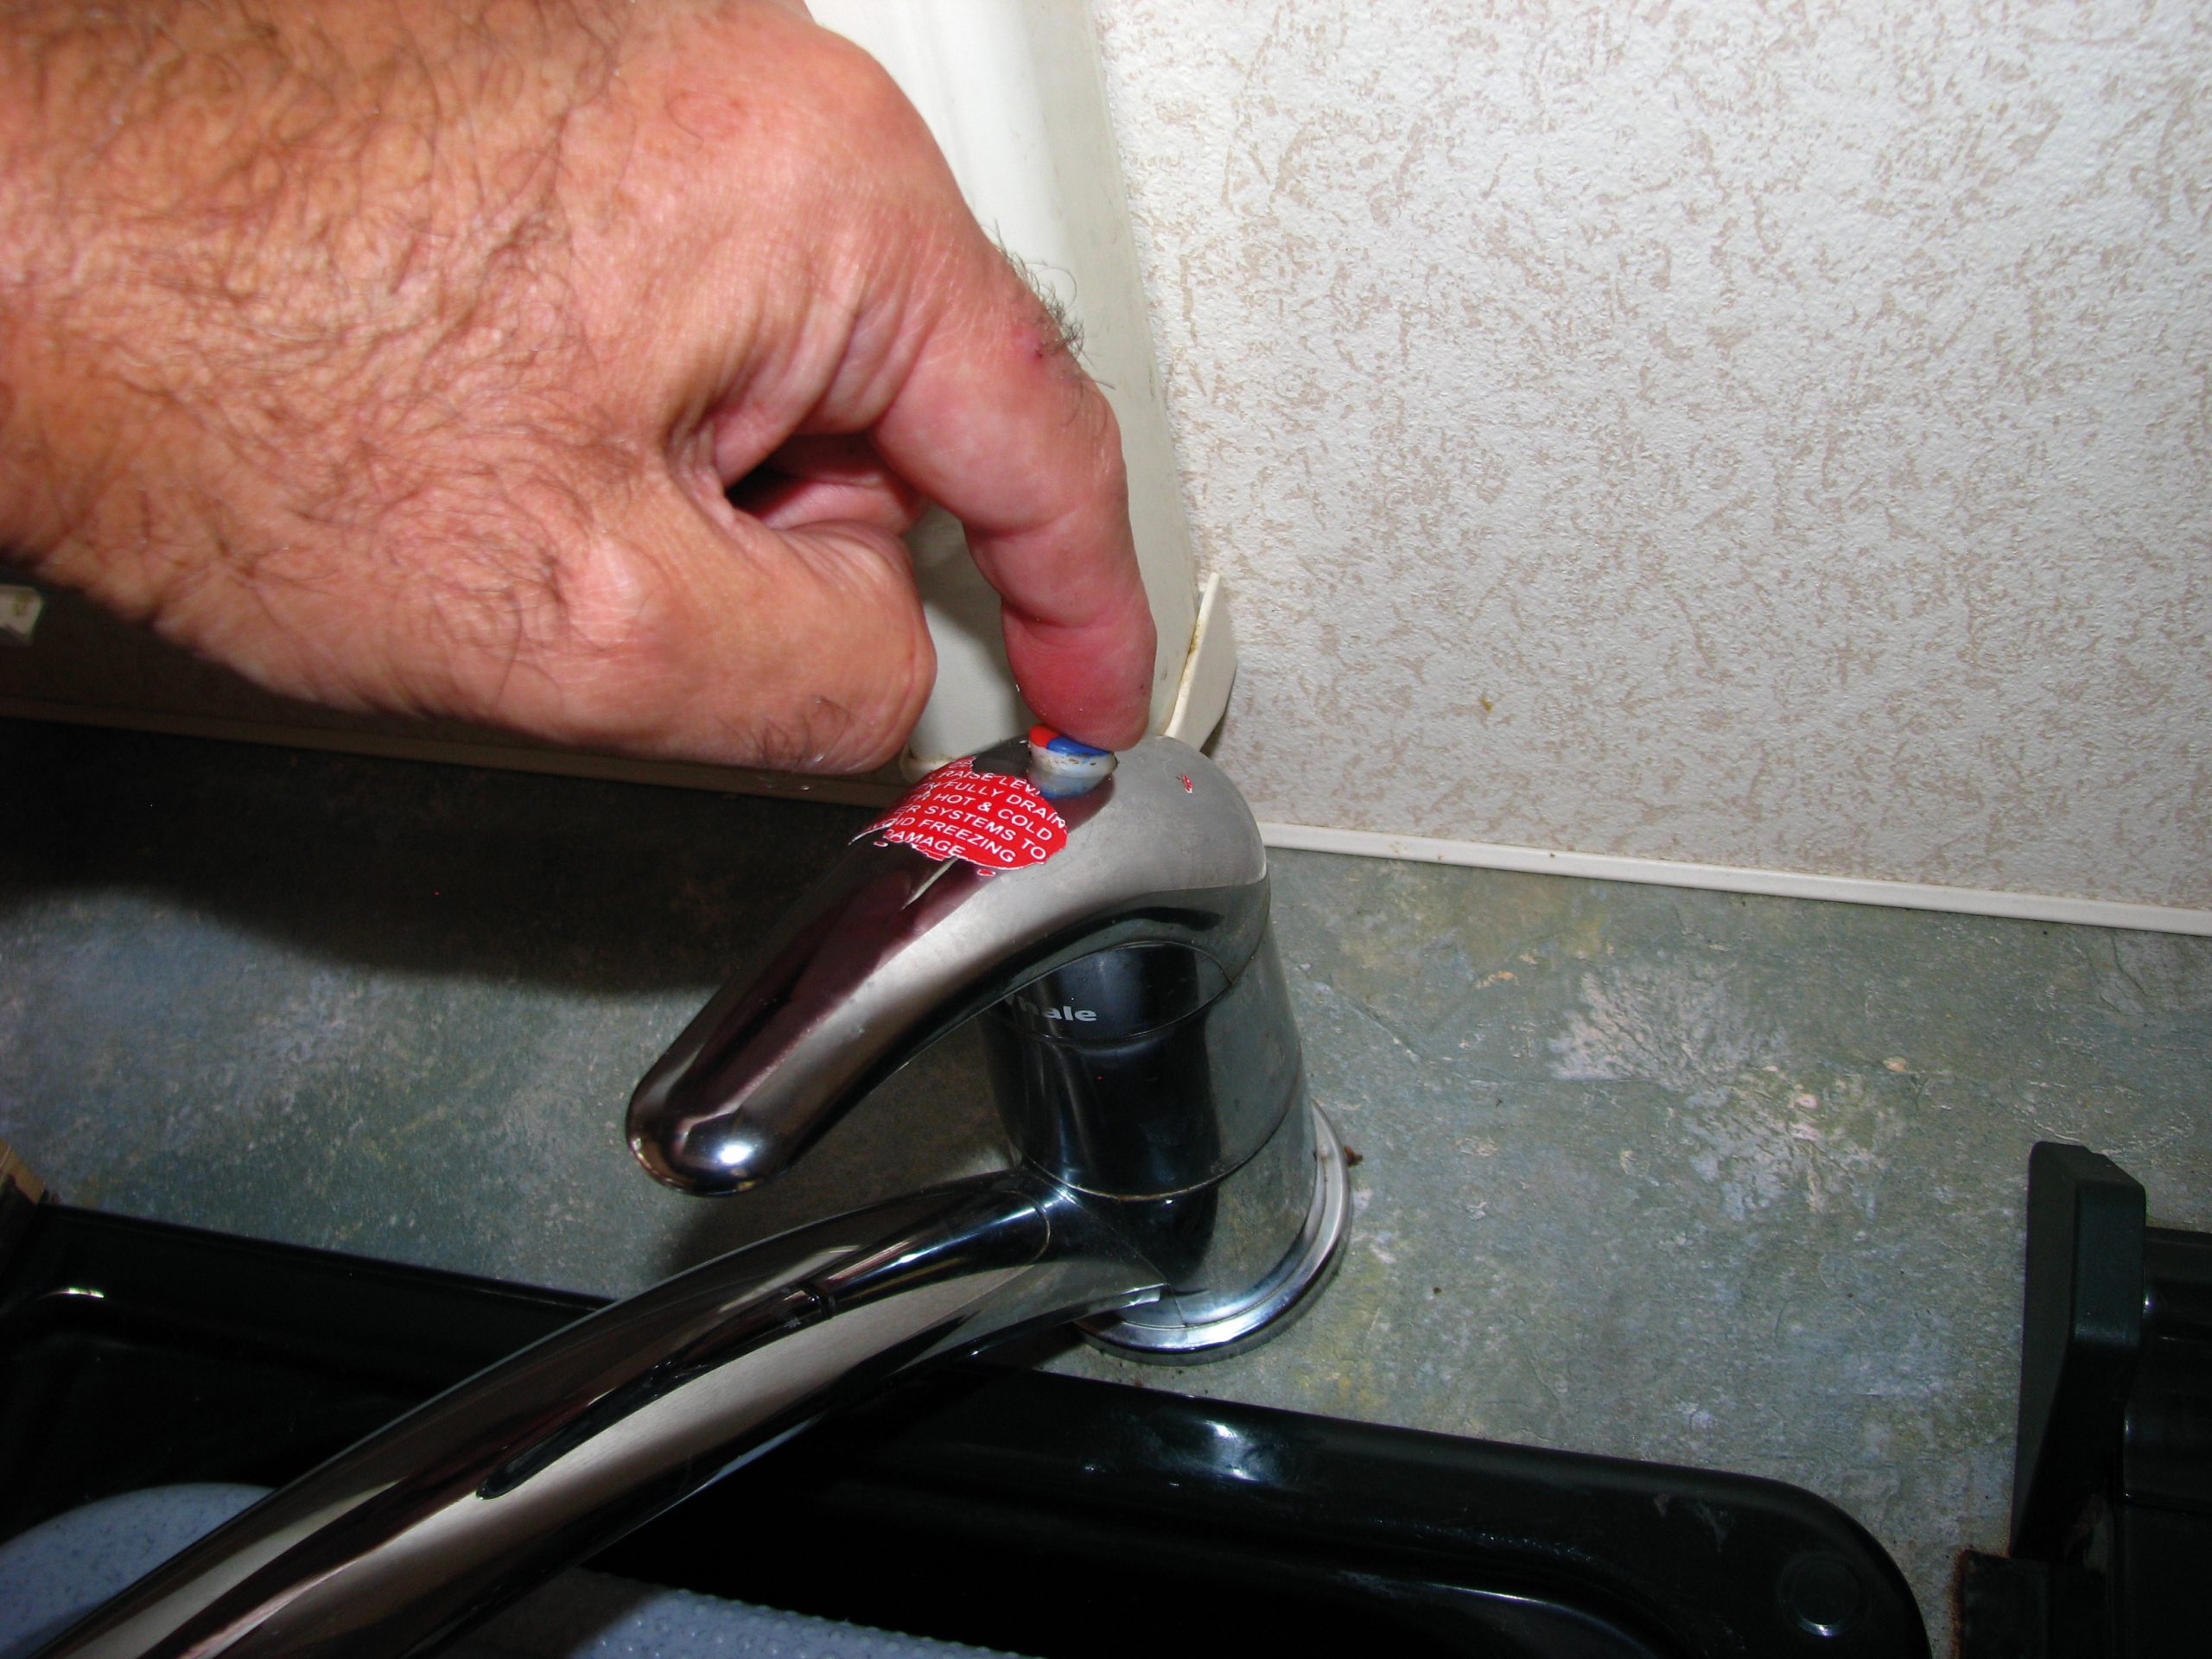
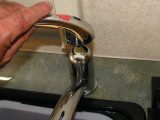
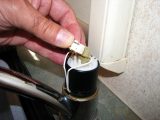
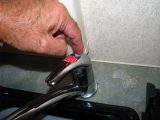
Using the flathead screwdriver or similar implement, remove the lever cap (the one in our photograph is blue and red). This will expose a crosshead screw, which should now be removed. These steps apply to pillar taps with a single lever. Older models have traditional, two-knob mixer taps, which may also be equipped with microswitches.
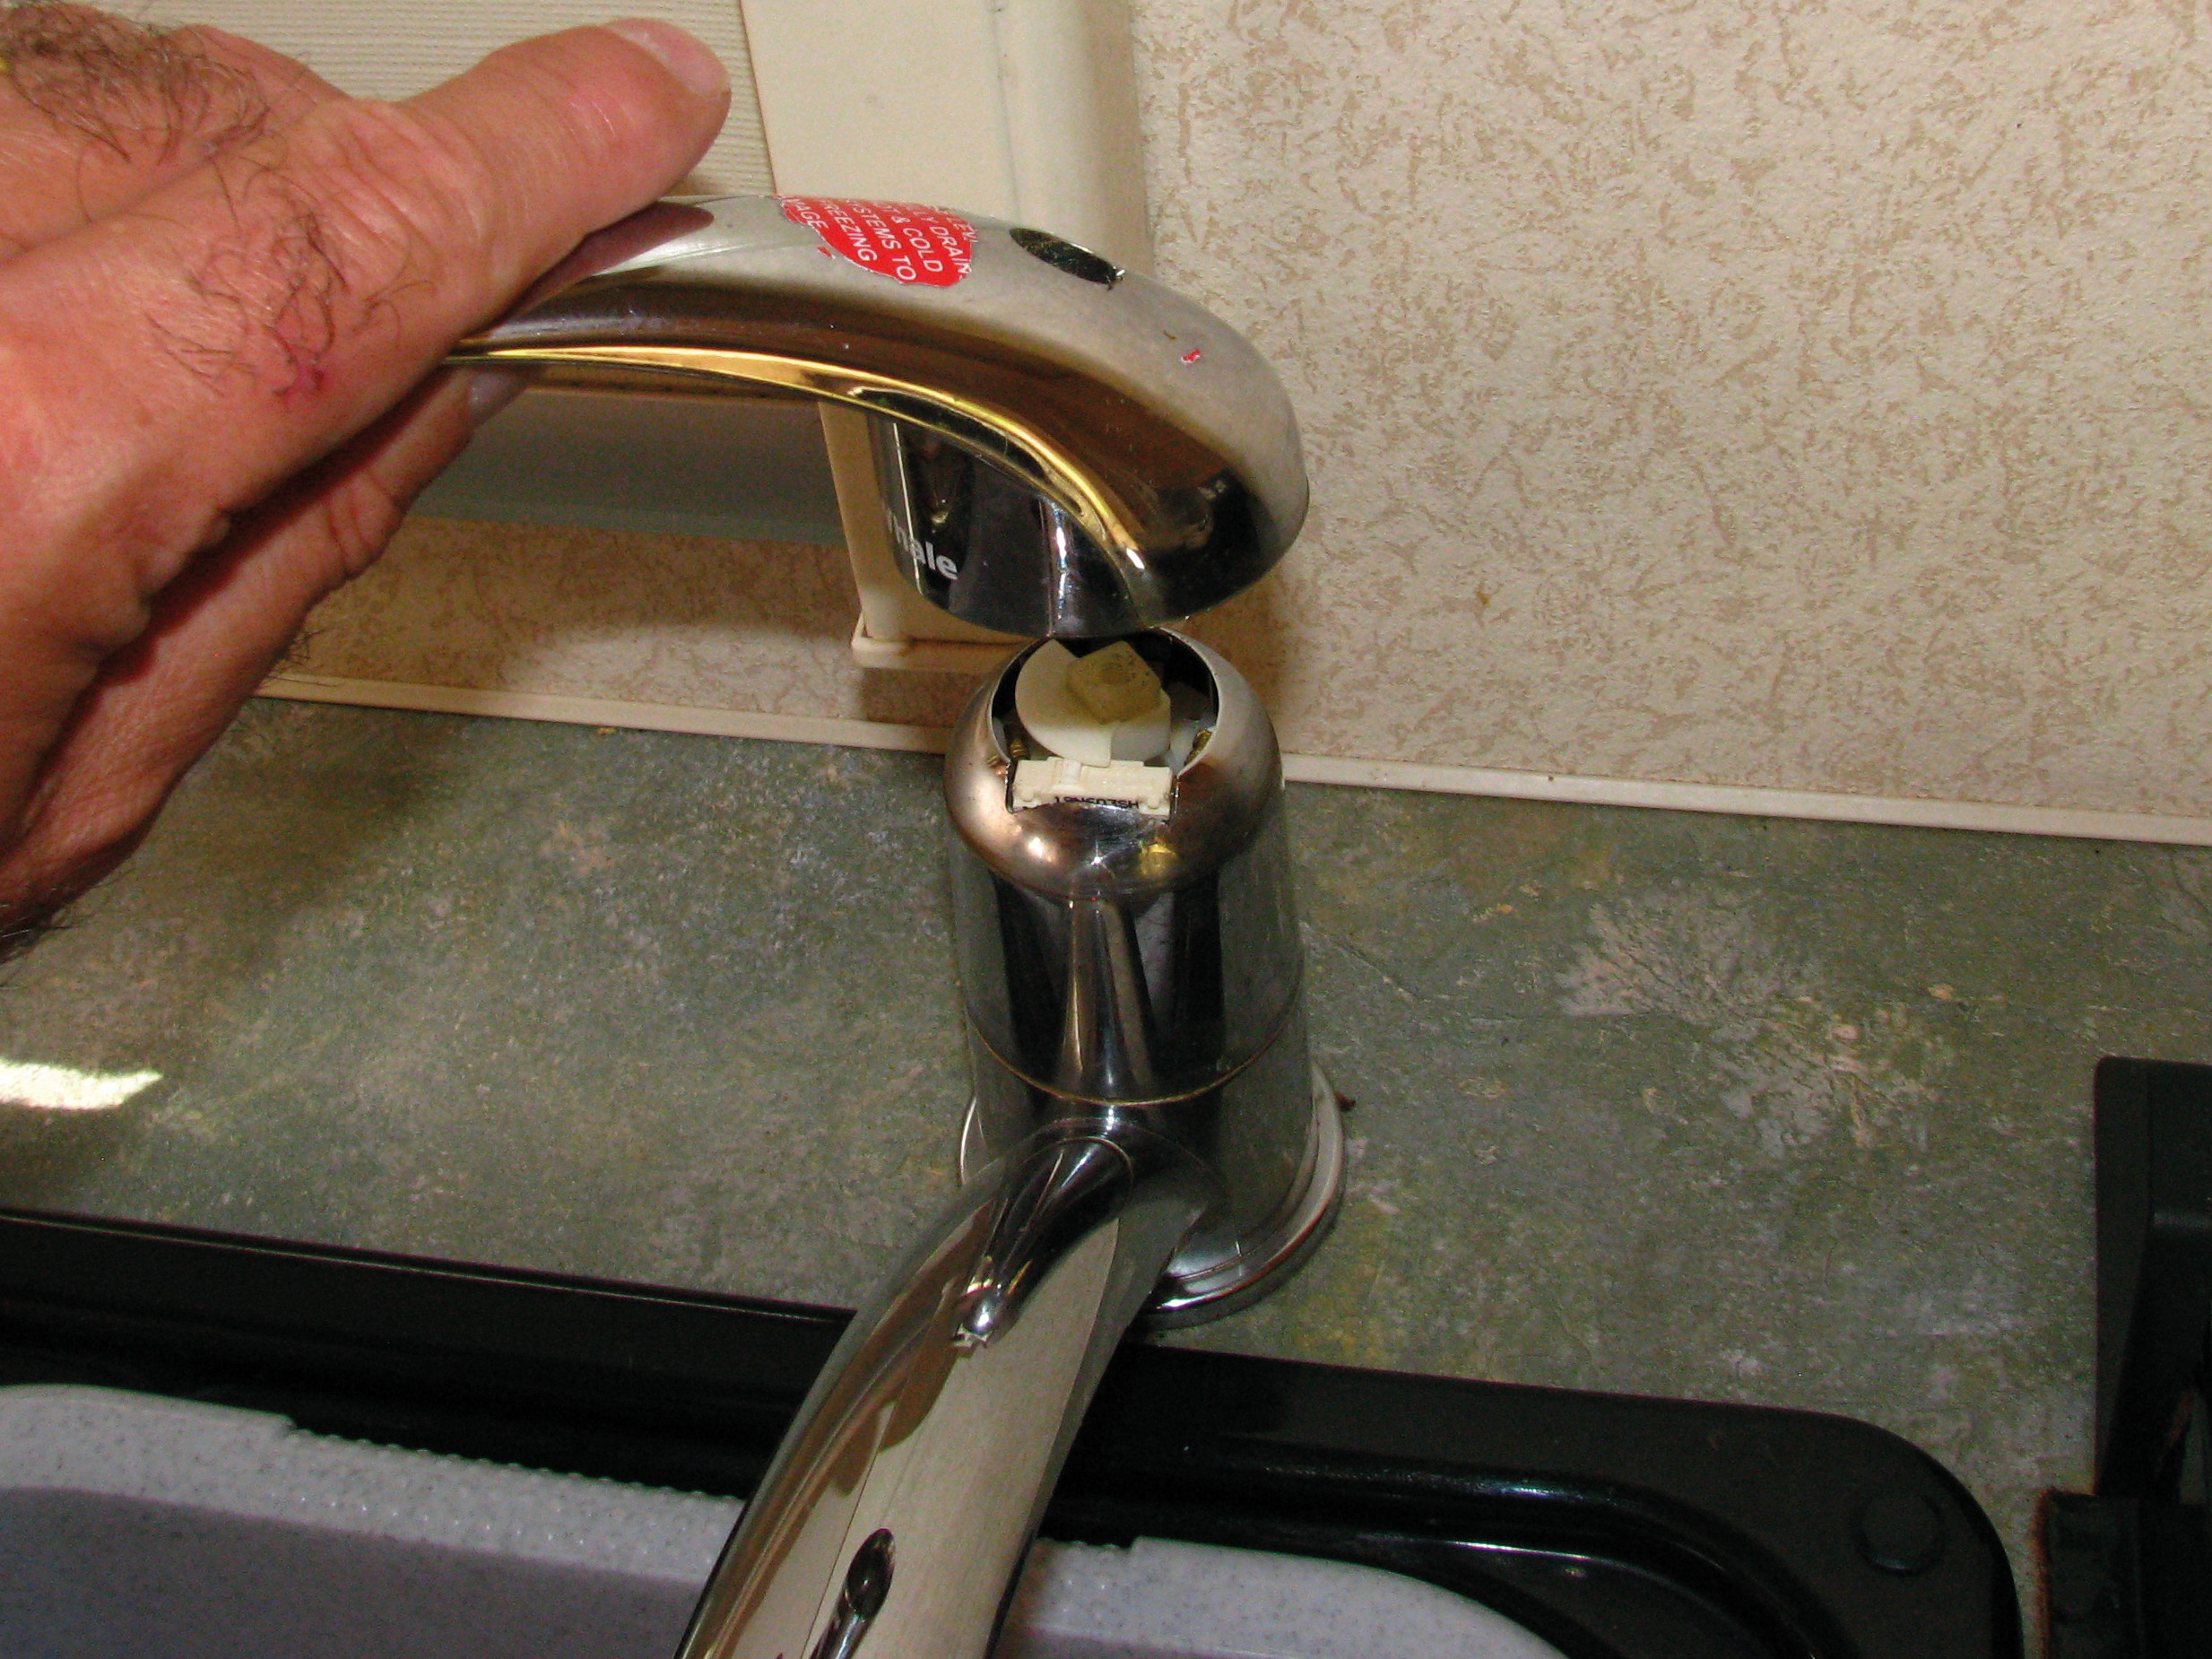
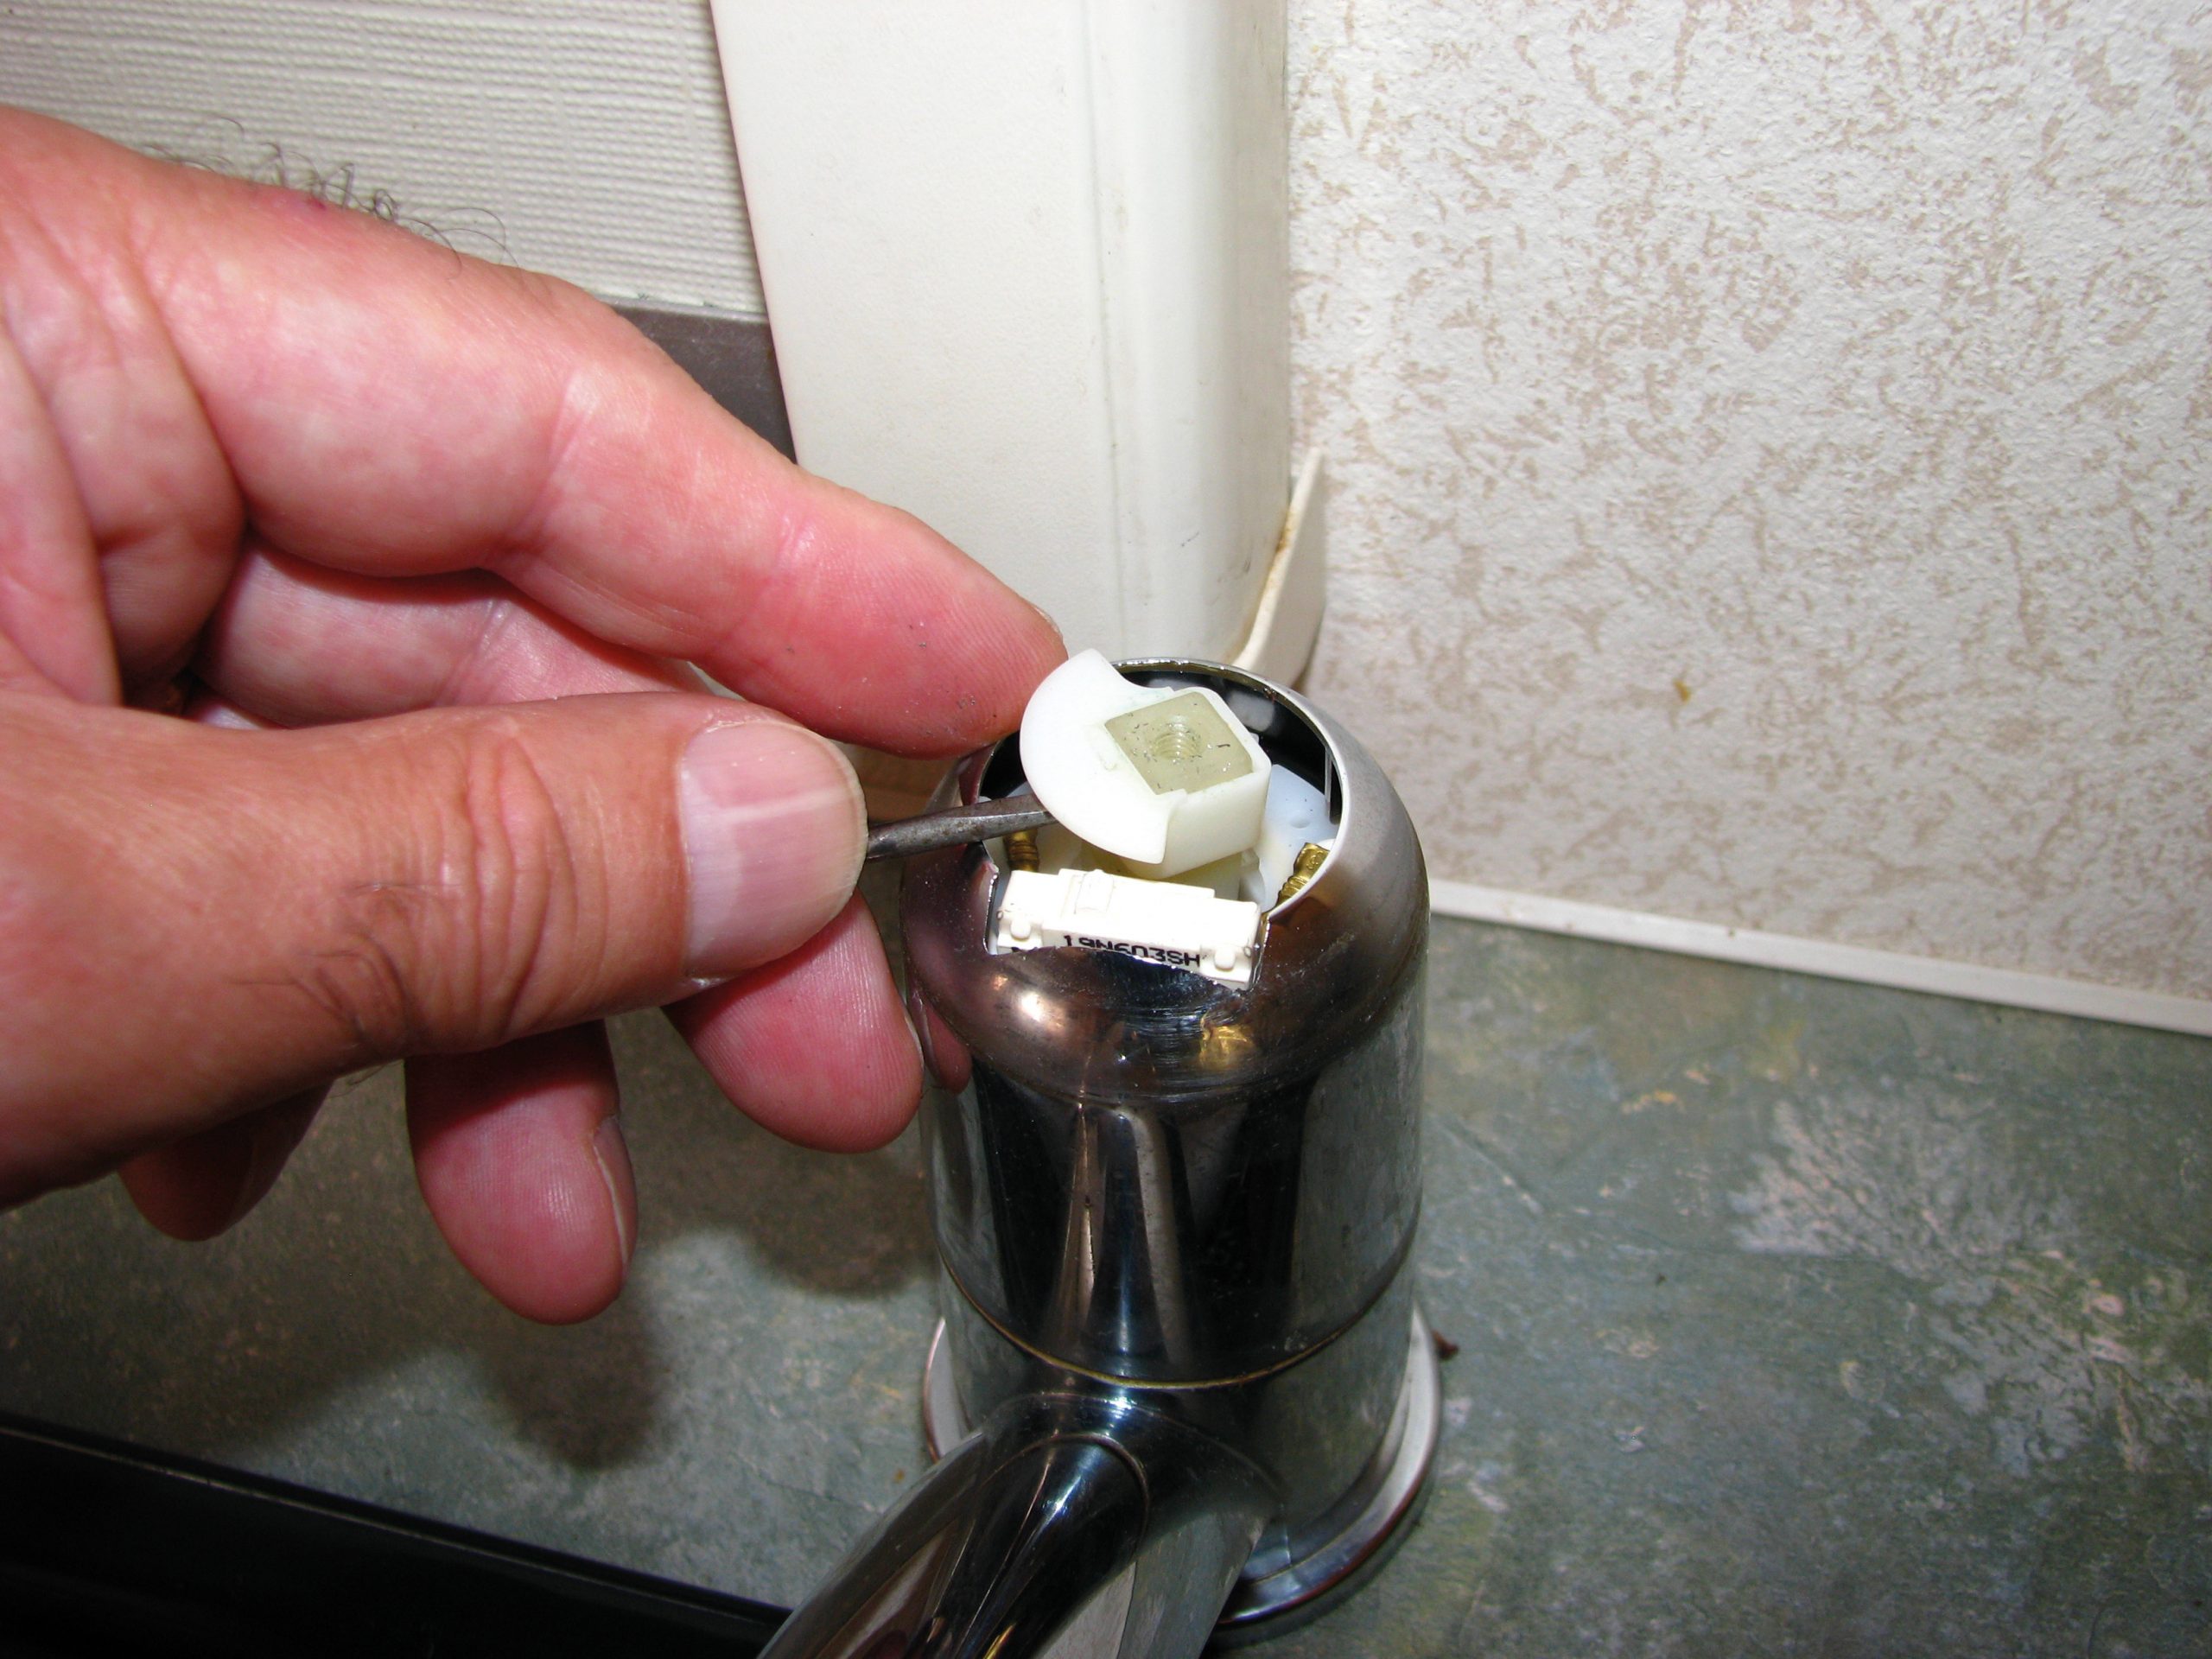
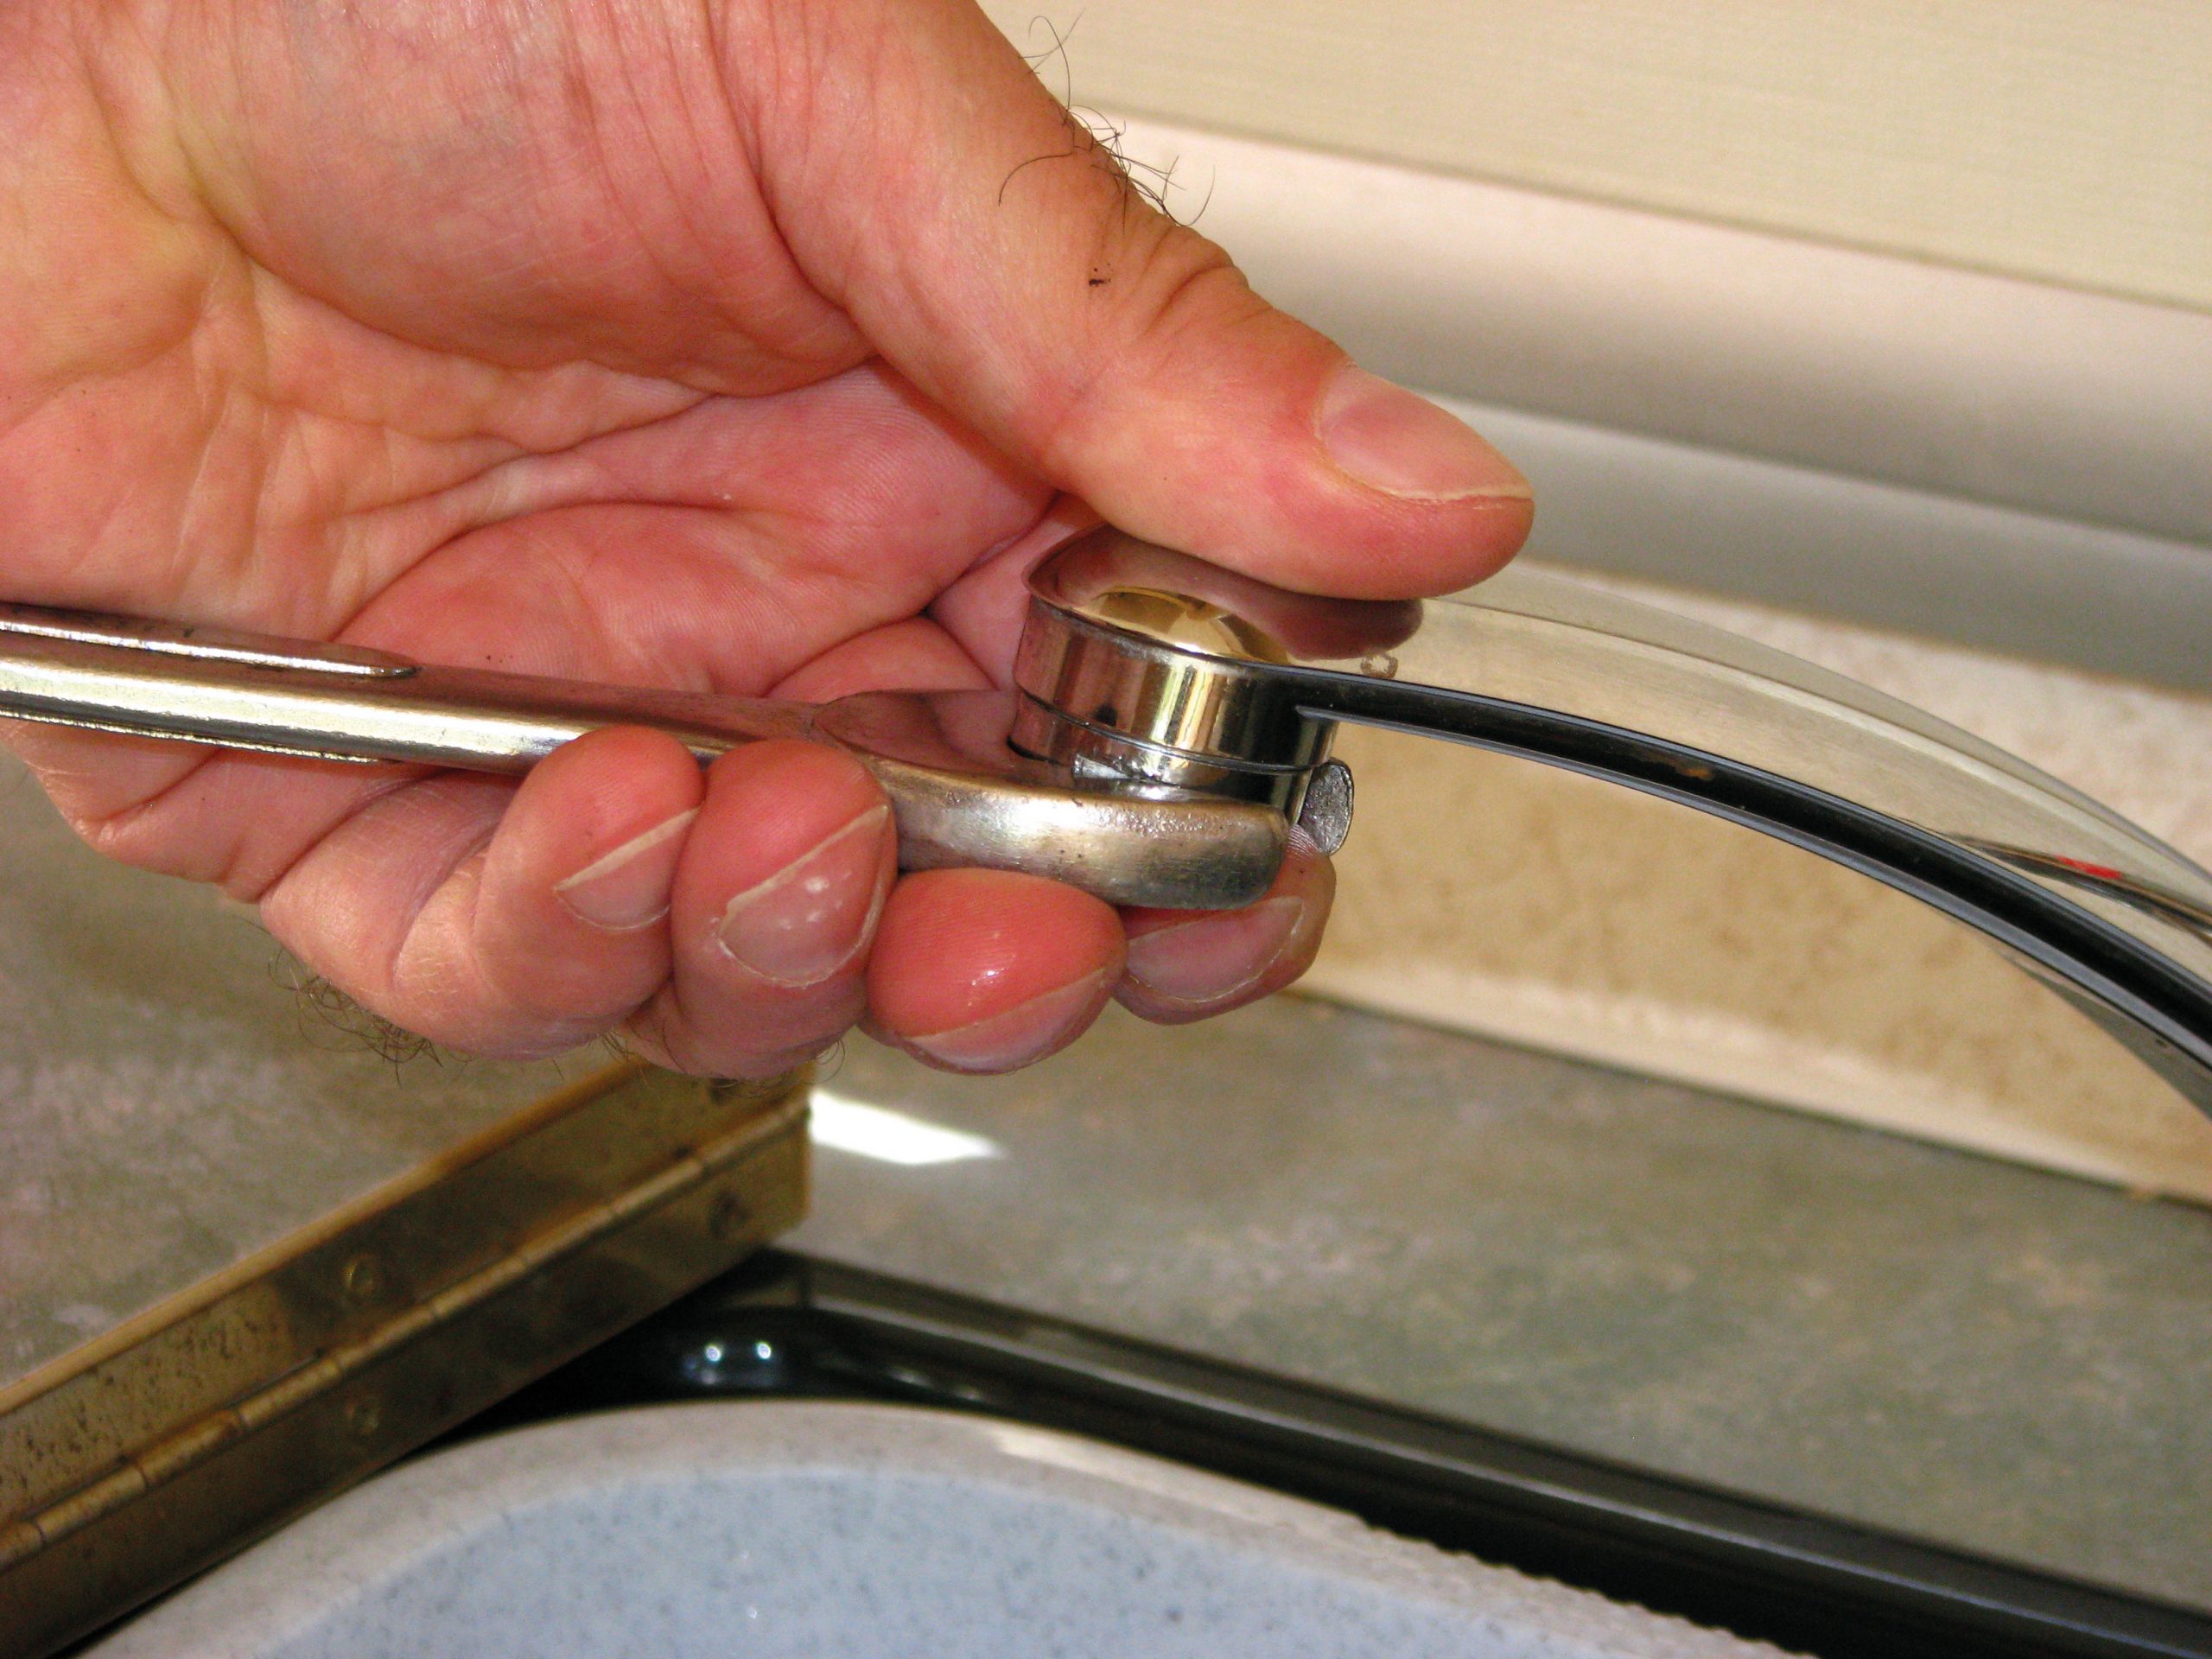
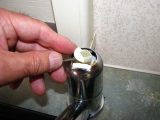
Make a note of the tap lever’s position, and lift it off. You’ll see the actuator inside. Its flange should be facing forwards and be uppermost. Note the flange’s position as well, and lift the actuator off the tap unit. You should now be able to see the top of the microswitch.
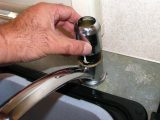
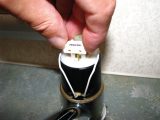
Next, remove the tap shroud. If you cannot lift it right off, you may have to squeeze it gently at the sides to release small clips. With the shroud removed you’ll see the microswitch and its wires. Again, make a note of where the wires run and which way the microswitch is positioned. To remove the switch, grip it with thumb and finger and pull it carefully upwards. Slide the wires off their terminals.
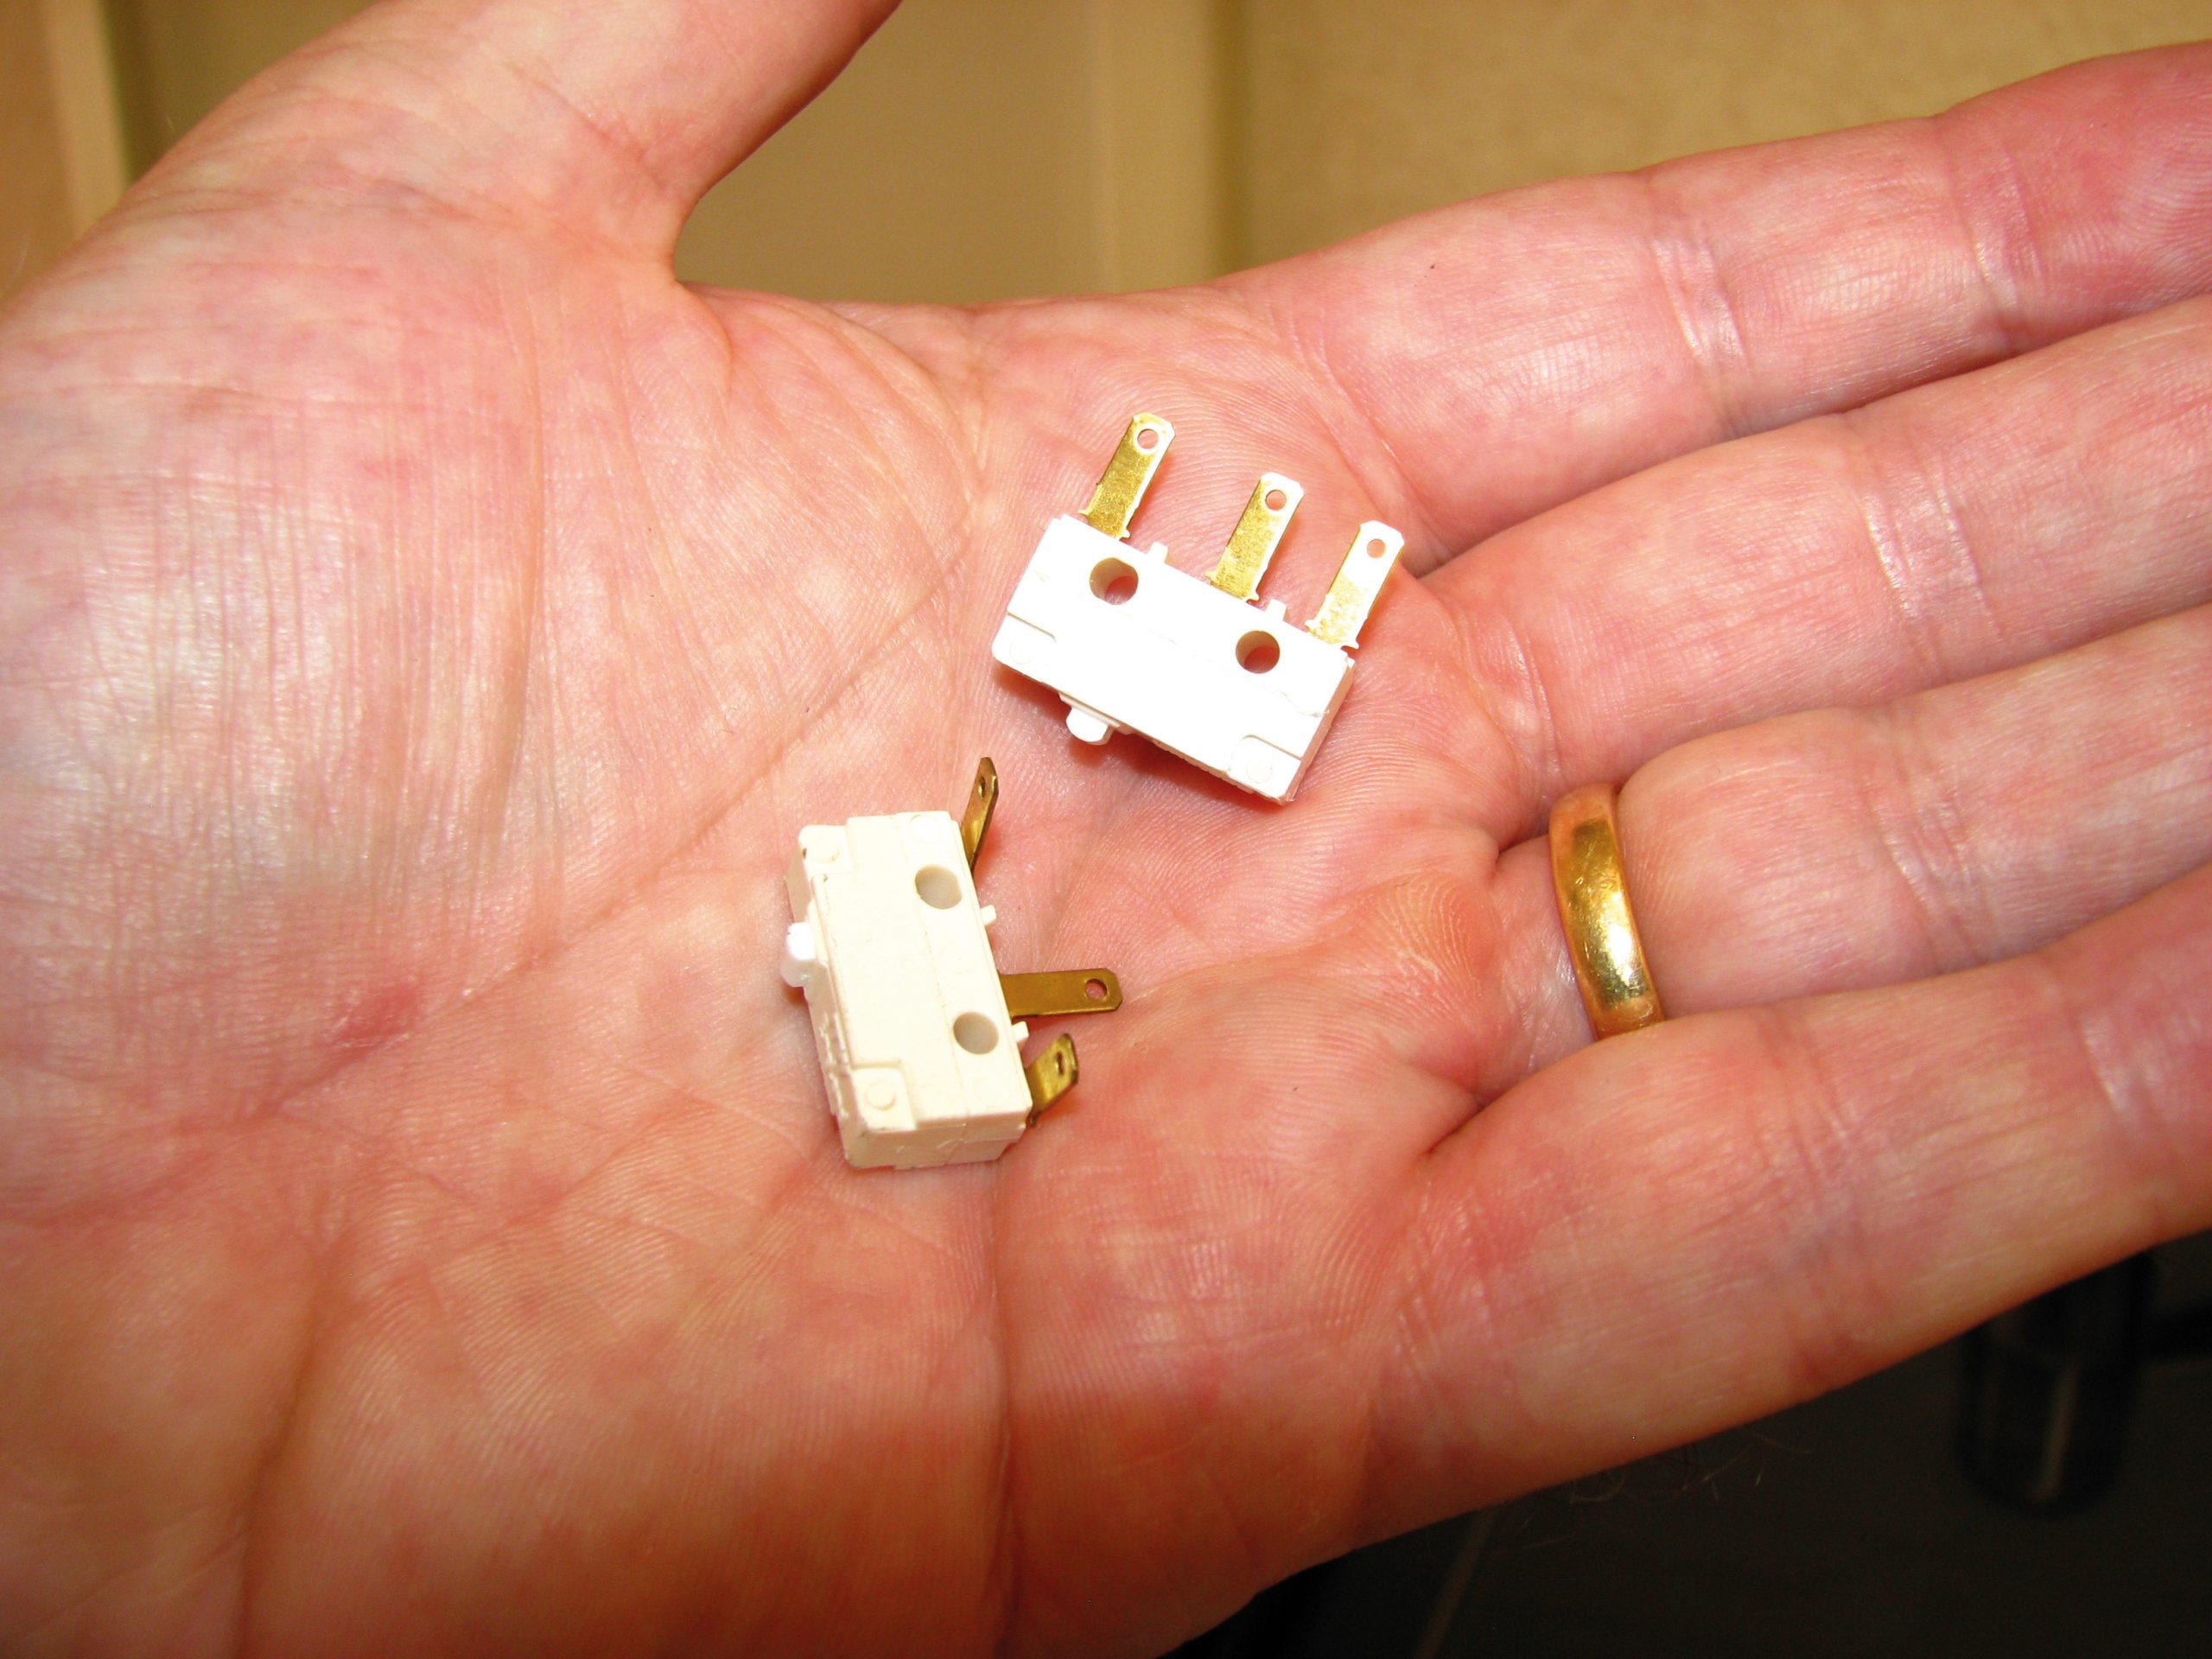
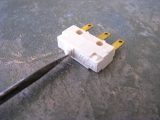
Compare your new microswitch with the one you’ve removed.
In our example, on the new microswitch, the three spade terminals were all in line, while the outer two of the original were bent by 90˚. If the terminals need to be bent before being fitted, arrange both microswitches so they’re facing the same way to be sure that you bend the new terminals correctly. Bending them once is easy, but if you get the new microswitch the wrong way around, you’ll have to straighten the terminals and bend them again, which may snap them off.
Original positions
Reattach the wires by sliding their crimped connectors onto the terminals as they had been on the original, and place the microswitch in the tap. In our example, the middle terminal fitted in a slot that positioned the microswitch correctly.
Refit the actuator in its original position, with the flange uppermost and directly over the actual microswitch.
Before returning the shroud to the pillar, look inside for a groove like that in our example. The wires from the microswitch should run along it, so hold them together as you carefully slide the shroud back on until it is properly seated or clipped in position.
The tap lever goes next, again in its original position, and secure with the crosshead screw. The screw only needs nipping up — it must not be over-tightened, which is likely to damage the thread. Replace the lever cap and test the tap to see whether it is working properly. Don’t forget to turn on the electrical supply and reconnect to the water system.
Clear the aerator
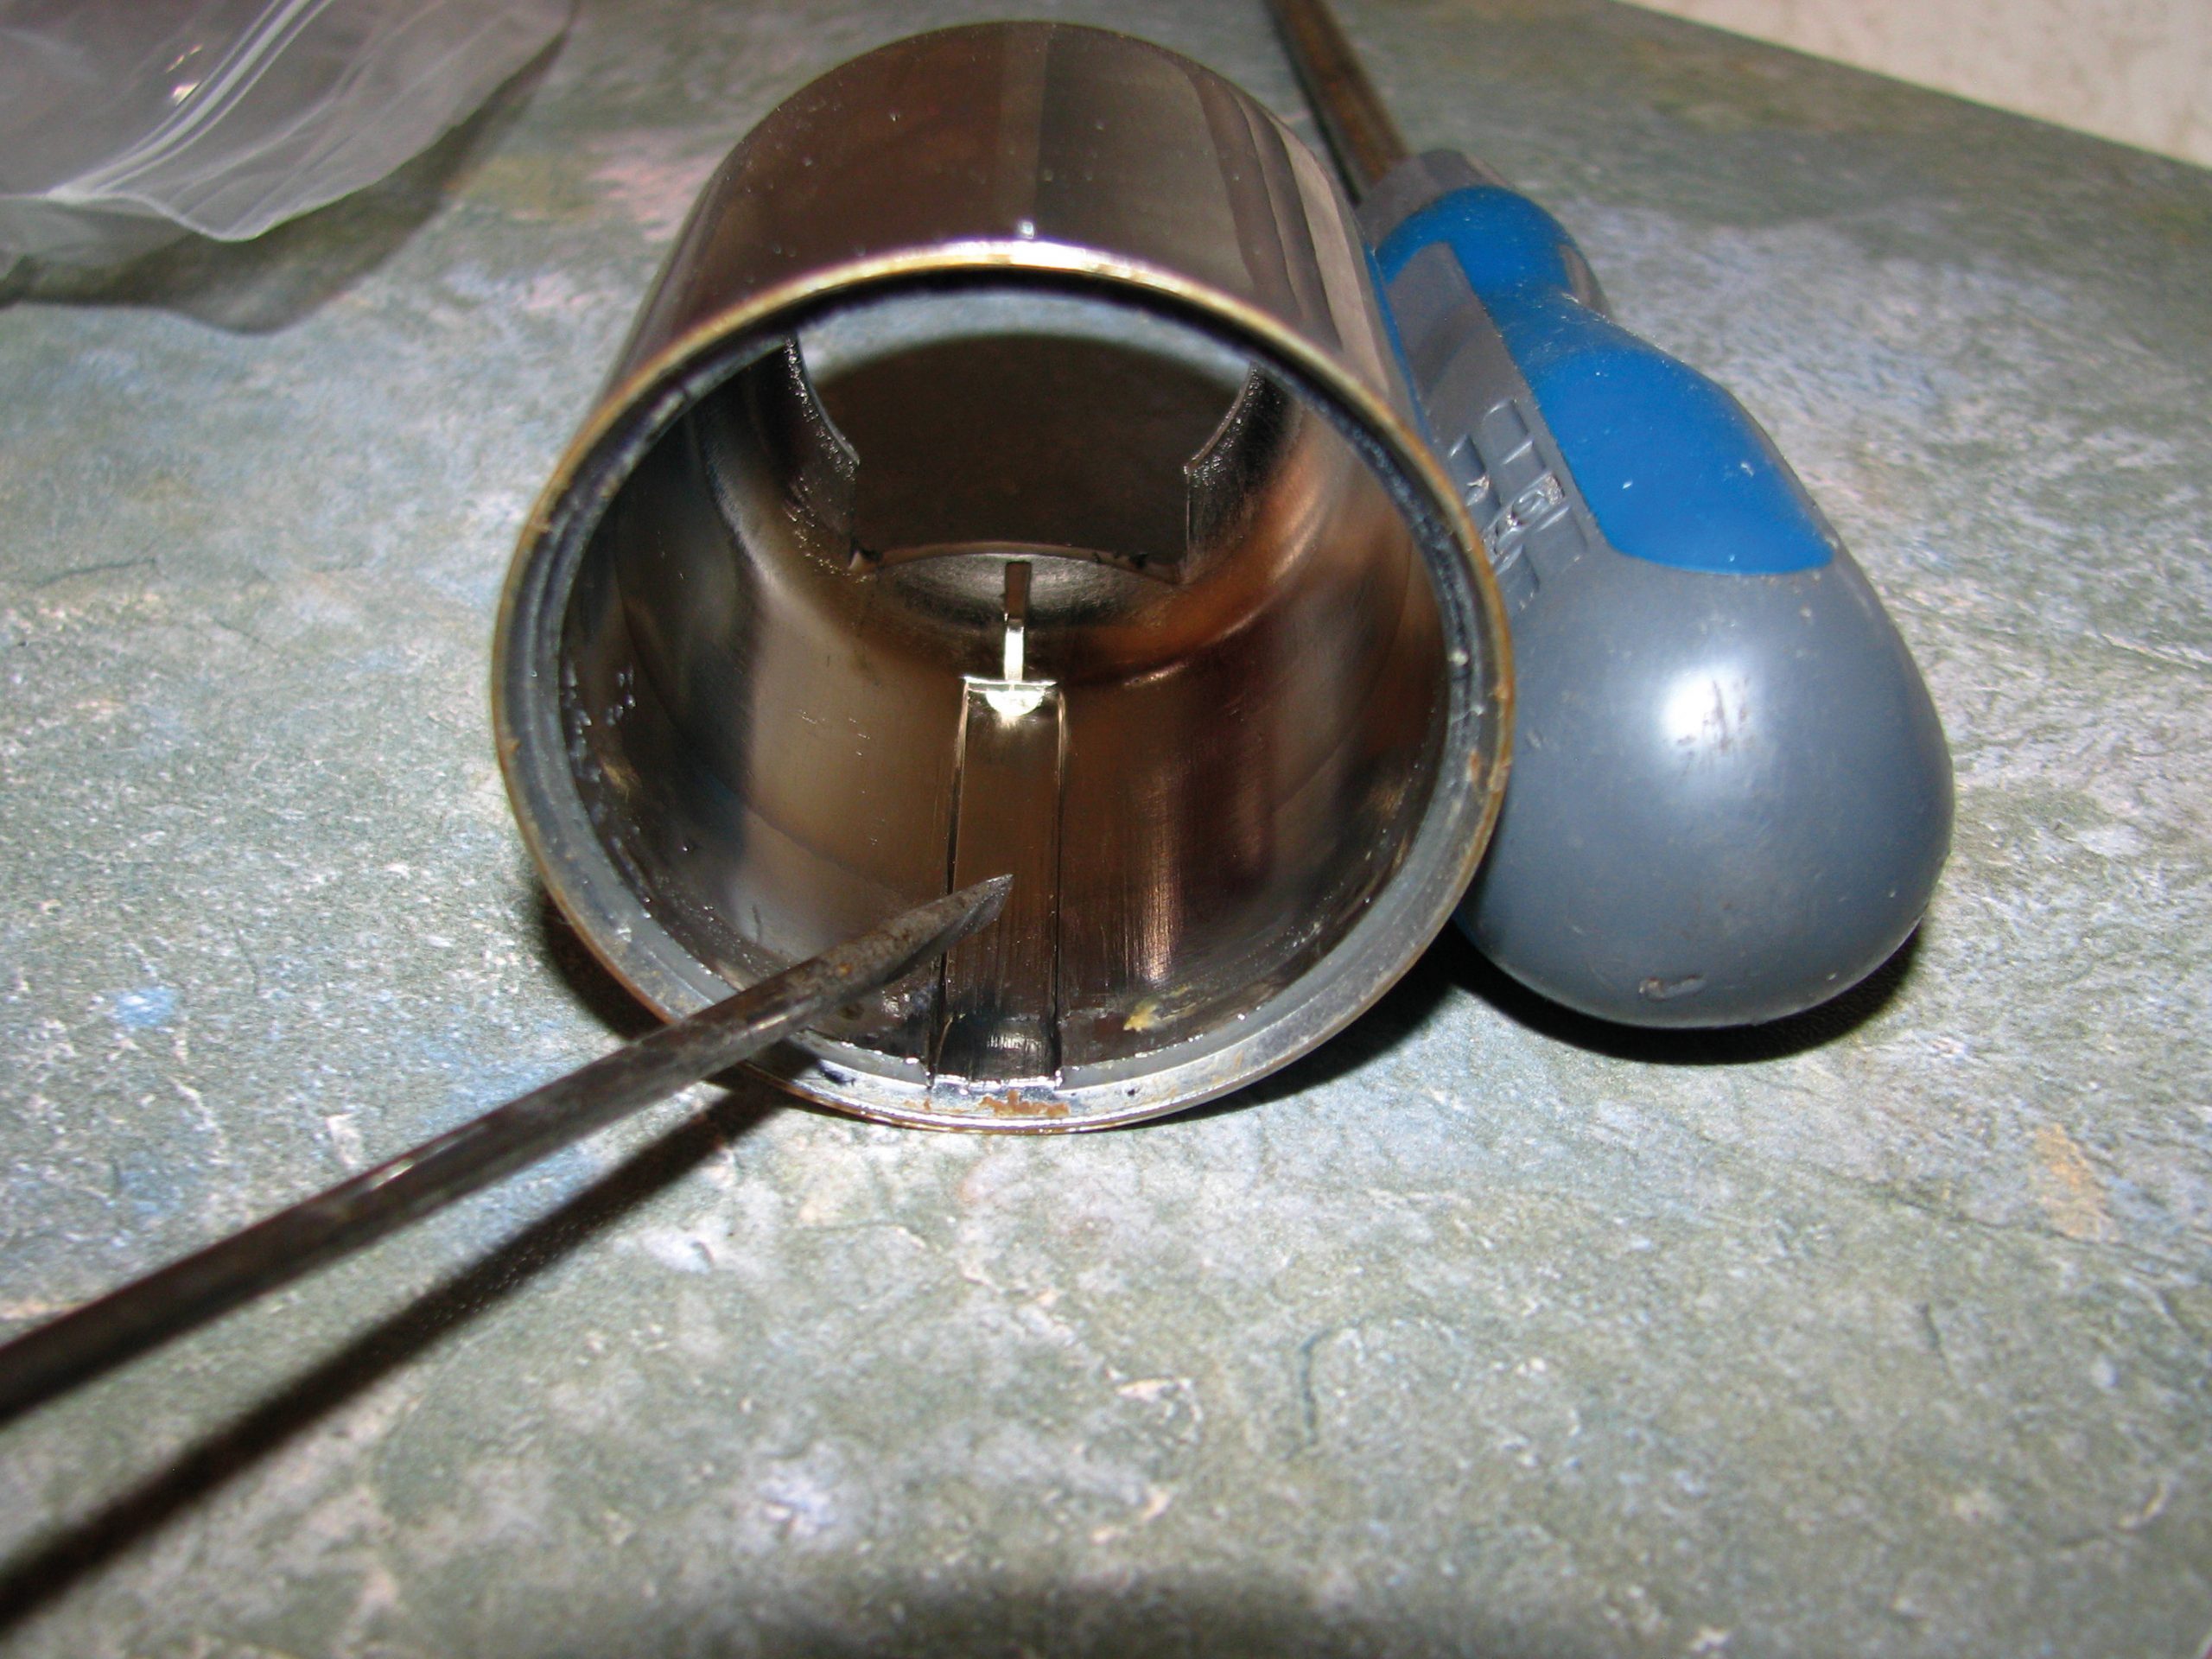
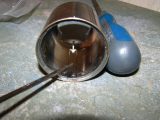
While working on the tap, you can use the opportunity to tackle a simple job that should be done regularly: cleaning out the spout aerator. It’s amazing how much grit and debris can penetrate the water pump’s filter and find its way to the spout.
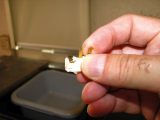
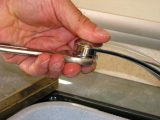
There are flat sections on either side of the aerator. In our example, a 22mm open-ended spanner fitted perfectly. Carefully loosen the spout aerator by turning the spanner clockwise (when viewed from above).
Once the initial tightness has been overcome, the spout aerator can be unscrewed by hand.
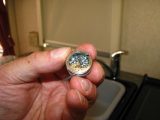
Clean out any grit and debris and replace; again, don’t overtighten or you could damage the aerator. Job done!
While we’re talking about caravan plumbing, if your sink water refuses to drain away properly, check out John Wickersham’s advice on caravan waste-water systems for an easy DIY fix.
Happy caravanning!
Before starting work, determine whether your taps include microswitches