


The Carver Cascade gas-fired water heater was a revelation when it was introduced in the 1980s. It was efficient and fitted neatly under seats. Rather than unsightly, ‘on demand’ wall-mounted water heaters (that supplied hot water to a single tap where it was mounted), the Carver Cascade sent it to caravan kitchen sinks, washroom basins and, practically unheard of before, caravan showers! (See a separate article for our guide to caravan water systems.) Years later, the GE version added an electric heating element — a useful feature at a time when touring sites were fitting electric hook-up.
The Carver Company was bought by the giant German firm Truma, and inevitably production of the Cascade (GE) ceased because it was in competition with Truma’s own water heater. Today, Truma retains the lion’s share of the market, but many upmarket caravans have the Alde system, and some manufacturers fit the neat Whale unit.
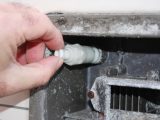
Although the Cascade GE hasn’t been produced for several years, there are still many caravans that have them, because they’ve proved to be robust and reliable. Indeed, the one that we’re going to have a look at here is of 1999 vintage, and, apart from having a plastic union replaced when it was less than a year old, has required no repairs since, despite regular use.
While generally dependable, the gas burner can occasionally be a little difficult to ignite. I’ve found that cleaning the burner cures this (assuming there’s plenty of gas in the cylinder, of course). It’s surprising the amount of dirt and rust particles that collect on its top and in some cases block the burner holes, thus making it hard for the gas to flow. Clearing it is a simple task for DIYers.
Shut fuel flows
During the following procedure, neither the gas nor electric supplies are being touched. In the interests of safety, however, it is strongly advised that you disconnect the gas supply, disconnect or turn off any mains electricity supply, and disconnect the 12V battery before starting.
Tools required for the job are minimal:
- A flathead screwdriver
- A crosshead screwdriver
- A wire brush
- A vacuum cleaner with nozzle attachment and/or a paintbrush
We started with a drained unit and, although this isn’t necessary to complete the burner cleaning, it’s probably worthwhile doing just to make sure that the various parts still operate freely.
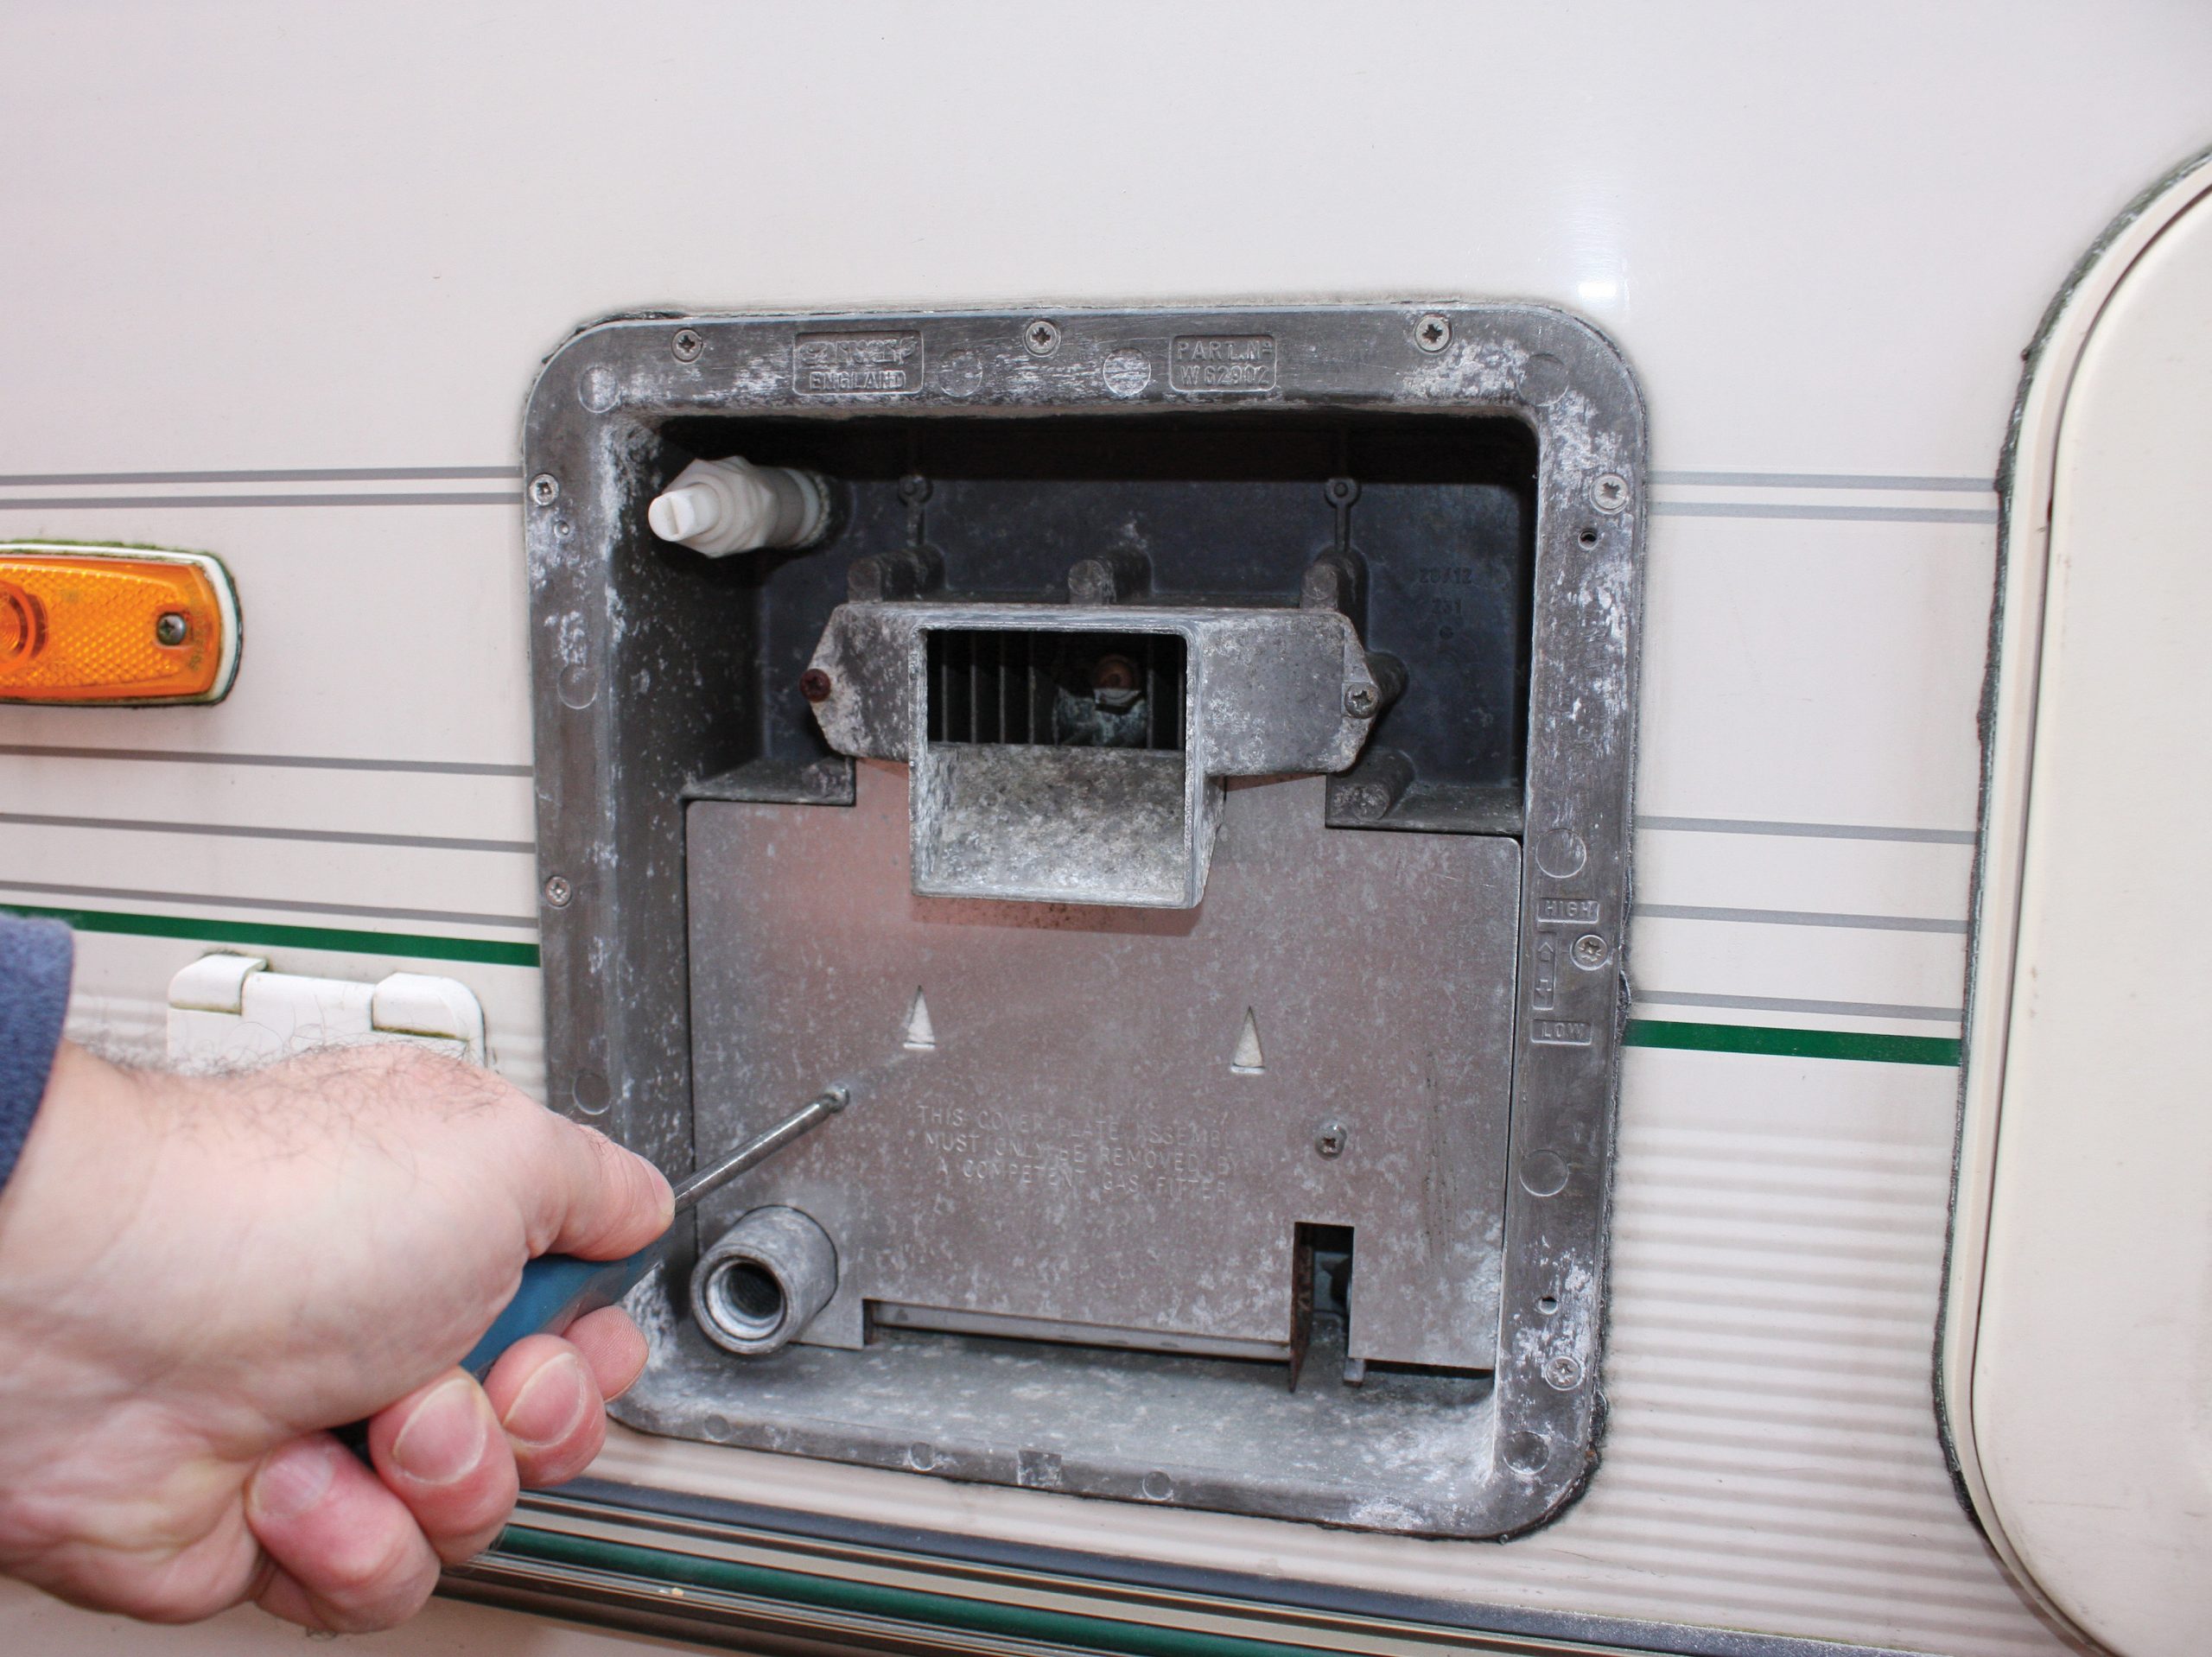
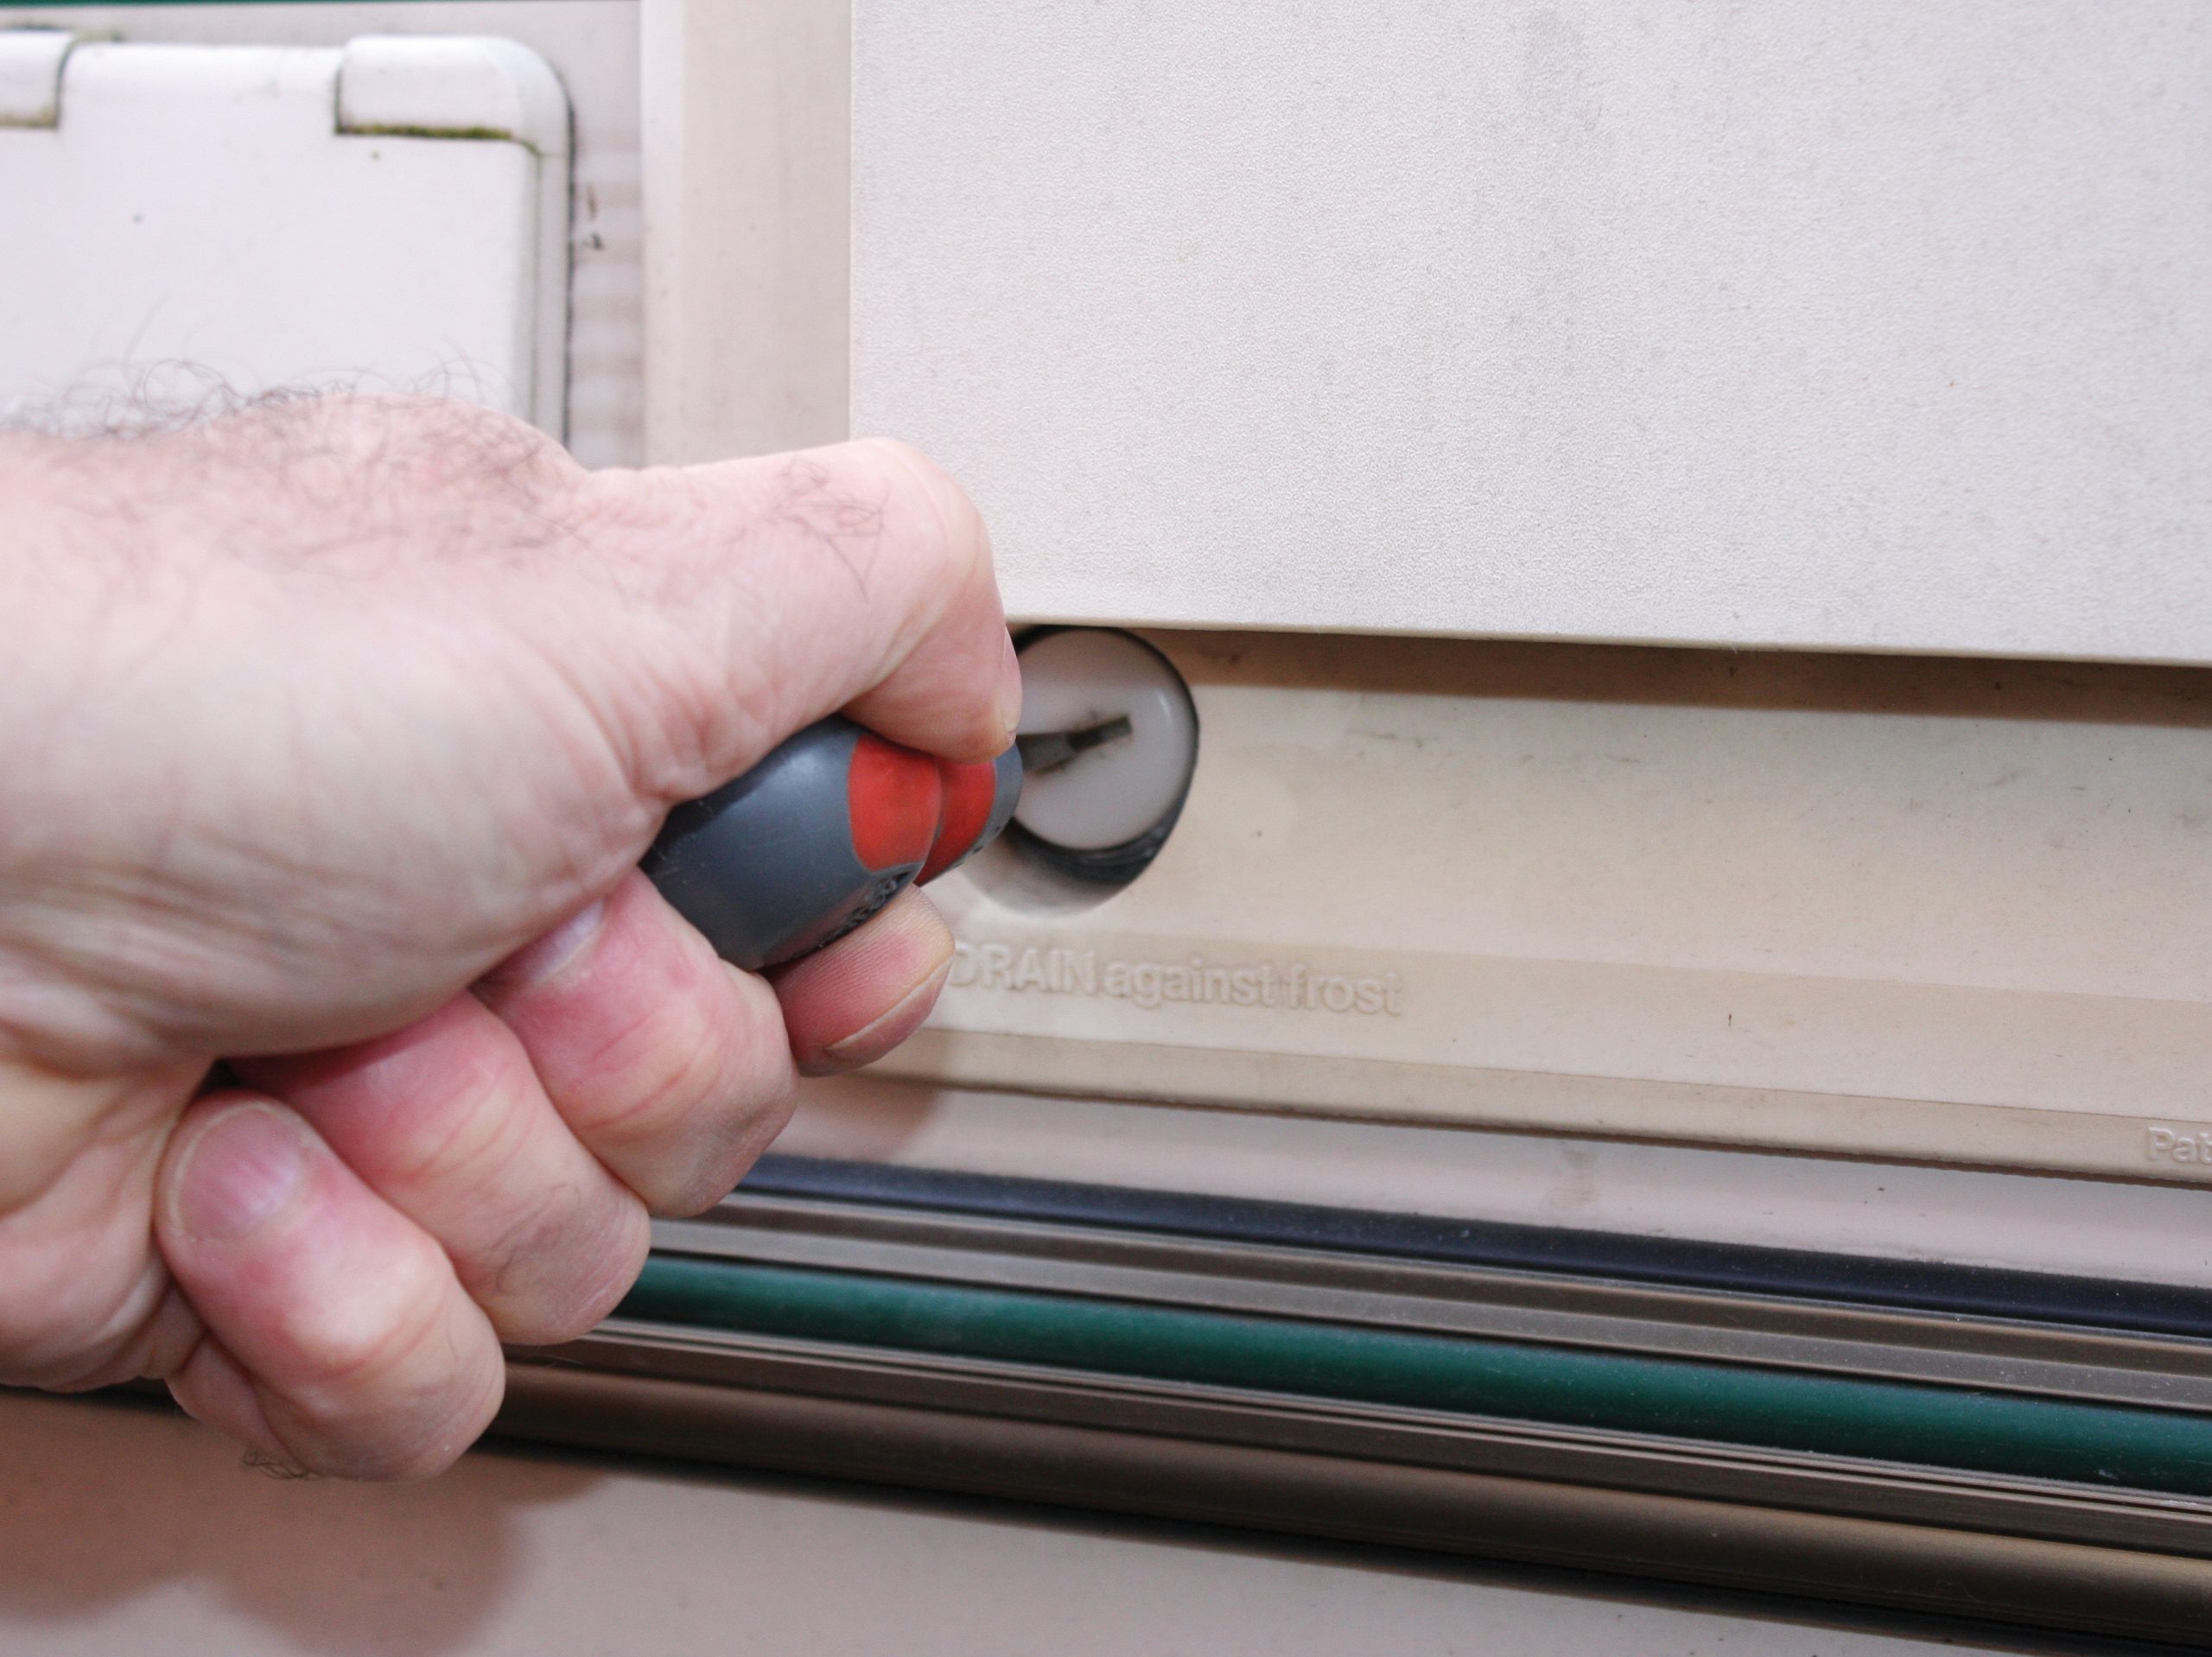
Starting inside the caravan, open at least one of the hot taps. Then, using the flathead screwdriver, remove the drain plug at the bottom-left corner of the Carver Cascade unit when viewed from outside the caravan. At the top-left corner, turn the Fast Drain valve through 90˚ (until the screwdriver slot is horizontal).
The water is likely to take a good five minutes to drain completely, and sometimes it’s amazing how much grit escapes with it.
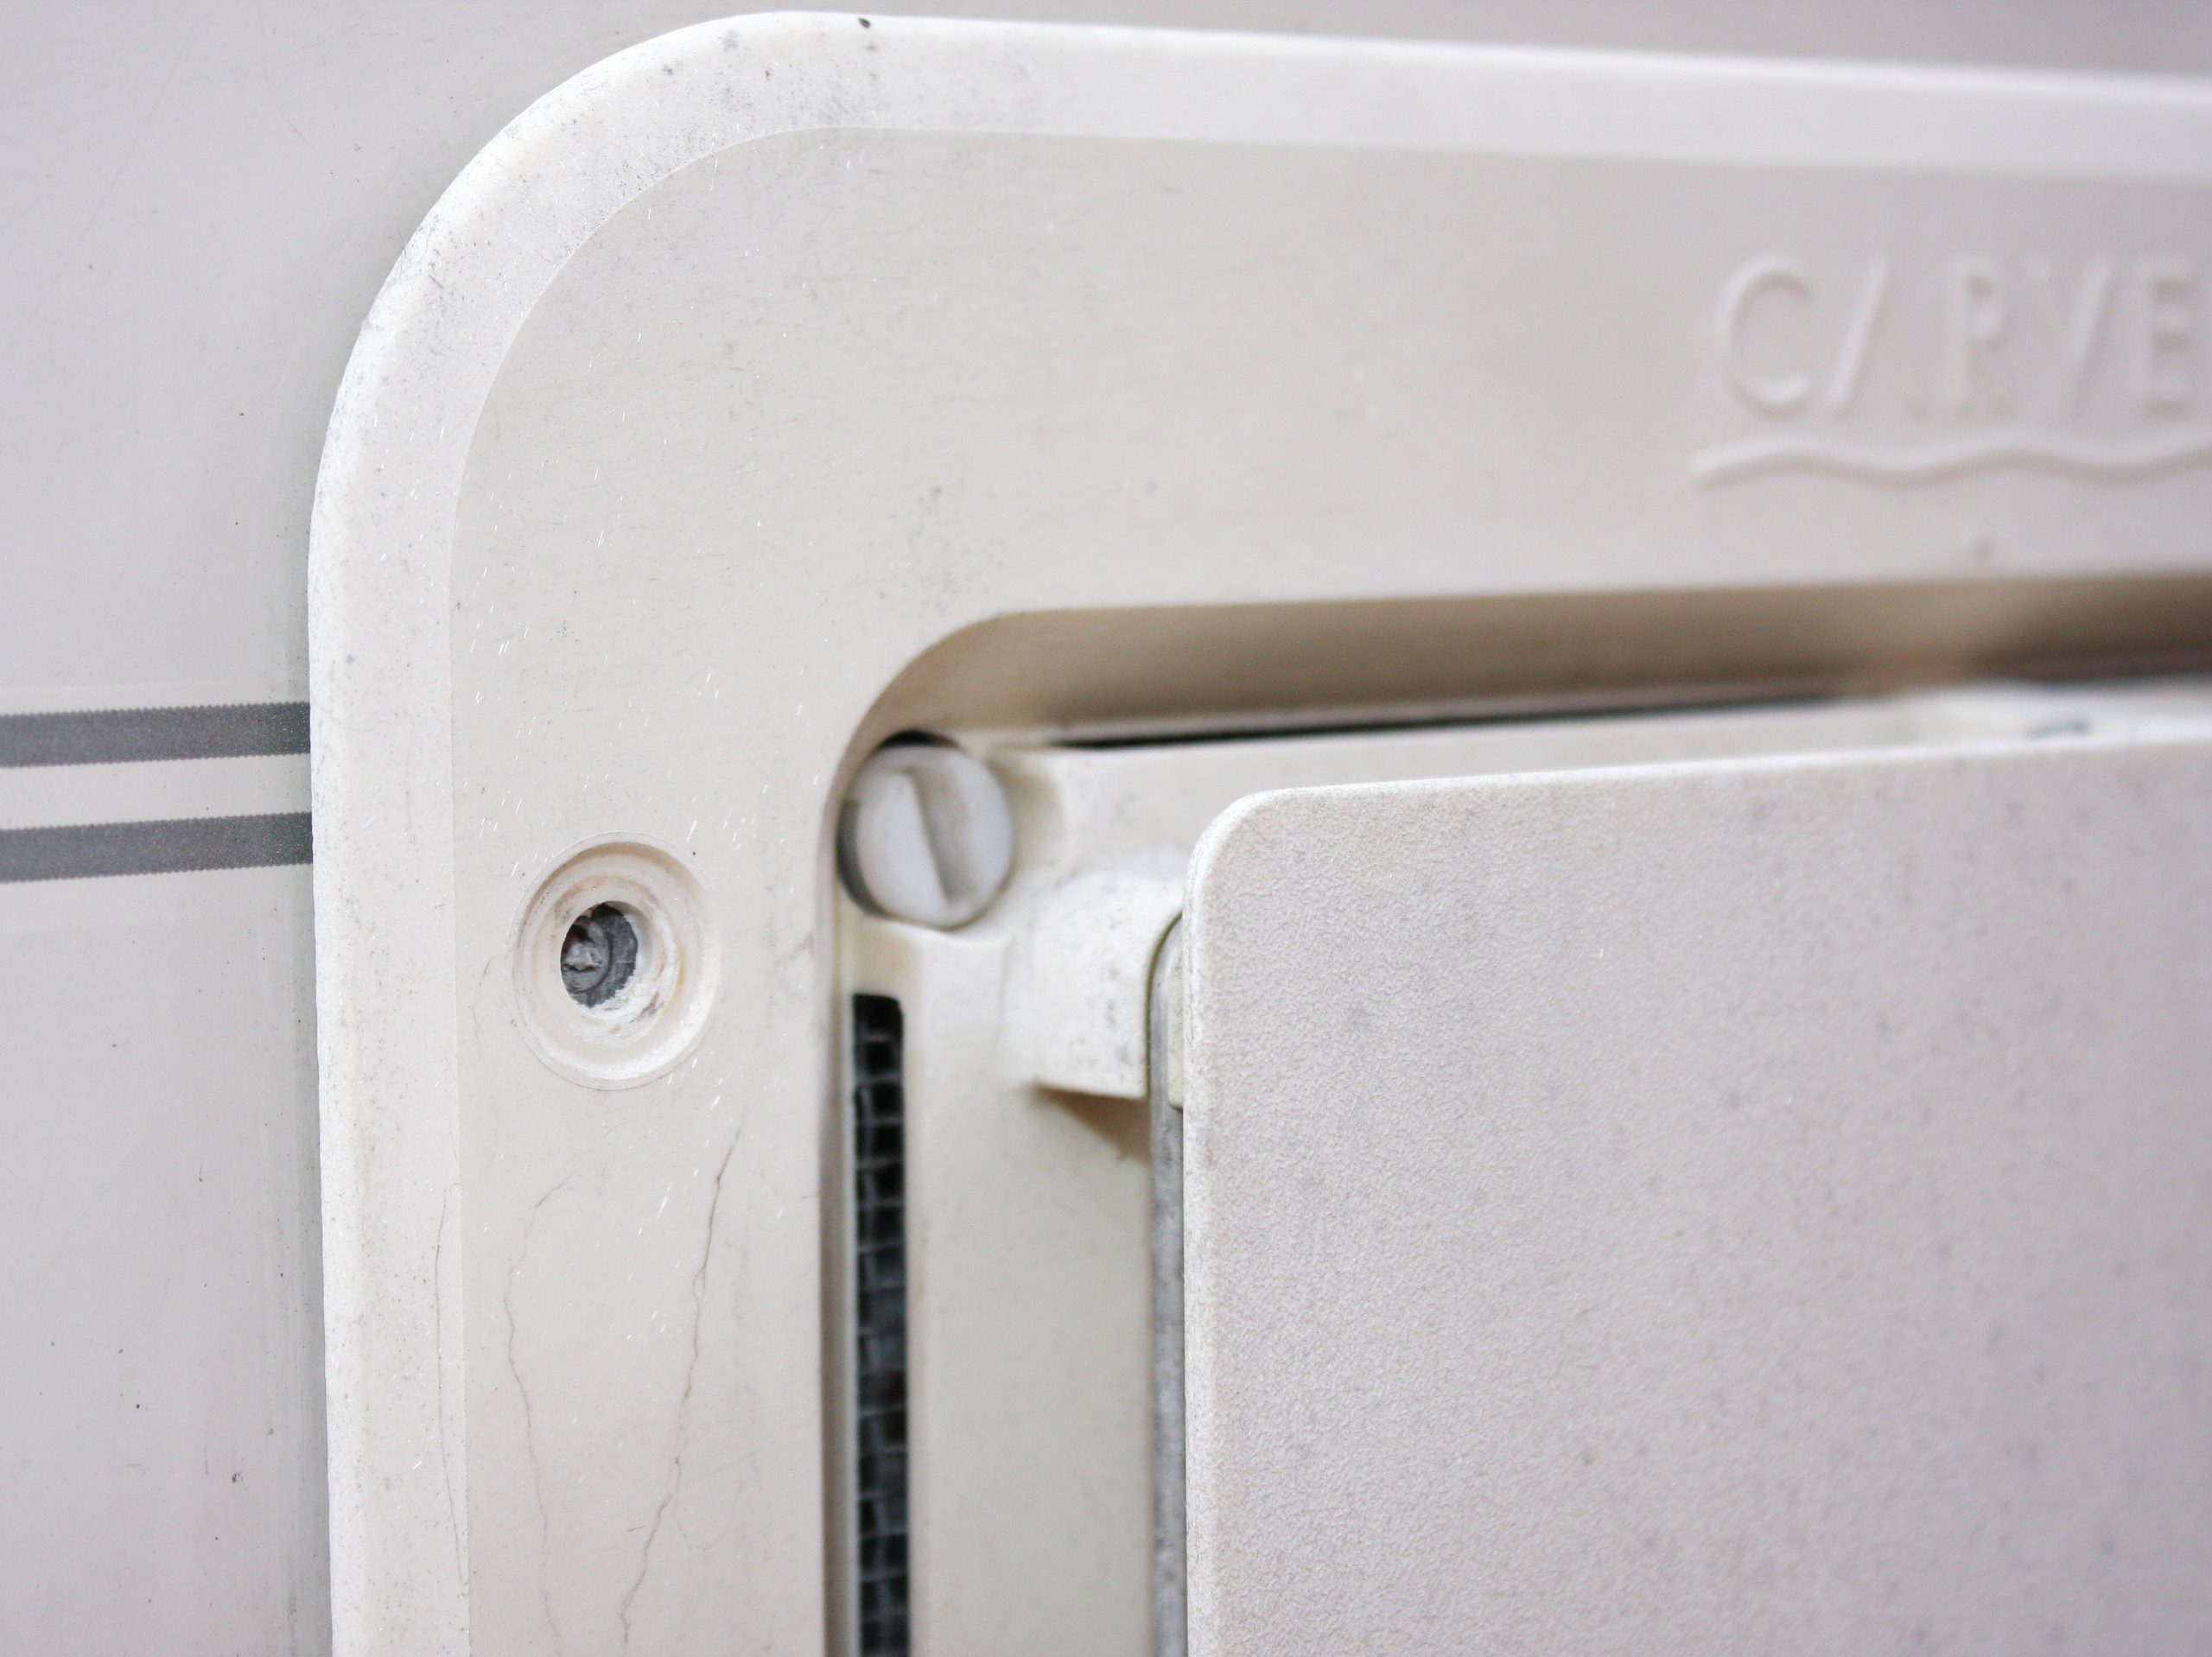
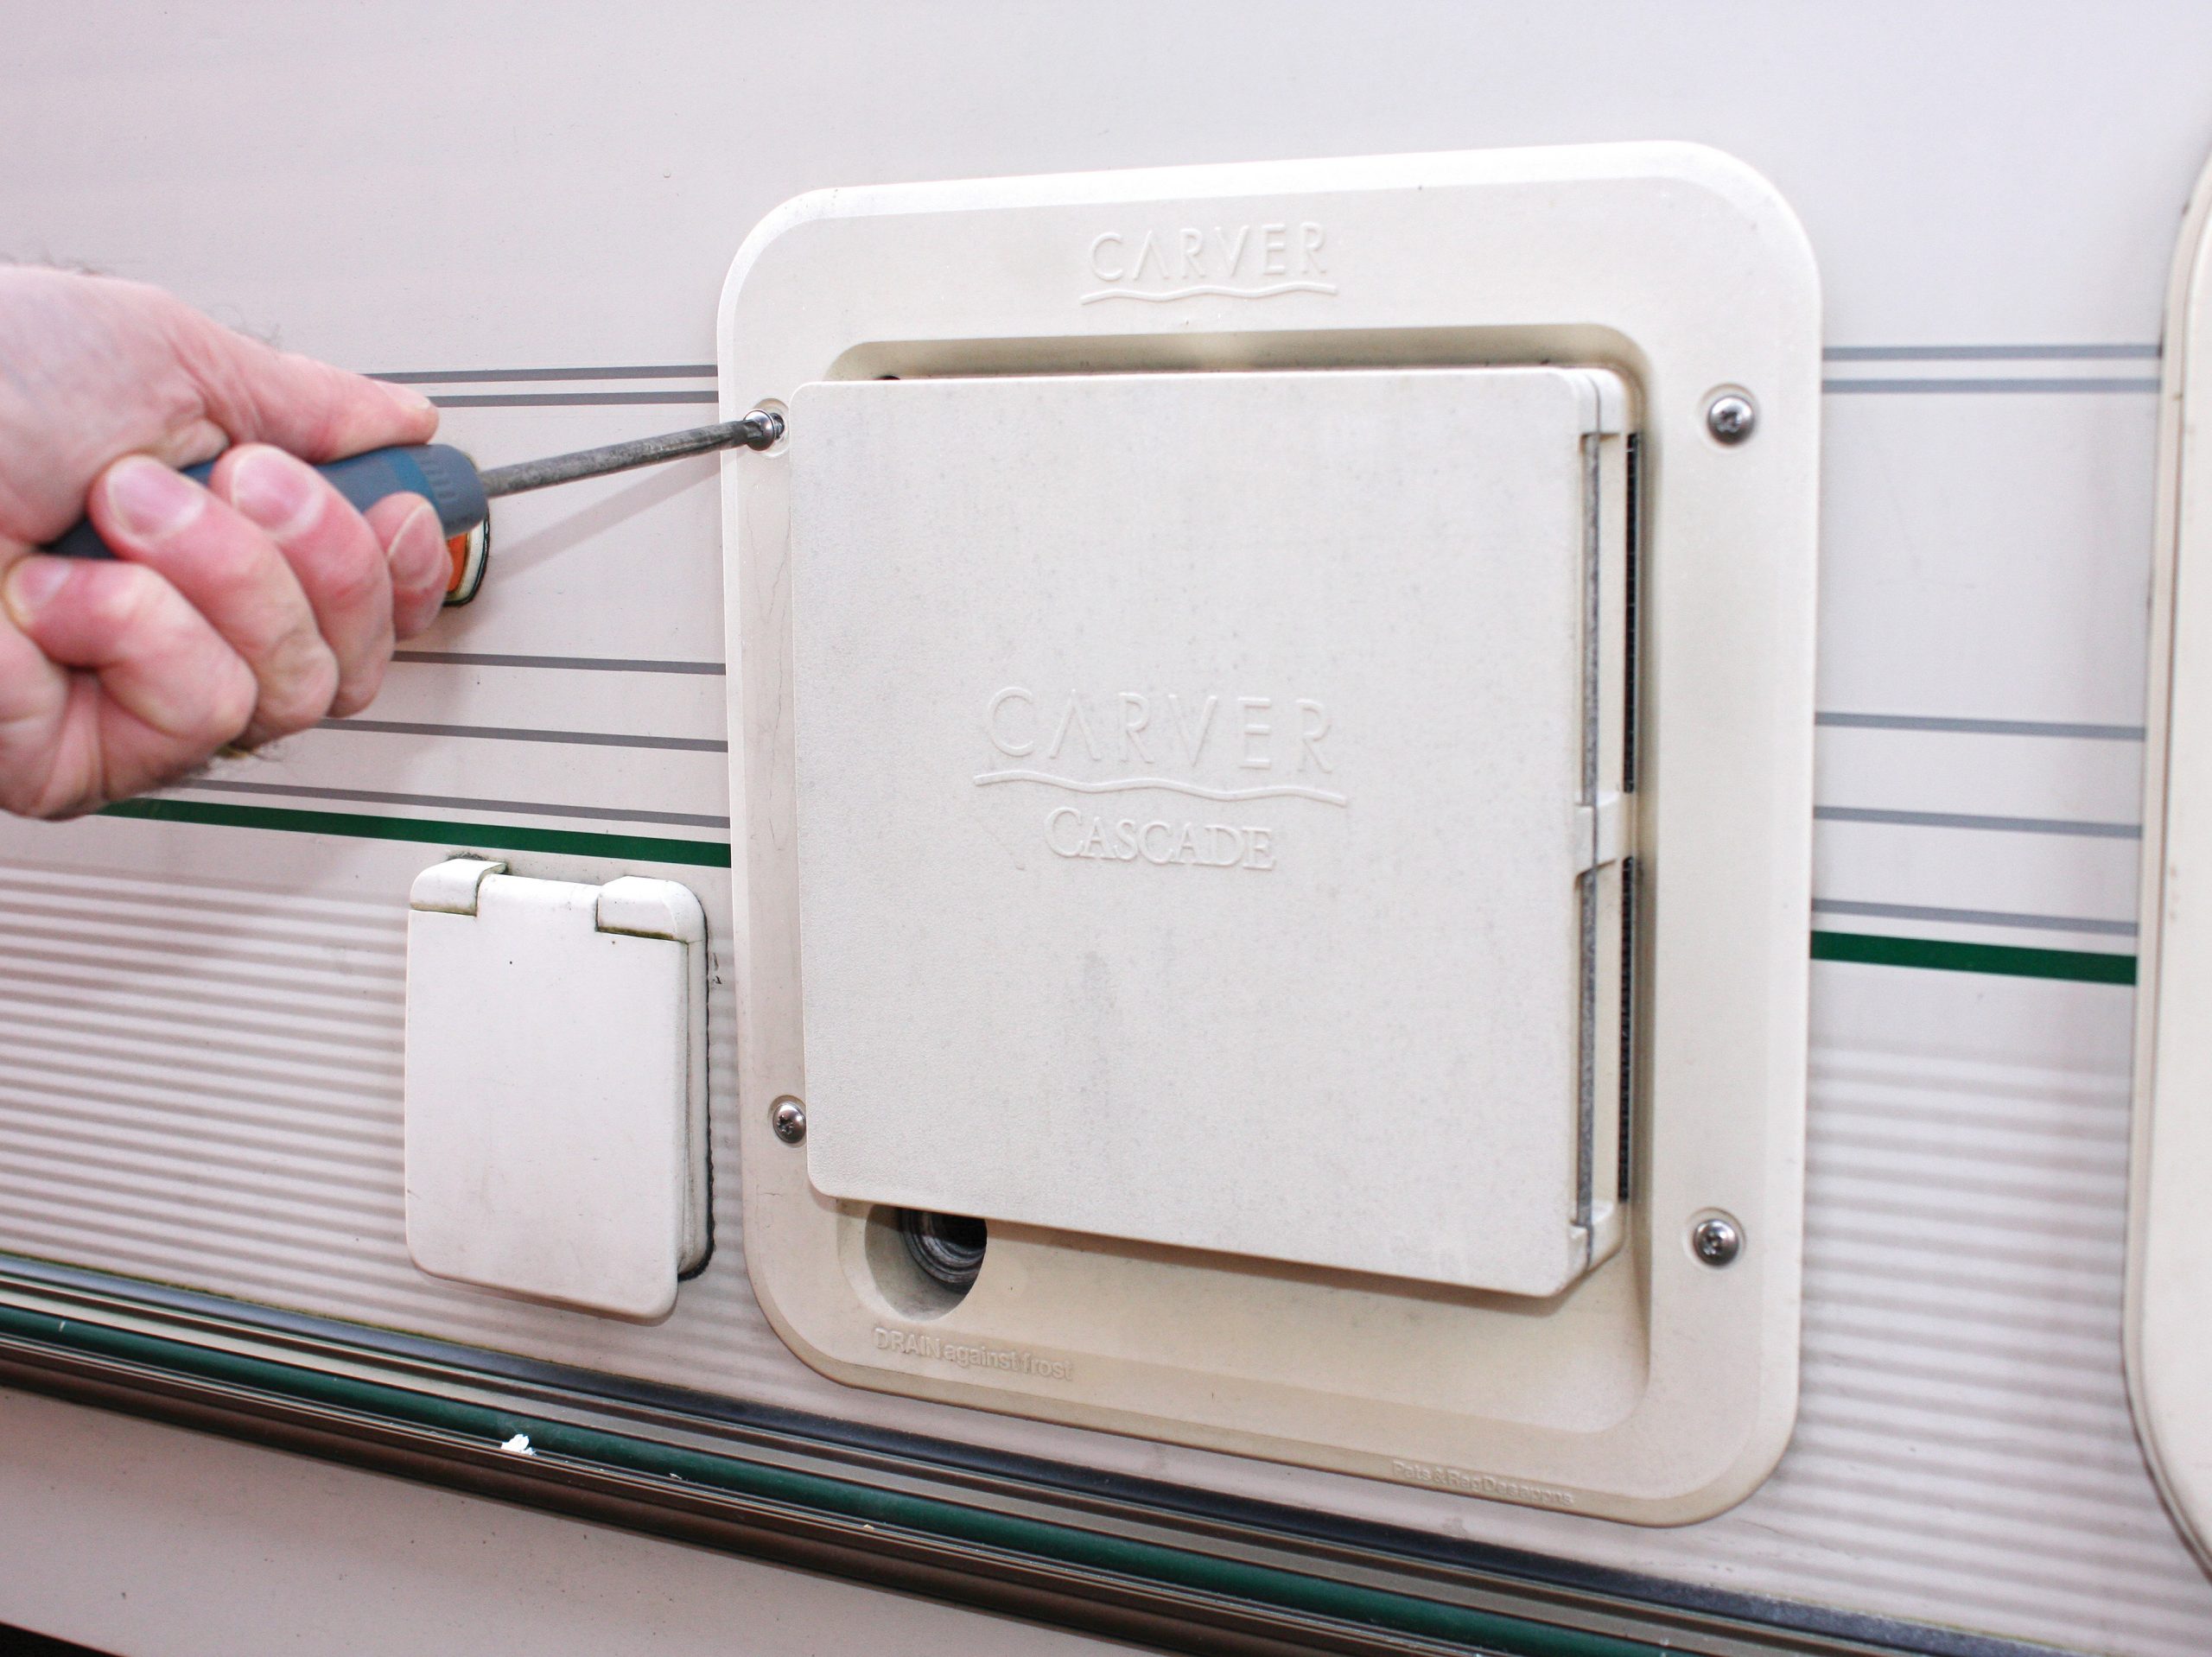
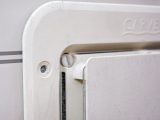
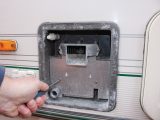
Once the water has drained, undo the four crosshead screws that hold the external cover in place. Once they have been removed, the cover can just be taken away. If there is any resistance, it is likely that it is being gripped by a bit of wayward sealant from when the unit was first installed.
Before dismantling any further, use a wire brush to clean surface corrosion from around the edge of the unit. Be careful while doing this, though, to avoid damaging the caravan’s paintwork. Then, using either a vacuum cleaner or a paintbrush (if you’re not near a mains supply to use a vacuum), clear away loose dirt from behind the cover.
Careful cleaning
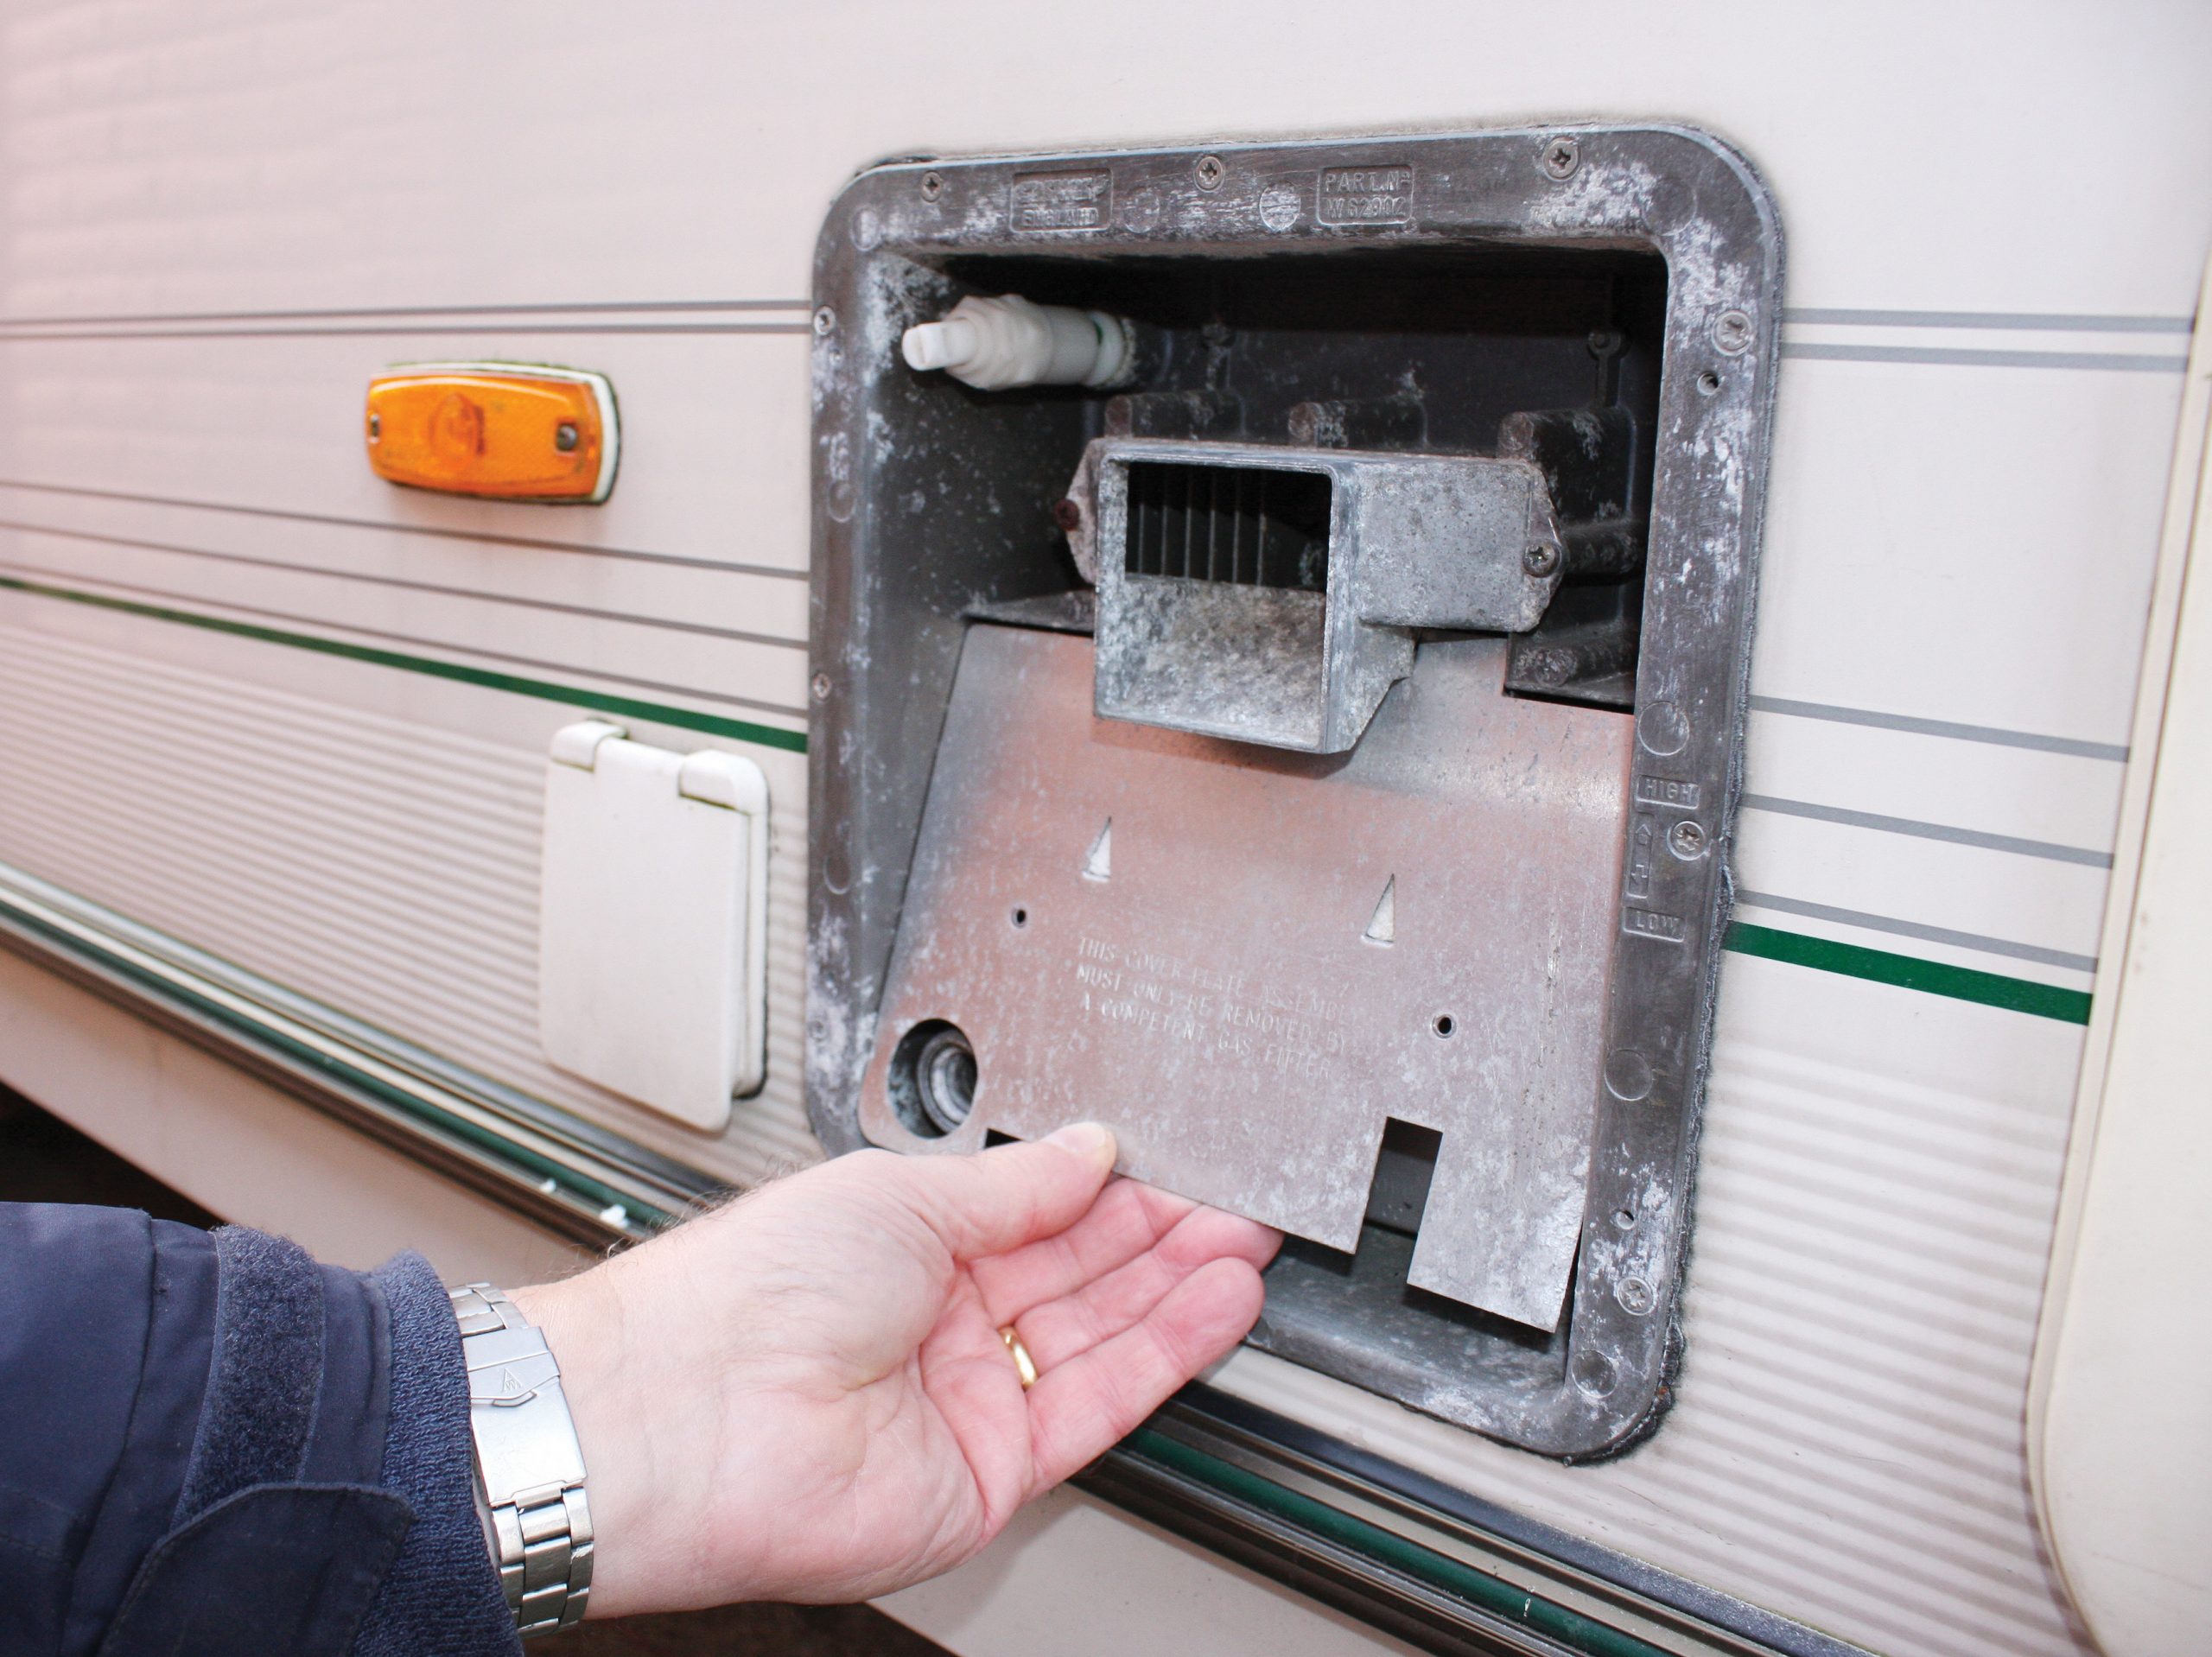
Next, undo the two crosshead screws that hold the vertical plate over the bottom half of the Cascade and remove it. You’ll probably find that you need to pull out the bottom edge first.
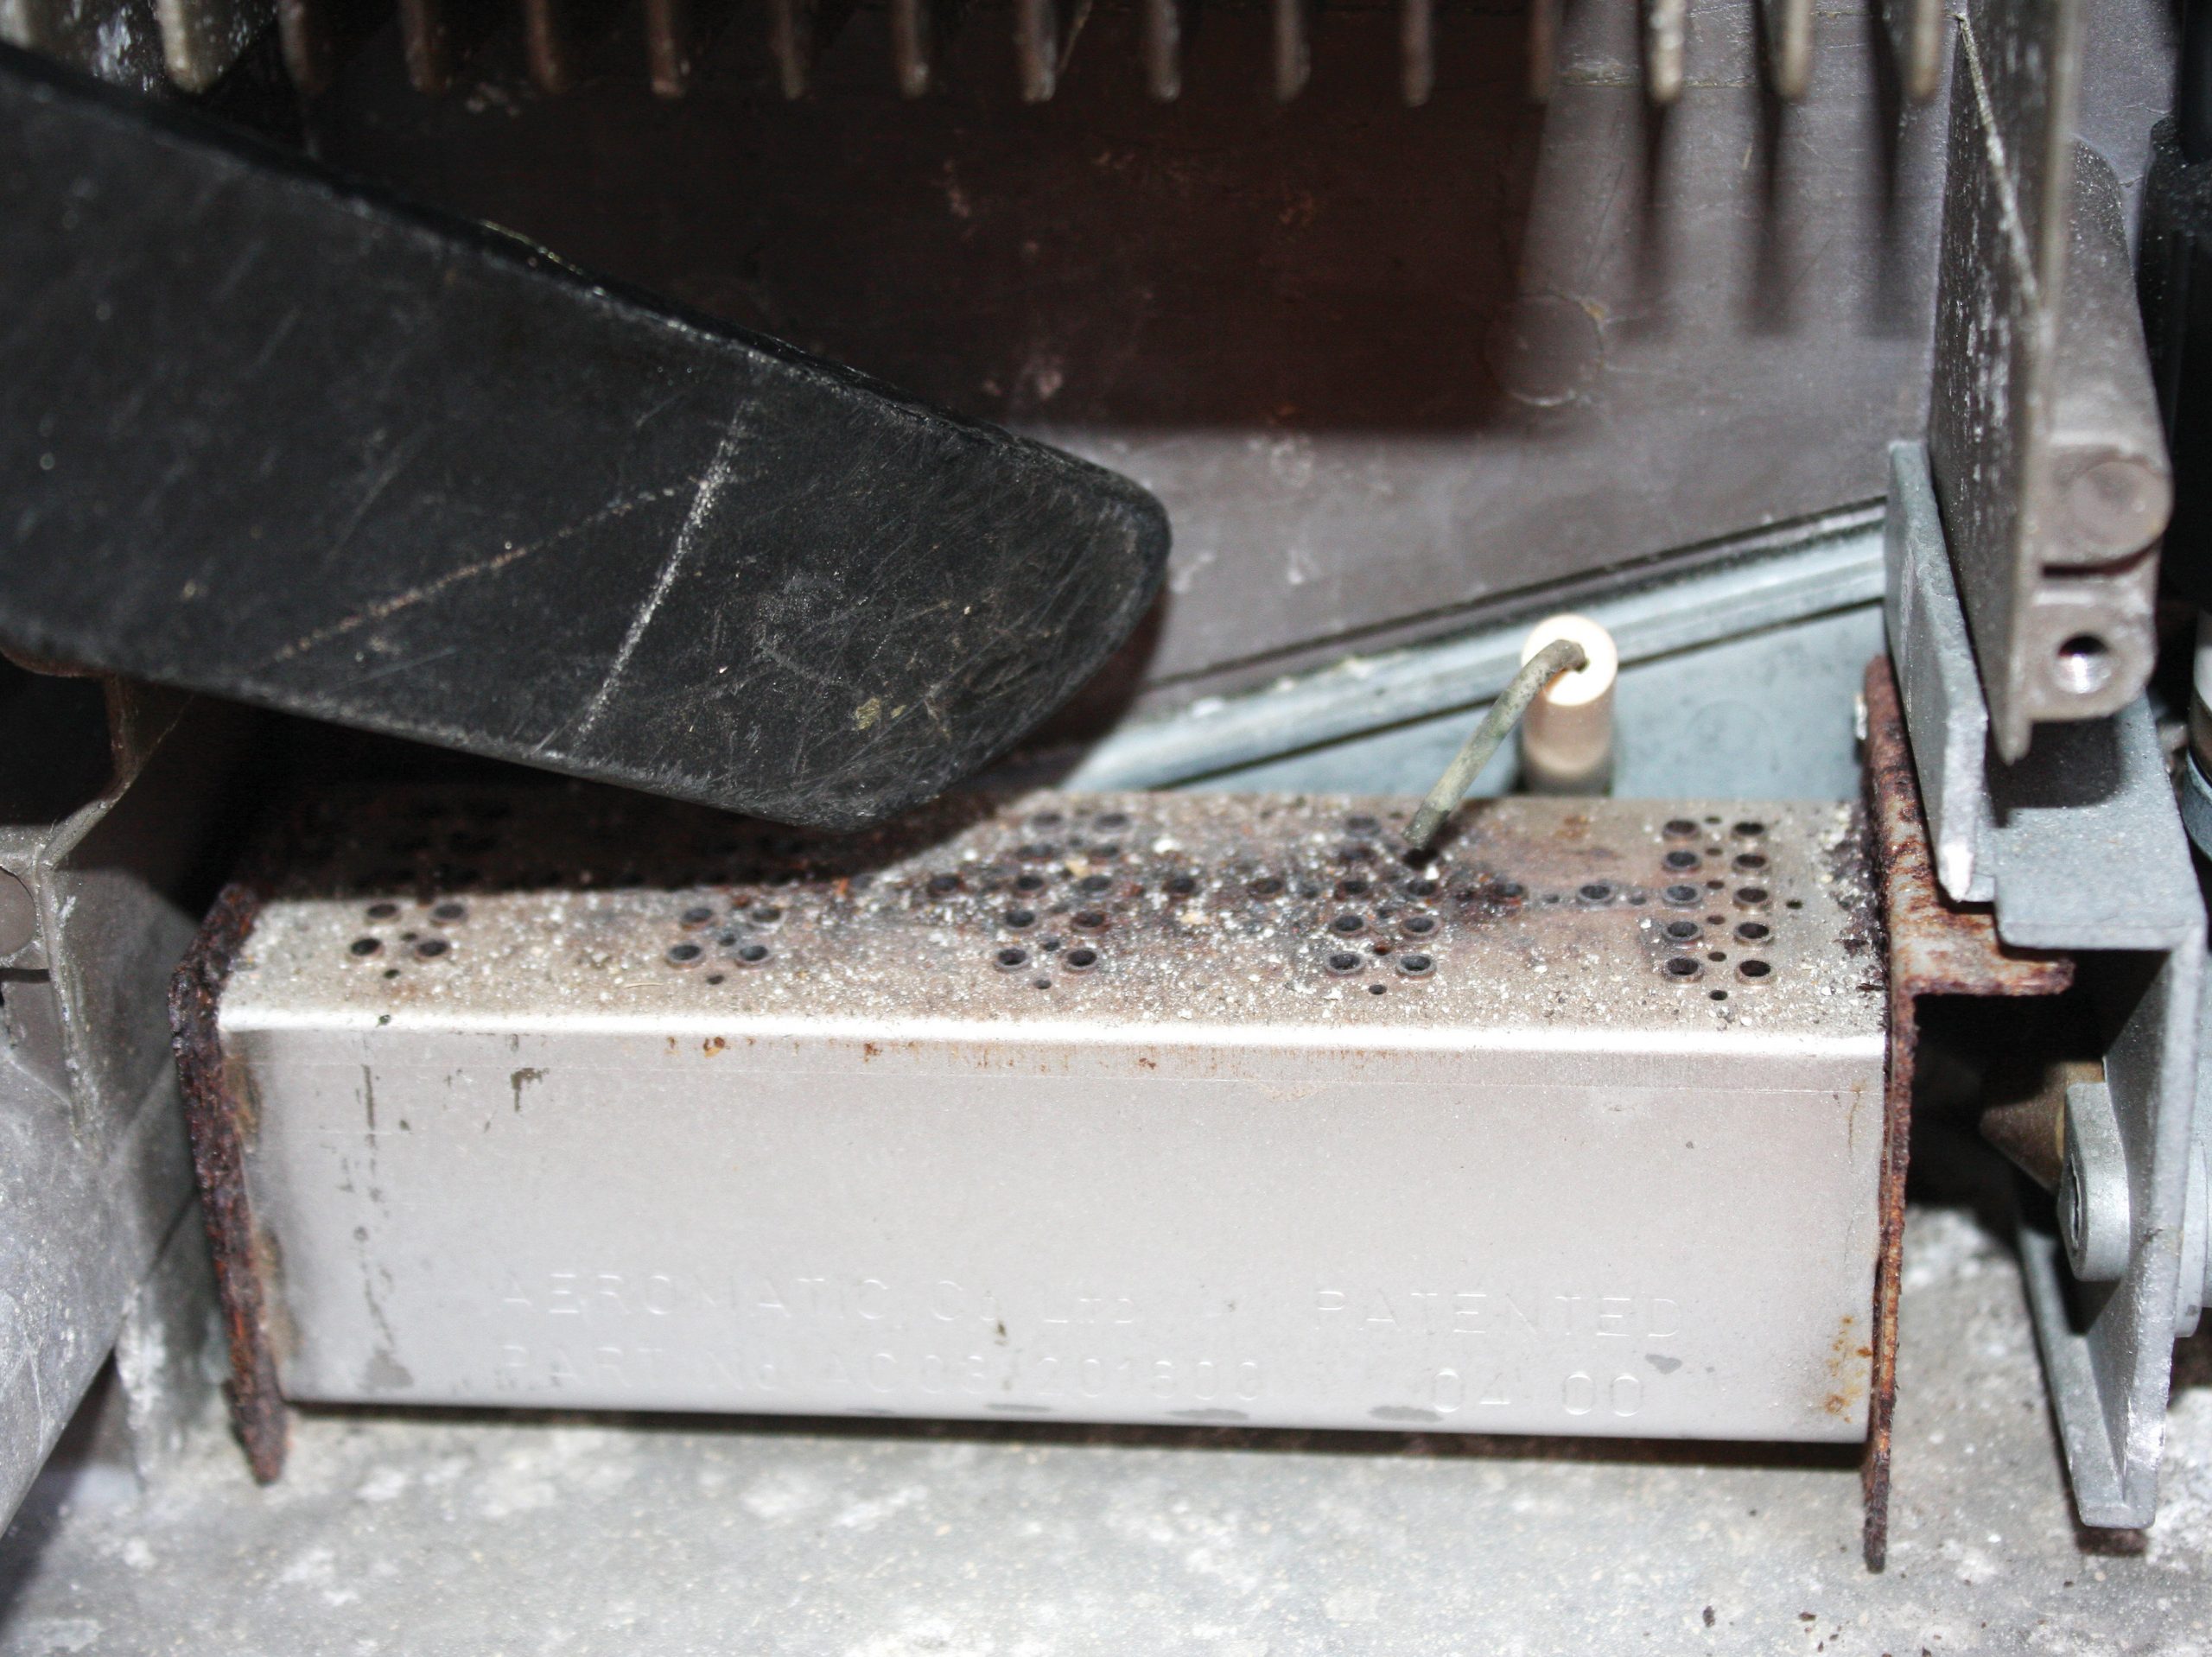
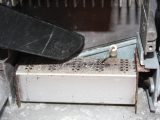
This will expose the gas burner and, unless that’s been cleaned recently, you’ll probably be surprised at the amount of debris there is on top of the burner.
Carefully clean away the debris using either the vacuum cleaner or paintbrush, but be careful not to damage the ignitor or its ceramic insulation.
Once you’ve cleared out as much debris as possible, replace the plate and its screws, followed by the external cover, making sure that it slots over the Fast Drain valve. Then turn the Fast Drain valve through 90˚ so its screwdriver slot is vertical.
Before you return the drain plug to its place, check that the rubber ‘O’ ring on it is in good condition. If not, it will need replacing because it is likely to allow water to leak out of the heater. New ones are still available.
Next, close the hot tap that had been opened for draining purposes. You’ll now need to reconnect the 12V battery, the gas supply and the water, via a pump from your Aquaroll.
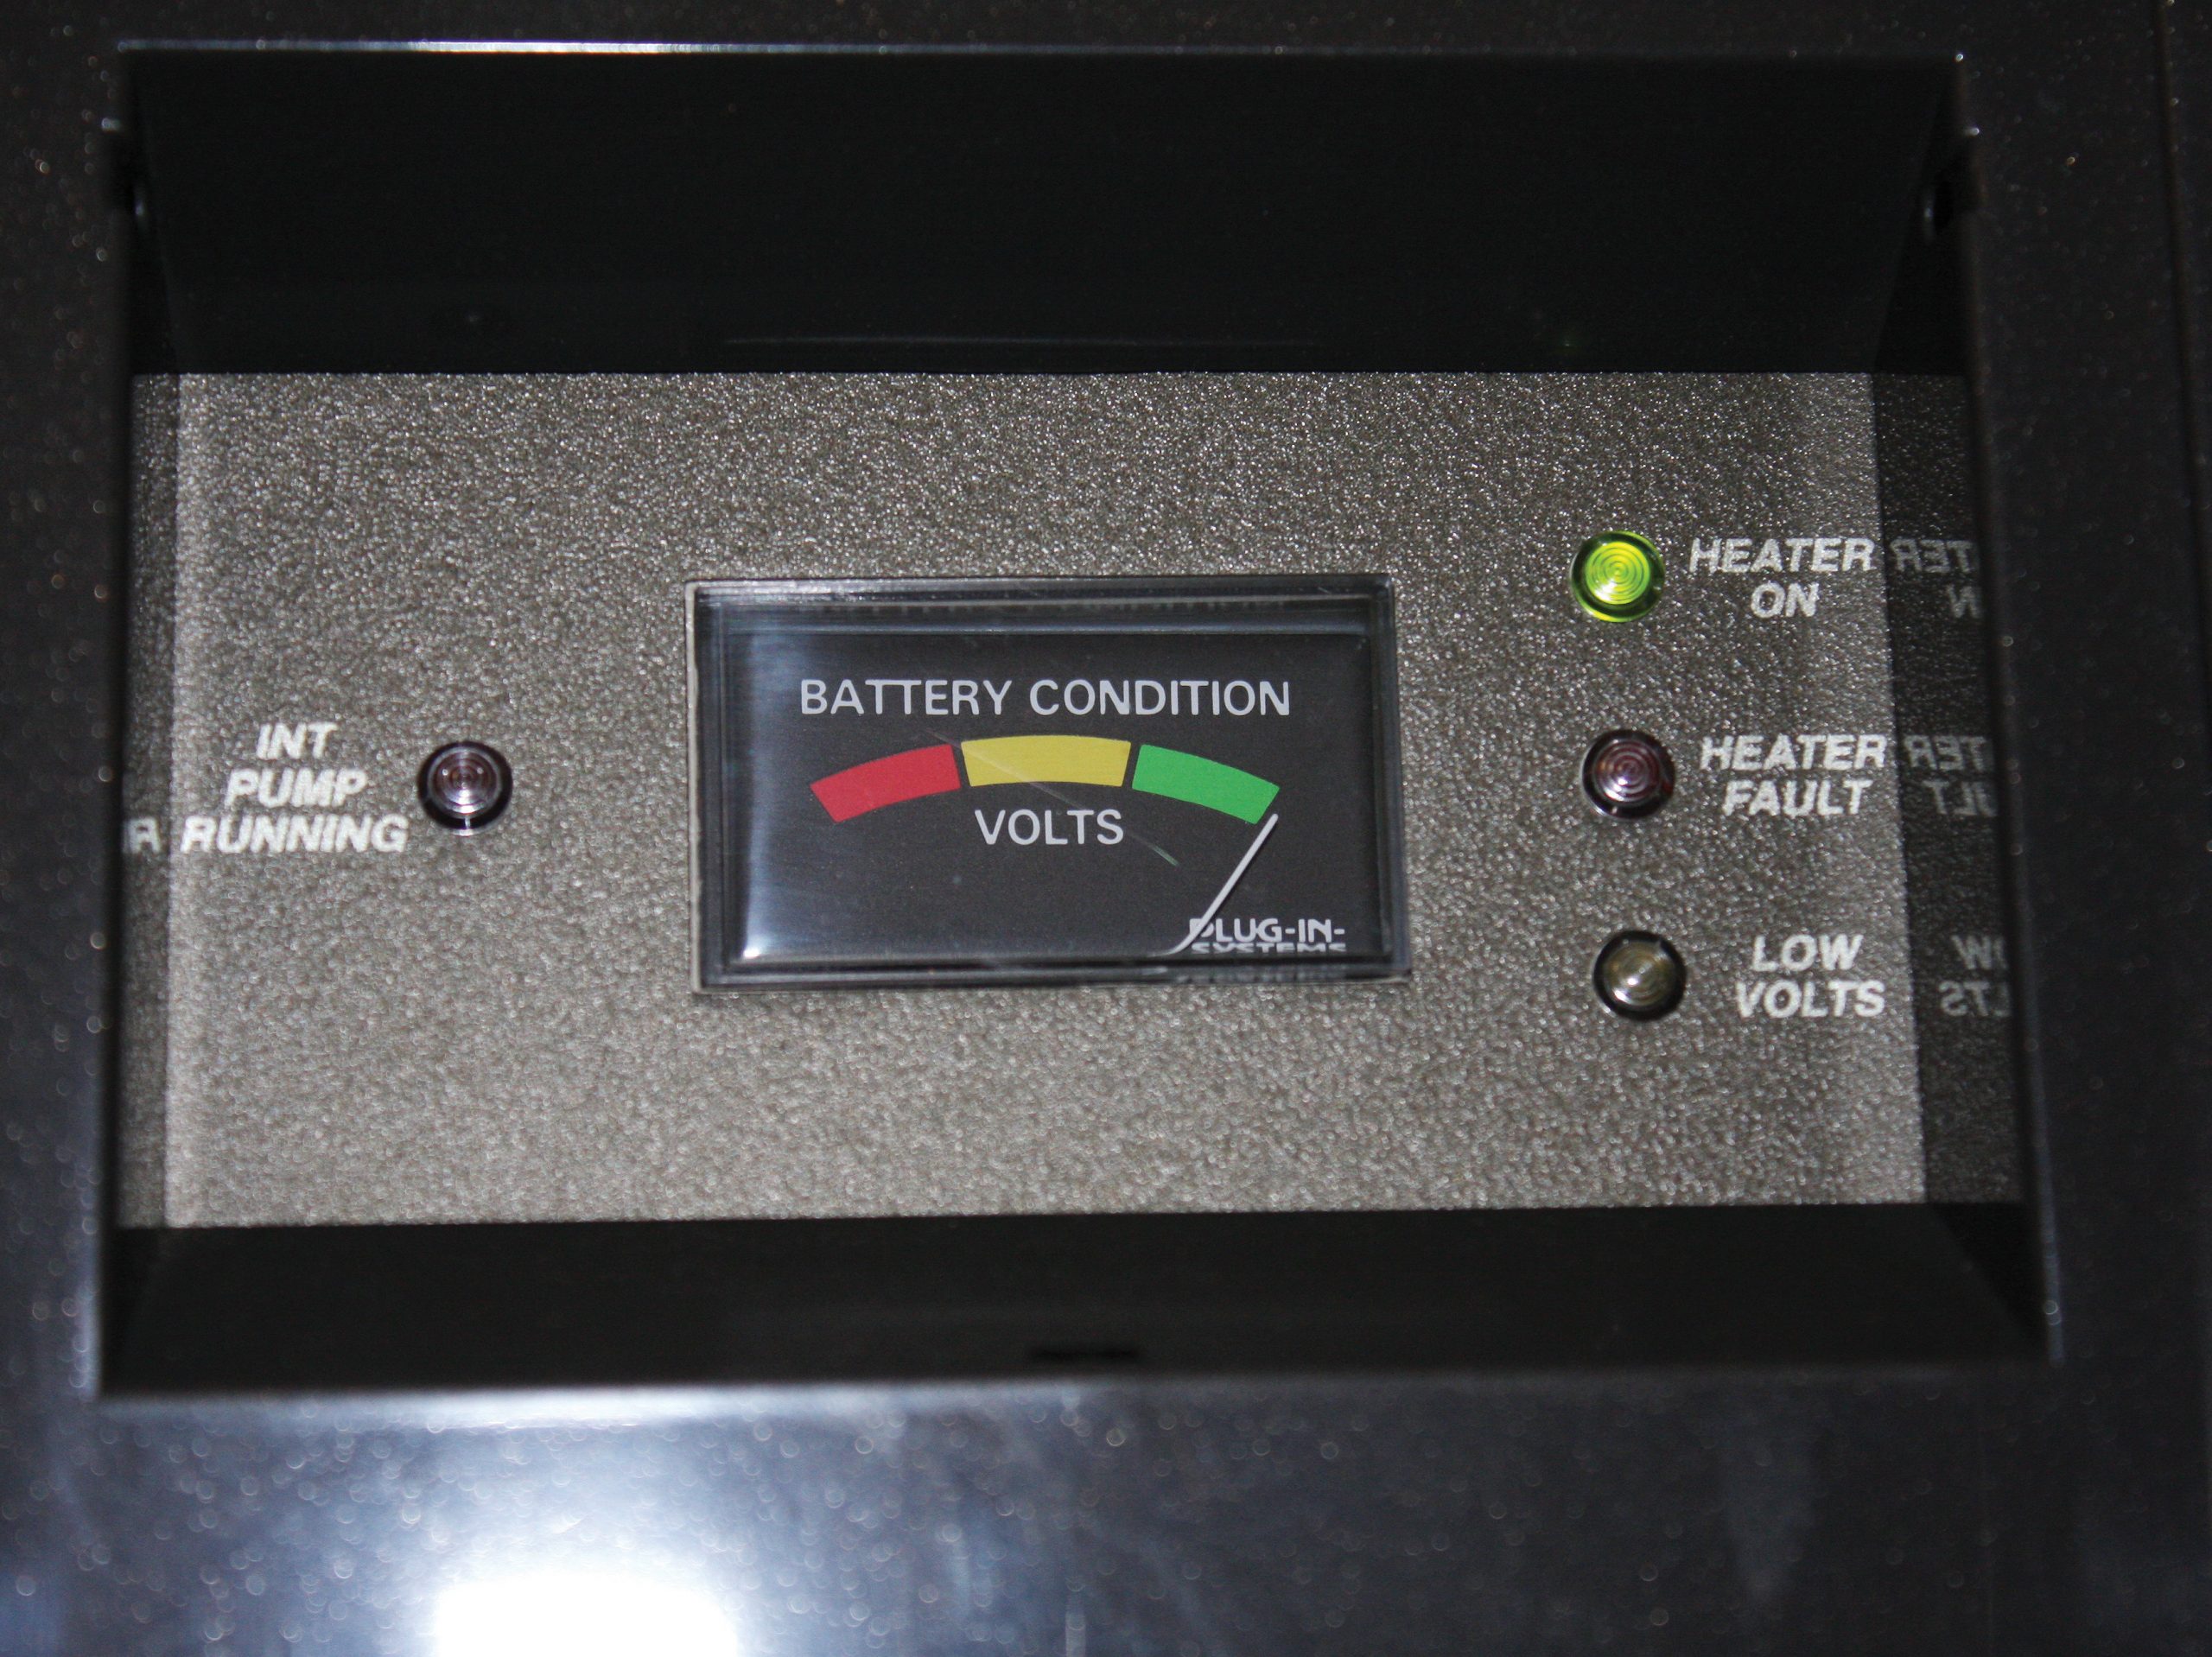
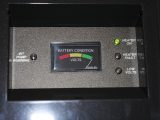
Fill the water heater fully (to ensure a good flow of water through the hot tap). Finally, turn on the water heater (on gas and not electricity) and check to make sure that it is operating correctly; the green light on the control panel must remain lit, while neither of the others illuminate. Wait for the water to reach the correct temperature. If all’s well, don’t forget to drain off the water again, especially if it’s over the winter.
If there is a fault and the unit doesn’t ignite, it is highly unlikely that what you have just done is the issue. Obviously make sure that there’s a good gas and 12V supply, but if there is, the problem is more likely to be with the burner’s control module.
If that is the case, you may be lucky and find a dealer who has one in stock. There are also a few companies that specialise in spares/repairs for the Carver Cascade (GE), but it may be more cost-effective to source a secondhand part from a caravan disassembler (read our advice on sourcing spare parts for caravans).
The Cascade GE hasn’t been produced for years, but many caravans have them, because they’re robust and reliable