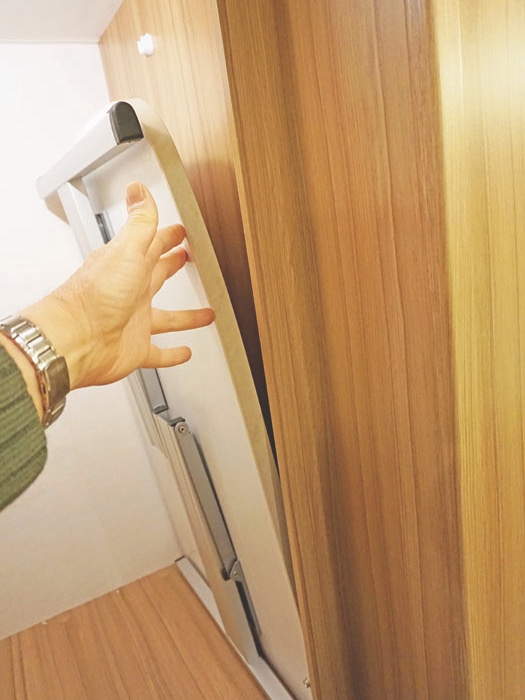


Heavy tables are more easily accessed from floor-level storage spaces, but mine was stored inside the wardrobe above the fridge.
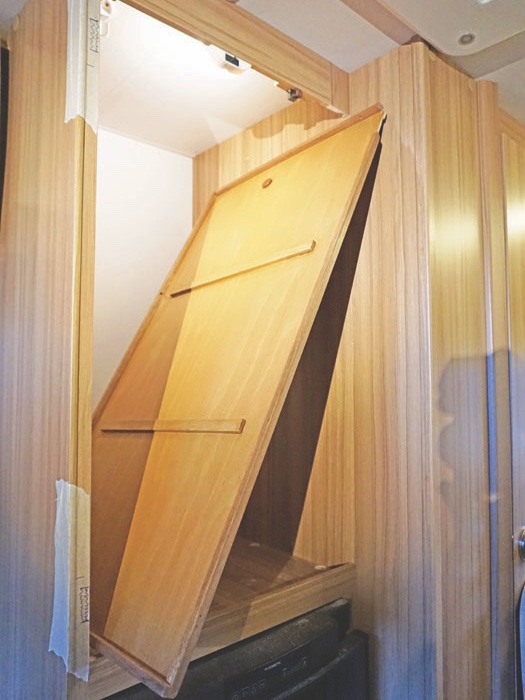
It was also tucked in behind a fixed, vertical part of the wall at the front right-hand side of the wardrobe, making it even more awkward to handle.
I planned to form a separate table compartment in the same place, but to remove this piece of board to create the narrow compartment door.
To make the new wardrobe/table compartment partition, I needed some matching board. After trying to find a piece in the same wood finish, I decided that, as it was inside the wardrobe, a 1220mm x 606mm piece of 5.5mm hardwood plywood, painted with satin oak stain varnish, would be an adequate match to the manufacturer’s melamine-finished board.
This hardwood plywood is available in small sheets from DIY chains and has a much finer surface than conventional ply.
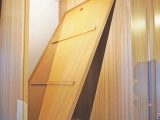
The board was carefully cut to size, then two 75mm-wide spacers were cut from the same material: one for the compartment ceiling and one for the floor.
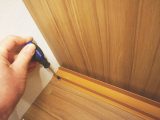
An off-cut of 50mm x 25mm oak was sawn down to 12mm x 12mm to make the front and rear glued-on trim and the top and bottom strips to hold the large sheet against the top and bottom spacers.
As I had a router table, I was able to make a shallow channel section of this oak to glue on to the vertical front edge, for a neat appearance.
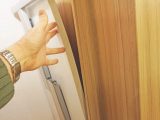
The partition was tried in place regularly to ensure a good fit and then screwed in place using stainless steel screws.
The narrow compartment door was attached with new hinges to the front edge of the partition and kept shut using a push-to-open catch, which is secure and needs no handles for opening.
To complete the job, the wardrobe rail was shortened and its fixing bracket moved to the side of the partition.
Before undertaking DIY projects, double check any warranty won’t be affected.
I decided that, as it was inside the wardrobe, a piece of hardwood plywood, painted with satin oak stain varnish, would be an adequate match to the manufacturer's melamine-finished board.