


When we speak of reverse polarity in caravan terms, it has nothing to do with the north and south points on a compass. It’s when the Live (brown) and Neutral (blue) wires are connected to a site bollard the wrong way around.
This would be most unusual (in fact I’ve never come across it) in the UK, but it’s not that uncommon on Continental campsites. So, what are the implications and how can we deal with it?
Current and circuits
If wired correctly, the electric current enters the caravan via the Live wire and then passes through the Consumer Unit (with associated breakers) before being distributed to various circuits within the caravan. Many van sockets and light switches these days don’t have their own switch, but if they did, the current coming from the Consumer Unit passes through the switch before going to the socket’s terminal.
After powering the device plugged in (kettle, toaster, lamp and so on) the current exits the caravan via the Neutral wire. Therefore, if there’s a fault with any device that’s plugged in, it’s very likely that the relevant circuit breaker in the Consumer Unit would trip, cutting the power to that circuit and preventing the possibility of anyone getting an electric shock, which of course has the potential to cause fatal injury.
If the polarity is reversed, the current enters the caravan via the Neutral wire.
This means that any plugged-in device (whether there’s a socket switch or not) might well always be live and have the potential shock risk if it develops a fault.
Modern caravan components don’t have a problem with reverse polarity, so this shouldn’t cause any damage, but there is always that safety issue.
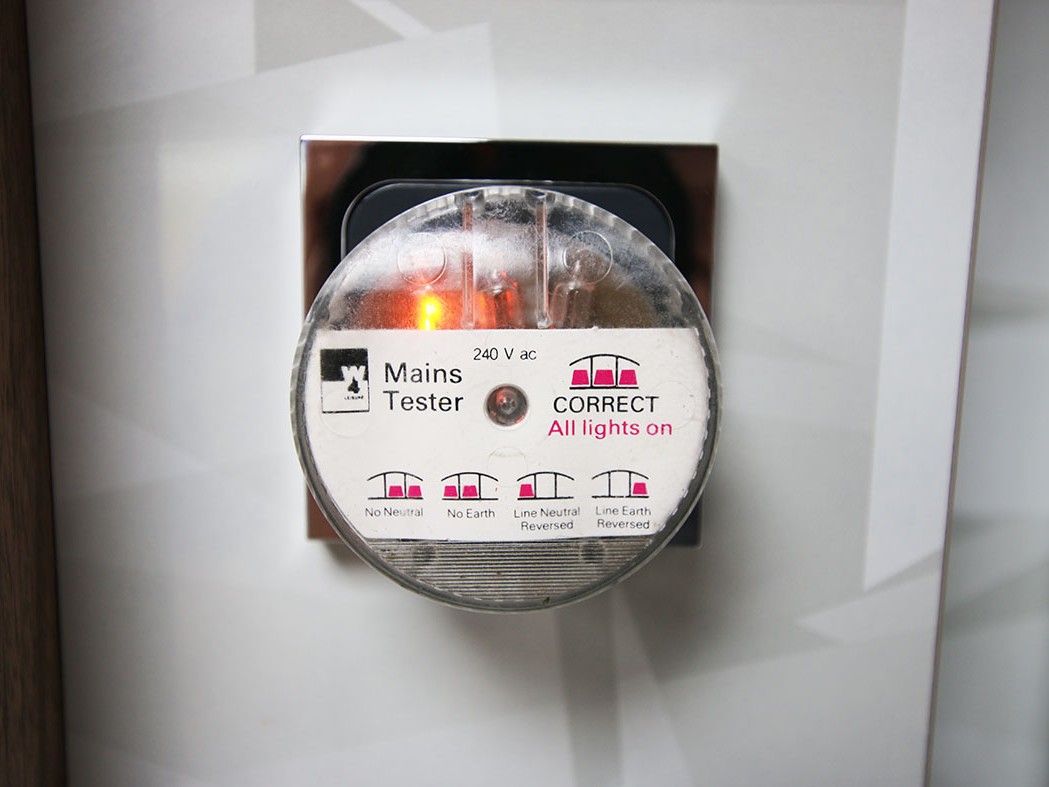
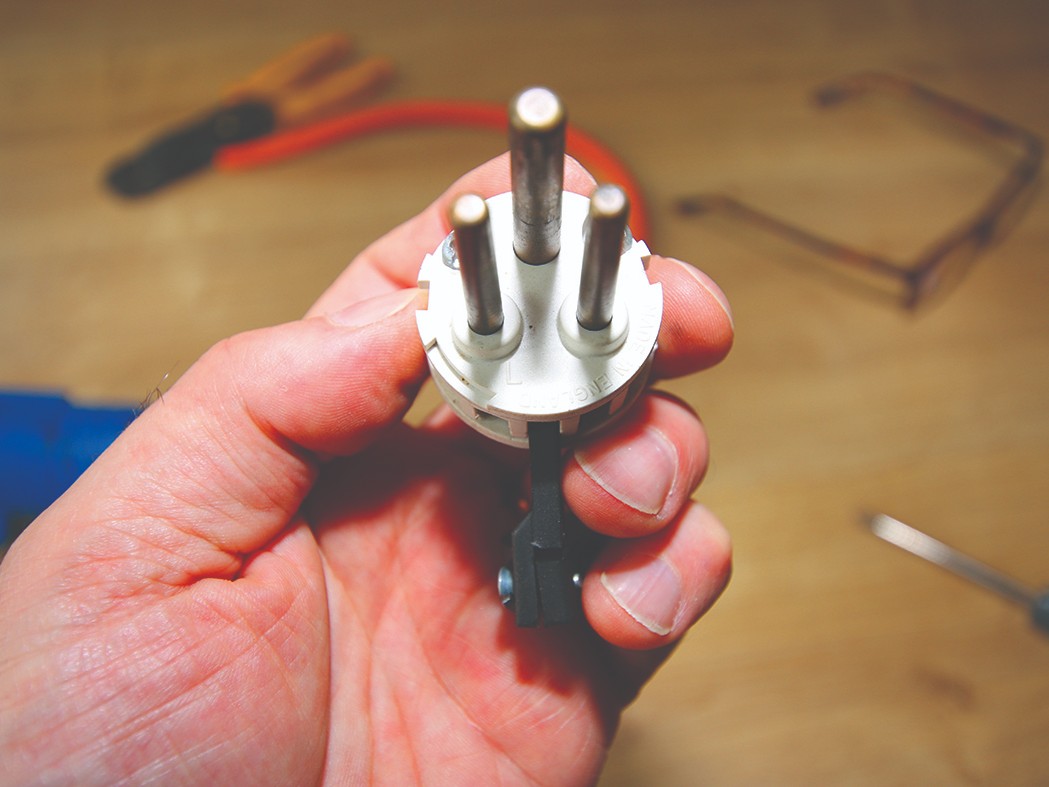
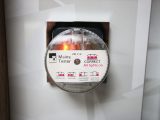
Many years ago, when we started touring on the Continent, I added three extra bits of kit to our collection. As Sammy Faircloth has suggested, one was a two-pin electric hook-up (EHU) adaptor. Secondly, I bought a reverse polarity tester from a dealer’s accessory shop.
Basically these look like a three-pin plug with three neon lights. If you plug the caravan into the EHU bollard and all three lights illuminate, all’s well, but if you get anything other than that, there’s an issue with the supply. The tester itself indicates what the problem is.
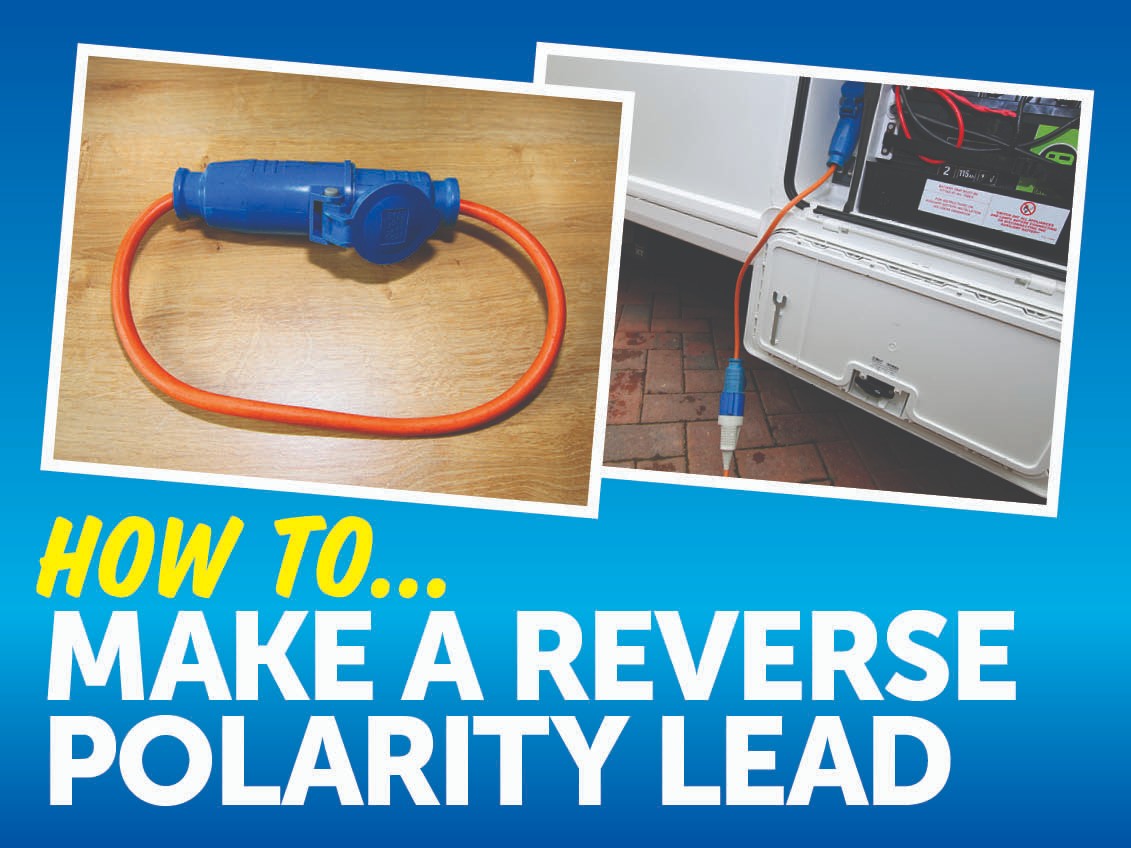
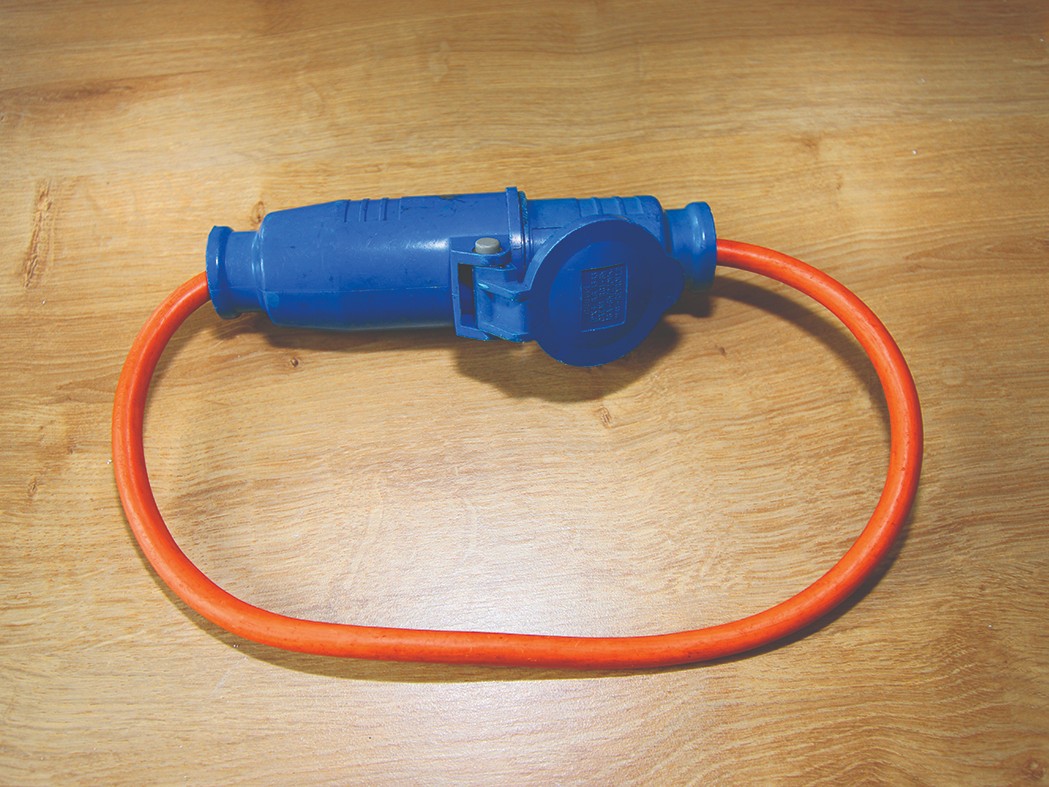
Finally, a reverse polarity adaptor lead. The latter makes things very convenient should you encounter reverse polarity and is easy to make. But you should only make up the reverse polarity adaptor lead if you are competent to do so!
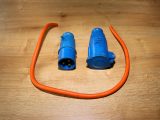
To make the lead, you’ll need the following parts:
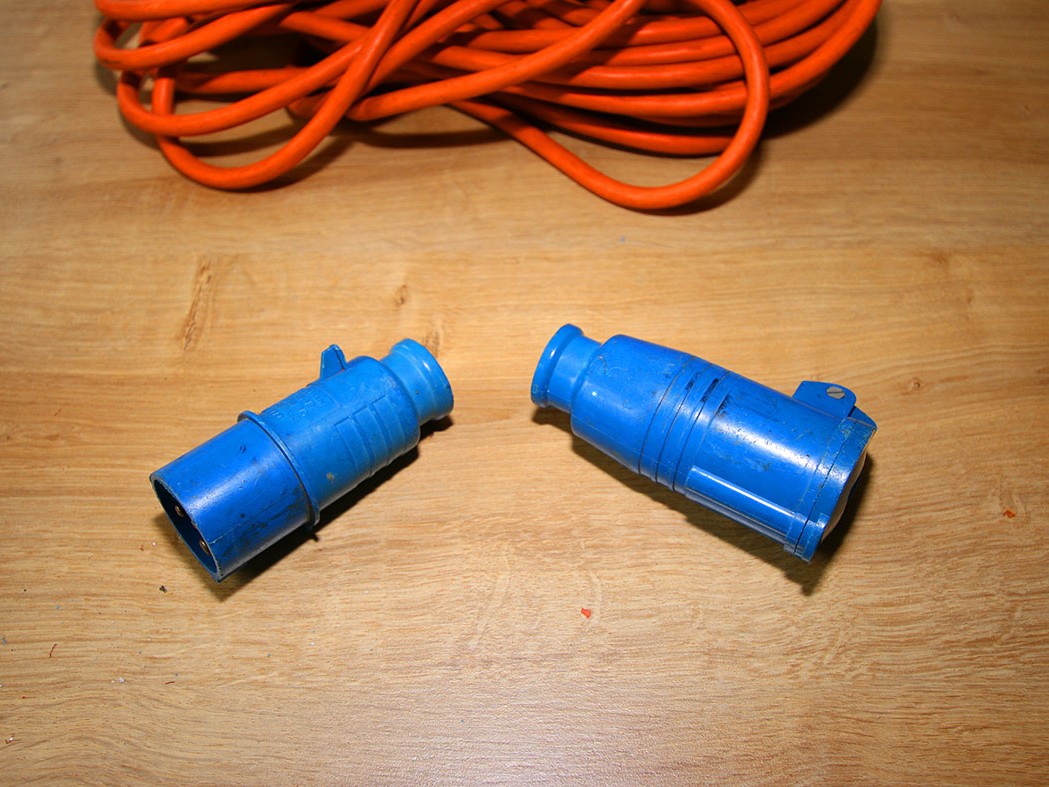
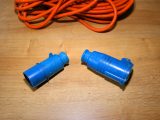
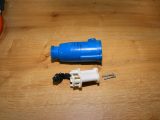
- A blue ‘male’ 16A EHU plug
- A blue ‘female’ 16A EHU socket
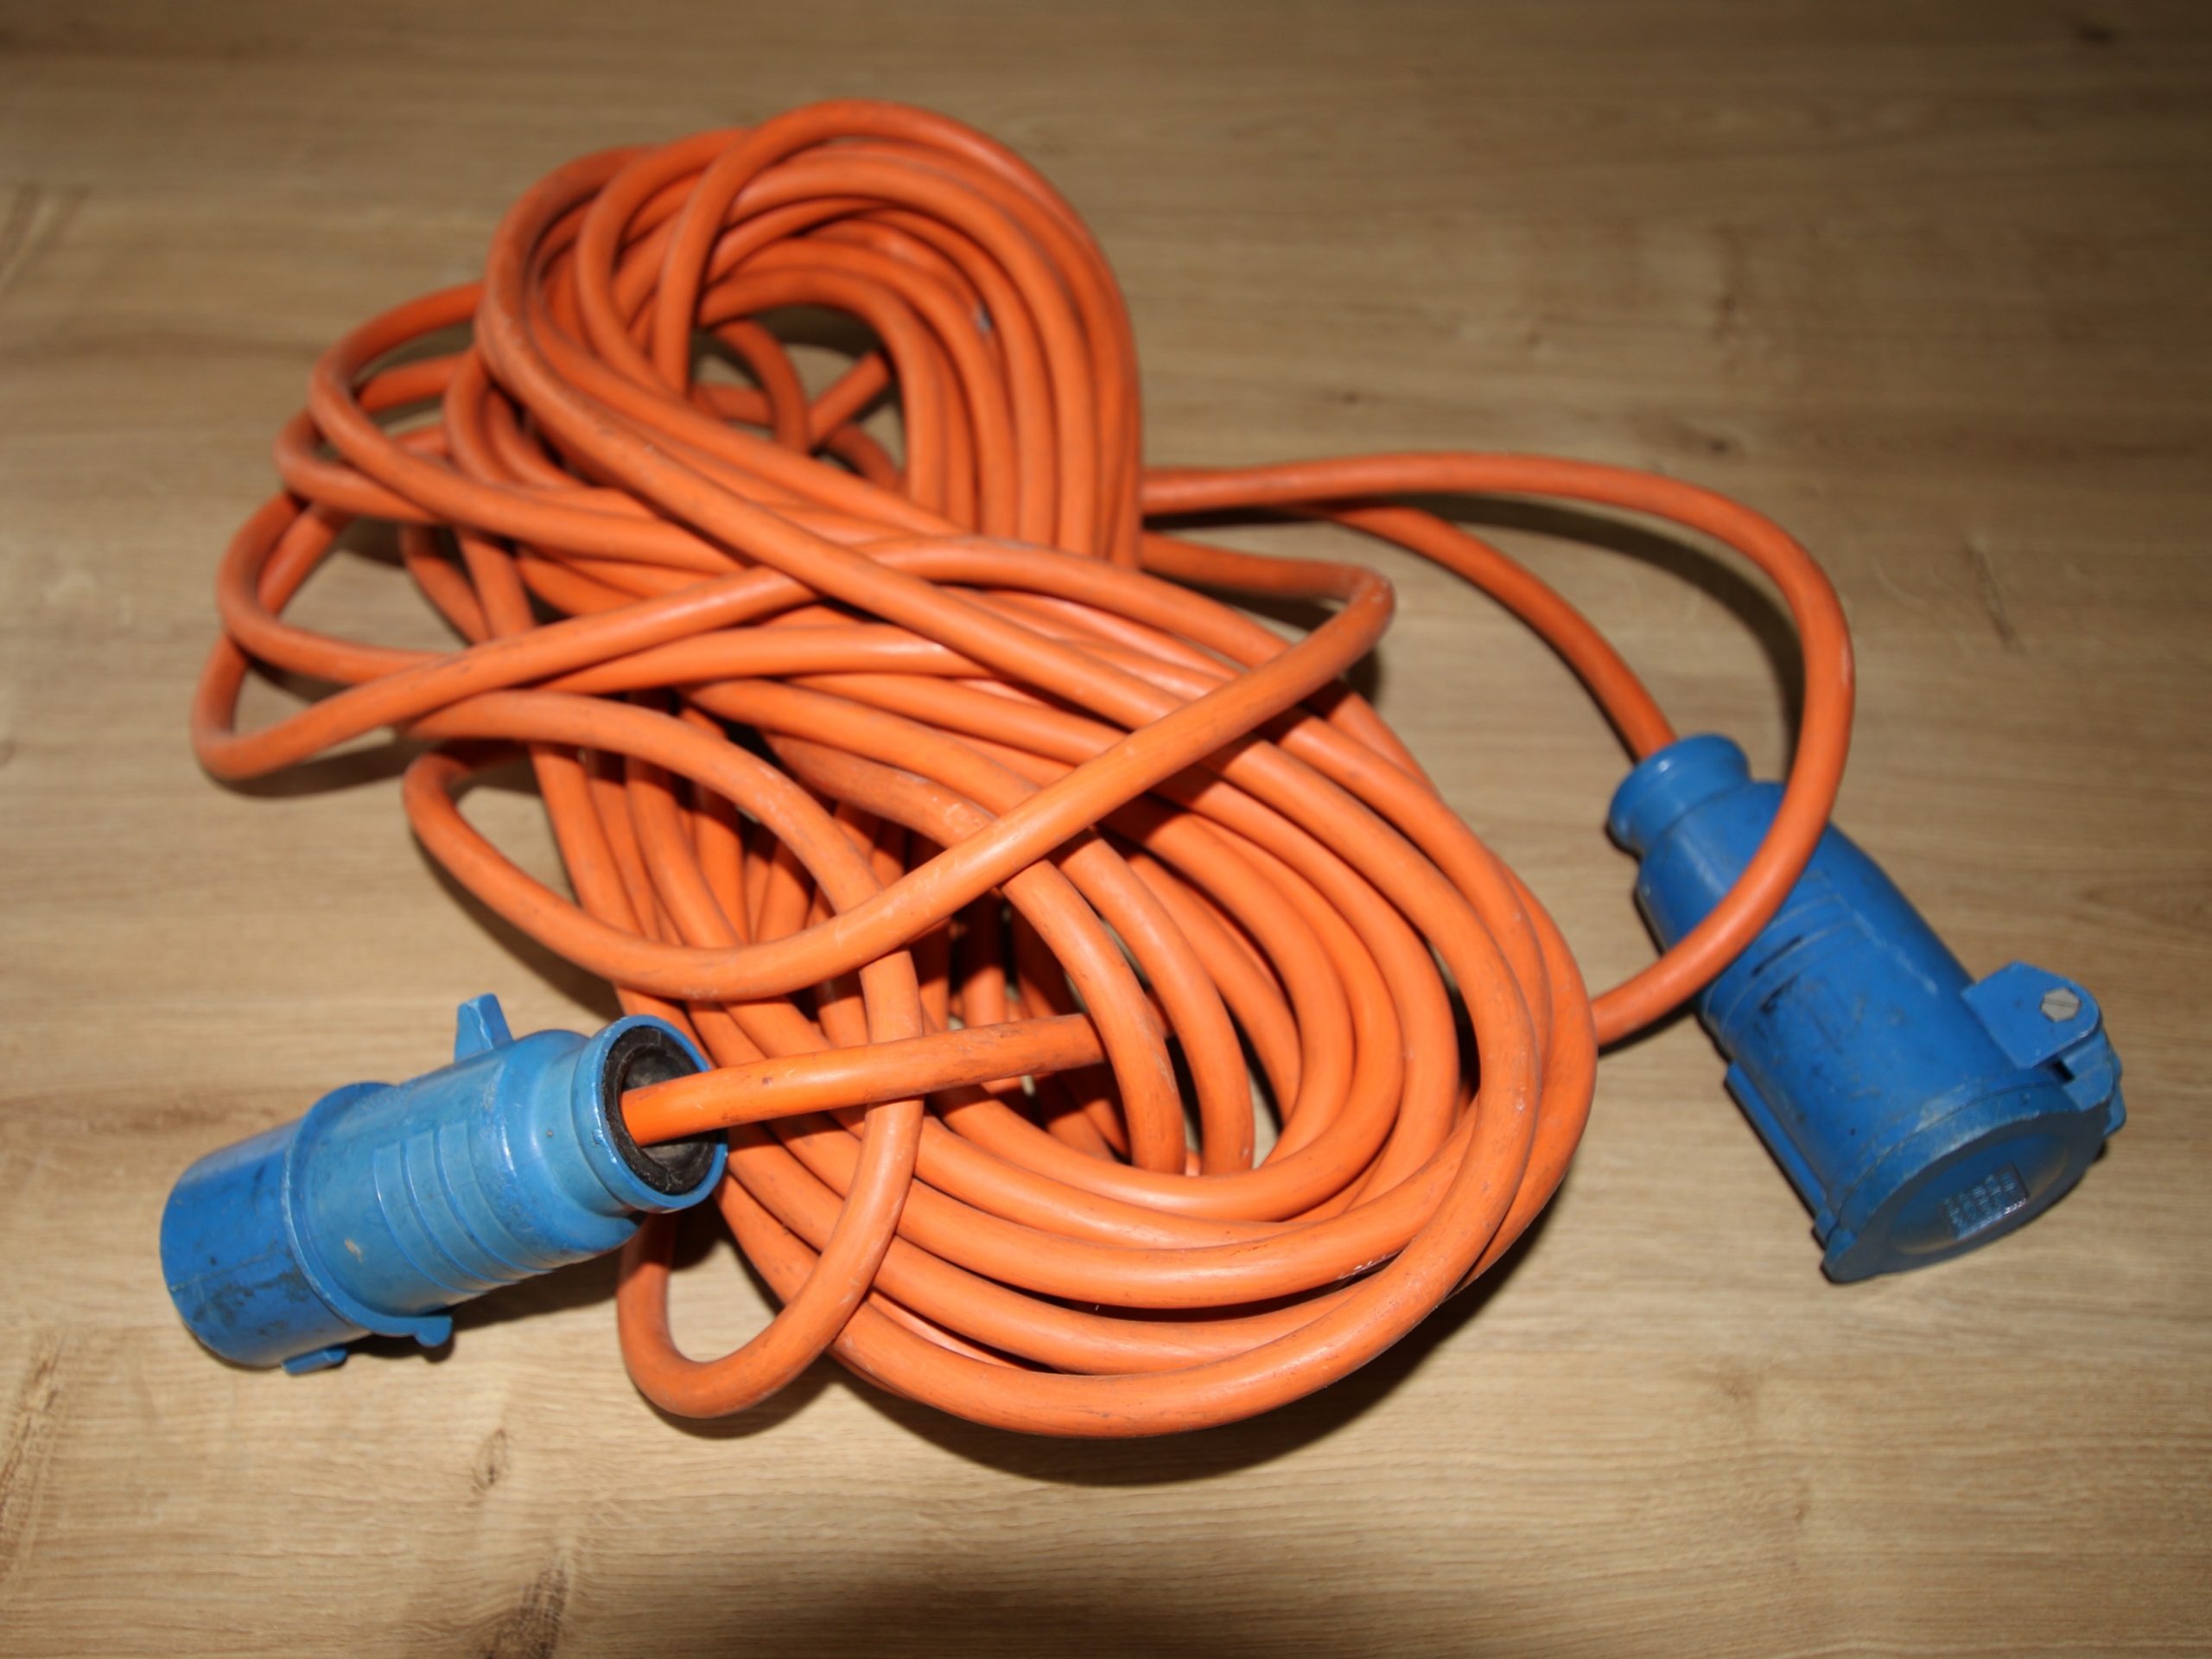
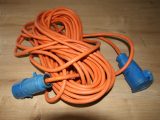
- A short section (50-60cm) of 16A orange EHU cable
Tools required are:
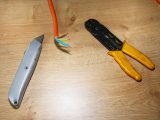
- Screwdrivers
- Stanley knife
- Wire strippers
I shall assume we’re starting from scratch but, if like me, over the years you’ve built up a collection of 25m EHU leads, one of those could be adapted. If you are doing this, you’ll only need to cut off the 50-60cm of cable, leaving one of the blue ends attached (it doesn’t matter which), then remove the other blue plug or socket from the remaining end.
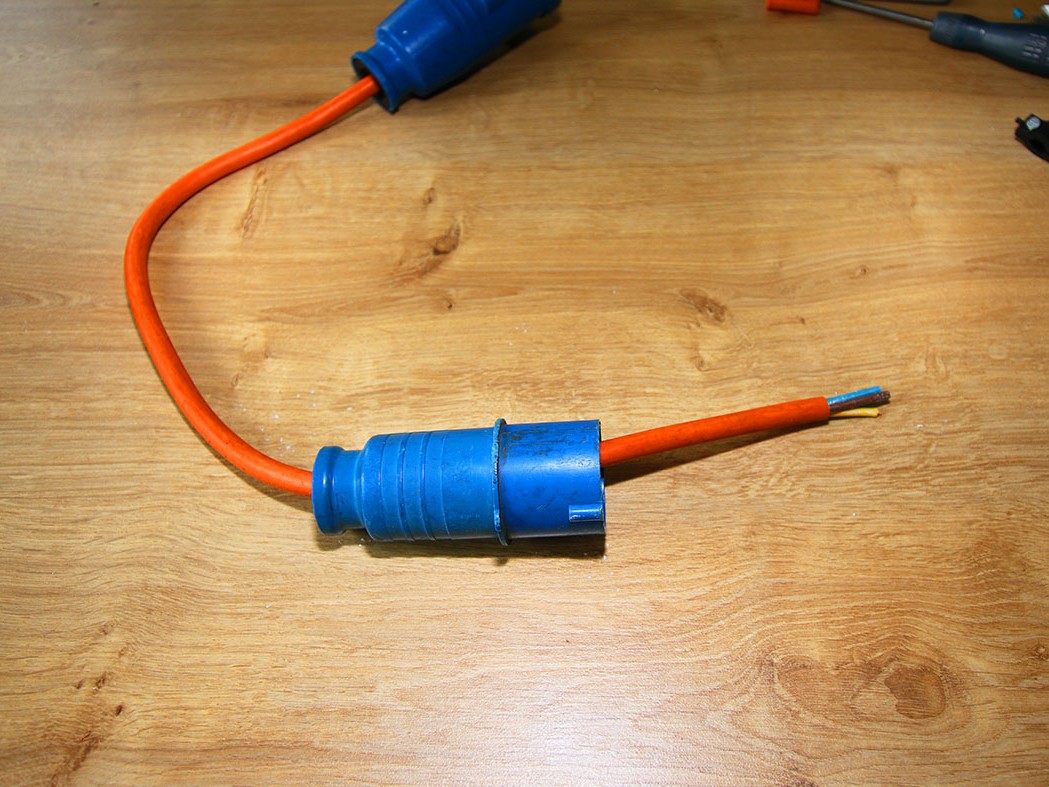
If starting from scratch, the first thing to do is dismantle (in our case) the blue female socket. There are a variety of sockets on the market – some of them come apart by unclipping, others (like ours) are screwed together. Then, carefully trim off 4 – 5cm of the orange outer sheathing on one end of the section of cable, using a Stanley knife.
Be very careful not to cut too deep, though, and damage any of the inner wires’ protection (brown, blue, green/yellow). Next, using the wire strippers, trim off about 5mm of the sheathing from each of the wires, to expose bare wires.
Twist the ends of each of the wires, so the strands ‘bind’ together. If you have terminal crimps, you could put those onto the ends of the wires, too.
Connections
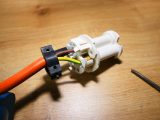
Looking at the ‘terminal’ part of the socket, you’ll find at least two of the terminals marked. Our ‘live’ connection was marked with an ‘L’, and the ‘earth’ with the appropriate marking. Connect the wires to their respective terminals in the correct manner at this end of the orange cable (brown to Live, blue to Neutral and green/yellow to Earth/Ground).
You can then reassemble the socket, ensuring that any sealing grommets are in place. Our socket cover could be slid along the cable from the bare end, and then secured in place.
Dismantle the blue male plug. Then, at the other end of the orange cable, cut and trim the sheathing (both orange, and the three inner) as previously.
Before doing anything else, if the outer casing of the plug is the slide-on type (as ours is), make sure you slide it and any grommets onto the cable the right way around and before making any other connections.
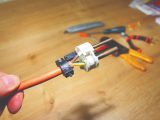
You’ll see that the ‘terminal’ part of the plug will be similarly marked to the end that you’ve just completed. However, at this end, the brown Live wire needs to be attached to the Neutral terminal, and the blue Neutral wire needs to be connected to the Live terminal (that is, the wrong way around). The green/yellow wire still goes to the Earth/Ground terminal. Reassemble the plug, and you now have your adaptor.
Of course, if you’re using the ready-made plug or socket on one end of the 16A cable, you only need to attach the ‘wrongly’ wired opposite end.
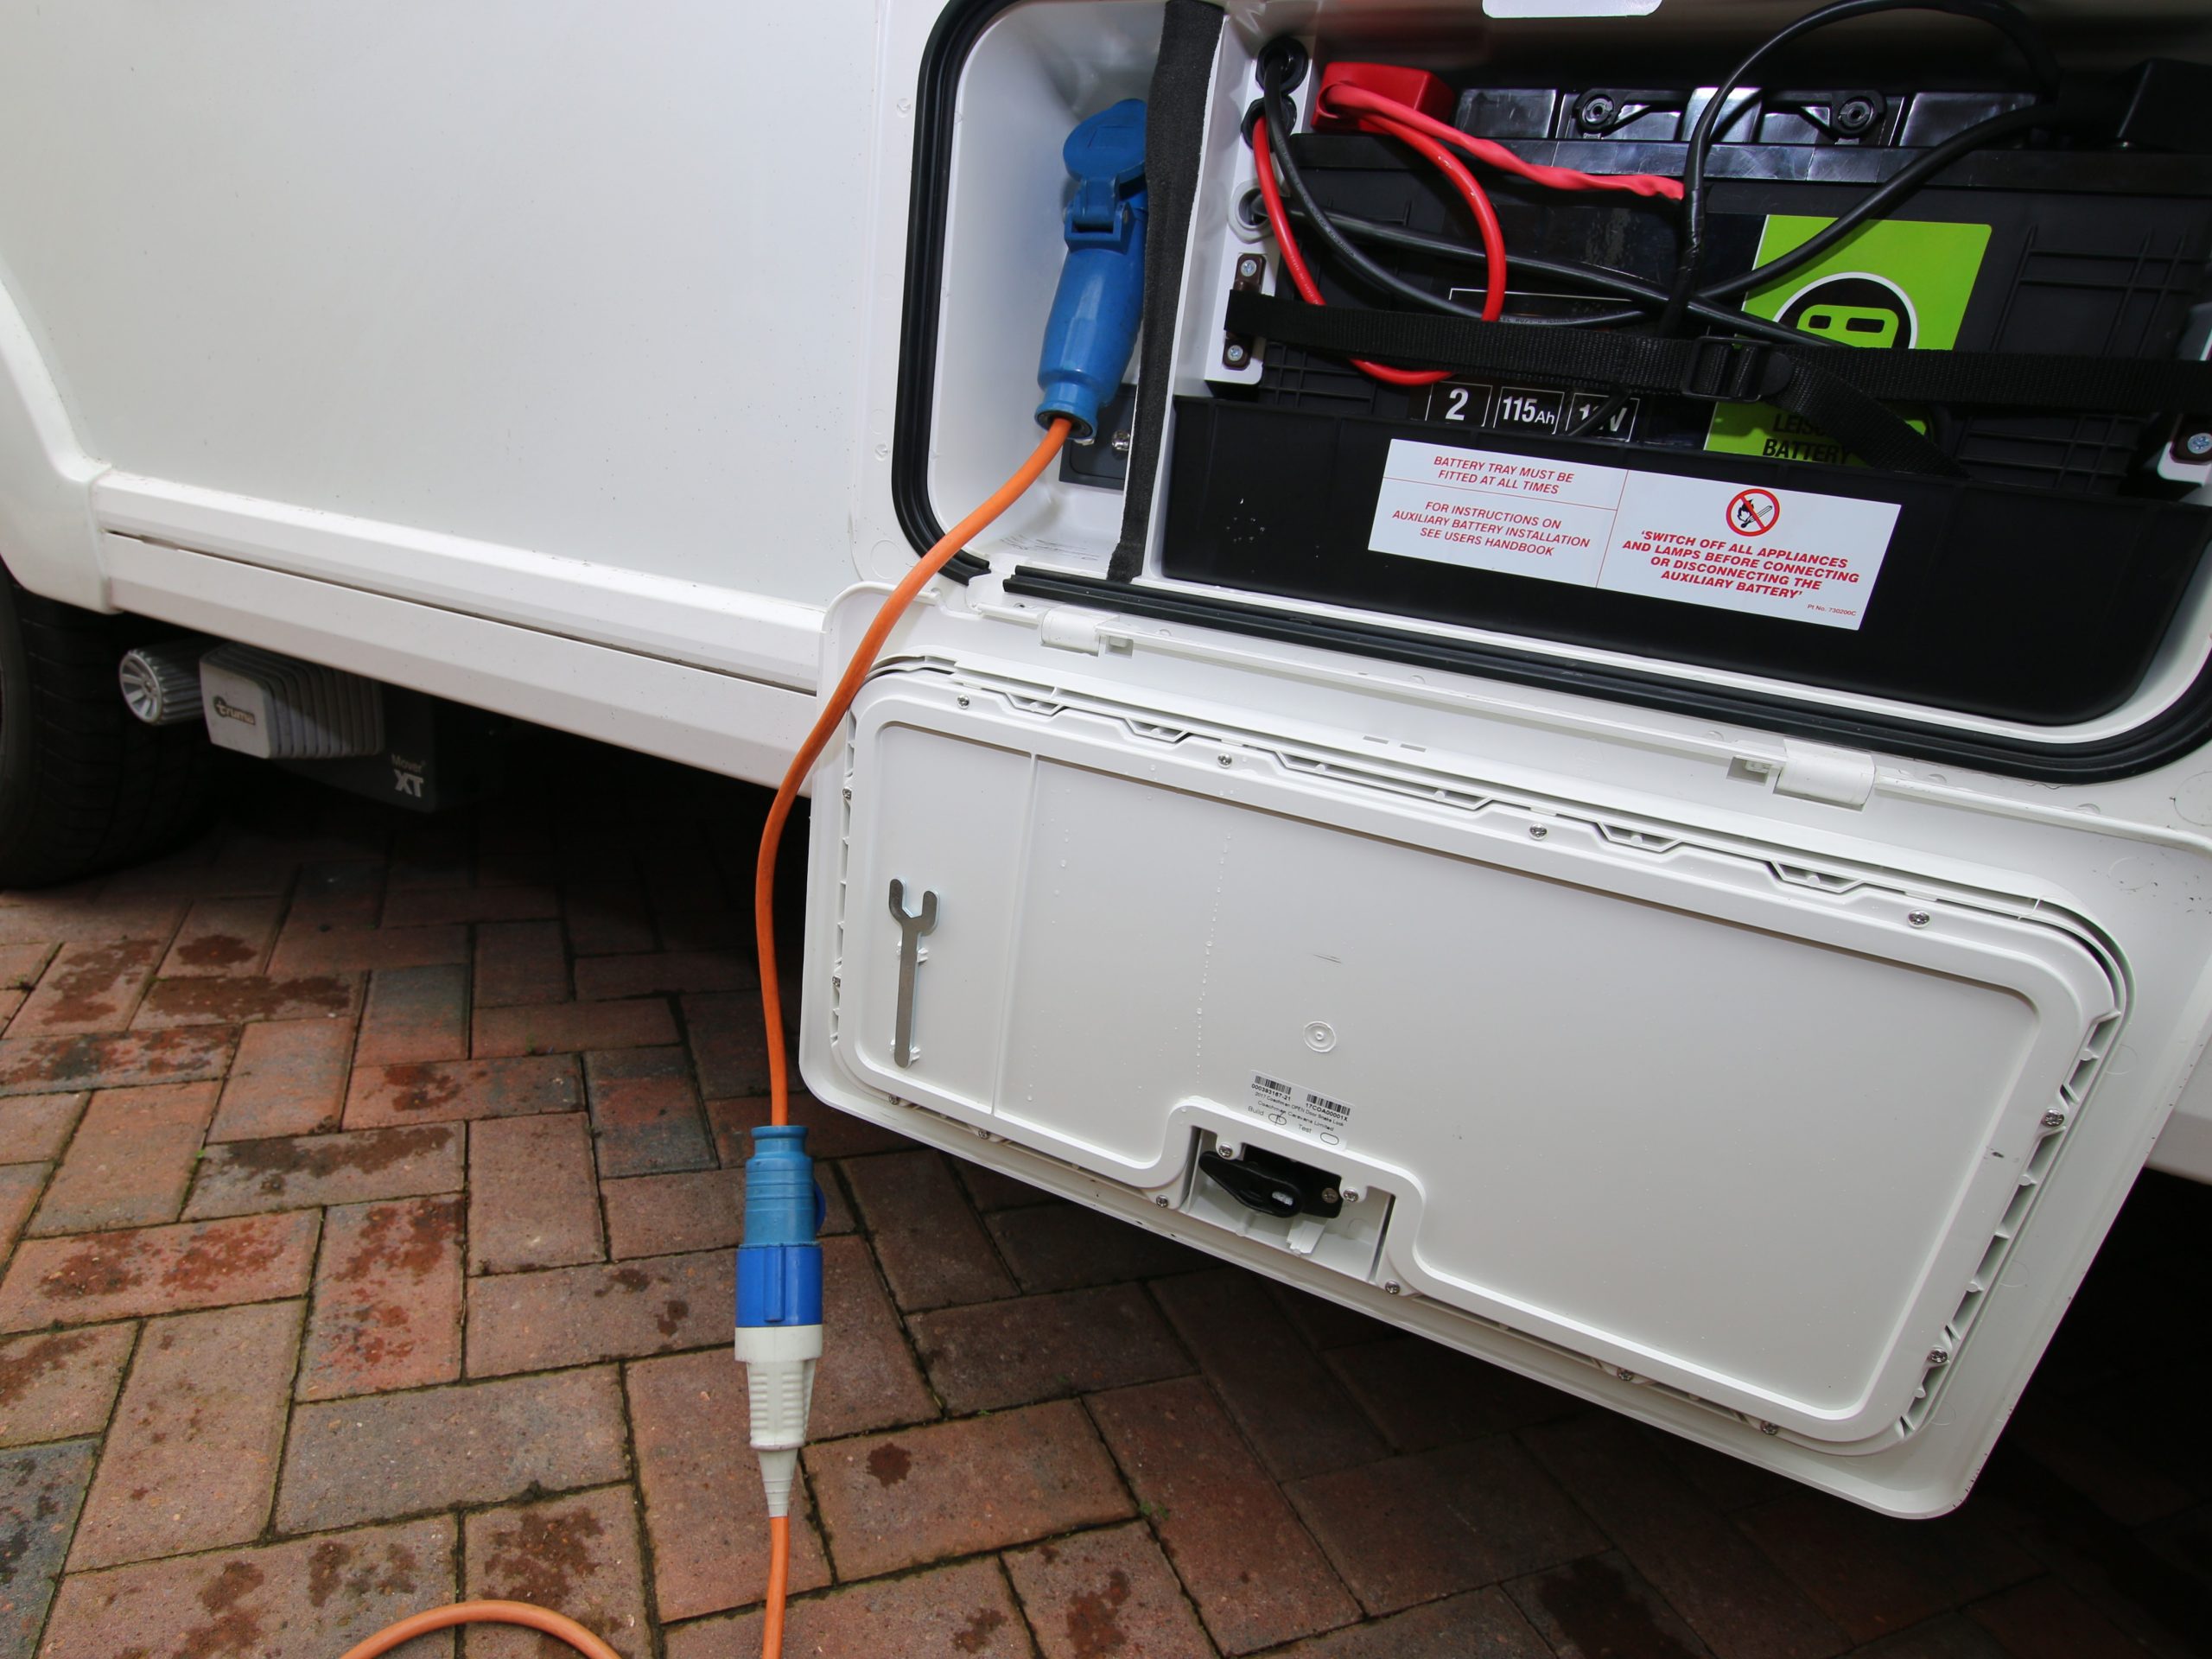
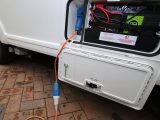
To test that the adaptor works, plug it into the caravan and connect your EHU cable to it, before connecting to the EHU socket, and turn on the power supply. Using your reverse polarity tester, it should show up a fault (that is, Line Neutral Reversed). That’s correct: you’ve reversed the polarity on purpose.
Especially when touring abroad, it’s good practice to test the polarity when you first arrive on-site and connect to the EHU bollard.
If needed, I tend to use the adaptor at the bollard end, rather than at the caravan – that way, it usually keeps any connectors off the potentially wet floor.
It’s also much easier having the adaptor, rather than having to do a rewire job at every other site on your EHU cable.
When we started touring on the Continent, I added three bits of kit to our collection: an EHU adaptor, a reverse polarity tester and a reverse polarity adaptor lead