


There’s nothing like having the proper tools for the job. For years, like many other caravanners I suspect, I used to carry different types of jack (bottle/scissor/trolley) for the van, “just in case”.
As it happens, I was very fortunate and never needed any of them (that’s done it!), but I still wouldn’t be without one.
A couple of years ago, I was having a look at all the clobber we traipsed about with on tour, and I decided it was time to invest in a jack designed for the job, and indeed, the only jack that Al-Ko recommends, the Al-Ko side-lift jack (1000kg).
The ‘1000kg’ refers to the static load the unit is designed to lift, so this jack is suitable for caravans with an MTPLM of up to 2000kg.
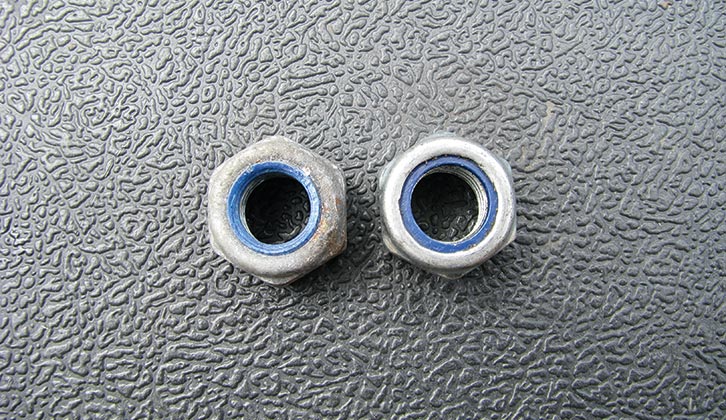
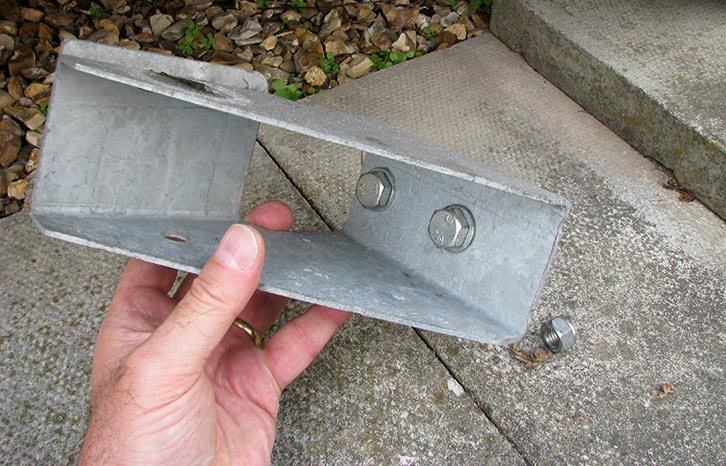
We have recently changed tourers, so there have been a number of items that I have swapped from the old one to the new, the side-lift jacking points being one (er, two) of them. Please note that if transferring these, Al-Ko recommends that new Nylock nuts (x4) should be used.
- Interested in knowing about the pros and cons of the different types of caravan? John Sootheran is on hand to explain all
Tools Required to fit an Al-Ko side-lift jack:
- 19mm spanner
- 19mm 1/2 inch drive socket, extension and ratchet
- 1/2 inch drive torque wrench
Installing the jack
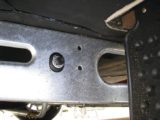
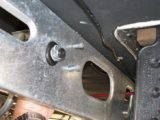
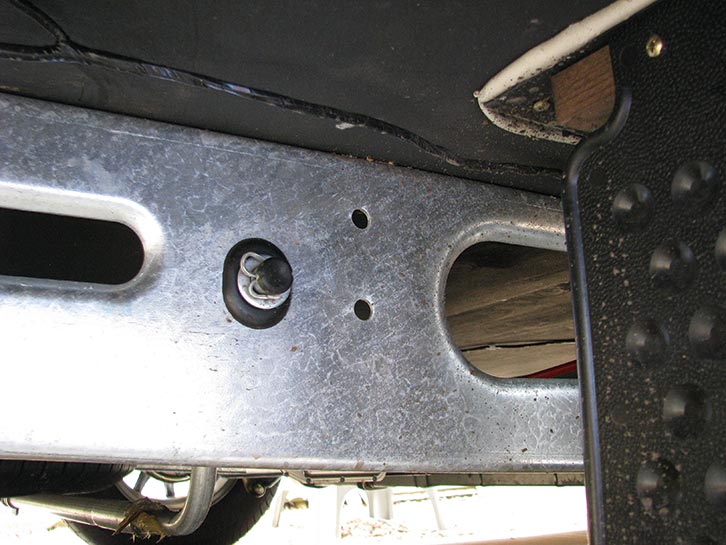
The first thing to do is to locate the mounting points on the caravan chassis.
These consist of a pair of vertical holes just forward of the spare wheel carrier and to the rear of the wheels when viewed from the side.
All caravans fitted with an Al-Ko chassis manufactured after 1991 will have these holes pre-punched. For models made before that date, Al-Ko says it is permissible to drill the chassis members in accordance with the instructions supplied with the jack kit.
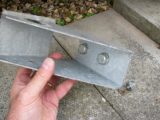
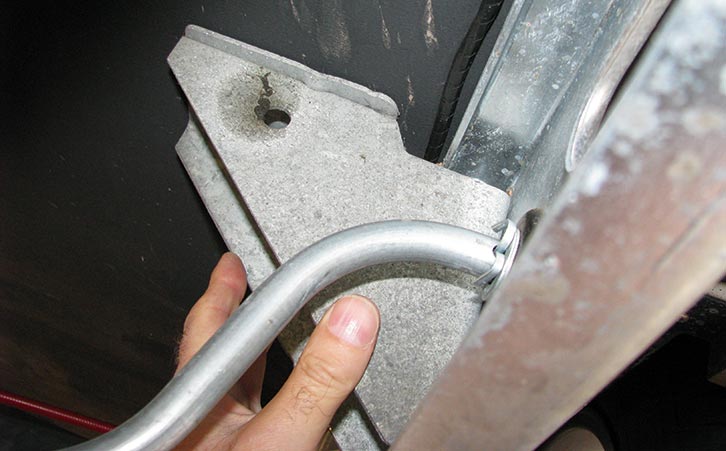
Once you have located the mounting points, position one of the inner jack mounting brackets (the more simply constructed piece, without the slot for the jack mount) with the cutaway section at the top inside the chassis, and line up the holes in it with those in the caravan chassis.
Then, after putting a washer on each of the two bolts required on each jacking point, insert the bolts through the holes in the inner jack mounting bracket and the chassis.
Do this from the inside of the chassis, thus ensuring that the bolt heads are on the inner side. You might find it easier to put the bolts through the bracket before mating it up to the chassis and carefully feeding them through the chassis holes.
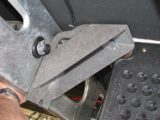
Next, put the outer mounting bracket’s holes onto the ends of the bolts protruding through the chassis (on the outside of the chassis). The slot where the jack itself will fit will end up vertically at the bottom.
Then, put a washer and a Nylock nut onto the ends of each of the bolts.
Before you start to tighten the nuts/bolts, be mindful of any wires or other obstructions that might become trapped.
On our caravan, I had to keep some wires (the feeds to lower side marker lights) out of the way as I tightened them.
Holes in the outer brackets are slightly elongated, which should allow a little positional movement if this is required.
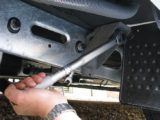
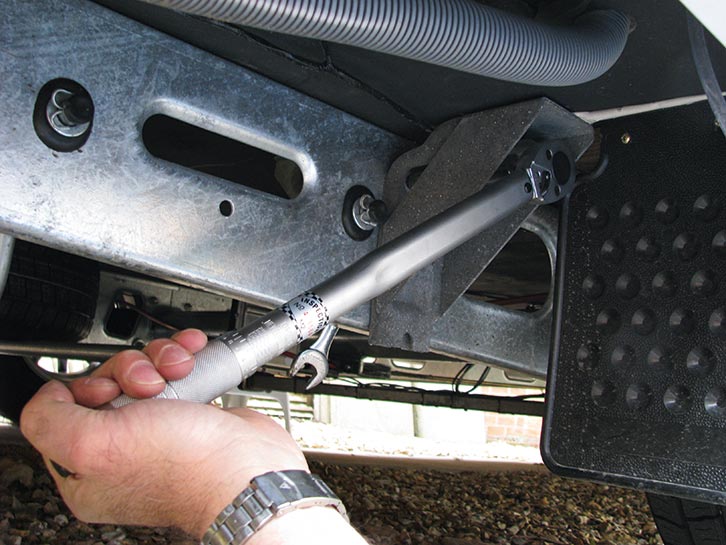
Once reasonably tight, they need to be tightened to a torque setting of 86 Nm.
Once the other brackets are fitted to the opposite side of the caravan, that’s it as far as fitting is concerned. However, it’s wise to check the operation before it might be needed in an emergency, in case something hasn’t quite gone right.
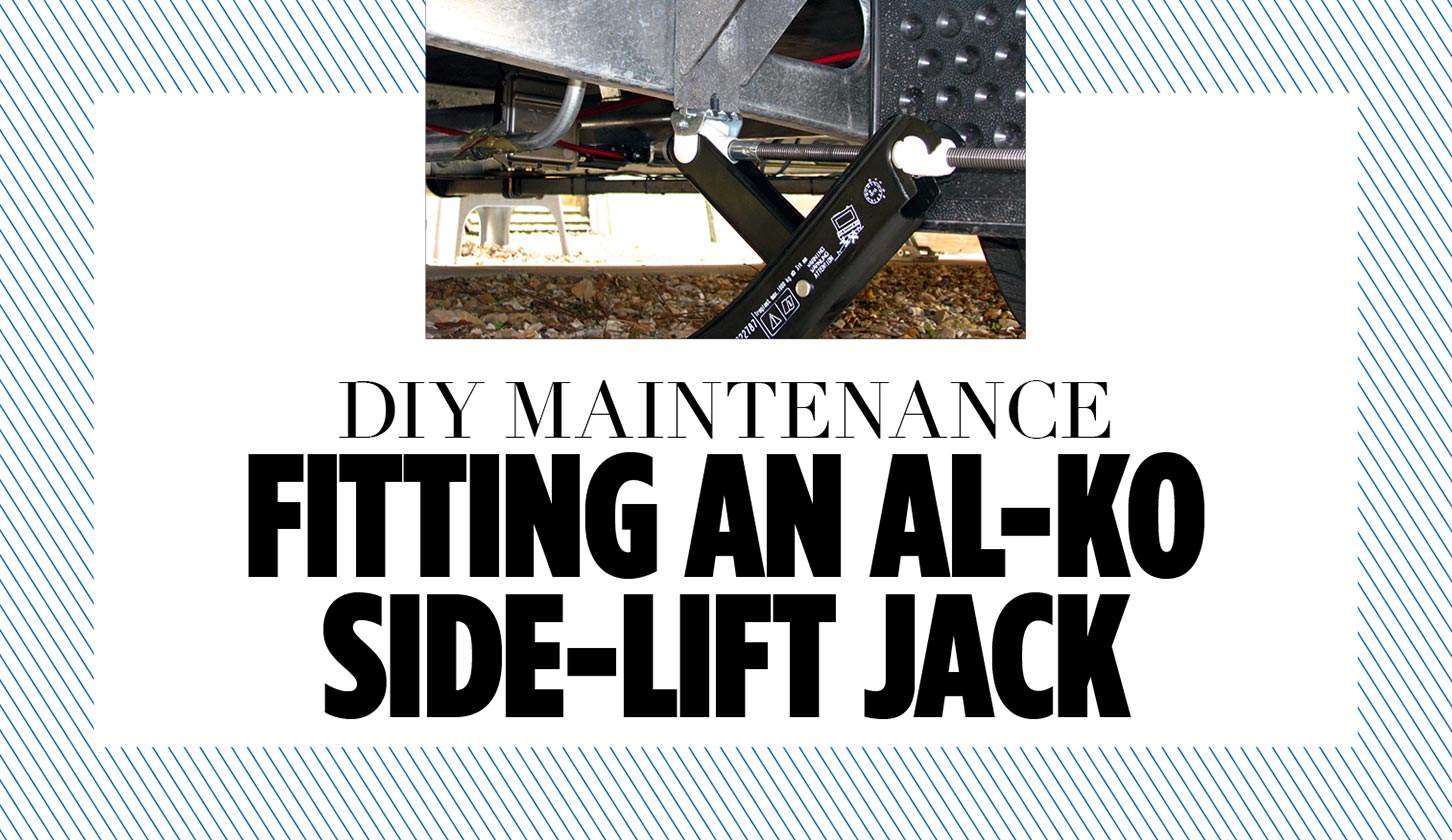
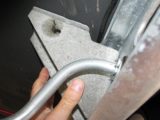
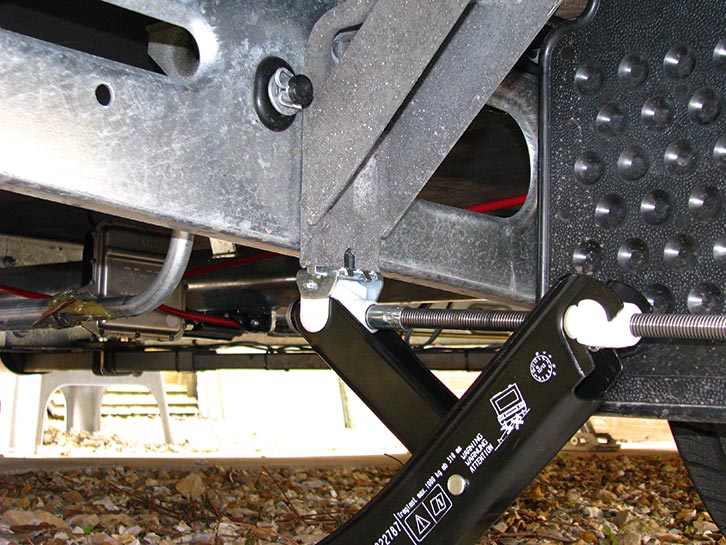
Once all of the necessary precautions have been taken (suitable ground, brakes applied, attached to a towing vehicle, wheels chocked and so on), slot the insert piece of the jack into the jack mounting bracket. While holding the jack with one hand, turn the jack handle in a clockwise direction until the base plate reaches the ground. Ensure that none of
the jack’s components is likely to foul or damage any part of the caravan. On our previous tourer, unless I had a block (an inch or so thick) on the ground for the foot, the winder would hit a lower body trim panel.
Now make sure that the foot of the jack is directly beneath the insert/bracket slot. If all’s well, simply continue to raise the caravan until the wheel is just clear of the ground, and then repeat the operation on the opposite side.
Finishing up
The final task is simple. Put the jack in the supplied bag, and hope that you won’t ever need it – but if you do, at least you know it’s the proper tool!
There are other makes of jack available, which operate in a similar way and use the specific mounting holes in the chassis.
A step-by-step guide to how to fit an Al-Ko side-lift jack:
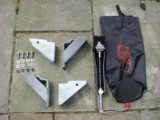
1. An Al-Ko side-lift jack kit and contents.

2. Use new Nylock nuts (used ones on the left, new on the right).
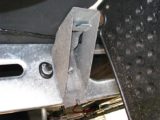
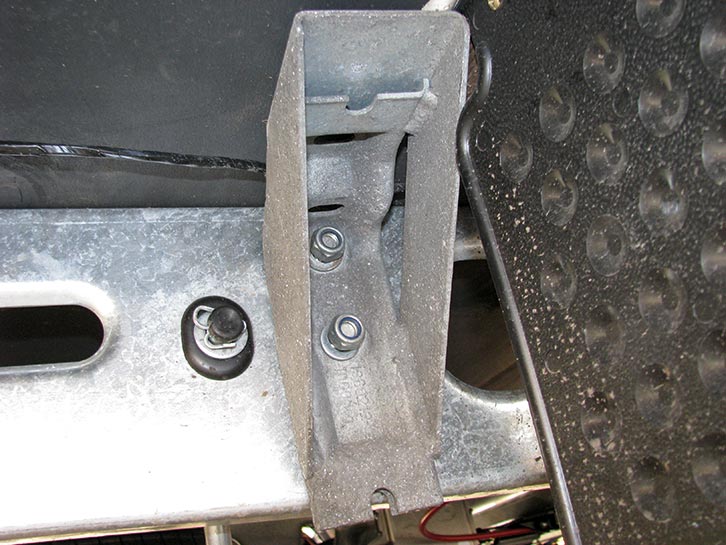
3. Locate the pre-punched holes on each side of the caravan.
4. Position the inner jack mounting bracket over the pre-punched holes, or insert the bolts (and washers) through the holes in the bracket.
5. With bracket inside the chassis, feed the bolts through the holes.
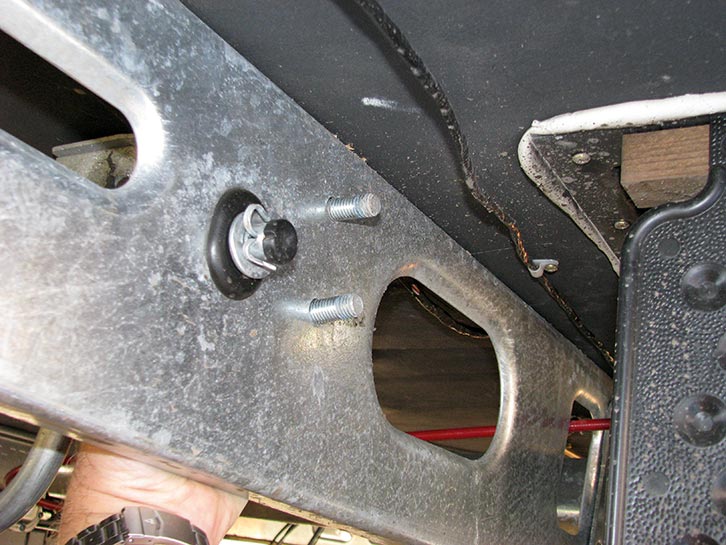
6. Put outer jack mounting bracket onto the ends of the bolts.
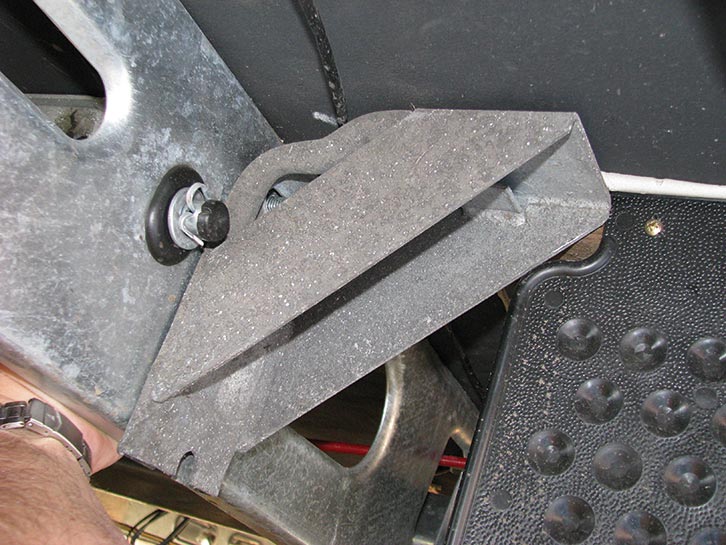
7. Washer and Nylock nut on bolts.
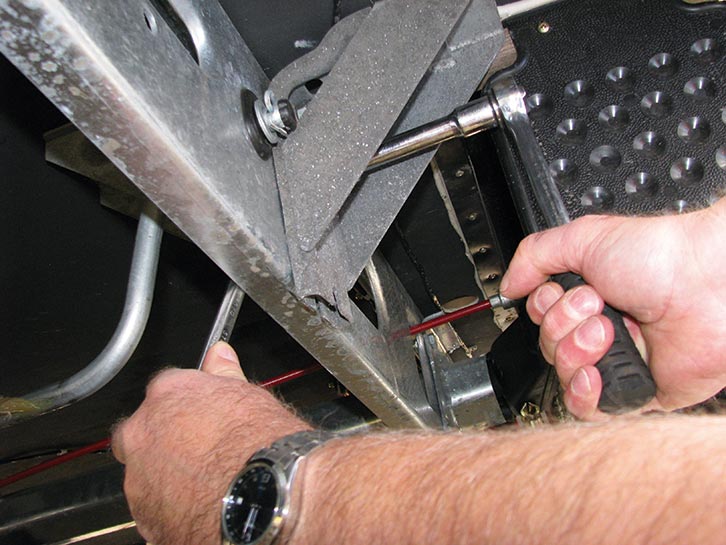
8. Tighten the nuts/bolts.
9. Torque them up to 86 Nm.
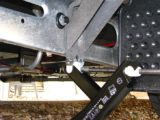
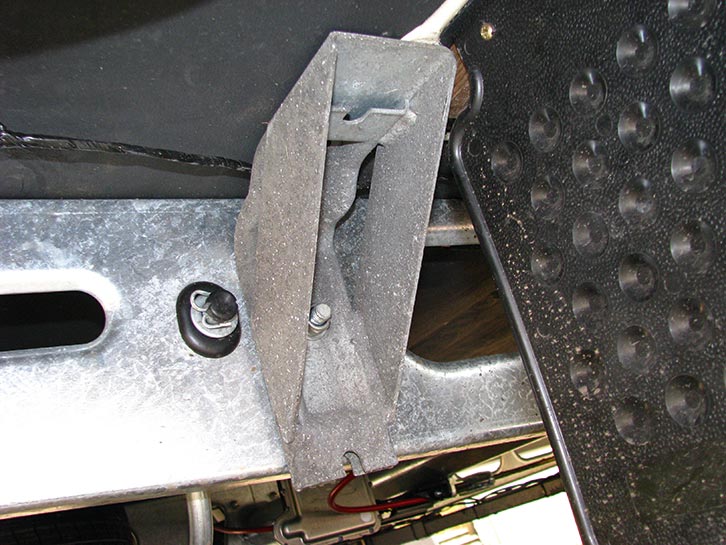
10. The completed job.
Important note
Never drill any part of an Al-Ko chassis unless Al-Ko’s specific instructions dictate otherwise, as this could cause a structural weakness in the chassis, and will invalidate any warranty.
After more great projects? Then why not take a look at these:
- We talk you through how to care and repair your caravan’s rubber seals
- In this project, we explain how you can fit a seven-pin 12S socket to your towbar
Future Publishing Limited, the publisher of Practical Caravan, provides the information in this article in good faith and makes no representation as to its completeness or accuracy. Individuals carrying out the instructions do so at their own risk and must exercise their independent judgement in determining the appropriateness of the advice to their circumstances. Individuals should take appropriate safety precautions and be aware of the risk of electrocution when dealing with electrical products. To the fullest extent permitted by law, neither Future nor its employees or agents shall have any liability in connection with the use of this information. You should check that any van warranty will not be affected before proceeding with DIY projects.
If you’ve enjoyed reading this article, why not get the latest news, reviews and features delivered direct to your door or inbox every month. Take advantage of our brilliant Practical Caravan magazine SUBSCRIBERS’ OFFER and SIGN UP TO OUR NEWSLETTER for regular weekly updates on all things caravan related.