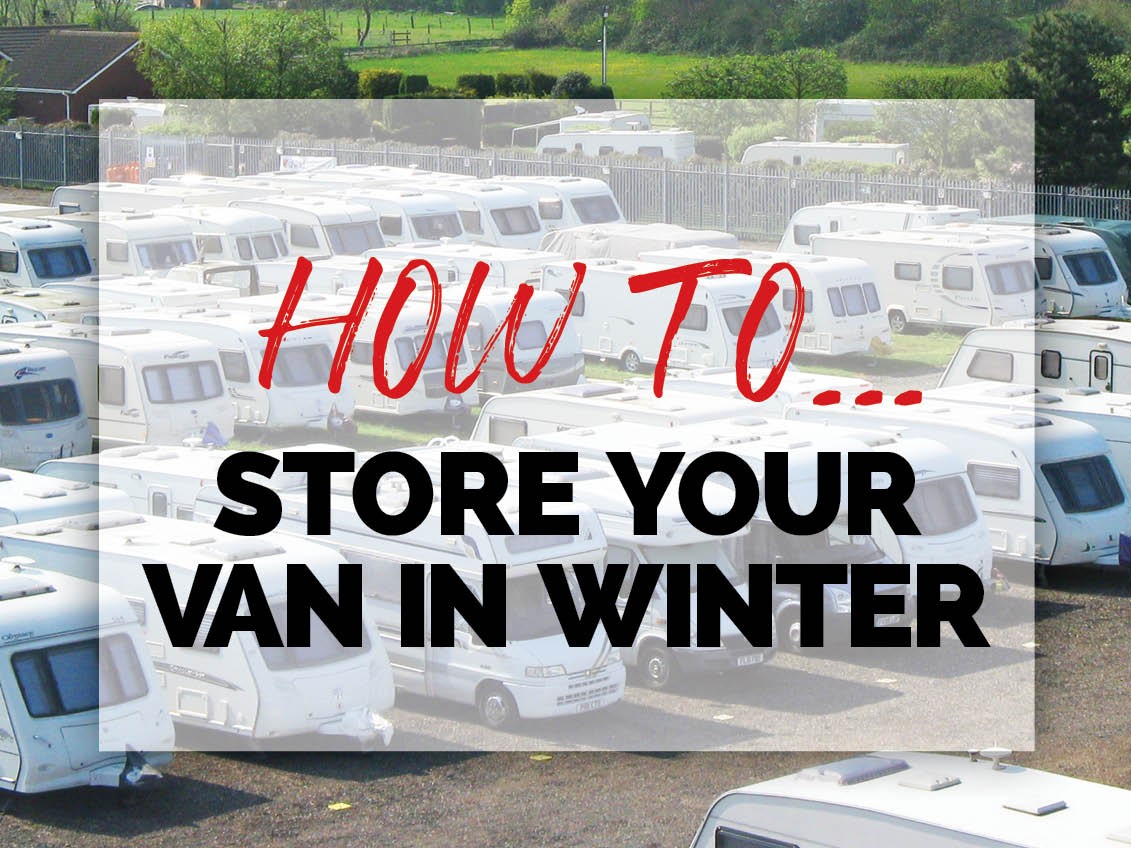
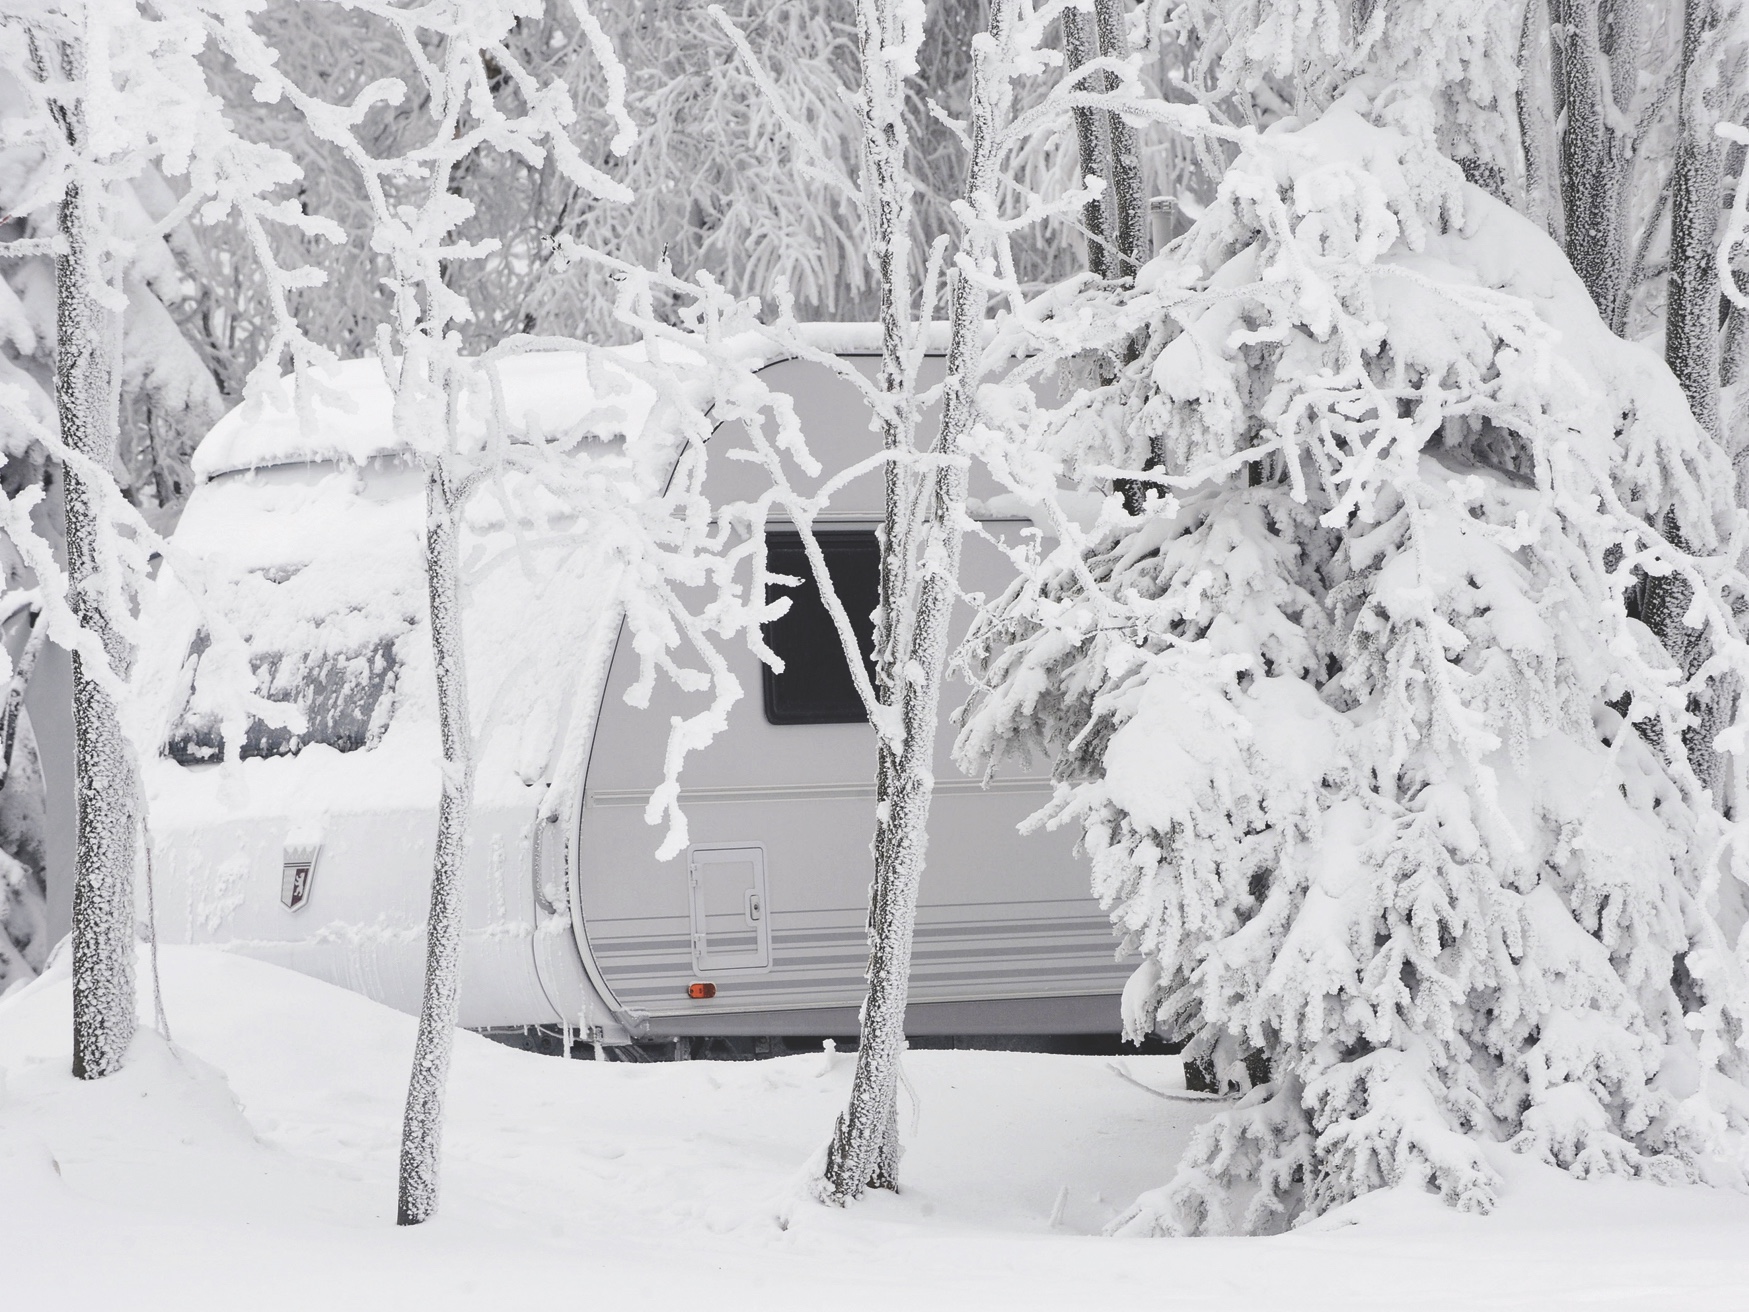


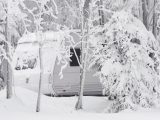


If you don’t tour in the late autumn and winter months, putting your caravan ‘to bed’ properly is crucial. Get this wrong and you could face big (and small) problems in the spring when you want to head off on tour again. Here’s our 12-step guide to prepping for a safe winter layover.
Storage
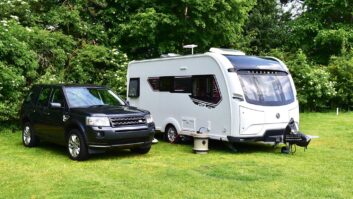
Where will you be storing your caravan? There are benefits to keeping it at home, such as being able to run a power lead to it, to trickle-charge the battery.
On the other hand, home-stored tourers are statistically much more likely to be stolen or damaged, compared to those kept in bespoke compounds. Many housing estates also ban caravans on driveways.
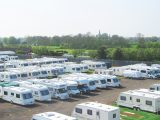
If you can’t store your van at home, we can recommend checking out CaSSOA.co.uk. The Caravan Storage Site Owners’ Association maintains high standards of security and service, with excellent access to your leisure vehicle.
The elite sites are gold-rated, and storing in one also reduces your insurance premium, with the best insurers offsetting part of the cost with discounts.
Typically, you’ll pay from £250 to £600 a year for storage, depending on your location. The southeast tends to be the most expensive area.
Security
Whether you are laying up your caravan at home or in a storage facility, it pays to fit additional security. All security can act as a deterrent and encourage thieves to move on to an easier target, but here are our recommendations:
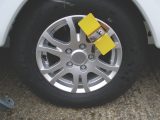
Out of sight, out of mind. At home, store your caravan as far from the road as possible, blocking it with a temporary fence panel, heavy-duty security post (you can buy one for around £100), or another vehicle.
Use a good-quality wheel lock. Al-Ko are generally considered the best. A tough-steel receptor is permanently fixed to the rear of the wheel hub. A removable, hi-vis lock is slotted through the wheel spokes into this receptor and bolted, then locked, in place. I think the term here is ‘belt and braces’! Other wheel lock brands worth a look are Purple Line, Bulldog and Milenco.
For long-term storage, devices known as ‘winter wheels’ are the most secure option, acting as both huge deterrent and thief stopper. Winter wheels are fitted to the caravan once the wheels have been removed. They fix securely to the wheel bolts and look a little like an axle-stand. My favourite device in this category is the JSB Hublock.
As well as resisting attack by angle-grinders and oxyacetylene cutting torches, these stands let you store your wheels and tyres indoors, protecting them from the elements, UV deterioration and the detrimental effects of being constantly under the weight of the caravan. Note, however, that some storage sites do not allow winter wheels.
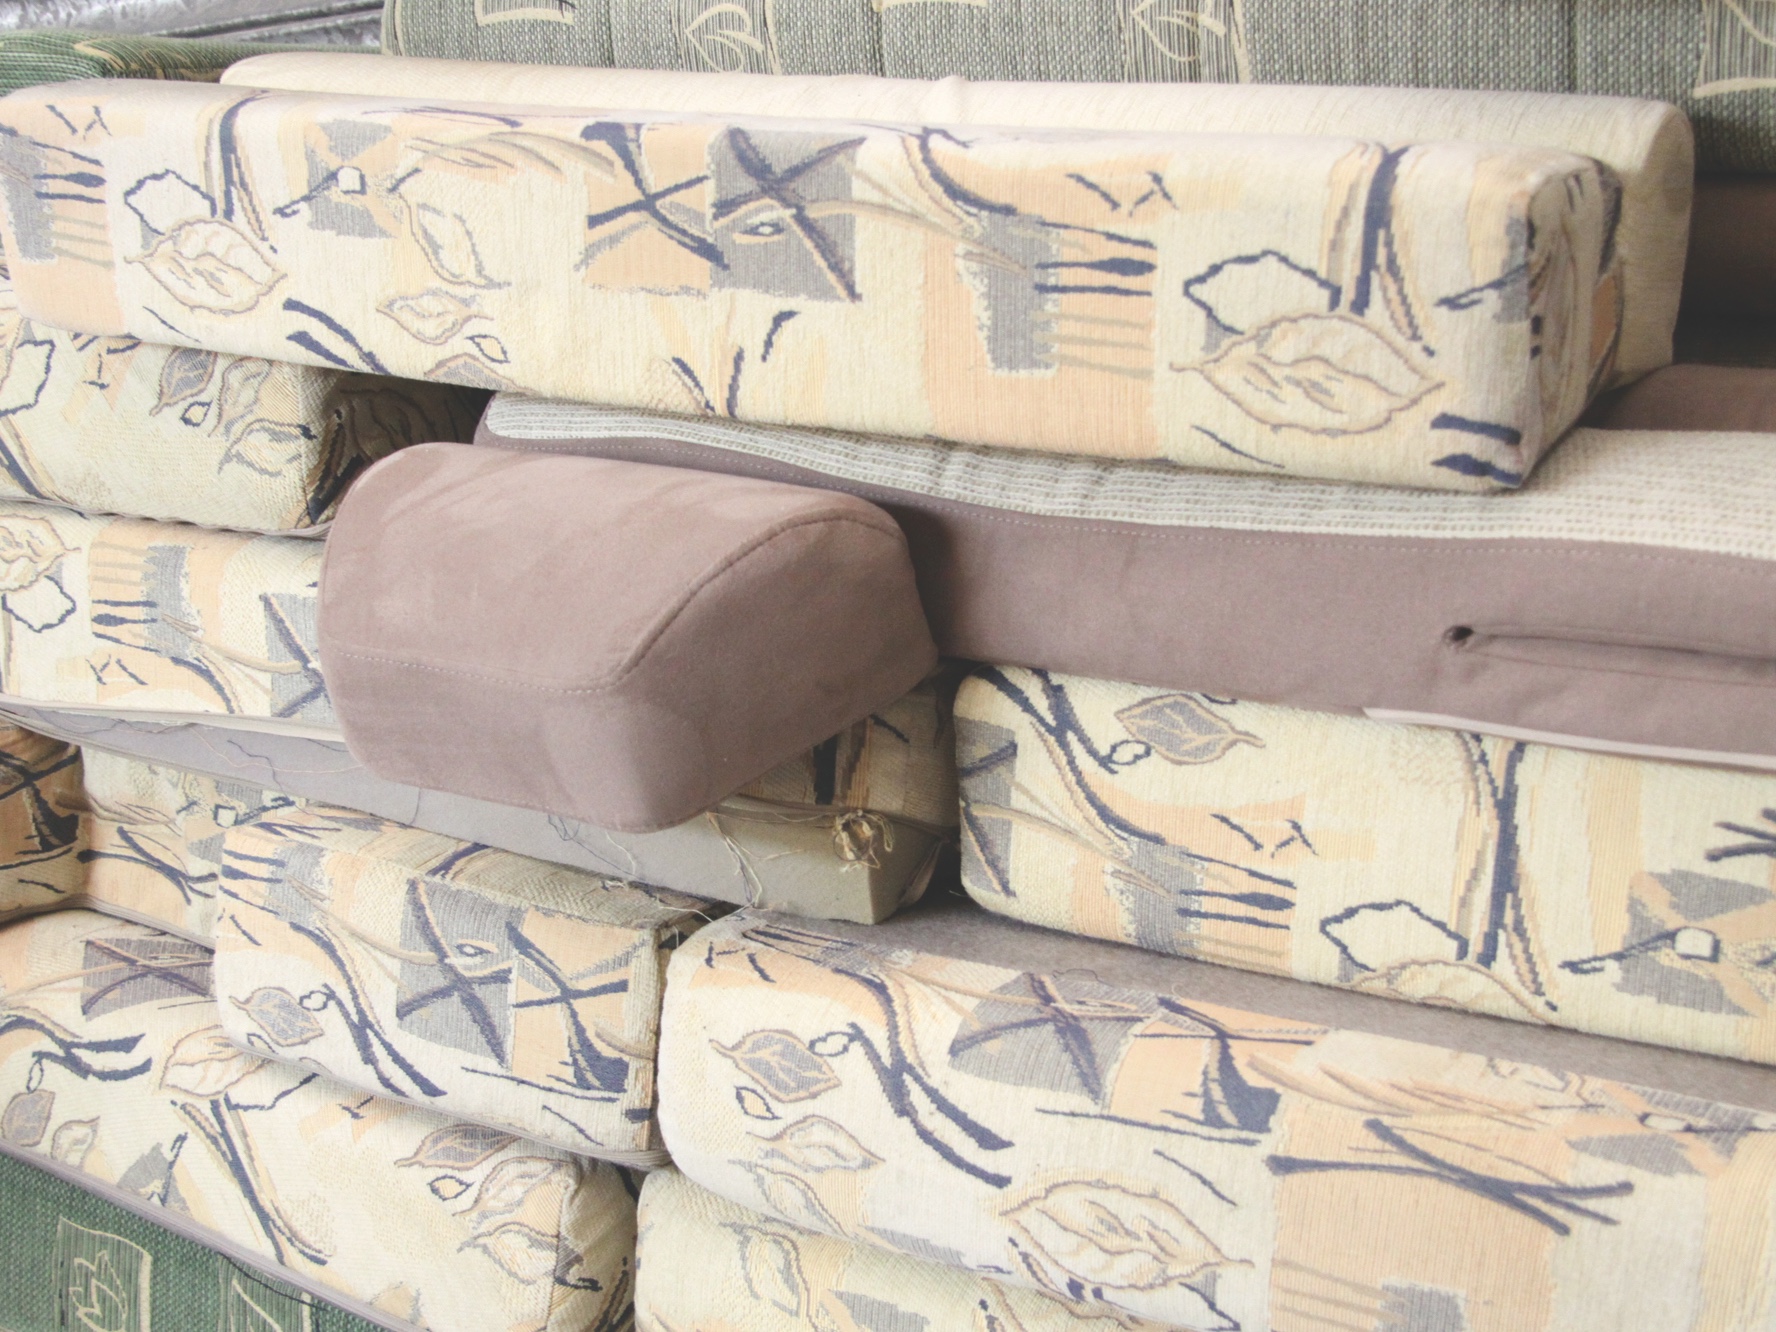
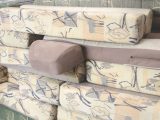
Remove the upholstery
For storage during the winter, consider removing the upholstery (seat bases and backs) from your caravan, and storing them somewhere warm and dry in your home.
Not only will this maintain your furnishings in excellent condition, by avoiding lengthy periods spent in a cold/damp environment, but it will also make your caravan far less attractive to potential thieves.
If you do this, leave a blind open so thieves can see that they’ve been removed.
Consider leaving mattresses upright, for maximum airflow all around.
Deter rodents
Once it gets inside your caravan, a tiny mouse can do a lot of damage, nibbling through cables and water pipes and destroying upholstery for nest-building purposes.
Many caravanners store cheaply in farmers’ yards, but these areas are most likely to be home to rats and mice.
Good storage sites will be free from long grass and weeds, which encourage rodents and might provide access to the van.
Food crumbs and waste will quickly attract mice. Clean up thoroughly before leaving the caravan for winter.
Lowered corner steadies can act as ‘ladders’ for rodents to access your van.
You can attempt to block up any tiny holes giving access to your van, but mice can squeeze through apertures the size of your little finger, so it’s a big ask. Better to store where the risk is minimal.
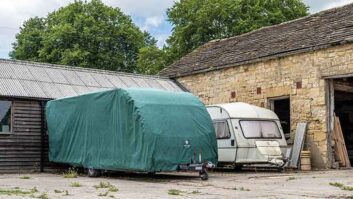
Caravan covers
A good-quality, well-fitting caravan cover from the likes of Specialised Covers or Pro-tec will be a significant investment, because they are tailored to your model of caravan. Payback comes as they not only protect your beloved tourer from rain, ice and snow, but also shield all-important sealants against UV damage and hardening, prevent graphics from ageing, and stop damage from bird lime and sap.
Covers are also an extra line of defence against thieves, and can be manufactured with extensions for roof-mounted sat dishes or air-con units, and transparent sections covering fixed solar panels.
Loose-fitting covers that flap about in the wind can damage the paint finish on a caravan.
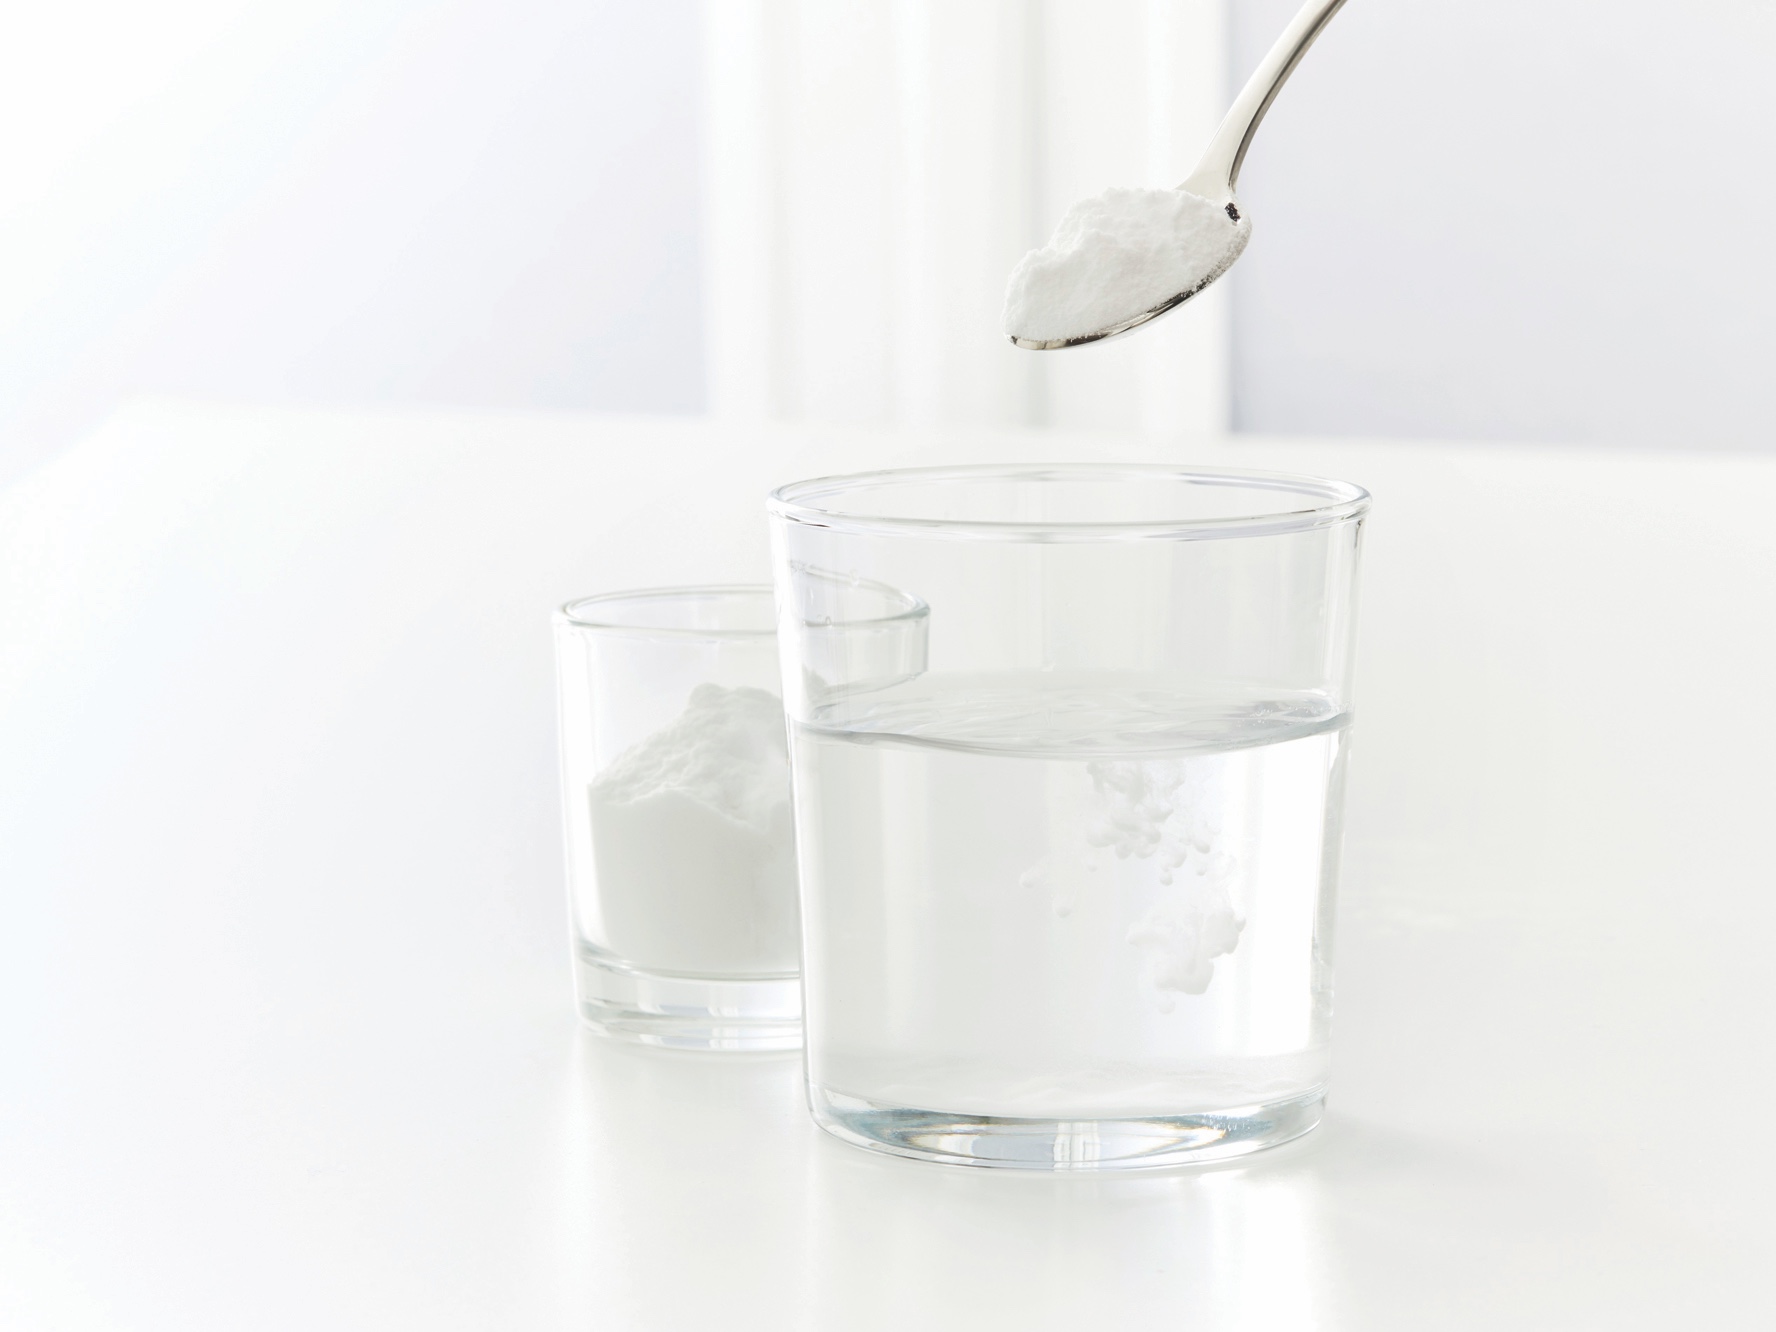
Flush out your water system
After a long touring season, sometimes in hotter climes, it makes hygienic sense to flush out your water system before or after a winter lay-up.
To clean and descale the system, some people choose white vinegar diluted 1:50 with water, or bicarbonate of soda (1tsp per litre). These will clean, but not sterilise.
For sterilising, a product like Puriclean is best, and relatively cheap. Milton Fluid is also popular but manufacturers say this has the potential to damage internal pump components, so we’d avoid it.
Whatever you use, mix the solution in your Aquaroll, then close all of the taps and turn on the pump.
Starting at the tap furthest from the tank, open each in turn until the solution starts pumping through (be careful of spluttering air in the pipes). Close the tap and move on. When they’re all done, leave the solution in the system overnight to take effect.
The following day, fill the Aquaroll with fresh water and pump it through each tap in turn until there are no chemical smells. Repeat this until you’re happy the tap water is pure.
The Aquaroll and grey-waste tank also benefit from this treatment. Milton Fluid or Aquatabs can be used to sterislise your water container.
Drain down your water system
Leaving water in your hot and cold on-board water tanks, boiler and pipes over winter is a recipe for disaster, because freezing and expansion can cause expensive damage.
Some insurance policies demand that you drain down the systems when your van is not in use between November and March.
Standing water in pipes also causes odours and, potentially, sickness if drunk. To drain down the system:
- Switch off and disconnect your external water pump.
- Open all of the taps, including the shower. Position mixer taps halfway between hot and cold.
- Leaving the shower tap open, remove the showerhead and let it dangle downwards.
- Open the yellow drain-down tap (usually near the caravan boiler unit) by flipping it vertical.
- Water should now drain out under the caravan.
- Flush the toilet several times to empty the reservoir.
- Leaving a little dilute chemical in the toilet cassette should stop build-up of germs or odours.
- Leave all taps open.
- Towing your caravan with all of the taps open can help shift stubborn water out of the system. Alternatively, you could try a device like the Flöe (£46), which, typically, ‘blows’ out one to three litres of excess water, using air pressure.
Sealed wet-heating systems, like Alde, do not need to be drained, but the level (and concentration) of antifreeze should be checked annually.
Charging the leisure batteries
There are several ways to keep your leisure battery in tip-top condition over the winter months.
One option is to remove the battery from the caravan and trickle-charge it in a well-ventilated garage.
We like the ‘intelligent’ CTEK charger range. These start at around £50, depending on how ‘smart’ a charger you choose.
You could always charge the leisure battery in situ, although of course, if you do this, you will need to run a power lead to the caravan, which won’t be possible if you are keeping it at a storage site.
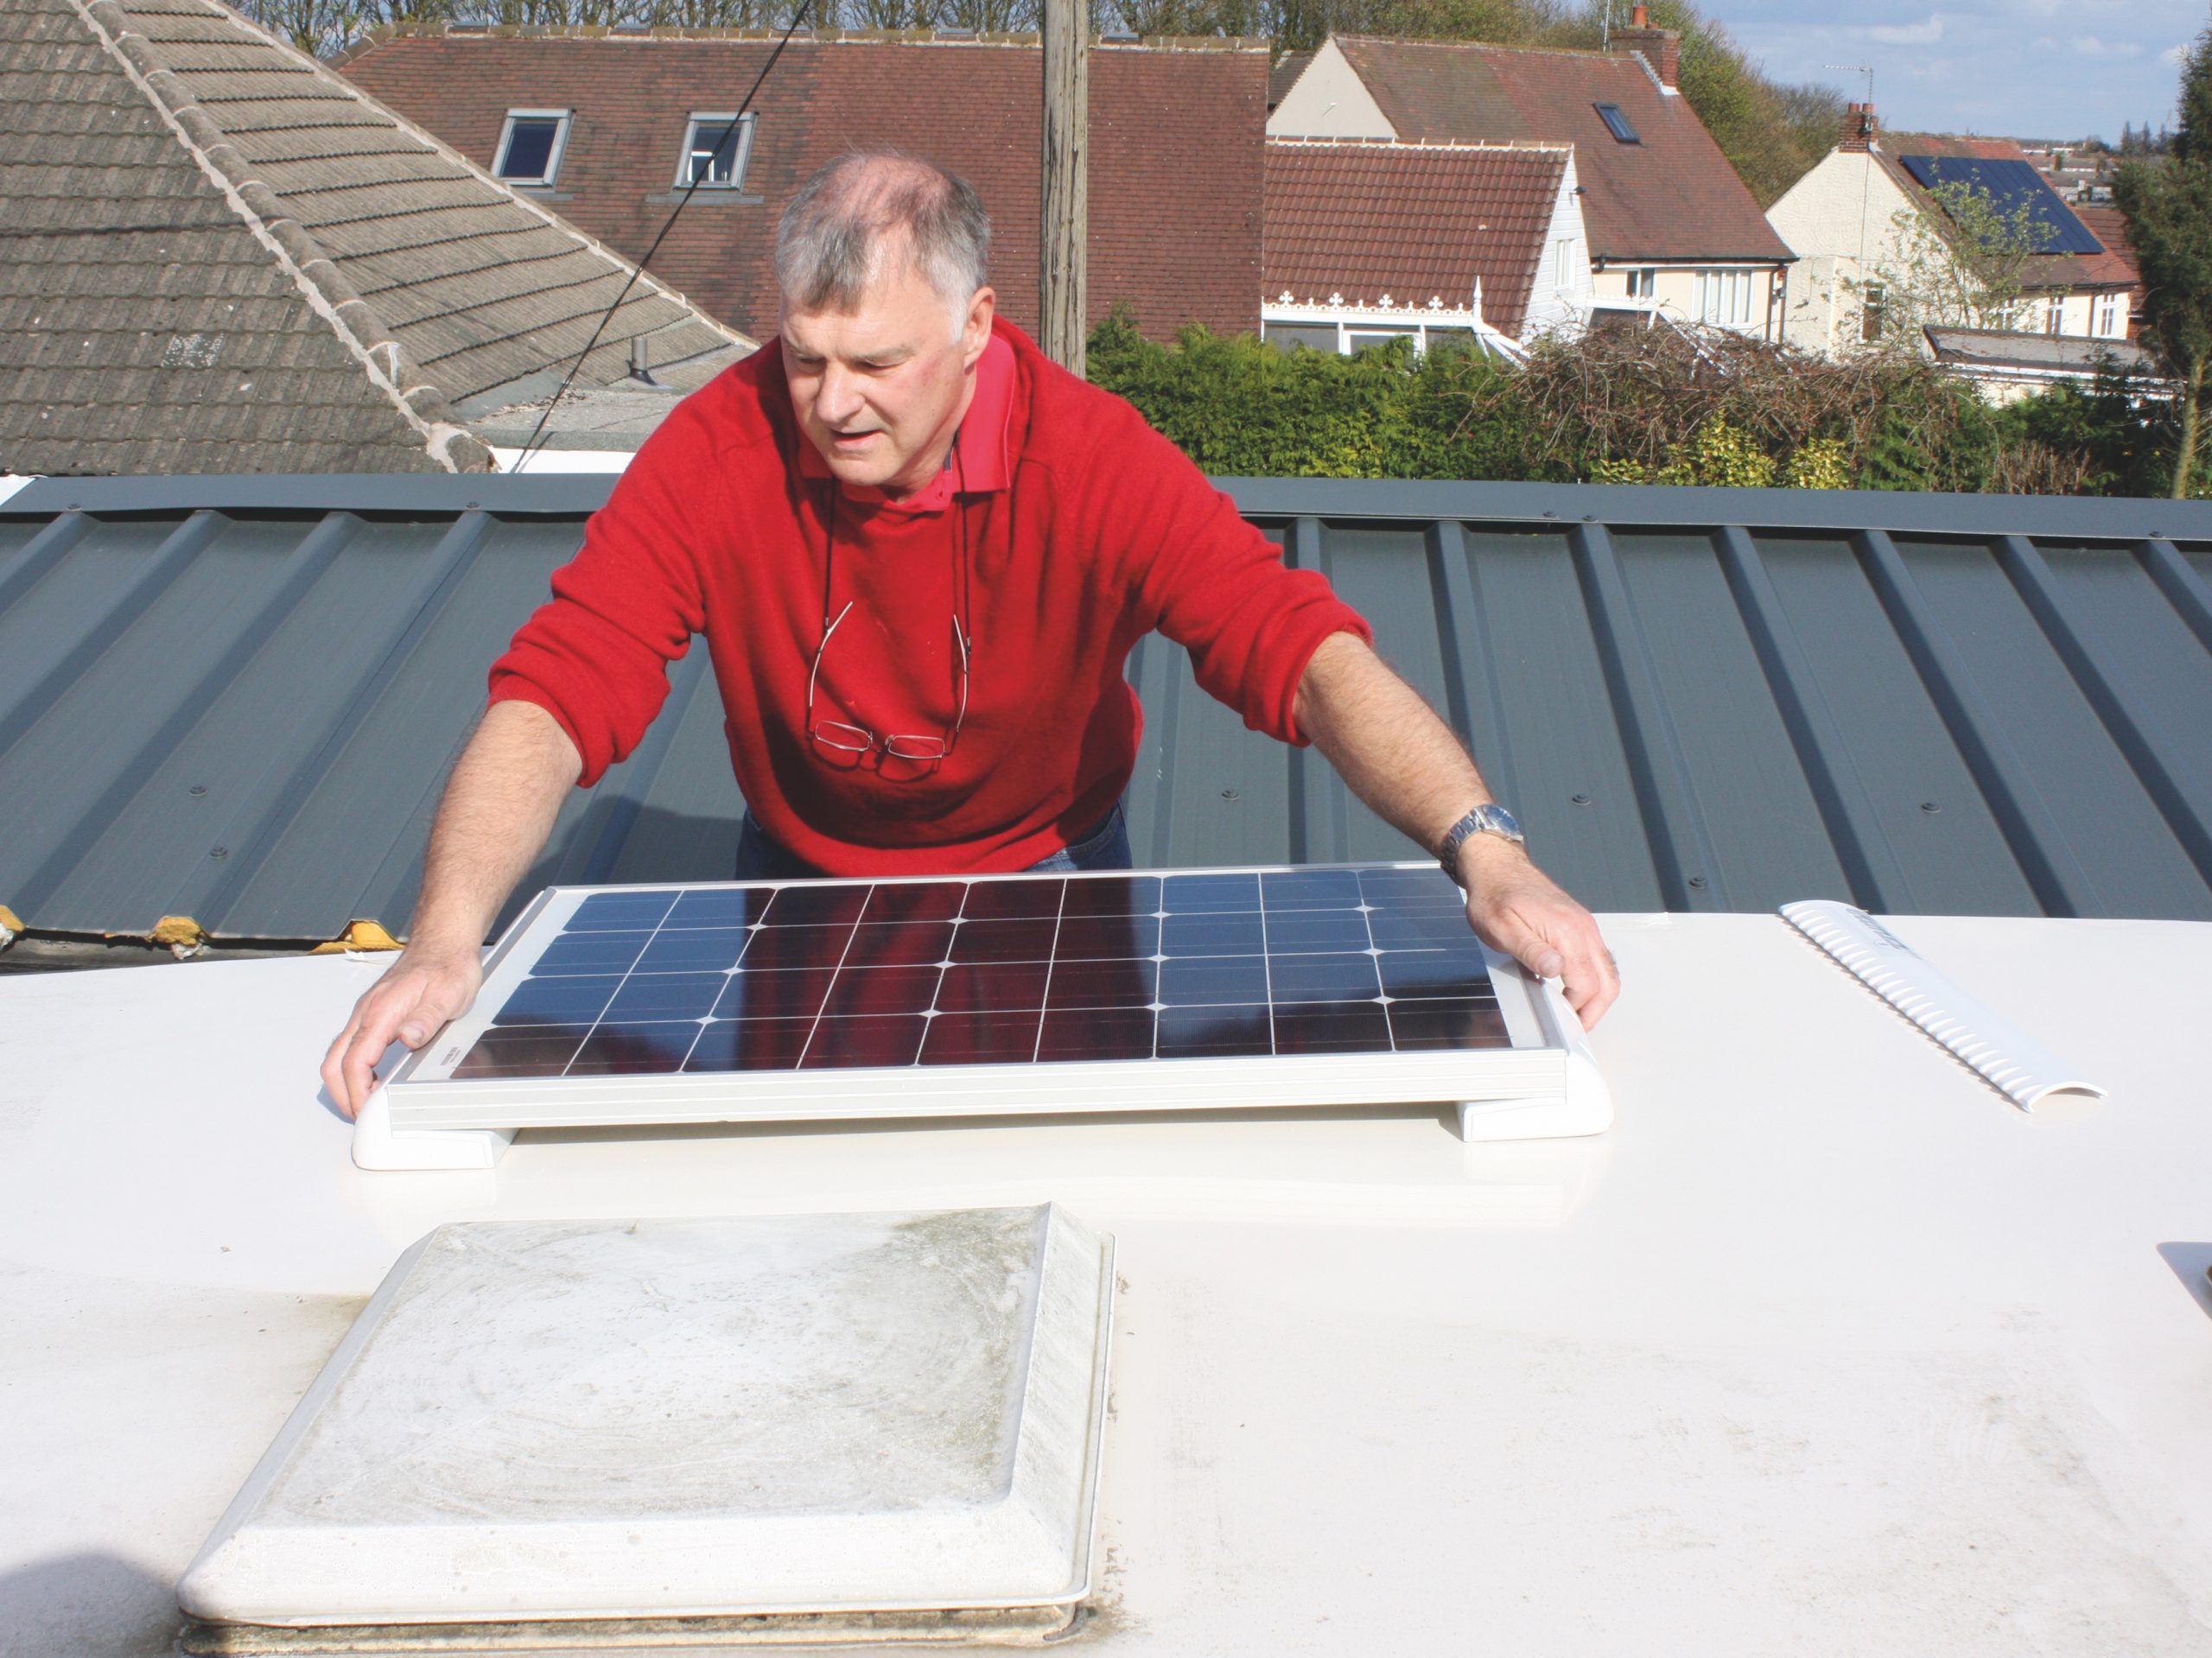
The other alternative method is to fit a solar panel, which will trickle-charge the battery over the winter months.
Remember, a power source will be needed if you want your alarm and tracker to continue functioning long-term.
Clean the stabiliser pads
Clean the stabiliser pads in your tow hitch using brake cleaner and a cloth. Begin by wrapping the cloth tightly around a hitch-lock ball and spray it with brake cleaner.
Insert the ball into the hitch cup and click down the locking handle (not the Al-Ko tensioning handle), ensuring the gauge shows green.
Twist the ball around several times. This will prevent the groaning and graunching noises that you sometimes get from dirty towballs.
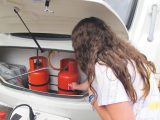
Gas bottles
Depending where you store your caravan, you might want to remove your gas bottles as a security measure. At the very least, you need to turn off the gas bottle tap, and make a mental note of how much gas you still have, ready for the season ahead.
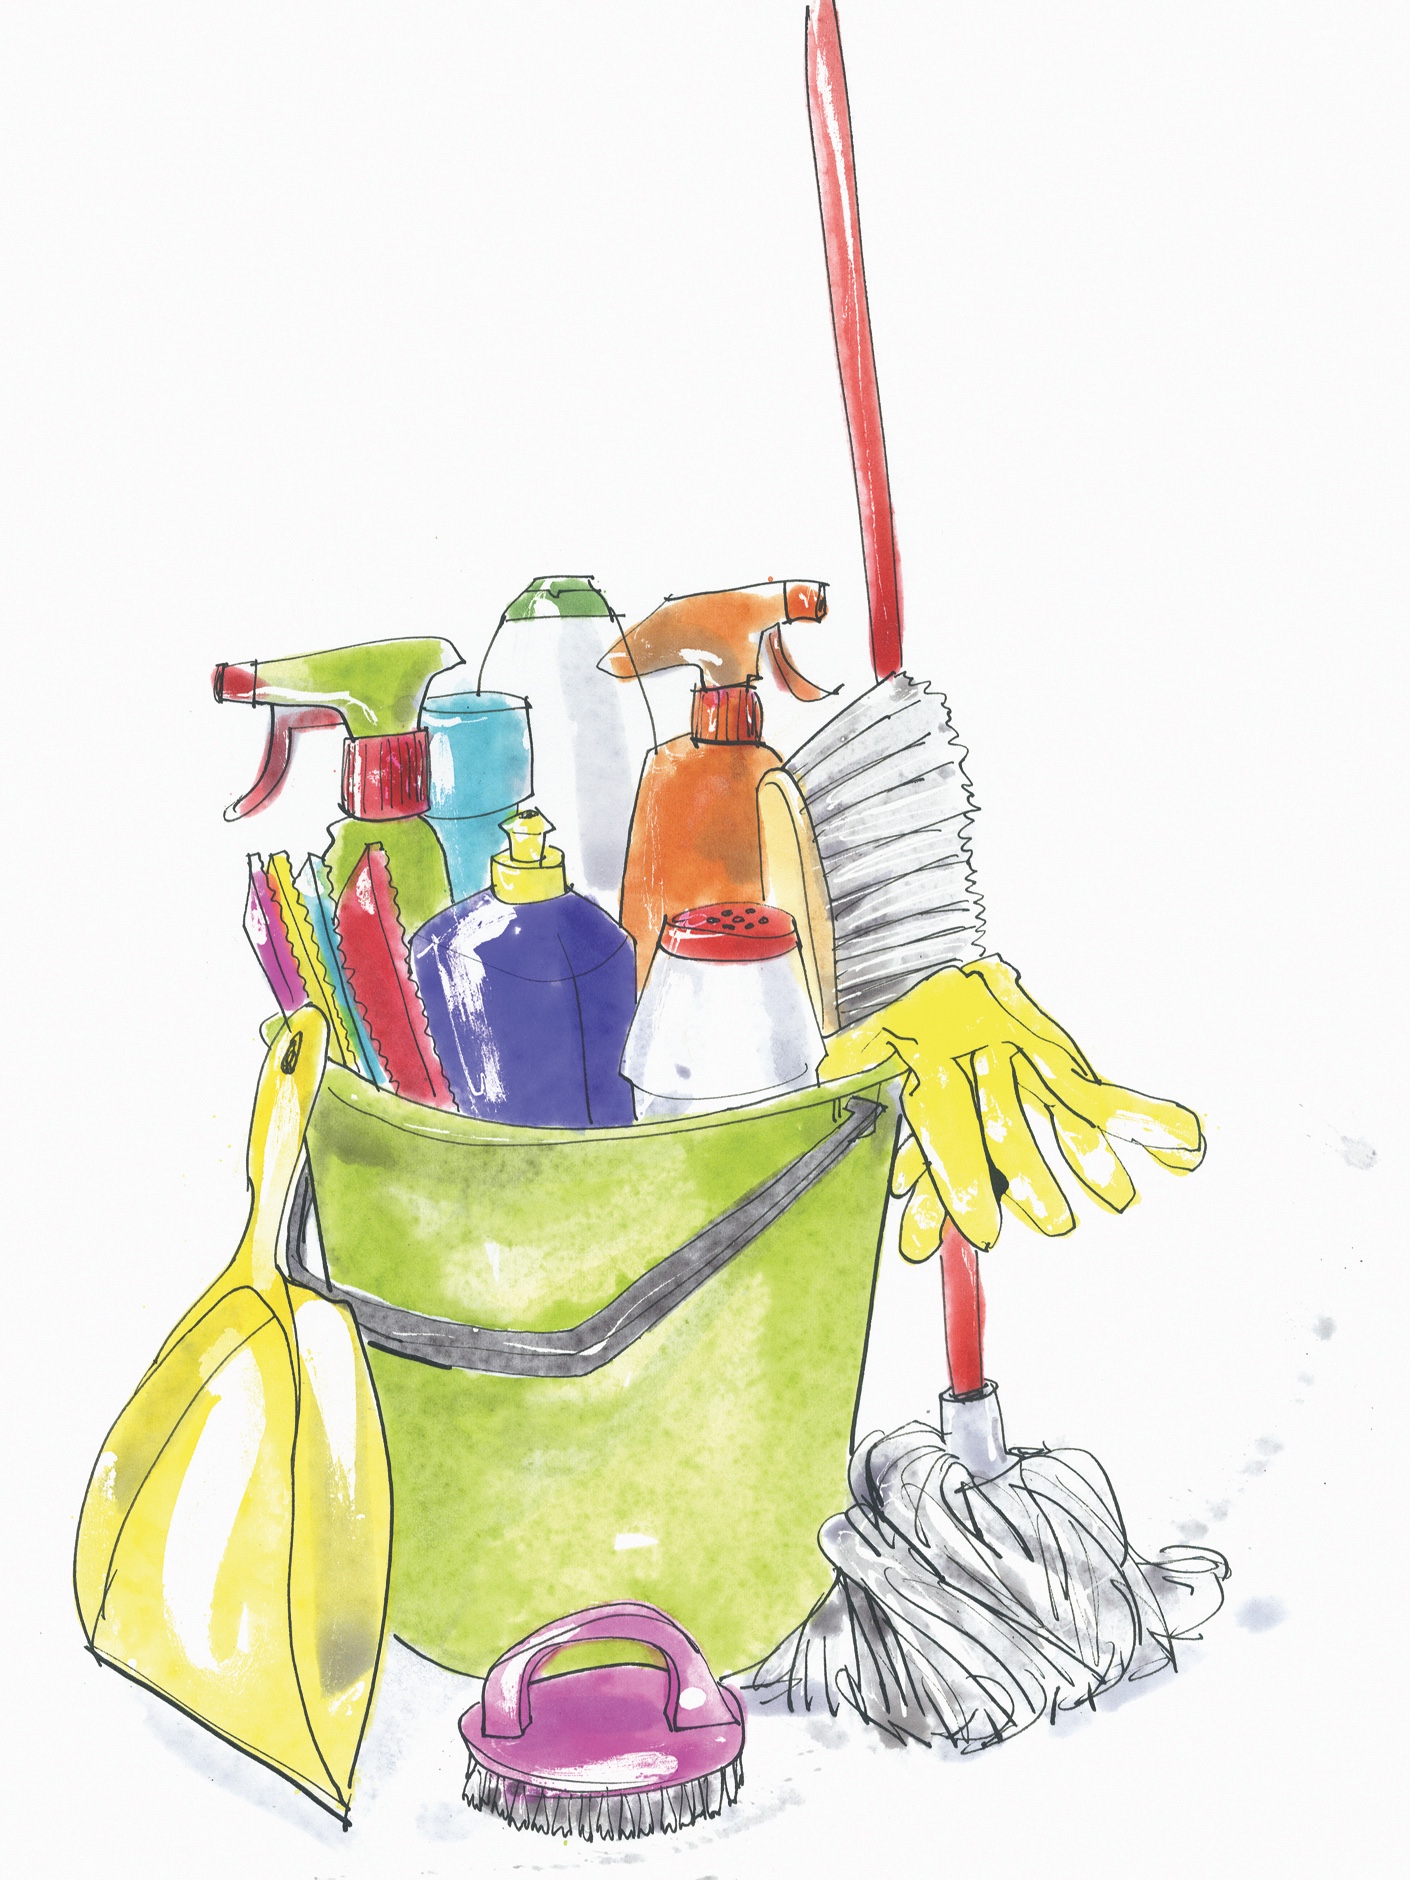
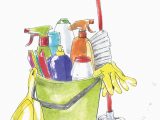
Interior clean
Give your caravan a really thorough clean before leaving it for the winter. Vacuum in all of the gaps and crevices, to remove crumbs that can attract rodents, and ensure there are no food scraps in the sink plughole.
Exterior clean
It’s a surprisingly controversial topic, but I always wash a caravan starting at the top, and always on a cool, dry day.
Caravan roofs take a lot of stick from general dirt, grime, algae, bird lime and sap. If left, these can become deeply ingrained and bird droppings can actually attack the paint. So, at least once a year, give the roof a good clean.
Take care leaning a ladder against your caravan, sandwiching a cloth or some foam between van and ladder. Many van roofs can be walked on, but we don’t recommend it, so work from your ladder with a long-handled brush. You’ll be exerting a lot of force, so ensure the ladder is stable and put down a rear steady.
Alternatively, you could invest in a wide-legged stepladder, like those from Henchman.
First, hose down the roof to soften the dirt. Then brush gently to remove any abrasives, such as grit. Swill your brush or cloth in a bucket of water/shampoo between brushing to remove any grit, minimising paint scratches and swirls.
I then spray the surface with my preferred cleaner, Mac-Off. If you favour shampoo solution in a bucket, put a cloth under the bucket when it’s on the roof, to prevent scratching.
With a bit of elbow grease, most dirt will come off, but stubborn marks might require a slightly stiffer brush.
Now for the sides. I avoid using a jet-washer – even used from a distance, there’s the danger of water forcing its way under seals and so on.
Black stains are our arch-enemy here, but Mac-Off Caravan Cleaner removes them with ease. Rinse down the sides before focusing on the acrylic windows. These are fragile, so rinse the brush-head to remove any grit, then fill a fresh bucket of water/shampoo. Wash and rinse, then check for scratches. Remove light scratches with a mild abrasive, such as T-Cut, baking soda/vinegar paste, or a product like Windowize by Fenwicks.
If you’ve enjoyed reading this article, why not get the latest news, reviews and features delivered direct to your door or inbox every month. Take advantage of our brilliant Practical Caravan magazine SUBSCRIBERS’ OFFER and SIGN UP TO OUR NEWSLETTER for regular weekly updates on all things caravan related.
Future Publishing Limited, the publisher of practicalcaravan.com, provides the information in this article in good faith and makes no representation as to its completeness or accuracy. Individuals carrying out the instructions do so at their own risk and must exercise their independent judgement in determining the appropriateness of the advice to their circumstances. Individuals should take appropriate safety precautions and be aware of the risk of electrocution when dealing with electrical products. To the fullest extent permitted by law, neither Future nor its employees or agents shall have any liability in connection with the use of this information. You should check that any van warranty will not be affected before proceeding with DIY projects.
Food crumbs and waste will rapidly attract mice. Clean up thoroughly before leaving your caravan for the winter