THE FINAL STEP in modernising the water system was to fit a Whale Watermaster socket in place of the old foot and electric pumps. I also rejigged the hot and cold water hoses, which a previous owner had rerouted to bypass a broken water heater. Most of the hoses could still be used. I connected 17A cables to existing 12V ones to power the socket because the thicker the cable, the less voltage-drop. Thanks to V&G Caravans (01733 350 580)
[tl:gallery size=460]
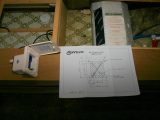
1
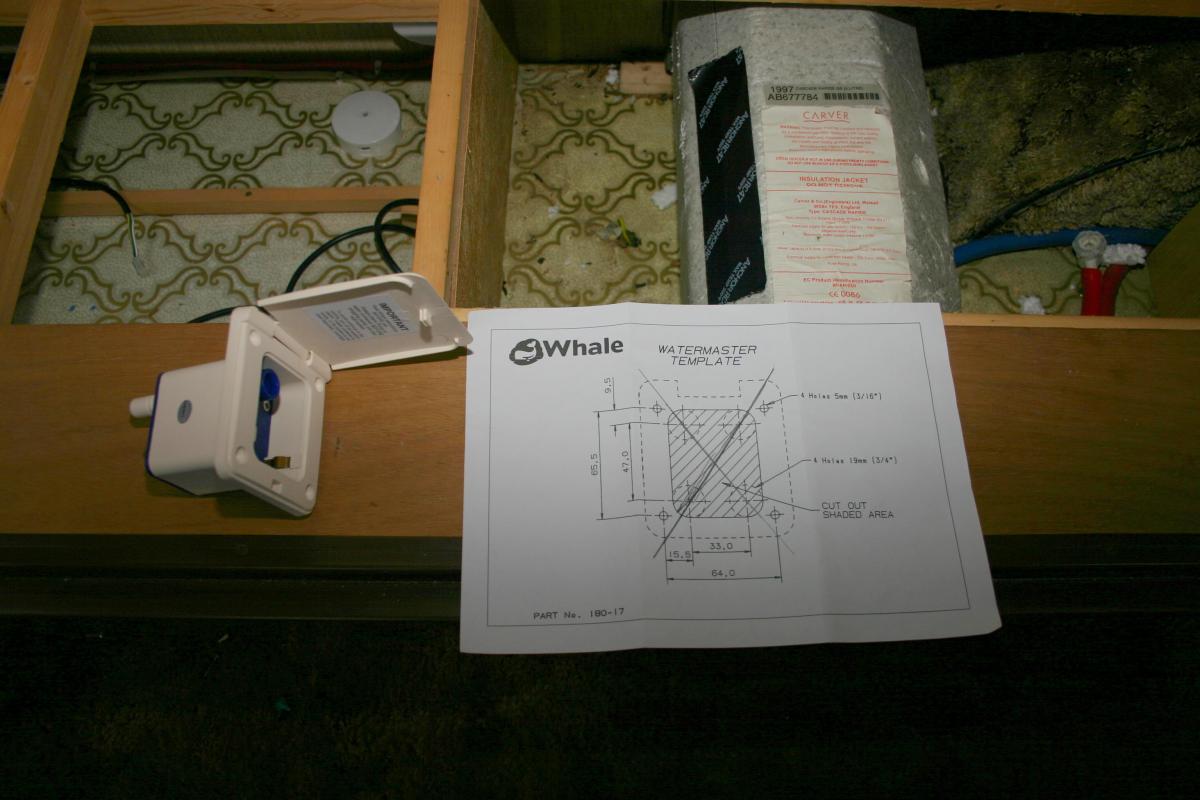
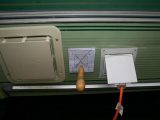
The socket came with fitting instructions and a template, on which I drew diagonals to locate its centre point. I stuck the template on the inside wall, pushed a bradawl through the centre and drilled a pilot hole there.
[tl:gallery size=460]
2
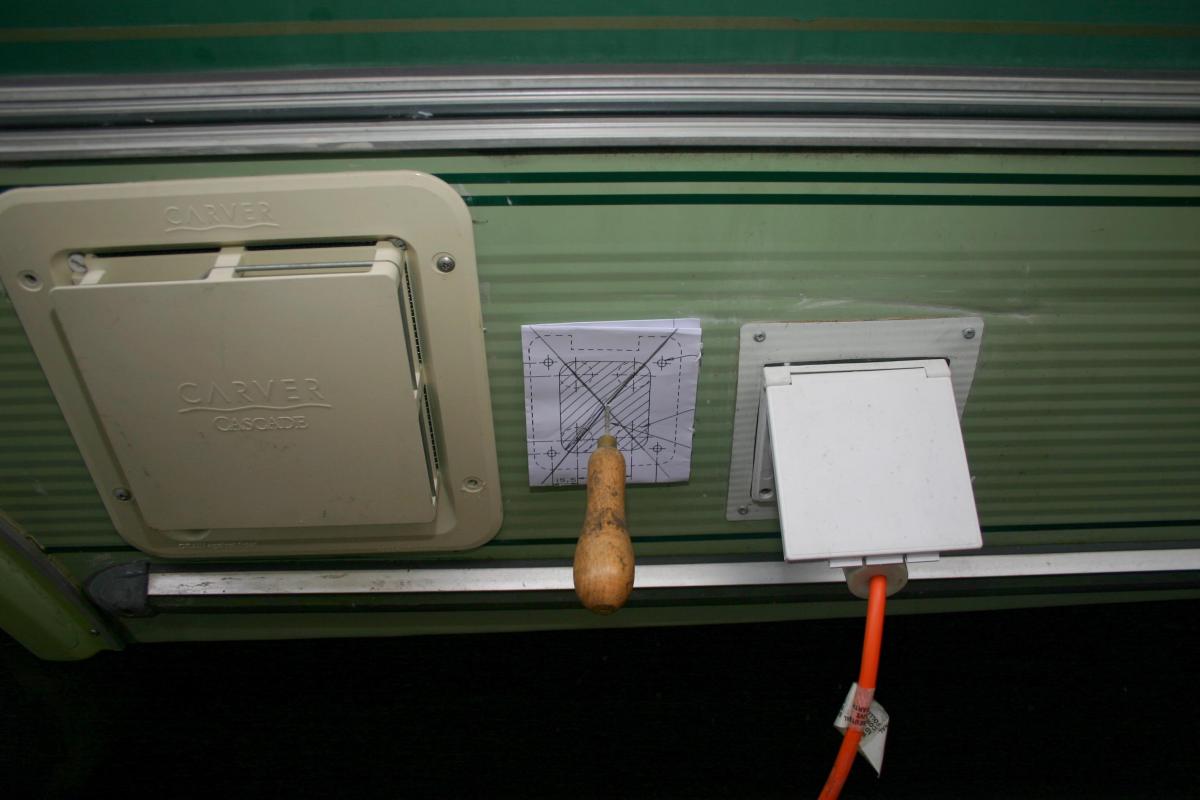
The pilot hole was midway between the heater and the mains socket. I stuck the template there with masking tape, drilled a 10mm diameter hole at each corner and cut a slightly smaller hole with a jigsaw.
[tl:gallery size=460]
3
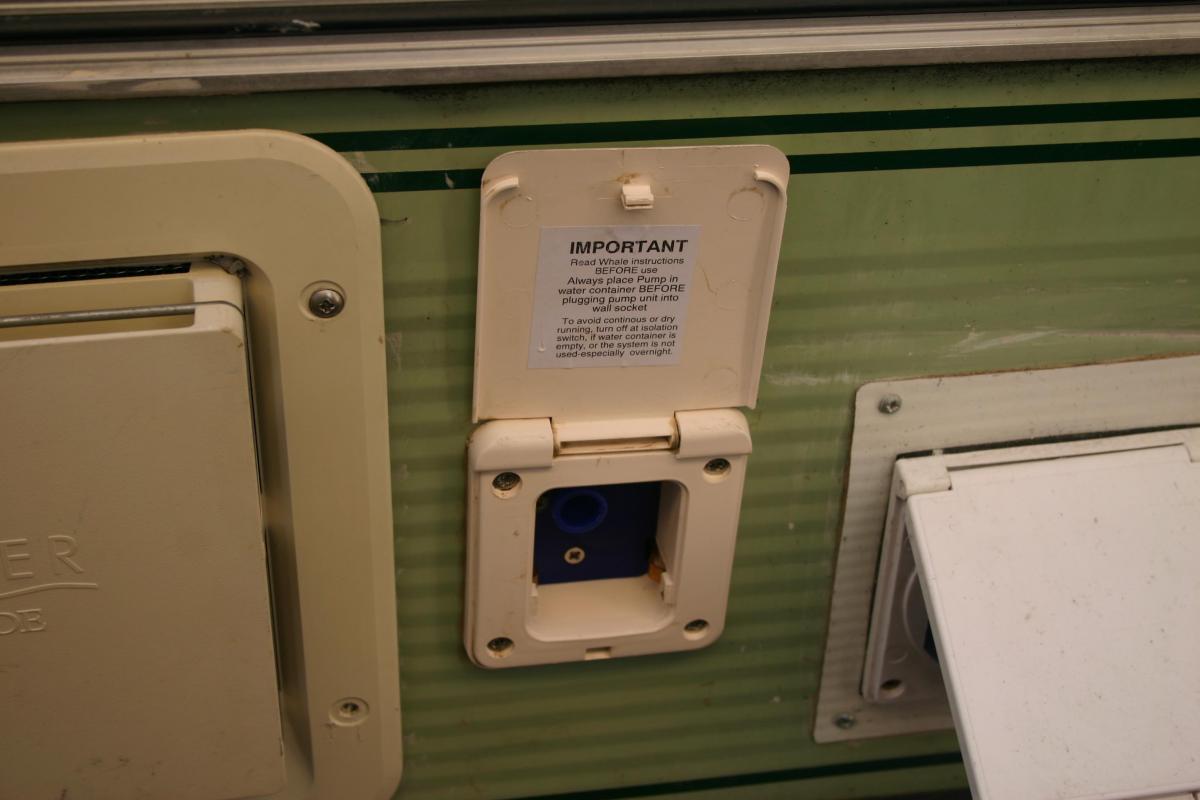
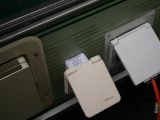
I gradually opened the hole with a power file until the socket fitted and removed the burrs with a file. I fitted a length of hose to the socket and secured it with a jubilee clip. I then cleaned around the hole with turps substitute.
[tl:gallery size=460]
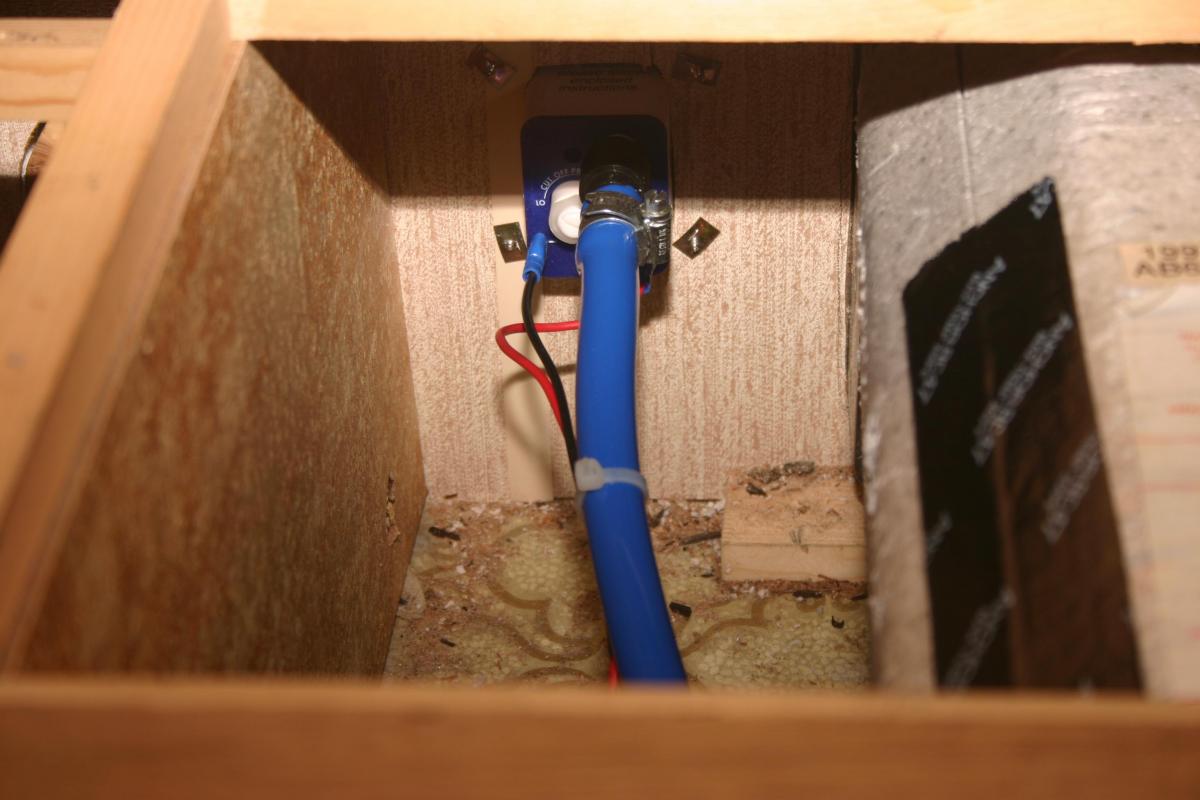
4
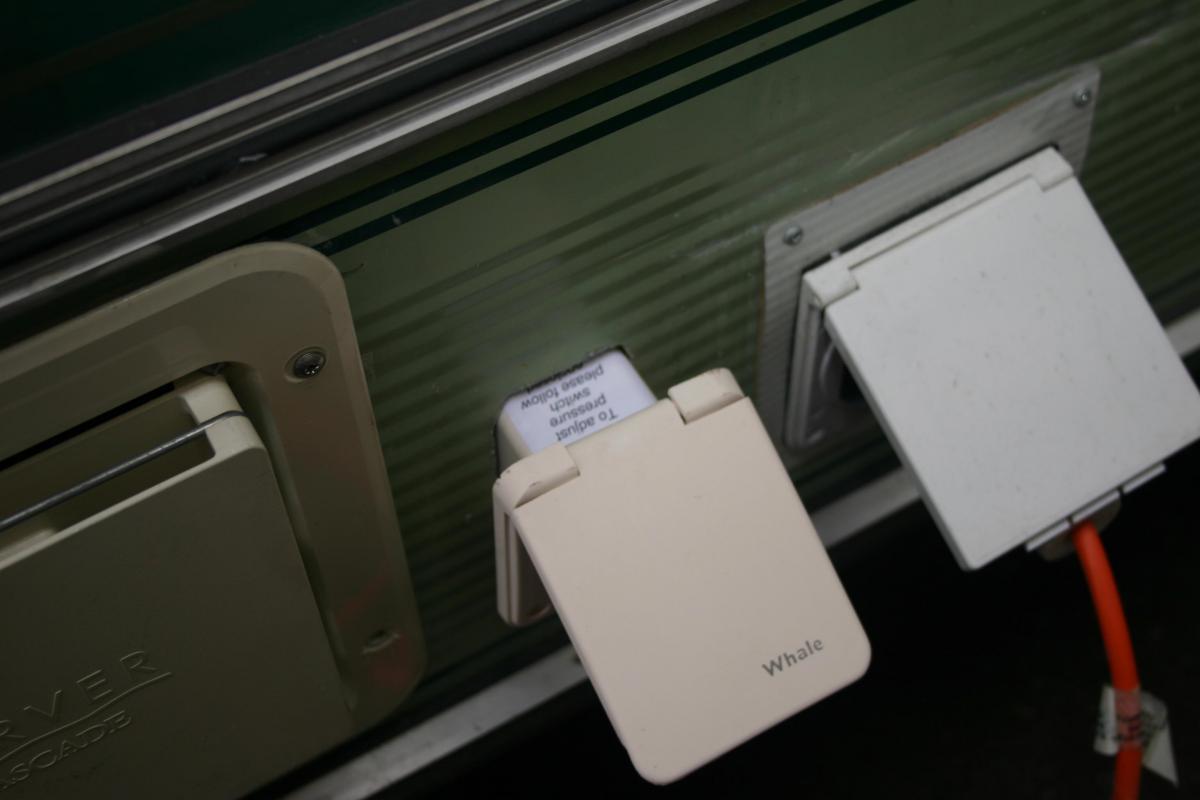
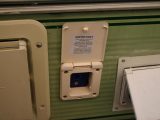
I ran non-setting bedding mastic along its perimeter, fitted the socket and secured it with the four screws from the kit. Using turps substitute, I removed excess mastic that had squeezed out when the screws were tightened.
[tl:gallery size=460]
5
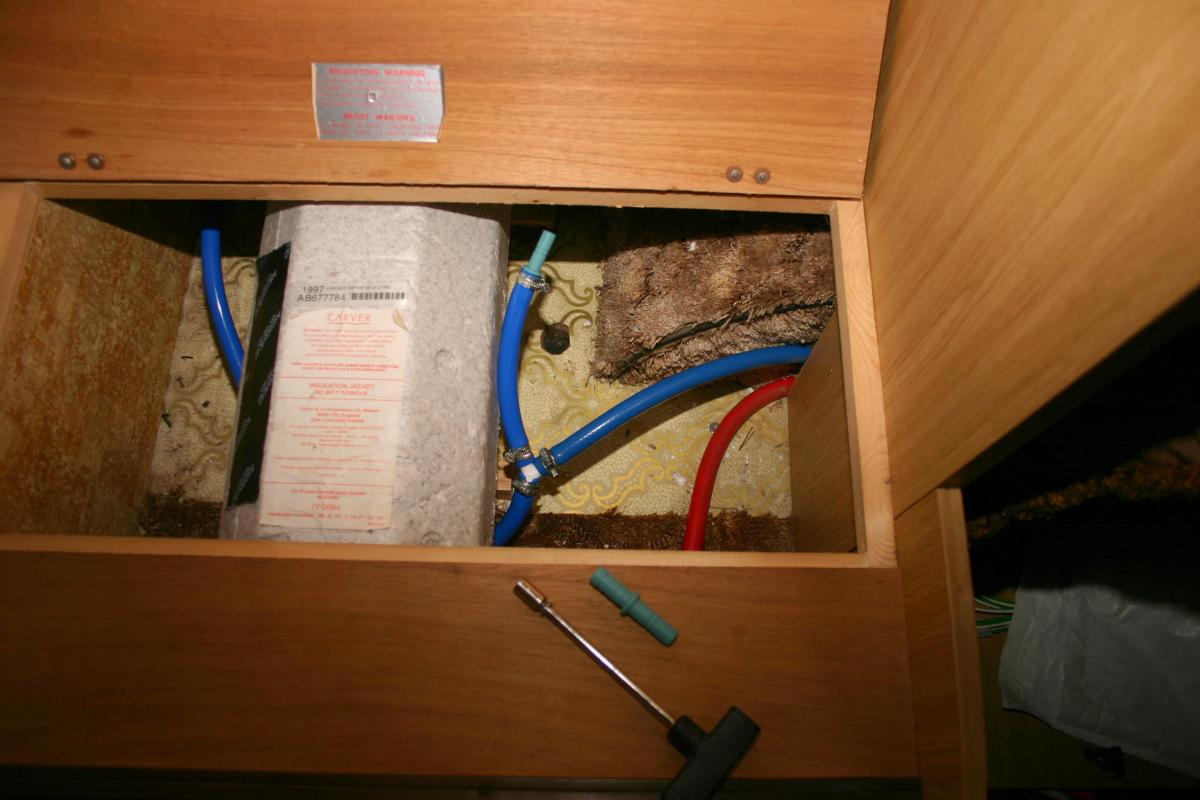
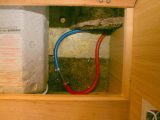
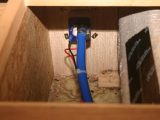
Inside the van, I cut the hoses the previous owner had fitted to bypass the broken Morco heater when it had started to leak. The hoses, though, were in good condition and did not need to be replaced.
[tl:gallery size=460]
6
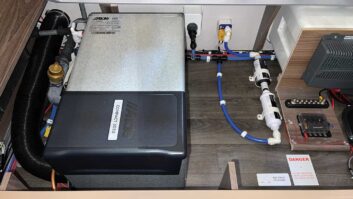
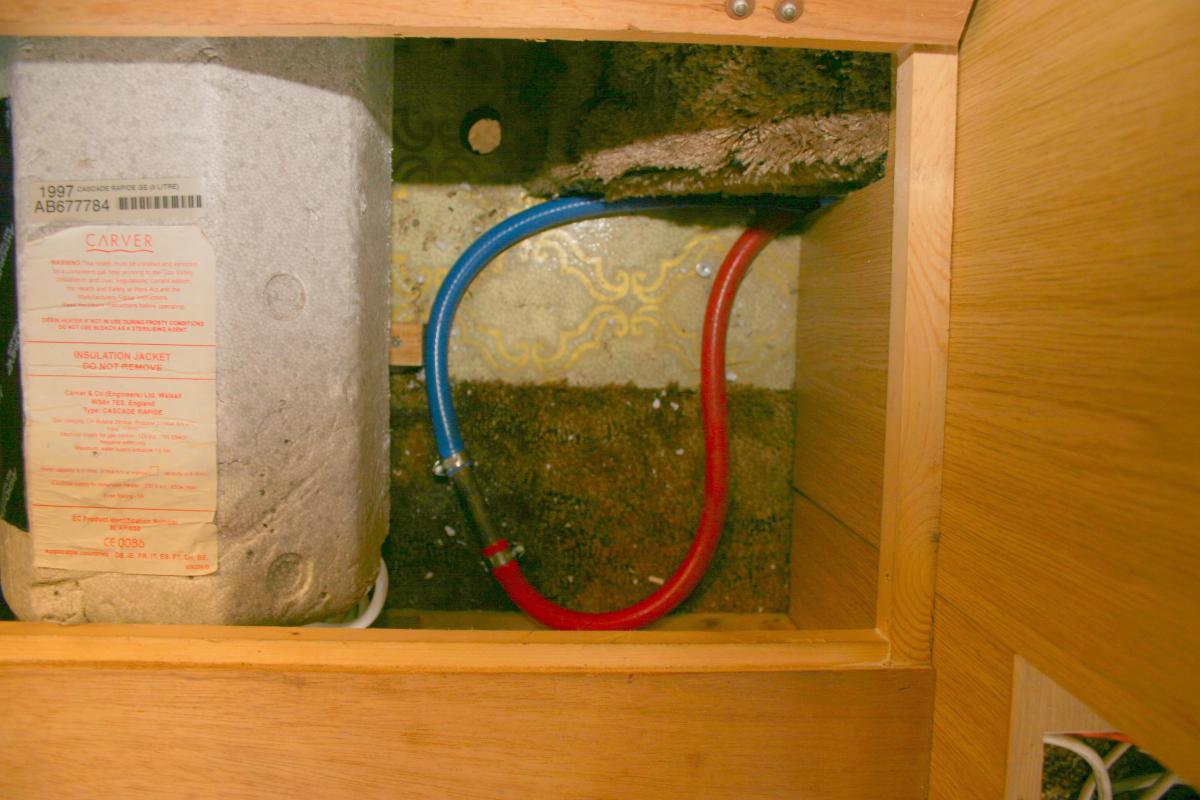
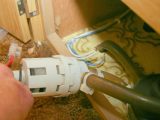
The Carver water heater’s cold entry and hot exit had collet adaptors for semi-rigid pipes. I connected flexible hoses to them using Whale stem adaptors and a Y-connector to direct cold water to the heater and cold taps.
[tl:gallery size=460]
7
I removed the old pumps and used a test lamp to see what kind of system the van had. The lamp showed no power when the pump was on but power when a tap was opened, meaning it was a microswitch system.
[tl:gallery size=460]
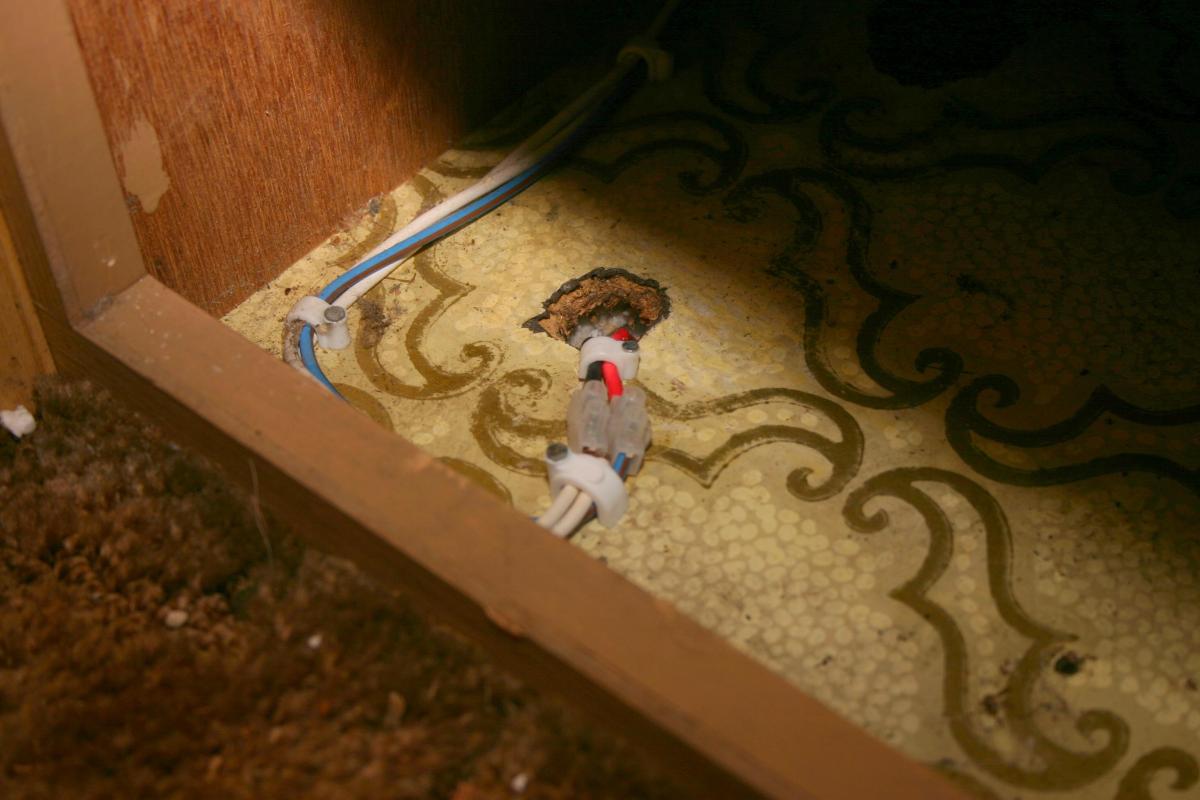
8
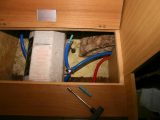
I connected 17A cable to the blue cable with the brown trace (live feed) and to the two white cables (return) via a terminal block. I fed them through a hole in the floor and under the van to a hole under the water heater.
[tl:gallery size=460]
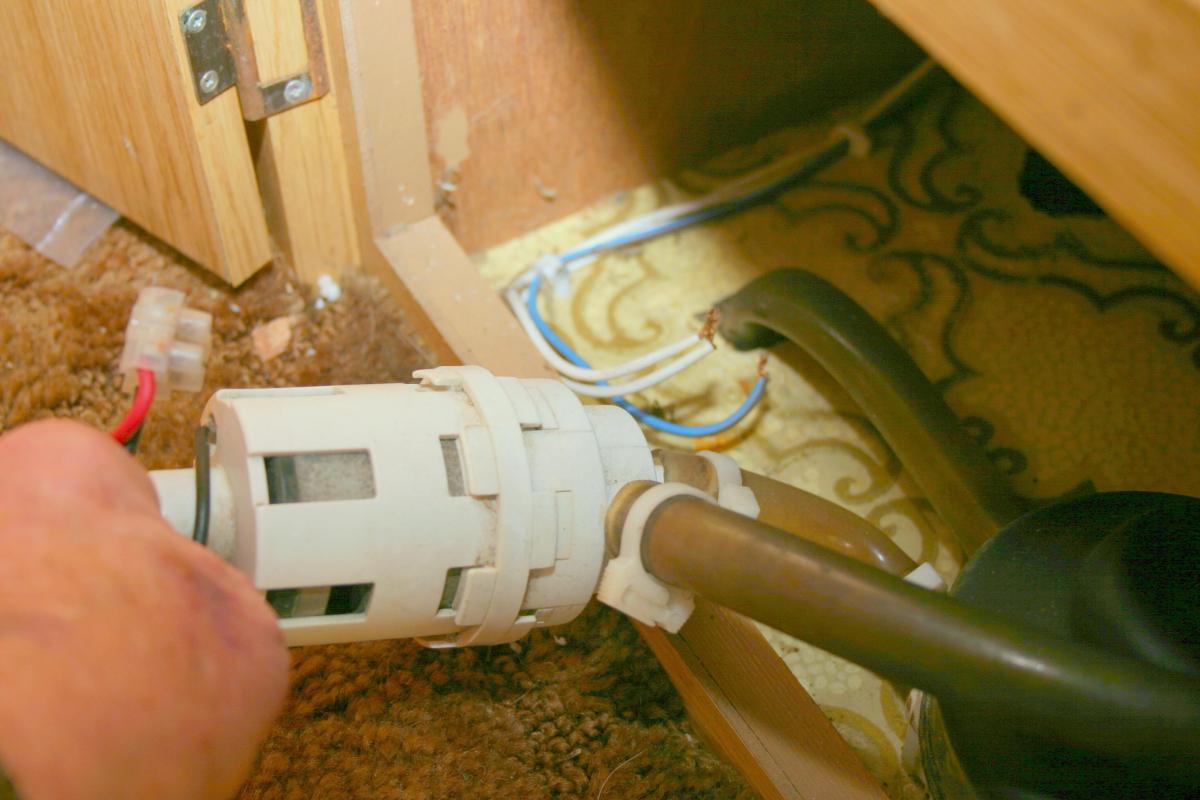
9
I put female shrouded spade connectors to the cables and fitted them to the socket terminals – live to 1 and return to 3. I turned on the pump and opened a tap, and it started.