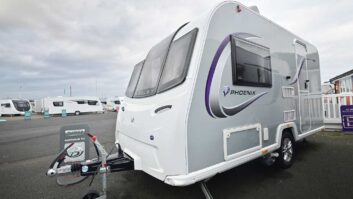


There’s nothing like having the proper tools for the job. For years, like many I suspect, I used to carry a multitude of different types of jacks (bottle/scissor/trolley) for the caravan, ‘just in case’. As it happens, I was very fortunate and never needed to use any of them.
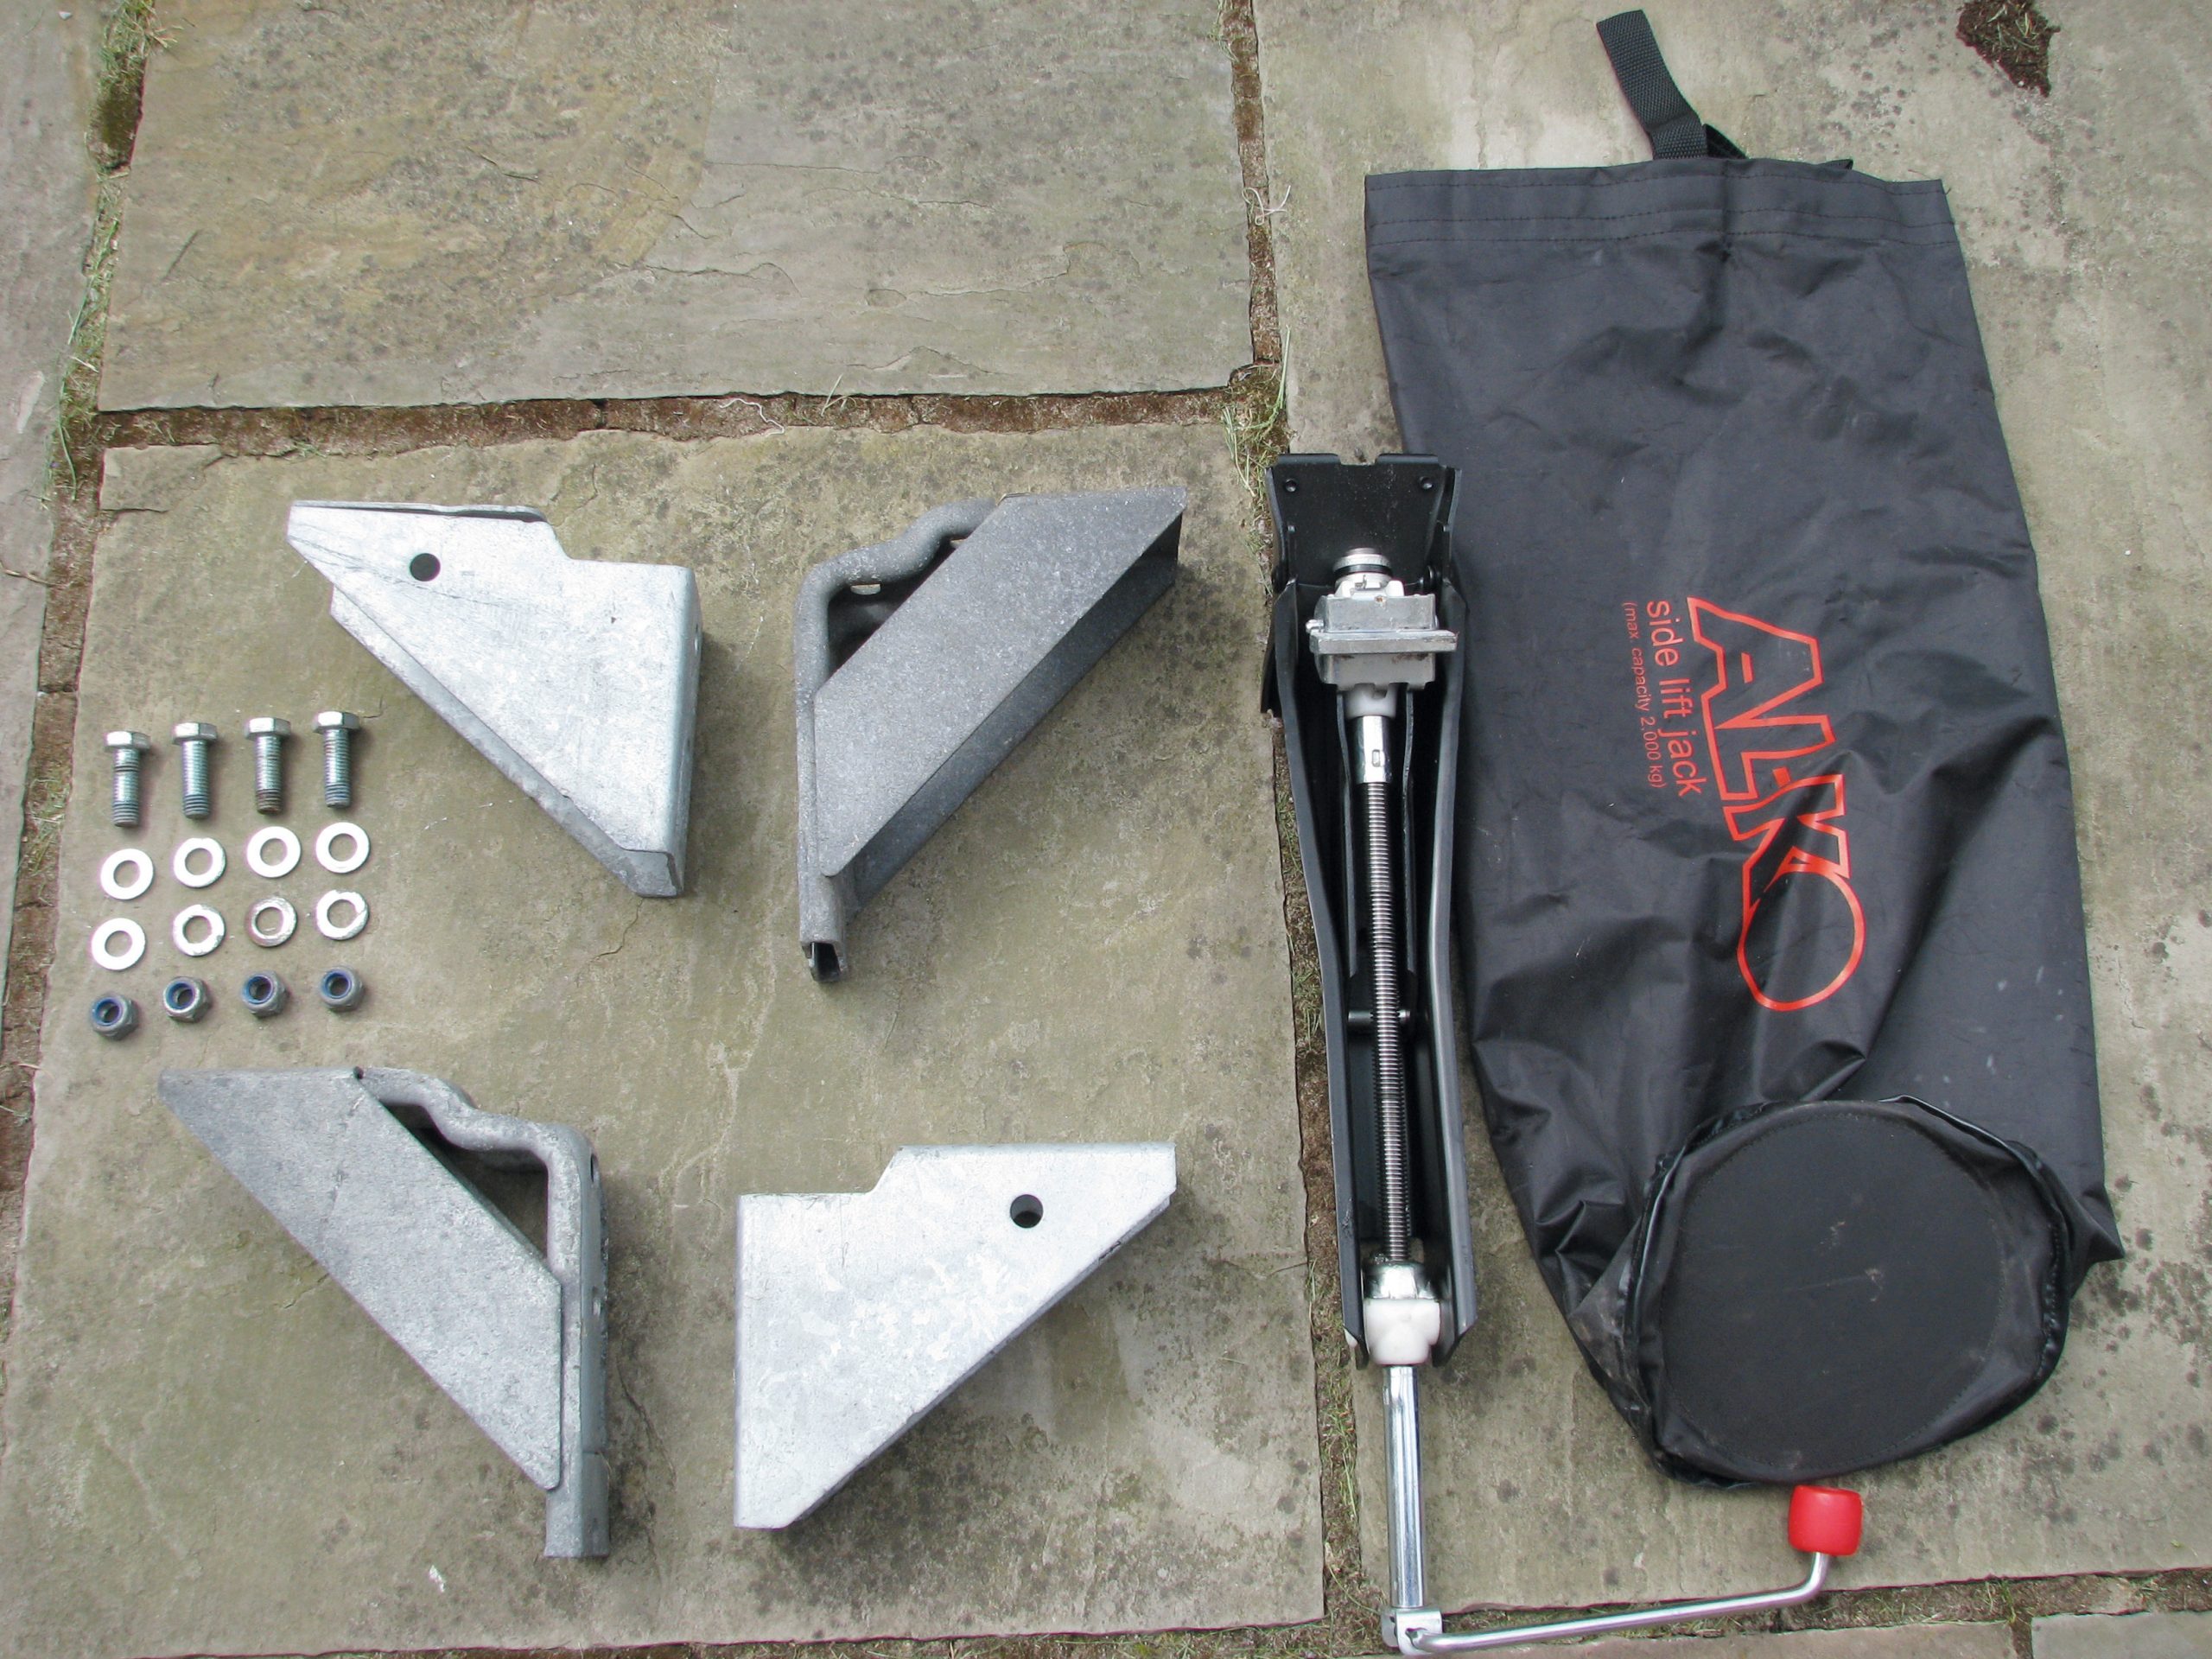
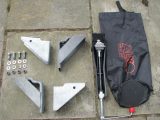
A couple of years ago, when I was having a look at all the kit and caravan accessories we hauled around with us, I decided that it was about time I invested in a jack that was designed for the job and, indeed, the only jack that Al-Ko recommends – the Al-Ko side-lift jack (1000kg). The 1000kg refers to the static load that the unit is designed to lift, so this unit is suitable for caravans with an MTPLM of up to 2000kg.
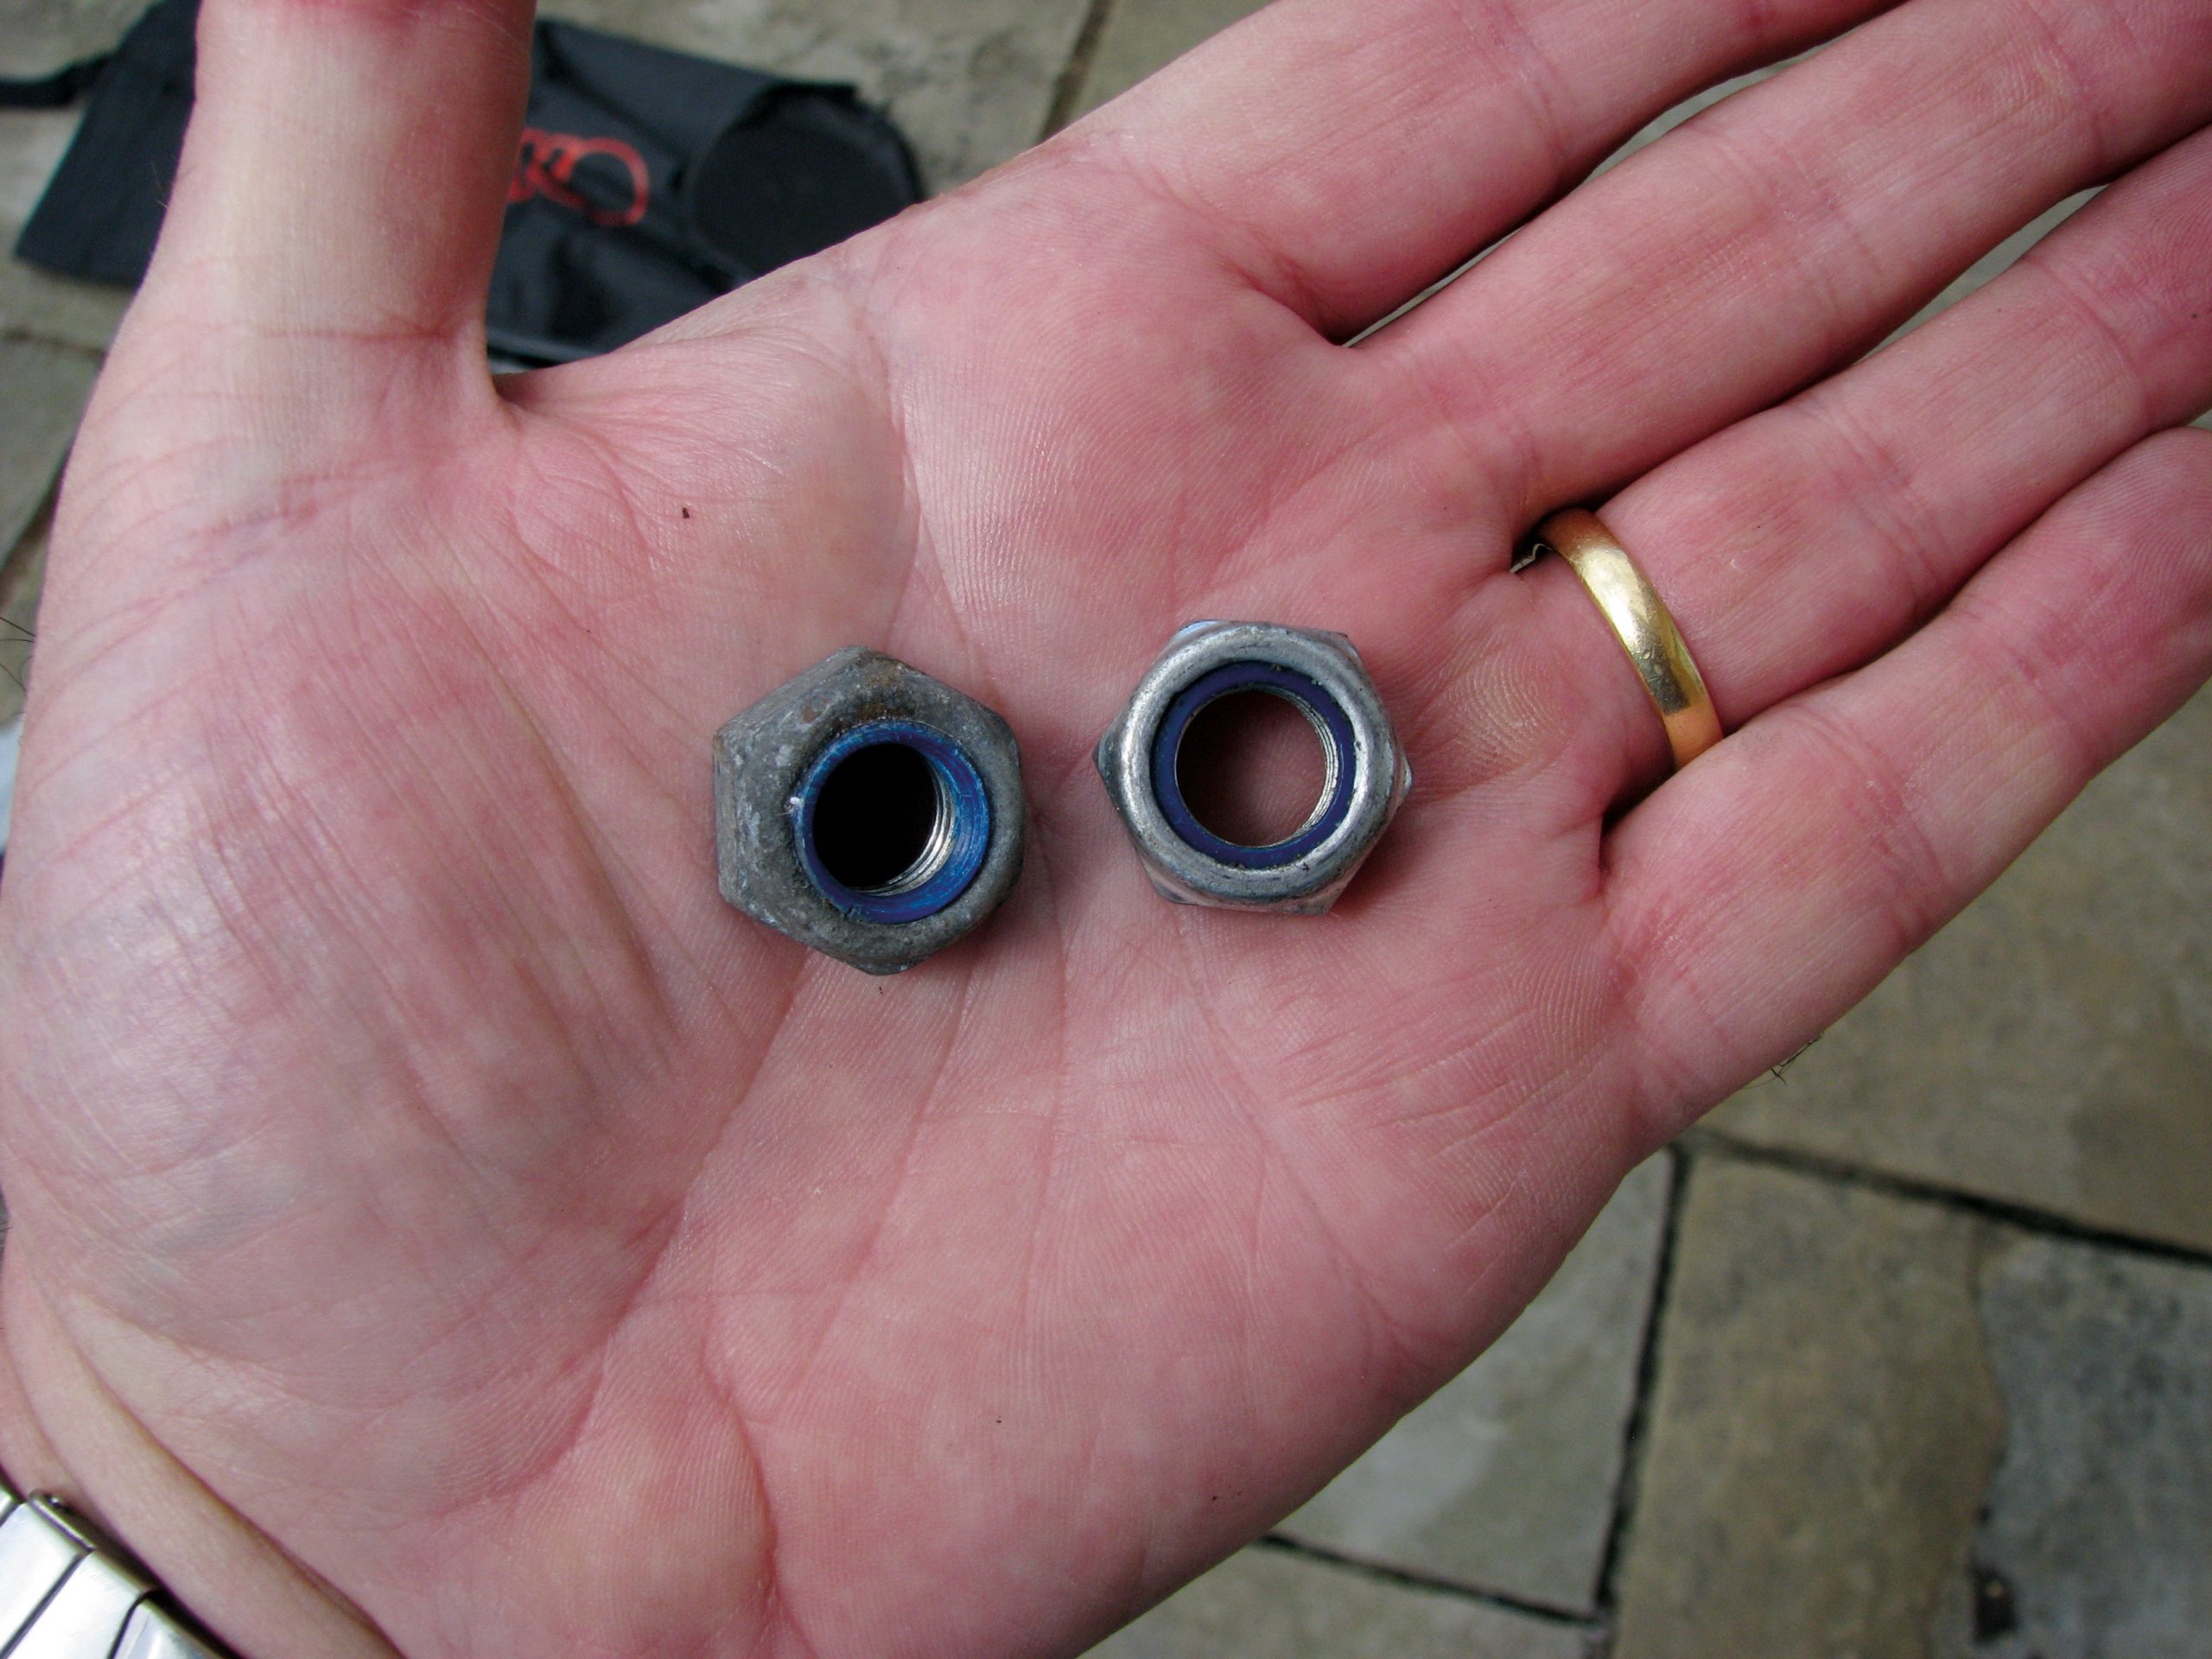
We have recently changed caravans, so there have been a number of items I have swapped from the old one to the new, the side-lift jacking points being one (er, two) of them. Please note that if transferring these, Al-Ko recommends that new Nylock nuts (x4) are used.
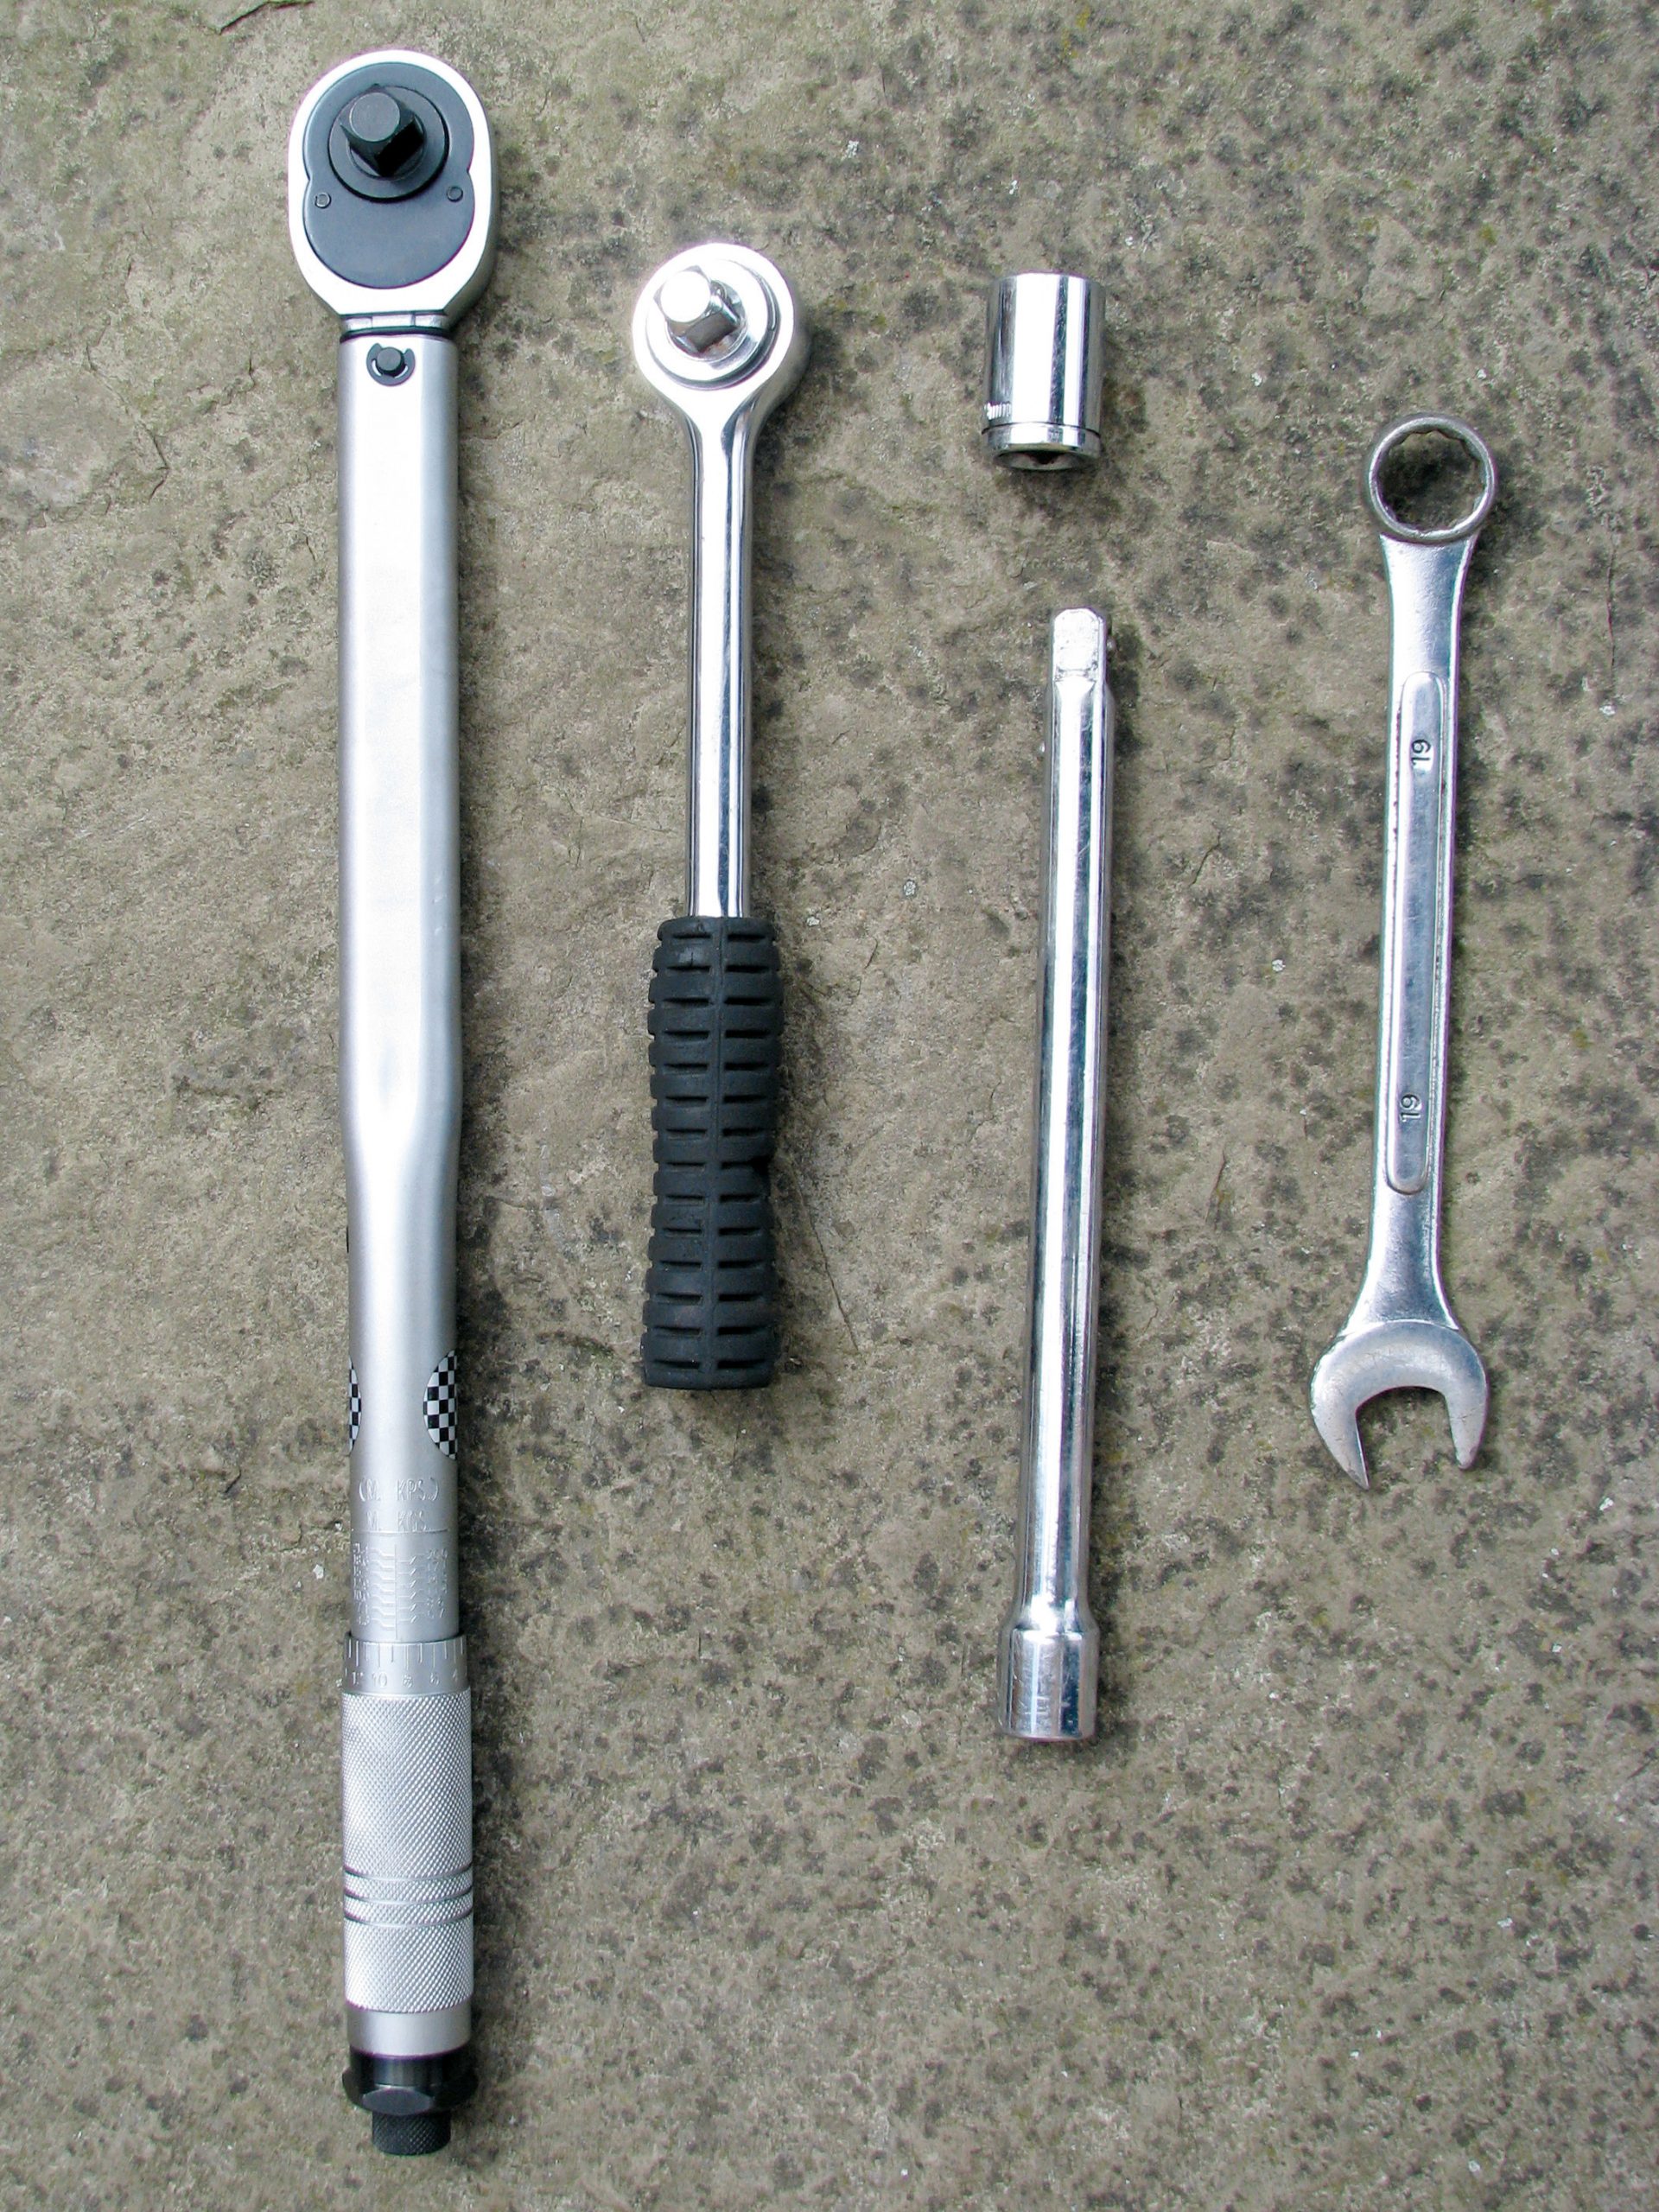
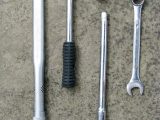
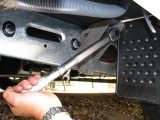
The tools required to do this job are few: a 19mm spanner, a 19mm half-inch-drive socket, extension and ratchet, and a half-inch-drive torque wrench.
How it’s done
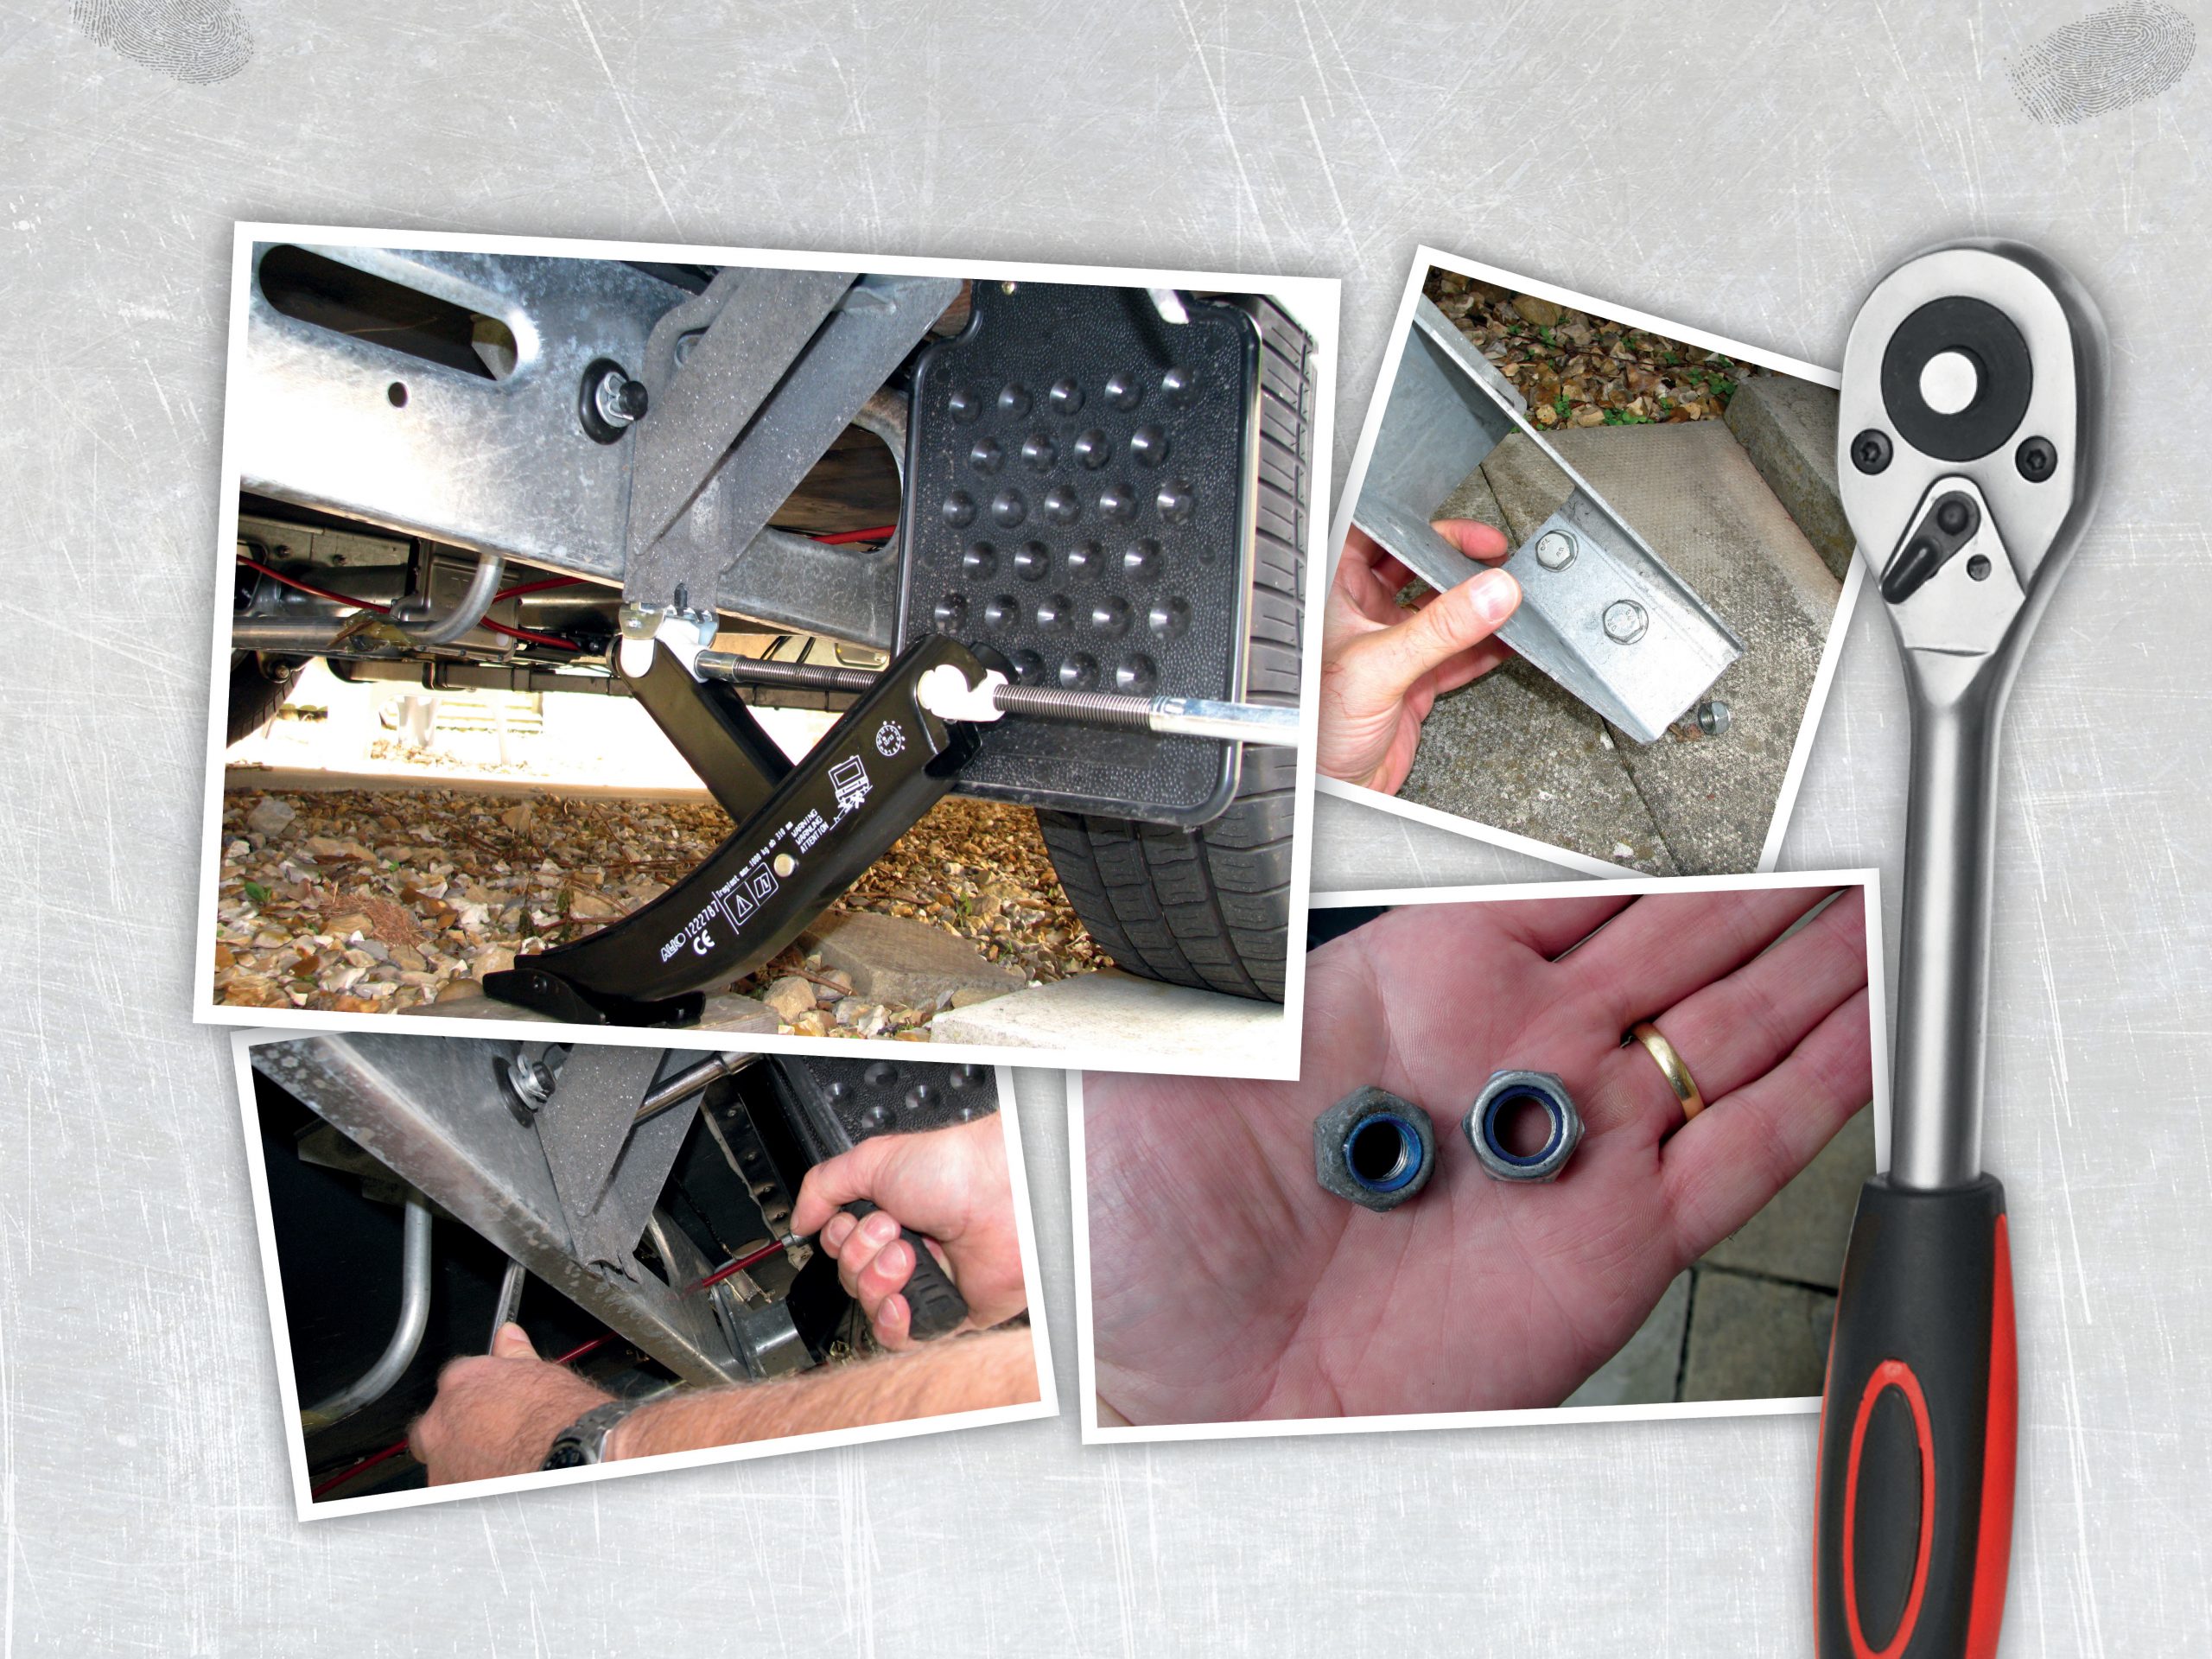
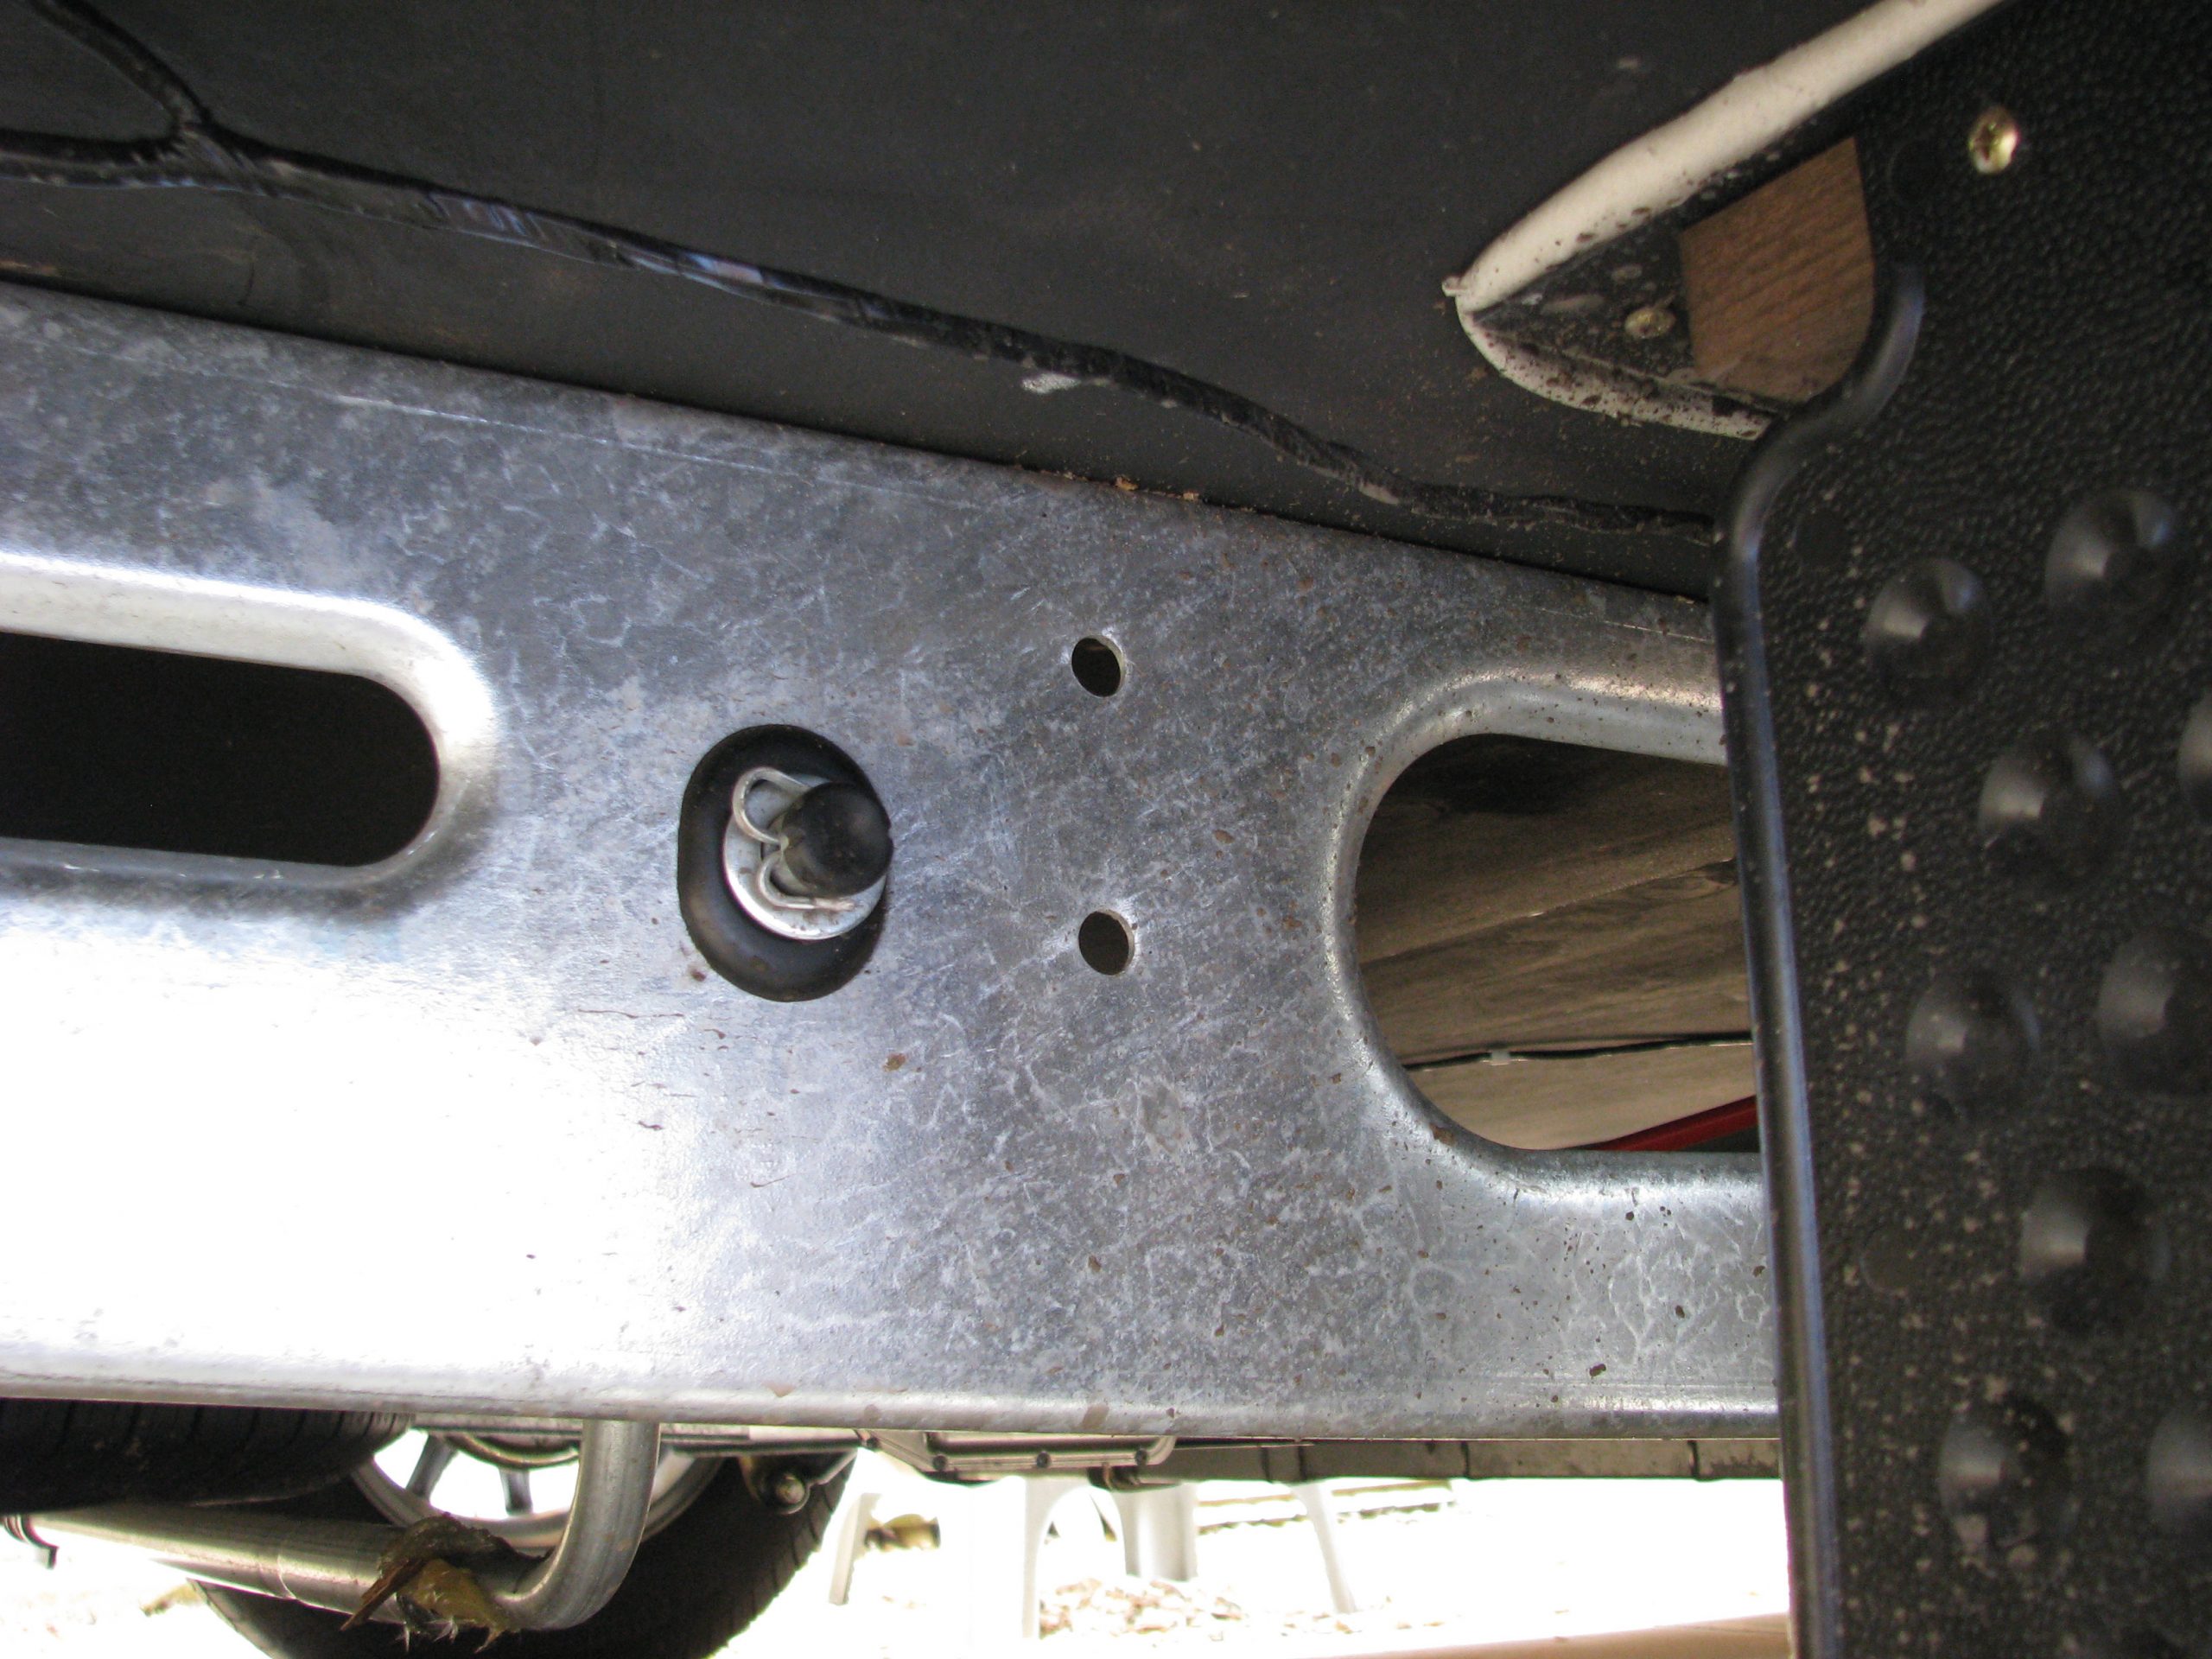
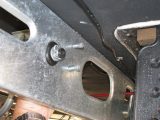
First, locate the mounting points on the caravan chassis. They consist of a pair of vertical holes just forward of the spare-wheel carrier and to the rear of the wheels when viewed from the side. All caravans fitted with an Al-Ko chassis manufactured after 1991 will have these pre-punched. For caravans built before that date, Al-Ko says it is permissible to drill the chassis members in accordance with the instructions supplied with the jack kit.
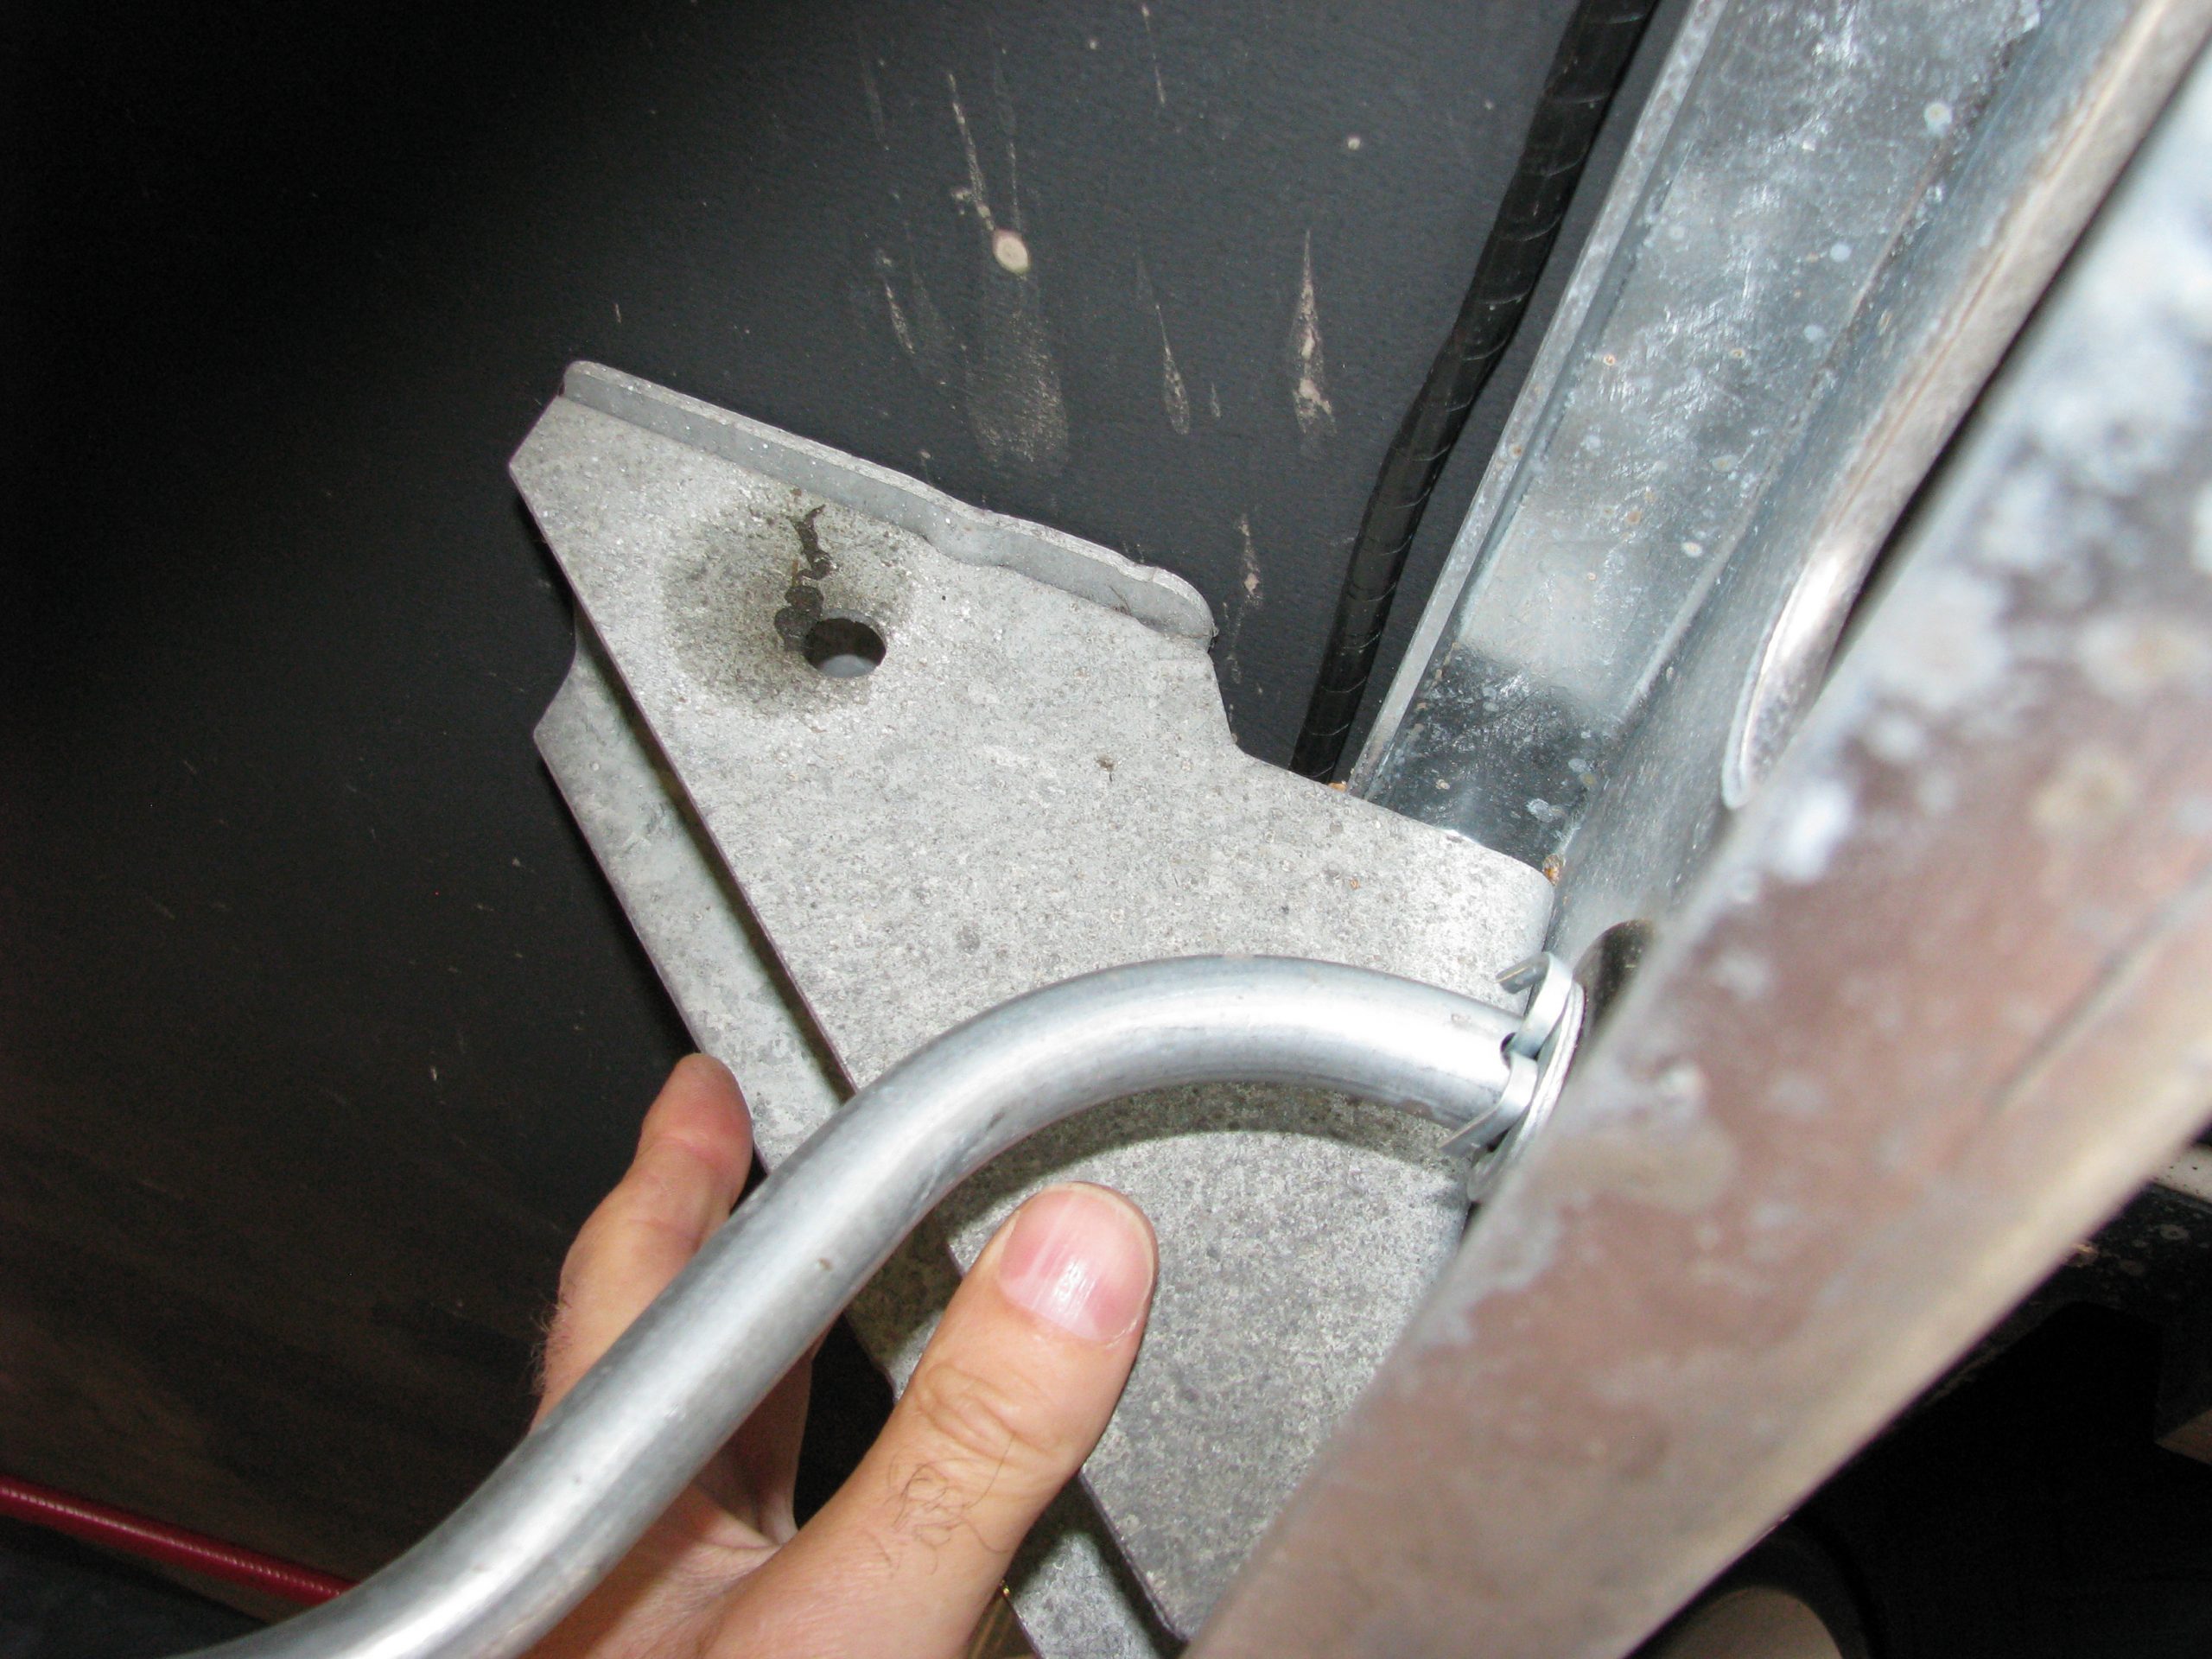
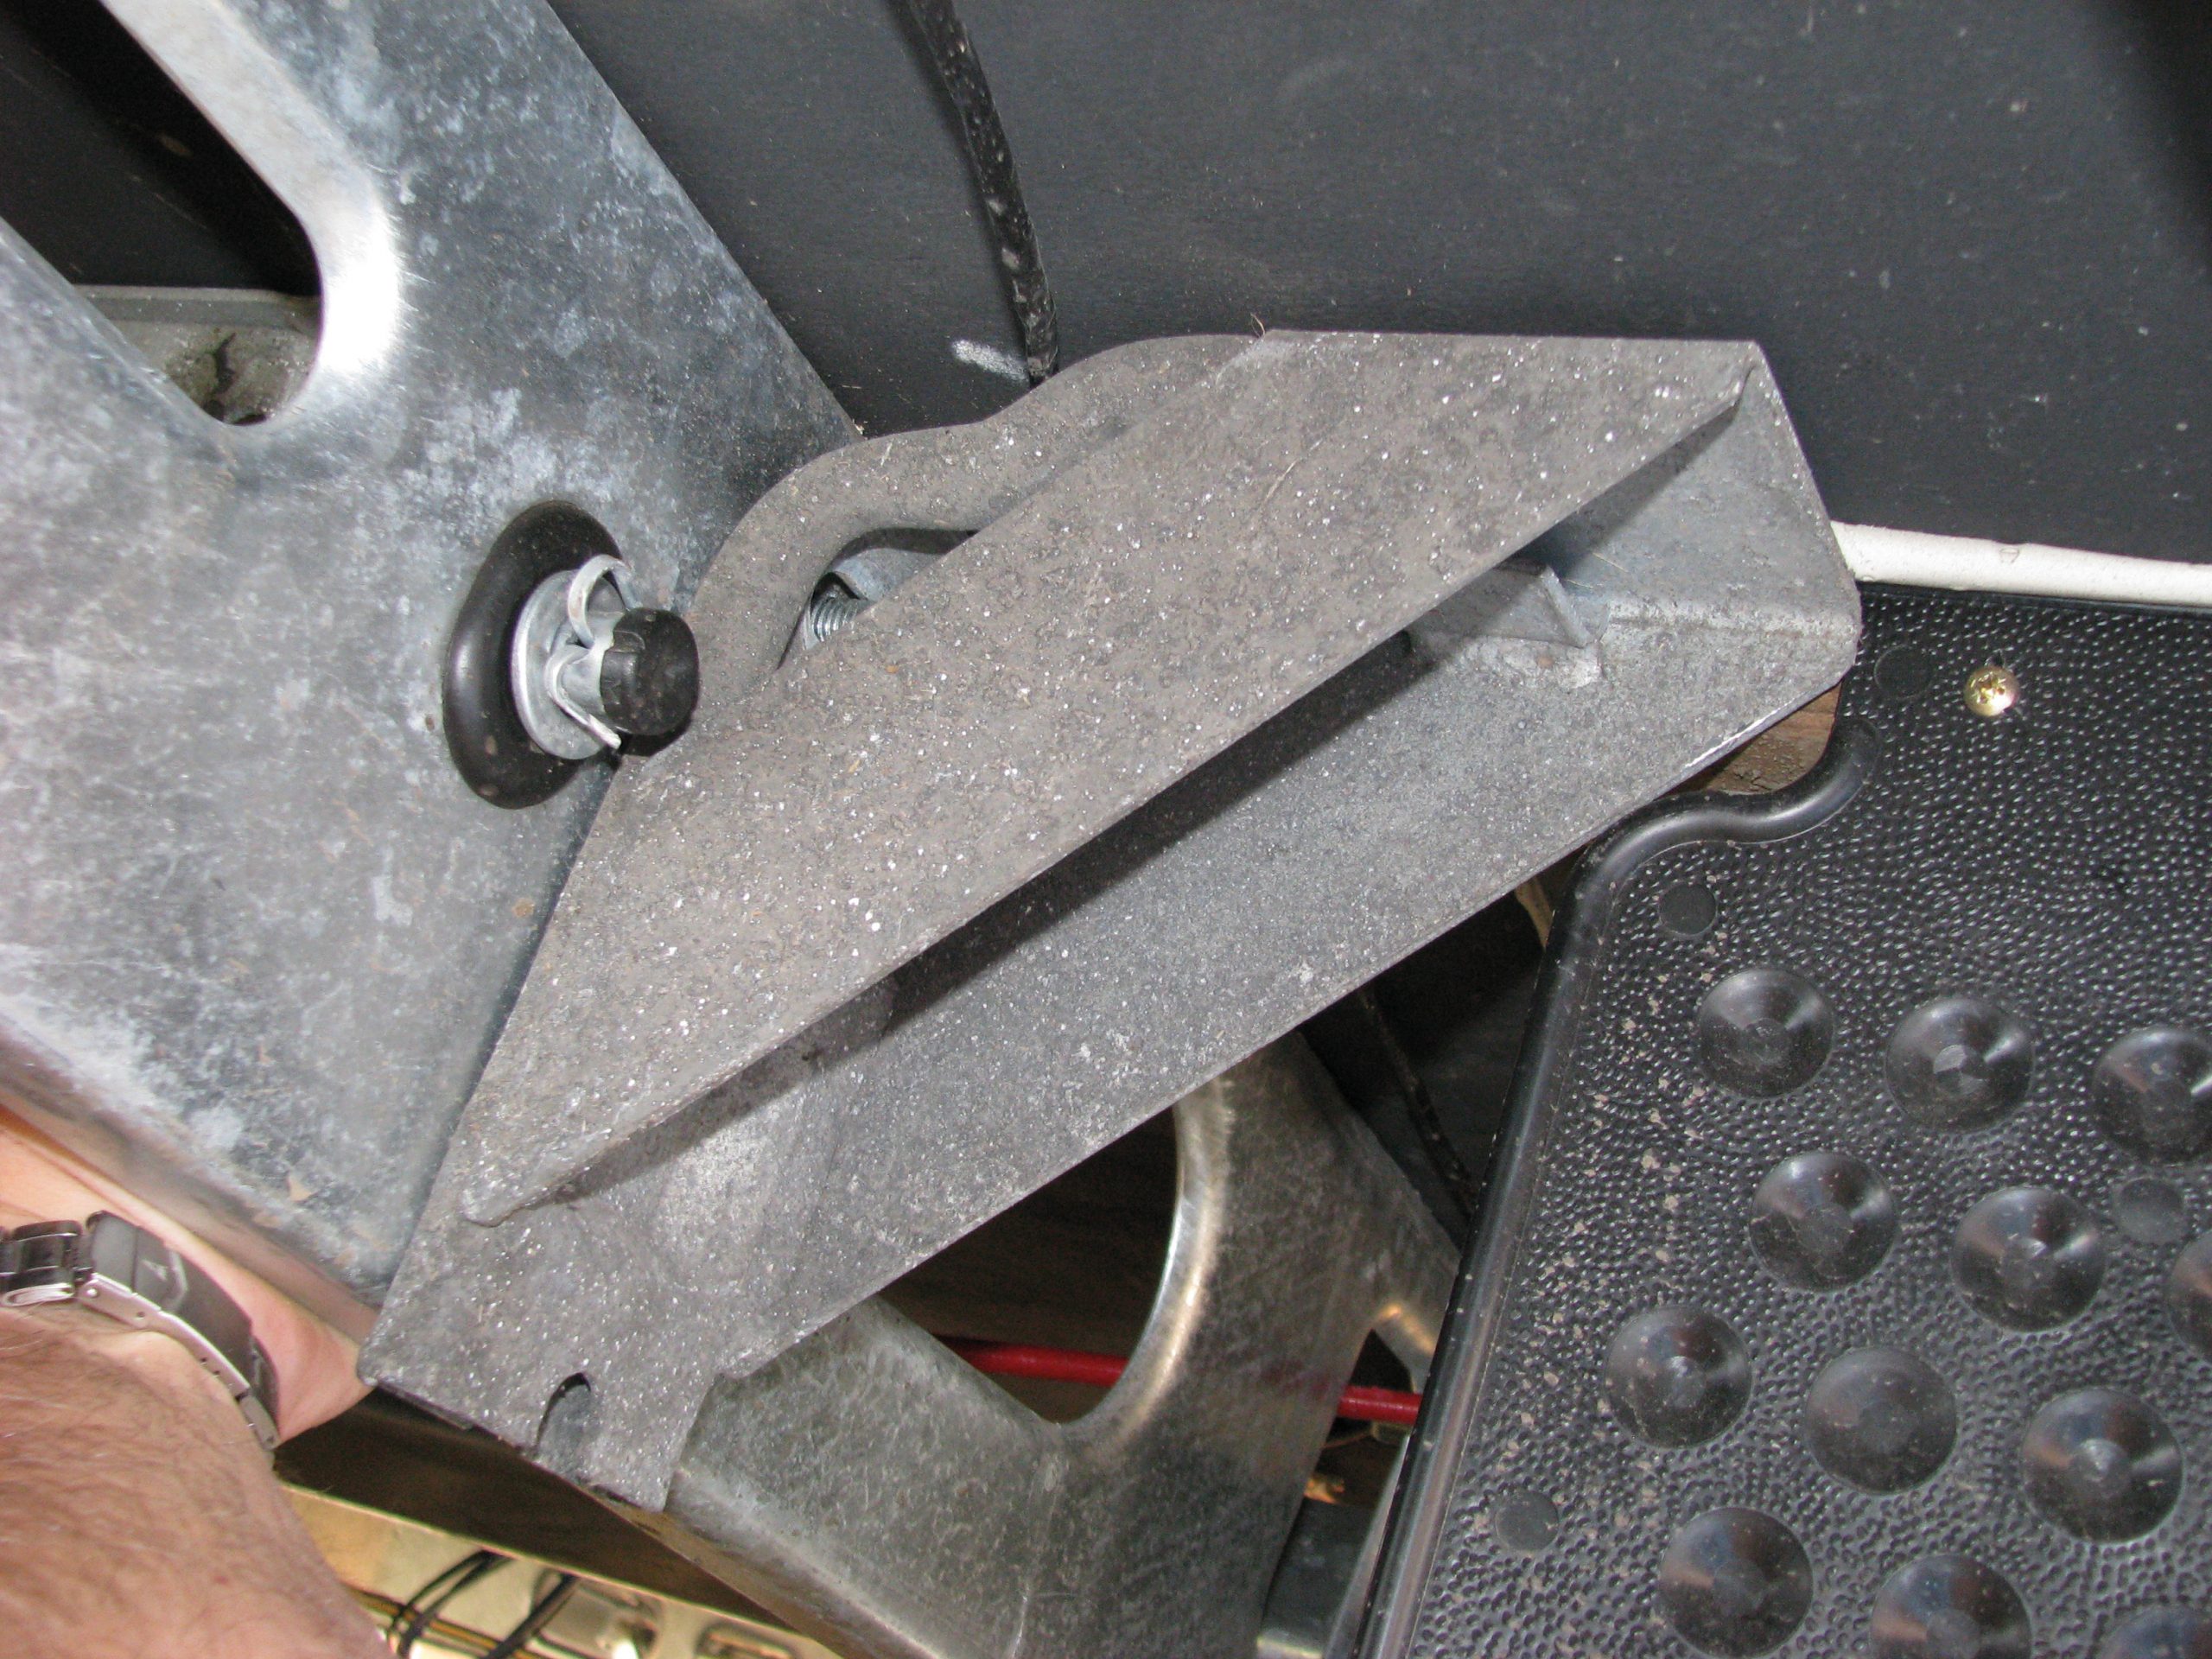
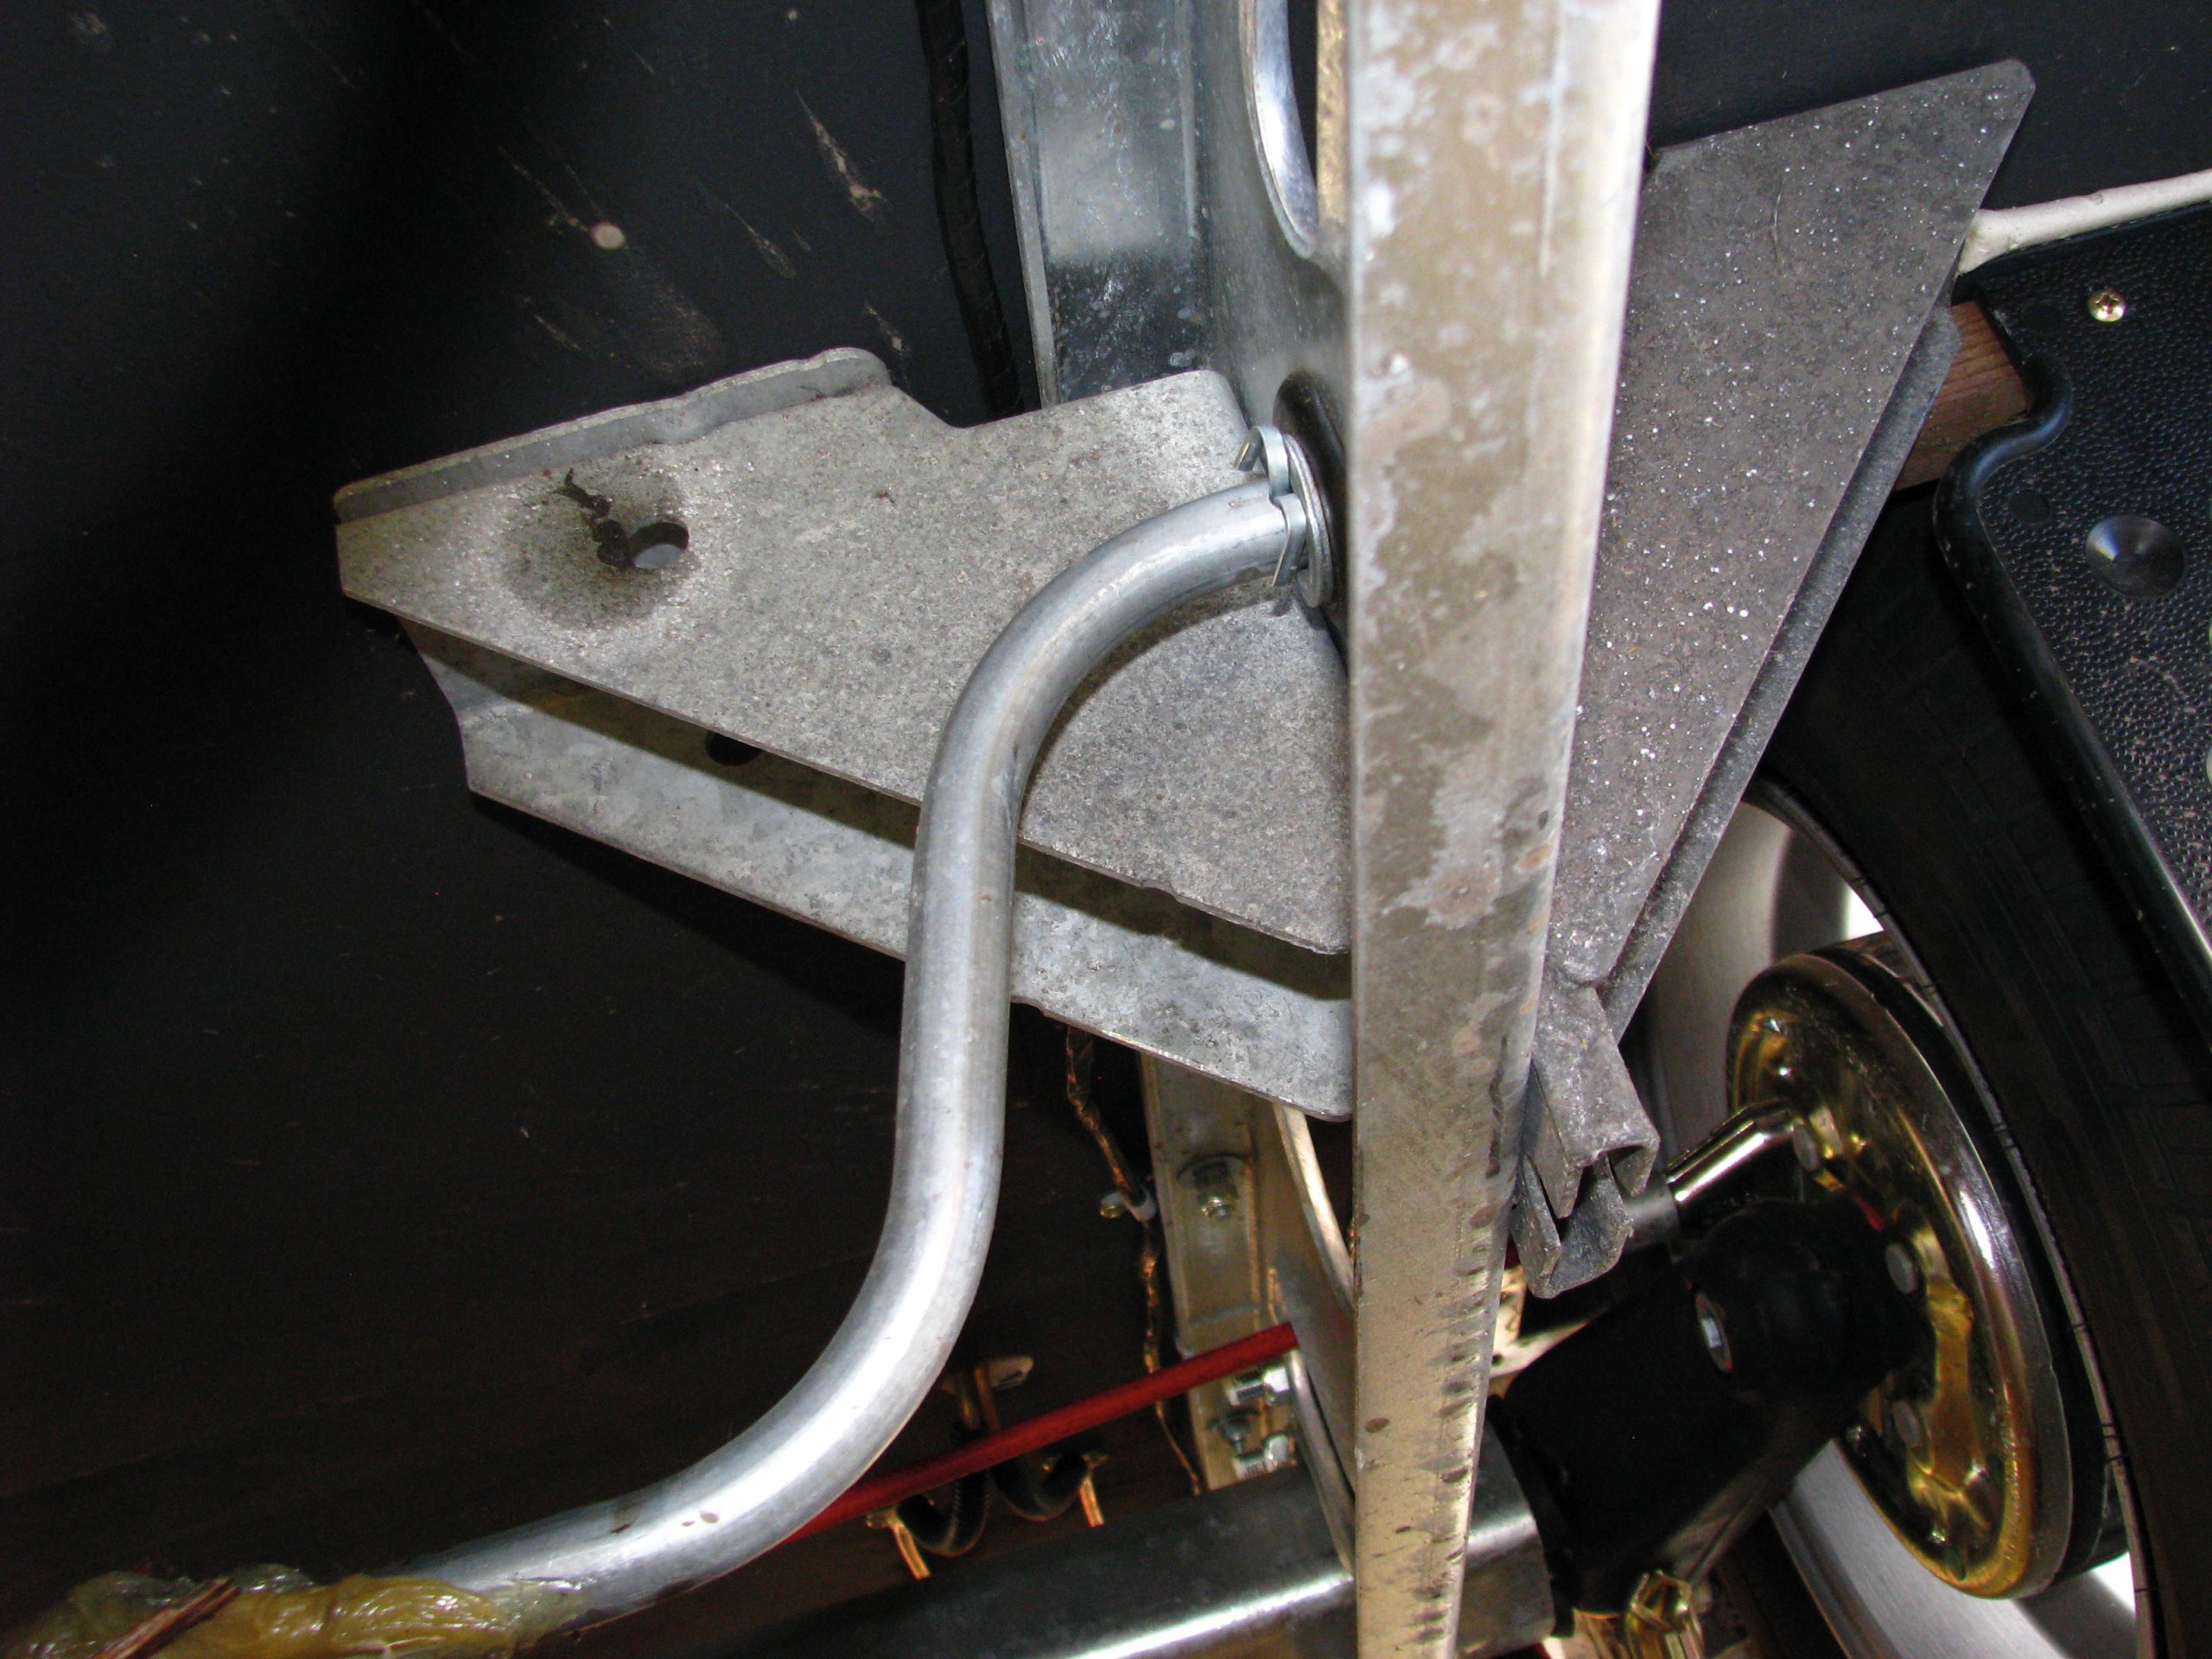
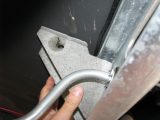
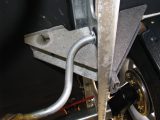
Position one of the inner jack mounting brackets (the more simply constructed piece, without the slot for the jack mount), with the cutaway section at the top, inside the chassis and line up the holes in it with those in the chassis. Then, after putting a washer onto each of the two bolts required on each jacking point, insert the bolts through the holes in the inner jack mounting bracket and chassis. Do this from the inside of the chassis, thus ensuring that the bolt heads are on the inner side. You may find it easier to put the bolts through the bracket before mating it up to the chassis and carefully feeding them through the chassis holes.
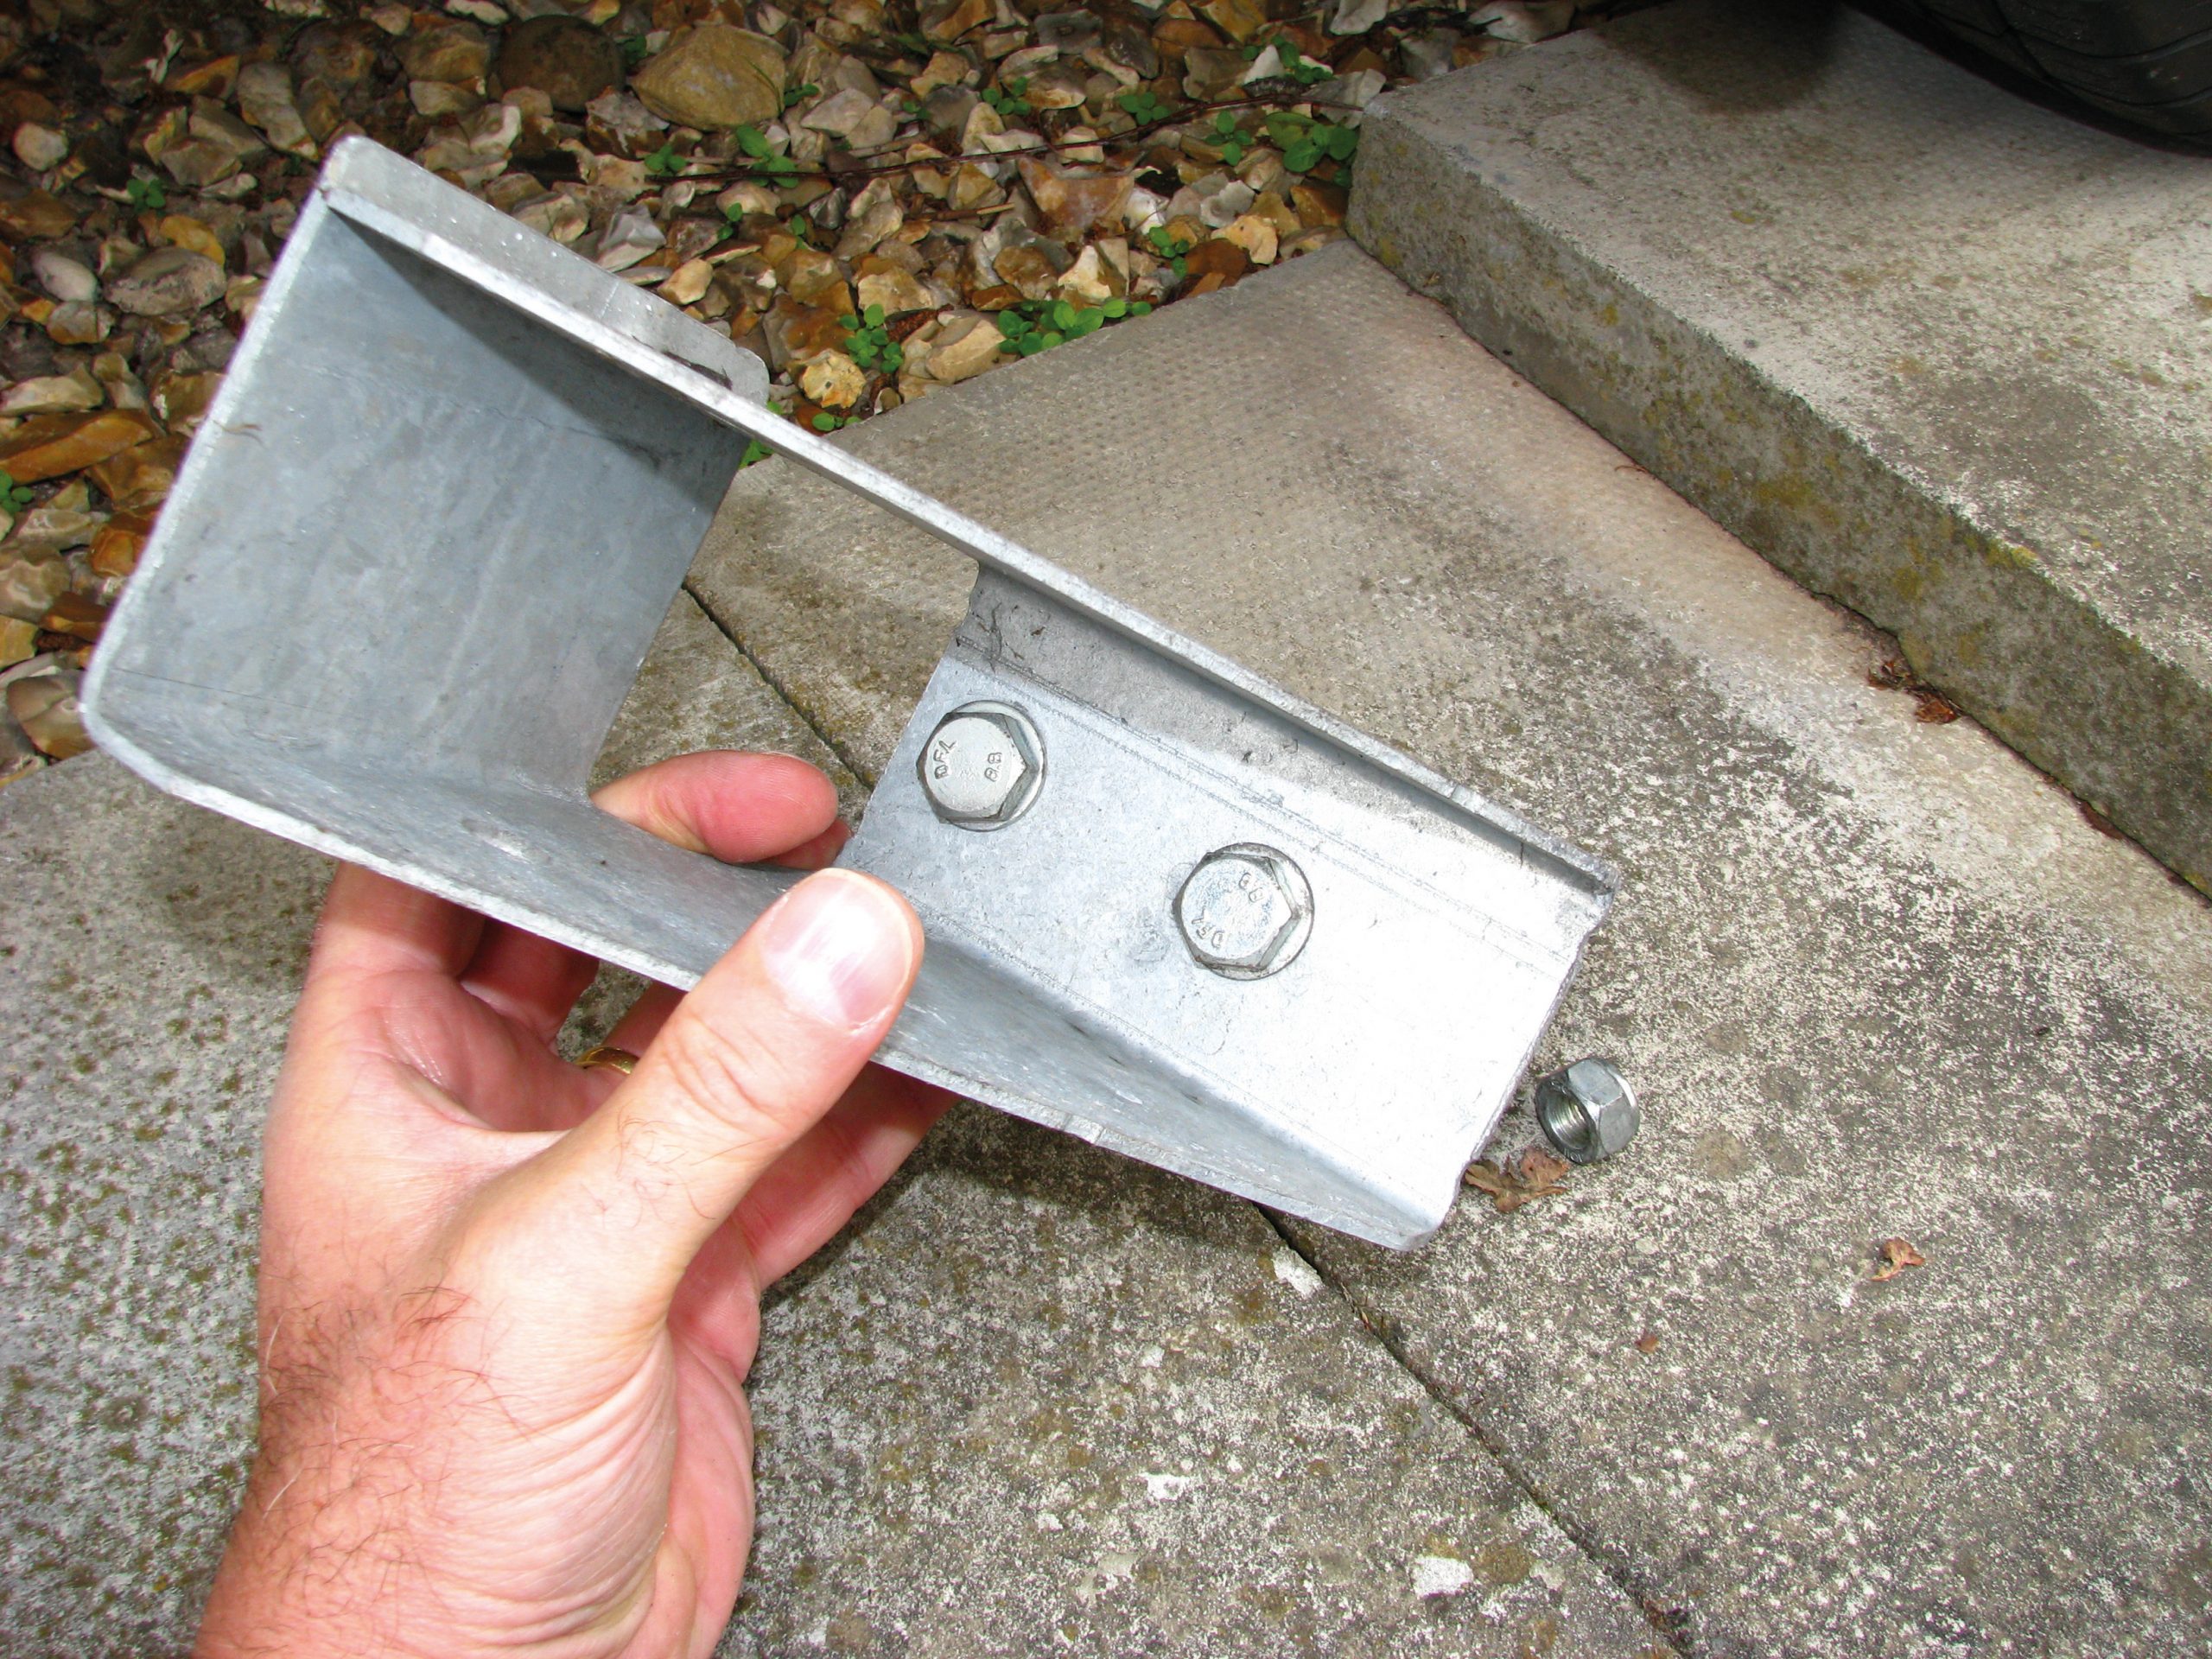
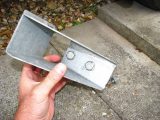
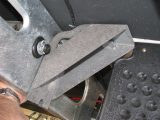
Next, put the outer mounting bracket’s holes onto the ends of the bolts protruding through the chassis (on the outside of the chassis). The slot where the jack will fit will end up vertically at the bottom. Place a washer and Nylock nut onto the ends of each bolt.
Before you start to tighten the nuts/bolts, be mindful of any wires or obstructions that might get trapped. On our caravan I had to keep some wires (the feeds to lower side-marker lights) out of the way as I tightened them. The holes in the outer brackets are slightly elongated, which should allow for a little positional movement if needed. Once reasonably tight, they need to be tightened to a torque setting of 86Nm.
Repeat the procedure for the opposite side of the caravan.
Test it out
It’s wise to check the operation prior to it being needed in an emergency, just in case something hasn’t quite gone right.
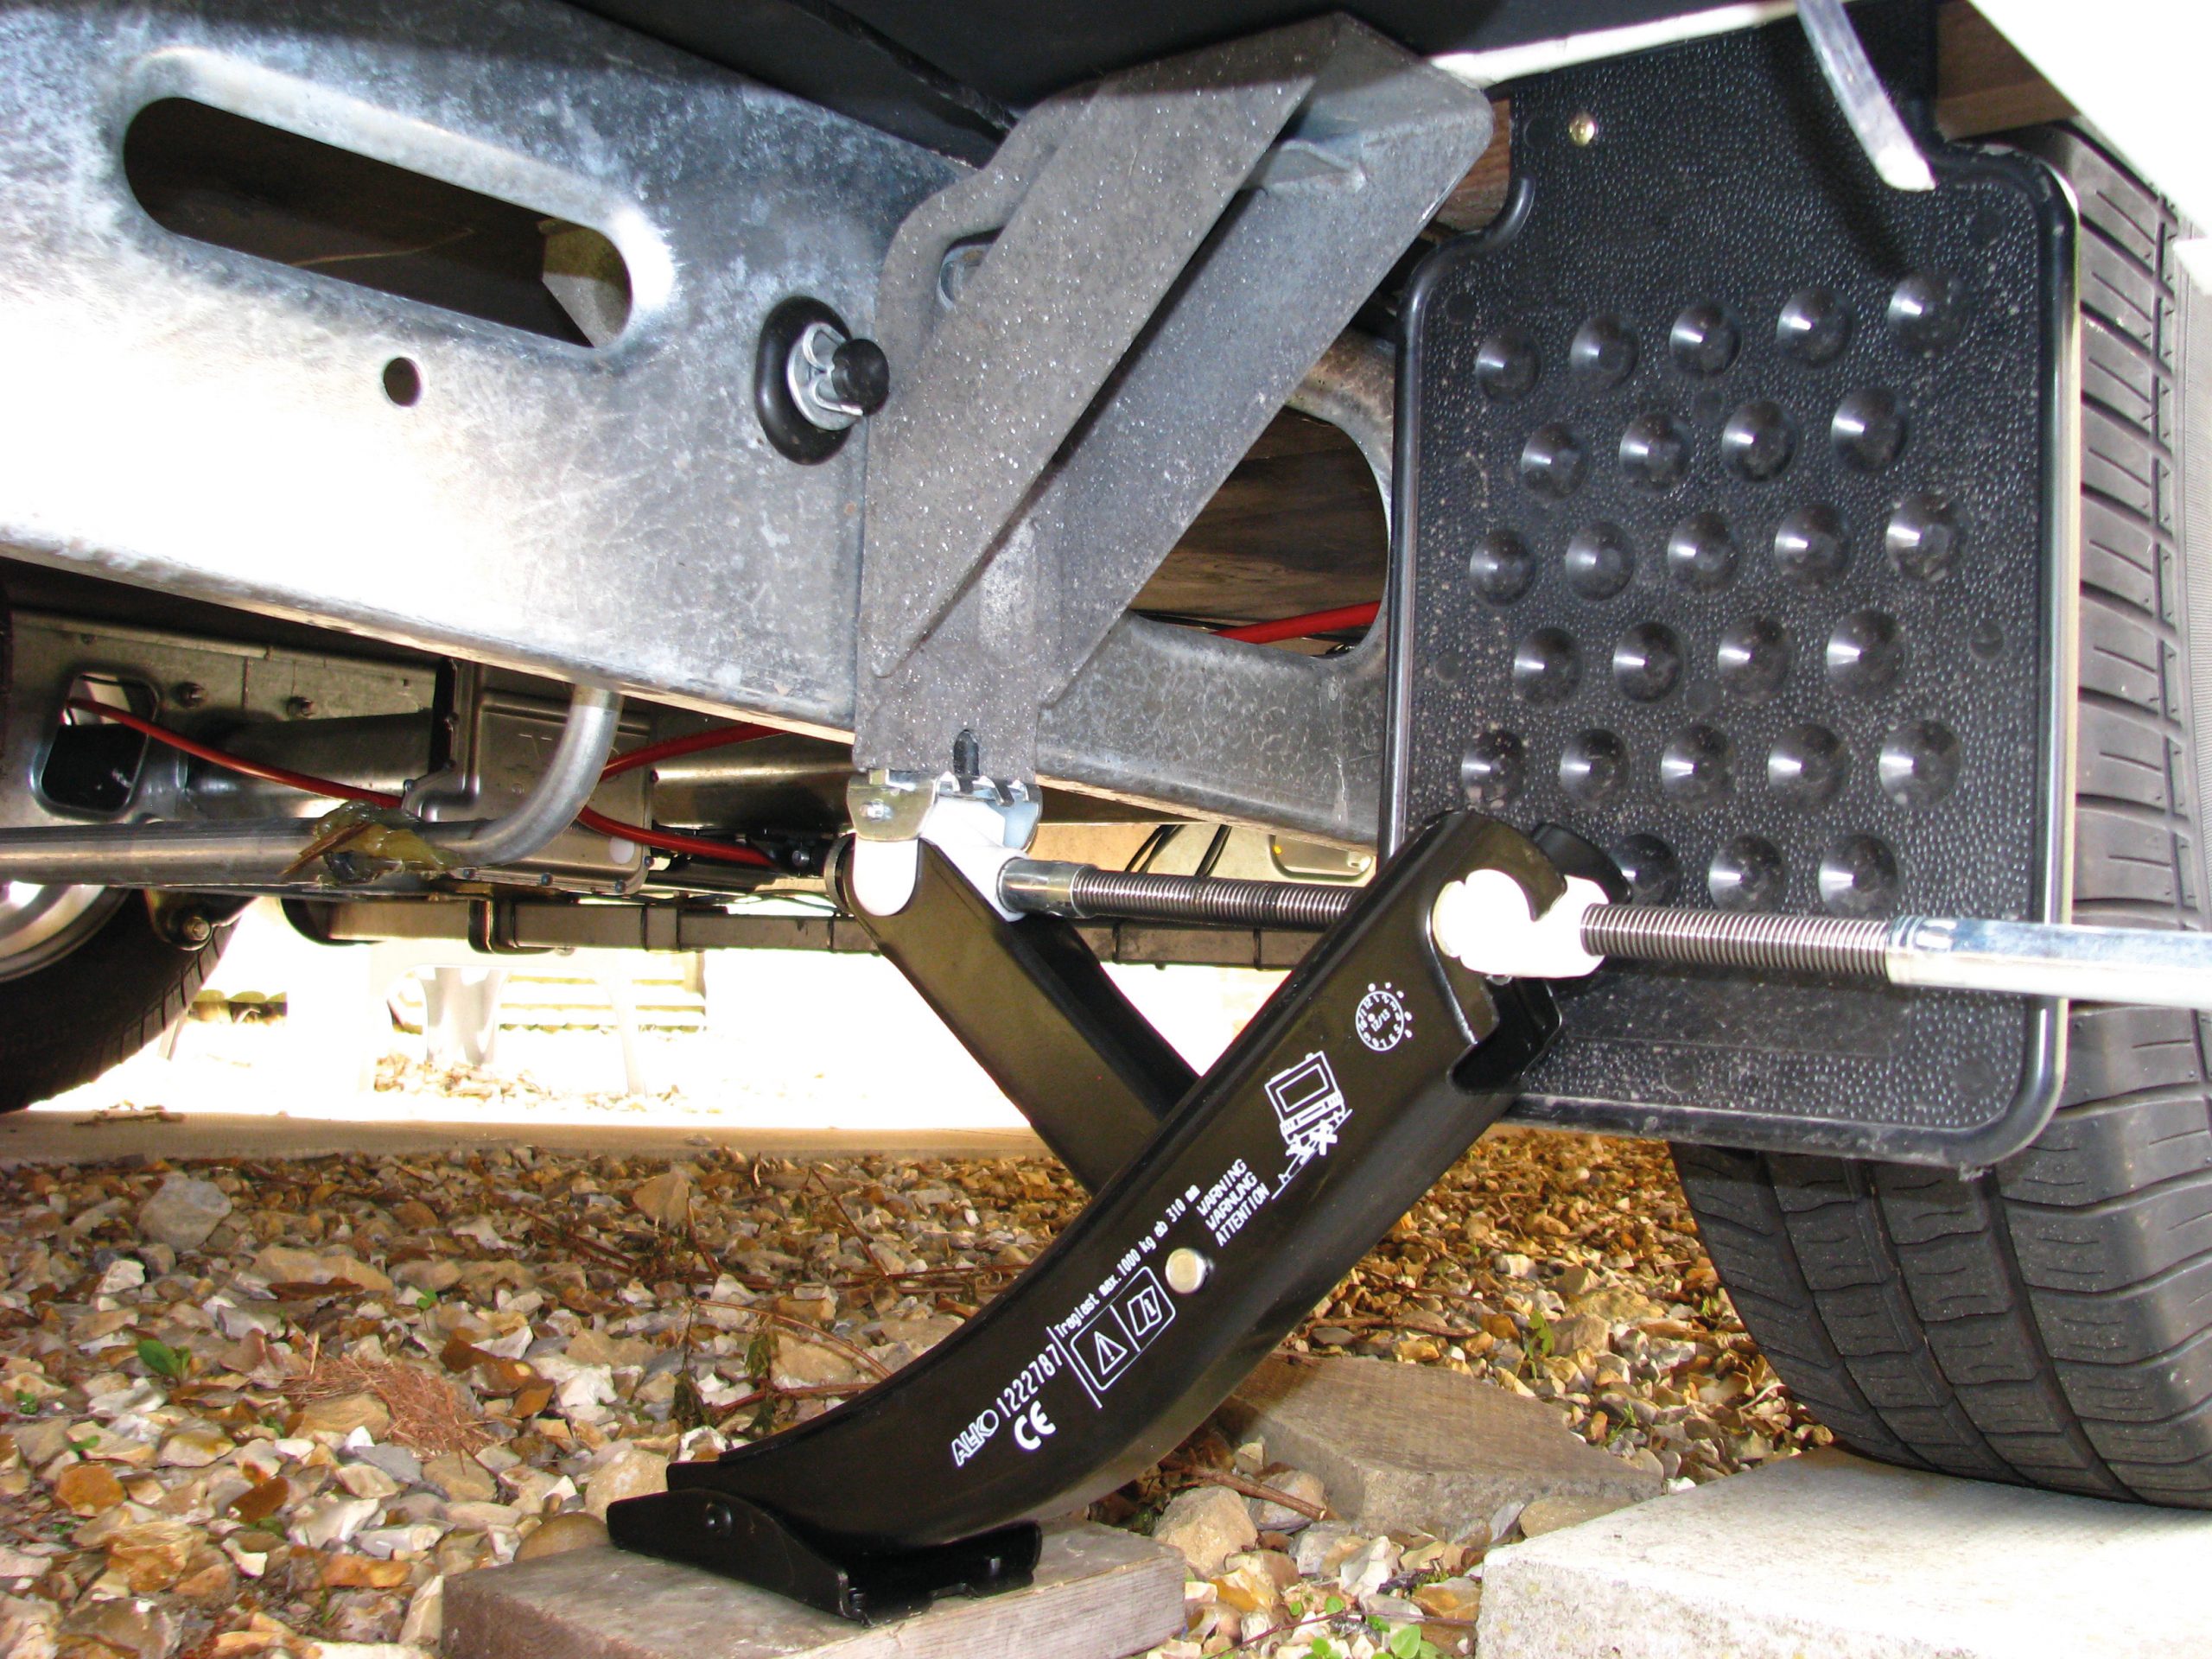
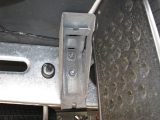
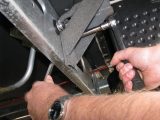
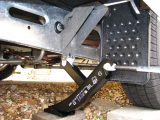
Once the necessary precautions have been taken (suitable ground, brakes applied, attached to a towing vehicle, wheels chocked and so on), slot the insert piece of the jack into the jack mounting bracket. While holding the jack with one hand, turn the jack handle in a clockwise direction until the base plate reaches the ground. Ensure that none of the jack’s components are likely to foul or damage any part of the caravan. On our previous caravan, unless I had a block (an inch or so thick) on the ground for the foot, the winder would hit a lower body trim panel on the caravan.
Make sure that the foot of the jack is directly beneath the insert/bracket slot. If all’s well, continue to raise the caravan until the wheel is just clear of the ground, and then repeat the operation on the opposite side.
The final job is to put the jack in the supplied bag, and hope that you don’t need it. But if you do, at least it’s the correct tool!
There are other makes of jack that operate in a similar way and use the specific mounting holes in the chassis. Never drill any part of an Al-Ko chassis unless Al-Ko’s specific instructions dictate otherwise, because this could cause a structural weakness in the chassis, and will certainly invalidate any warranty.
The 1000kg refers to the static load that the unit is designed to lift, so this unit is suitable for caravans with an MTPLM of up to 2000kg