


There must be little that’s more embarrassing (or annoying to others) than tripping a campsite’s electricity supply during caravan holidays. It has only happened to me a couple of times over the years. The first time was at a small CL site, and the second was in France (both supplying only 6A). Fortunately, only our supply was tripped, so it was easily reset.
However, imagine this occurring on a site where only the owners or wardens can reset it, and they are sitting down to an evening meal (as are those around you), and the bollard supplying another two or three caravans trips.
The problem is that most of us want more electrical gizmos in our caravans. So, I am asking for trouble when I turn on my hairdryer while the Alde heating system is running at full tilt.
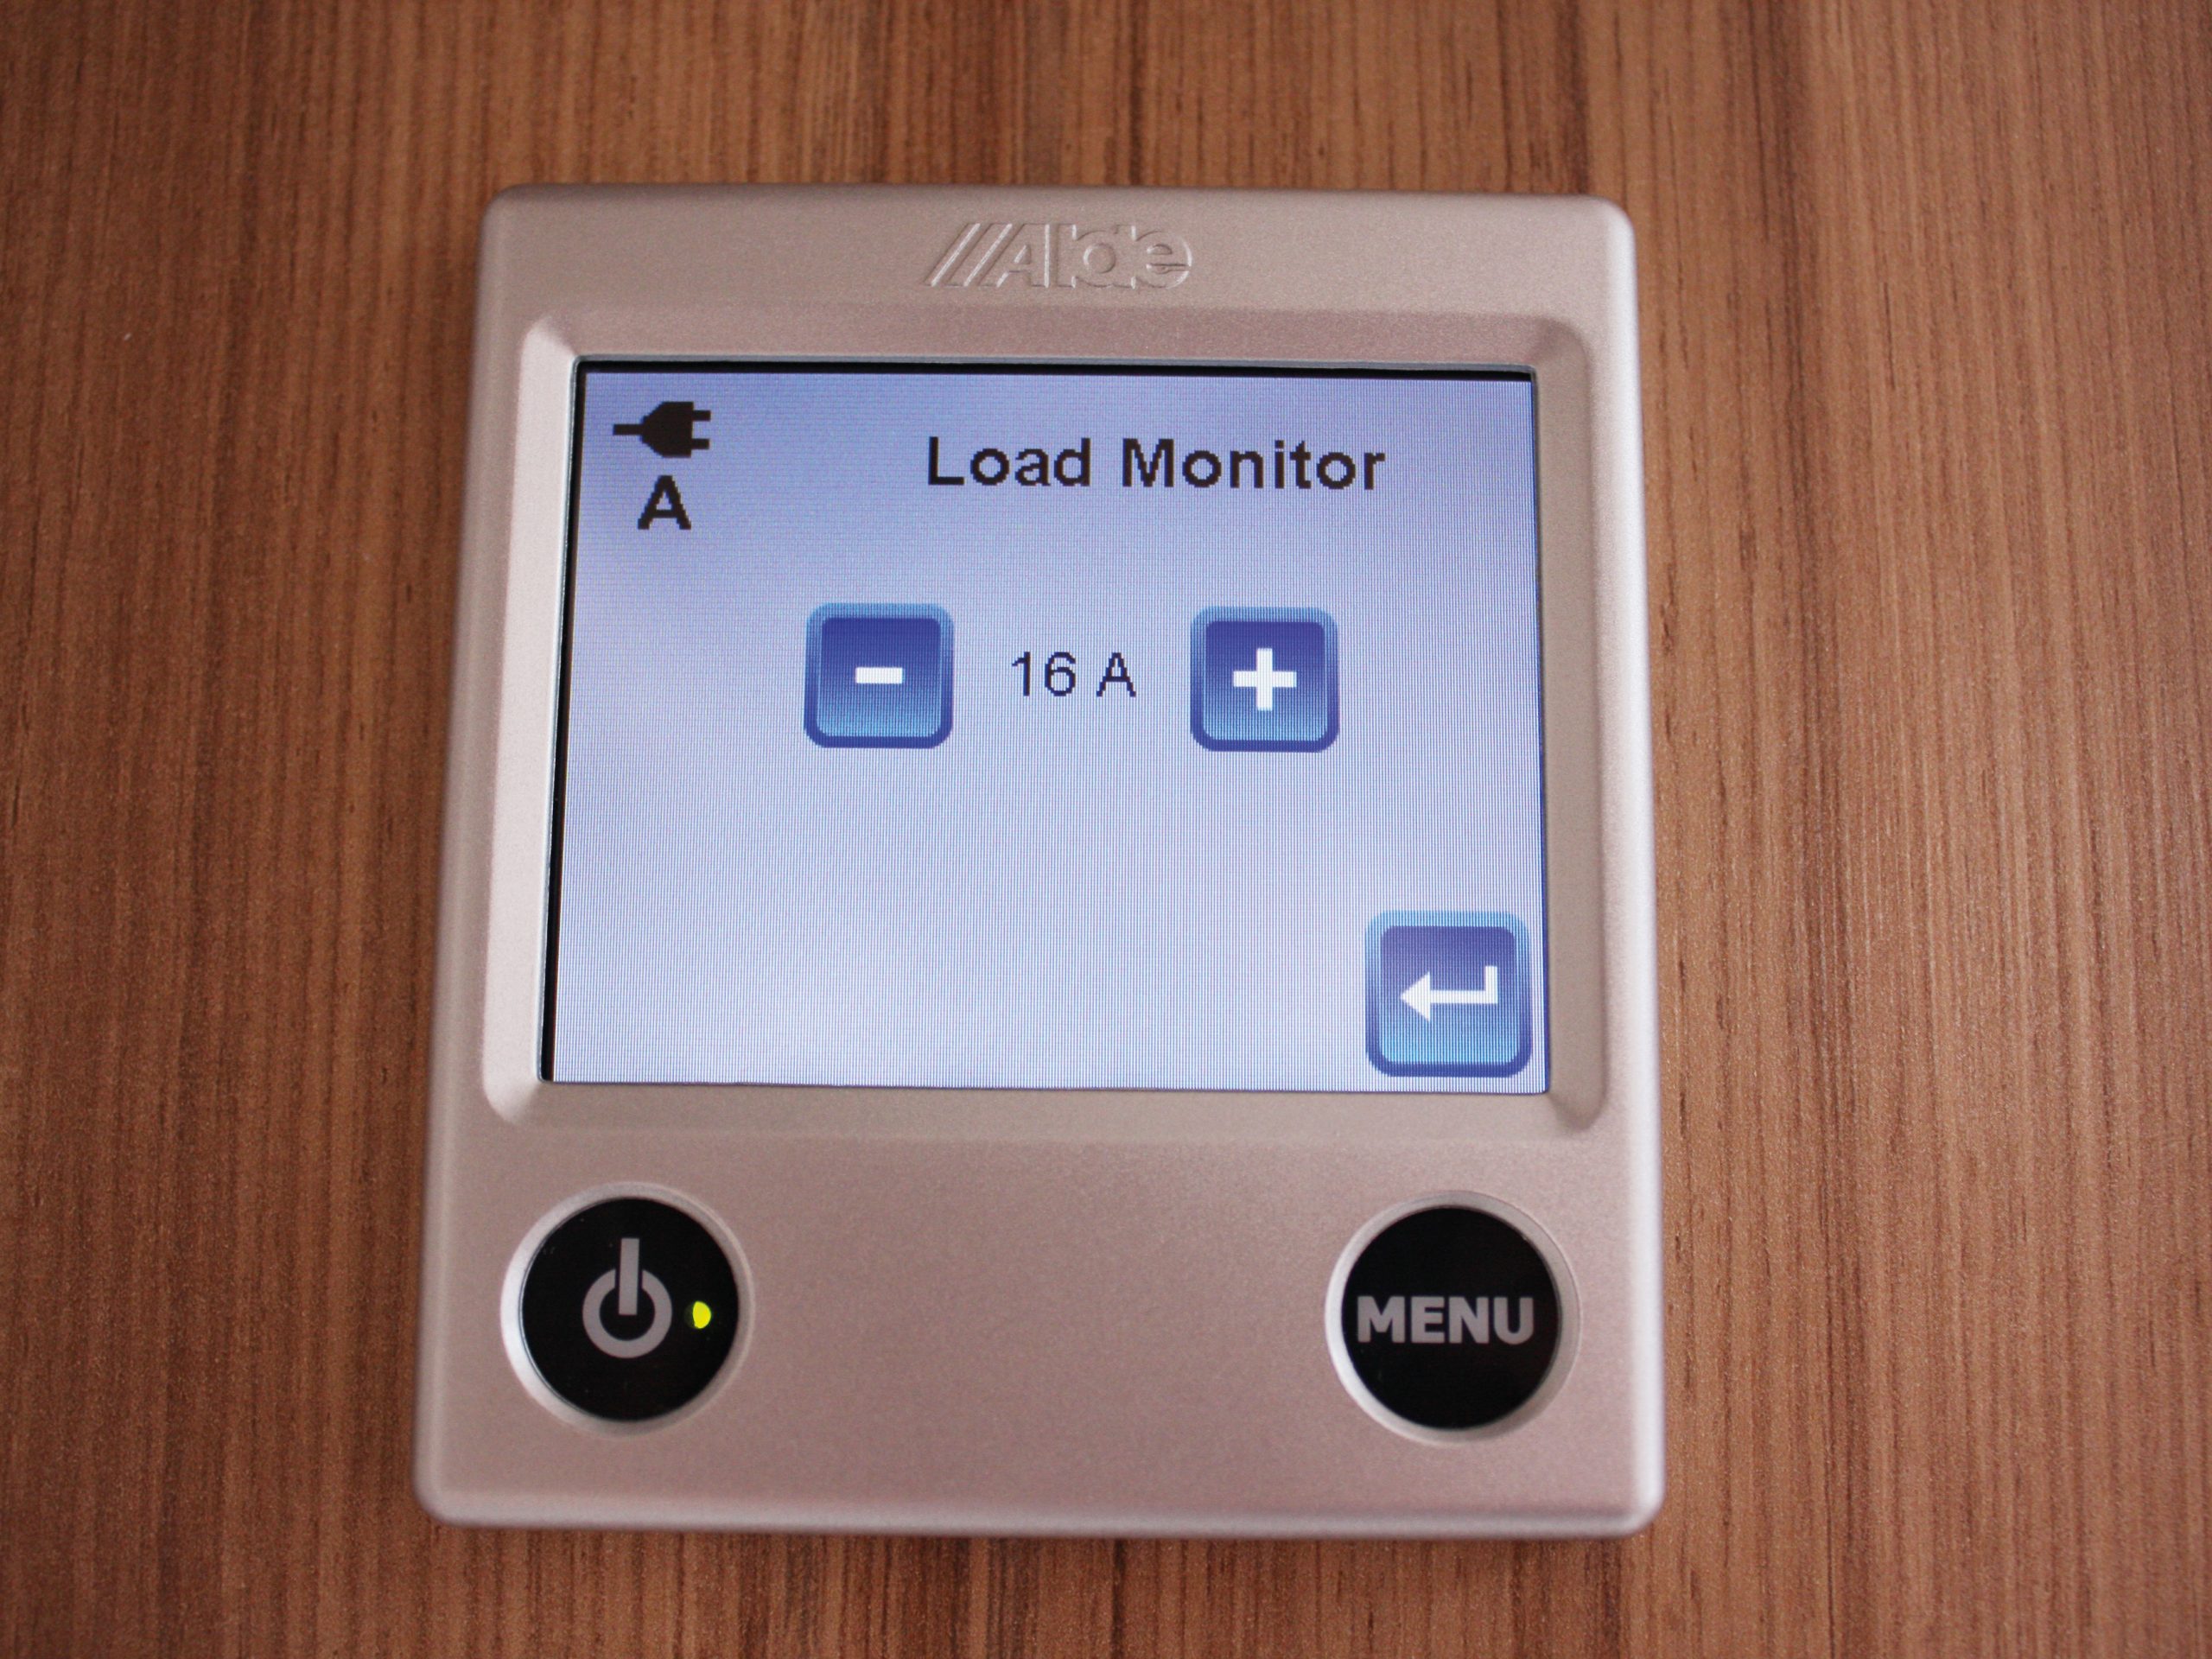
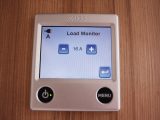
However, Alde has introduced a load monitor to go with its heating system. It keeps track of your van’s electricity demand and reduces the current the heater draws as the total usage nears the maximum. Simply input the hook-up amperage at the control panel.
The good news is that it’s easy to fit and, if you’re not confident about doing it yourself, it won’t cost a lot to have a dealer fit one.
Safety warning
Only undertake this task if you are competent to work with mains electricity. Before starting, ensure that all electrical supplies are disconnected and all the switches are off.
How to fit the Alde load monitor
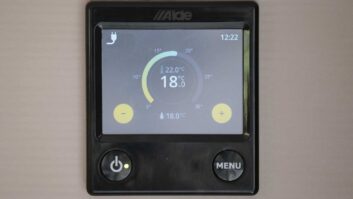
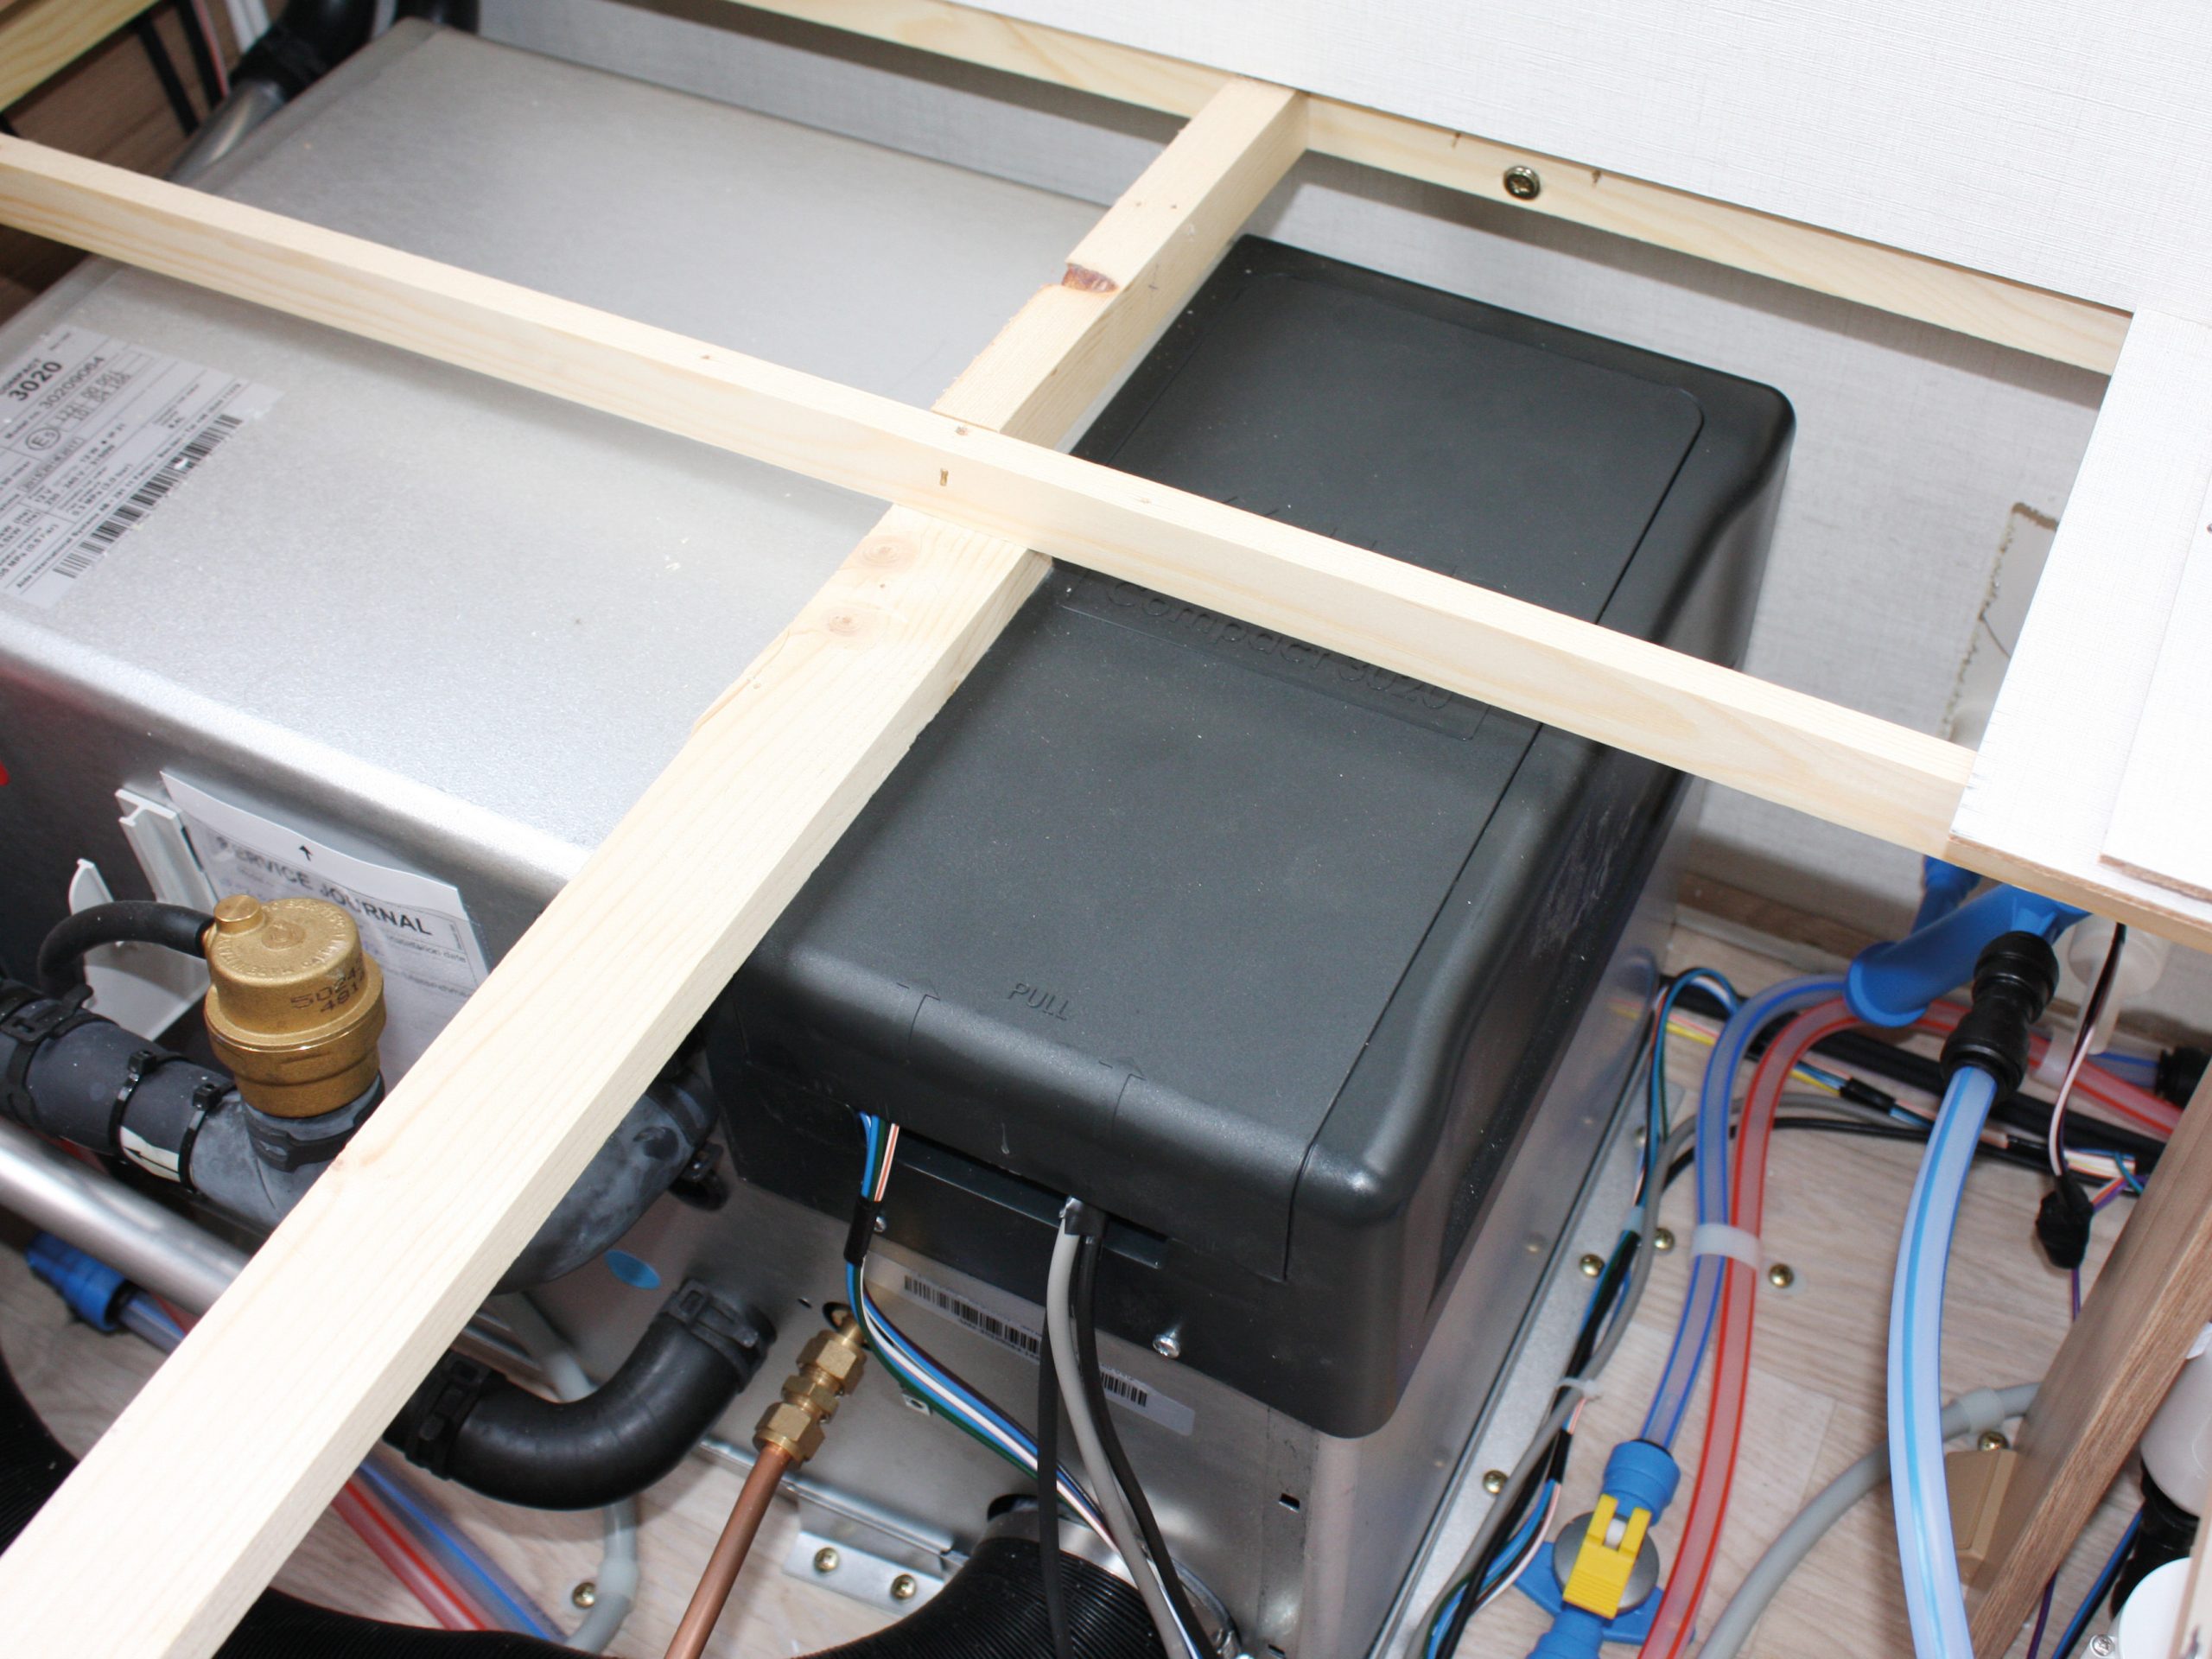
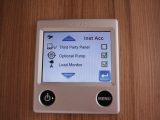
We’ll look at fitting the monitor to the Alde 3020, which has a touchscreen control panel, but it can also be fitted to earlier models.
The tools required are:
- Crosshead screwdriver
- Wire strippers
- Stanley knife
- Cable-ties
- Insulating tape
- Small screws
- Numberplate-fixing tape/pads
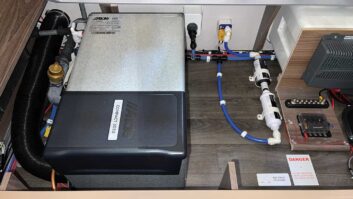
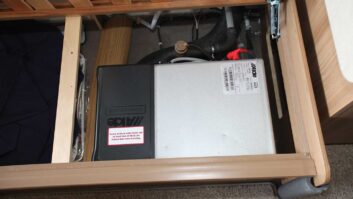
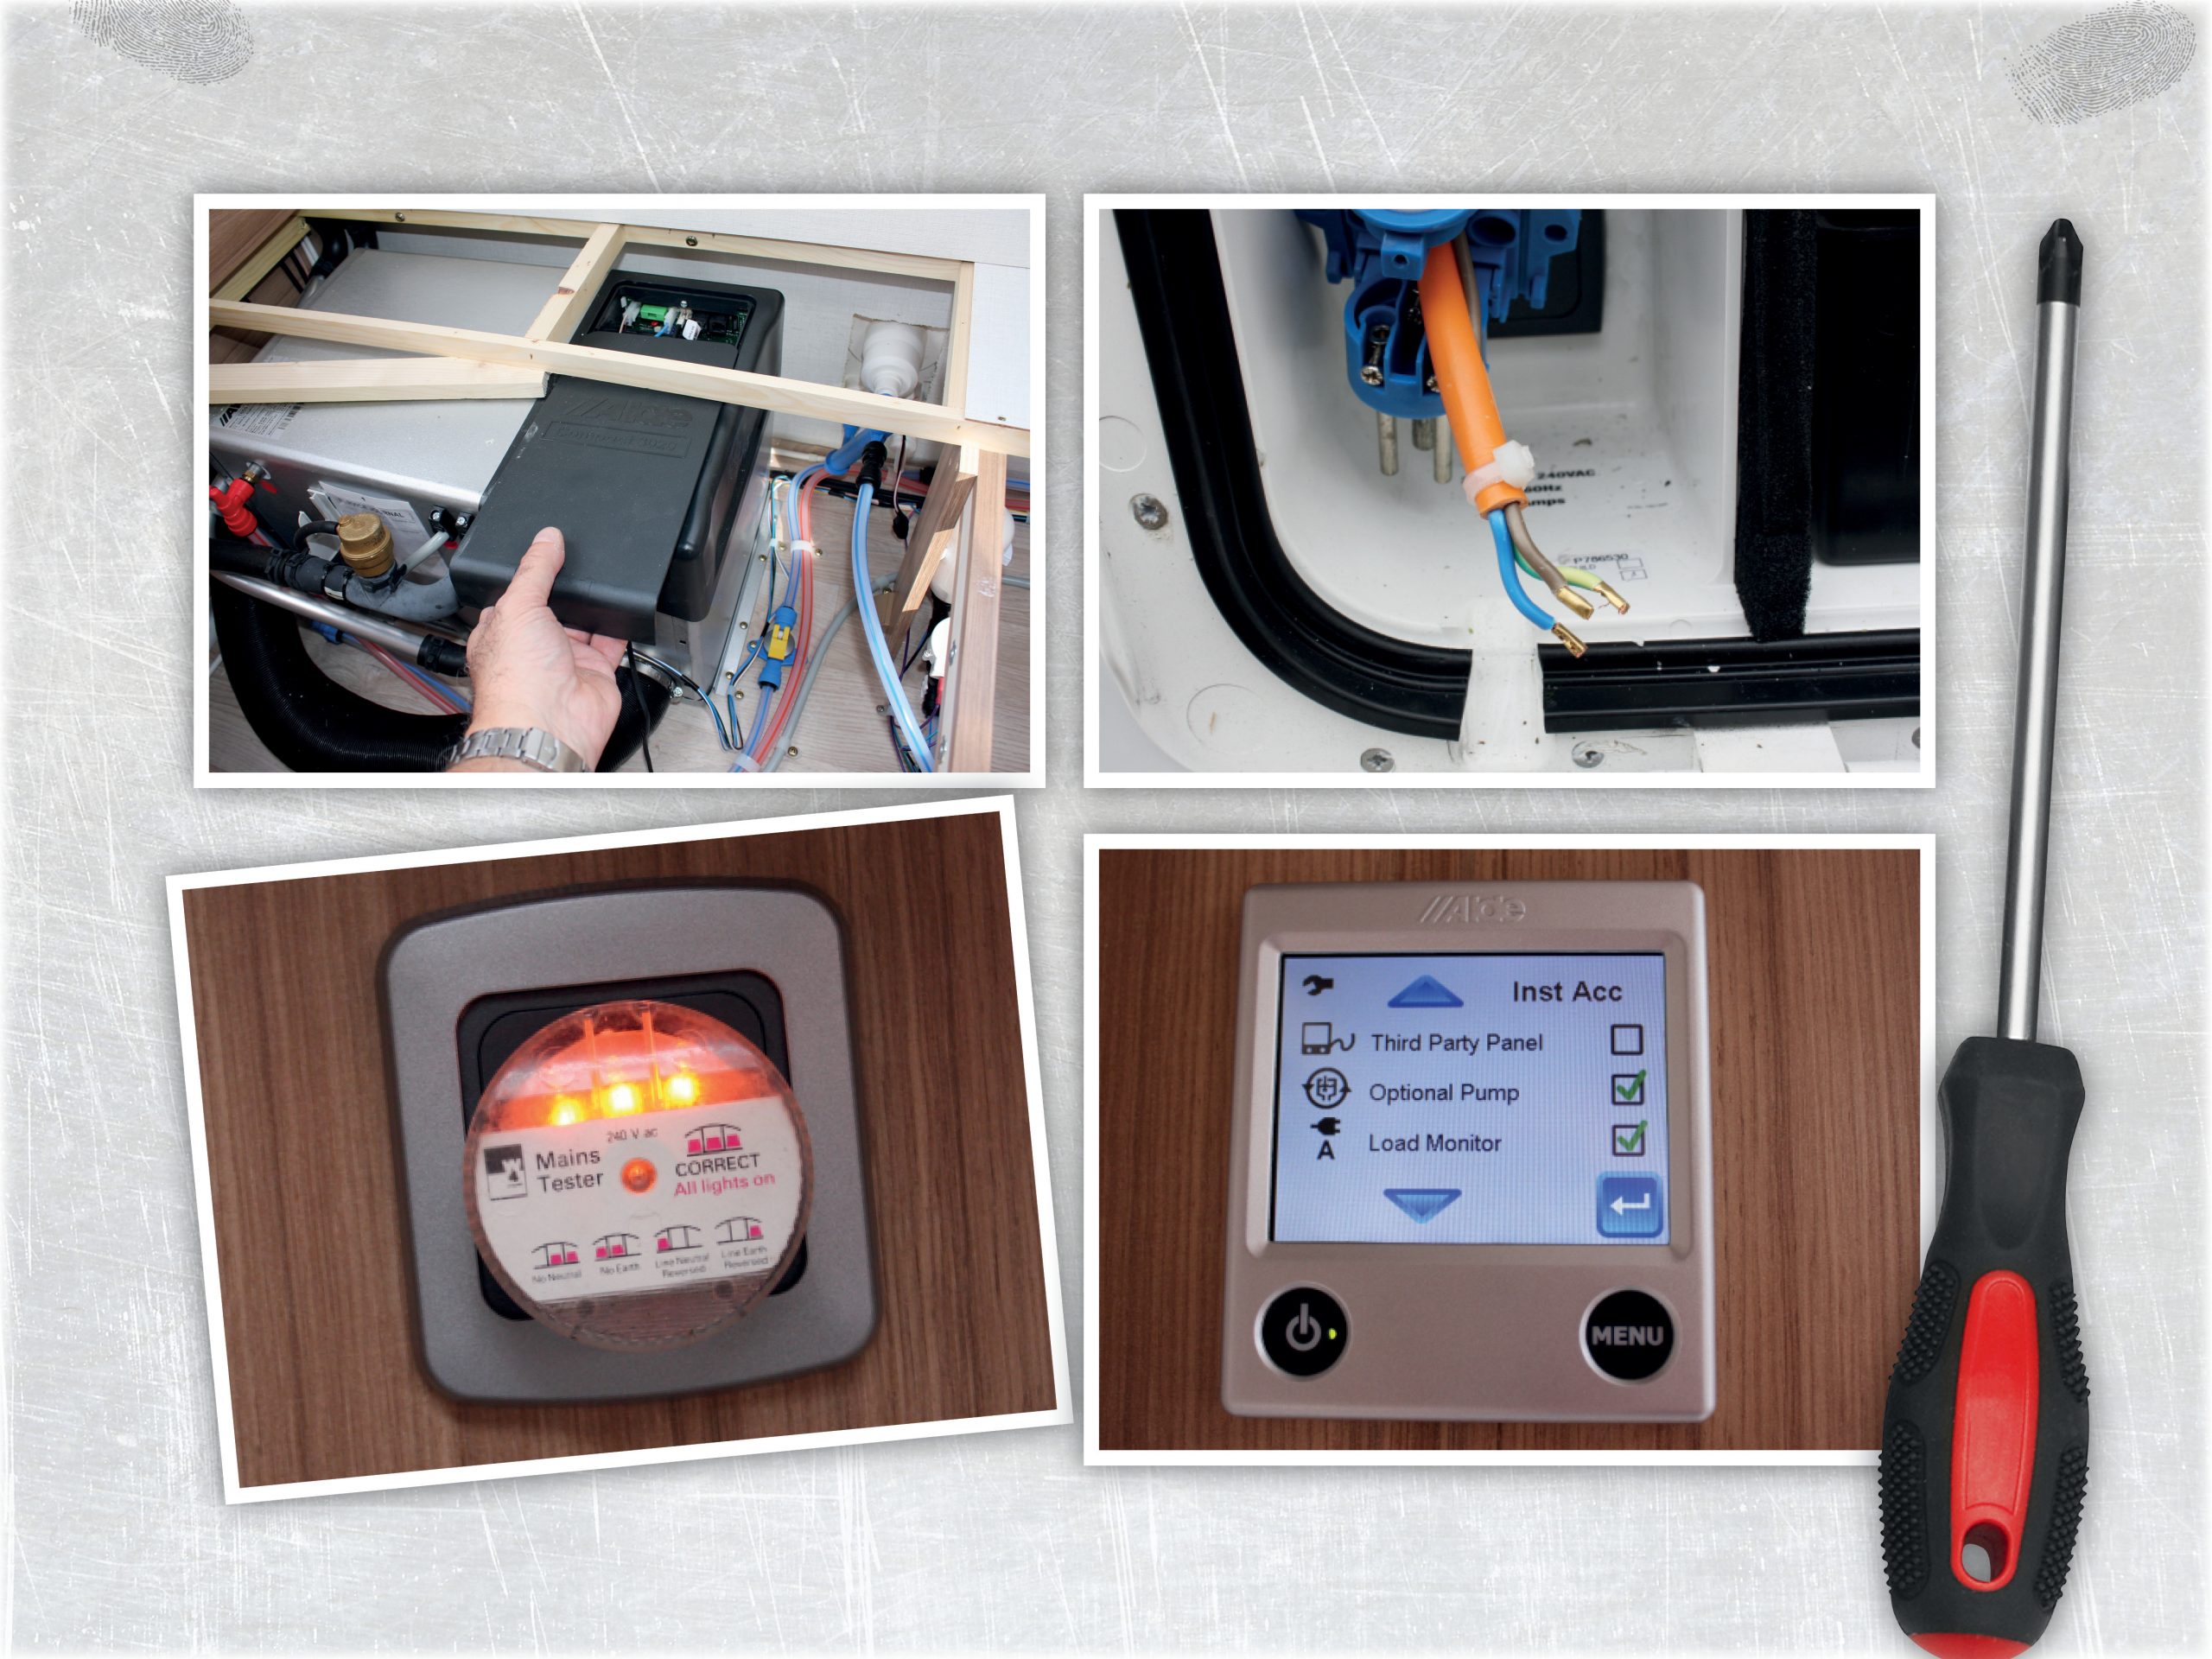
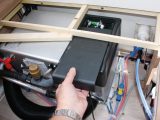
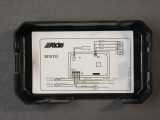
The first thing to do is locate the Alde unit. You’ll need to be able to remove the black plastic cover on the top right-hand side (as you look at the unit). This unclips and slides off. In our example, the caravan had been built around the unit, so some dismantling of the seat base was required to gain access.
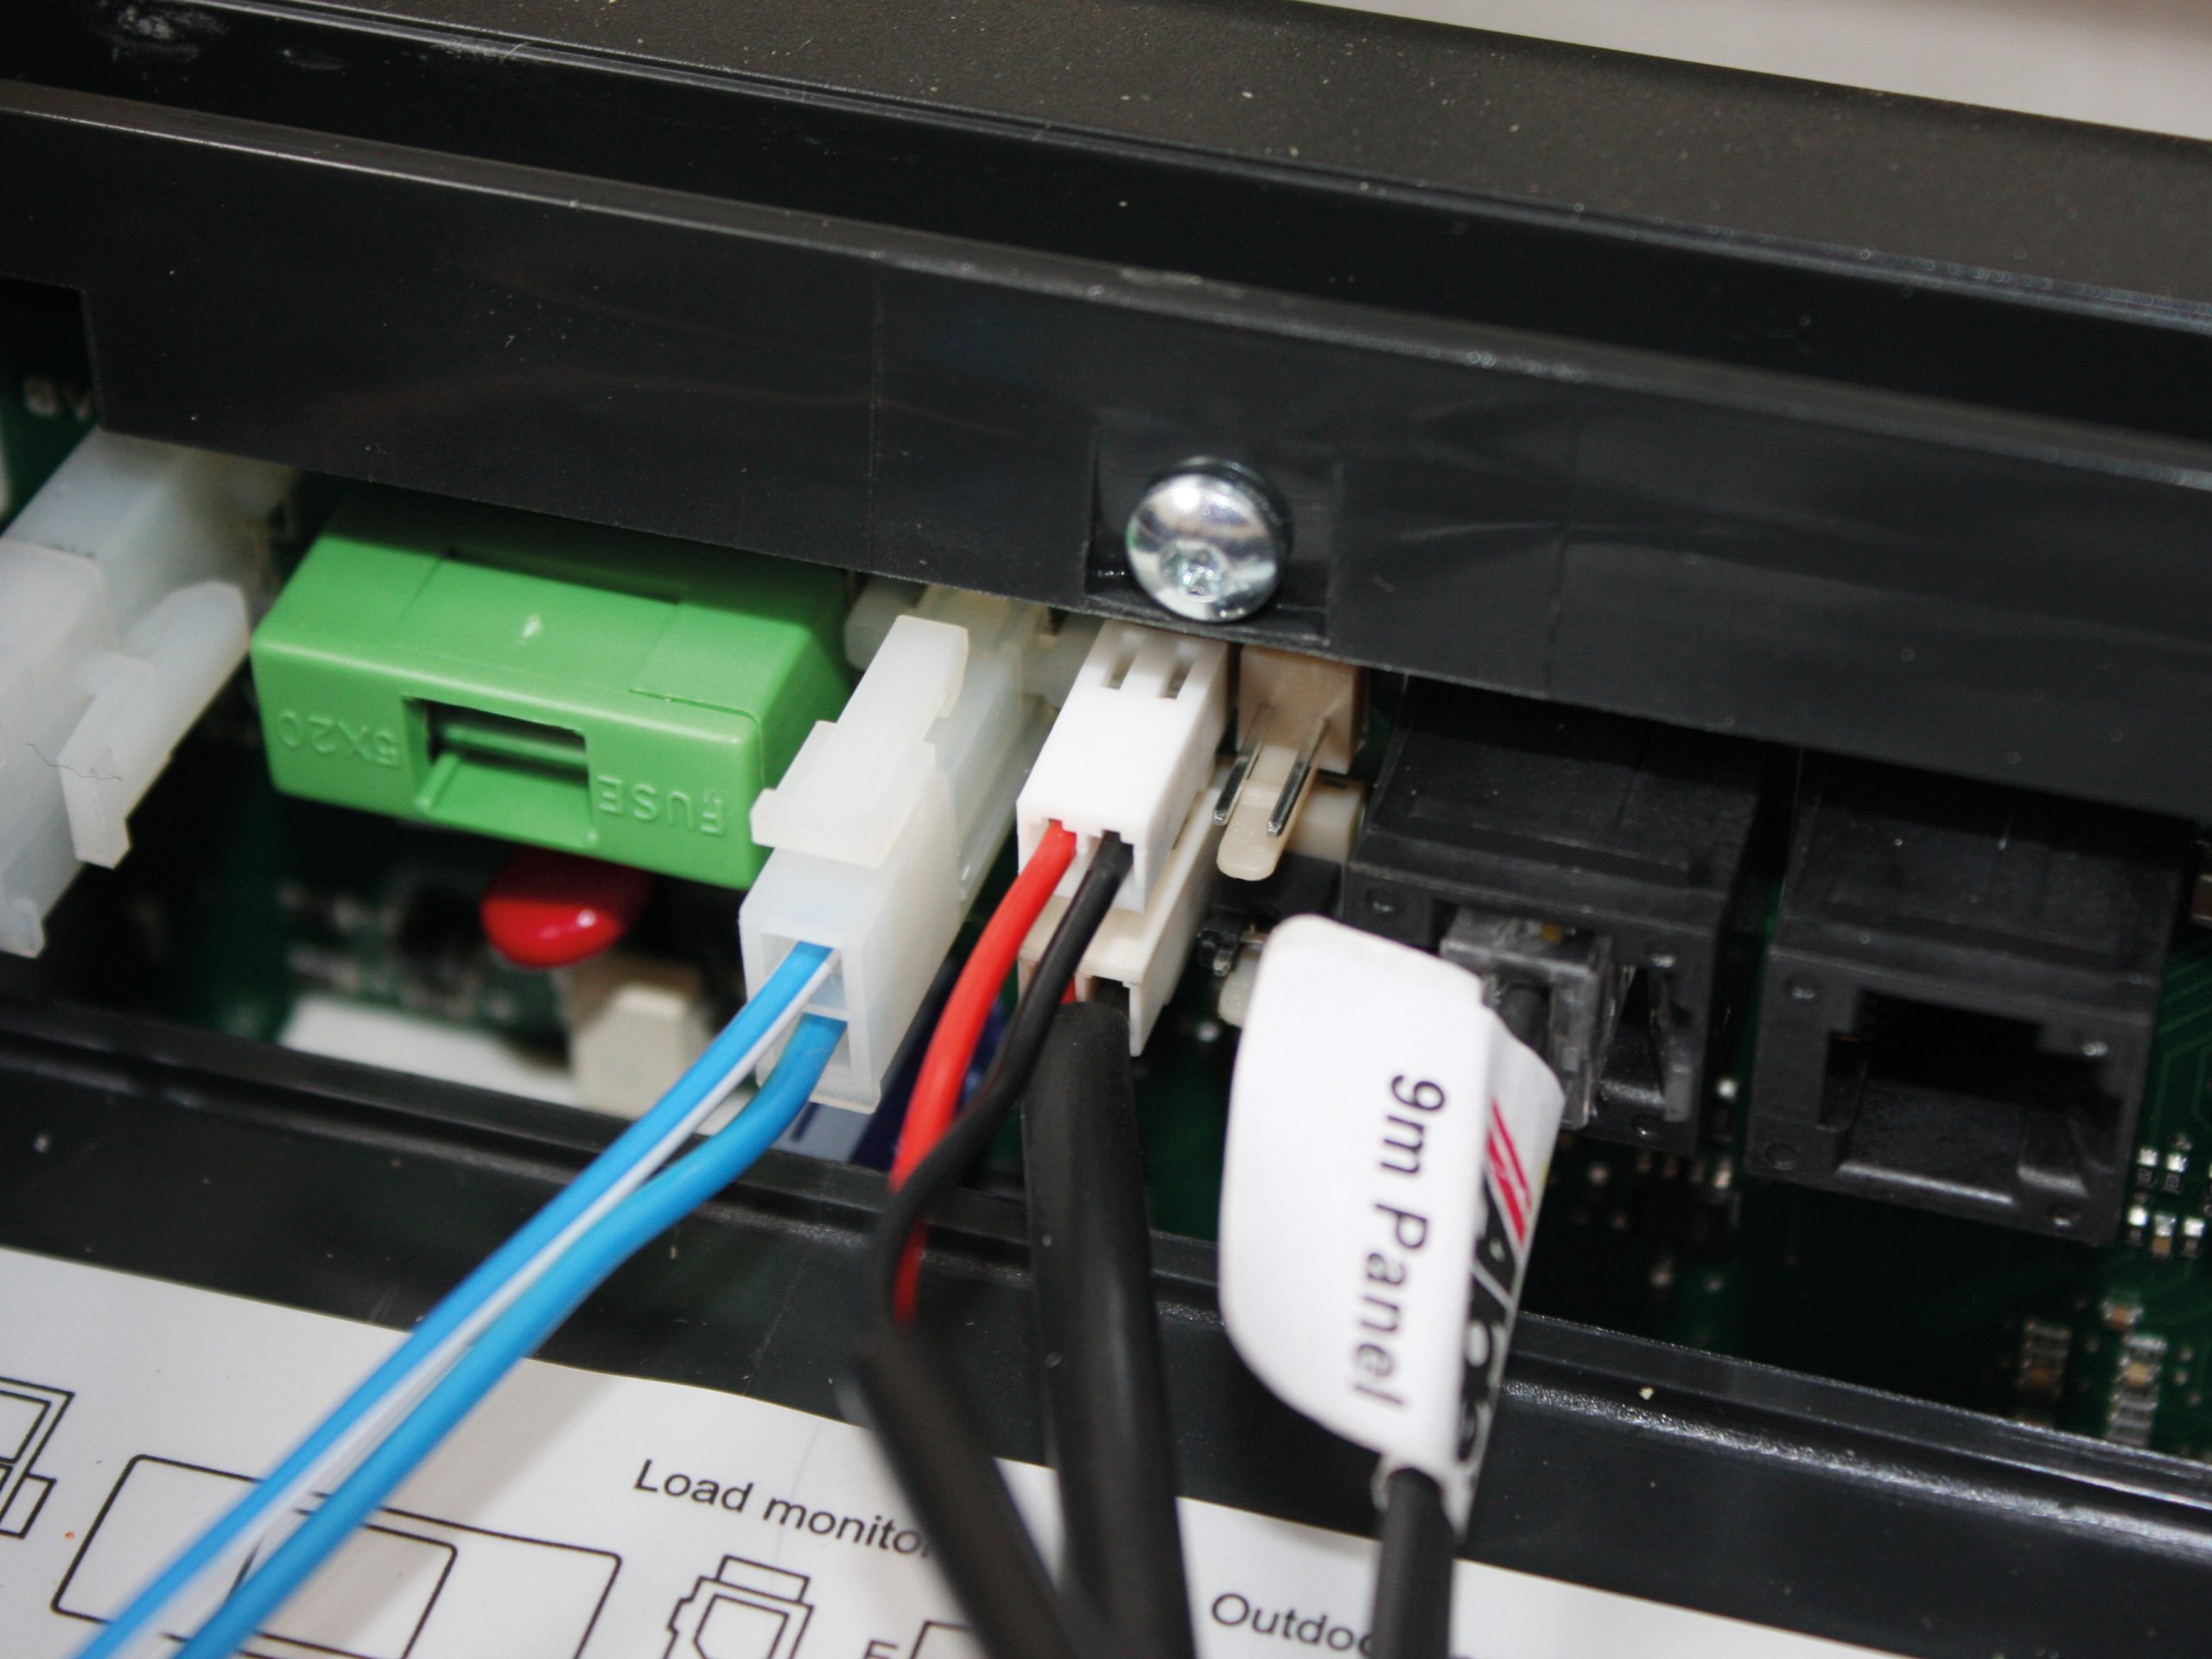
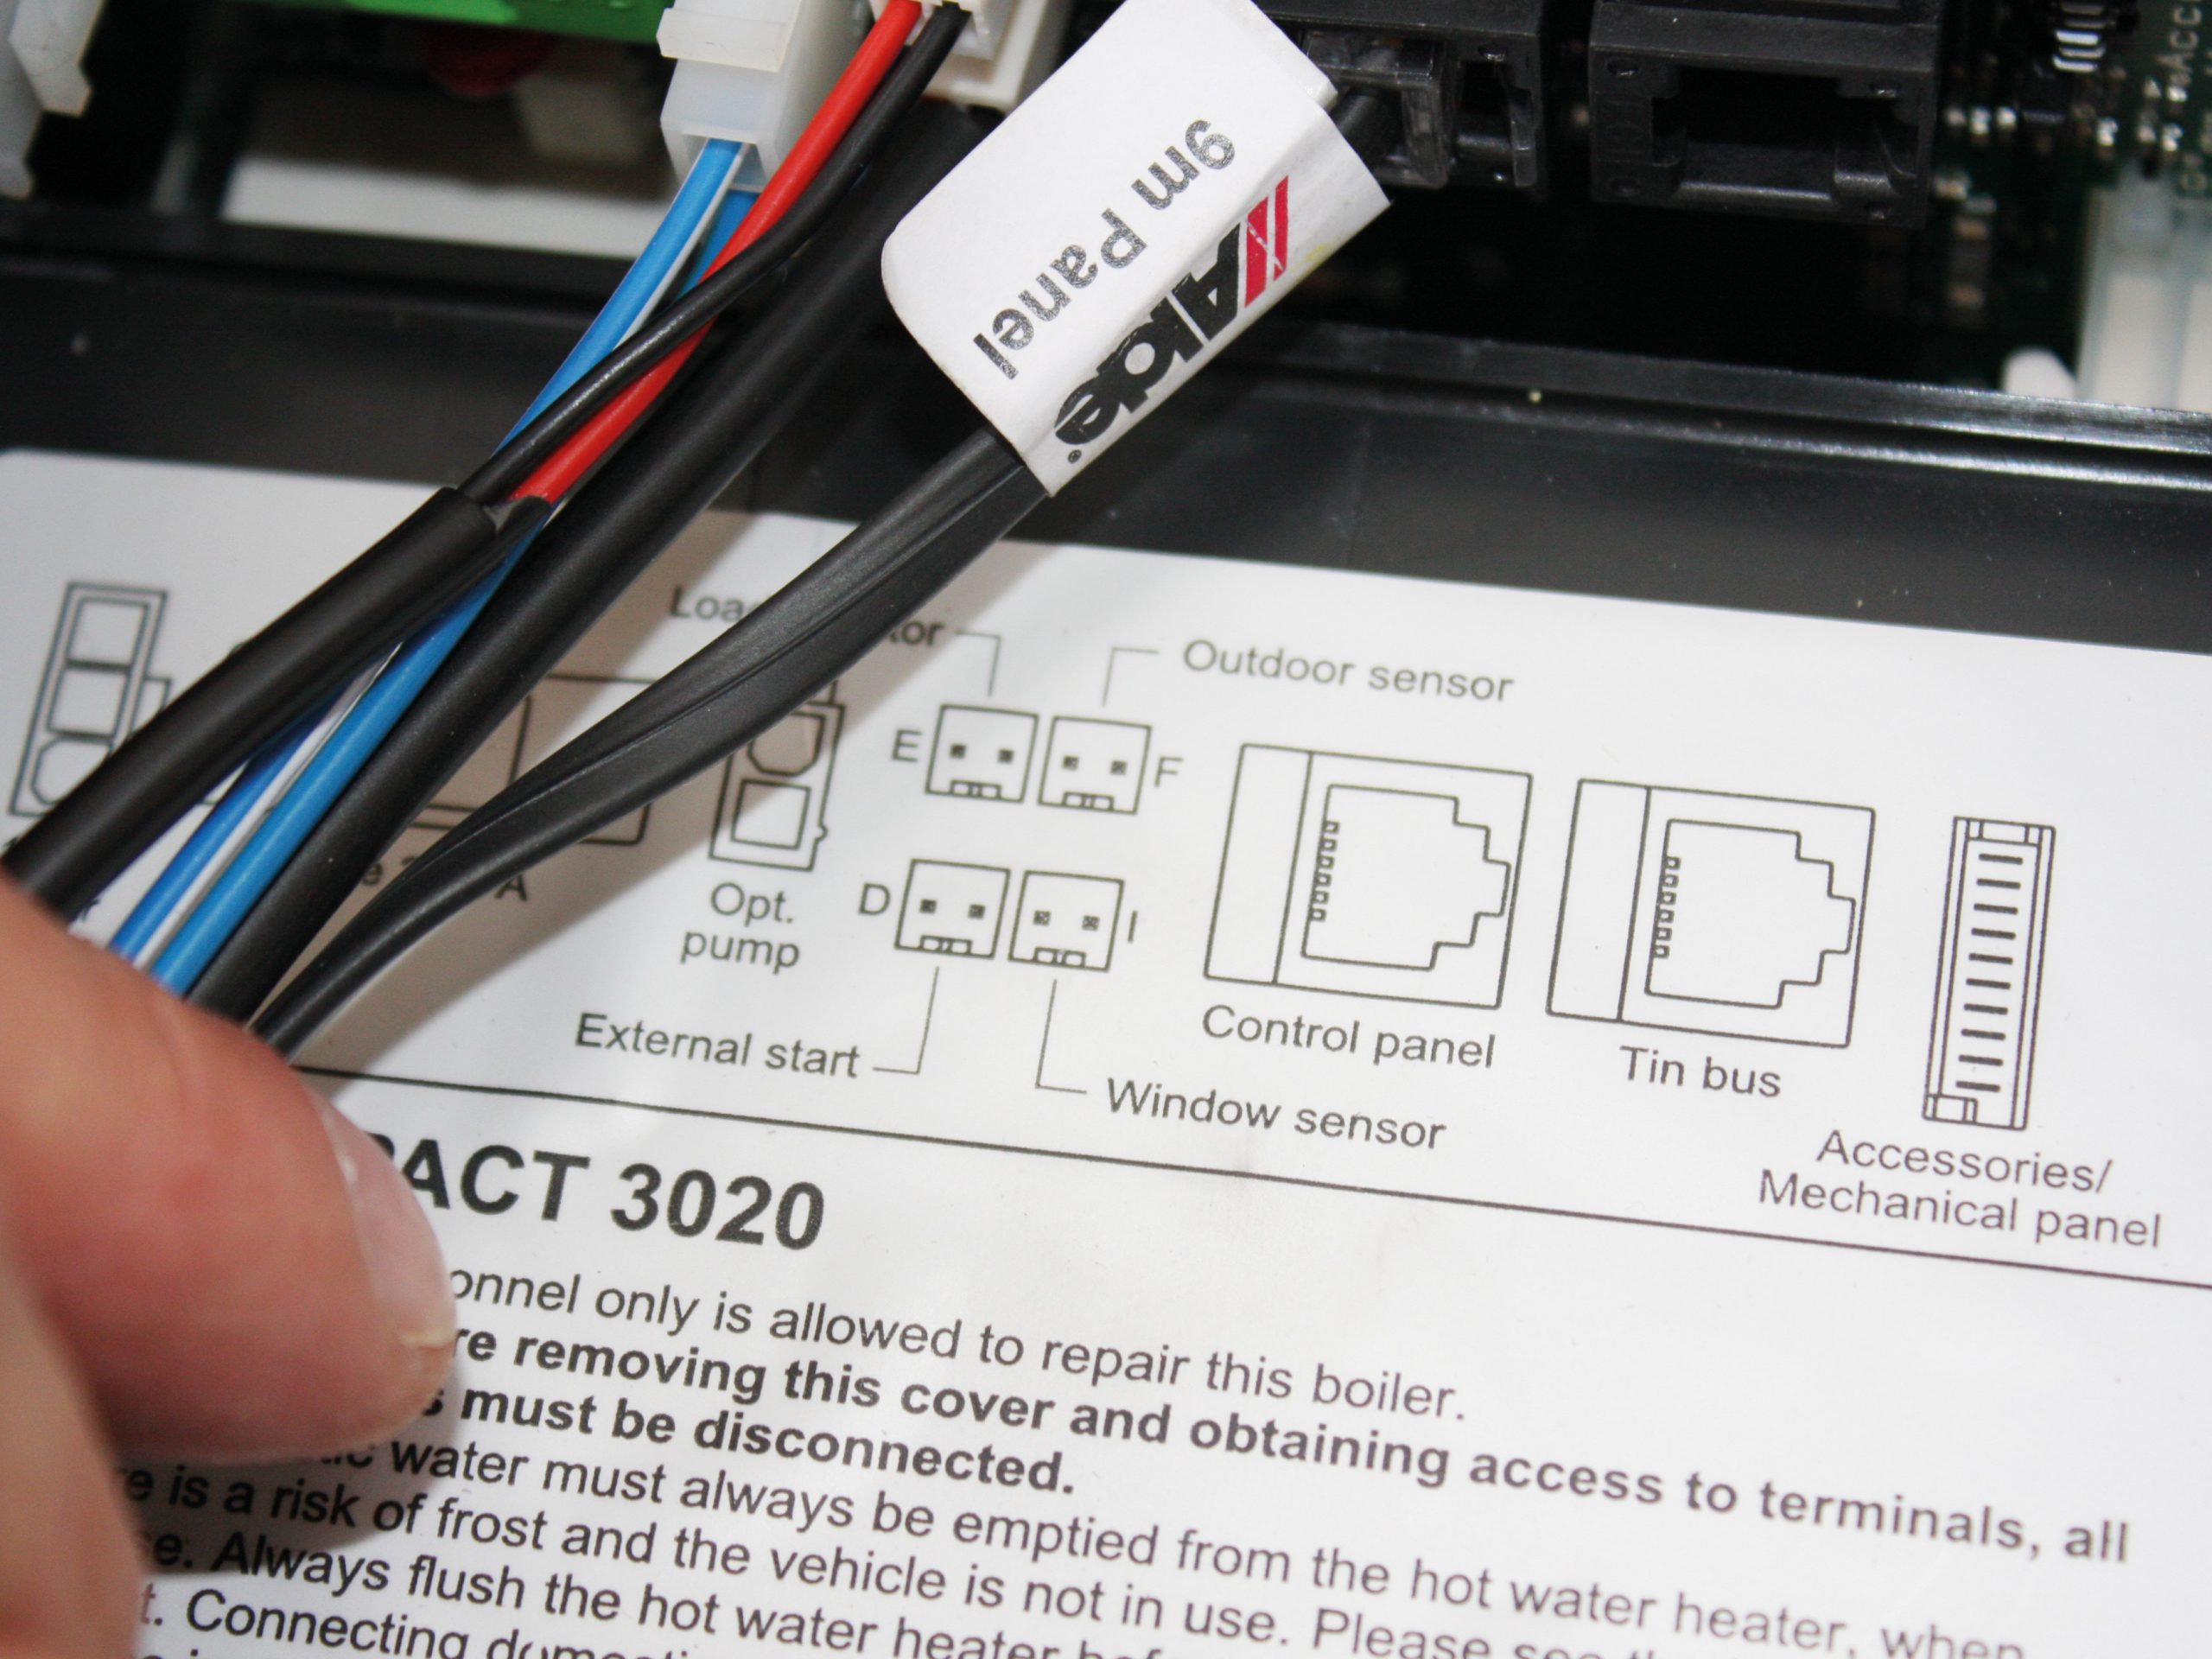
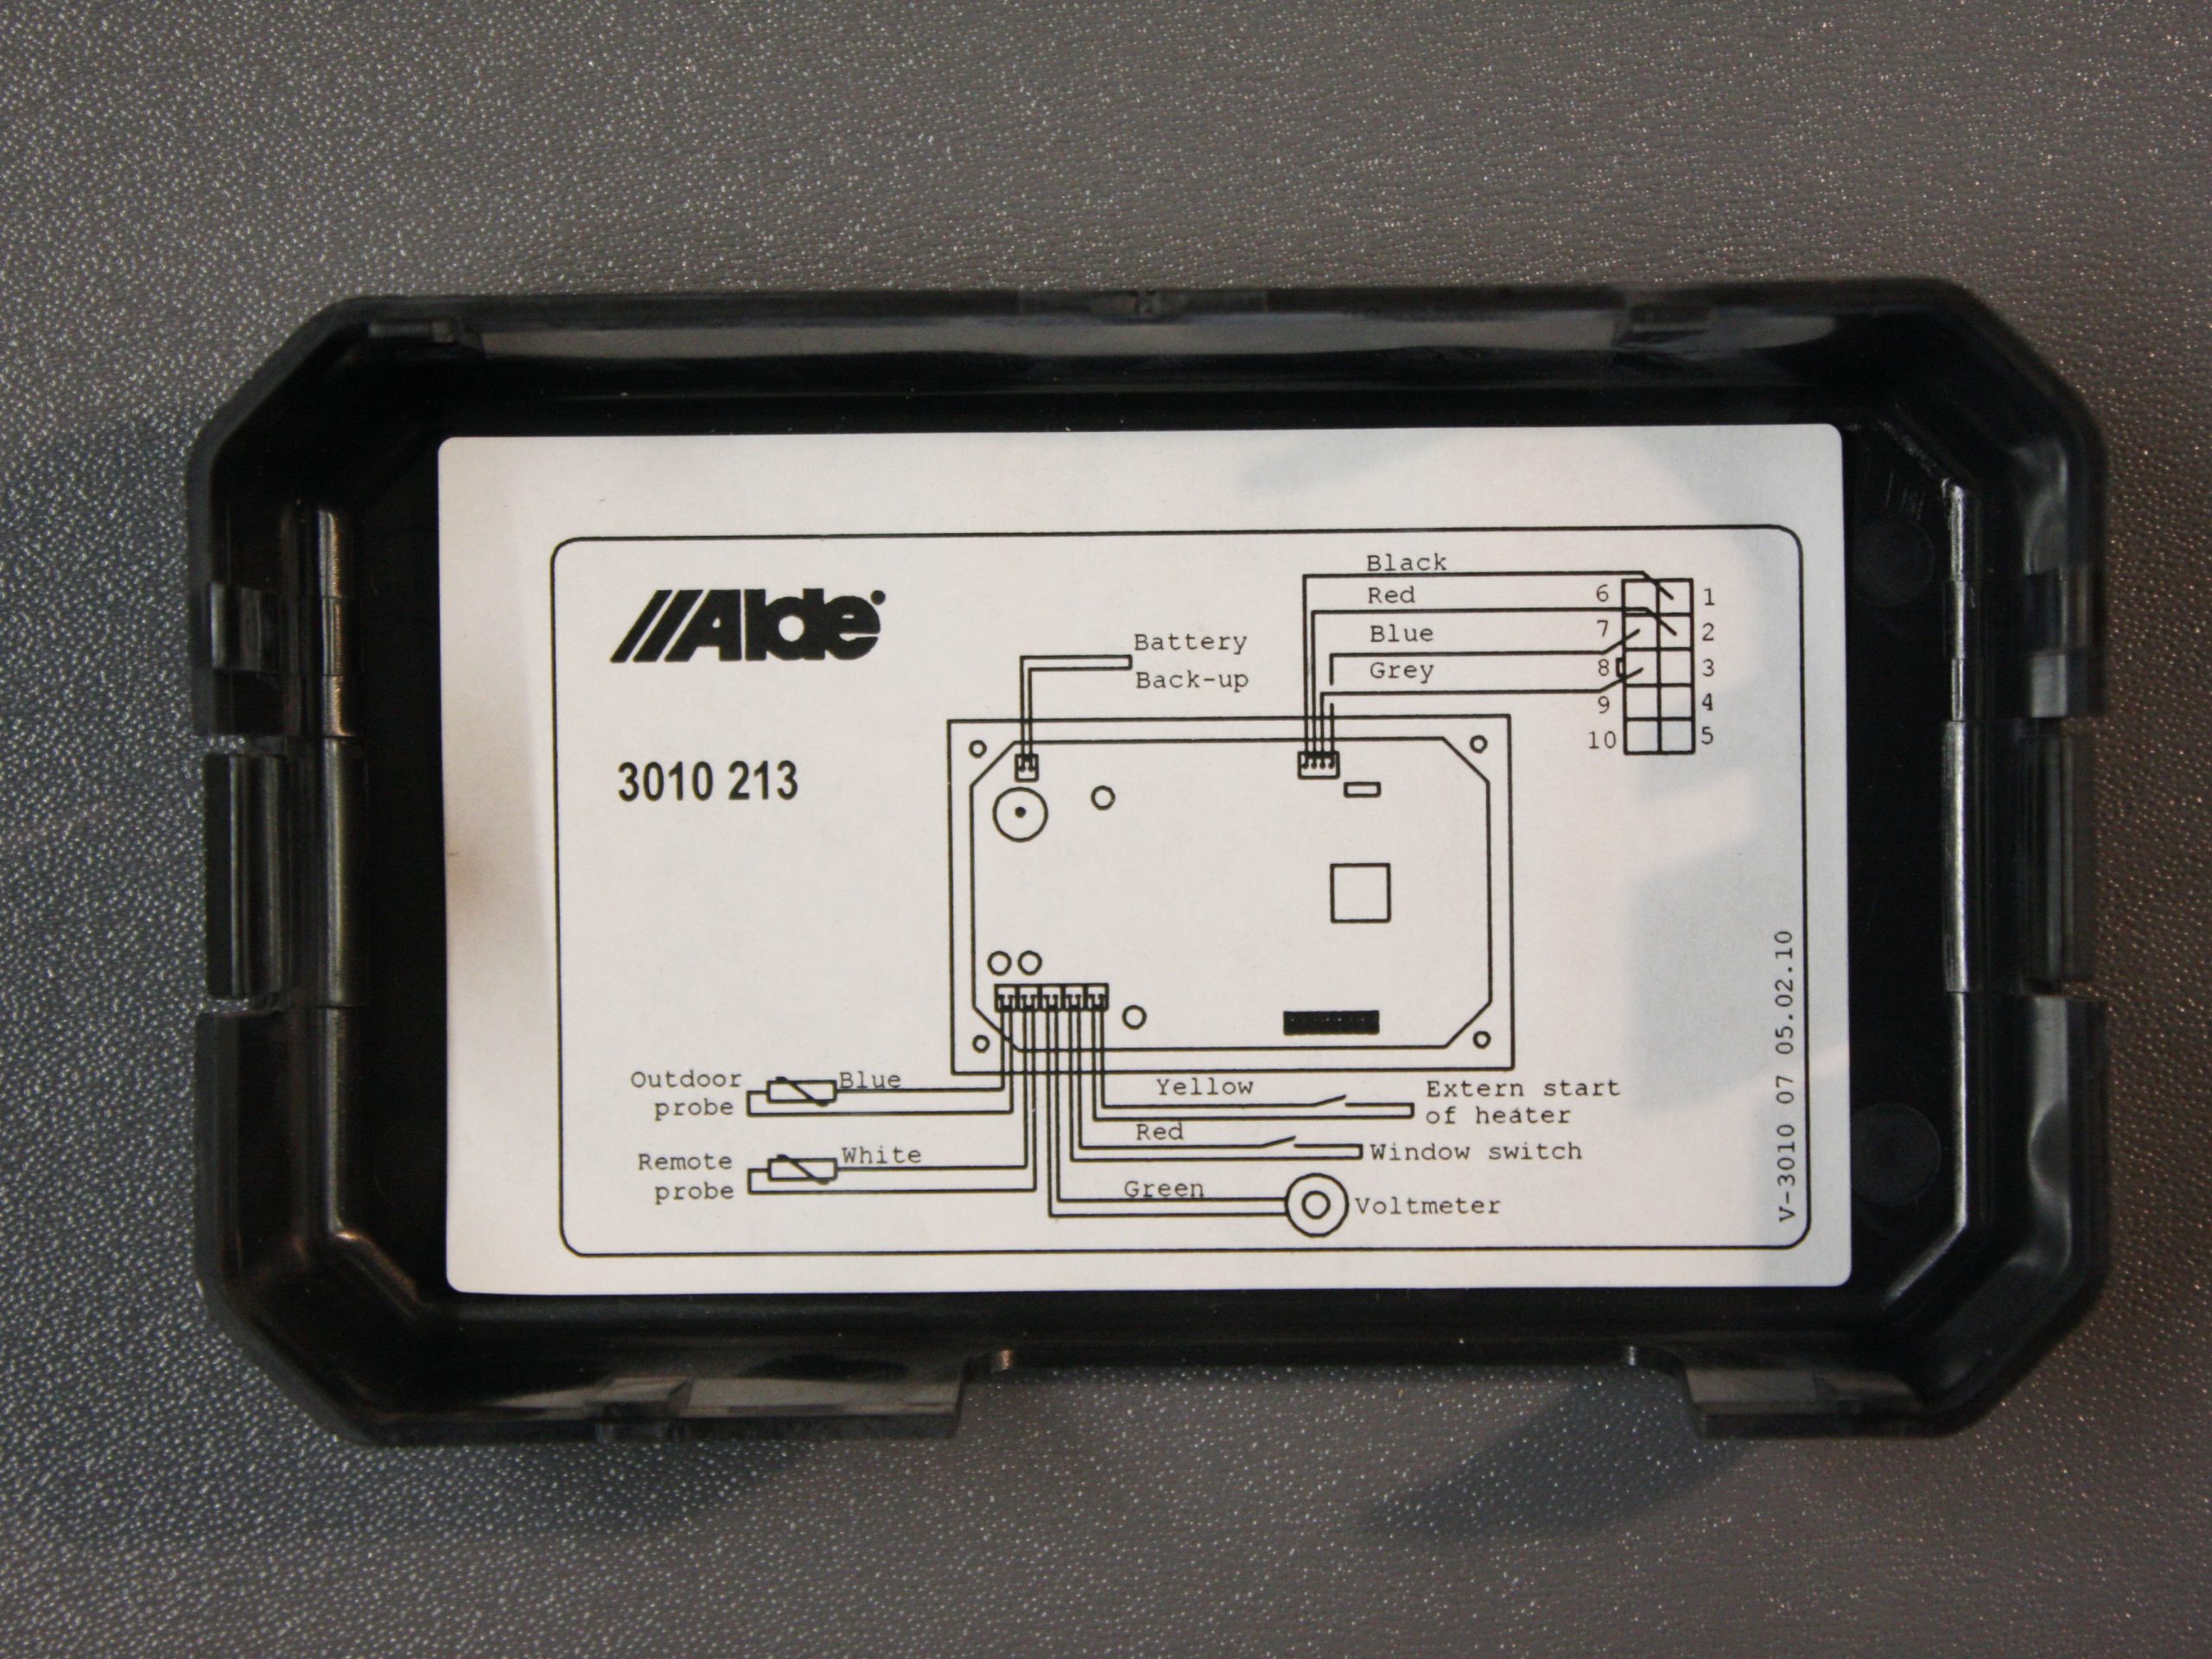
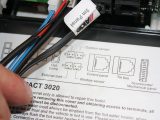
With this cover out of the way, you’ll see that Alde has added a label that shows where various plugs should be inserted, including the load monitor. (If this has been removed, diagrams can be obtained from Alde.)
You’ll also need to have access to the mains input cable (the rear of the external supply connection), so remove any covers that are in the way.
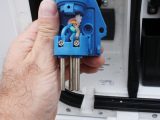
Working outside, remove the screws holding the input supply connection and carefully pull the unit from its housing. If there’s resistance, see what’s holding it. Don’t just pull!
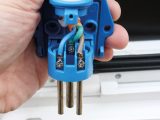
Remove the cover on the connection (in ours, there was a small screw holding it together) to access the terminal pins. Make a note of which wires goes where and disconnect them.
With this done (and assuming that you have good access to the mains cable inside the caravan), feed the cable into your tourer.
Connect the cables
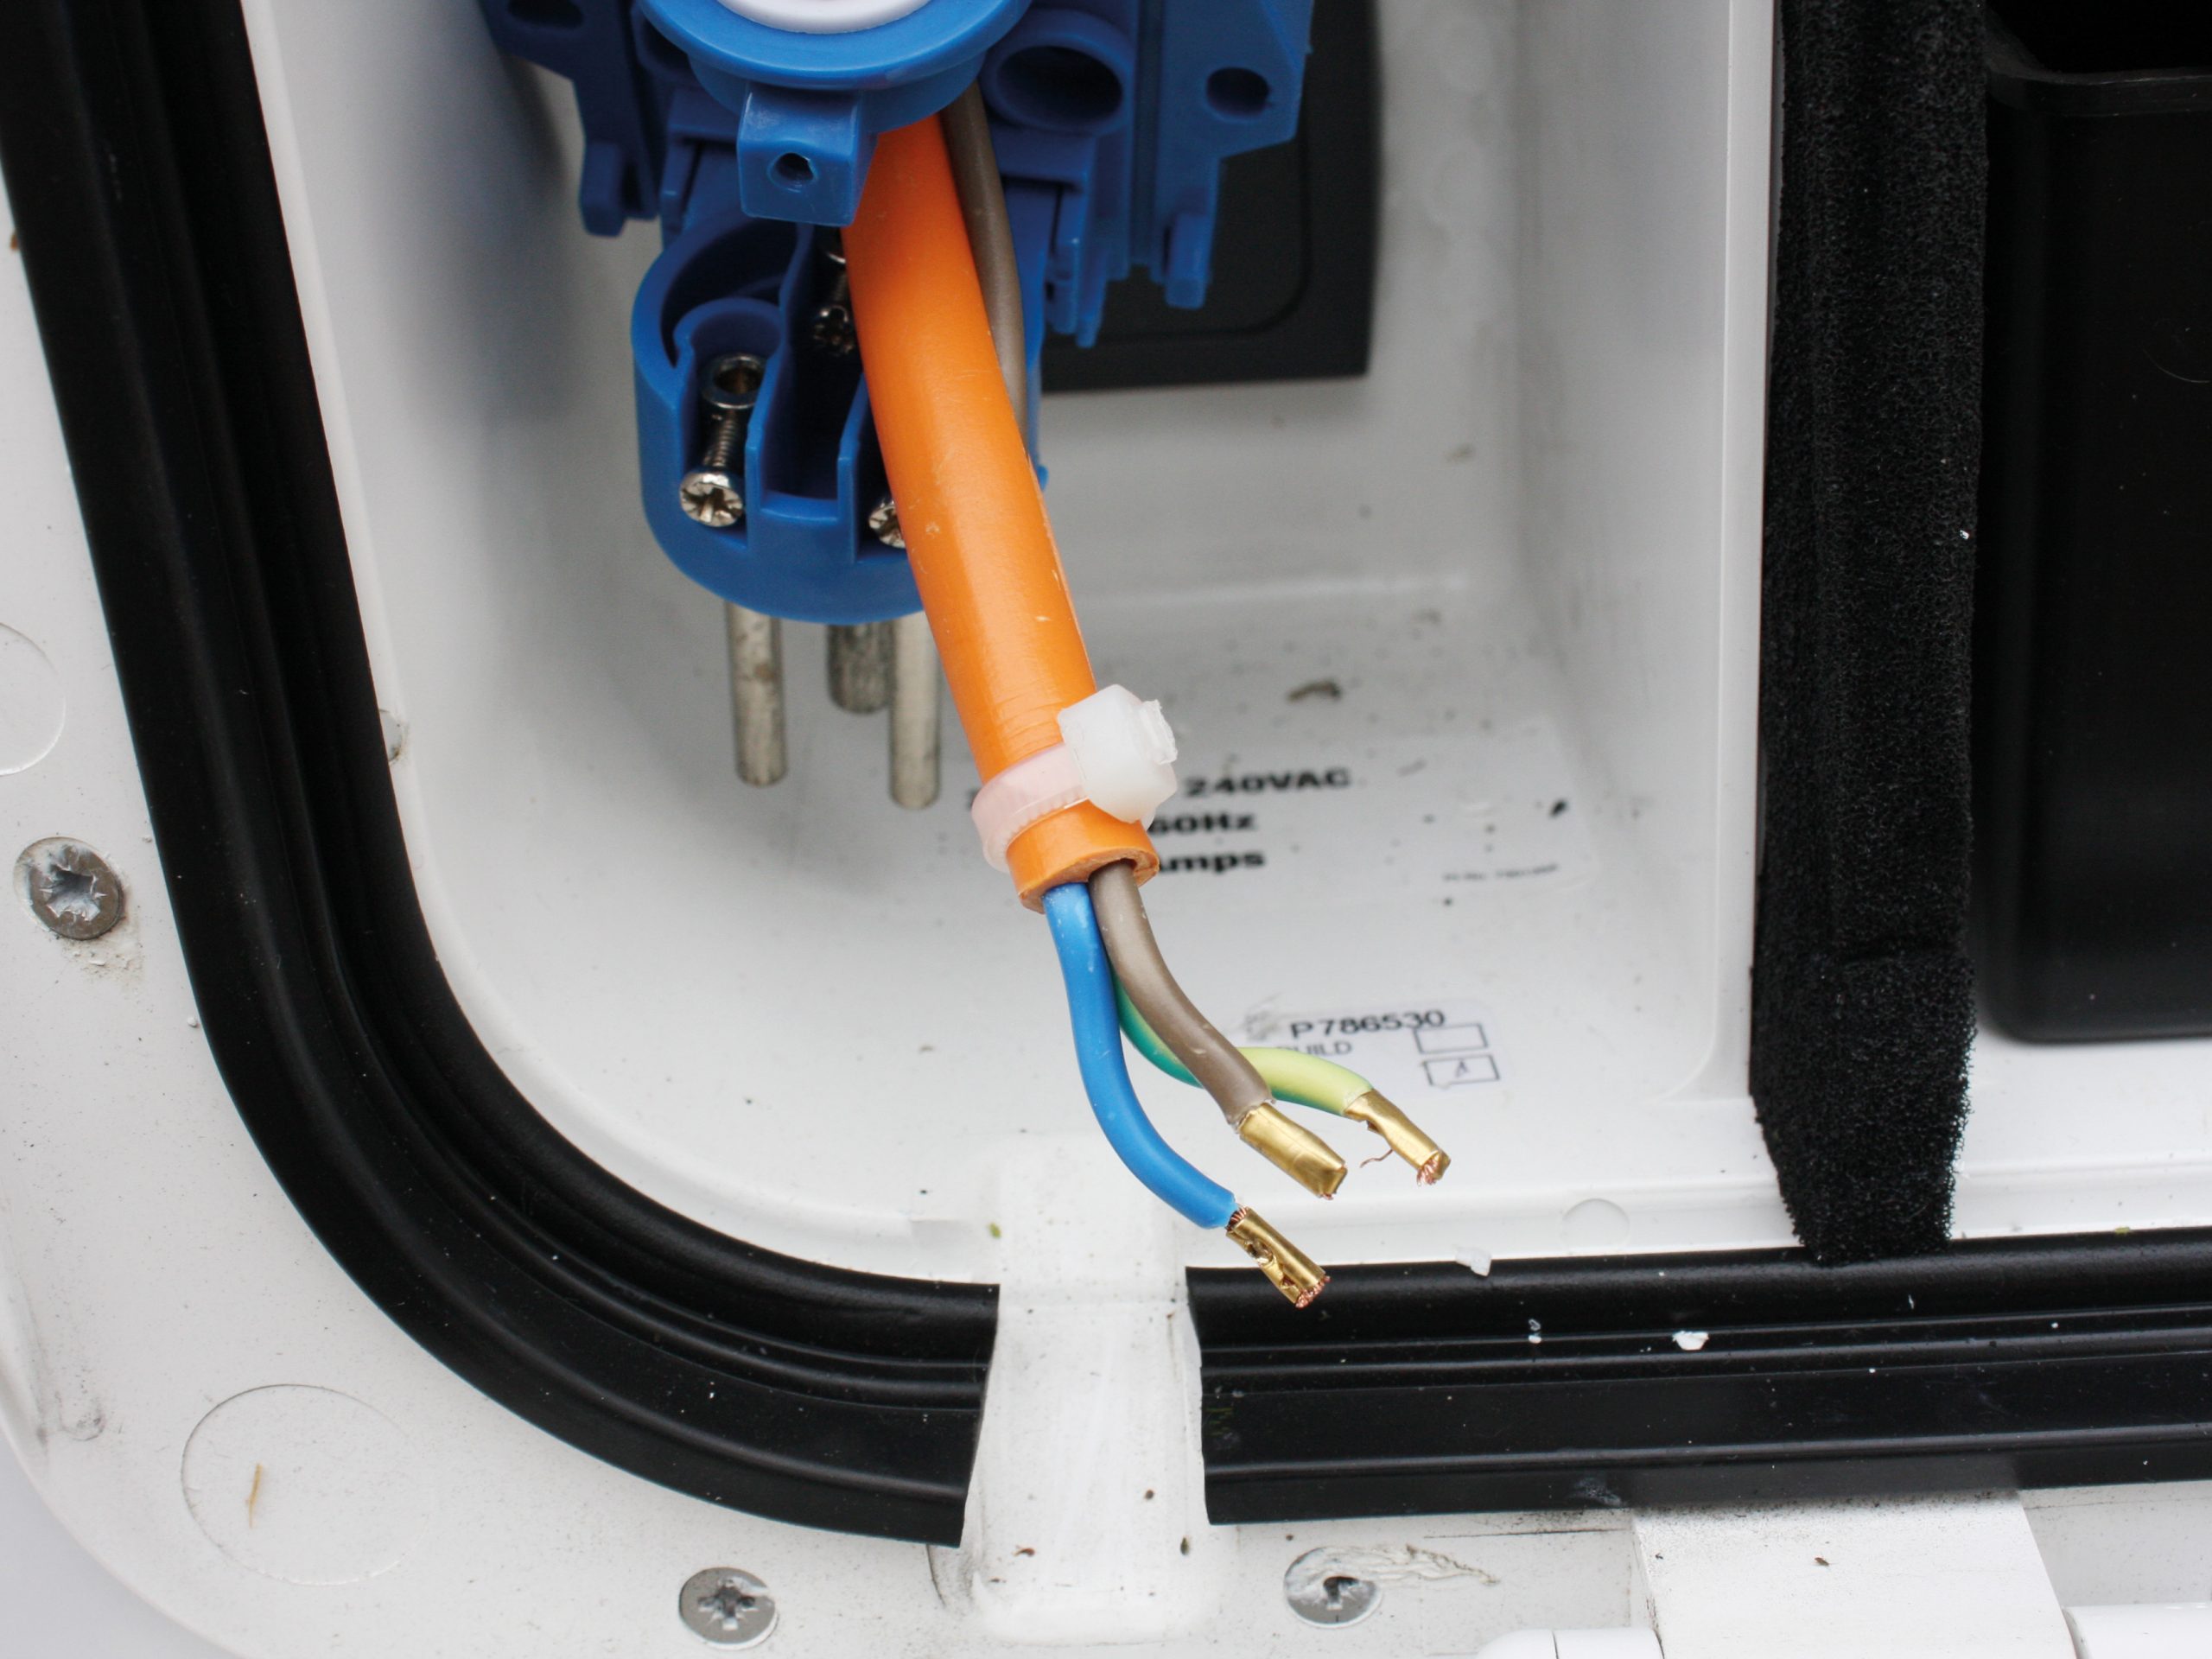
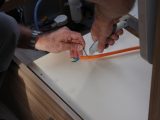
Cut along the length of the orange outer cable for about 25cm, because you need a length of the live feed wire (brown) to be separate from the other two wires. Be careful not to cut too deep and damage the sheathing of any wire.
Trim about 10cm off the end of the cut orange outer cover and about the same from the ends of the neutral (blue) and earth (green/yellow) cables. Trim the ends of the two cables so they can be reattached to the terminals later. In effect, this should make the brown cable 10cm longer than the others.
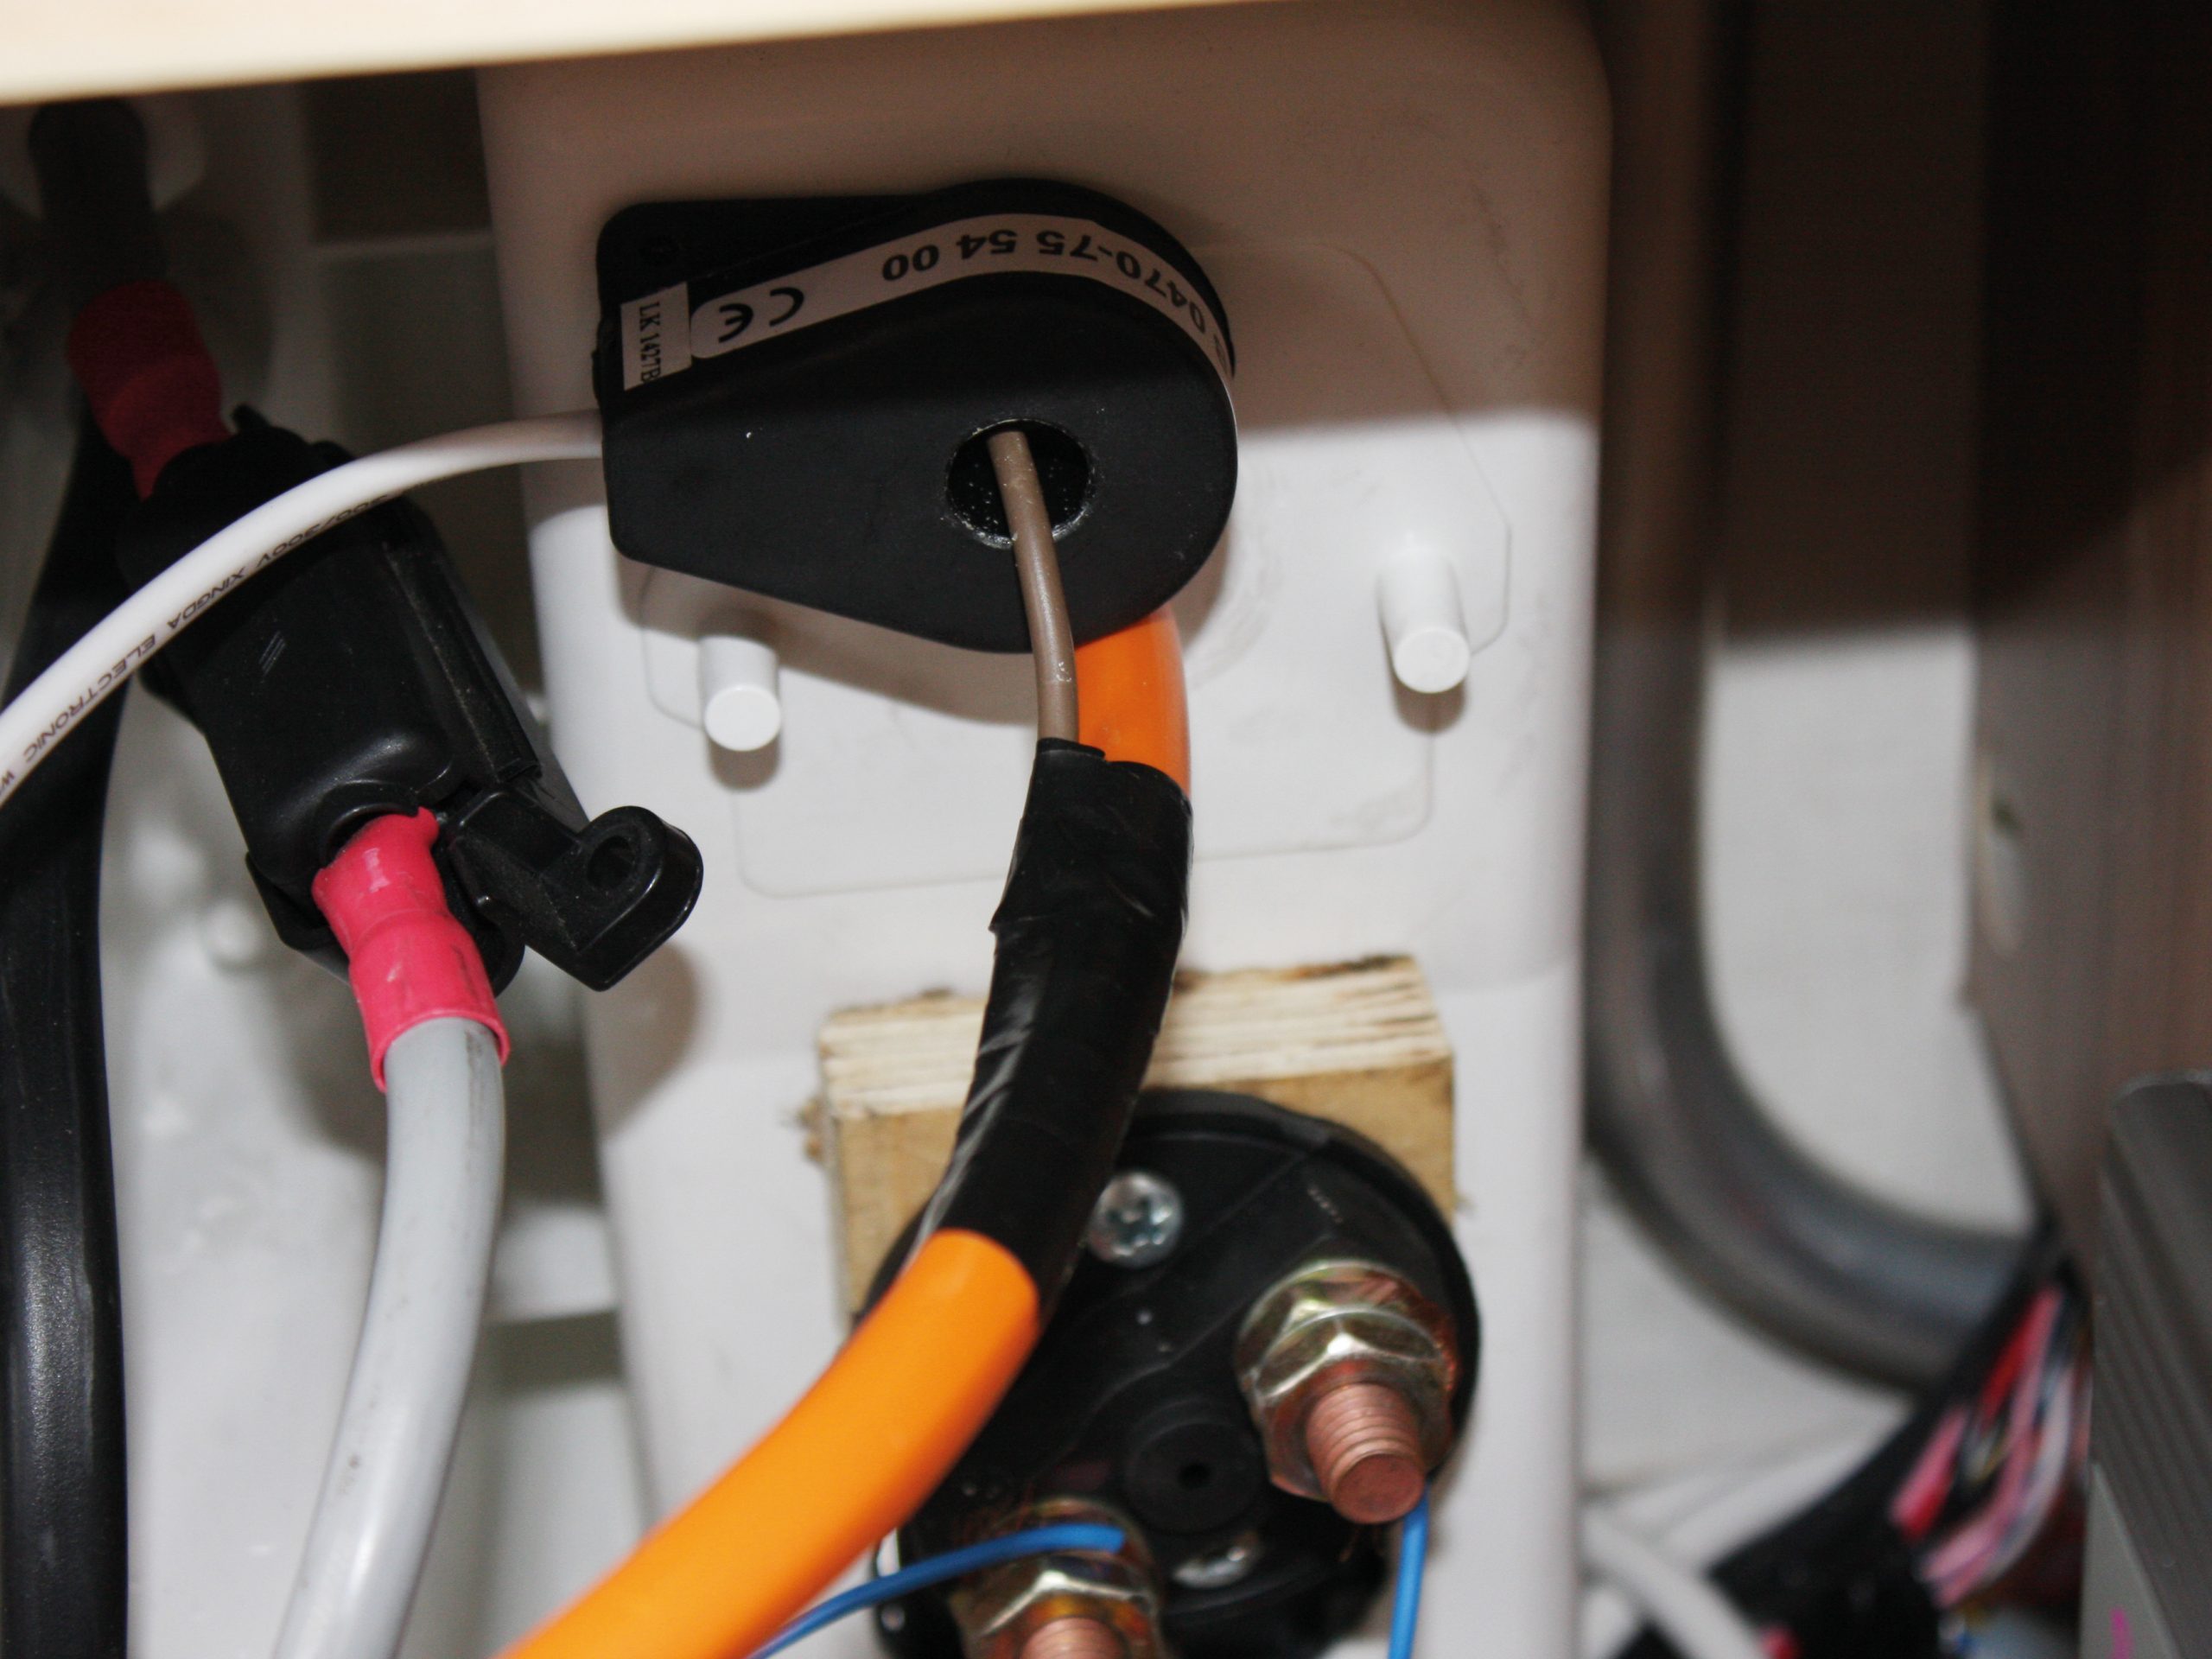
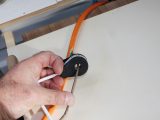
Pass the brown cable only through the centre hole of the load monitor. Find a suitable place to mount the load monitor as near to the mains input as possible. In our example, it could be mounted directly behind the mains connection. We ensured that the surfaces were thoroughly cleaned and used a double thickness of double-sided tape to provide a secure mounting; it also gave enough clearance for the brown cable to be passed through the original hole at the back of the input connection.
Use cable ties and insulating tape to hold the orange cable together where it has been cut. There should be enough brown cable to feed this back inside the orange sheathing at the outer end, too. Reconnect the cables to the terminals on the input connection and replace that.
Feed the wire from the load monitor (with the plug on) to the Alde unit, and plug it into the correct socket.
How to fit an Alde outside temperature sensor
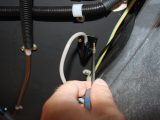
At this point, I fitted an Alde Outside Temperature Sensor, too. This needs to be mounted outside in a place that’s out of the wind. I secured ours under the floor and just inside a chassis member with two small screws. The cable from it was fed through one of the holes in the floor and into a seat box. As with the load monitor, the positive was connected to the appropriate socket on the Alde unit.
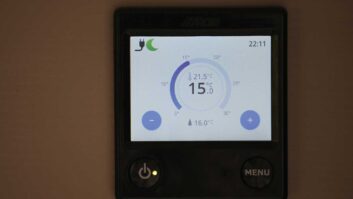
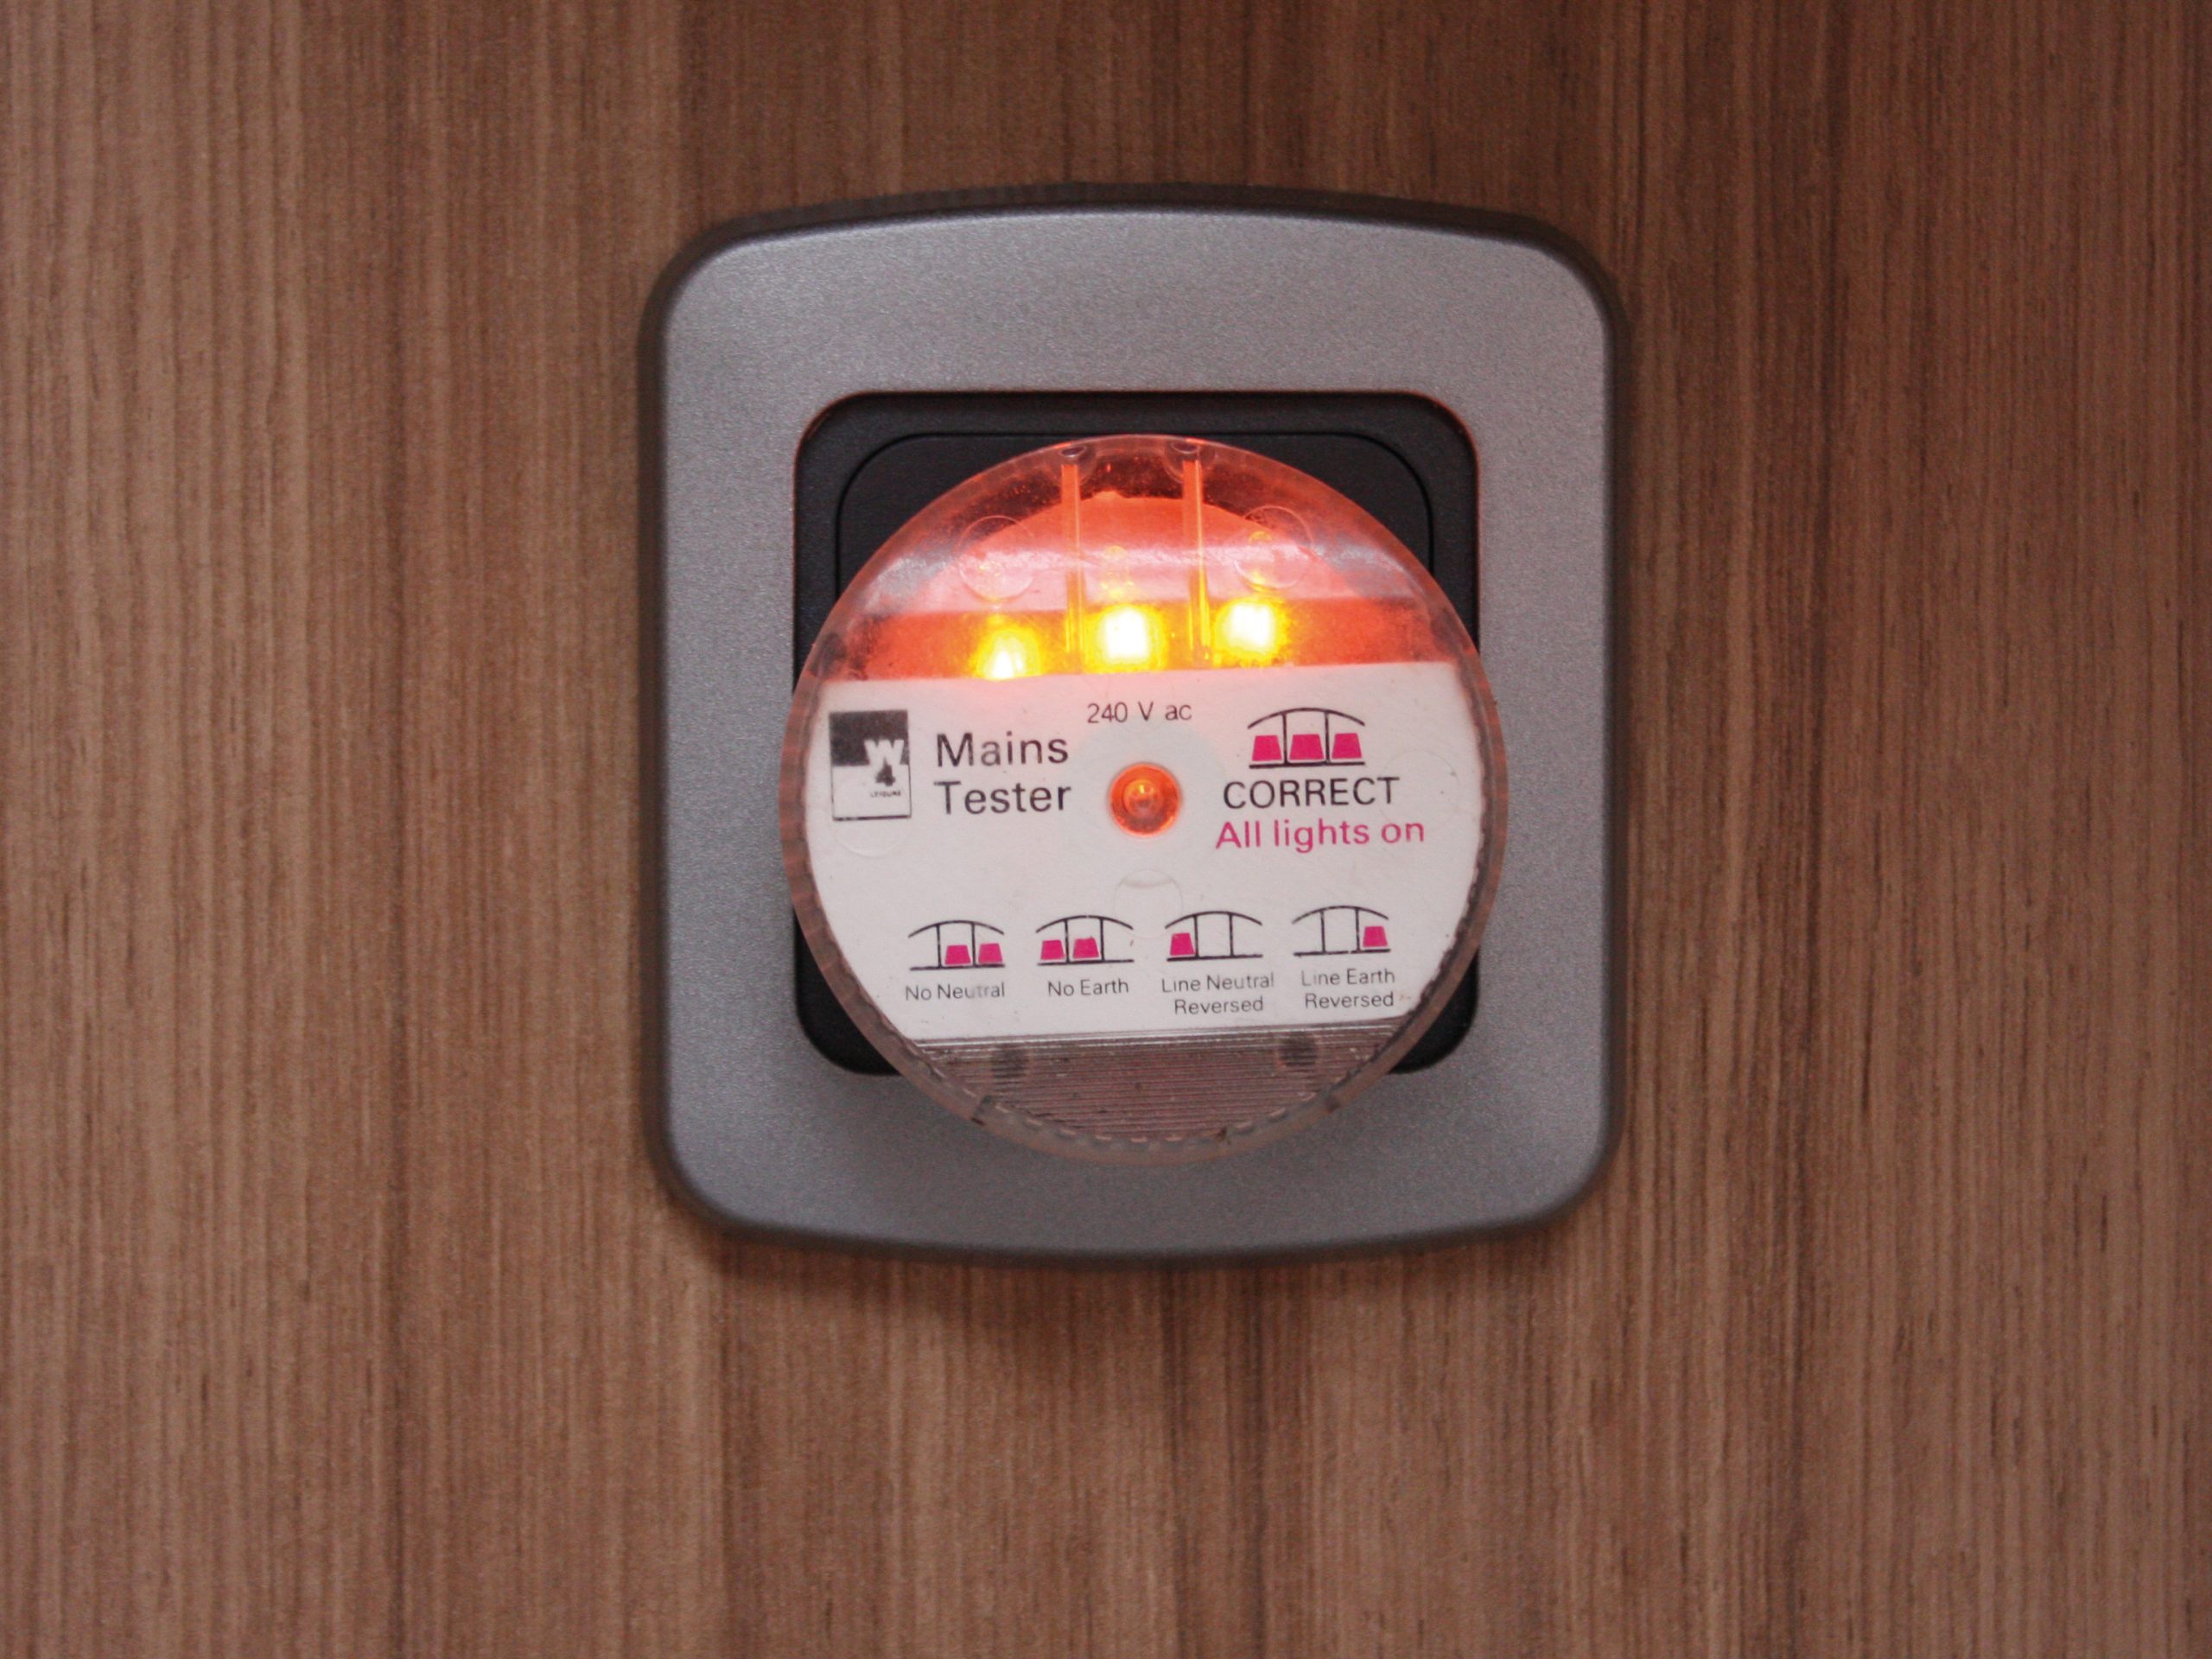
Connect the caravan’s leisure battery and then the mains cable. When everything else works properly, operate the Alde system. The outside temperature should be displayed on the touchscreen, but the load monitor will have to be activated through the various menus (as shown in the user manual). There are offset settings for the temperature, so that can be adjusted if necessary. Once activated, the monitor can be set to suit the hook-up amperage.
If everything works correctly, disconnect the mains supply, and secure the cables to make a neat job. Replace the furniture and covers.
On older systems, the devices plug into the back of push-button control panels rather than into the Alde unit itself. Otherwise, their installation is the same as for the latest Alde used in our example. Both devices have long leads.
If you enjoy caravan DIY projects, you may also like our article explaining how to replace a tap microswitch.
I am asking for trouble when I turn on my hairdryer while the Alde heating system is running