


Just about every rechargeable electrical item that you can buy these days comes with a USB lead.
Mobile phones and tablets have done so for ages, but I recently bought a replacement charger for my camera batteries that has a USB lead to power it.
However, the only USB socket in our caravan is in the radio/CD player. It’s fine for charging mobile phones, but not so convenient for larger items – if it even works with them at all.
Some caravan manufacturers now fit USB sockets as standard. Indeed, certain companies have done so for several years, while others are just coming on board.
That’s fine if you’re buying a new van, but what about those that don’t have one fitted? The good news is that they’re relatively easy to install, and you’ll probably be able to source a unit that matches the other fittings in your caravan.
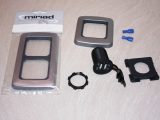
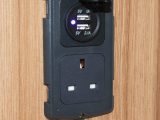
The USB socket I bought has both 5V 1A and 5V 2.1A outputs, making it suitable for our mobile phones and tablets, and it only requires a 12V supply and return connections.
The preparation
Because you’ll be working with the 12V caravan supply (and possibly in the vicinity of 230V mains), ensure that the mains supply and 12V battery are disconnected.
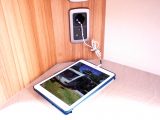
I decided to fit the USB socket above the dresser unit (where the TV usually sits) in our caravan.
One reason for this was that there was a 12V supply nearby, the wiring of which was sufficient when checked against BS7671 (wiring regulations) – the absolute maximum current draw could be 12A, the cable was capable of 13A, and the line fused at 10A.
Also, it would be a convenient place to leave things charging, and I could integrate it with other sockets there.
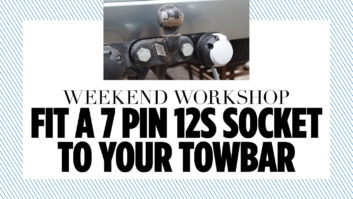
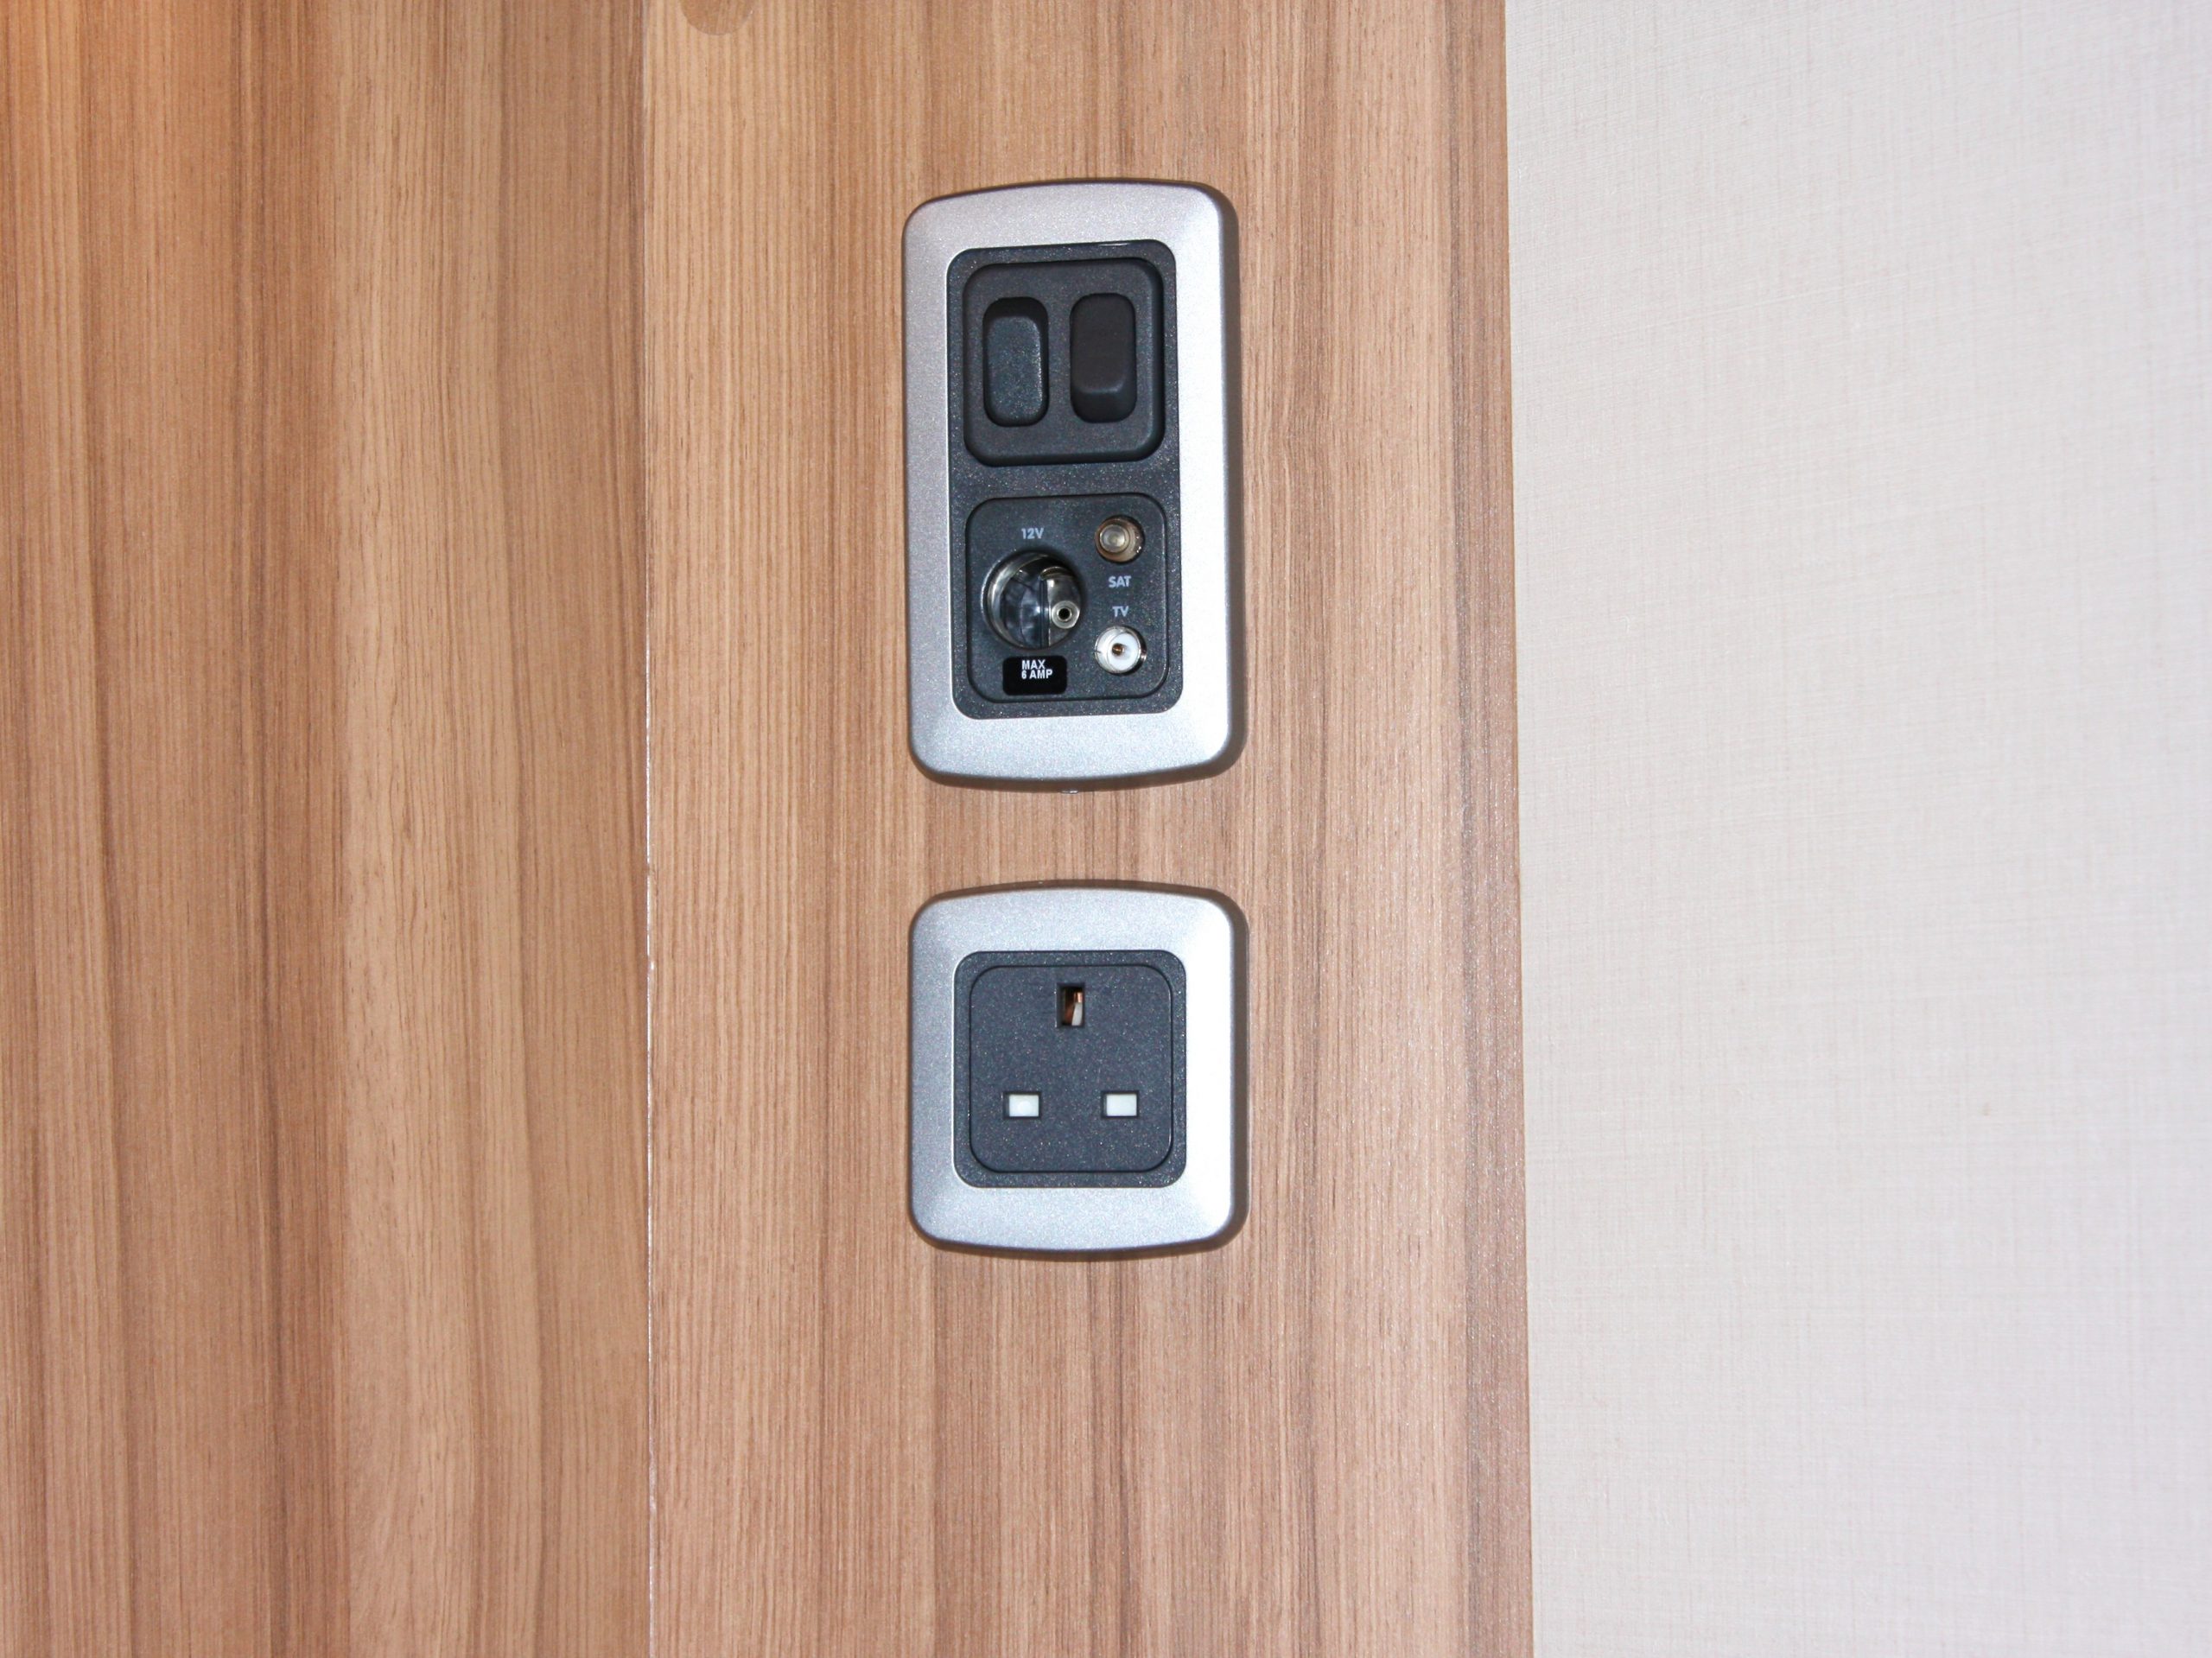
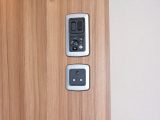
From the factory, the caravan had (from top to bottom): a double light switch and then the TV’s connections in a double surround, and below that a single 230V mains socket.
The plan was to put the USB socket where the mains socket was, move the mains socket to the bottom, and put a double surround around them to match the one above. The reason for this was so that the USB socket wouldn’t be covered by a mains cable from any plug inserted.
The tools required are:
- A small crosshead screwdriver
- Wire strippers and crimps
- A drill and hole-cutter (57mm)
- Two lengths of cable (preferably of different colours)
Getting started
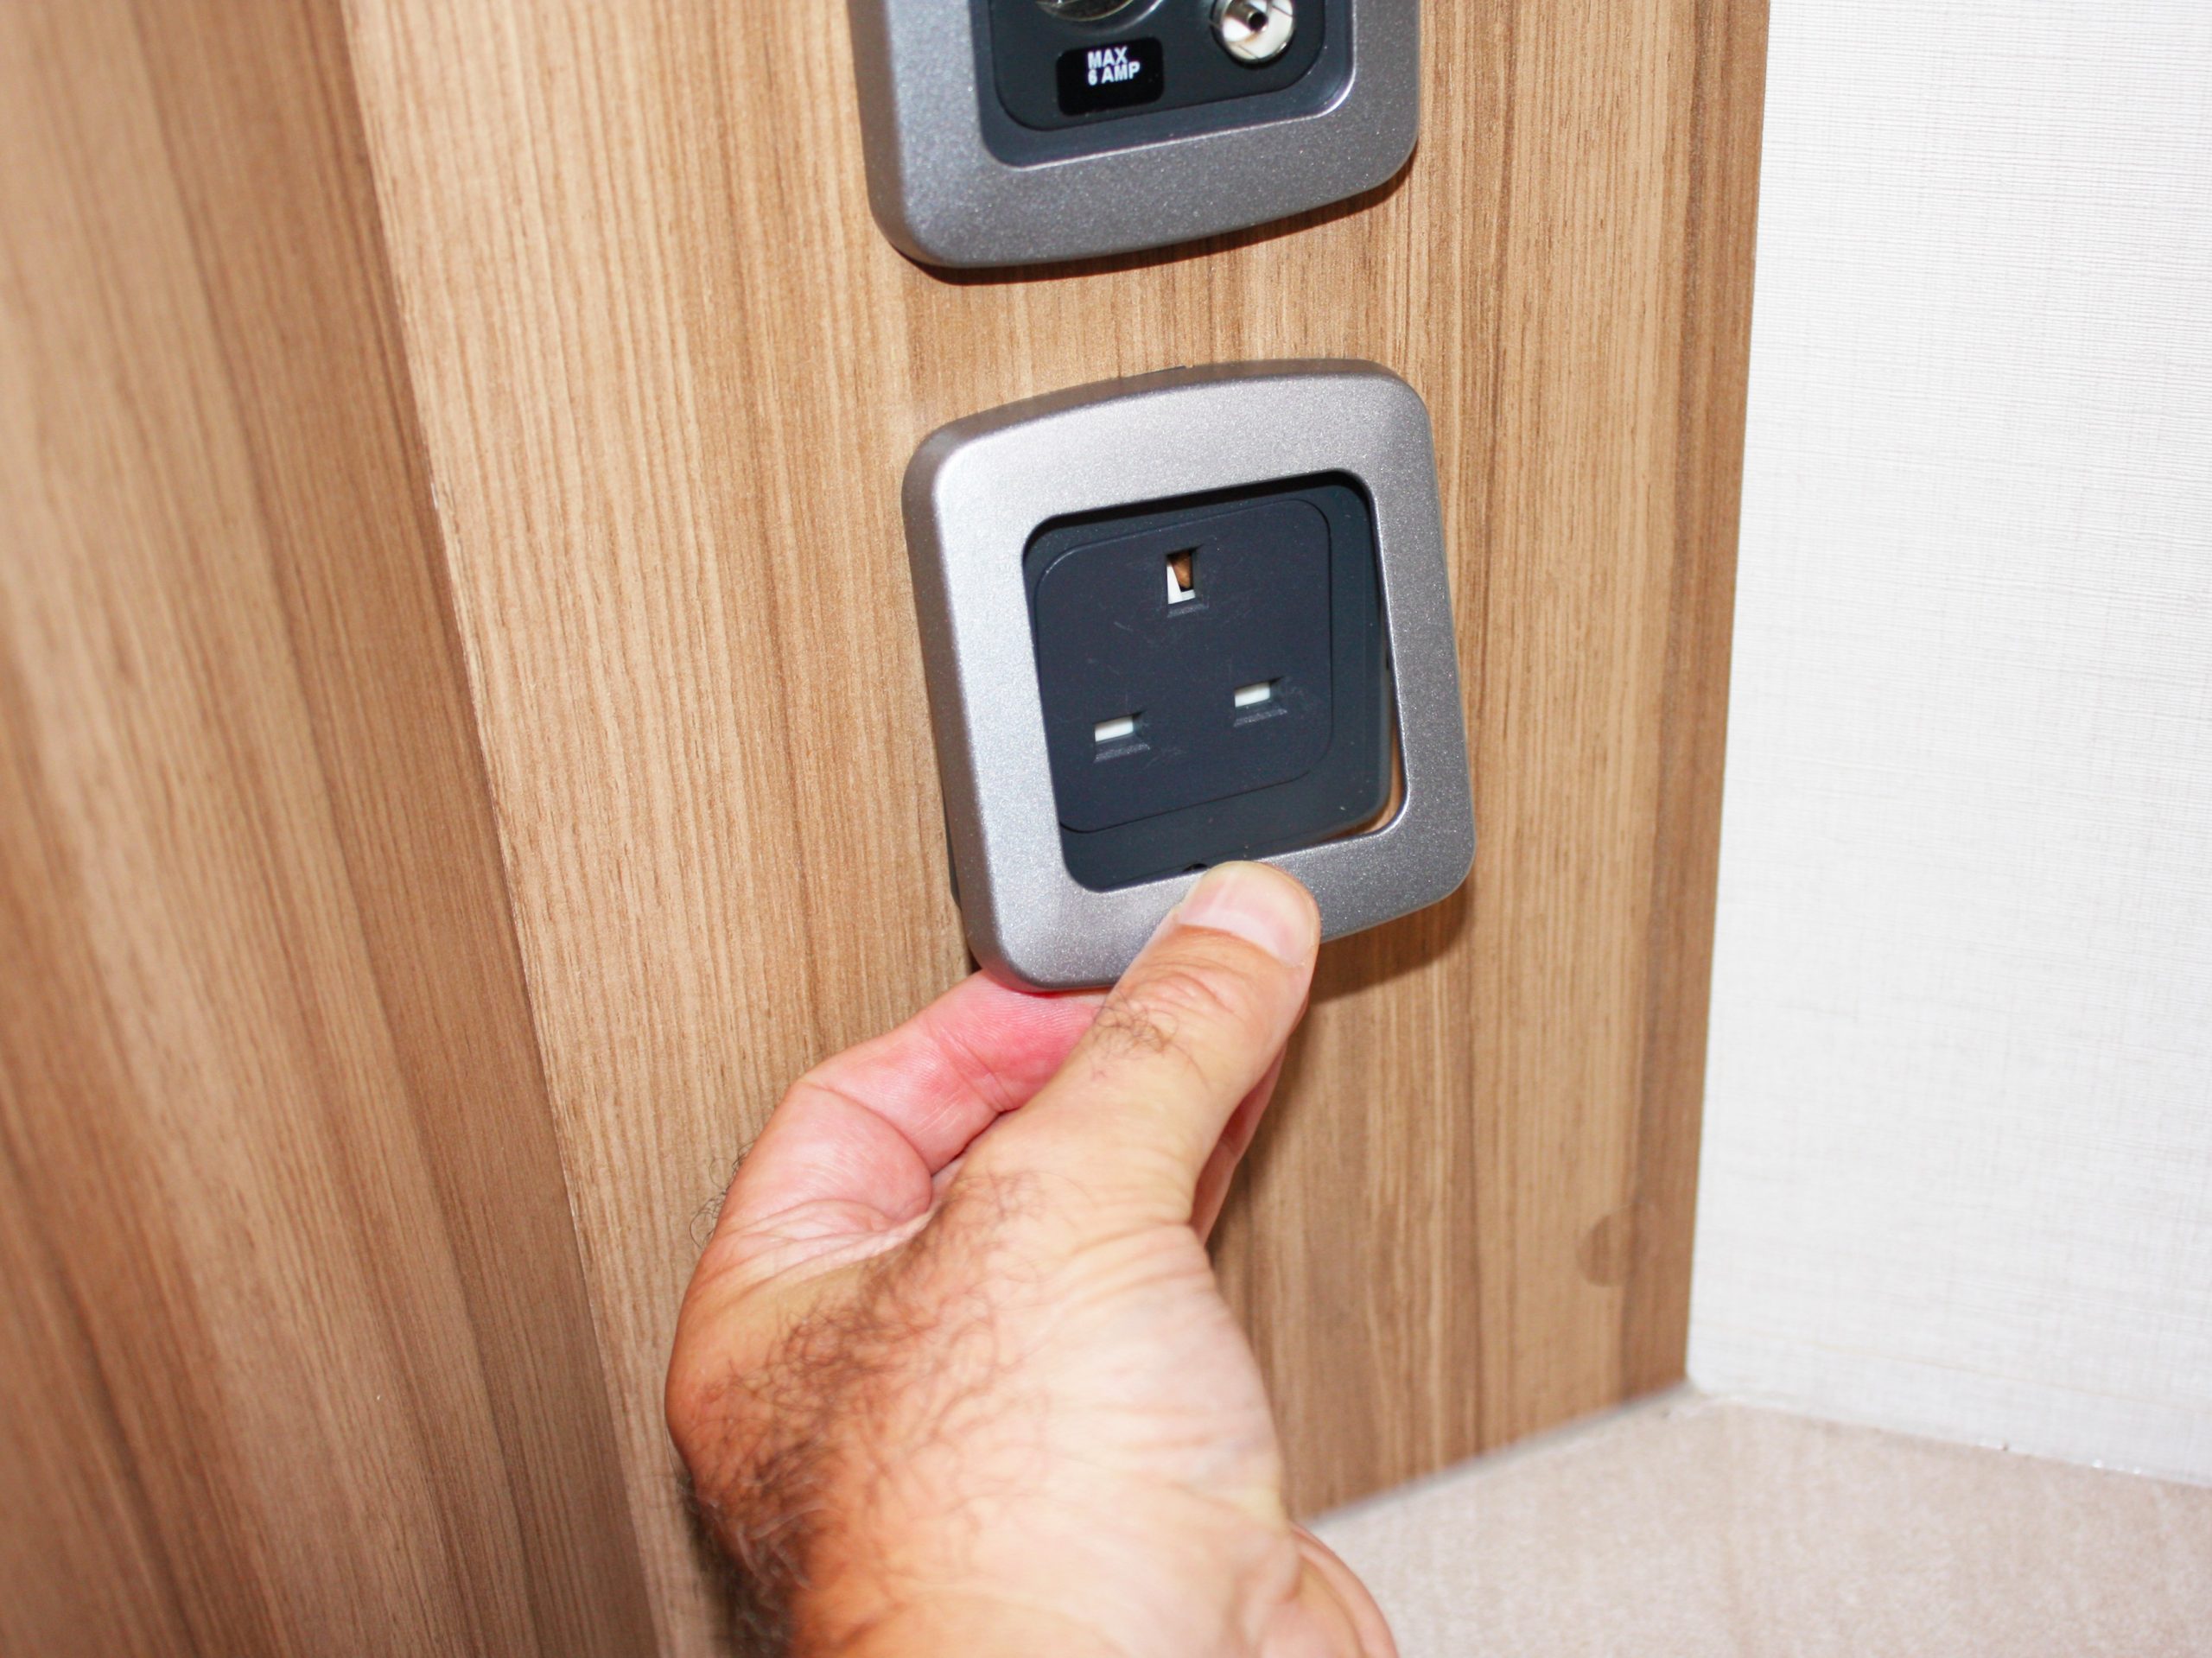
The first thing to do was to remove the surrounds on the existing units. These simply unclipped and lifted away to expose the fittings underneath.
Starting with the 230V mains socket, I removed the two small crosshead screws that held the mounting plate secure, then the two that fastened the socket in place.
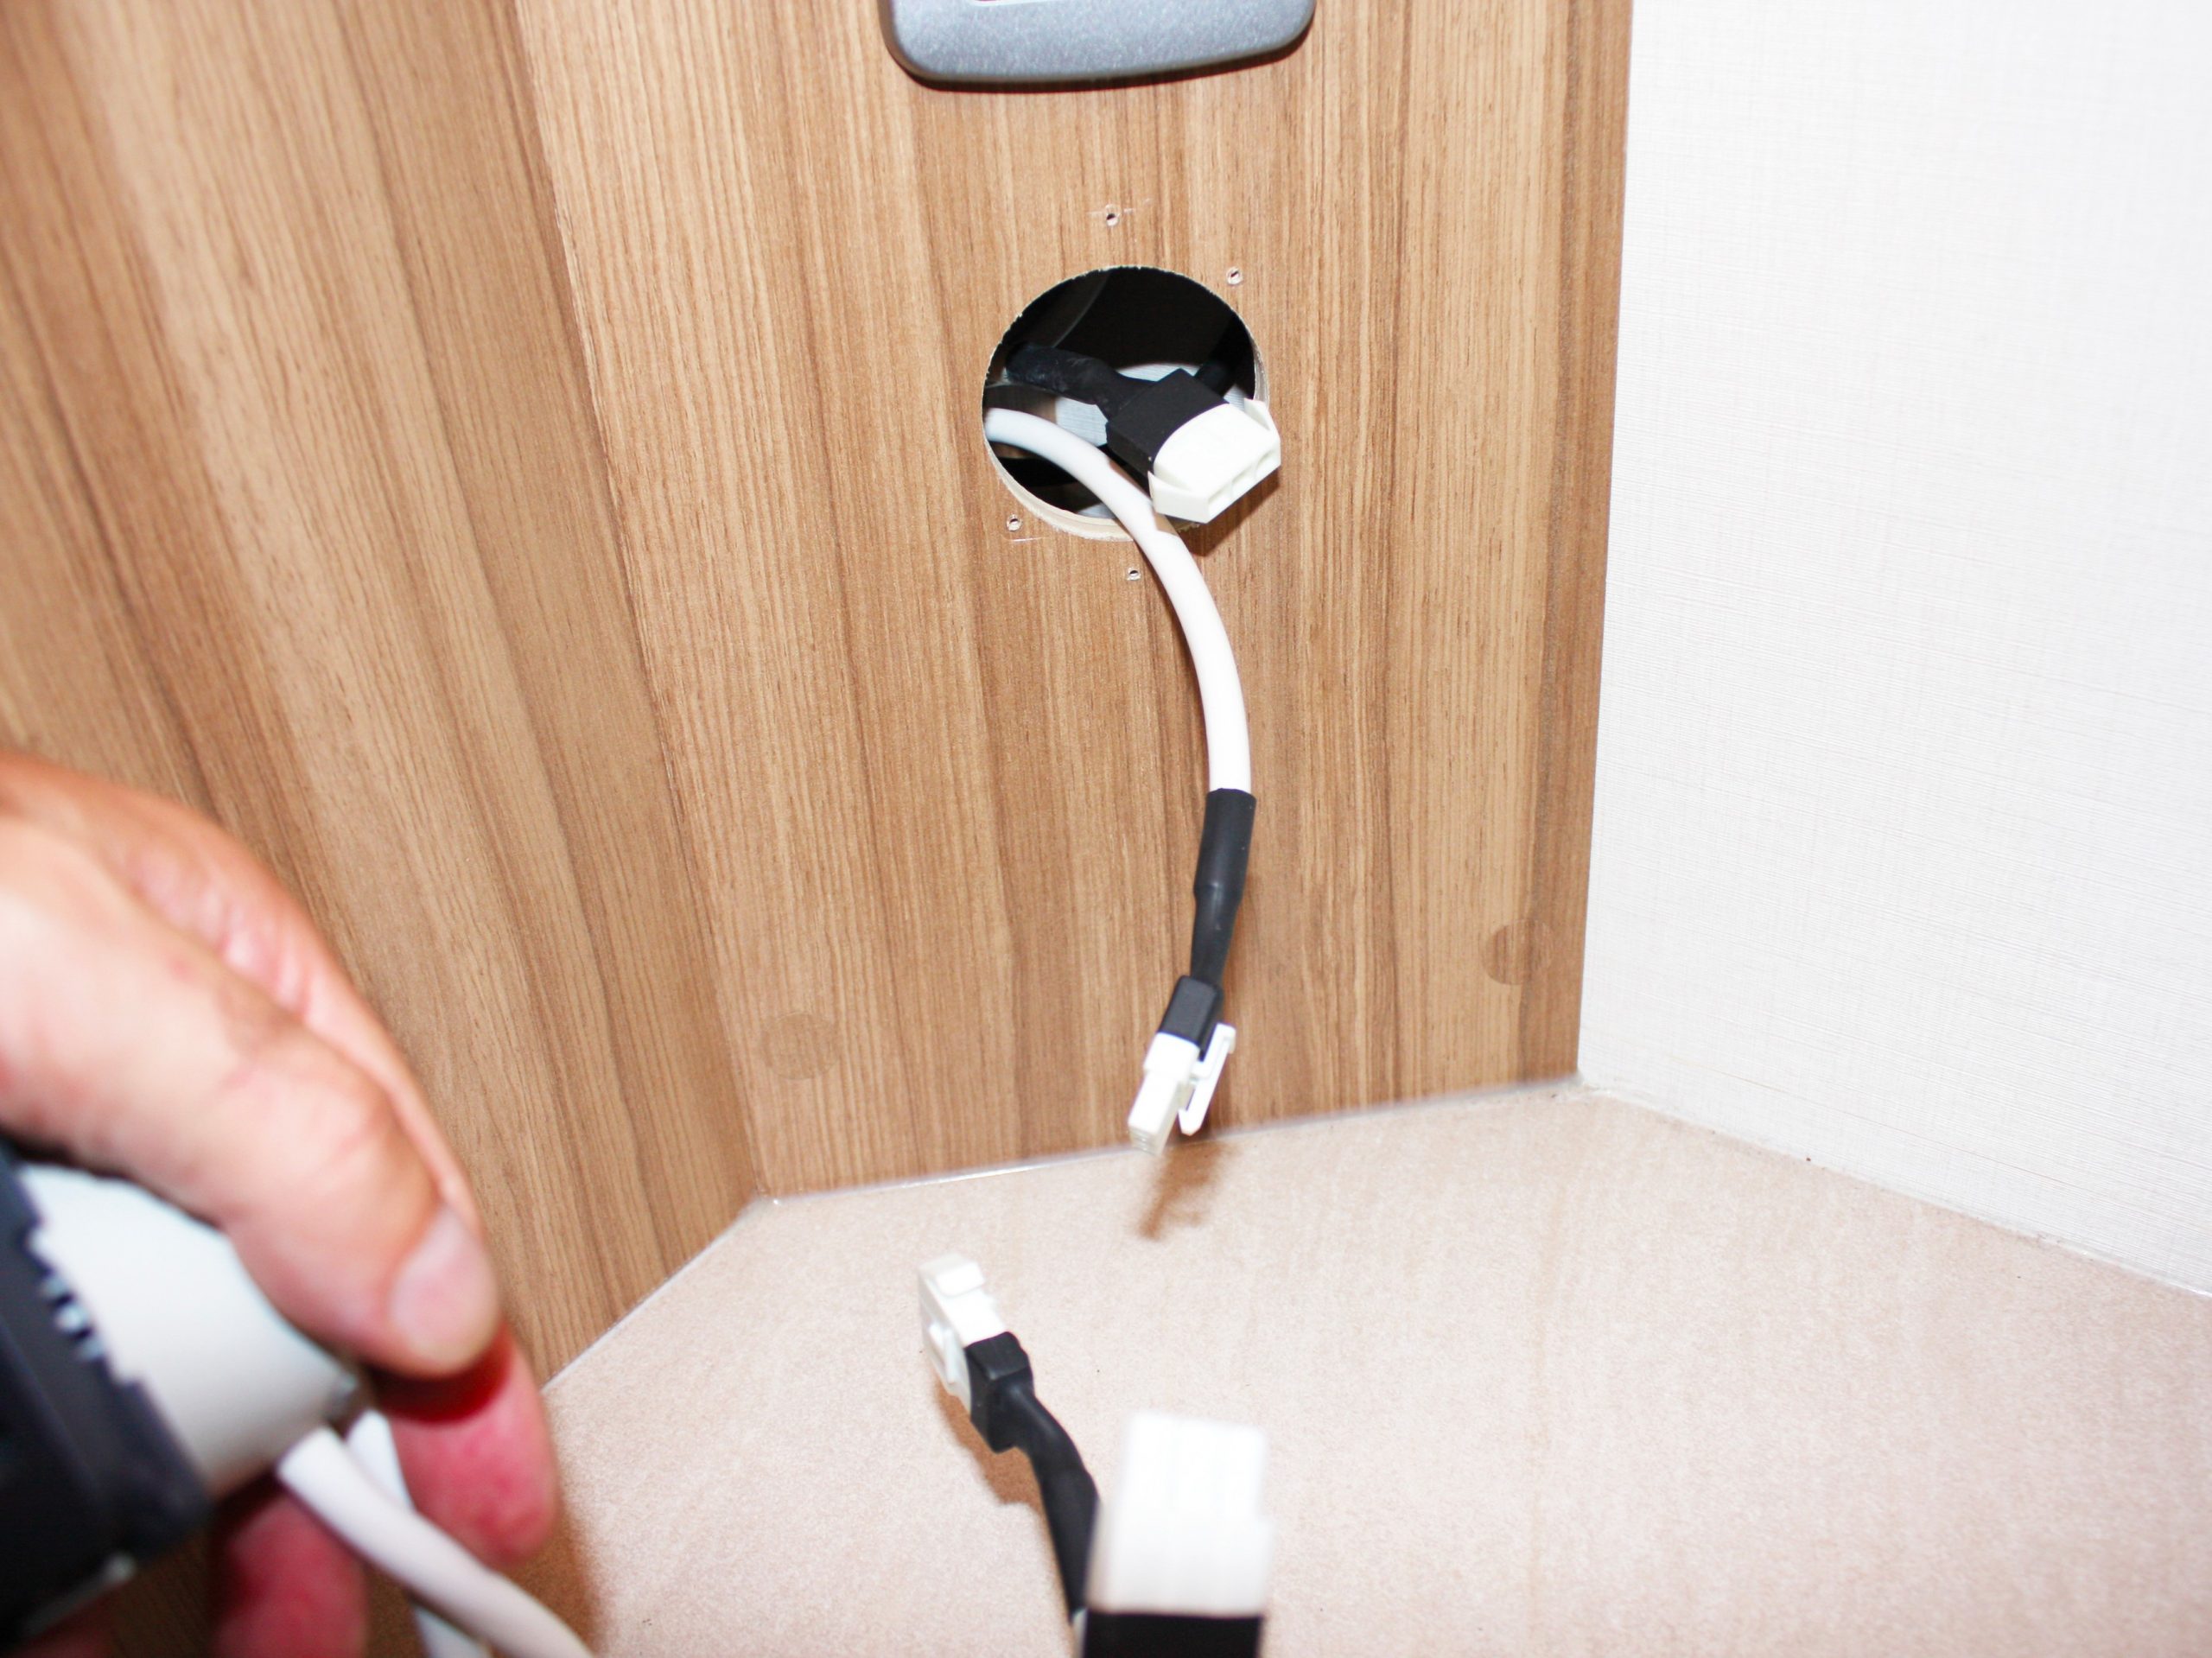
In our case, the mains cable leading to the back of the socket had two connectors on it (which can only be fitted in the correct order), so these were unplugged, and the socket put to one side.
(If you have to disconnect a mains socket, and it doesn’t have the connectors like ours, ensure that you’re qualified to do so.)
With that done, I removed the TV socket, which gave access to the 12V cables.
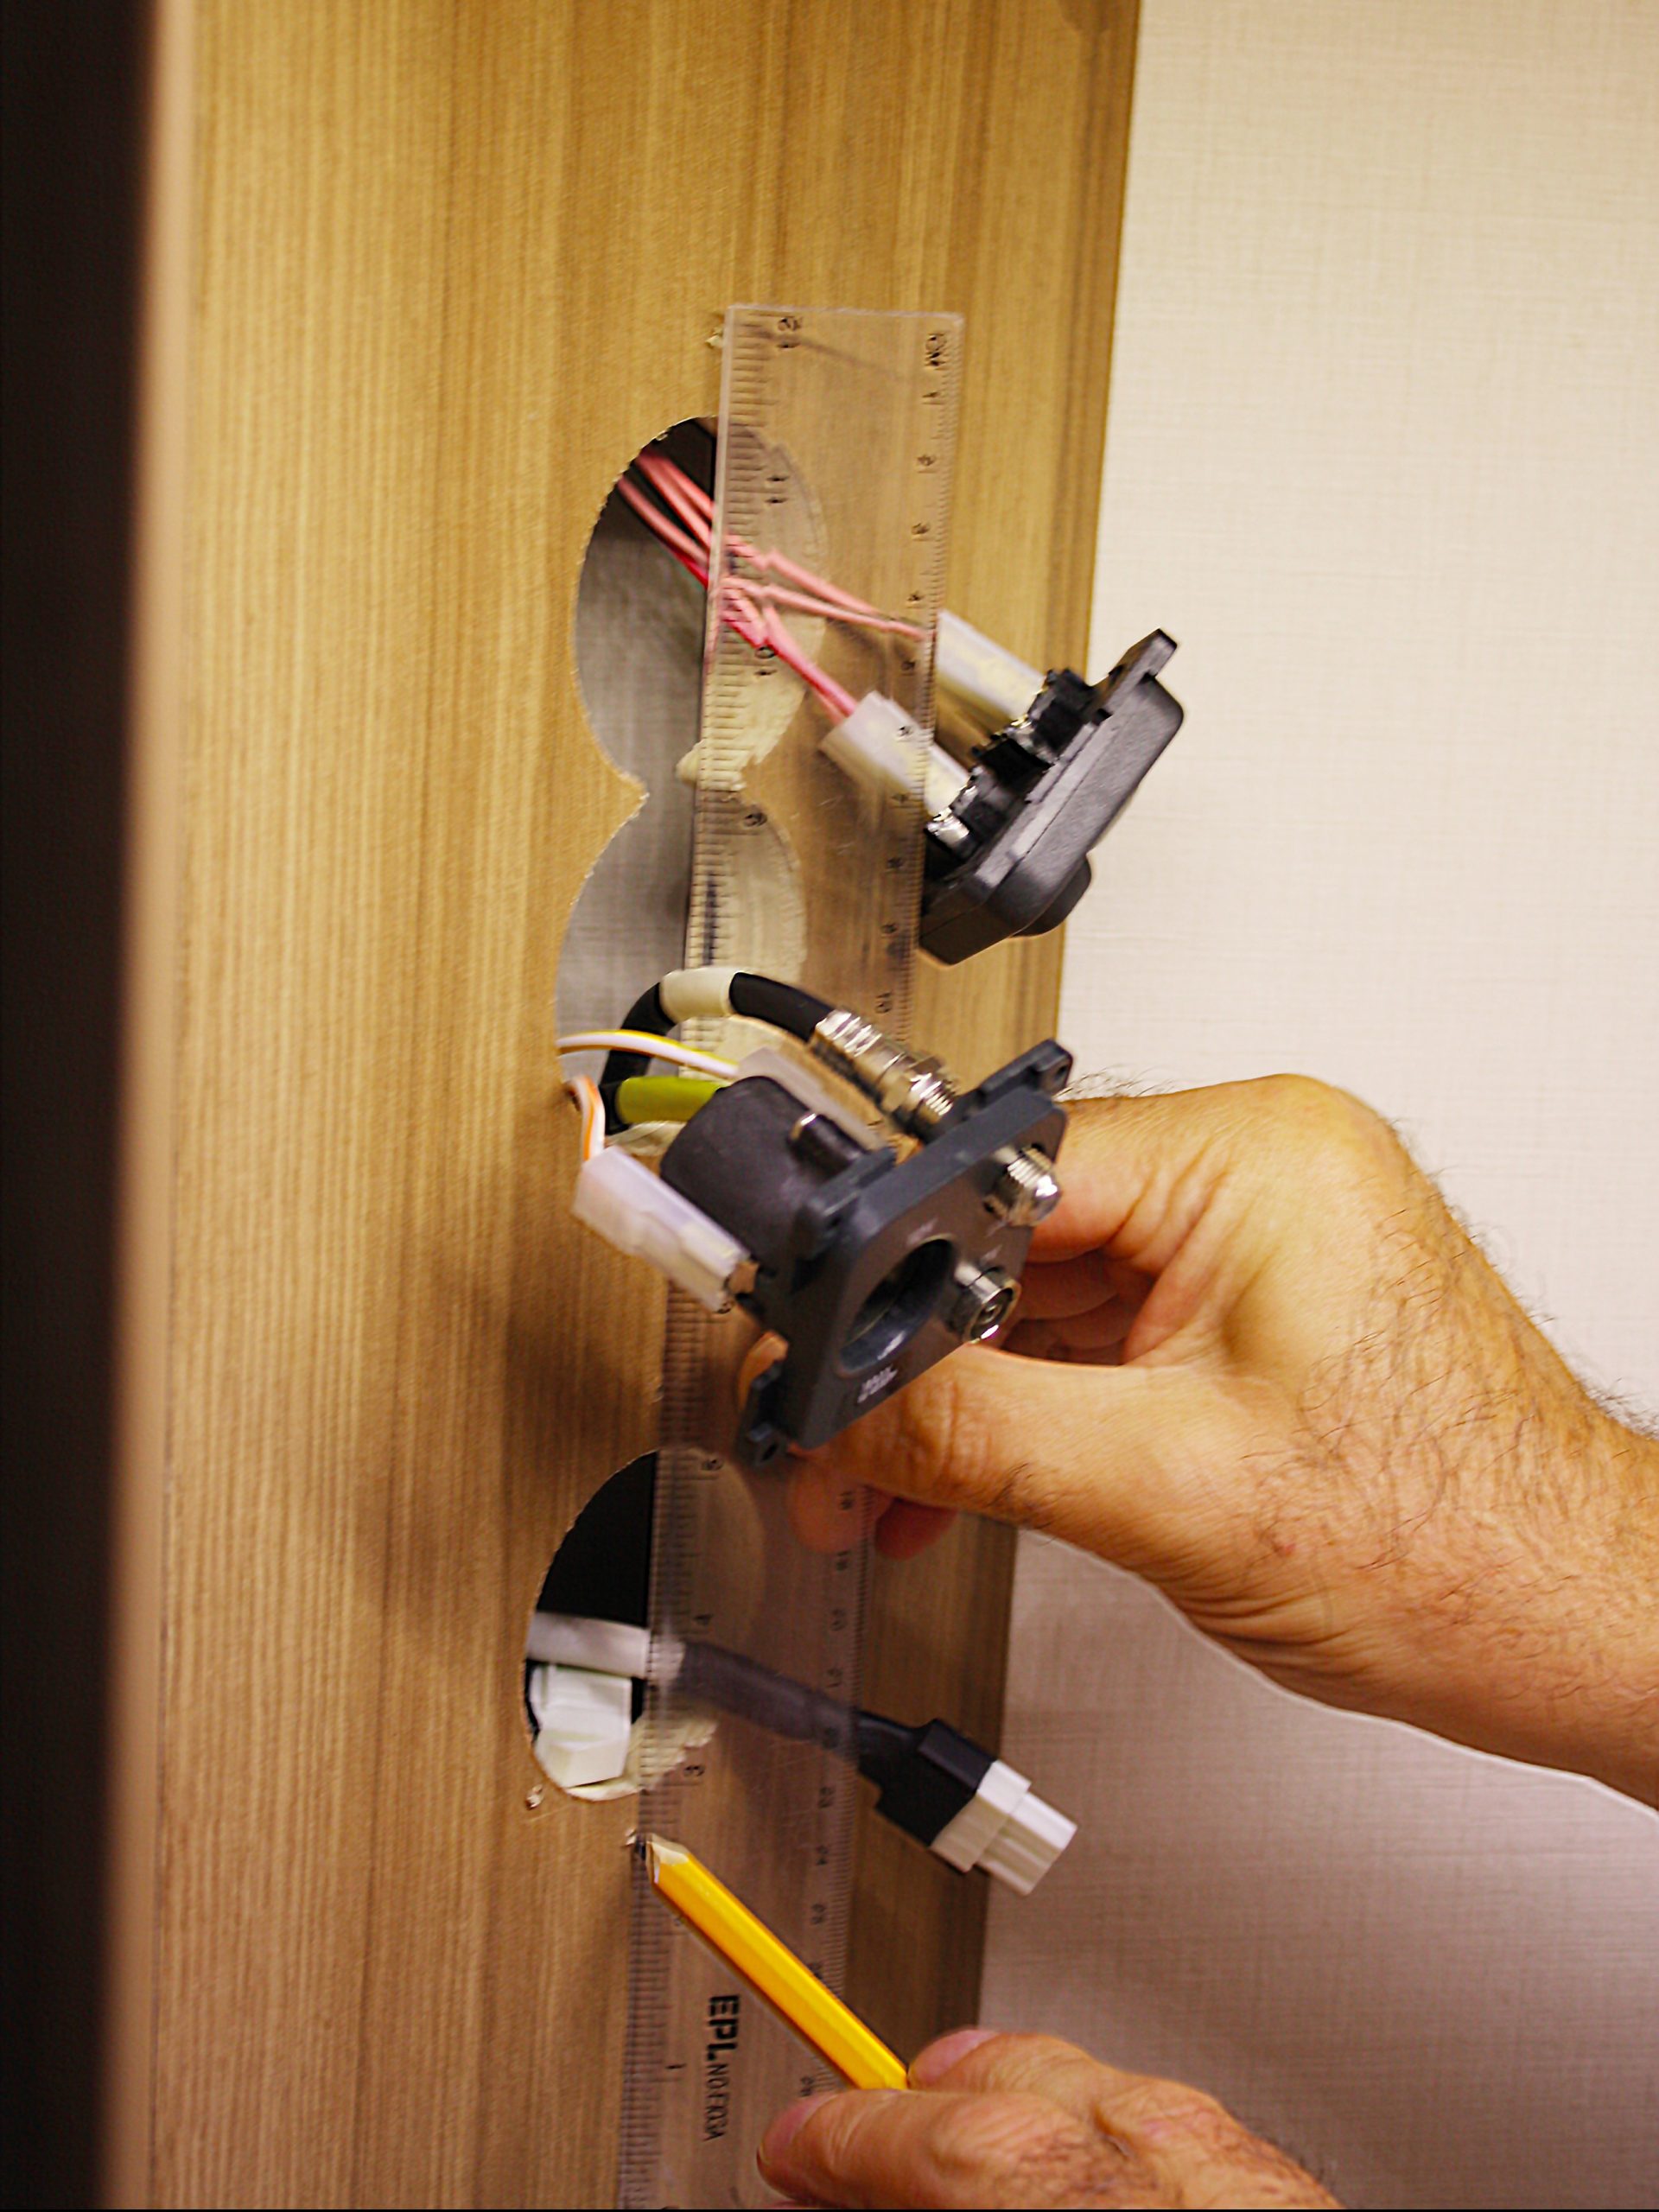
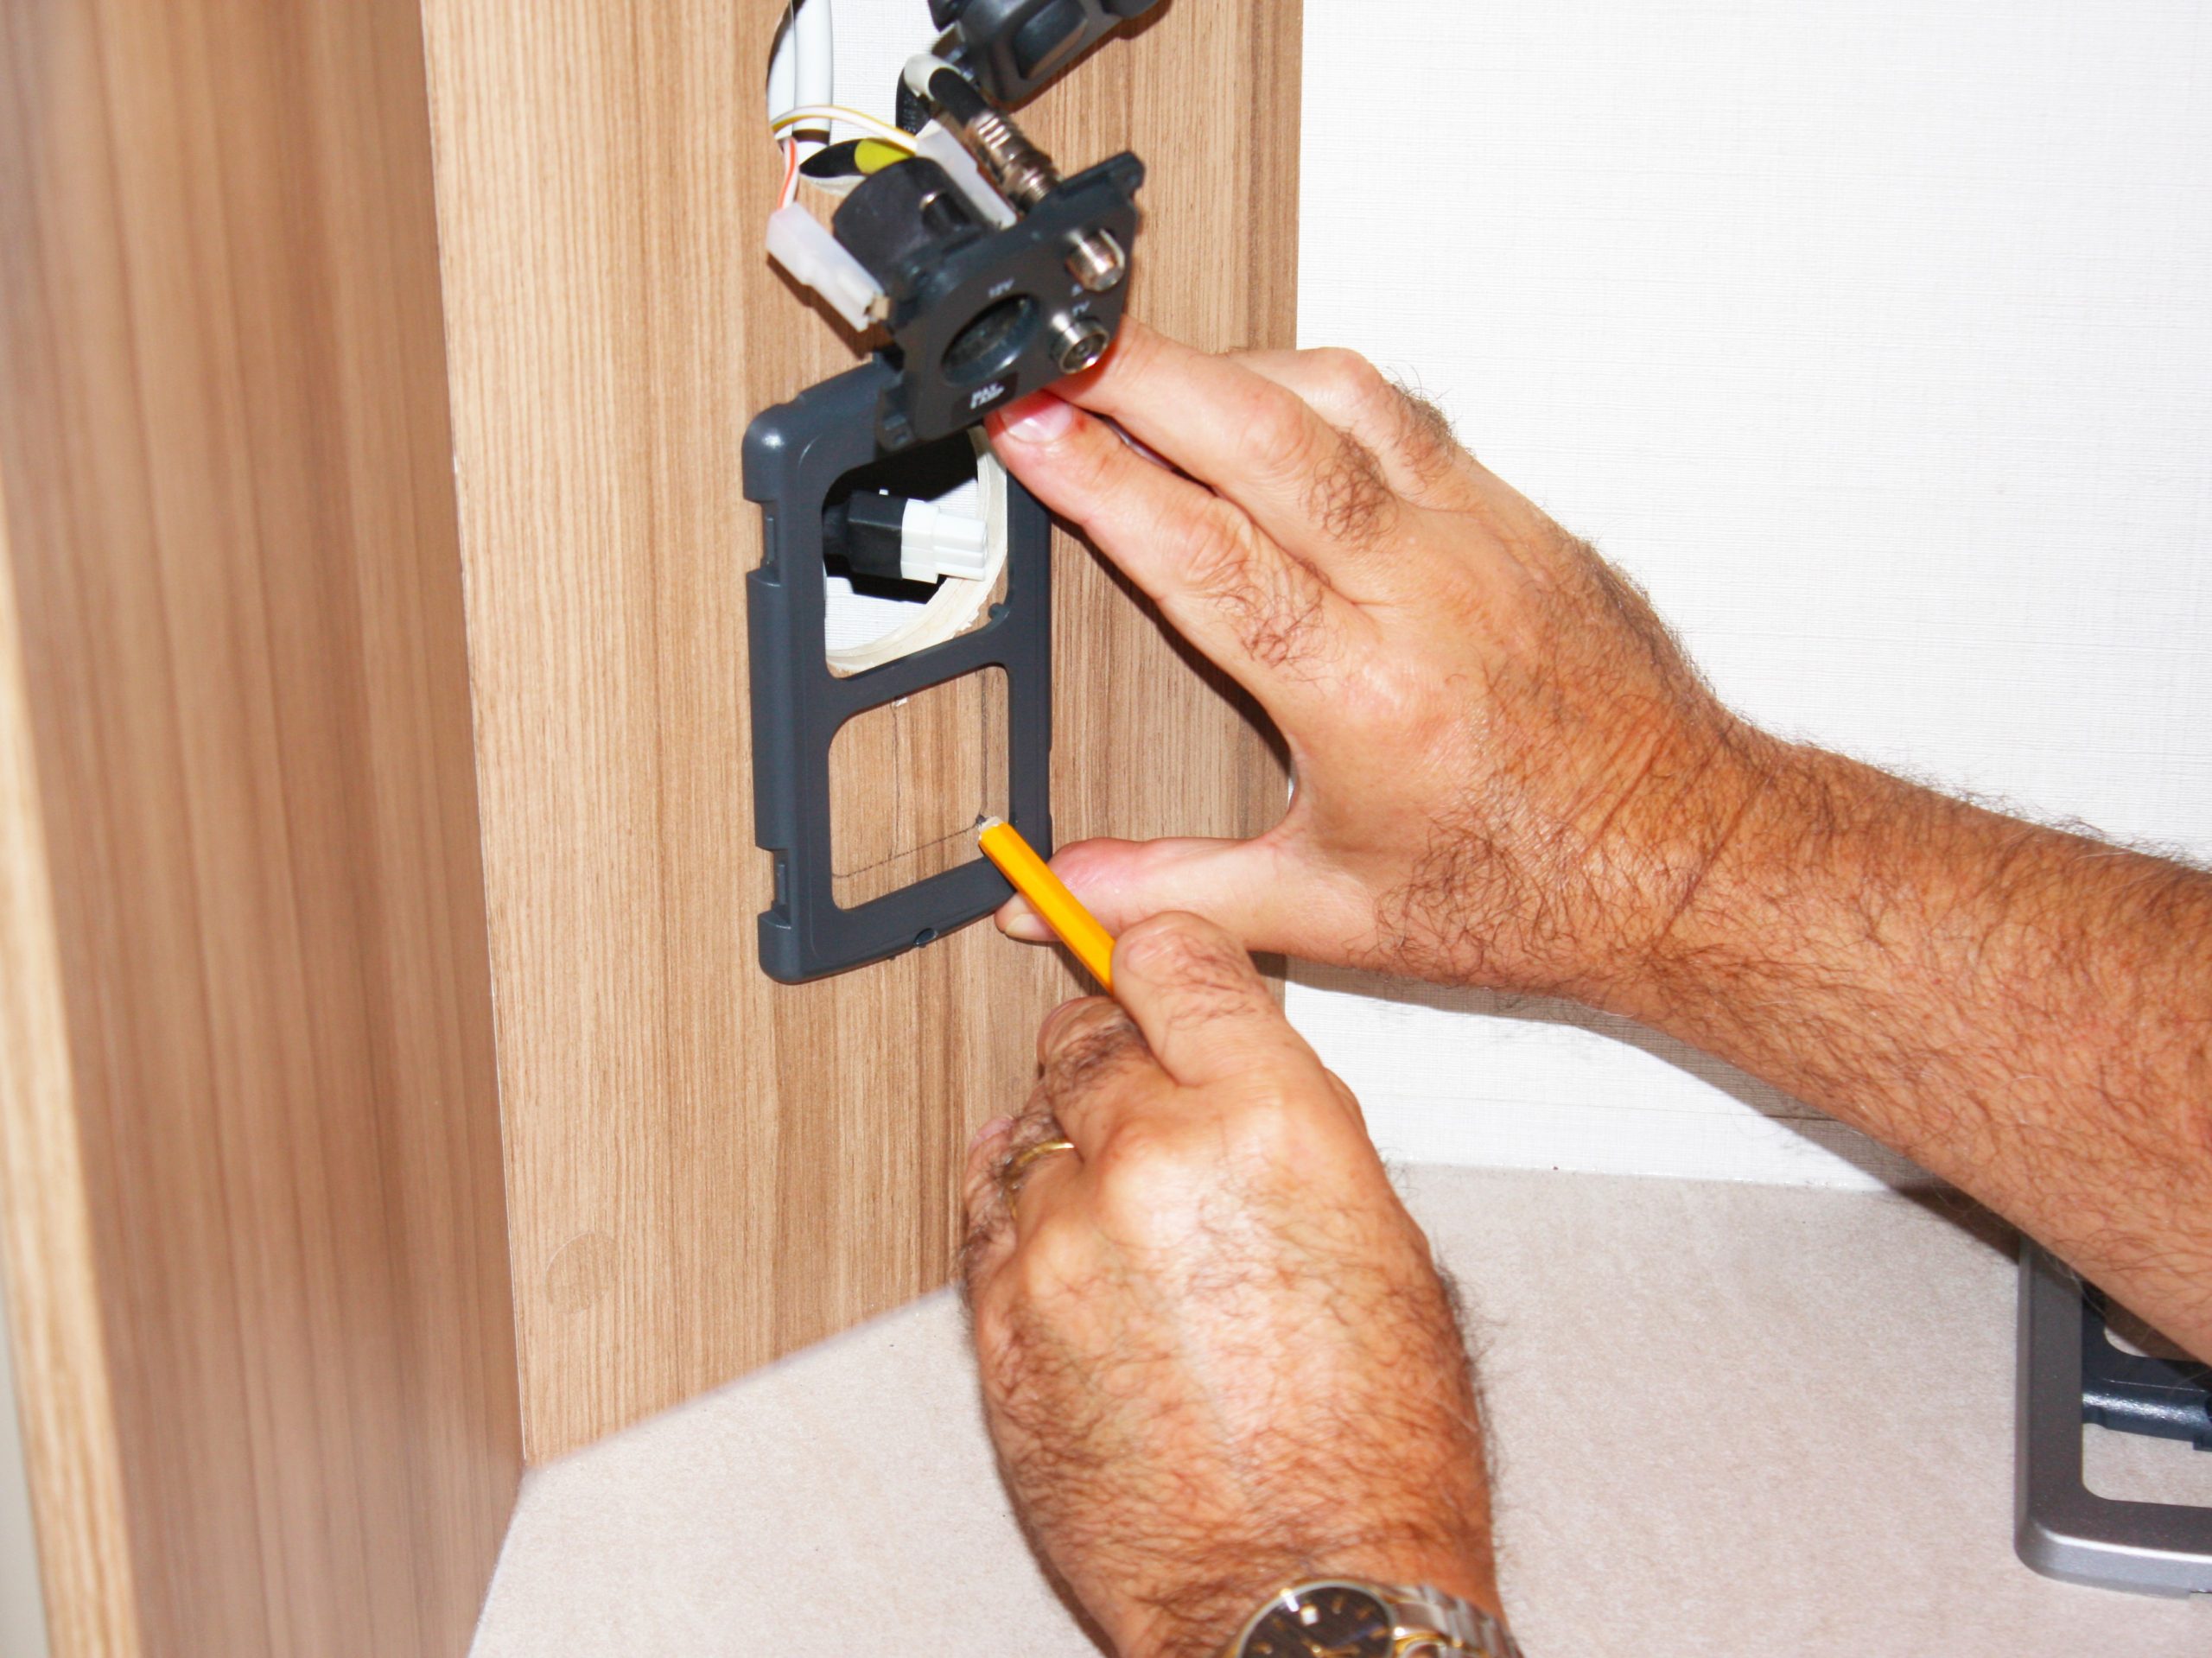
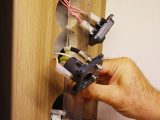
The next job was to mark where the hole was to be cut for the extra socket. In this case, where the mains socket would be.
Ensuring that the centre screw holes from the two mounting plates were in line, I marked the spot where the bottom screw would go.
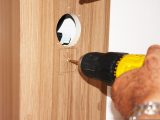
Then, with the mounting plate in position (using the top hole and pencil line as guides), I drew around the lower hole. Marking across the diagonals gave the centre, where the drill would need to cut.
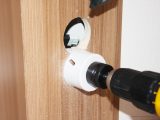
A pilot hole was drilled initially, making sure there were no wires or anything else behind to damage, and I then cut the circular hole where the mains socket would fit. Because it was larger than the rear of the socket, there was a little leeway to get the socket perfectly in line.
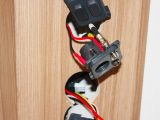
The cables were disconnected from the 12V TV socket. I made a note of which coloured cable was connected to either the positive or negative terminal.
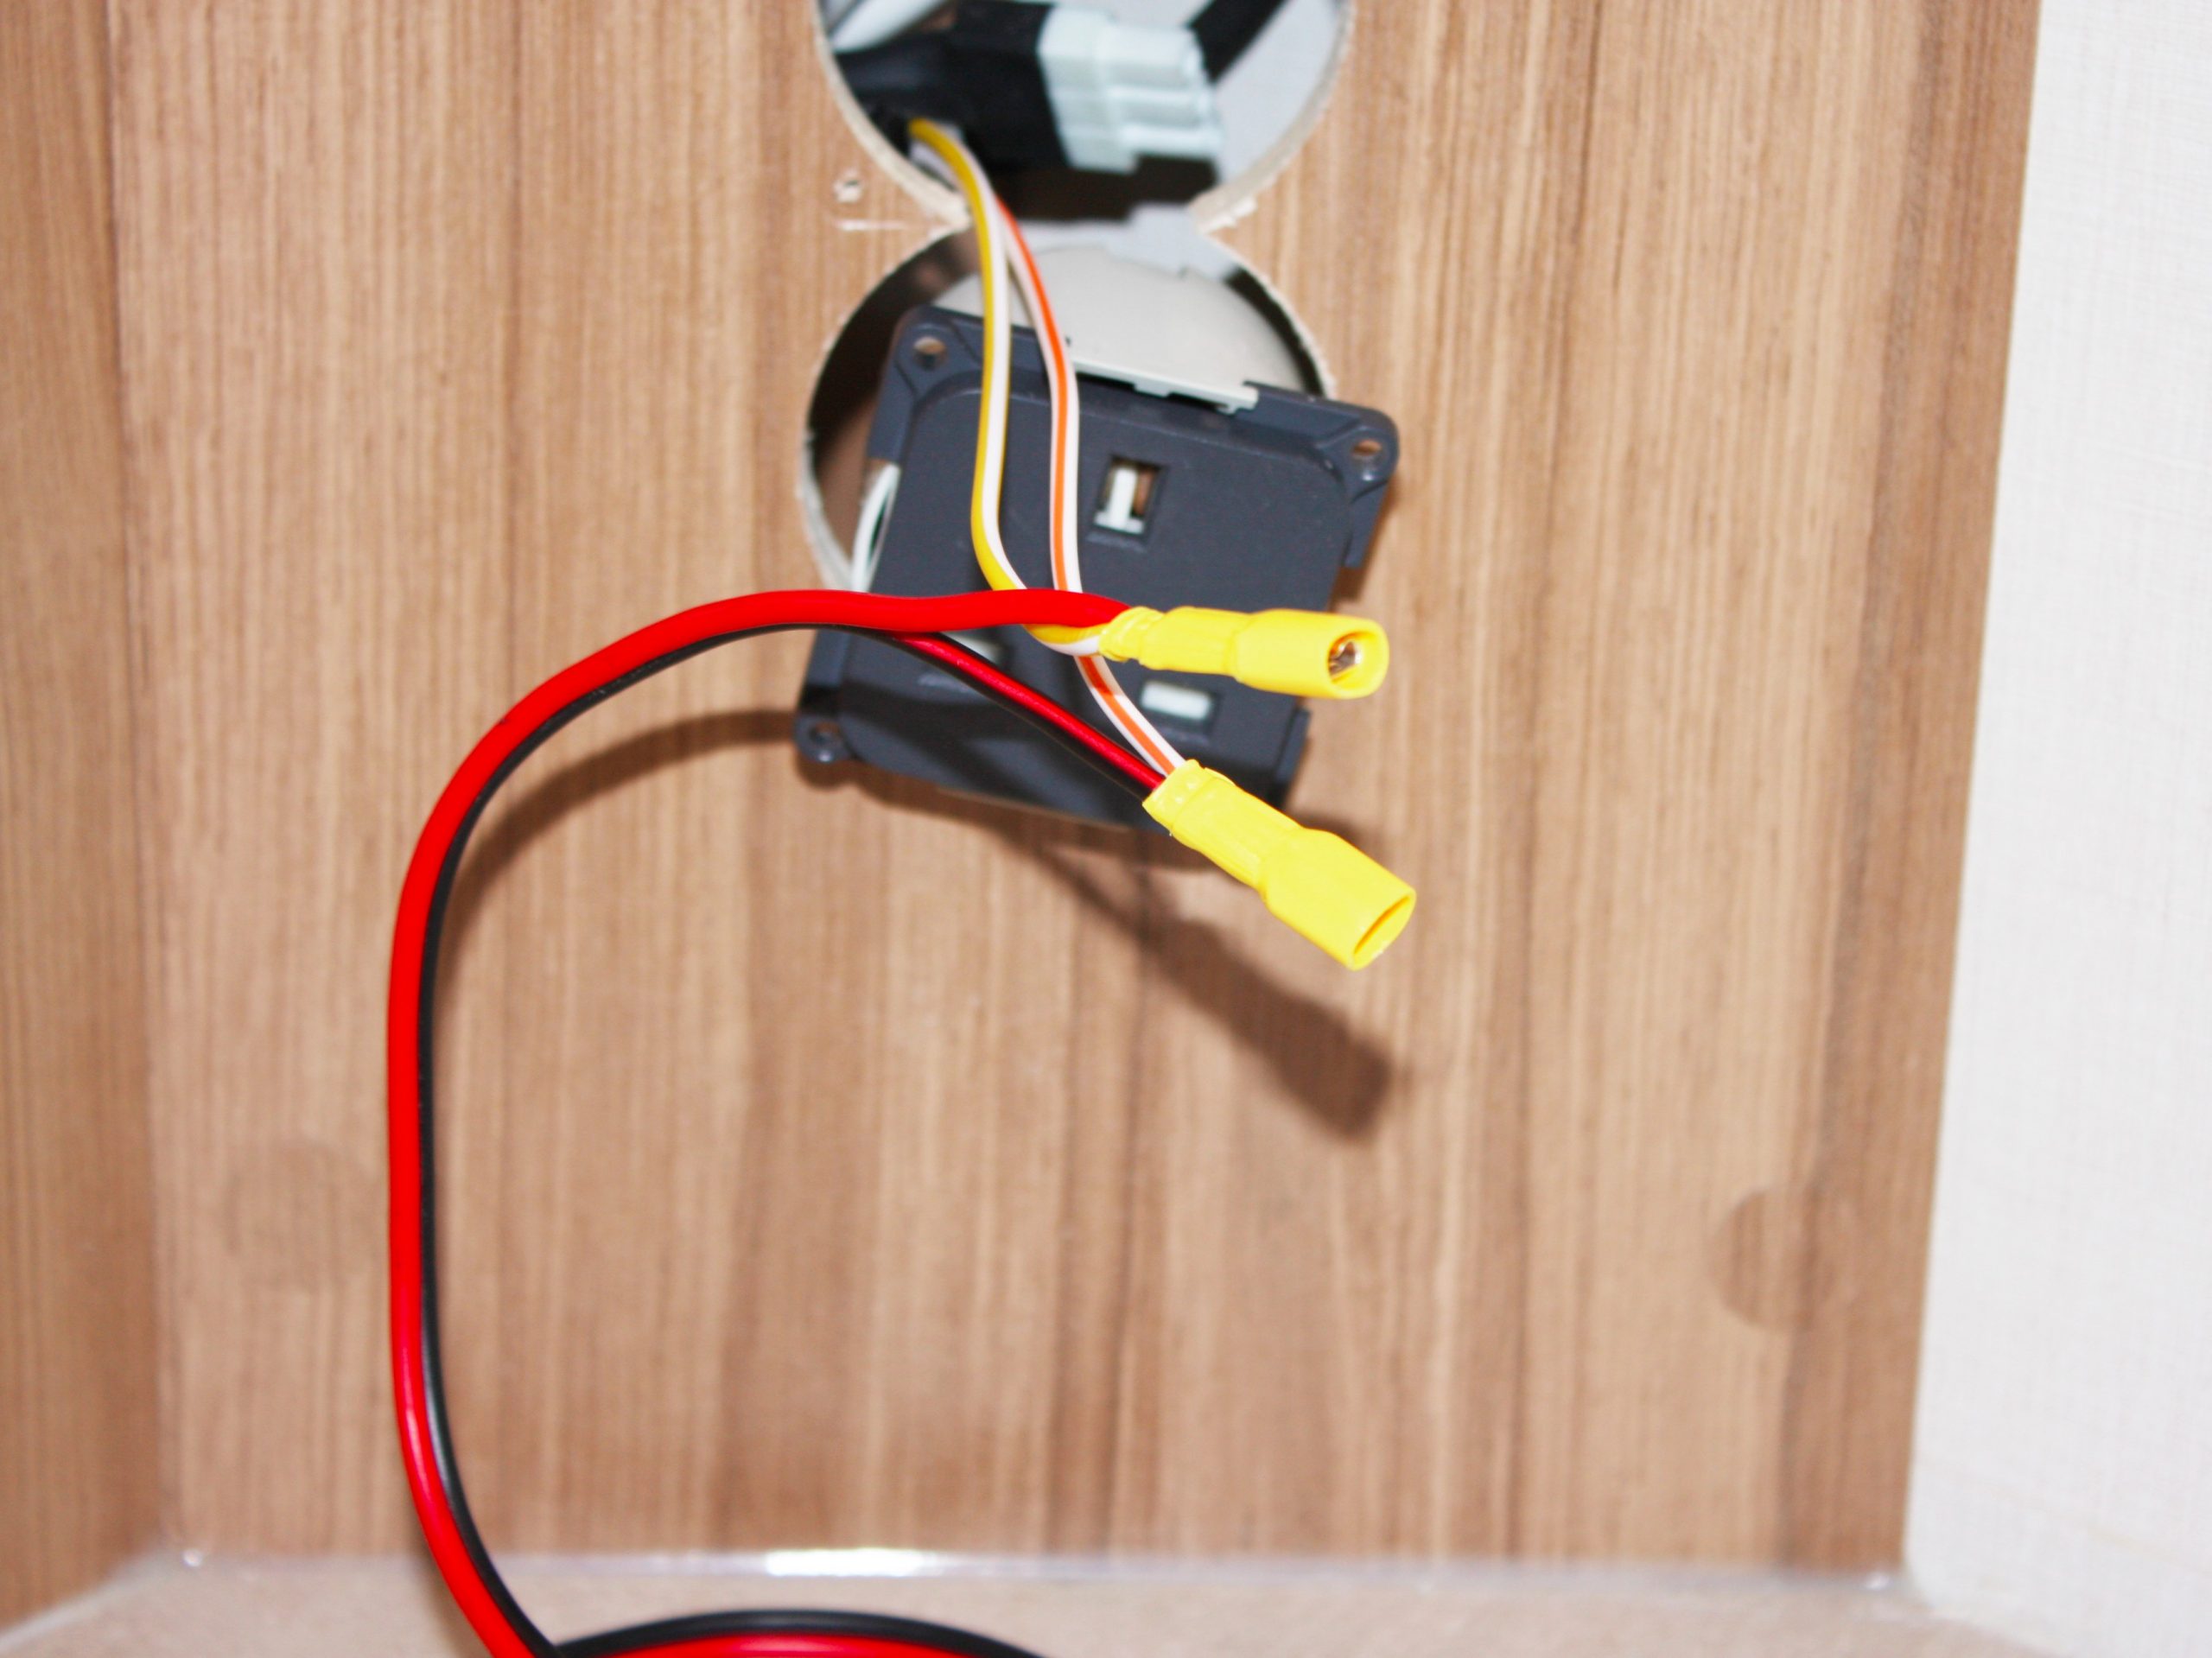
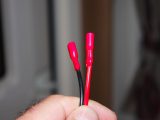
Next, female spade connectors were crimped onto one end of each of the new bits of cable – in our case, red was used for positive, and black for negative.
The connectors that were on the caravan’s 12V cables were cut off, and the ends stripped of plastic sheathing. I did the same with the new pieces of cable, and twisted the relevant stripped cables to each other before putting on the female spade connectors.
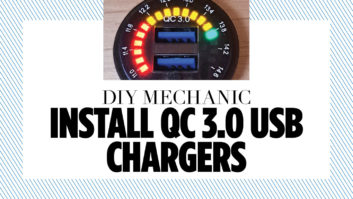
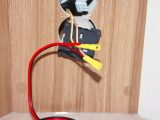
Next we assembled the USB socket onto its mounting plate, then fed the extended cables from behind, connecting them to the relevant terminals.
It doesn’t matter whether you connect the new extensions to either the USB or TV sockets. We connected the joined cables to the USB simply because of available space.
Finishing the job
With the 230V mains cables reconnected, it was time to fit the various items back to the wall.
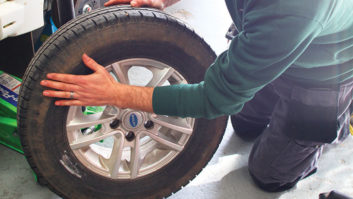
Each of the units clipped into place in the back of the mounting plates. With the top one, it was simply a case of refitting the screws to get it into the correct place.
The bottom example was lined up and screwed into place. However, because the mains socket had originally been secured to the wall, I held it in place while removing the mounting plate, and then secured it to the wall before refitting the plate.
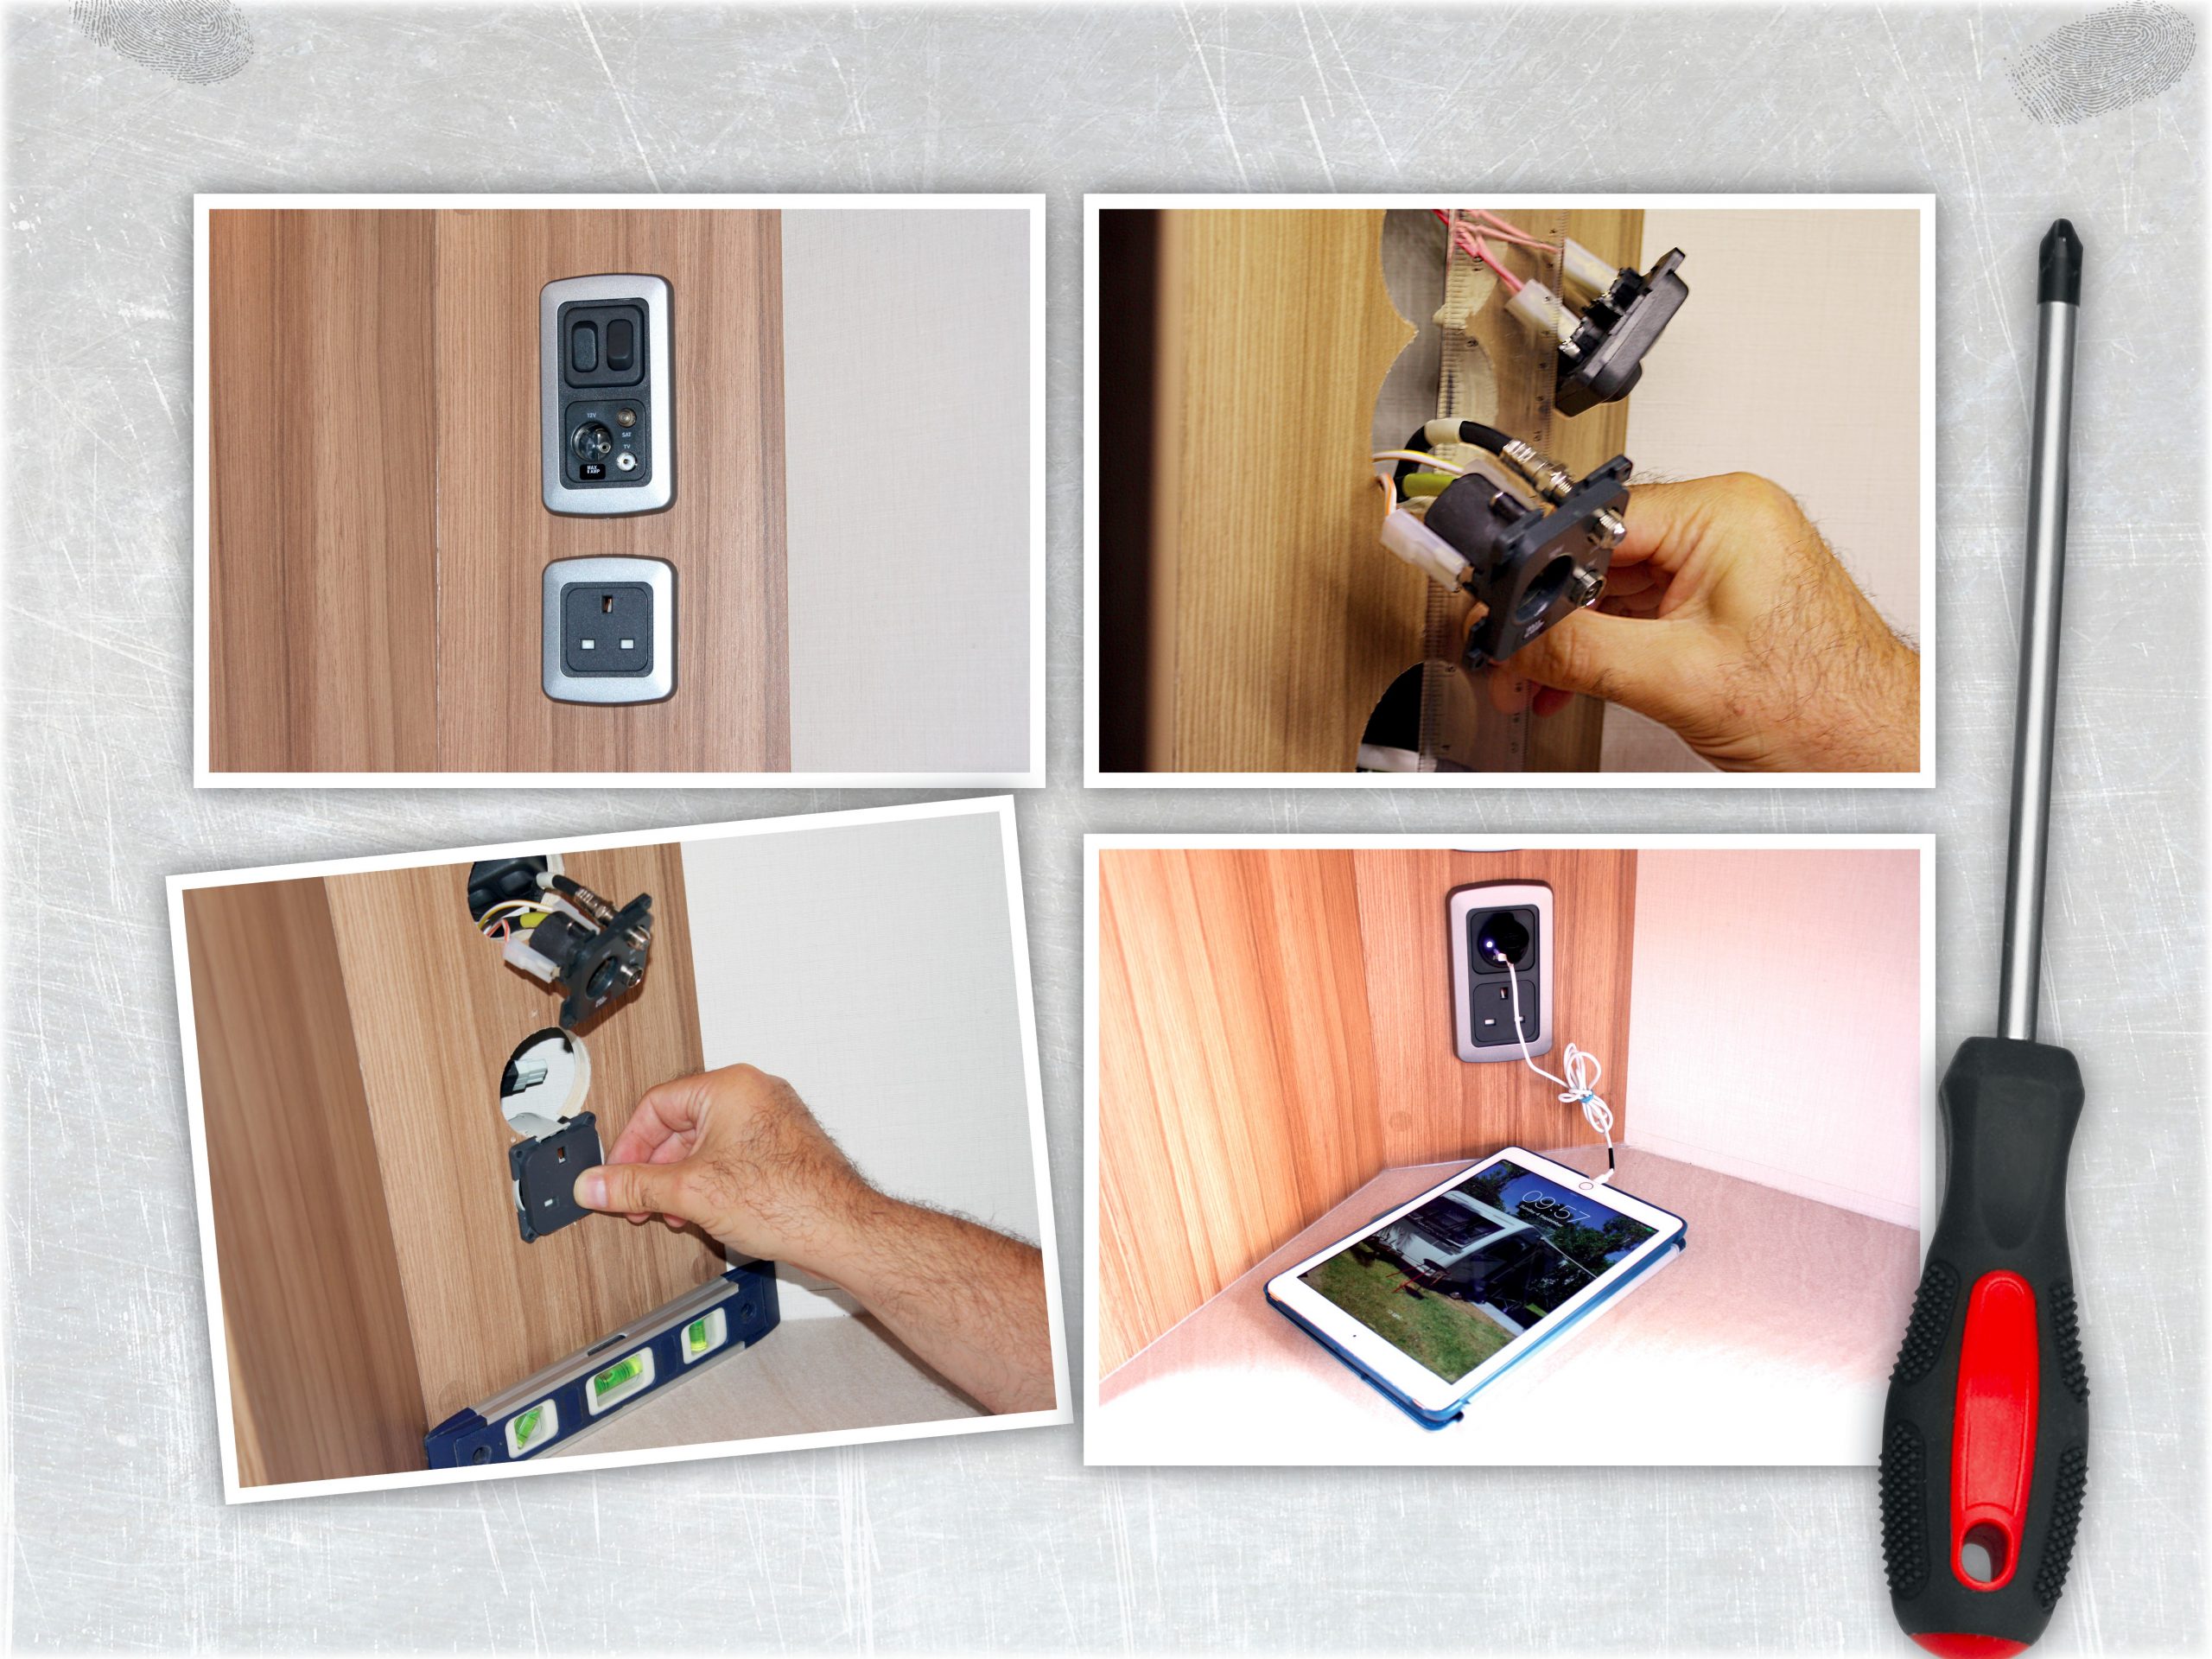
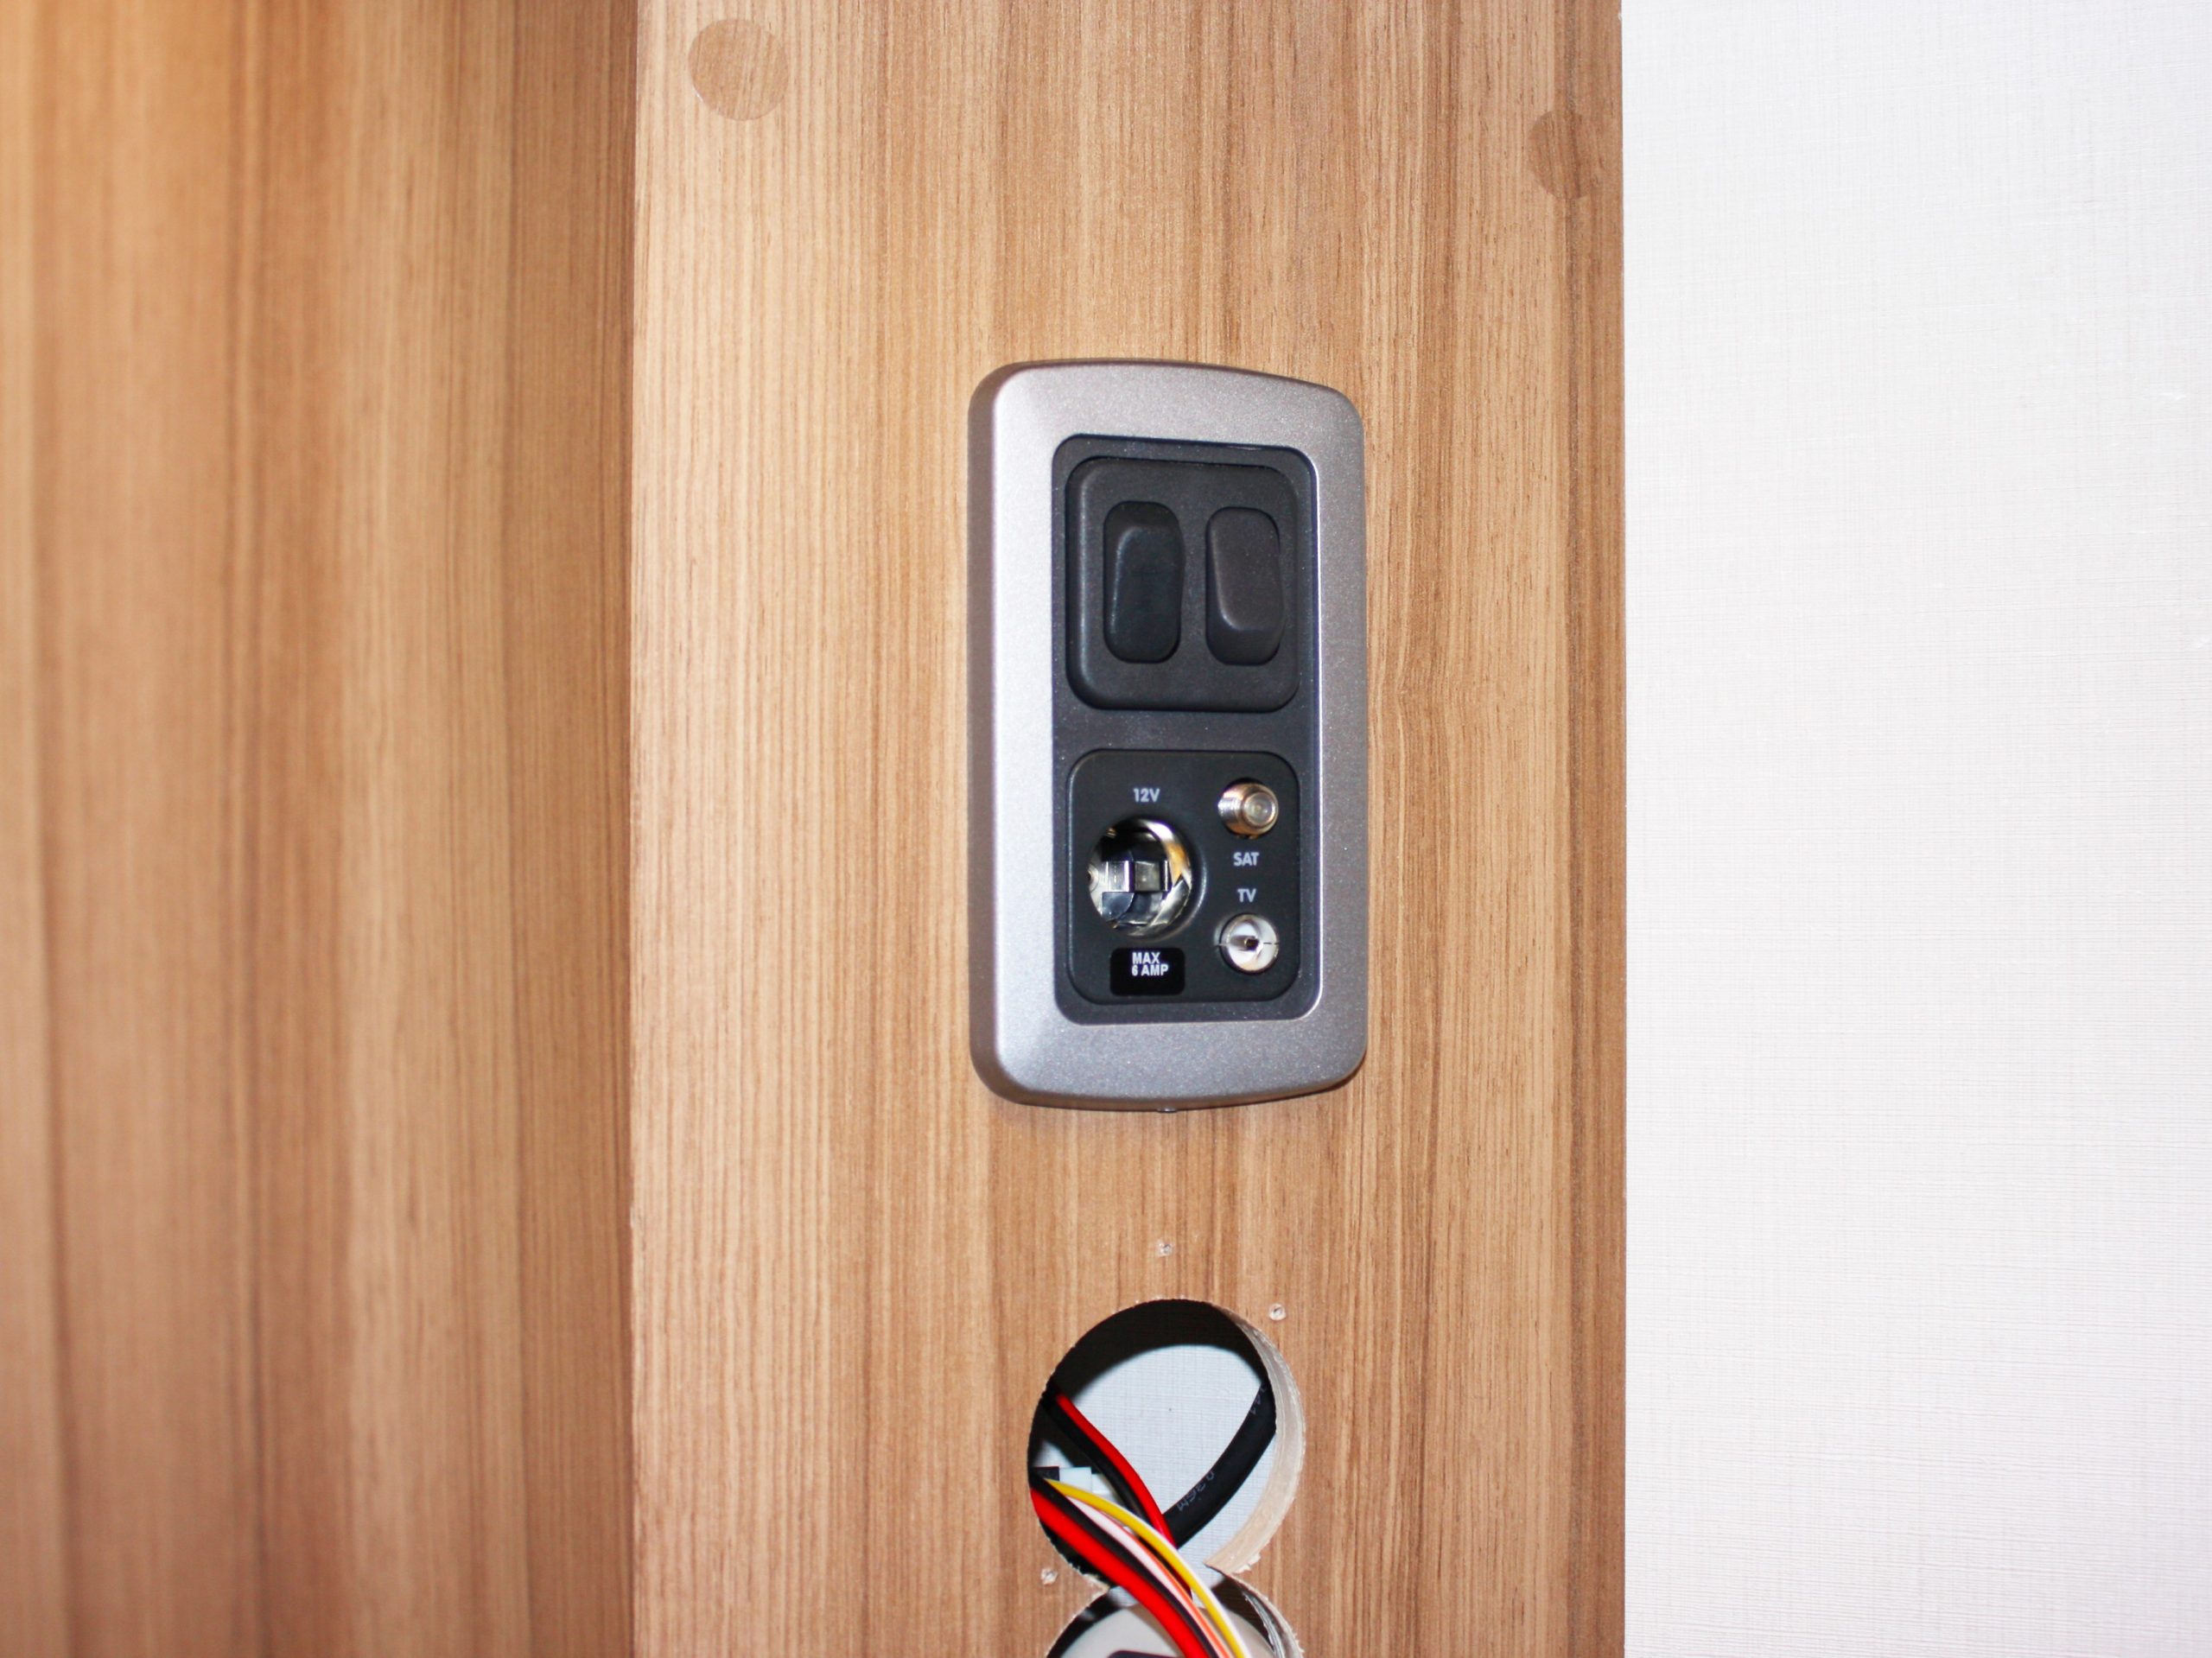
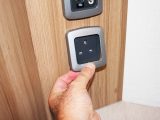
Prior to attaching the decorative socket surrounds, I reconnected the battery and mains supply to check that everything worked.
I was pleased with the result, which looks as though it was factory-fitted.
Remember: disconnect any mains supply and the 12V battery before you start!
They’re relatively easy to install, and you’ll probably be able to source a unit that matches the other fittings in your caravan