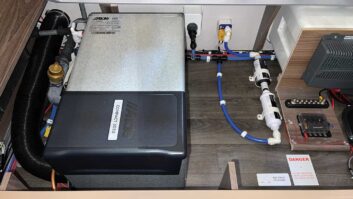


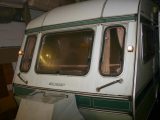


IT HAS BEEN several weeks since I last had time to work on our 1982 Elddis Whirlwind. So far I’ve concentrated on the electrics. I fitted a new mains consumer unit, replaced the battery charger, installed a new battery, and rewired the 12V distribution unit. The last task was checking the wiring from the towing electrics. I used a Ranger power pack – a commercial unit used by workshops to test both 12V circuits. Both were functioning, but still needed some minor repairs.
The bulk of this work was replacing the broken Morco water heater. As the caravan is quite old, we couldn’t justify £500 for a new replacement. Instead, we are reusing an old Carver Cascade MkII. Thanks to V&G Caravans in Whittlesey (01733 350 580)
[tl:gallery size=460]
1
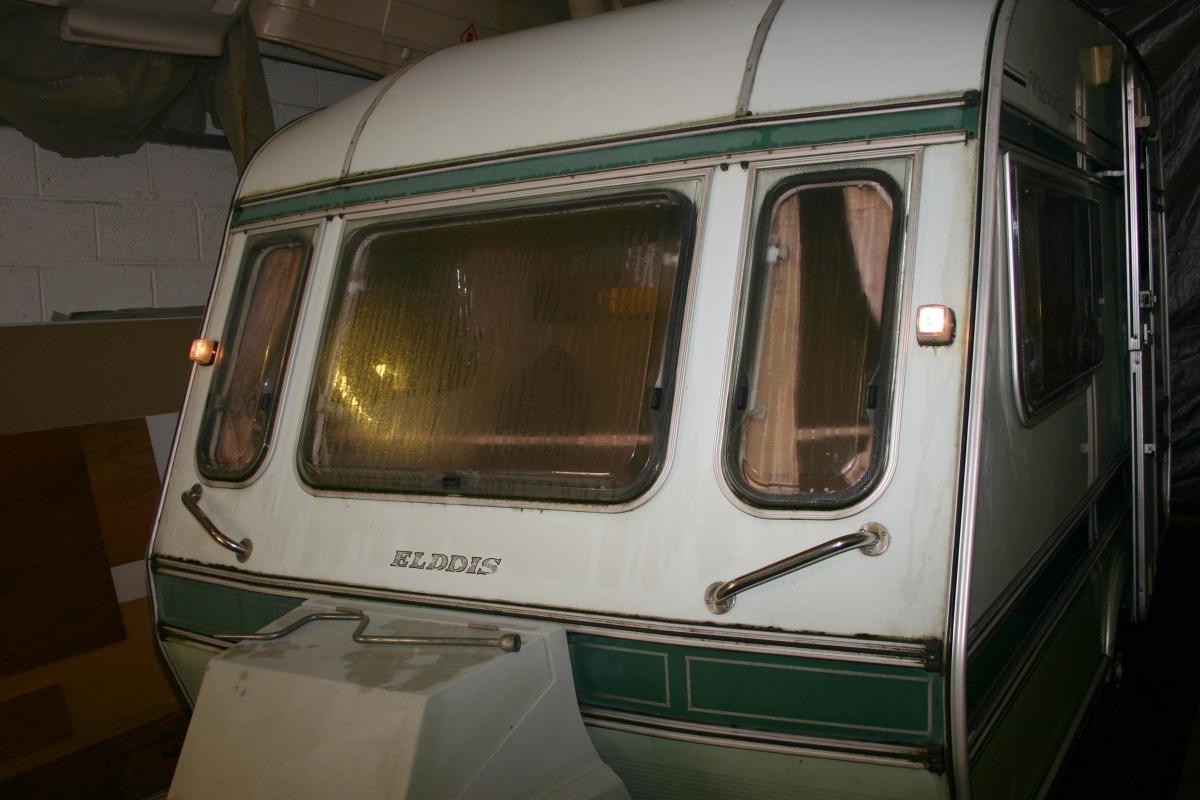
I connected the 12N plug to the power pack and switched on the road-light circuits. The front marker lights worked fine, although the bulb holders will benefit from a bit of cleaning up.
[tl:gallery size=460]
2
It wasn’t quite such a rosy picture at the back of the caravan. Both direction indicators work but one brake light was a little flaky due to a bent bulb holder. The number plate lights have long since expired, and with no obvious wiring problem in evidence, I think new light fittings may be needed.
[tl:gallery size=460]
3
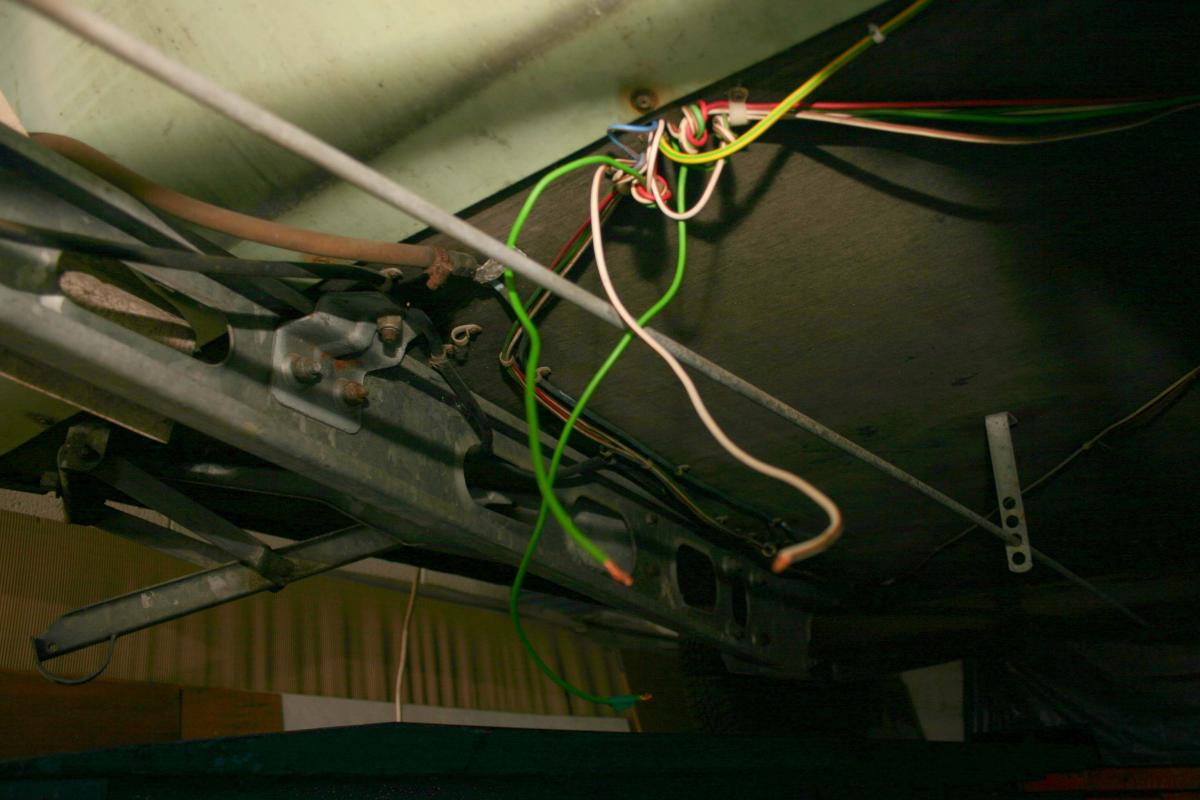
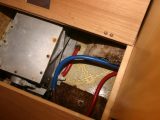
Checking the 12S circuit simply involved using a meter to make sure the permanent supply and the fridge circuit were working properly. Worryingly, a few cables were disconnected. Tracing them under the caravan, I worked out these were for the water and space heaters. I marked the wires so they can be reinstated when new appliances are fitted.
[tl:gallery size=460]
4
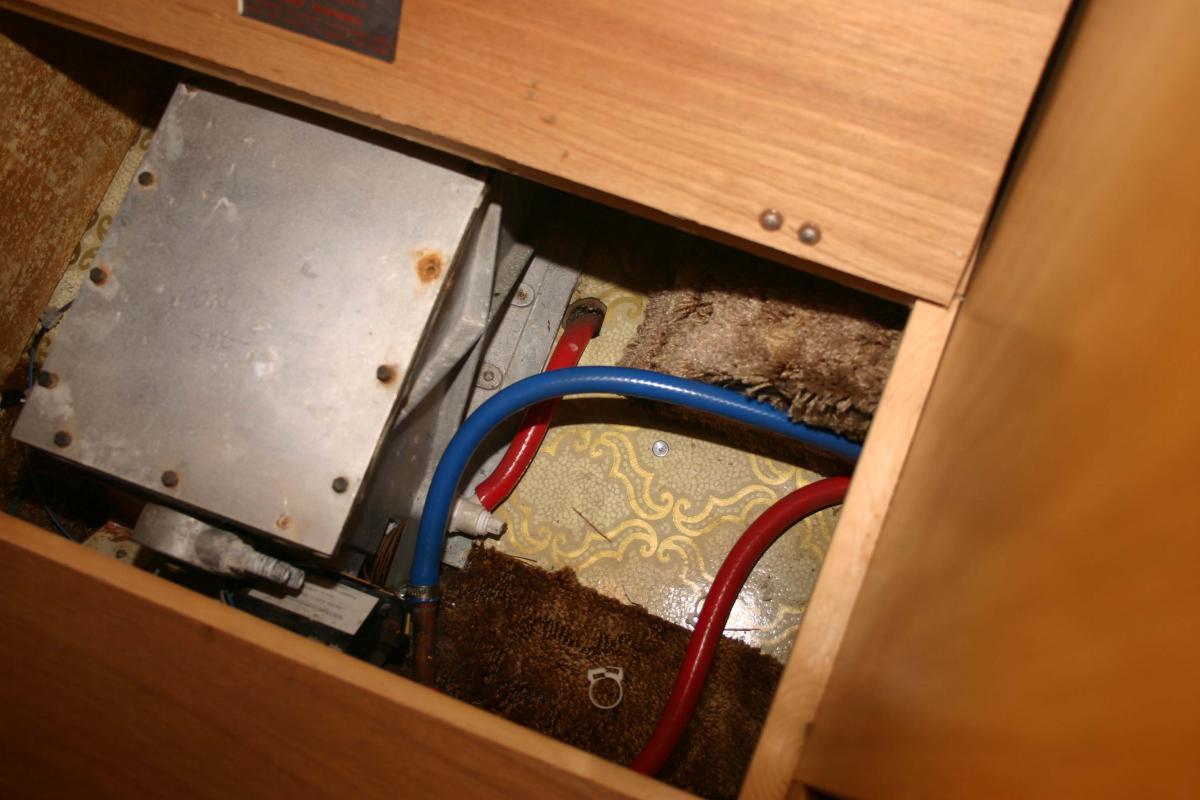
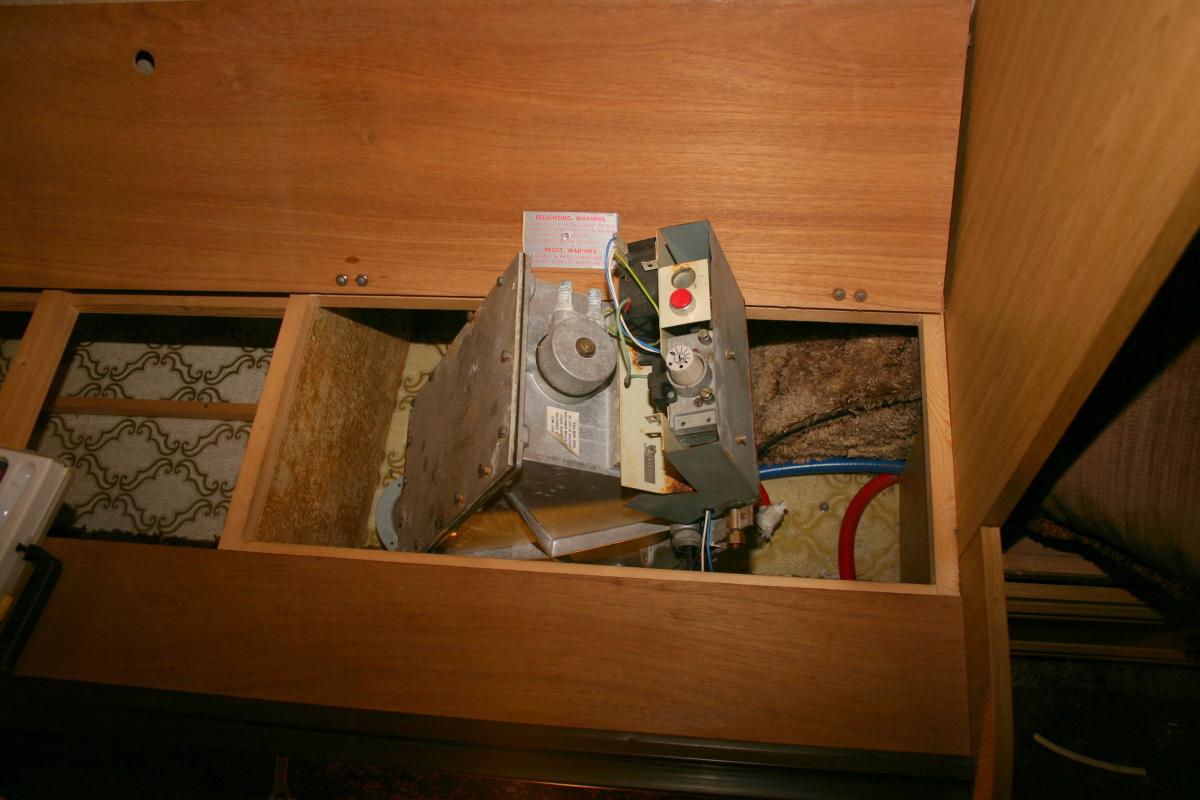
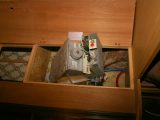
One of the appliances due for replacement is the old Morco water heater under the offside front seat. It had long since given up the ghost. Morco still makes boilers for static caravans but snapped bolts on the tank and hoses bypassing the heater suggested it was scrap. We are going to fit a good second-hand Carver Cascade Mk II in its place.
[tl:gallery size=460]
5
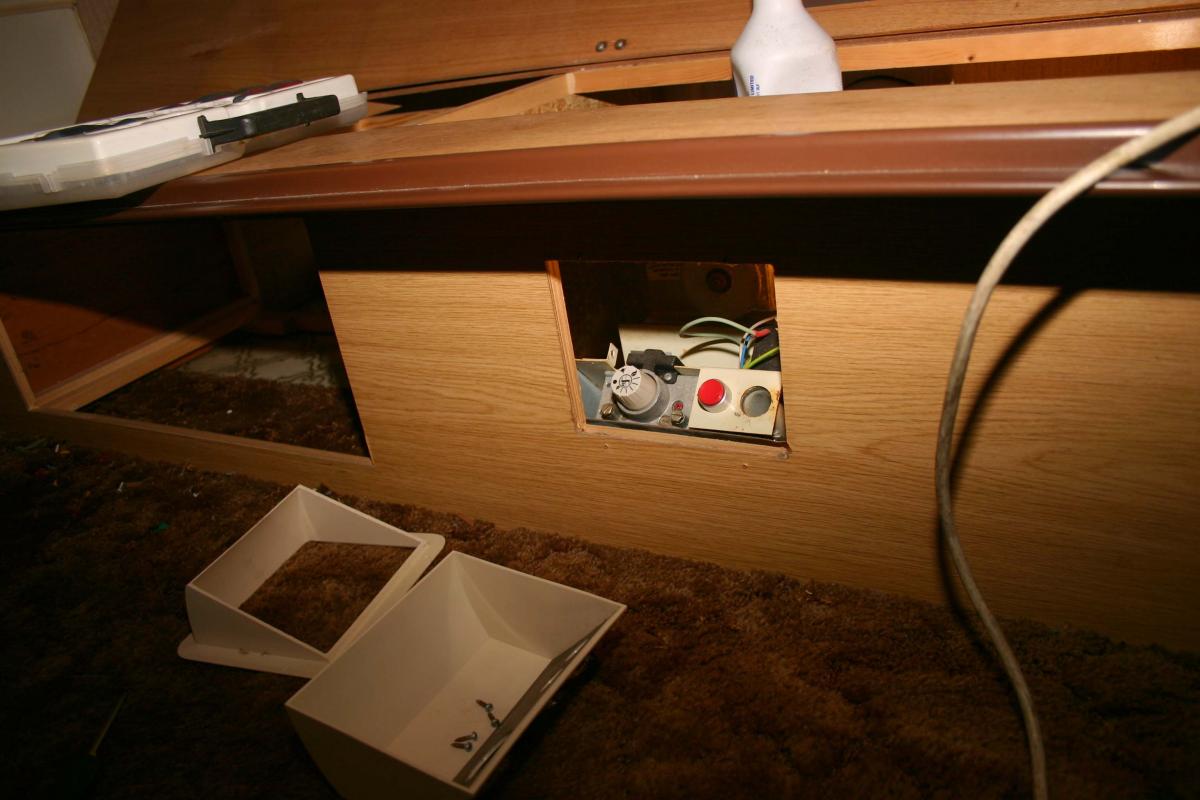
Unusually, the control panel for the heater is mounted on the end of the unit itself and pokes through the seat base. The flue runs through the side of the caravan on the opposite end. Removing the control panel and surround was straightforward and most of the water hoses had already been detached.
[tl:gallery size=460]
6
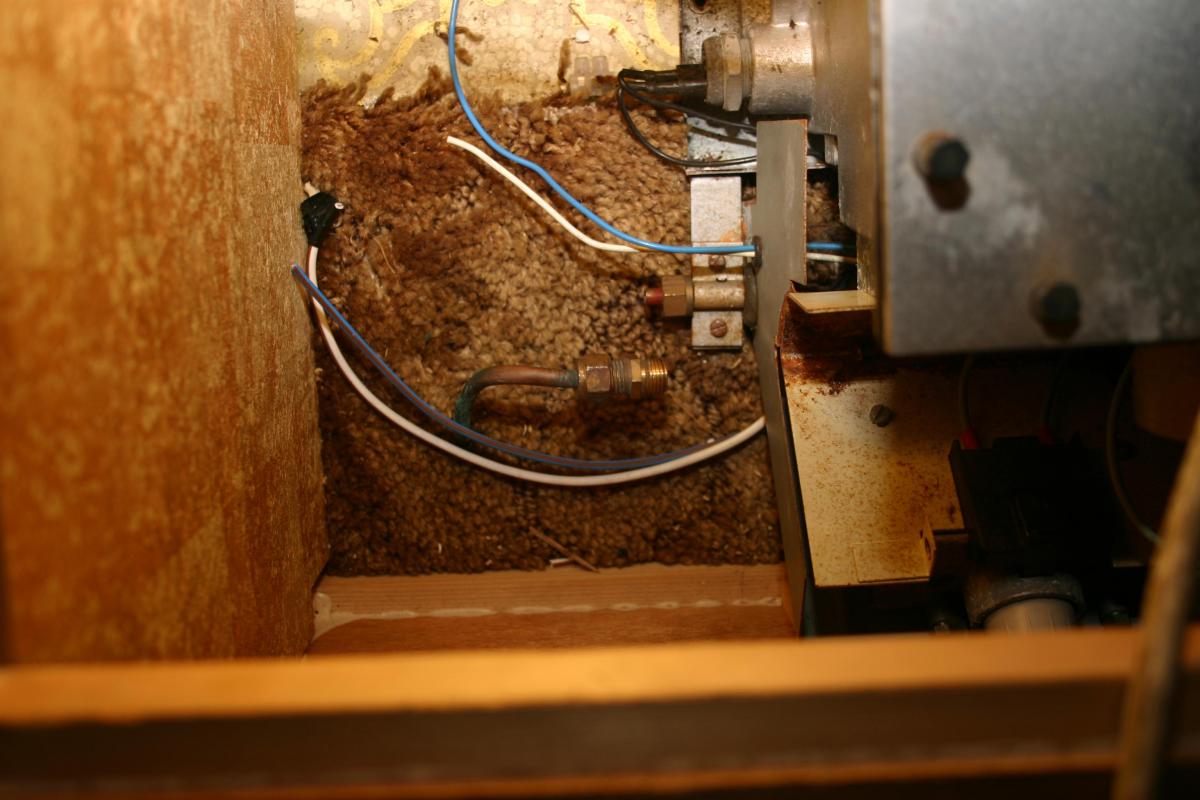
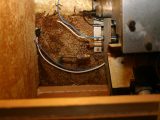
The next job was to disconnect the gas pipe. On inspection, the gas supply will need work when the new heater is installed. There is no gas cut-off tap or drop-vent because they weren’t a legal requirement in the early 1980s. While I was there, I cut the 12V cables as they are damaged and need to be replaced.
[tl:gallery size=460]
7
Finally, I undid the screws that held the heater to the floor. Because of its size, I was concerned it may be impossible to get the heater out from under the seat without dismantling it, but with a bit of manoeuvring it wasn’t a problem.
[tl:gallery size=460]
8
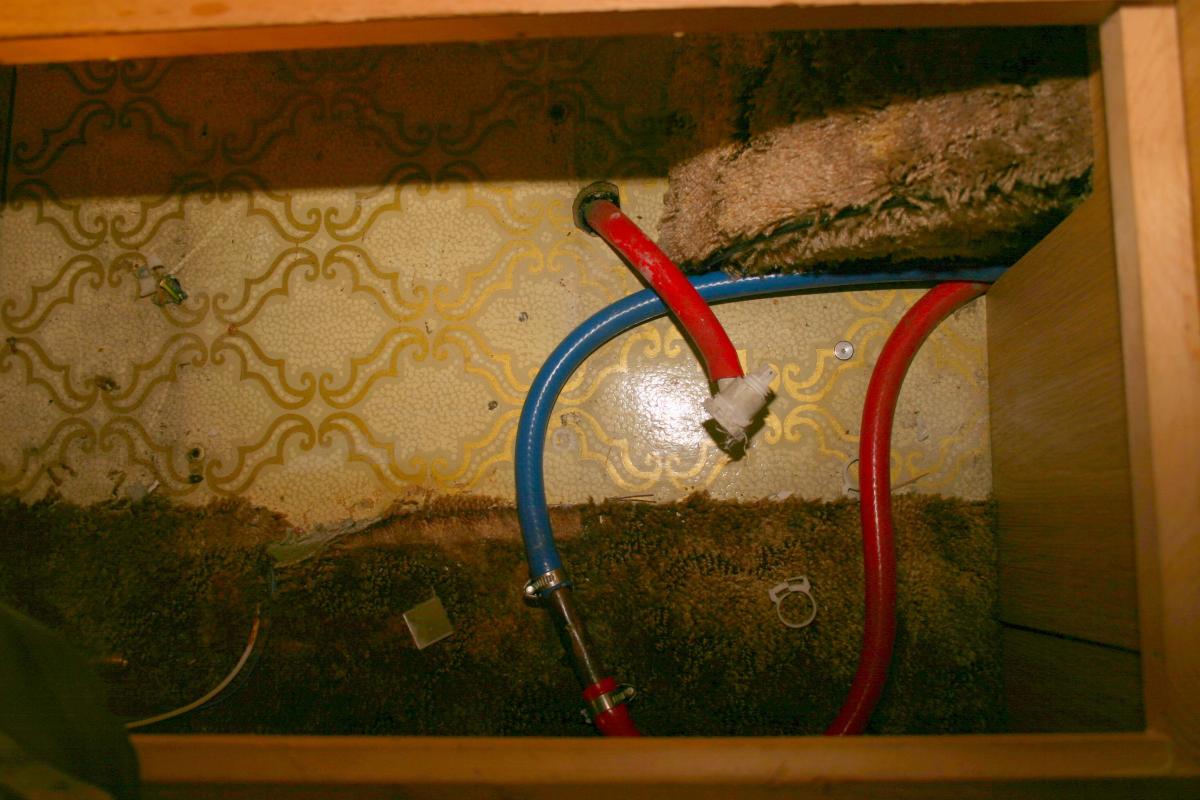
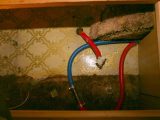
The hoses don’t conform to the normal conventions of red for hot and blue for cold. That’s another thing that I’ll need to put right when I replumb the water system!
[tl:gallery size=460]
9
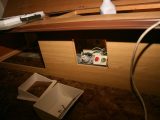
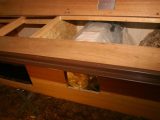
The Carver Cascade will be installed through a hole in the wall, but first I put it under the seat to make sure there will be room for it. The end touched the seat panel, but will not do so when the heater is fitted correctly, taking into account the thickness of the caravan wall.
[tl:gallery size=460]
10
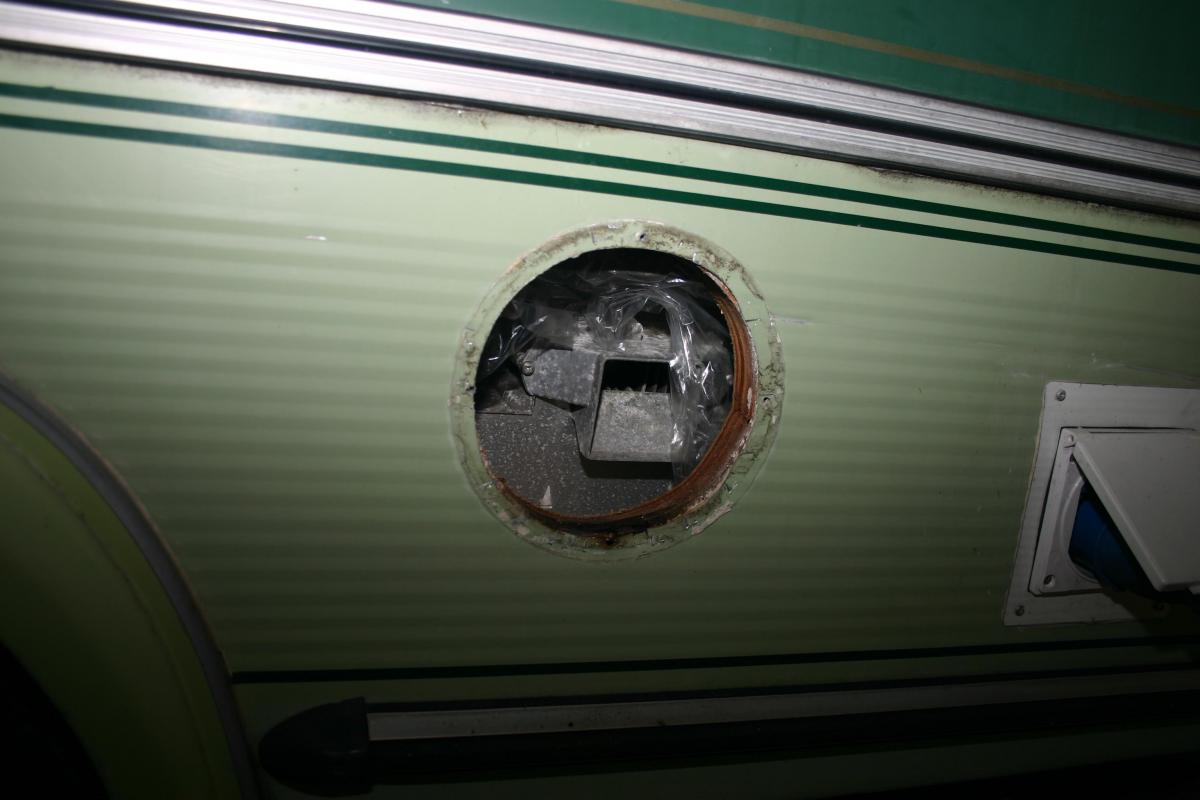
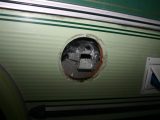
Luckily, the opening in the wall left by the Morco flue is much smaller than the one the Carver needs. I should have no trouble enlarging the hole, although I may have to fit a new timber framework around the perimeter to support the fixings around the flue.