Heating in caravans has progressed hugely since the days of gas fires lit by matches. Tourers now have various systems, with externally flued gas and the option of being operated electrically, too.
In 1995, I remember thinking it was the ‘bee’s knees’ when our new van came with the gas and electric Carver Fanmaster. Posh or what?
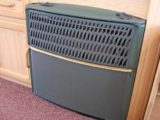
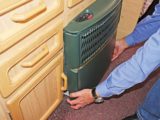
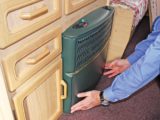
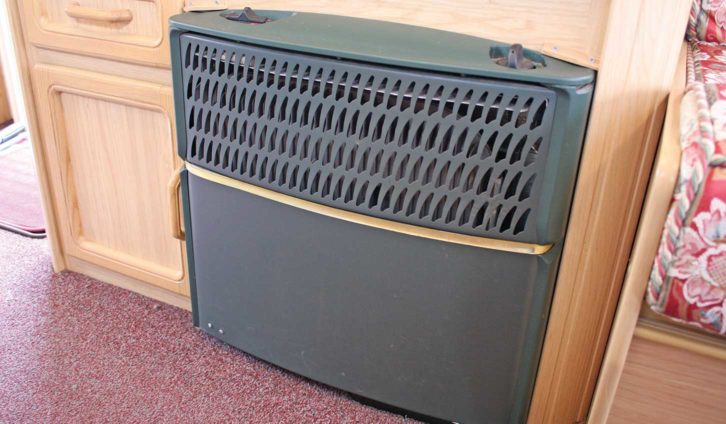
The Carver 4000A Fanmaster that we are looking at here is a development of the original. Many are still in use, offering reliable and efficient service.
We can’t stress highly enough the importance of having your van serviced every year, as safety items can and do fail.
But what we consider here is cleaning the heater externals (we’ve all turned on the heating at some point, only to be met with the smell of burning dust or cremated spider!), and replacing the control switch.
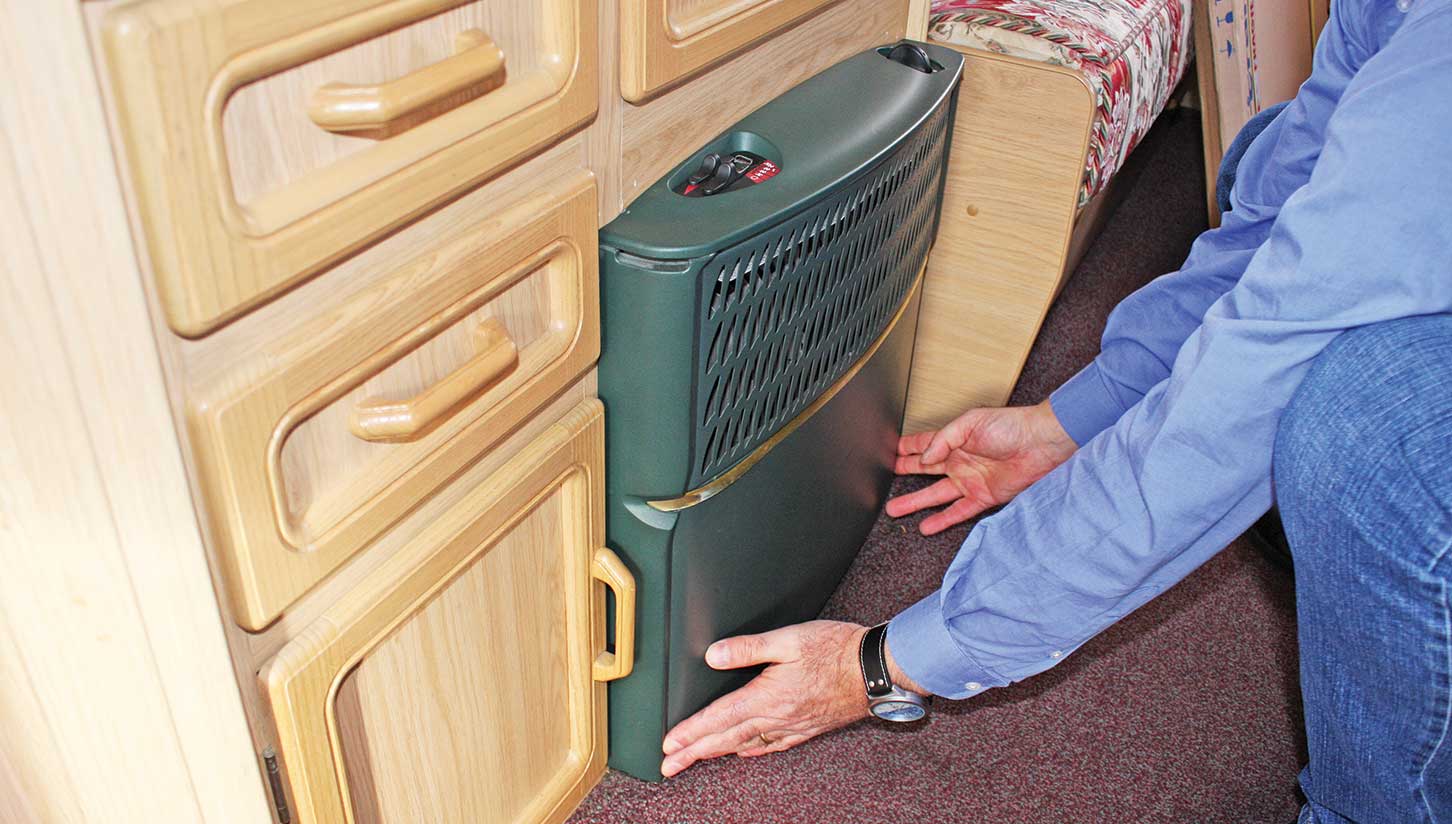
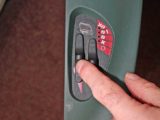
The van shown here dates from 1999 and belongs to my parents. Some years ago, the sliding switch (which controls the speed of the blown-air fan) on top of the heater became faulty. The speed would not vary, so it was either running at full pelt or it was off.
After removing the unit from its casing, Dad sent it away for repair; it has worked perfectly ever since then.
It is possible to open up the switch unit to clean various contacts, but unless you have a very good knowledge of electronics, that’s best left to the experts. If any controls or parts for your heating are faulty, one company that does repairs is A&R Electronic Developments.
In the interests of safety, before doing anything else, ensure the heating system is turned off, and disconnect the gas and mains electricity supplies. Finally, disconnect the 12V battery (or batteries).
Right from the start, every time we towed, the front of the heater ended up falling off (despite the dealer’s attempts to stop it doing so).
Dad cured that with a bit of DIY. Securing two small pieces of wood to the unit above the heater, to stop it jumping up and off its mountings, solved the problem. Not pretty, but very effective. So our first task is to remove them.
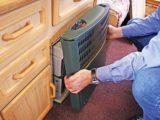
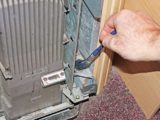
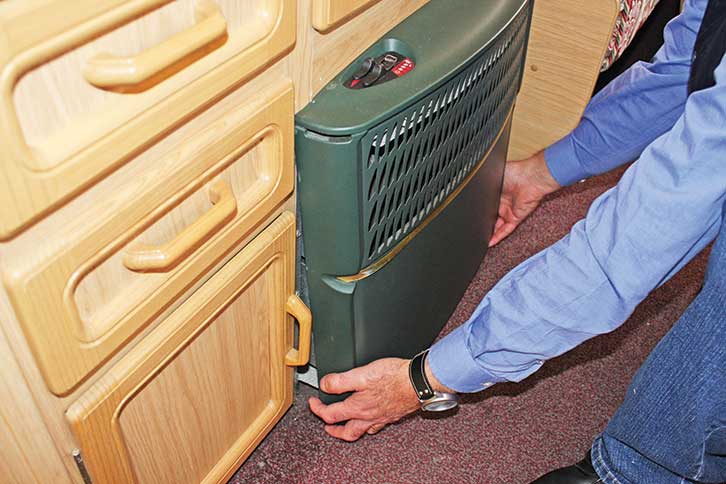
Then, holding the bottom corners of the cover, gently pull these towards you. This should release the cover from its clip-on mountings.
Be careful, because the cover can be fragile, especially where the clips are mounted.
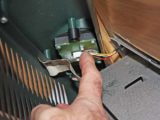
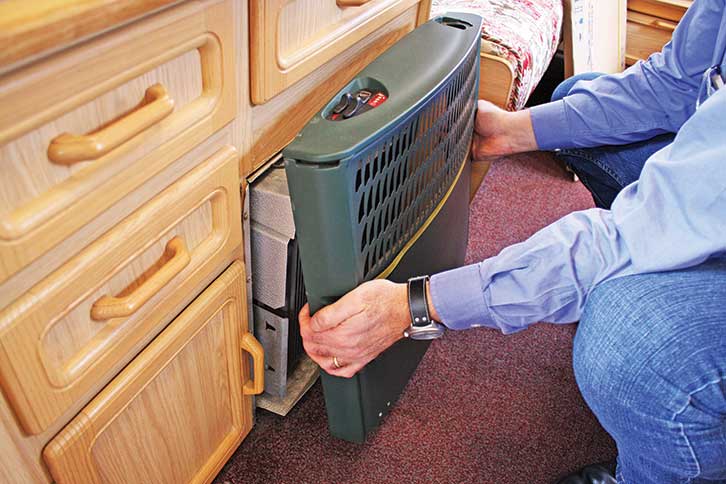
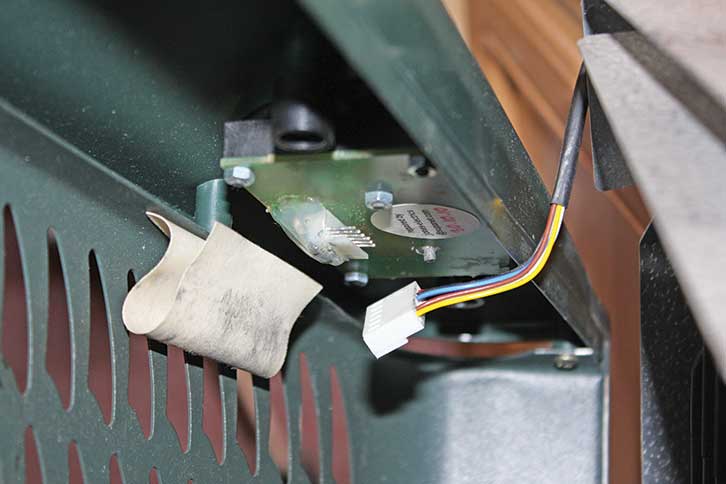
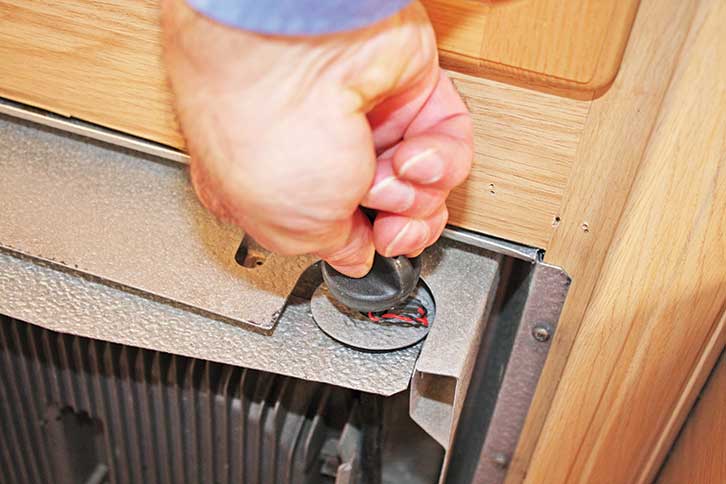
With the bottom released, lift the cover up and over the gas control knob. The whole cover will then be free, apart from the electrical connections at the top. There is a multiplug at the cover end of the wires, which just slides off (if it hasn’t come off already).
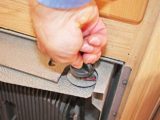
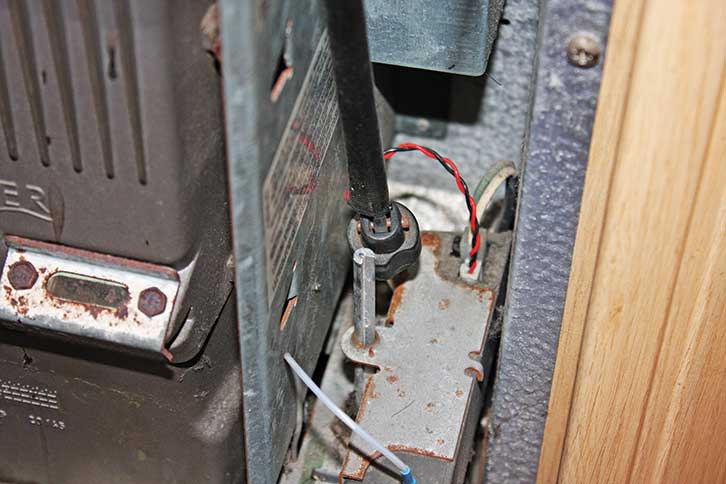
Sometimes, when lifting the cover over the gas control, the knob will be lifted too, and the control shaft falls off at the bottom end. If that happens, slot the bottom end back on
to the spindle.
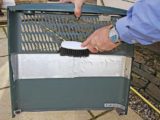
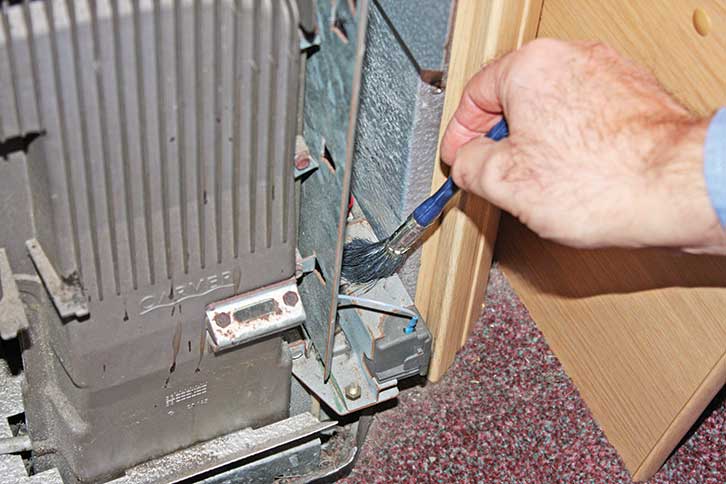
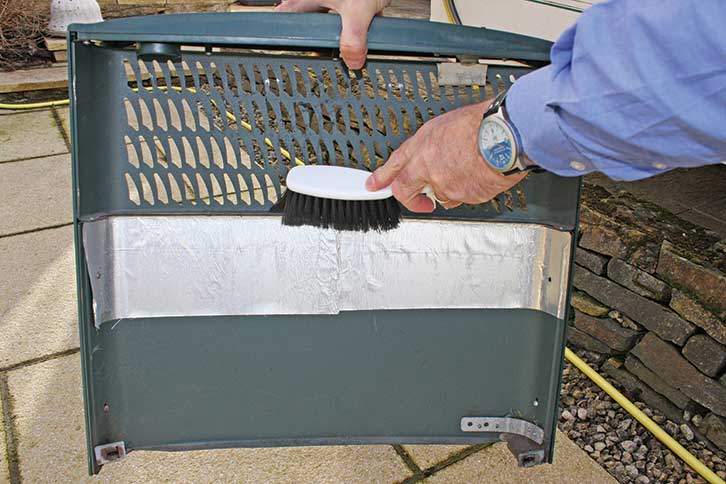
If you’re just doing a spring clean, using the hand-brush and paintbrush, sweep between the fins on the heat exchanger, and in any other nooks and crannies you see. Be careful not to be too vigorous around the wires or other connections.
Now have a look around the flexible flue pipe, to make sure that it’s secure and there are no breaks in it. If there are, do not use the heater on gas until it’s been replaced or repaired by a professional.
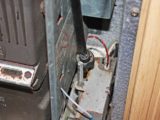
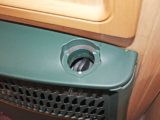
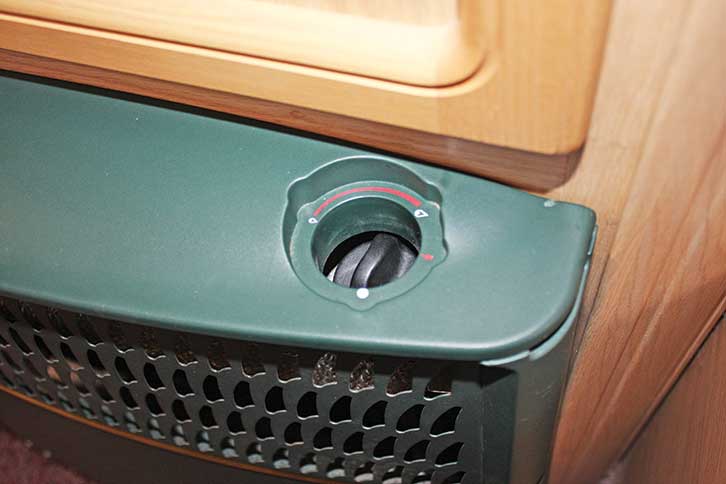
On this model, a little yellow light on the gas control knob tells you if the gas is lit, but when the cover’s on, you can see the pilot light through its glass if you look carefully.
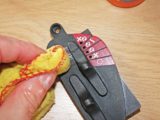
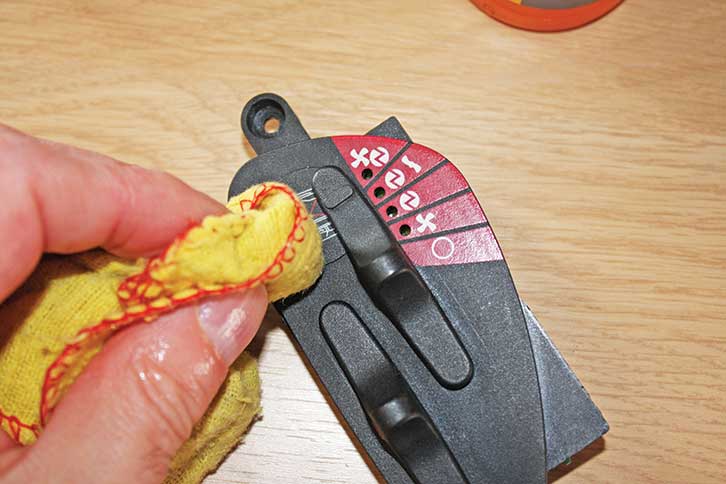
So it’s worth giving this a wipe while the cover is off. And don’t forget the inside of the cover while you’re there.
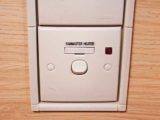
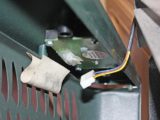
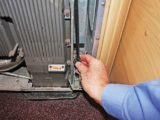
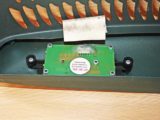
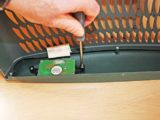
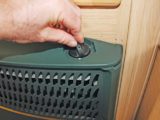
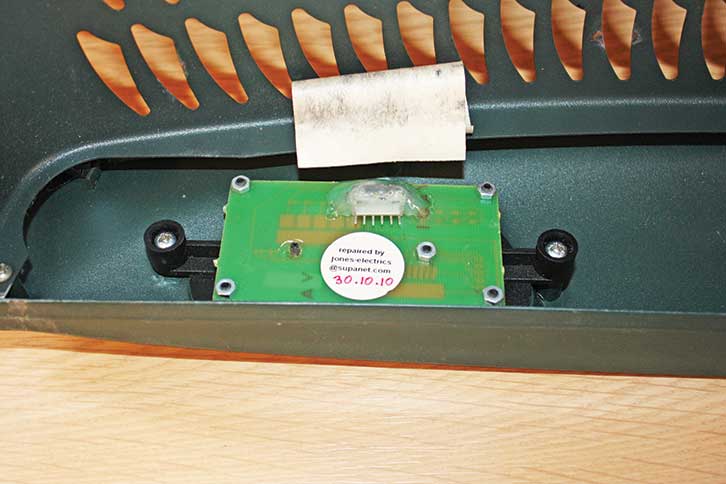
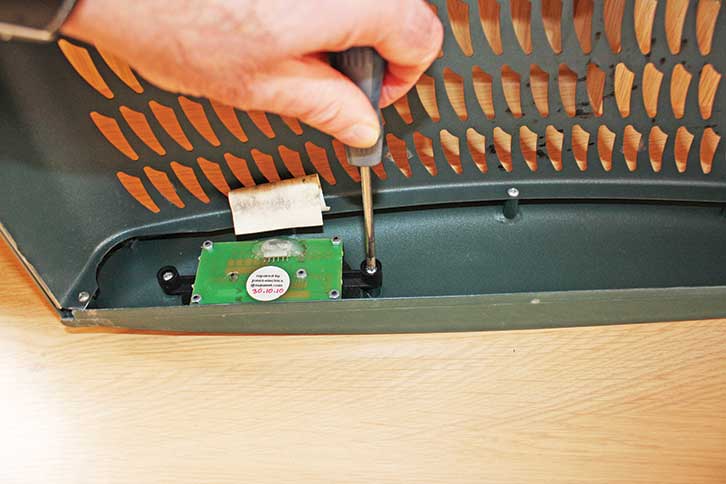
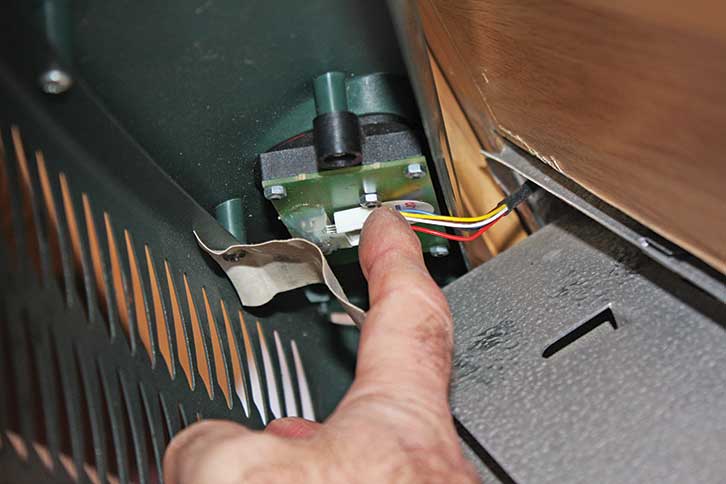
If the control switches are faulty, their removal is simply a matter of removing the two screws. Replacing the controls is the reversal of removal.
With the controls in situ, give them a wipe down. The same applies to the gas control. It’s surprising just how much grime collects in those recesses.
To replace the cover, the fiddliest job is reconnecting the multiplug. It should just slide on (when it’s in the right place), but don’t force it, because you’re likely to bend (or worse, break) the pins. In addition, make sure the wires remain above the heat shield at the top.
Next, slot the cover over the gas control knob, making sure you don’t dislodge the bottom mounting, and slide the cover down the panel behind until it slots into its upper mounting.
If it’s in the correct position, the bottom corners should just pop onto their studs. Again, don’t use force, as you’ll only break something.
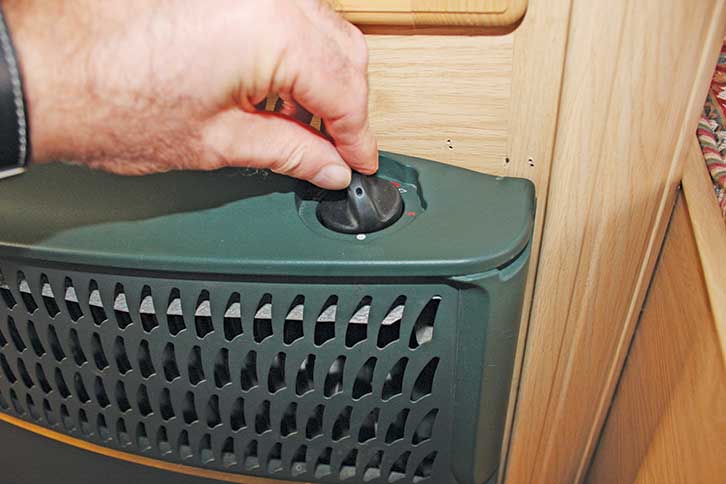
With everything back in place, test the movement of the controls. If all’s well, it’s time to reconnect the gas/electric and test the heater.
If you’re looking for a new heater, be sure to take a look at our best caravan heater guide, where we share our top picks on the marker.
Tools required:
- Cross-head screwdriver
- Hand-brush and paintbrush
- Duster and spray
How to clean a Carver 4000A Fanmaster and replace the switch controls – a step by step guide:
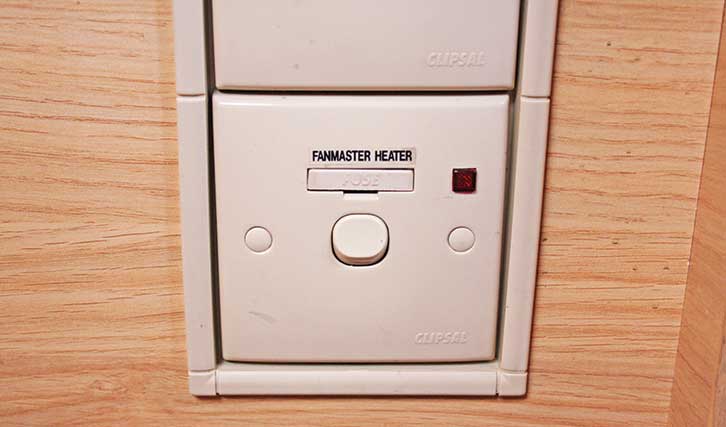
1. Mains switch in the ‘off’ position.
2. Carver 4000A Fanmaster heater.
3. Carefully release the bottom clips.
4. Lift off cover with electrics attached.
5. Slide off the multiplug.
6. Gas control shaft off the bottom connection.
7. Carefully brush out any dirt and debris.
8. Replace the gas control shaft.
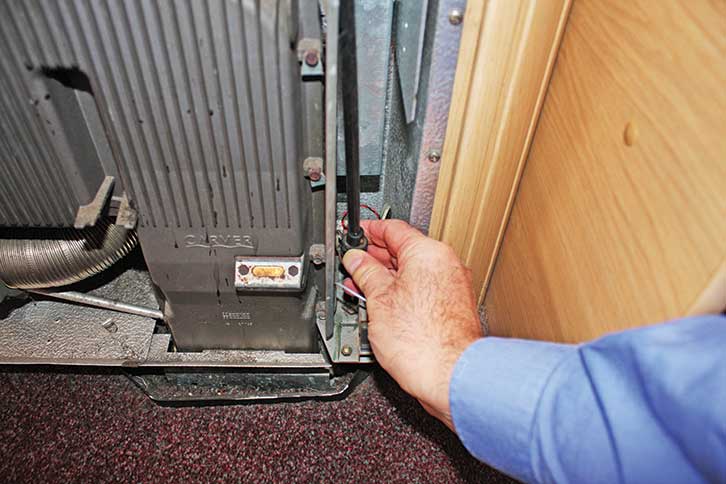
9. Check control turns shaft and bottom spindle.
10. Carefully clean inside the cover.
11. Check operation of electrical controls .

12. Underside of the electrical controls.
13. Remove two screws on electrical controls.
14. Wipe all parts, including pilot inspection glass.
15. Replace the multiplug.
16. Slot the cover over the gas control knob and onto the mounting.
17. Check operation of the controls.
18. Clip bottom of cover to mountings and check all is working correctly.

Future Publishing Limited, the publisher of Practical Caravan, provides the information in this article in good faith and makes no representation as to its completeness or accuracy. Individuals carrying out the instructions do so at their own risk and must exercise their independent judgement in determining the appropriateness of the advice to their circumstances and skill level. Individuals should take appropriate safety precautions and be aware of the risk of electrocution when dealing with electrical products. To the fullest extent permitted by law, neither Future nor its employees or agents shall have any liability in connection with the use of this information. You should check that any van warranty will not be affected before proceeding with DIY projects.
If you’ve enjoyed reading this article, why not get the latest news, reviews and features delivered direct to your door or inbox every month. Take advantage of our brilliant Practical Caravan magazine SUBSCRIBERS’ OFFER and SIGN UP TO OUR NEWSLETTER for regular weekly updates on all things motorhome related.