


Caravans have two electrical power systems: mains (230V AC, usually from a hook-up point) and 12V DC, which powers lights, pumps and so on. The latter is usually supplied from the leisure battery.
There are times when it is useful to have access to a 12V DC supply remote from the caravan (for example, running extra lighting units and portable cooling fans, or charging up a phone or tablet computer while you’re sitting outside the van).
This project explains the construction of a rechargeable power supply that has a capacity of 2.5Ah with a single bank of 10 AA batteries, rising to 10Ah capacity with the four-bank battery configuration.
It also offers the convenience of two USB 5V sockets, suitable for charging phones and tablets. A CREE LED light is built into the case body, providing a handy torch.
The power supply can be charged with a smart electronic charger from the mains supply, via an adaptor or 12V DC source, such as a dashboard lighter socket.
The charger ensures that the batteries are not overcharged, by switching off at the fully charged point. It can also provide a trickle charge to keep the batteries topped up, if this is required.
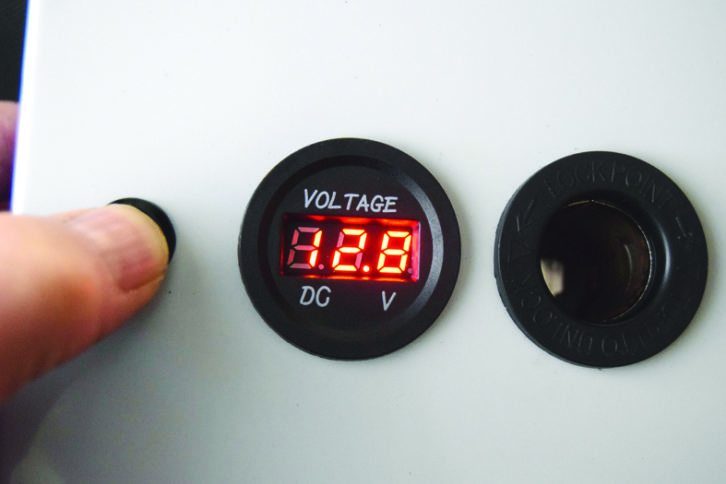
The charge state of the power pack can be monitored using the built-in digital voltmeter to avoid the risk of a potentially damaging fully discharged state.
The capacity of the supply is 2.5Ah with one bank of 10 AA cells connected in series, increasing to 10Ah with four banks that are connected in parallel. Each bank can supply 2A. The fuse should be 5A for the single bank, 6A for two banks and 10A for three or four.
The batteries used here are Duracell AA Duralock NiMH, with a capacity of 2500mAh (2.5Ah), which do not suffer ‘charge drain’ when not being used. This means the power supply can be charged and stored in the knowledge it will perform when required.
It is absolutely essential not to mix manufacturers and battery capacities.
Parts and tools
- Main housing: 1 ABS enclosure 200 x 120 x 75mm
- 12V to 19V converter housing: 1 ABS enclosure 80 x 55 x 35mm
- 1-4 AA battery carriers (10-cell variant)
- 1 rocker switch with ‘LED on’ indicator
- 1 momentary ‘on’ push button
- 1 small toggle switch (for torch)
- 1 20mm fuse carrier (bulkhead mounting) and fuse to suit the capacity chosen (see text)
- 1 voltmeter*
- 1 cigar lighter socket*
- 1 dual 5V USB socket*
- 1 12-19V converter
- 2 cigar socket plugs
- 8 M3 x 10 screws plus nuts plus washers
- 4 rubber feet
- 1 Eagle Eye CREE LED white light
- 1 smart charging unit suitable for MIMH cells (12V)
- AA batteries to suit (see text)
- Crimp connectors, wire, heat shrink sleeving
- Screwdrivers, pliers, soldering iron, crimp tool, heat gun, drills consisting of 1-1/8″ wood bit and a set of metal drills
- Cordless drill or similar
*These items can be purchased as a ‘trio’ with a mounting panel
Instructions
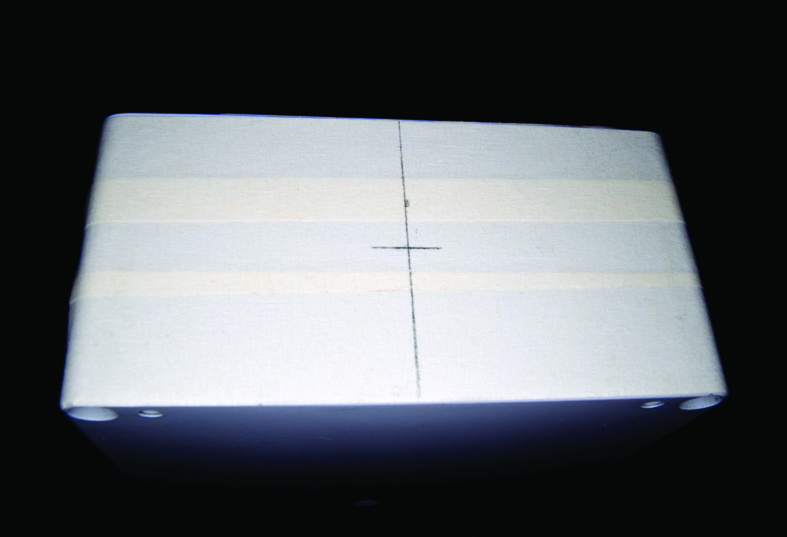
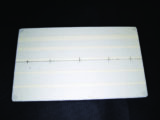
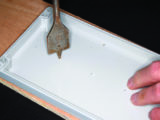
1 Cover the box lid with masking tape, then mark up measurements as shown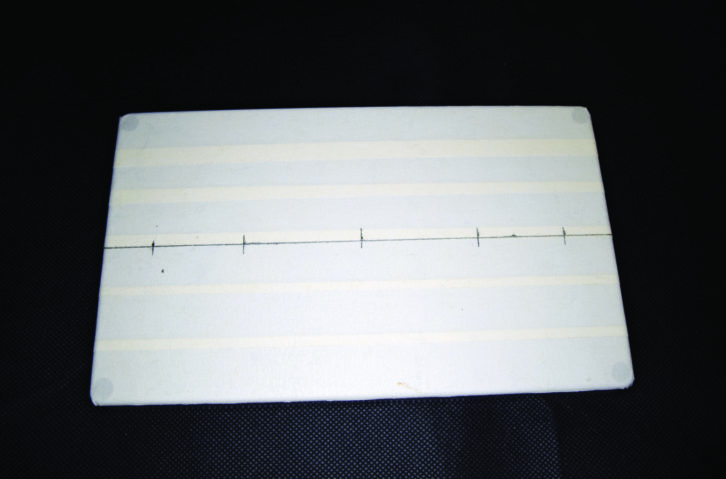
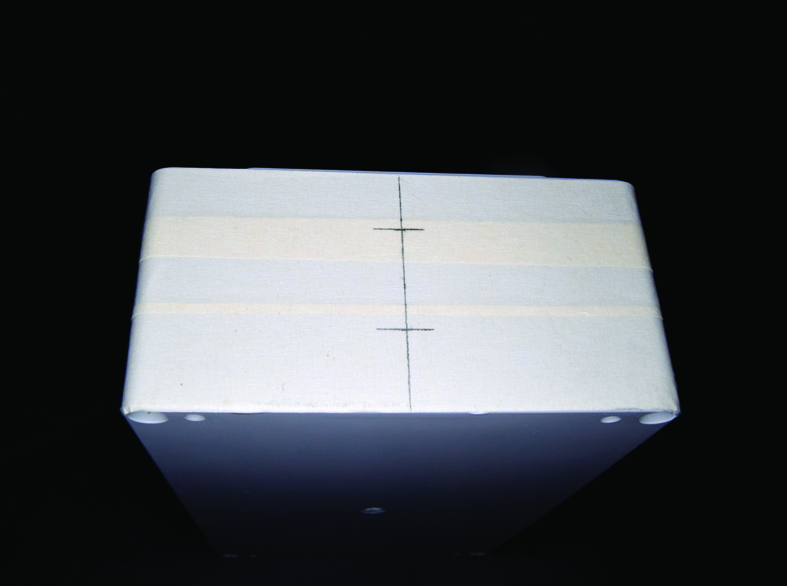
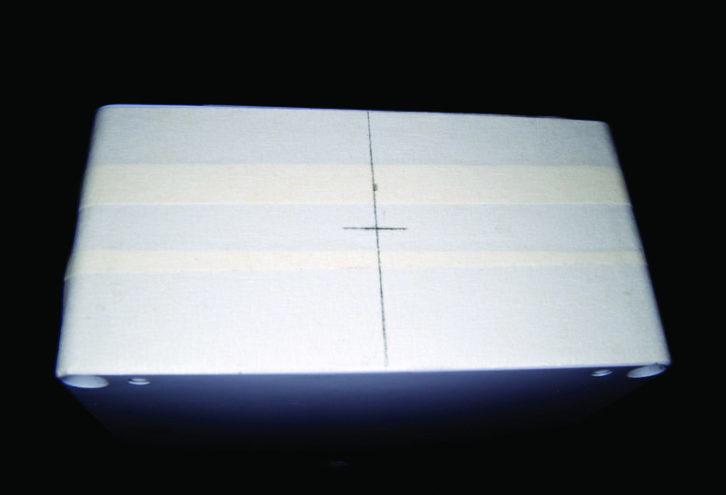
2 Mark up and drill as shown on the opposite end of the box to the switch
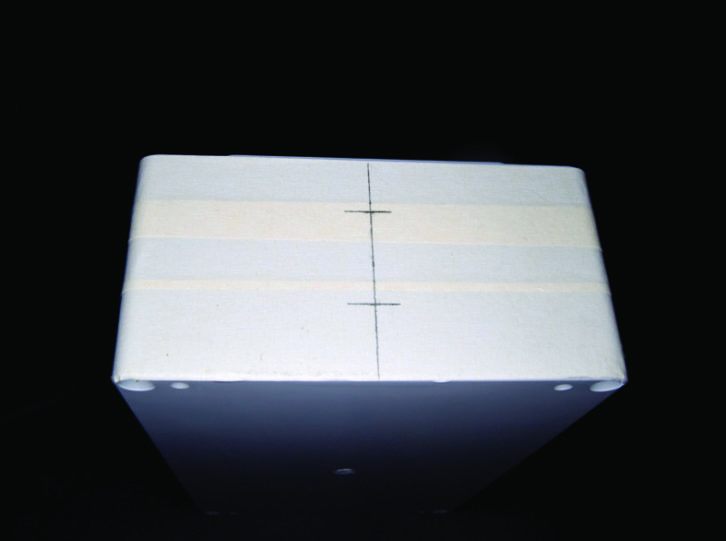
3 Drilling point detail for the switch end of the box
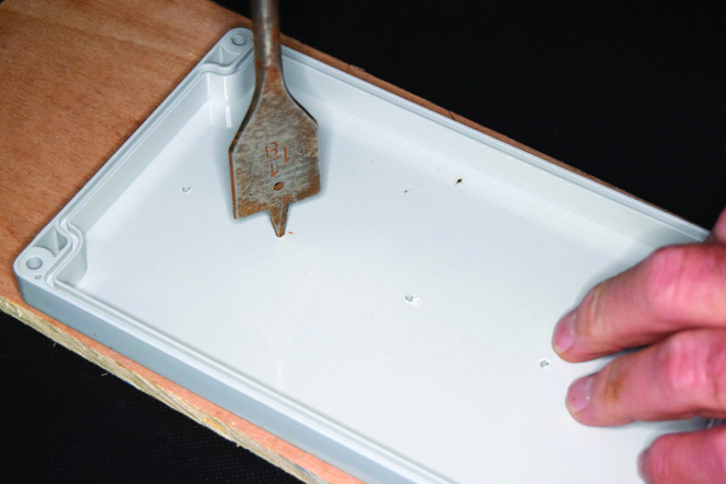
4 Drill 3mm pilot holes through marked lid, then large holes from below
5 Drill 3mm holes on the side of the box, using the battery carrier as a template
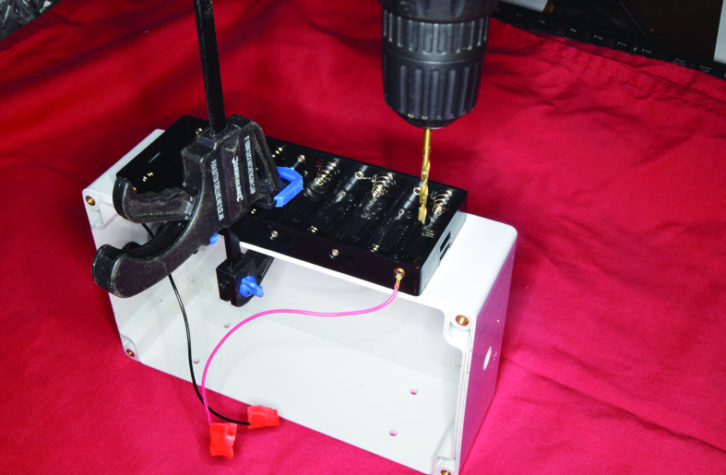
6 The four battery carrier mounting screws in position
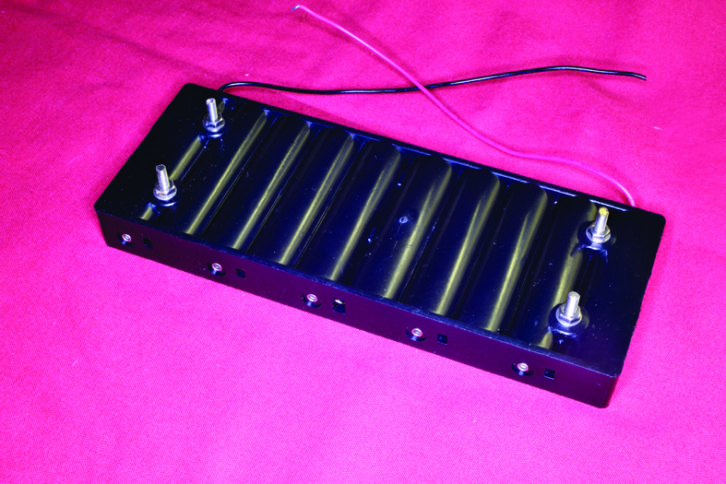
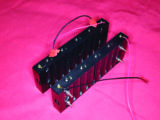
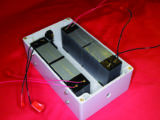
7 Loaded carriers ready to join. Insulate wire ends to prevent any short circuit
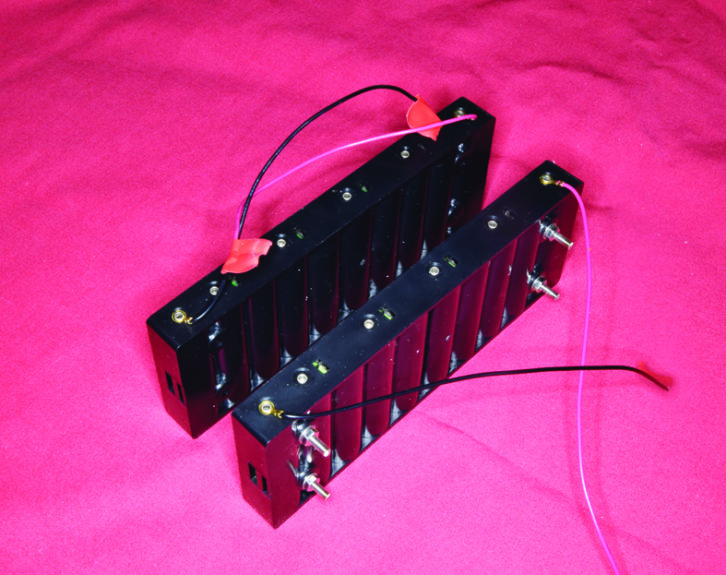
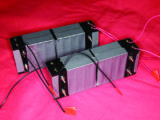
8 Using gaffer tape, join battery carriers together as shown

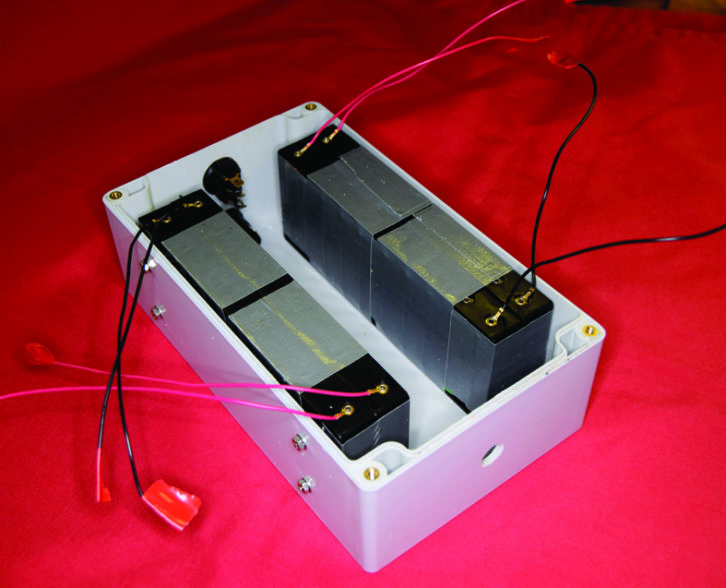
9 Battery carriers joined together and mounted in their box
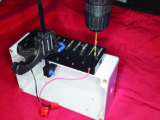
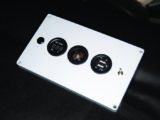
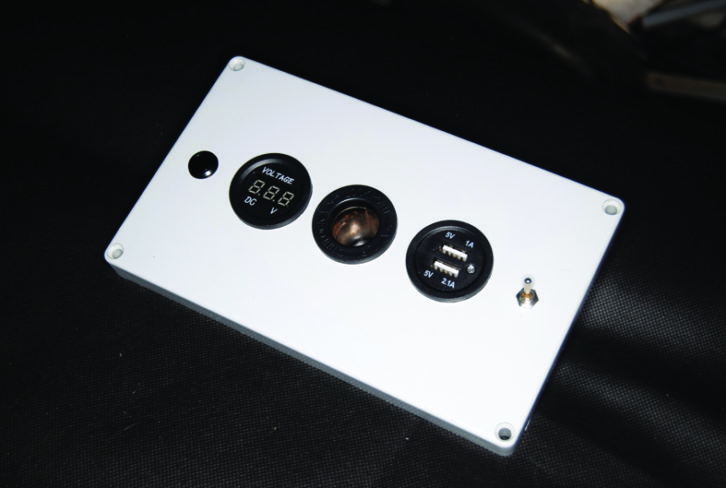
10 Components mounted in the box lid
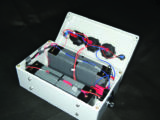
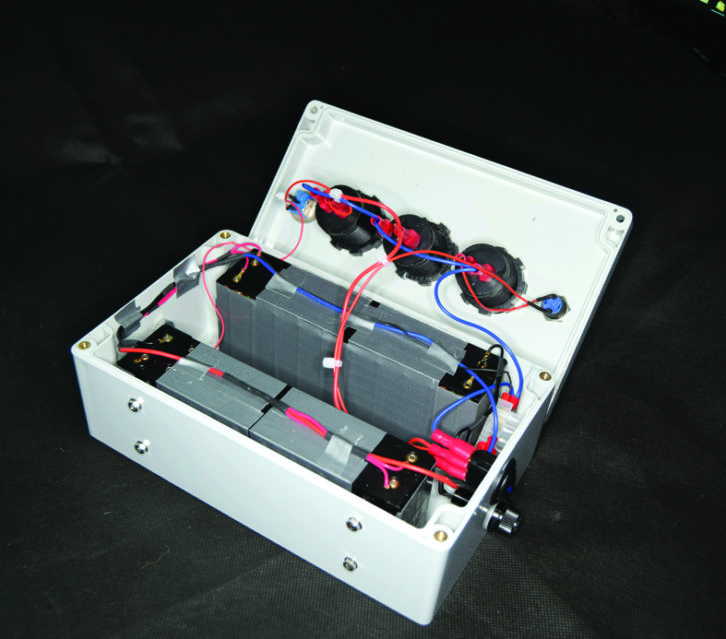
11 Interior of box showing wiring
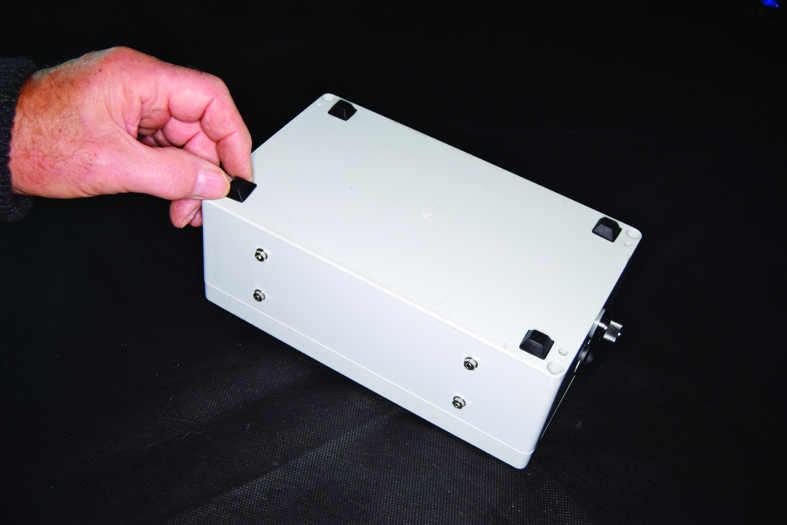
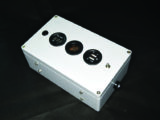
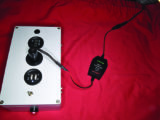
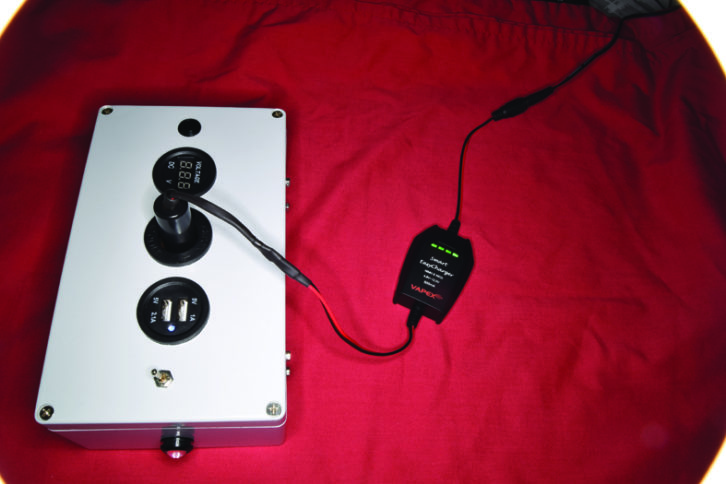
12 Fully assembled power supply

13 Charging unit. Green lights indicate that the batteries are fully charged
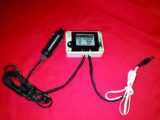
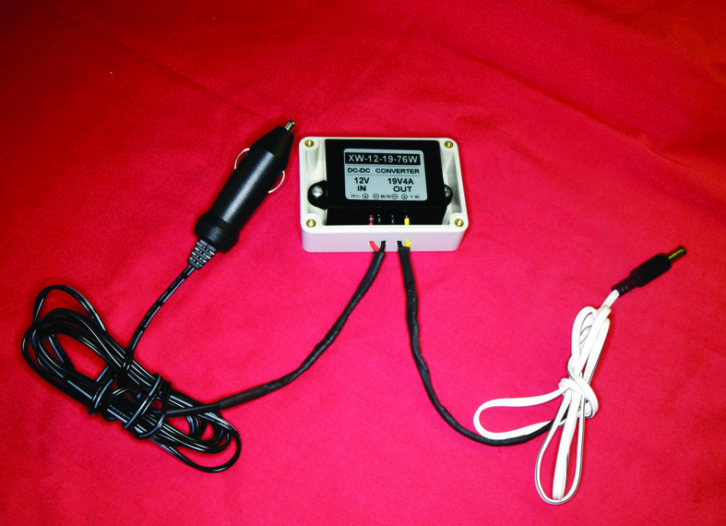
14 12-19V converter can be used instead of adaptor to charge by dashboard socket
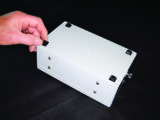
15 Prospect is completed by attaching stick-on rubber feet

If you liked this… READ THESE:
Skills School: What you need to know about gas
If you’ve enjoyed reading this article, why not get the latest news, reviews and features delivered direct to your door or inbox every month. Take advantage of our brilliant Practical Caravan magazine SUBSCRIBERS’ OFFER and SIGN UP TO OUR NEWSLETTER for regular weekly updates on all things caravan related.