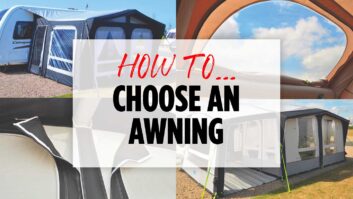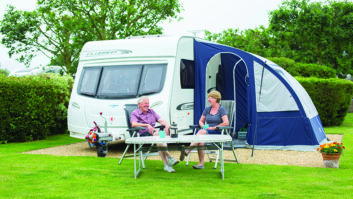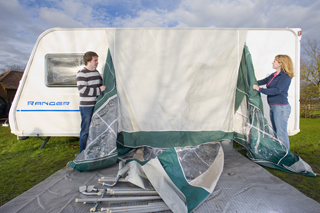
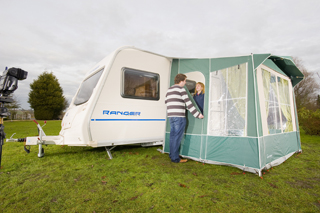
If you are looking to gain a little more space or want to get even closer to nature when you’re away, get yourself a porch awning. Here’s our quick guide to erecting it properly.
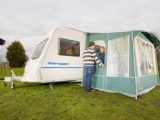
Erecting a porch awning is basically the same as erecting a full awning except that the side vertical canvases do not fit into the awning channel. Instead they are attached to the awning frame’s two rear vertical poles.
Before buying a porch awning check the distance between the caravan door and the nearest window and fridge ventilator. You need to make sure that the awning does not obscure either of these things.
As with full-size awnings, read the instructions and identify each part of the frame, colour-coding them to avoid any guesswork on site. To finish with, fit the draught strip and wheel-arch cover as well.
Five steps to porch awning heaven
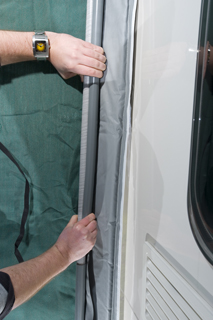
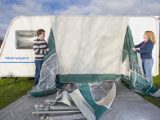
- Slide the canvas into the awning channel and position it as accurately as you can. Once the frame has been erected, be prepared to move the whole thing slightly should you need to clear a window, ventilator grille or any other obstruction.
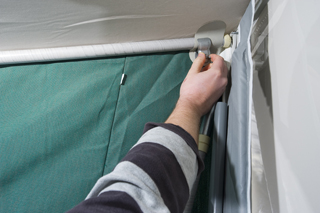
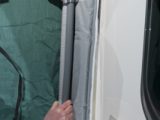
- Rear poles are usually cranked to make it easier to attach them to roof poles while being positioned close to the caravan.
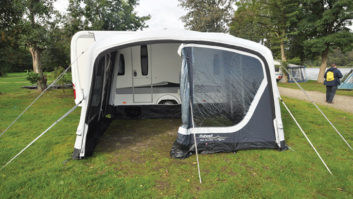
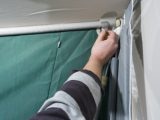
- Once the rear poles are in place, the draught pad running down the rear of the awning is secured to them. In the case of the Isabella awning shown here, this is done using the company’s single-click profile, but other popular methods include ties or Velcro.
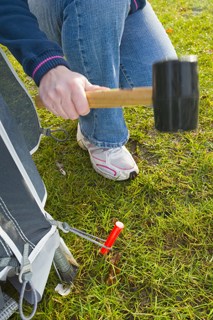
- Peg down the wing at each corner, then peg all the corners and at the centre vertical pole. Adjust the poles’ tension and then peg the elastics down in place.
- Stand back from the awning to ensure that the canvas is taut and the fit to the sidewall of the caravan is snug. If not, retension and repeg as needed.
Before buying a porch awning check the distance between the caravan door and the nearest window and fridge ventilator