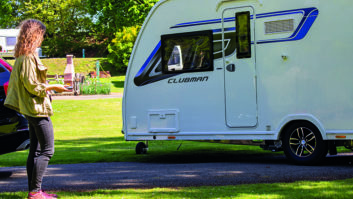


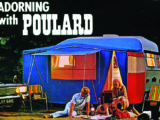


If there’s one criticism of caravans, it’s that they can become a little crowded when you’re away with the family or have friends over. I love the cosiness, but when I’ve had enough of the kids, it’s good to be able to evict them to the awning, so I don’t have to endure the tinny sounds emanating from their headphones while I’m trying to read.
Having somewhere to bung annoying children is one of a dozen reasons why awnings are brilliant, and should always be your second purchase, right after that new (to you?) tourer.
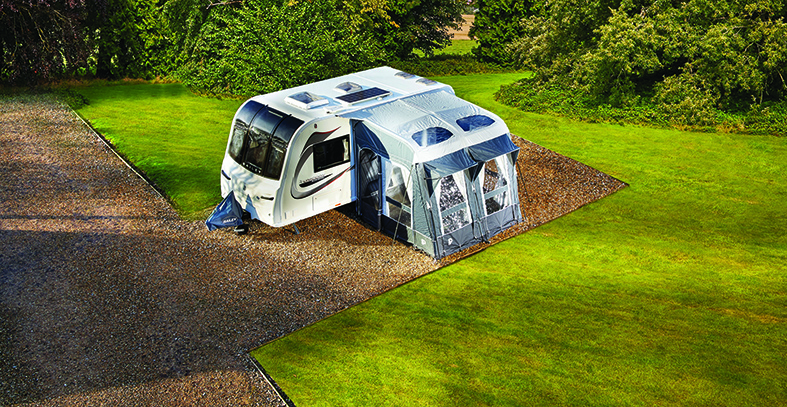
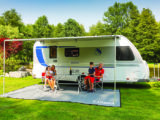
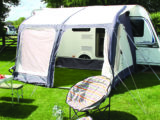
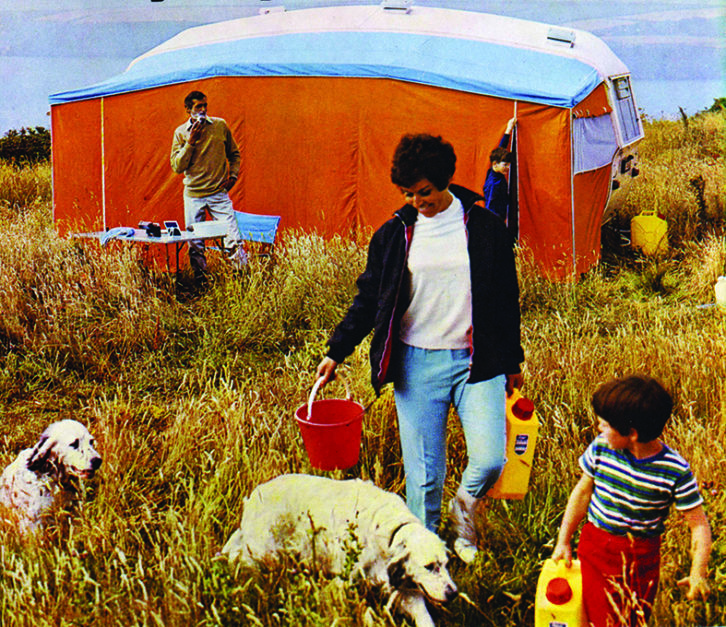
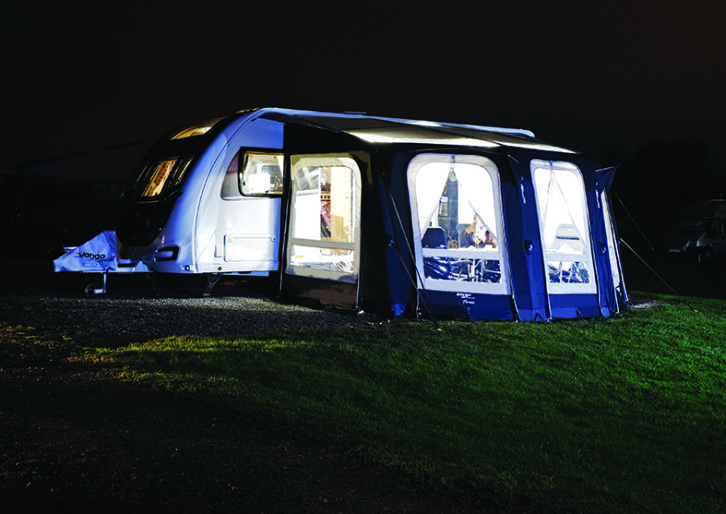
An awning is basically a tent attached to the side of your van. As well as offering extra living space, they are excellent for storage, dining, sleeping and pets, and acting as an air-lock between your warm caravan and any bad weather outside.
Likewise, after a wet walk, an awning is a sheltered spot where you can remove outerwear and boots, before stepping inside your clean, dry tourer. So what do you need to know before you start looking around for the best caravan awning?
Interested in a sun canopy instead? Then check out our best sun canopy for a caravan guide to see our top picks.
In the beginning…
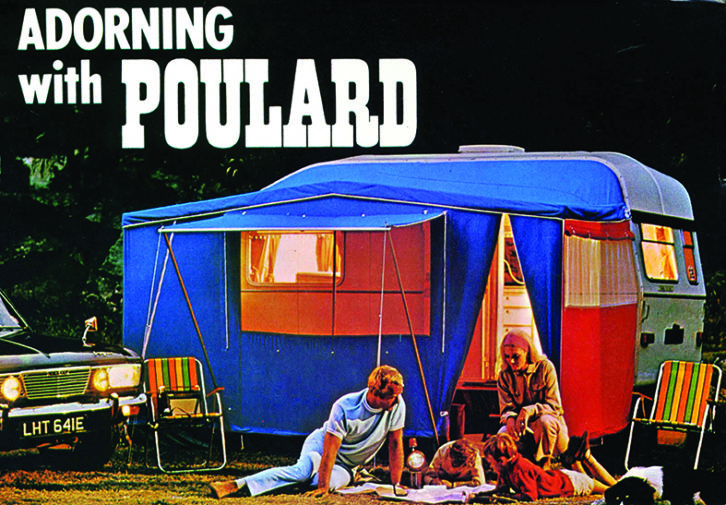
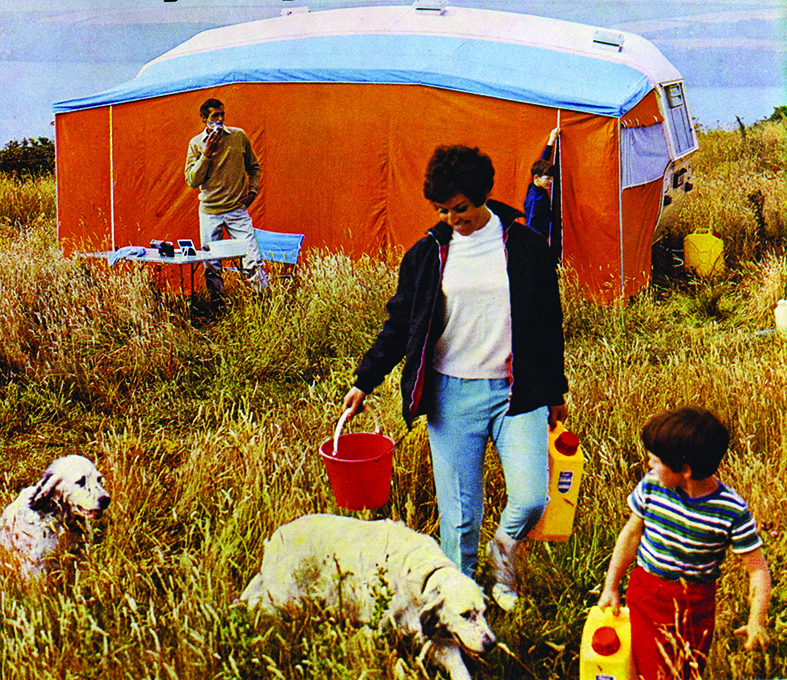
Go back a decade or so, and pole awnings had earned themselves the fond moniker ‘divorce in a bag’, guaranteed to stretch even the most harmonious marriage to its limits. This generally involved a bossy man shouting orders to his wife, who was then blamed when those orders proved to be entire poppycock! This scenario took place weekly all over the country, with even the most idyllic break tainted by muffled cursing, high blood pressure and general awning rage.
Things took a turn for the better with the invention of the air awning (see our best caravan air awning guide if you’re looking for one). These ingenious inflatables take much of the legwork, and almost all of the stress out of setting up and can be erected in minutes, often by a lone builder.
When I say they were invented a decade ago, that’s not strictly true. Advertisements for inflatables were seen as long ago as the 1950s, but it wasn’t until the 2000s that materials technology enabled mass production of high-quality air awnings that wouldn’t deflate and smother your dog in the night.
Initially, two or three manufacturers got involved – the likes of Outwell and Vango – but soon, air awnings spread across the country’s campsites, saving marriages and vital drinking time alike.
These days, you’re more likely to see someone vigorously pumping their awning up, rather than swearing at a length of steel pole, but the humble pole awning has its place. While inflatables are generally light and smaller when packed away (no pole bag), and much easier to erect, there’s nothing quite like the look of a taut, perfectly aligned pole awning to set off your touring pitch.
In addition, for long-term pitching or in very windy weather, I think that a pole awning is hard to beat. I still remember the weekend back in 2012, when we stayed at a Stowford Farm Meadows in Devon and near-hurricane-force winds battered the site. Just across from our pitch was a pristine Isabella awning, which I assumed would be in Gloucestershire by morning – it didn’t flex or budge an inch, despite Mother Nature’s best efforts. I was very impressed.
For me, though, convenience is always essential, and as I’m rarely in one place for more than seven days, I always take my inflatable awning.
FIND YOUR PERFECT AWNING
What to think about when you go shopping

Standards
First and foremost, if you’re wondering how to choose an awning, always look for one that have been standards-assessed to meet 8936 legislation, and/or carry British (BS), European (EN), International (ISO) or German (TUV) standards marks.
Budget
A good awning can cost anything from around £300 for a small porch, to £2700 or more for an all-singing, all-dancing full awning. The latter sounds (and is) costly, but it will last for years and doubles the size of your accommodation. To put this in perspective, these days, it’s the cost of one modest family holiday abroad.
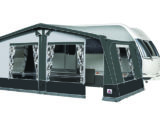
Full or porch?
Once you’ve decided on an air or a pole awning, the next choice is the size.
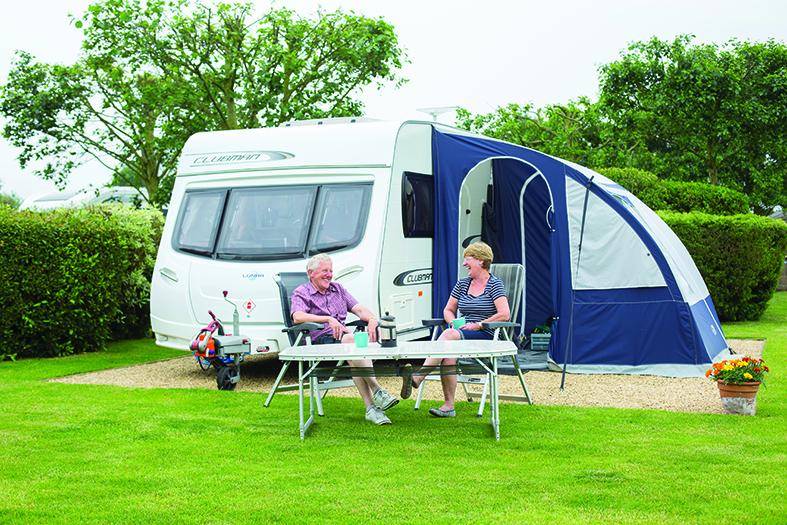
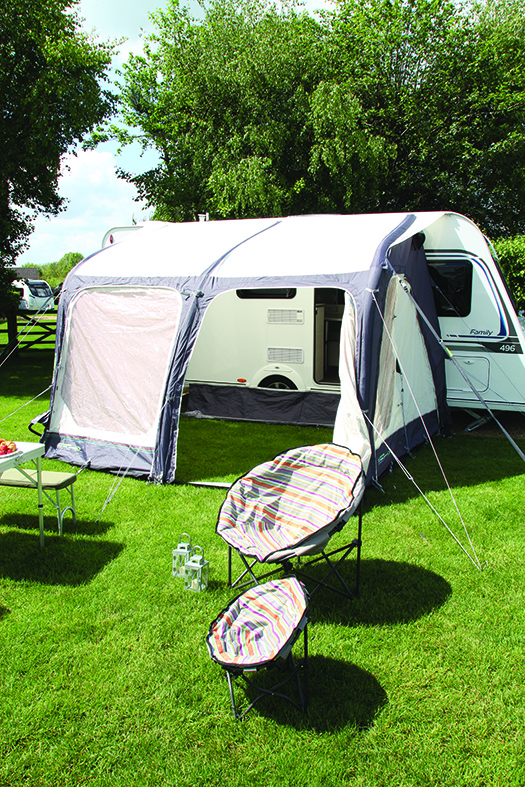
Initially, there are actually two choices: a full awning covers the entire side of your caravan, while a porch awning will cover a portion of it – depending on the size you buy. For example, a couple might only need a small awning, say six feet across, as their van is spacious; they just want somewhere to dry the dog and leave their boots.

Meanwhile, a family of four or more might want an awning to dine in, to chill out in on a summer’s evening, or as a place to store wetsuits and surf boards. Most hobbyist caravanners also appreciate the vast extra space of a full awning or a large porch awning, to store their paraphernalia.
Size
The maximum size of a porch awning is the length of the straight run of awning rail across the top of the caravan side wall, stopping at the point before the rail starts to curve downwards. Any porch awning that length, or smaller, will fit your van.
Porch awnings come in popular sizes, such as 200, 250, 330 or 390 centimetres. Lay a tape measure extended to your preferred length, on the ground next to your caravan, to see where both ends of the awning will fall.
Obviously,, the awning needs to cover the van door, but then what width must it be so that (ideally) it doesn’t cut across a window, preventing it from opening? In addition, think about washroom windows, which you might want to keep open for ventilation.
Do you want the fridge venting into your living space? Consider which side of the van the facilities are on. Never position the ends of the awning so that they block fridge or heating vents, which could be dangerous.
If any of these scenarios occur, consider whether the awning can be moved along and repositioned, or choose a different size.
Most tourers are 2.35-2.50m high, and porch awnings are designed to work within this range. However, it’s worth checking.
For full awnings, you need to know the caravans A-measurement. This is the distance from the ground, up and around the entire length of the awning rail and back down to the ground at the other end.
This measurement can be found in your caravan’s manual and might be expressed in centimetres, such as 850 or 1050.
Isabella.net has a handy database of all caravan awning sizes from 1970 onwards.
Remember that a full awning will cover all of the windows down one side of your caravan, so consider how that might affect the light levels inside. Also, Club campers need to be mindful of on-site awning rules, which could preclude the use of certain types.
Usage
Will you only use the awning in warmer weather, or are you a hardcore, four-seasons caravanner? Buy appropriately, and look for the Lightweight ‘L’ designation for summer use, and the Touring “T’ designation for all-year caravanning, excluding snow.
Design
Do you require a front canopy? How light does it need to be? Will you be fitting extra annexes for sleeping? The combinations are limitless these days, as manufacturers create modular designs. Take the time to work out exactly what’s available and how they might match your requirements.
Warranty
How long is your awning guaranteed for, and how long is it likely to take if it needs to be sent for repair? Inflatables tend to offer extended guarantees on airbeams.
These are super-tough and rigid, comprising a rubberised cell in a durable nylon liner. Even the best might need a little extra air once a week, but if it’s more frequent than that, you could have a problem that requires repairing. Check out reviews and feedback scores for the awning company’s customer service standards before committing.
Materials
Materials technology has come on in leaps and bounds, while affordability has also improved. Gone are the days of wafer-thin, mildewy canvas awning sides that lose their colour and have the light-blocking abilities of stained glass.
Now, dense, polyester, rip-stop fabrics keep most of the light out and most of the heat in. They’re durable and resist tearing, and often the colours are actually part of the fibres, rather than dyes.
Fabric thickness is measured in denier, so an awning material could be 100D or 200D. The higher the number, the denser and thicker the fabric will be – but it will also be heavier. Be aware, thickness does not necessarily equal strength, which is affected by the weave and fabric coating.
Sales staff might talk about Oxford weave, which refers to the way in which the individual threads are woven together. Oxford Polyester is soft yet durable, and it dries quickly and resists dirt; for these reasons, many caravanners think that this is the ideal awning material.
Dense, 100% waterproof fabrics can lead to the build-up of condensation in your awning, which could make some think that it is leaking. Condensation is almost unavoidable in misty or damp British weather, and the only way to minimise it is through excellent ventilation.
Polycotton awning fabrics are more like traditional tent canvas – strong, durable and heavy – while acrylics are incredibly strong, warm, and when ‘pigment-dyed’, very resistant to UV fading.
Acrylic is considered a great material for longer-term and seasonal siting. Some high-end materials feature a polyester base with acrylic layers on top.
Exterior coatings for these synthetic fabrics are constantly being developed and improved. Each manufacturer has its own configuration and name, including brands such as Weathershield, from Kampa, and DormaTex, from Dorema.
In terms off the awning’s build quality, take a close look at the precision of the seam stitching, and for an even coating on hot-galvanised steel poles.
Waterproofing
Hydrostatic head (HH) is a measure of the materials’ water resistance. EU standards state a fabric is waterproof at 1000mm HH, but awning manufacturers usually exceed this figure, to allow for degradation of the material over time. Typically, you might see an HH of 3000 or 4000, which ensures excellent waterproofing performance, even in conditions of driving rain.
Features
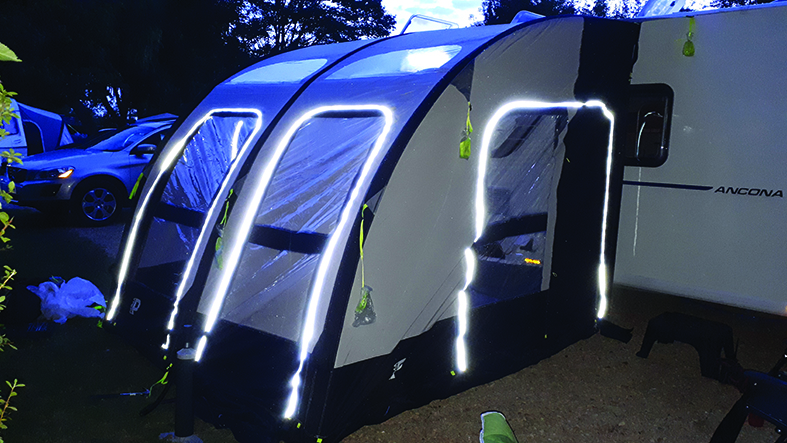
Modern awnings have dozens of great features. Look for clever additions, such as reflective/high-vis guy ropes (never trip over again!), reflective door surrounds, opening and removable side panels, zip-on annexe extensions and facilities for interior storage.
As with most things in life, you get what you pay for when purchasing an awning. While cheaper models can be found online, we believe the extra expenditure to buy a recognised brand will pay dividends in the long run. That said, there’s no reason why you shouldn’t consider a secondhand awning from one of the well-known brands, thereby saving yourself a few bob.
10 TOP AWNING BRANDS |
ERECTING AN AWNING
It’s easy when you know how!
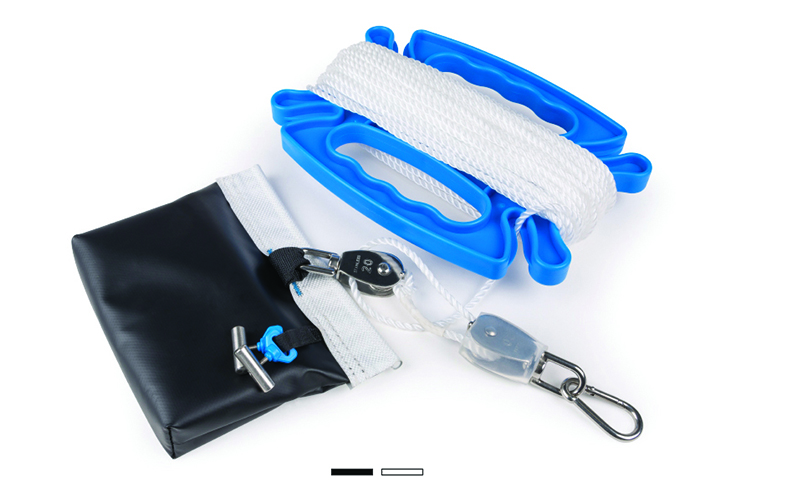
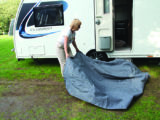
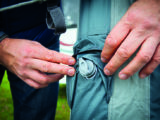
1.The most difficult part of an awning build can be feeding the cord through the awning rail, so consider lubricating the rail with some silicone spray.
2.Always try to erect your awning in dry weather, although an advantage of air awnings is the speed at which you establish the basic waterproof structure. With practice, you could have the shell inflated in just four to seven minutes.
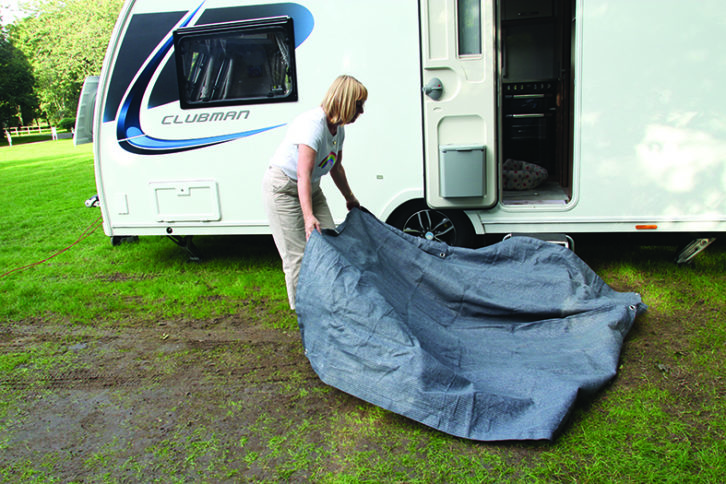
3.To keep your awning clean, roll out your awning carpet close to the end of the caravan, where you’ll start feeding the cord into the rail.
4.Now empty the awning out oft the bag onto the carpet, and unroll it.
5.Position it so that the correct end is close to the slot where the cord slides into the awning rail.
6.At this point, check your awning is the right way around! On one occasion, I had the cord halfway through the rail before realising I’d got it wrong. It can be tricky, with seemingly acres of similar-coloured fabric.
7.A full awning will need to feed into the rail right at the start of the track, normally low down on the end of the caravan. However, porch awnings can be fed into the rail higher up (there’s usually a choice of entry points), because this minimises the distance they have to be pulled through.
8.Pull the cord through the rail by its reinforced tab. If it has one,. If it jams, check the cord isn’t kinked where it enters the rail.
9.Rather than balancing on the caravan step and stretching as you pull the cord through the rail (it’s like evil yoga), consider using a length of cord tied through the tab eyelet, to pull it through. This will allow you to stand on the ground.
10.Alternatively, you could invest in the Kampa Easy Awning Pulley (from £21.99), a simple device designed to help you pull the cord through the rail with least effort. The pulley lets you stand at the end of the rail to feed in the cord while pulling it through, making it truly a one-person job.

11.A full awning will have to be pulled all the way through the rail, filling the entire length, while a porch awning will only cover part of the van side, depending on its size.
12.Once the porch awning cord is in the rail, slide it along so it’s in the correct position, covering the door, but if you’ve bought wisely, not covering half of a window, which looks odd and stops the window being opened.
13.If your porch awning crosses a window, invest in the draught-sealing systems that are offered by most manufacturers.
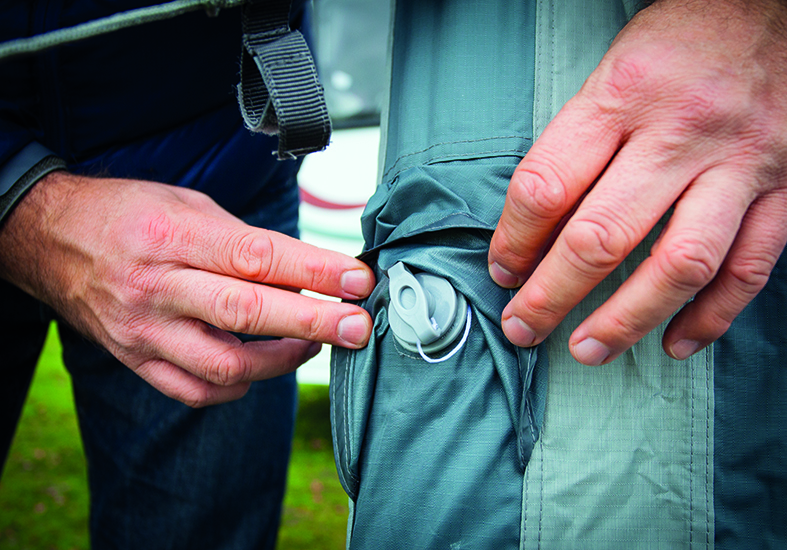
14.Once in position, peg the awning down, but only at the two points nearest to the side of the caravan. Insert any insulating/protection pads, ensuring a good fit.
15.Another advantage of air awnings is that there are usually no poles to accidentally scratch the side of your beloved caravan.
16.Now it’s time to inflate an air awning, or start your pole build. Before commencing, make sure that your awning is spread out in roughly the correct position.
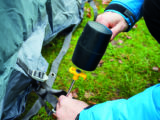
17.With an air awning, next, locate the pump valve for the main structure, attach the pump (electric or manual) and start the inflation process, ensuring that manual pumps are on the ‘blow’ setting.

18.Within a few actions, the awning will start to expand and take shape. Most have pressure-release valves, designed to prevent over-inflation. When you hear air hissing out of the valve, disconnect the pump and seal the valve.
19.You now have a basic waterproof structure, so on a wet day you can do much of the remaining build under cover.
20.With a pole awning, you will need to follow the instructions provided, at least until you know exactly what you’re doing. Clearly, this goes against every natural instinct for most of us, but believe me, it will save you a great deal of time and frustration in the end!
21.Follow the build step-by-step taking care not to catch the side of the van with the poles. With practice, you’ll soon have the basic structure up and ready for adjustment.
22.With the structure in place, it’s time to peg down. Zip the door closed and work out from the van wall on each side, ensuring that the awning material is kept tight.
23.On uneven or bumpy pitches, you’ll find that air awnings ‘absorb’ undulations quite easily, thanks to their flexibility. Pole awnings, however, will require more careful adjustment, to ensure a good ‘seal’ all the way around the base. Once done, the often look better.
24.Pole adjustment systems vary, so take the time to learn how yours works.
25.If you’re expecting bad weather and high winds, consider fitting your storm straps.
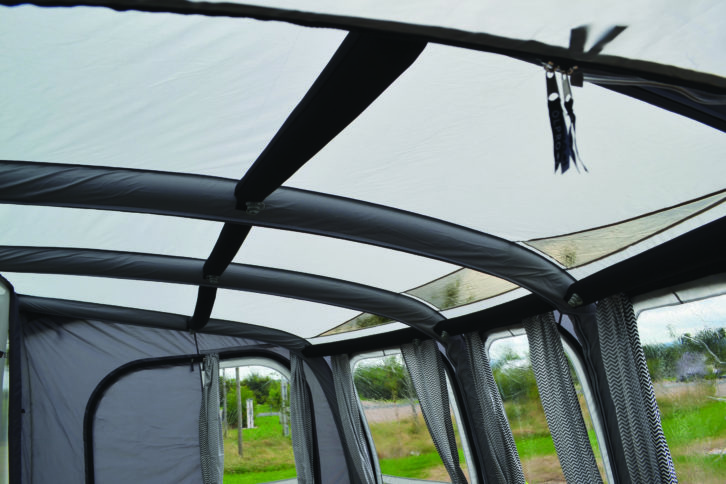
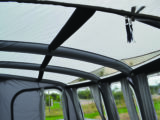
26.With the awning structure firmly pegged in place, you can add any reinforcing poles or beams. Air awnings will often have several of these in the roof structure. After inflating them (they are surprisingly rigid), they usually Velcro in place, to prevent the awning from flexing.
27.Check the awning seal against the side of the caravan (especially in cooler/windier weather) and adjust as necessary.
28.Next, for aesthetic purposes – or added heat retention in colder weather – fit the awning’s draught skirt. This slips into a rail along the lower edge of the caravan side-wall and goes across or up and over the wheel arch, preventing draughts from blowing in under the caravan.
29.With some final adjustments of awning and carpet, you now have the perfect extension to your caravan living space.
ADVICE AND ACCESSORIES
Clever kit, expert tips!
- Consider taping your pump tubes together, to prevent them from popping apart in mid-inflation.
- Consider colour-coding your poles, to show how they connect together. This is especially important if you are only going to use your awning once or twice a year.
- Take a head torch if your awning build will continue after dark.
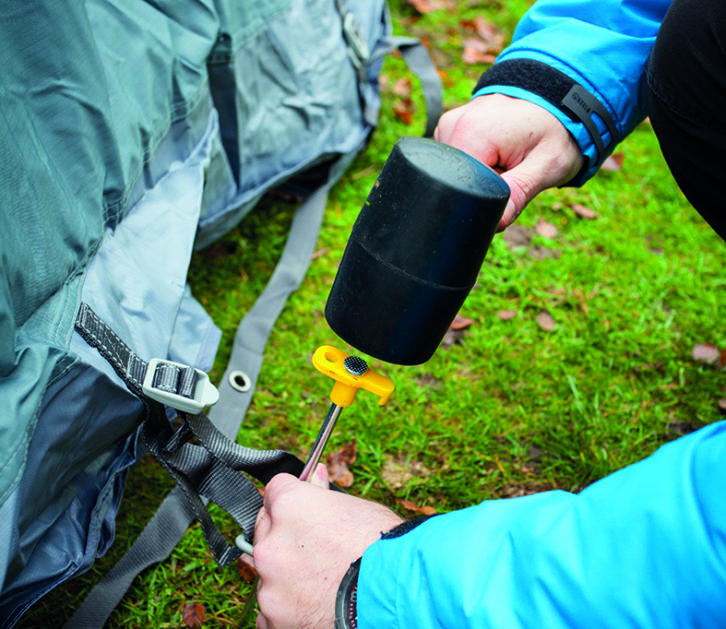
- On hardstandings, consider using a cordless drill and slim masonry bit to drill guide holes for your pegs (ensuring that you cause no damage to the pitch).
- When folding your awning for storage, try to fold on the seams as much as possible, and keep the plastic window panels as flat or curved as you can.
- Always aim to put your awning away bone-dry. If it’s damp or wet, you should get it out once you’re home, to dry it properly. Avoid leaving it in the bag while damp for more than a day or so.
- Dpouble-check for tent pegs before leaving the campsite, especially if the grass is longer.
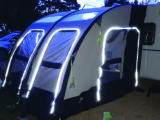
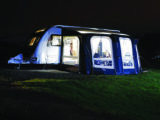
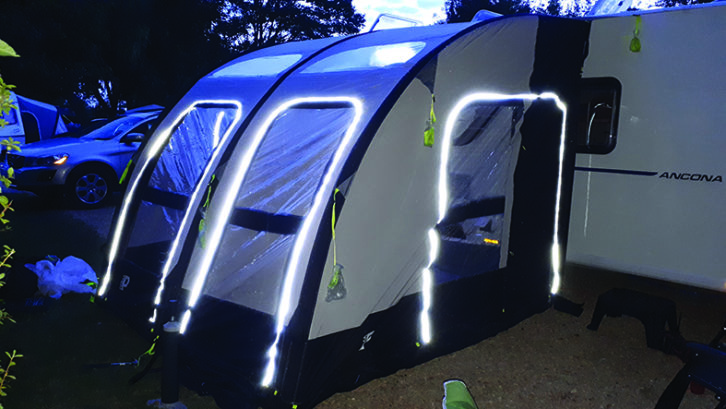
- Fairy lights add cheap, pretty, low-consumption illumination to any awning. Choose solar-powered ones to minimise cabling through windows, but always carry spare rechargeable batteries, just in case.
- Alternatively, consider uplighters, which create a similar, softer light that looks and feels better. There’s a huge array of awning lighting options at all price-points, so look online.
- If the waterproofing of your awning material is failing in places, consider Isabella Aquatic impregnator spray to reproof the affected area (one litre costs £7.99).
- Awning lines are available to enhance the homely appearance of the interior, creating more of a ‘posh marquee’ effect.
- Clean your awning fabric with extreme care. Carefully remove loose mud and dirt with a dry cloth or brush, then spray water (no chemicals or detergents) onto affected areas to soften more resistant marks, before gently rubbing them off. Cleaning is best done with the awning erected. Follow the washing instructions for interior fabrics and curtains, but do not tumble-dry.
- Use your awning soon after you buy it and you’ll have a better chance of obtaining a replacement or a refund if there are problems. If you buy it at an October show and don’t use it until the following Easter, you won’t be able to use it at the start of the season if there’s an issue with it.
- Buy good quality pegs. Skimping at this stage will cost you later!
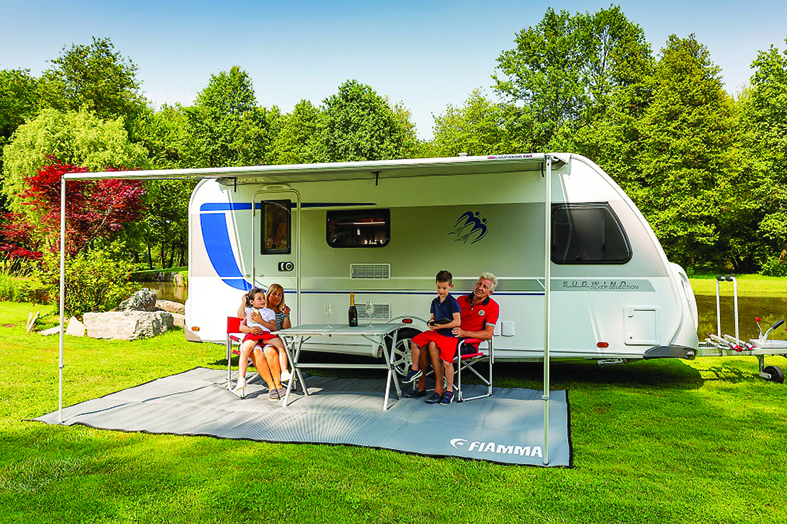
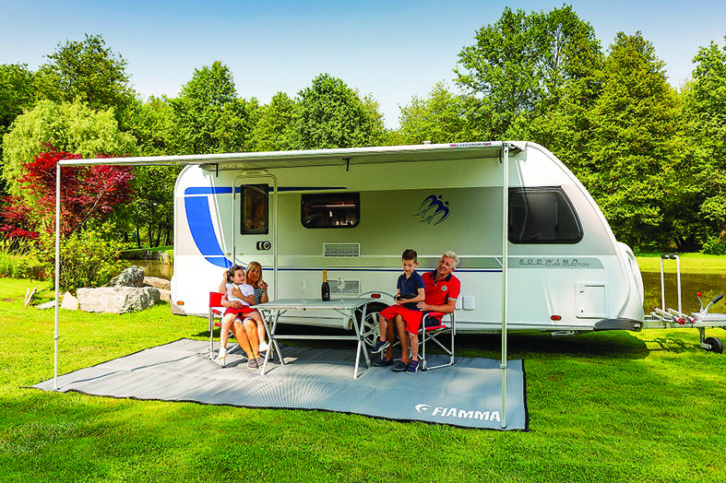
- If you mainly tour abroad, have a look at the brilliant wind-out awnings from the likes of Fiamma (F-series) and Thule (Omnistor). These are permanently mounted in a ‘roller tube’ along the top edge of the caravan’s door-side wall (although they’re more common on motorhomes). They wind out with a handle, to provide a roof that will protect against rain and provide a sunshade. There are two legs supporting the front edge of the cover, and side panels can be added to create an enclosed awning in poor weather. These awnings typically cost from £500-£1000 and weigh in the region of 50kg, so should be factored into your payload calculations, because they are a permanent fixture.
If you liked this… READ THESE:
If you’ve enjoyed reading this article, why not get the latest news, reviews and features delivered direct to your door or inbox every month. Take advantage of our brilliant Practical Caravan magazine SUBSCRIBERS’ OFFER and SIGN UP TO OUR NEWSLETTER for regular weekly updates on all things caravan related.
As well as offering extra living space, awnings are excellent for storage, dining, sleeping and pets