


Over the years, I’ve upgraded many suspension systems on cars, from simple rubber inserts that sit between coils, via changing springs and shock absorbers, to fitting self-levelling units.
The latter were the most successful, but of course they came at a significant cost.
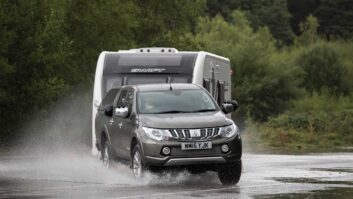
Soft suspension might give a comfortable ride, but add a boot full of kit and a caravan (ensuring the rear axle load isn’t exceeded) and there can be all kinds of issues.
If the car’s rear is low, the jockey wheel ‘grounds’ at every bump, and the car’s suspension ‘bottoms’ constantly.
In the worst cases, the steering can be so light that it struggles for grip and the outfit is all over the road.
Raising the bar
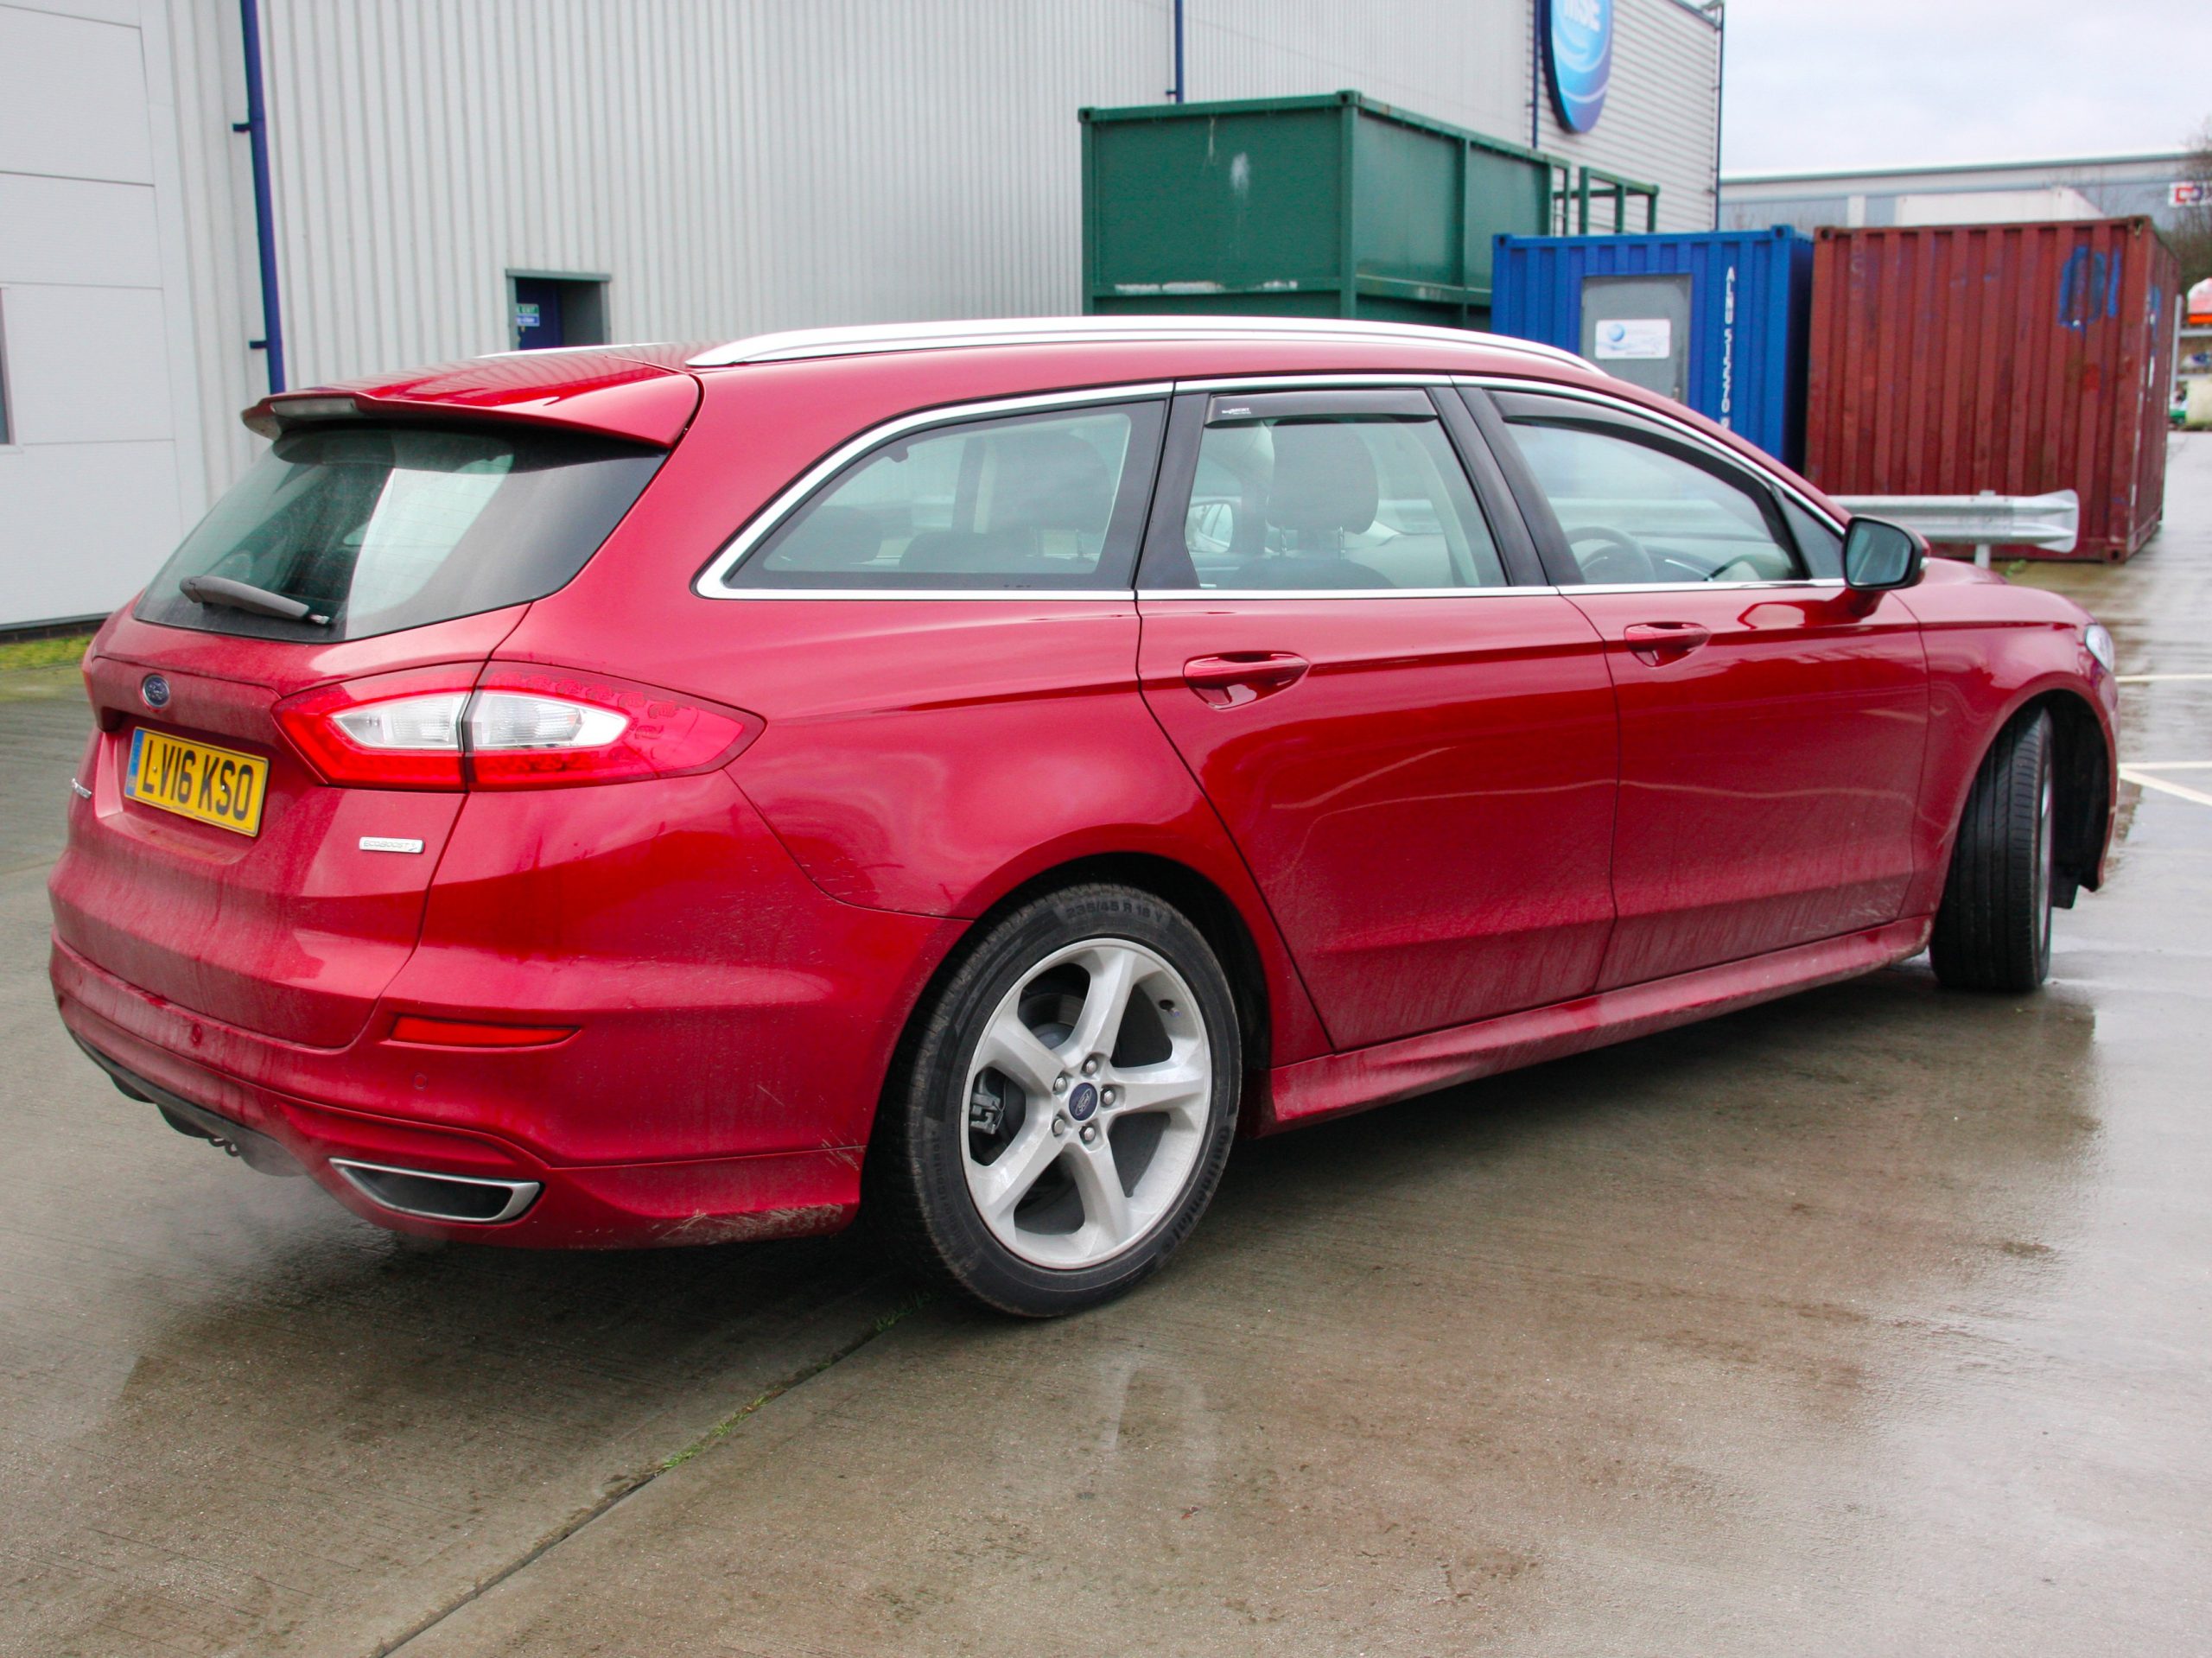
Our test 2016 Ford Mondeo had standard suspension, which was by no means bad, but needed to be beefed-up a little in order to tow a caravan.
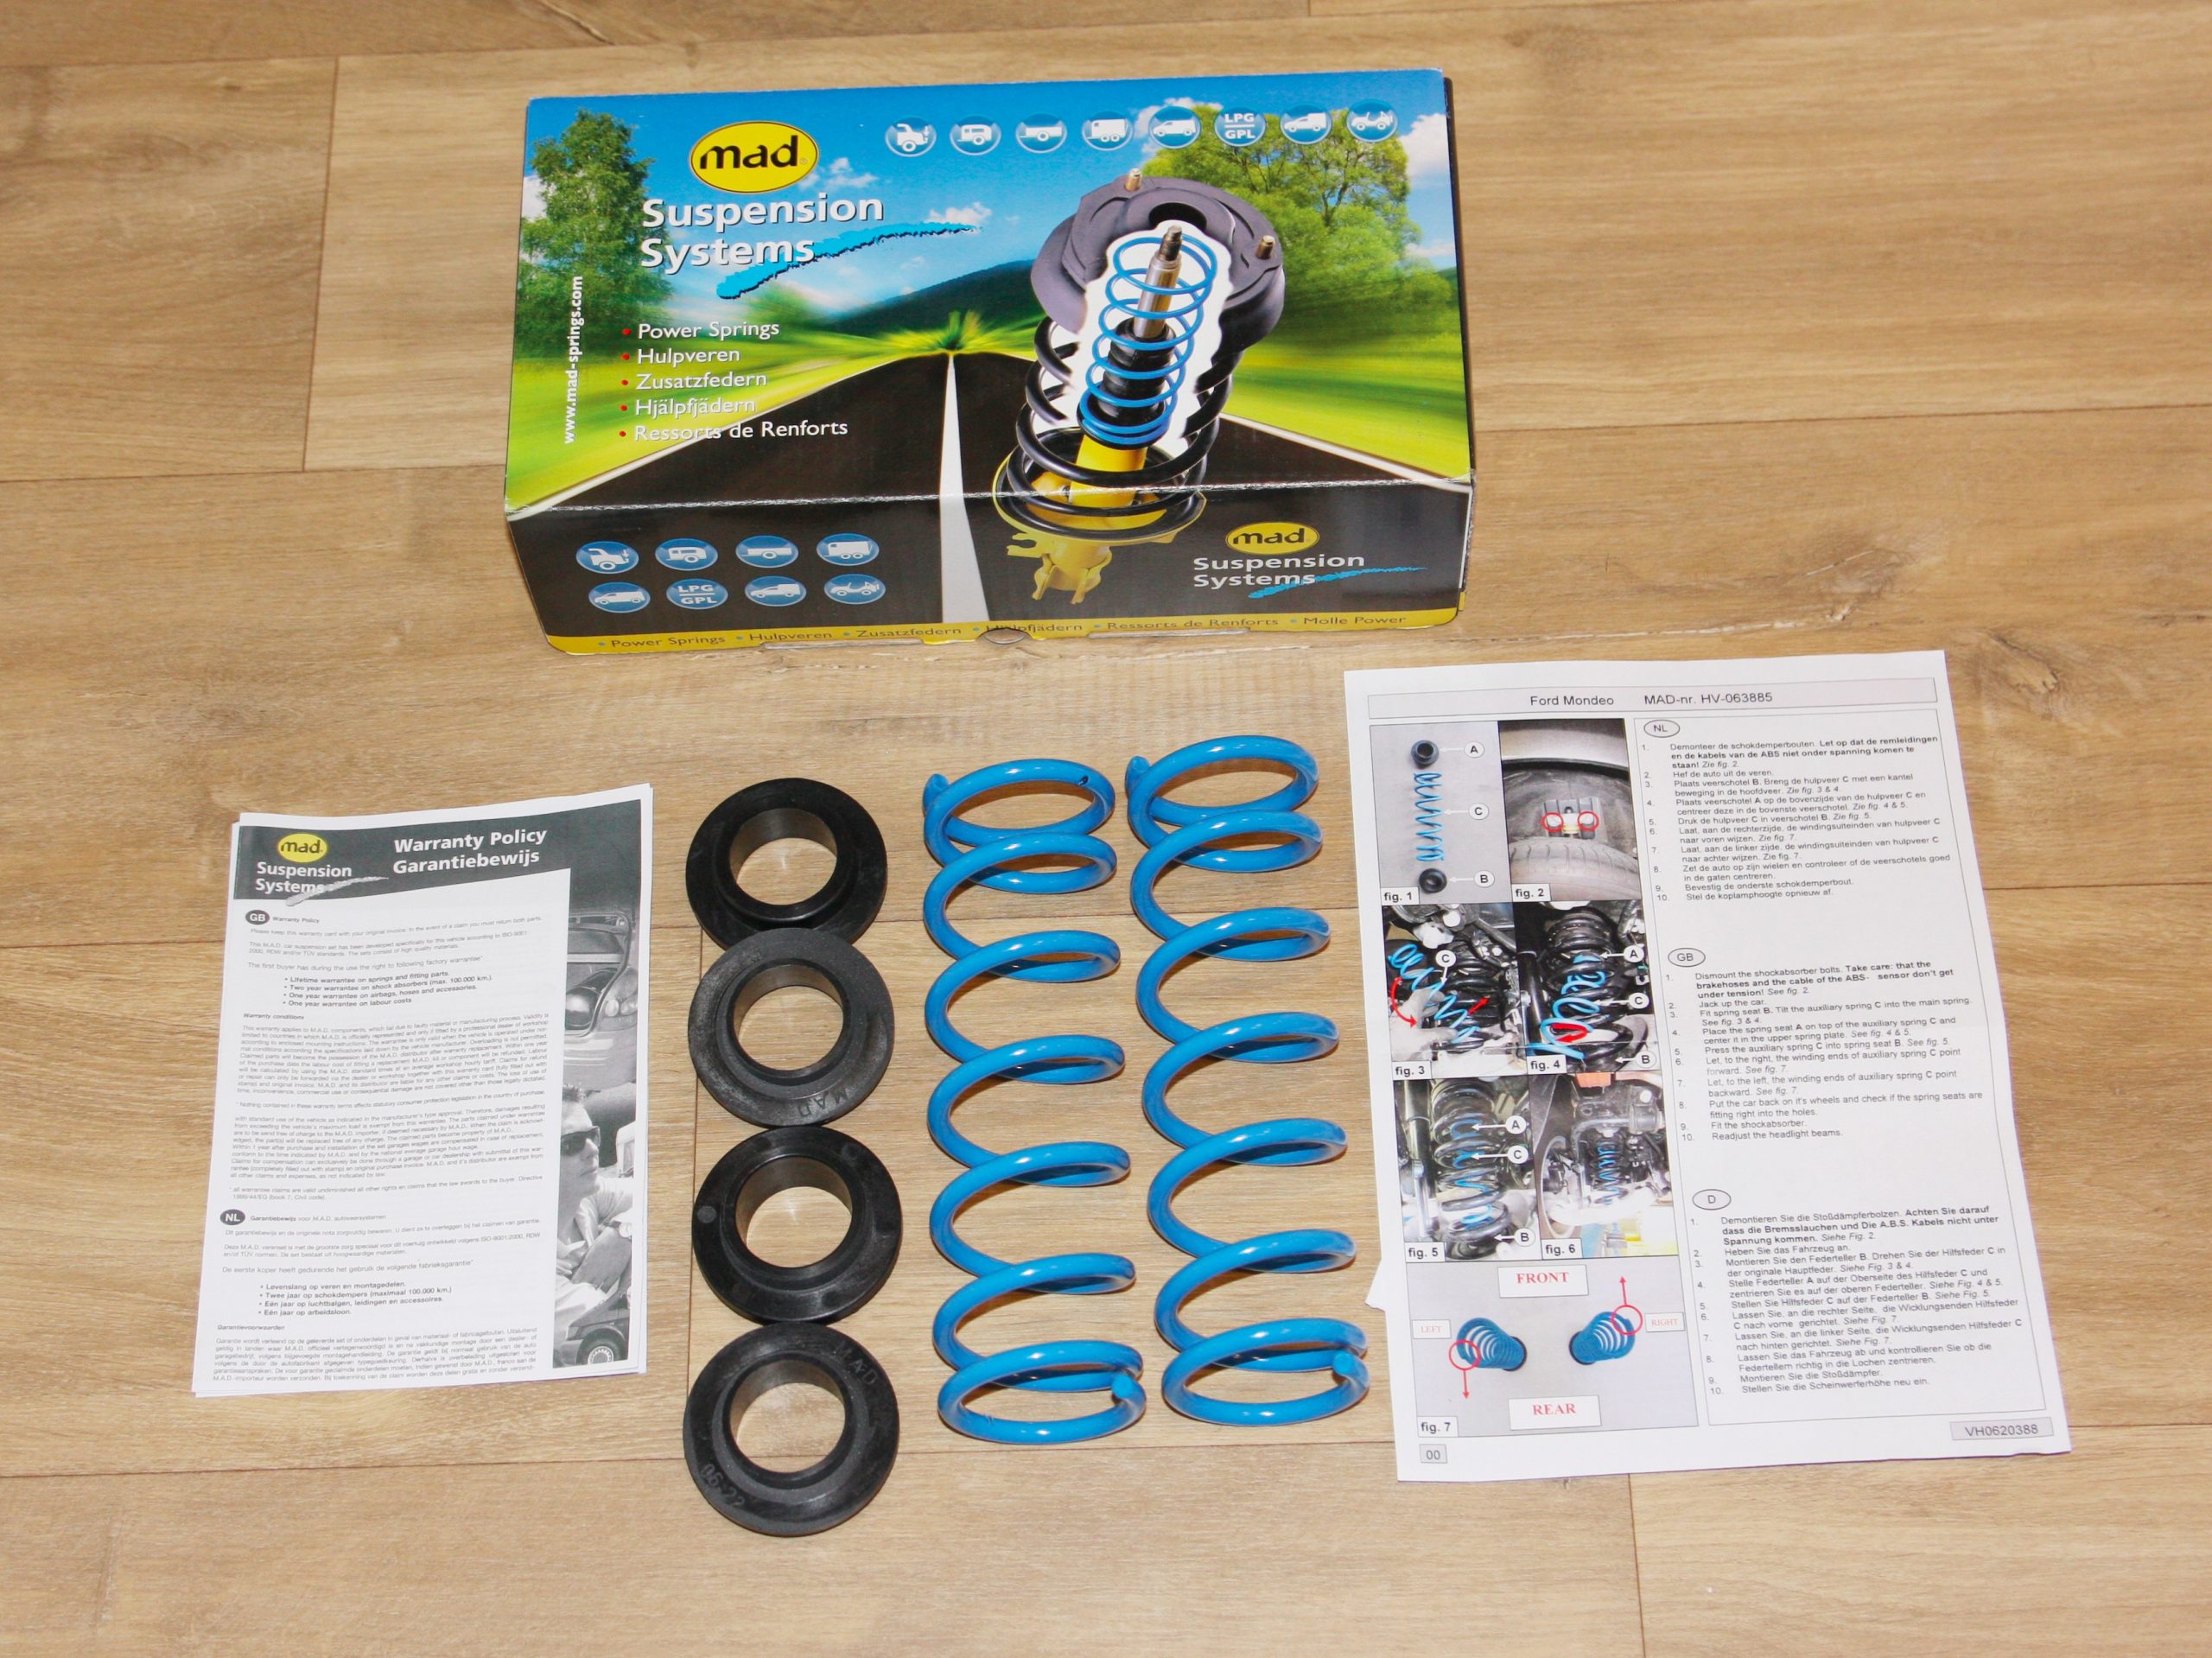
After a bit of research we chose MAD Auxiliary Springs, because these don’t alter the original suspension so shouldn’t cause any warranty issues.
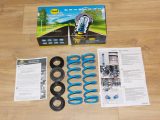
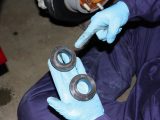
The kit consists of a pair of blue auxiliary springs, upper and lower spring seats, and instructions for our particular vehicle.
A garage lift was used for the car in the instructions, but we would be doing the job at ground level and using a jack plus axle stands.
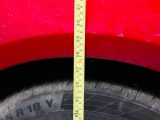
Before dismantling, we took a number of measurements. With the car parked on a level workshop floor, the distances from the ground to the top of the rear wheelarch were as follows:
- Empty – 71cm
- Full boot (tools etc) – 70cm
- Full boot plus 100kg of ballast – 67.5cm
The measurements would be repeated following the fitment of the auxiliary springs.
Tools required for the job are:
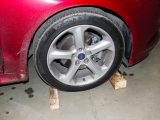
- Wheel chocks
- Trolley jack
- Axle stands
- Torque wrench
- 18mm and 19mm sockets, plus extension bar
- Thread locker
First, we chocked the front wheels and applied the handbrake. Our car is an automatic, so the gear selector was placed in Park.
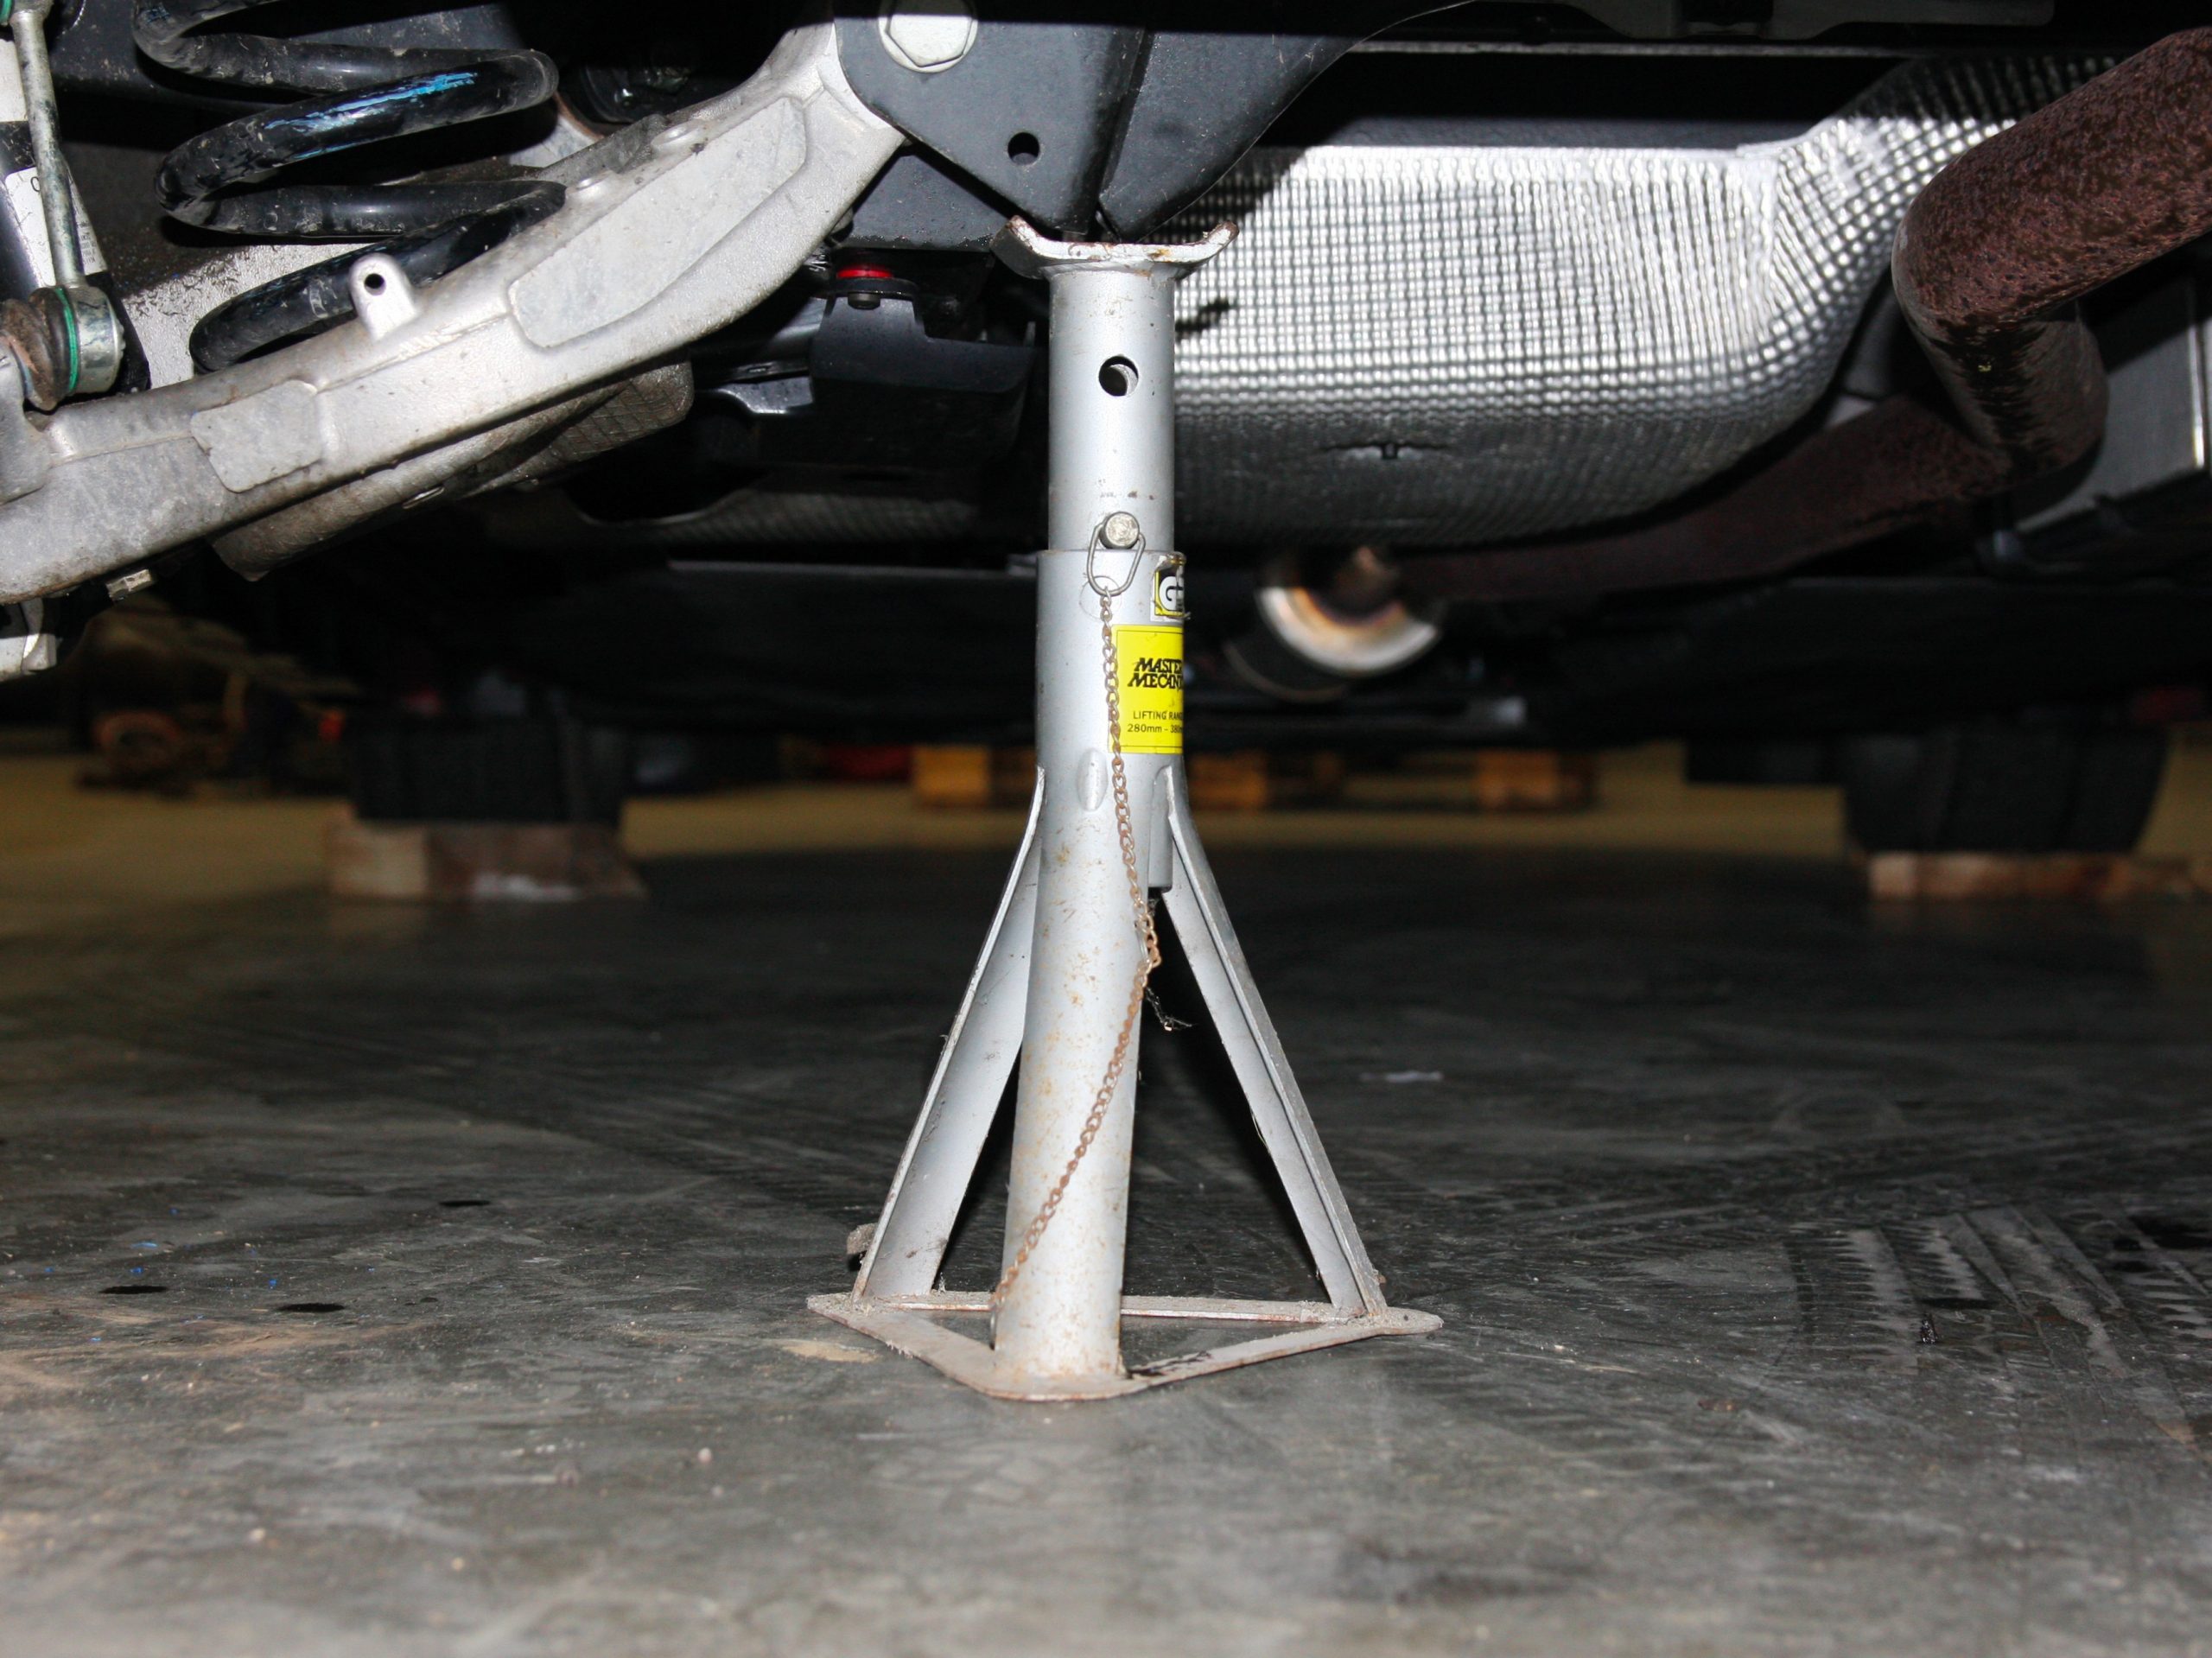
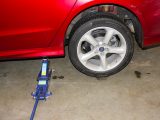
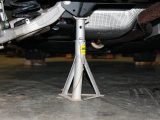
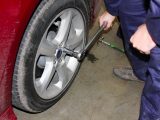
We loosened the wheel nuts on the rear wheels (don’t remove at this stage!) then, using the appropriate jacking point, raised the rear of the car on one side, enough to get an axle stand under a designated point on the vehicle.
With that in place, we did the same on the other side and ensured that the car was firm and steady.
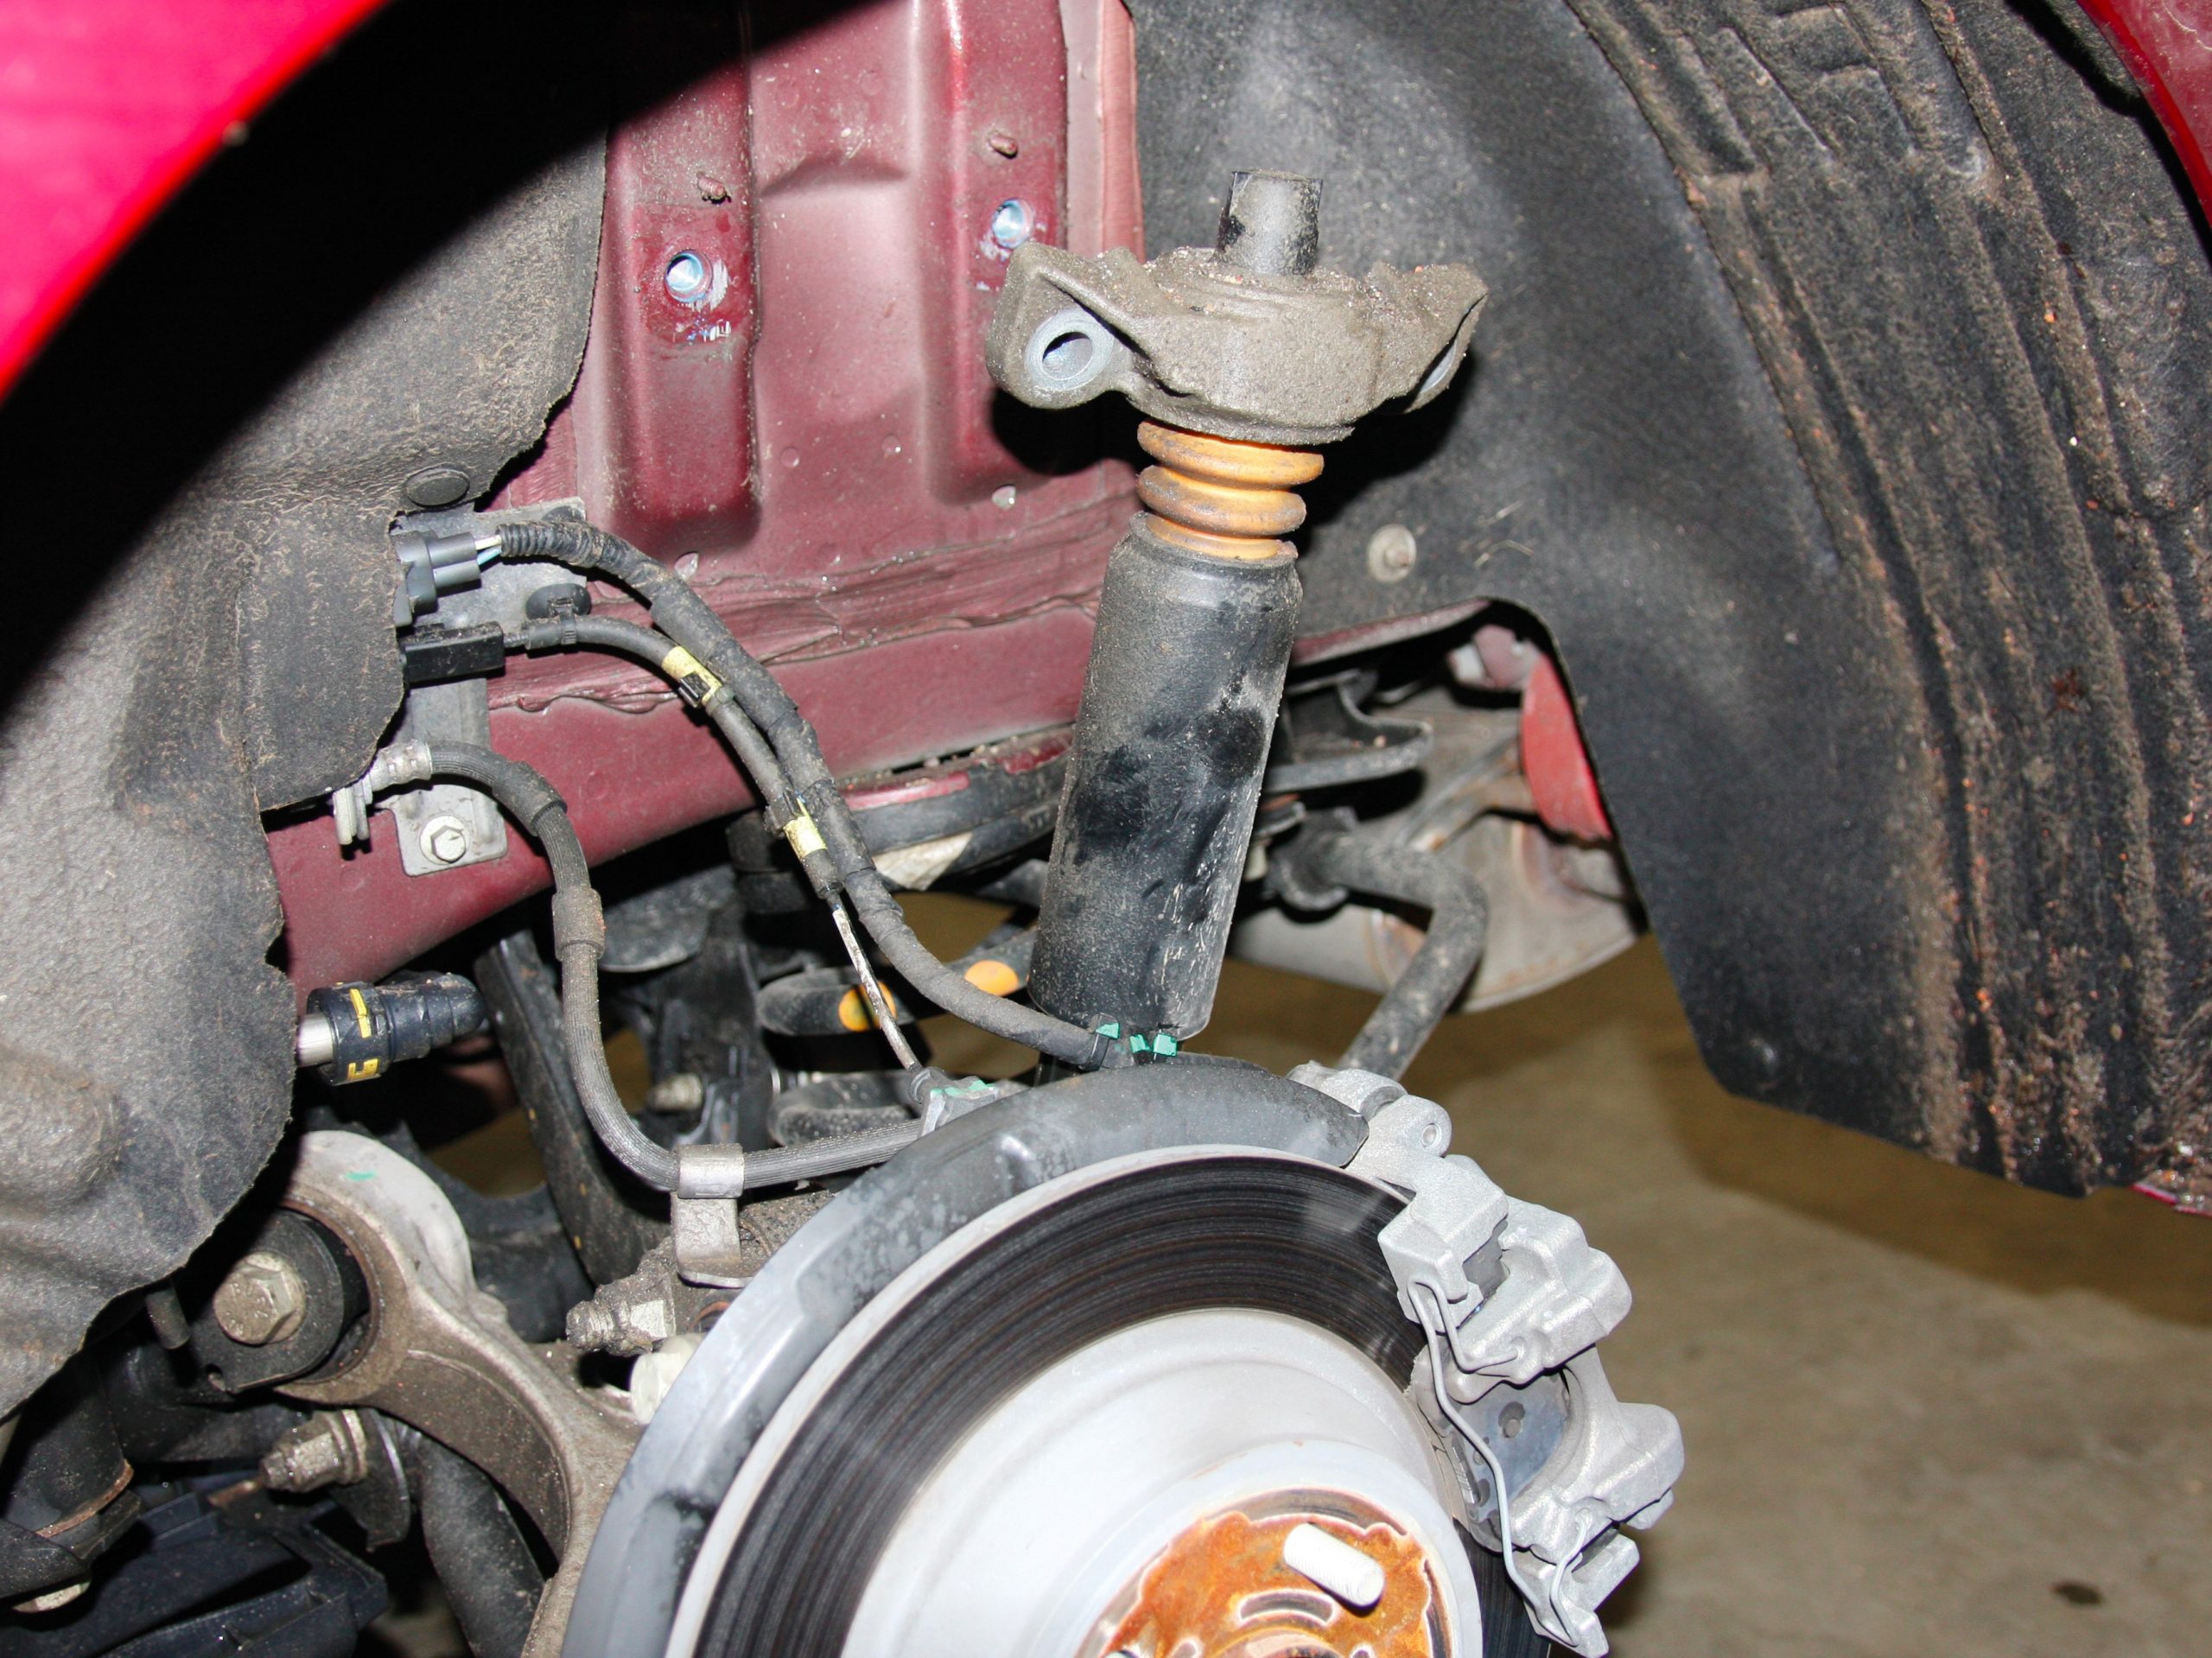
With the rear of the car raised, we started on the nearside and removed the wheel (leaving the offside one on for safety). The jack was placed under the rear suspension to take its weight (but not lift).
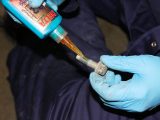
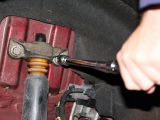
The first job was to remove the top shock absorber mounting bolts. During initial installation, thread locker had been applied, so the bolts were stiff.
The upper mount was held on by a pair of small locating pins, so had to be pulled forwards off these.
The jack was then slowly lowered to allow the suspension to extend to its maximum. As you do this, check that the brake hoses and cables are not under tension.
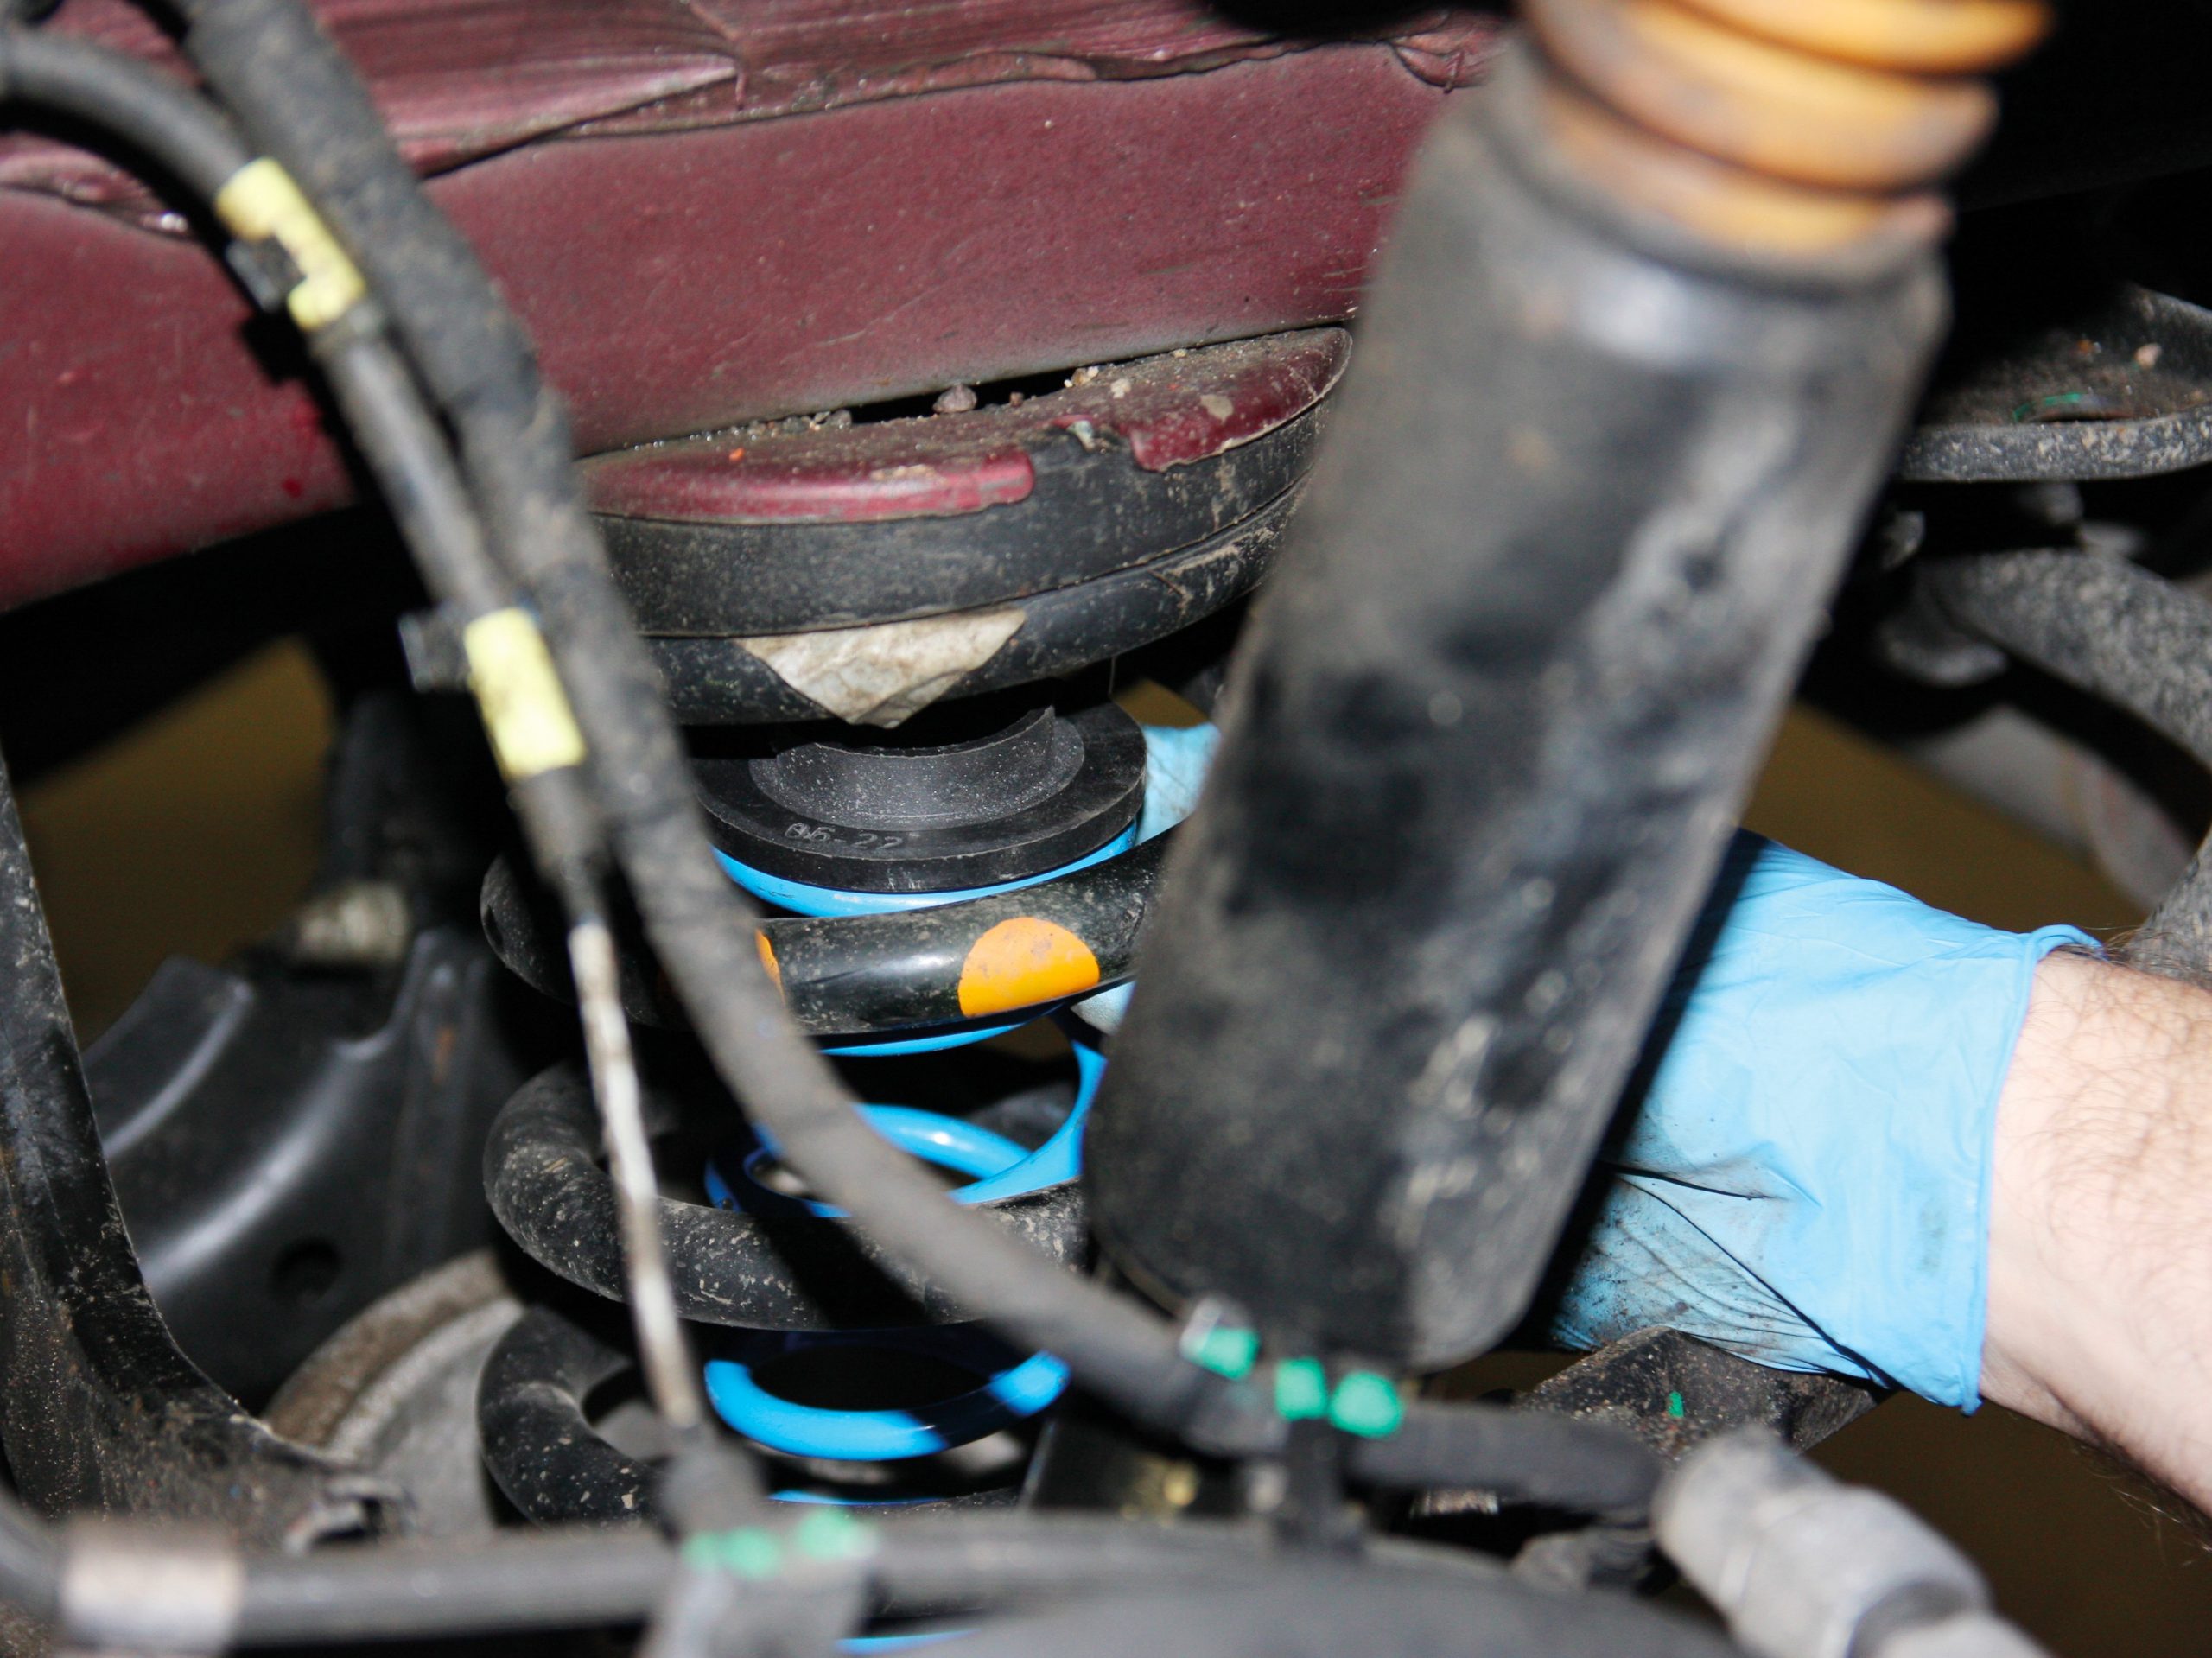
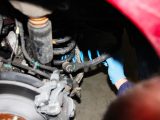
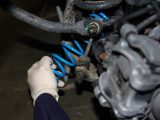
The bottom auxiliary spring seat was inserted into the hole in the lower suspension arm, where it clicked into place (inside the main spring).
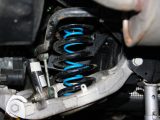
Next, the auxiliary spring itself was fed into the main spring from the bottom and, by rotating it, was wound up inside the main spring.
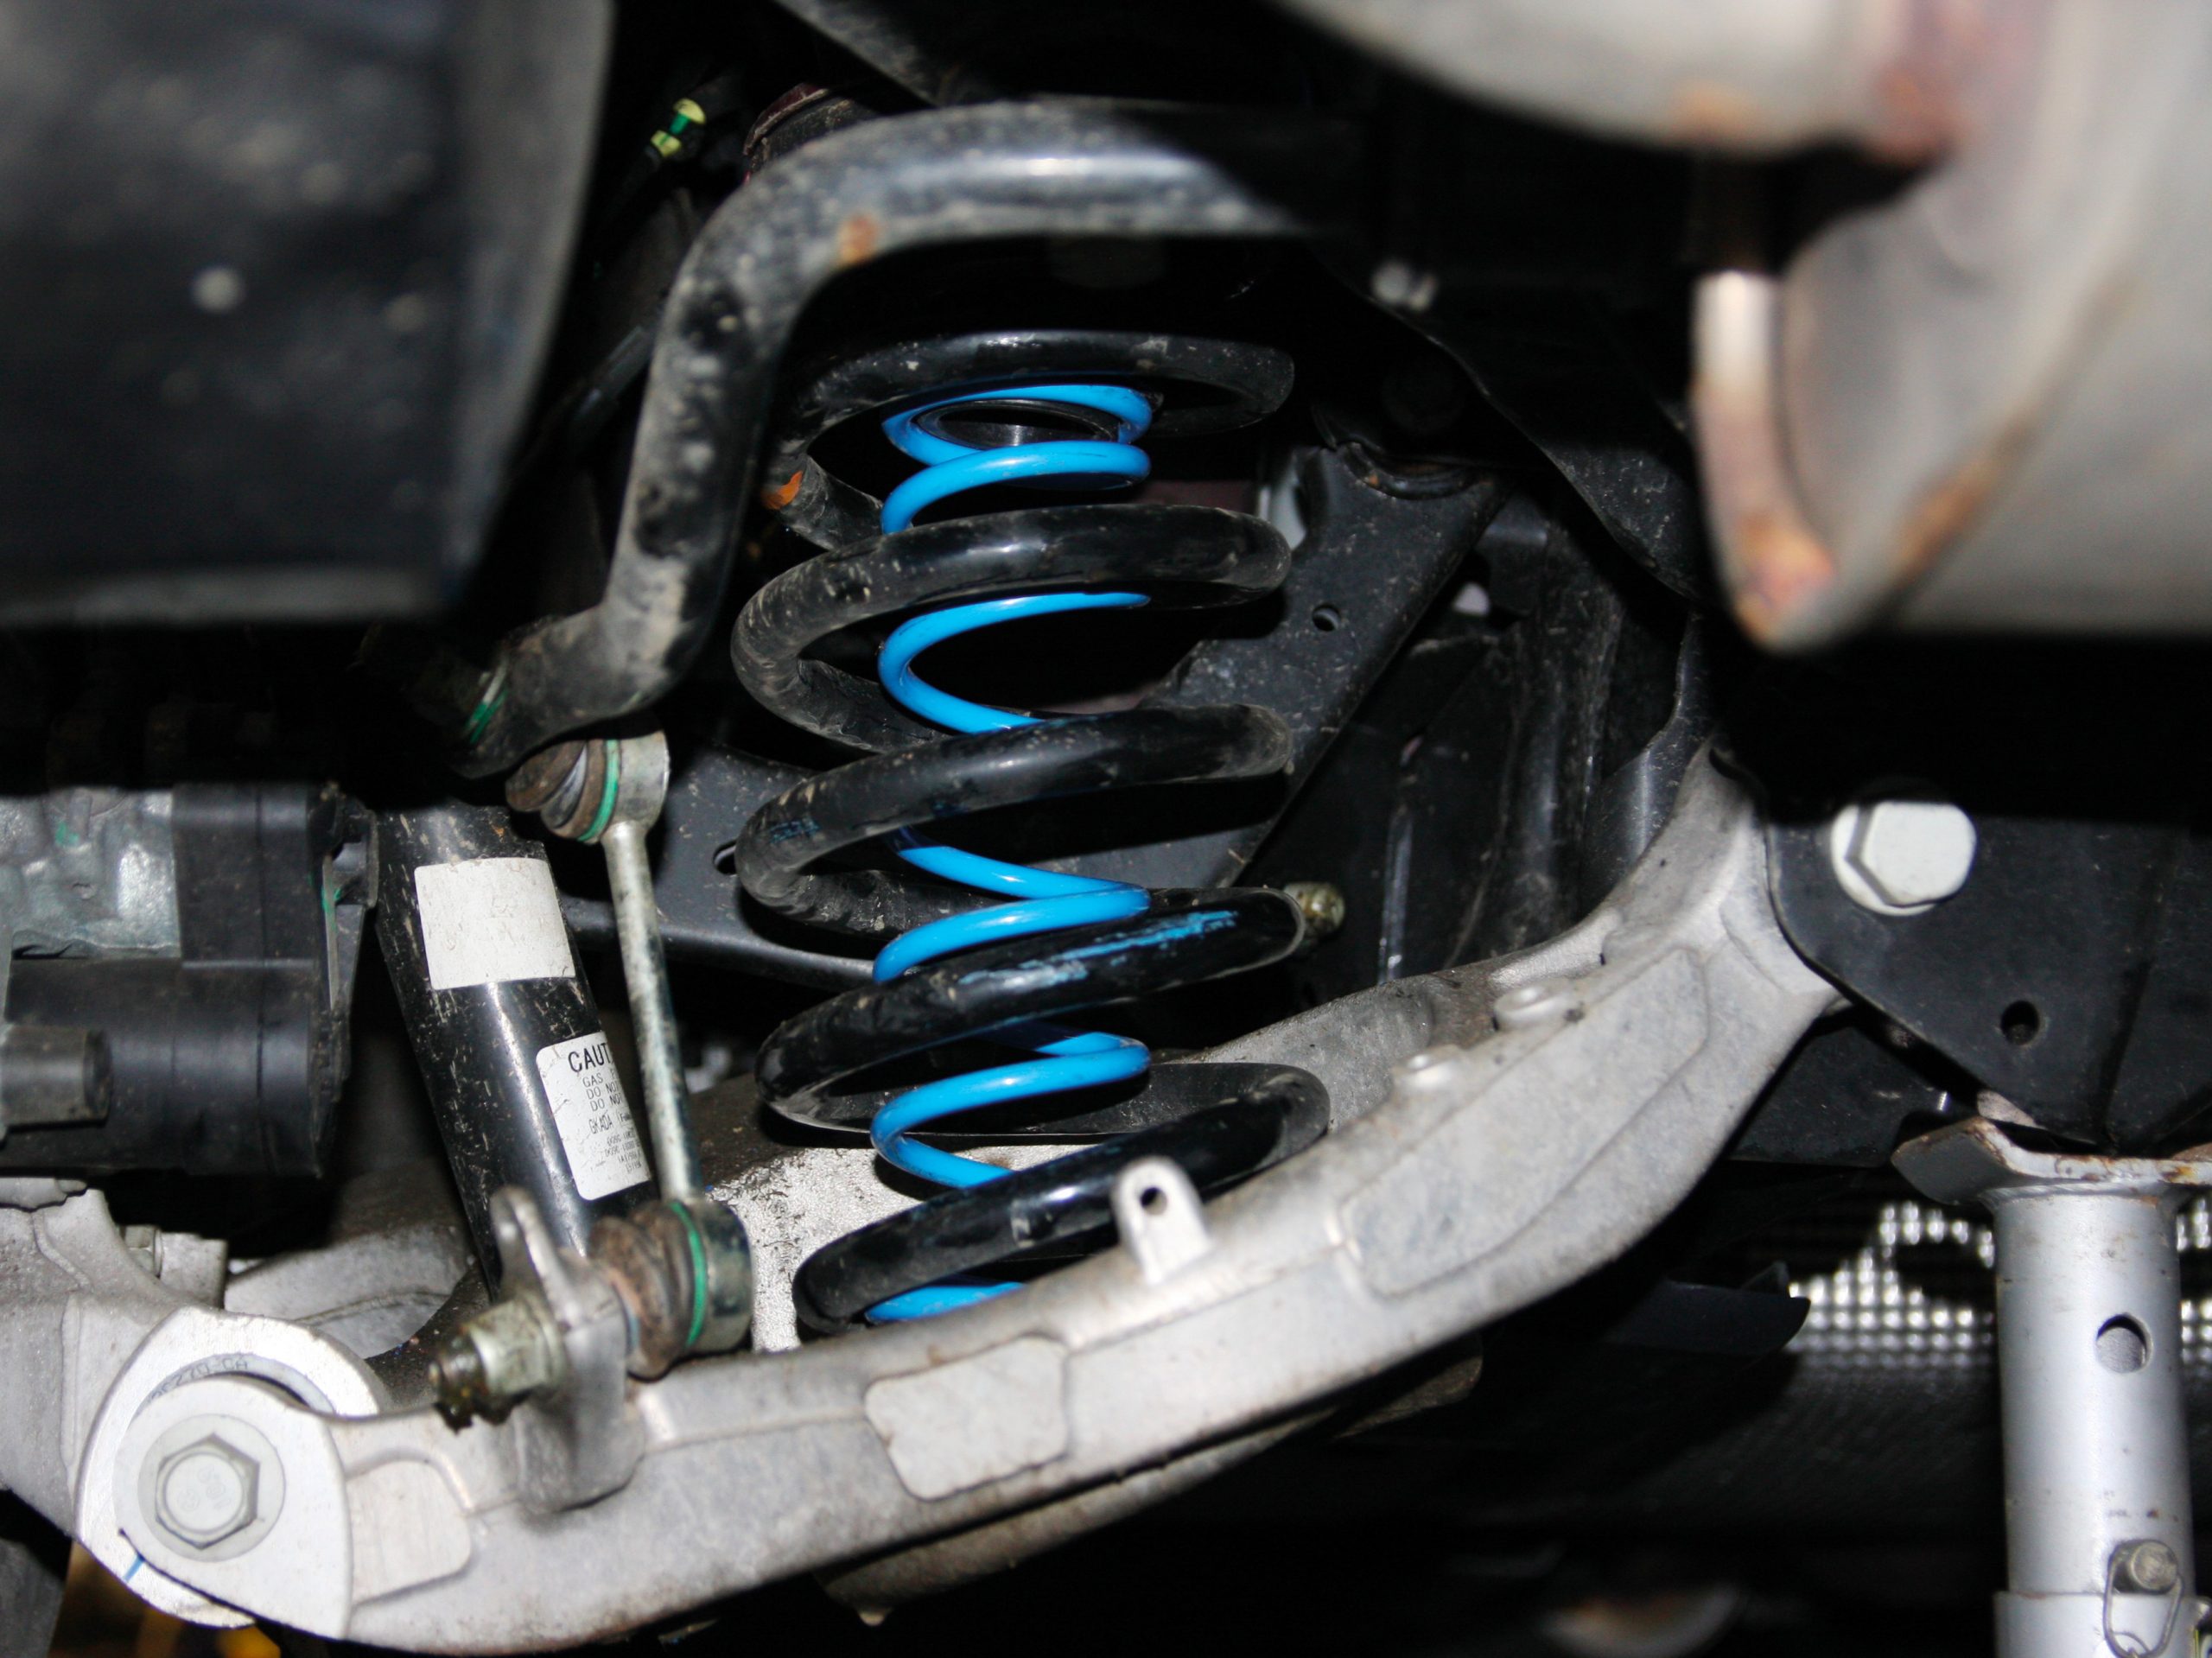
Spring into place
Once it was into position, the upper spring seat was placed on the top and the unit centred in the upper main spring plate. The bottom end of the auxiliary spring was then slotted onto the lower spring seat.
The instructions are quite specific about the positioning of the winding ends of the auxiliary springs. The nearside one has to sit with the top winding end pointing rearwards (forwards on the offside).
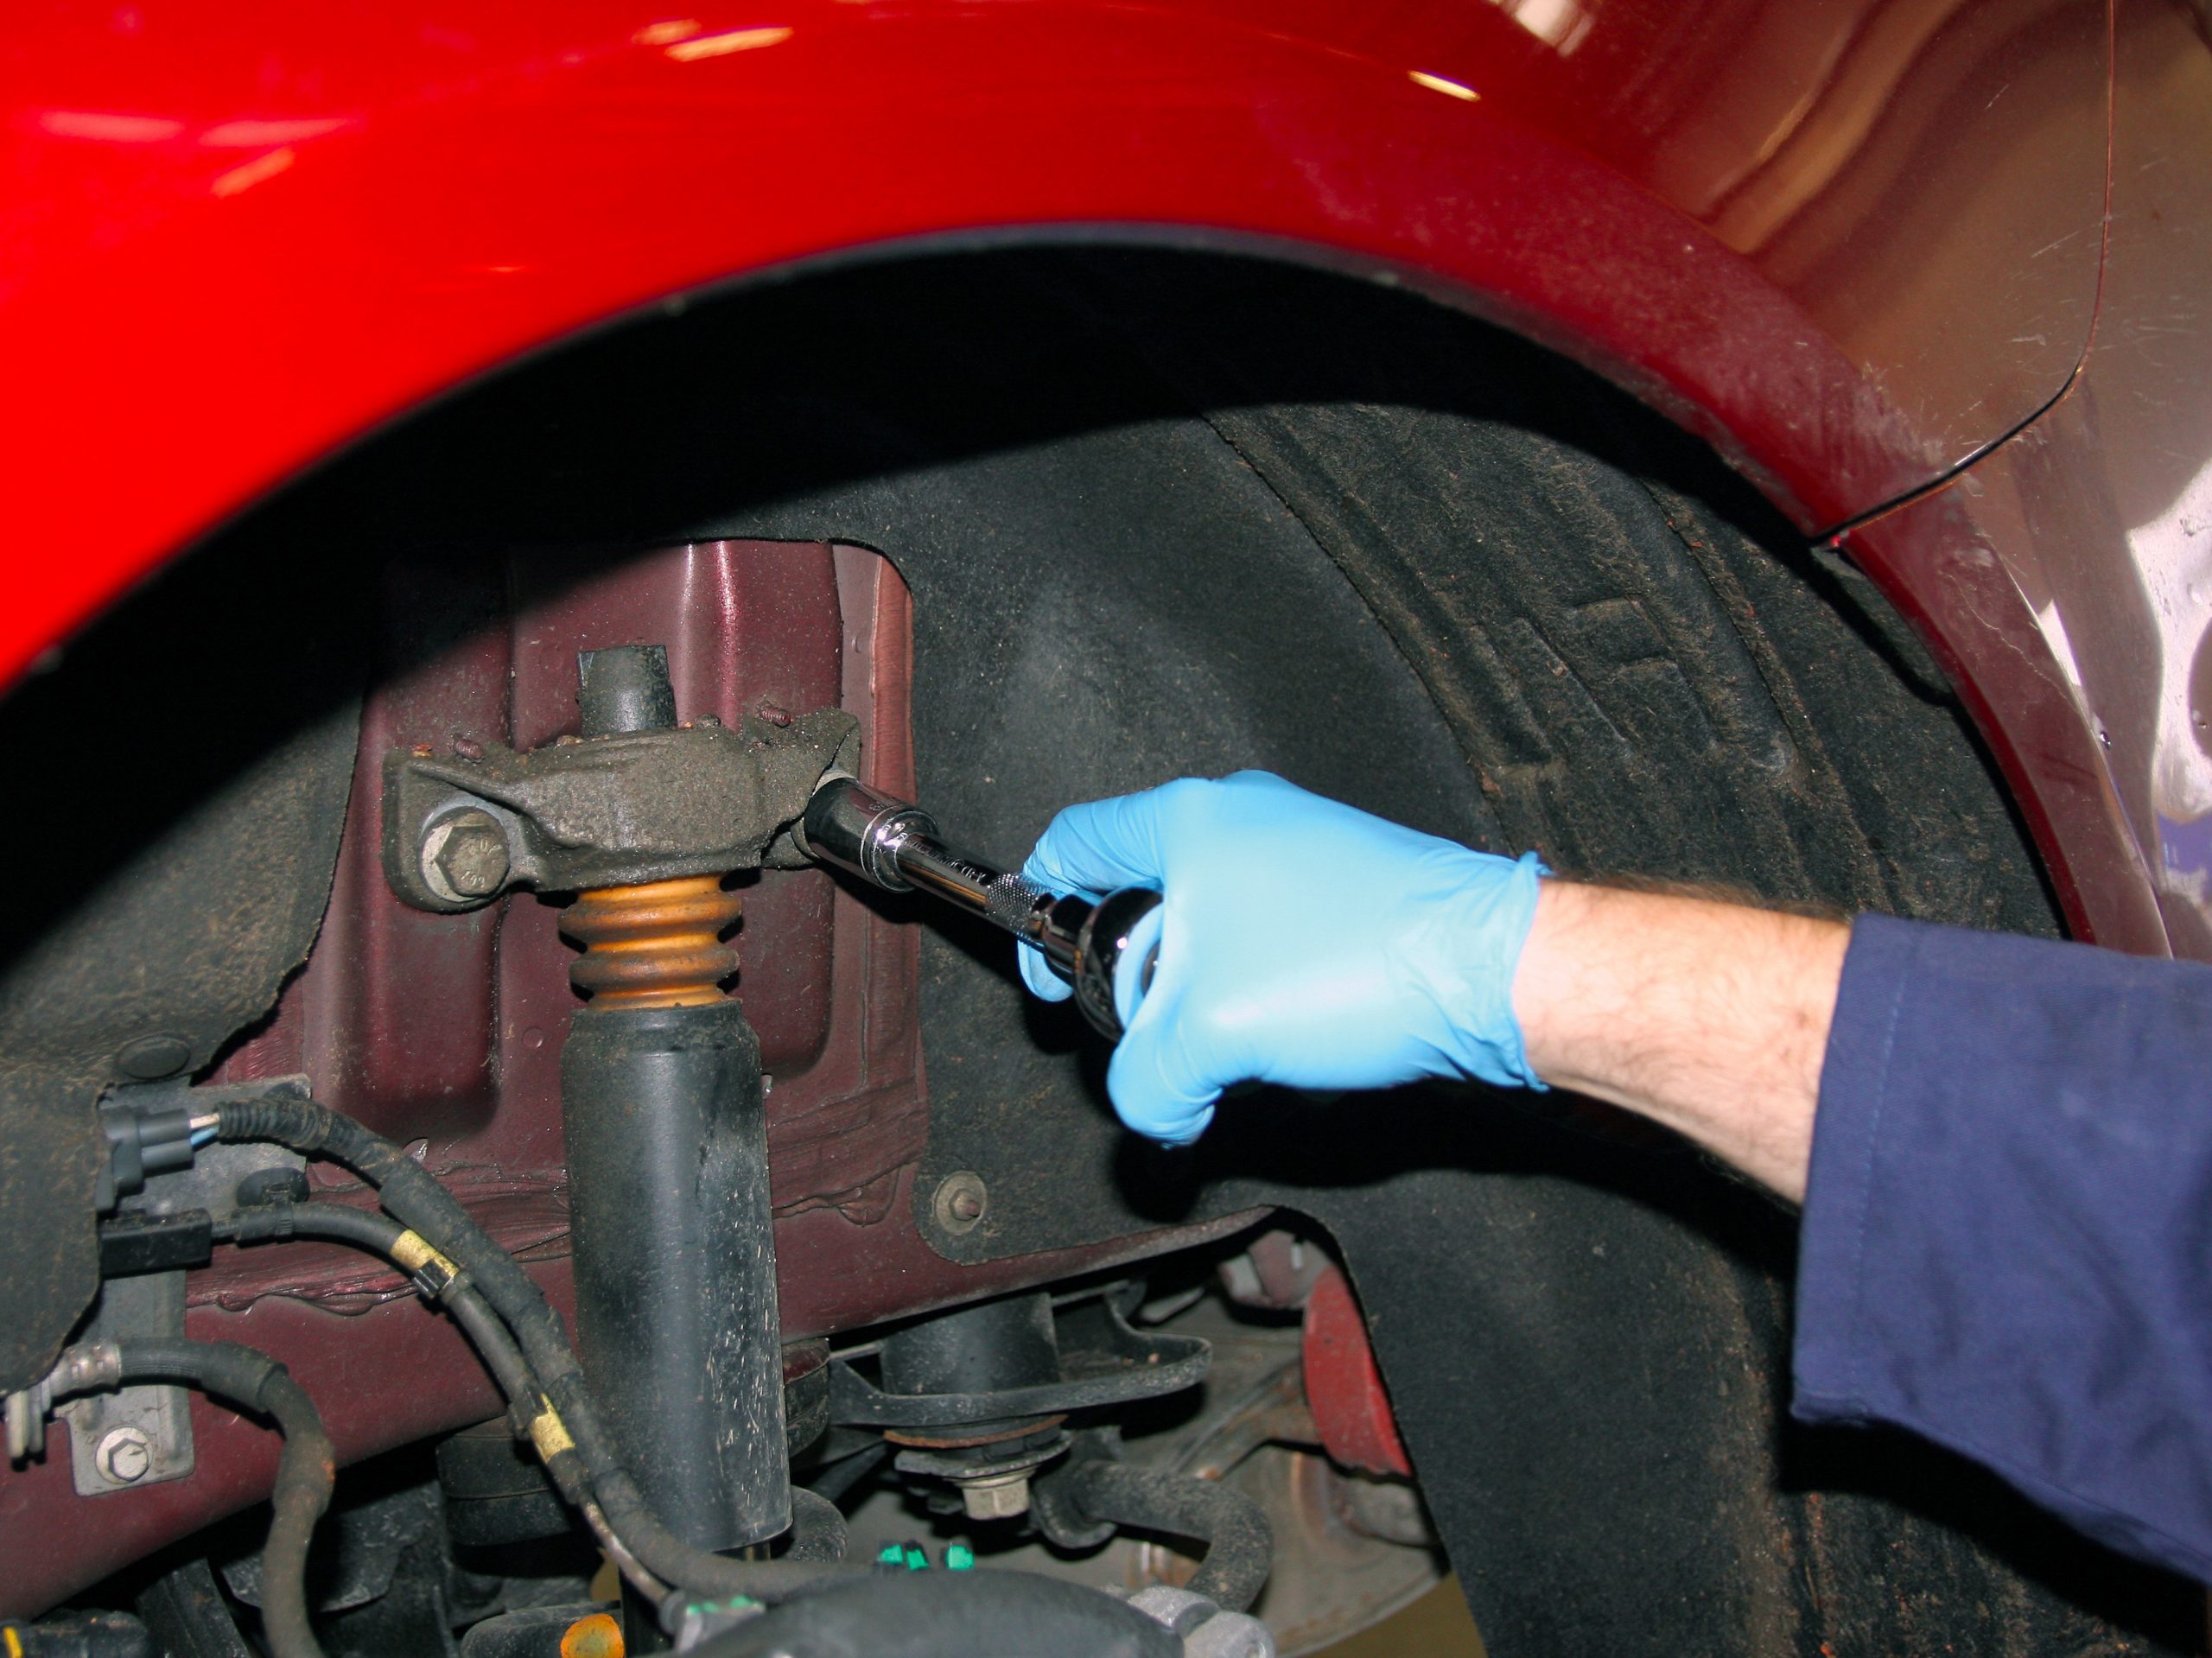
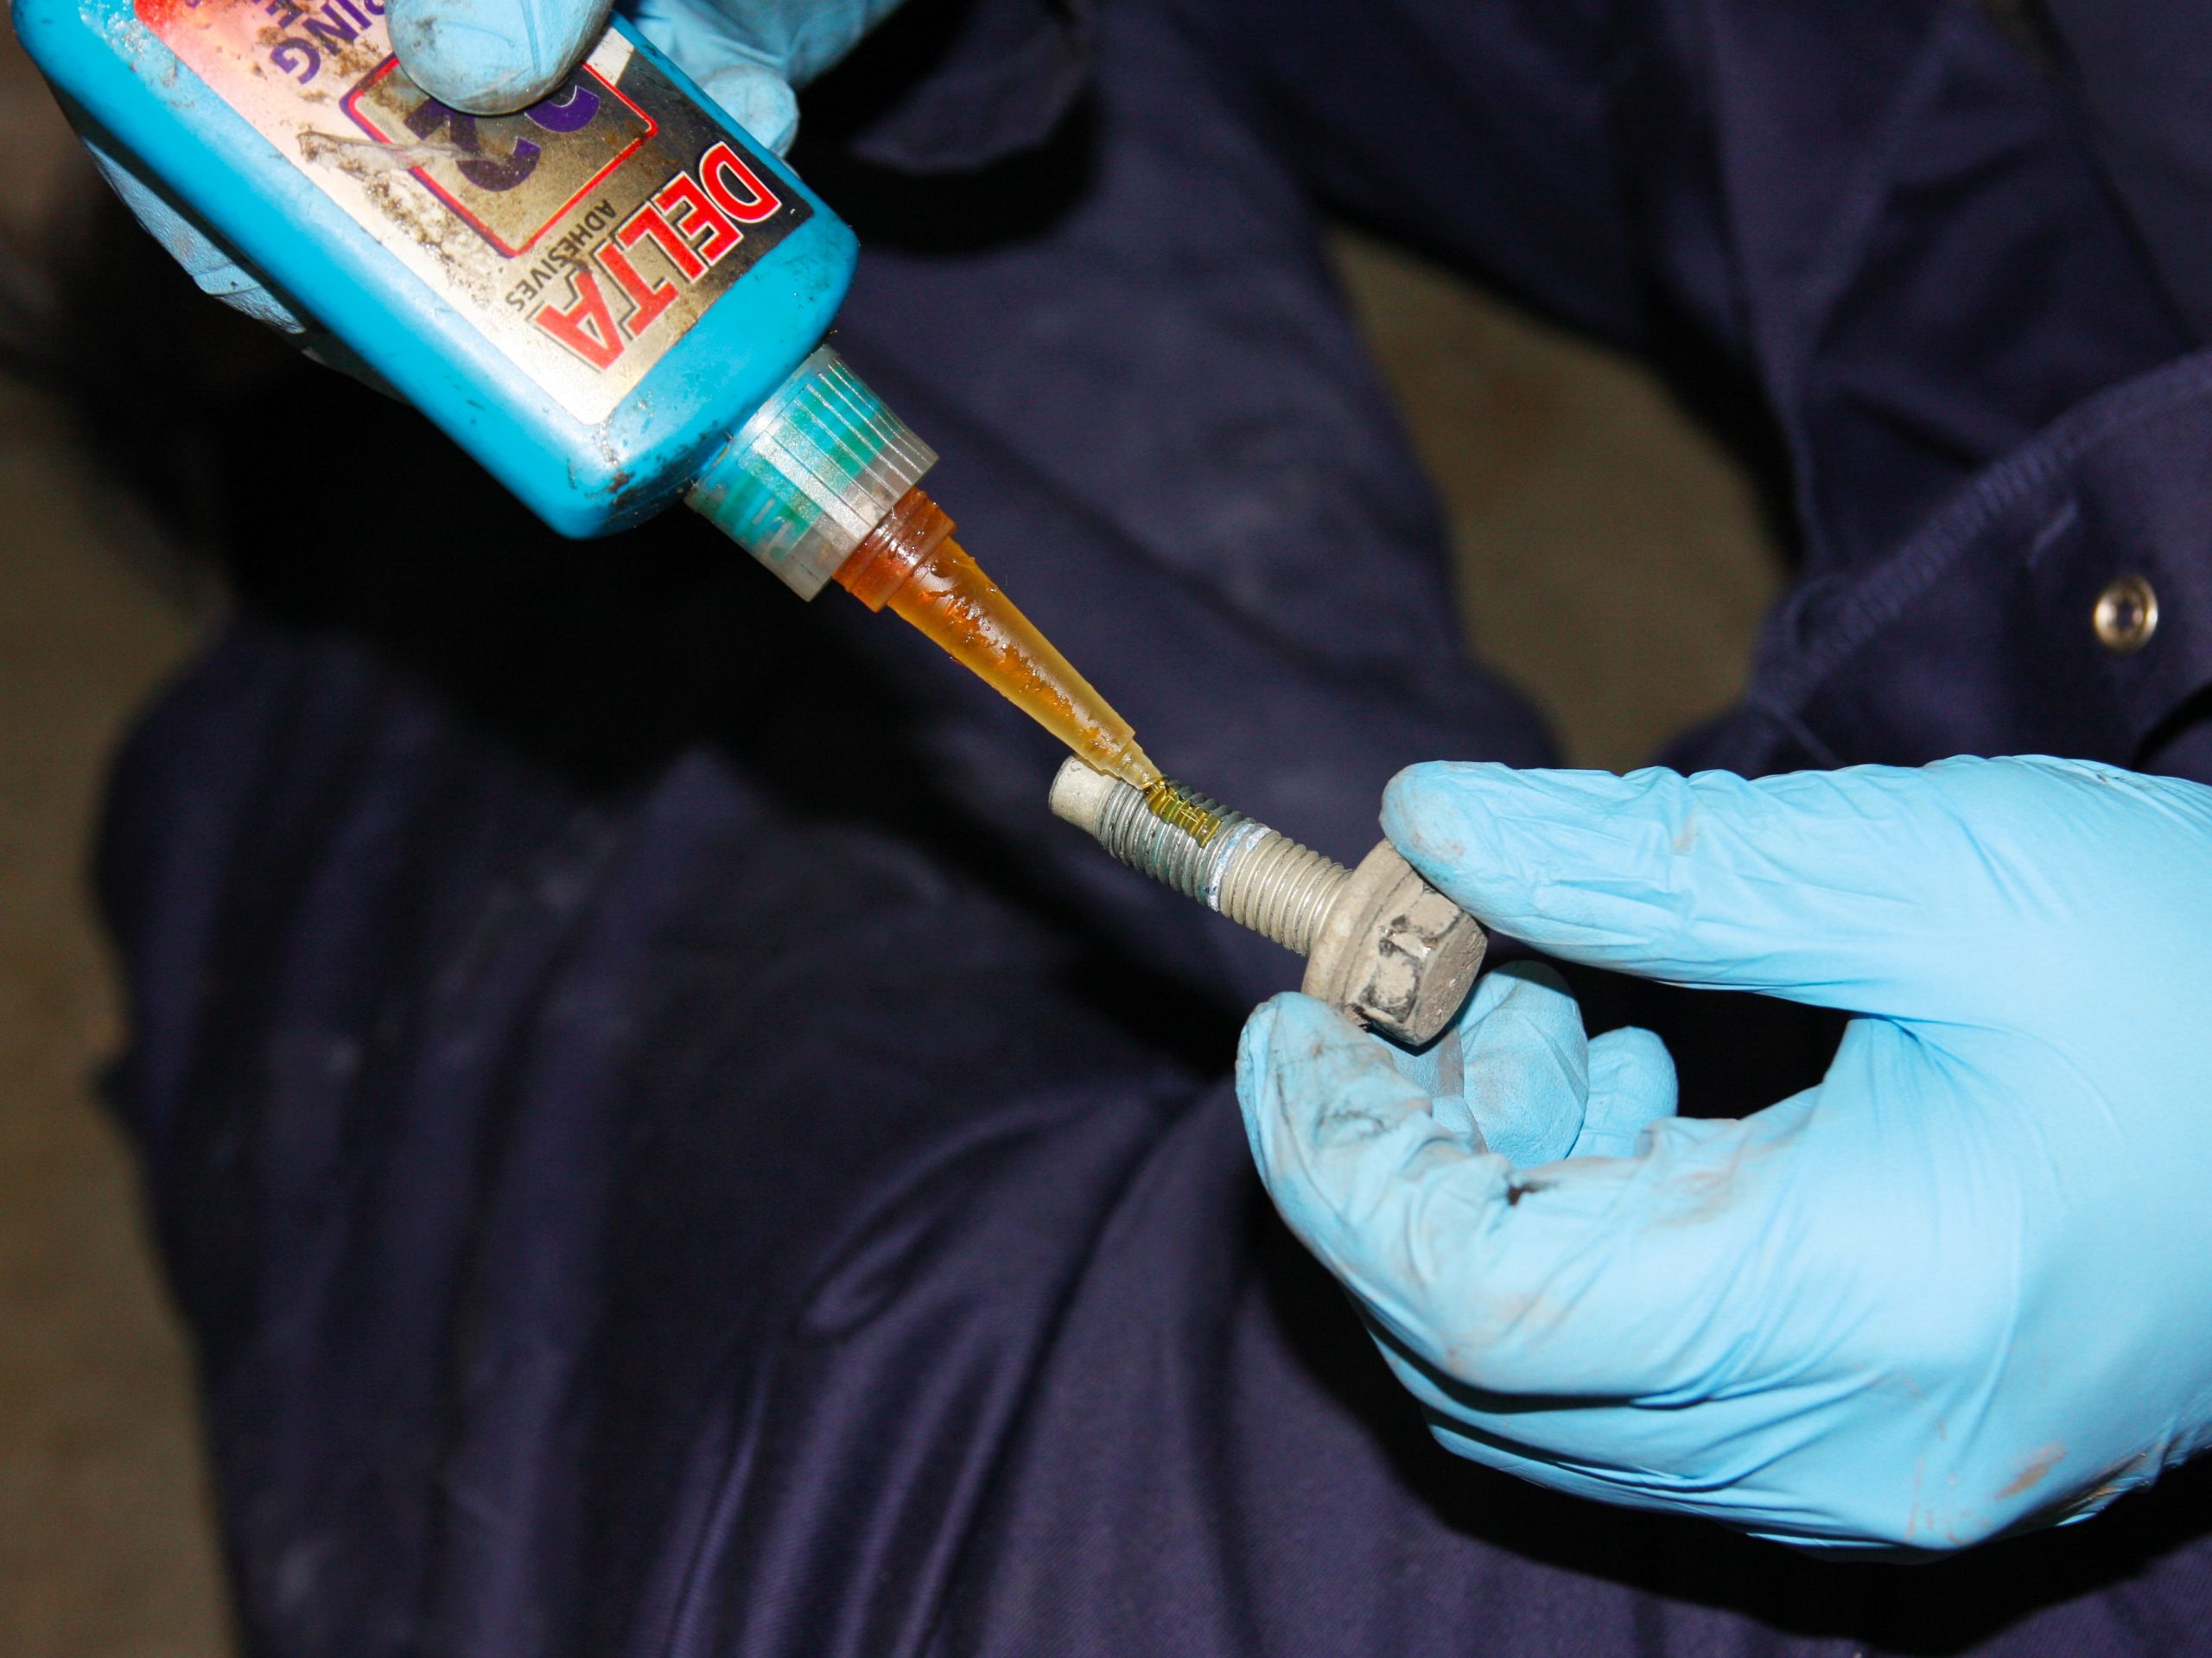
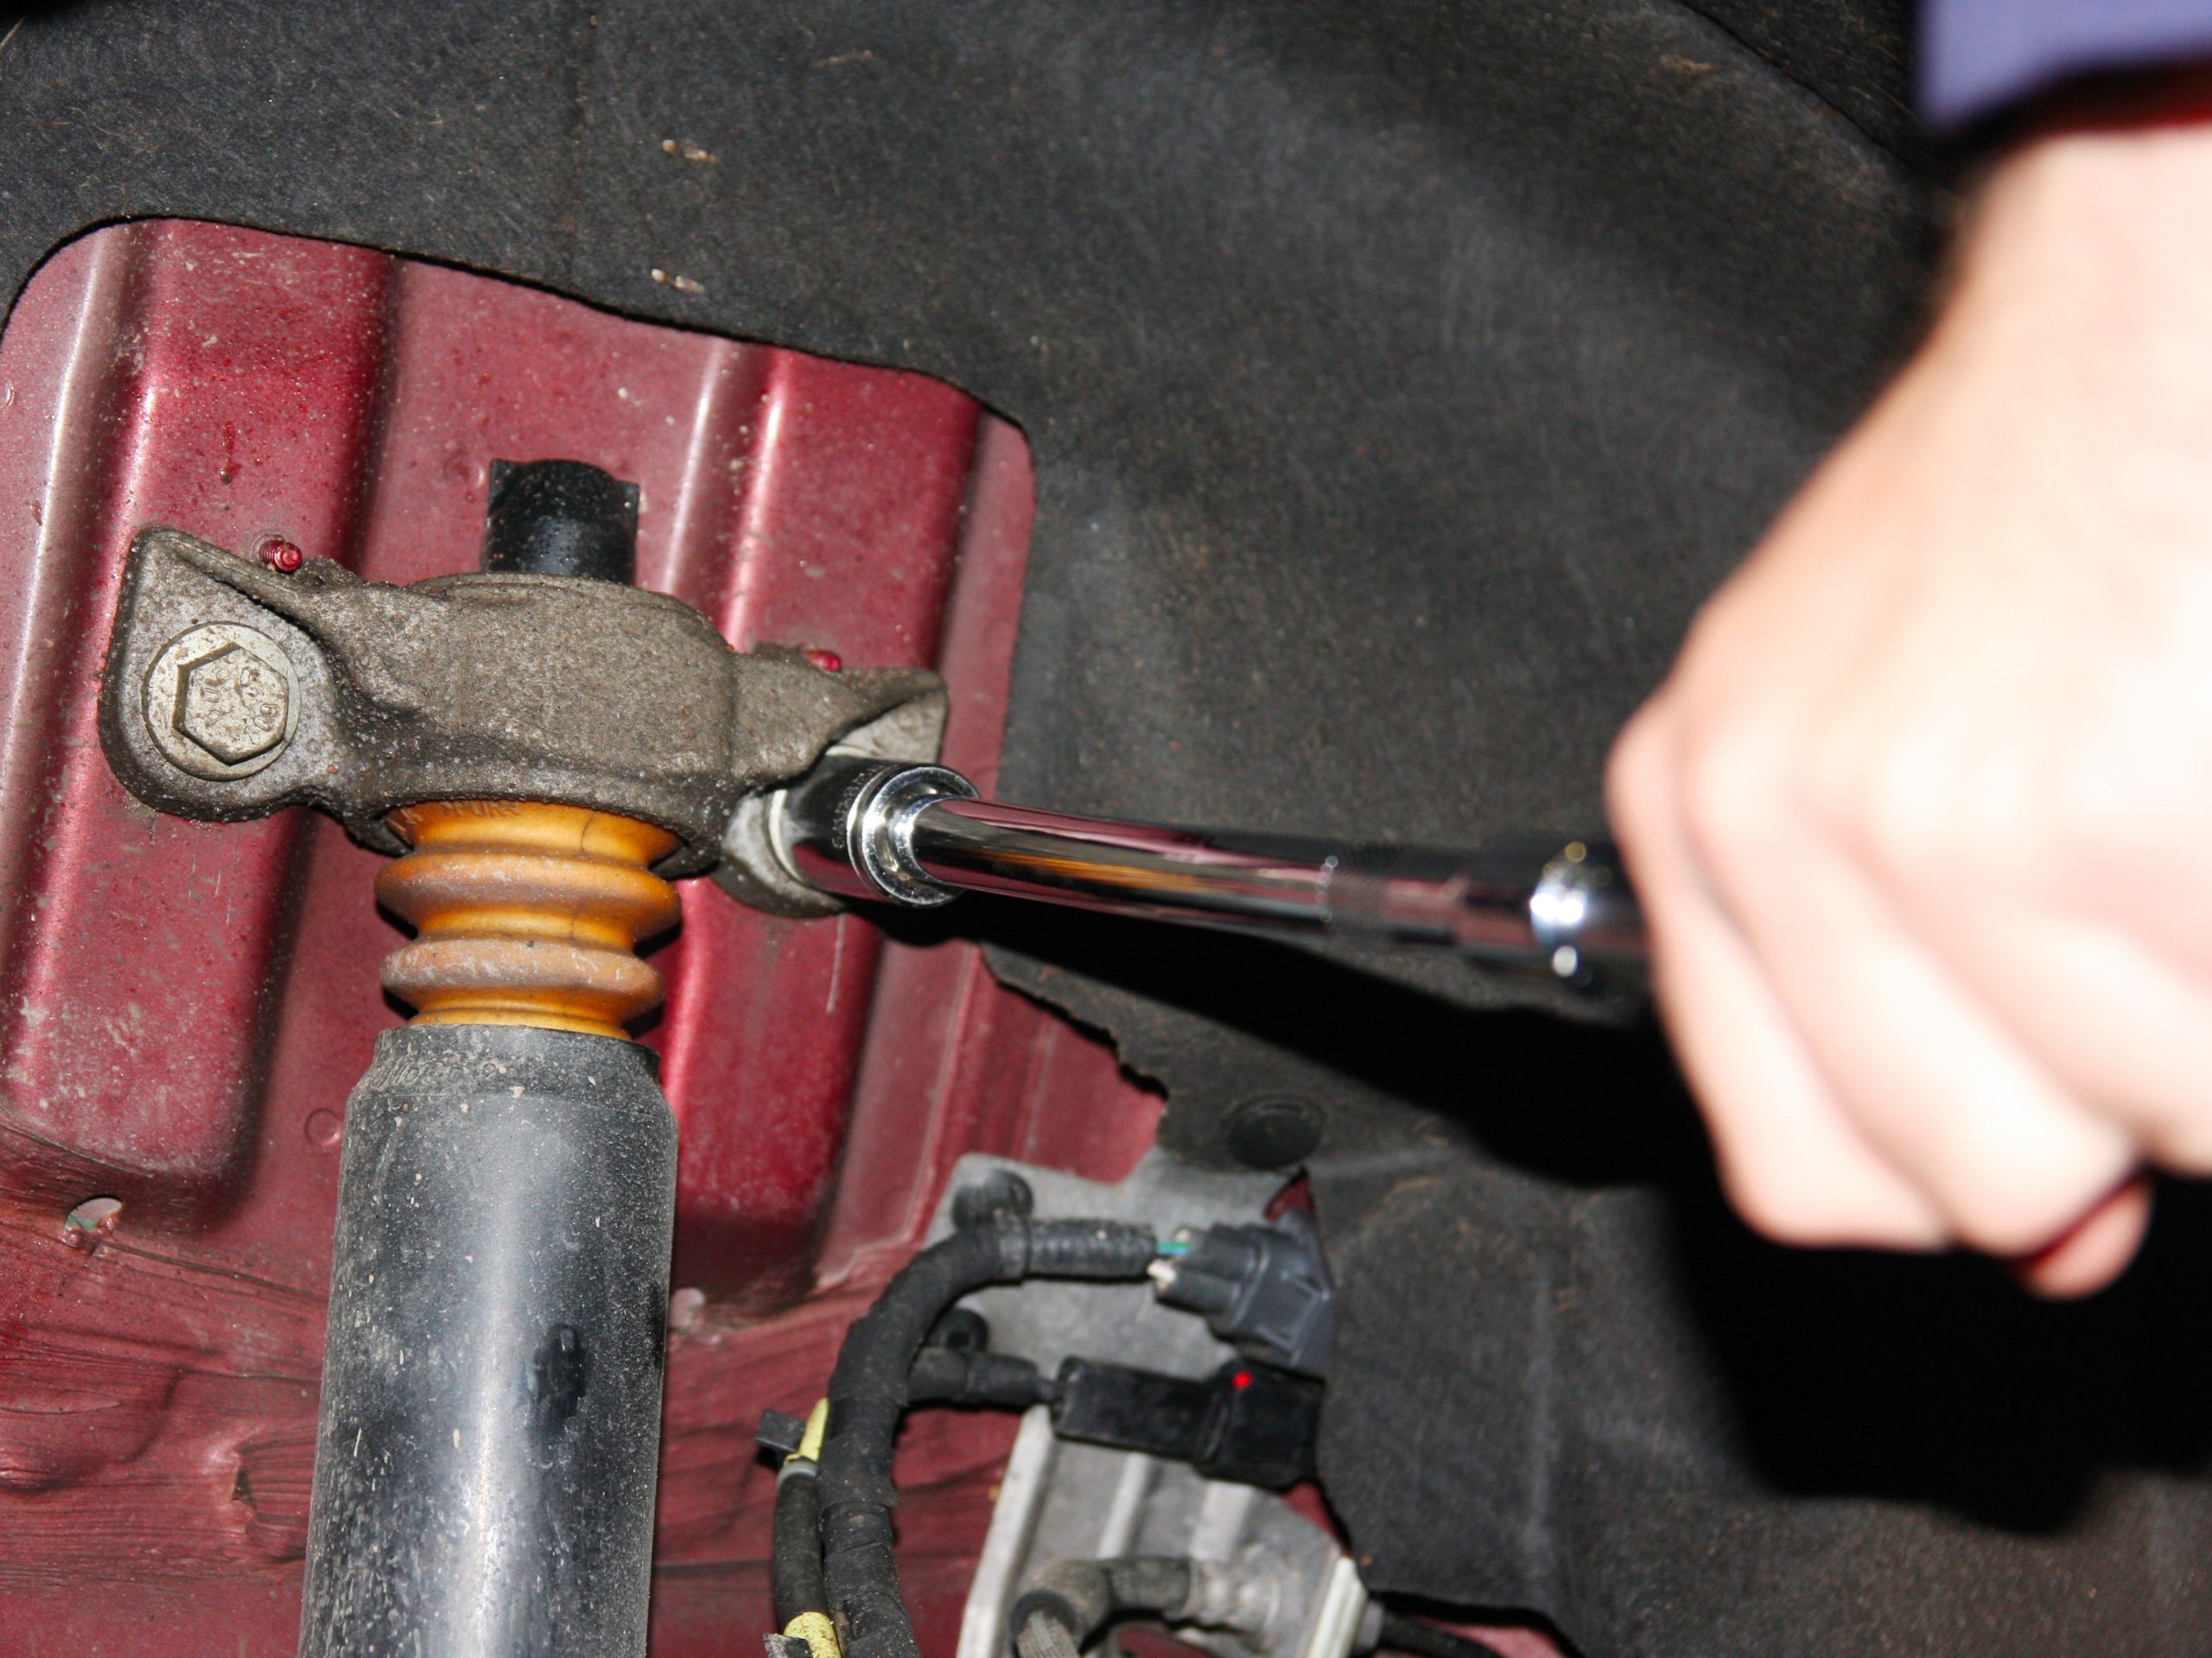
The jack under the suspension was raised so that the top shock absorber mount slotted neatly over its locating pins.
The bolts were then refitted after some thread locker had been applied, and torqued to the appropriate setting.
The road wheel was then replaced, before we repeated the work on the offside.
With both sides completed and the car back on the ground, the wheel nuts were tightened to their correct torque settings.
Following a road test, we took the measurements again:
- Empty – 71.5cm
- Full boot (tools etc) – 70.5cm
- Full boot plus ballast – 69.0cm
The instructions suggest that the headlights may require some adjustment, so it’s something that we’ll monitor.
Although we’ve yet to tow the caravan, the solo ride has improved and the car rides undulations better than before.
Thanks to Ivan Fomin of MSE Hiller for letting us fit the units and use his workshop
Thanks also to Ekollon Limited who supplied the spring kit – click here to see the range
Because these don’t alter the original suspension, they shouldn’t cause any warranty issues