


Correctly adjusted caravan brakes are central to the wellbeing of you and your family during your caravan holidays. The following task, done on an Al-Ko chassis, may sound involved, but it is actually straightforward.
Tools required for the job are:
- A wheelbrace
- A torque wrench and the appropriate-size wheel-nut socket
- A jack and axle stands
- A flat-blade screwdriver
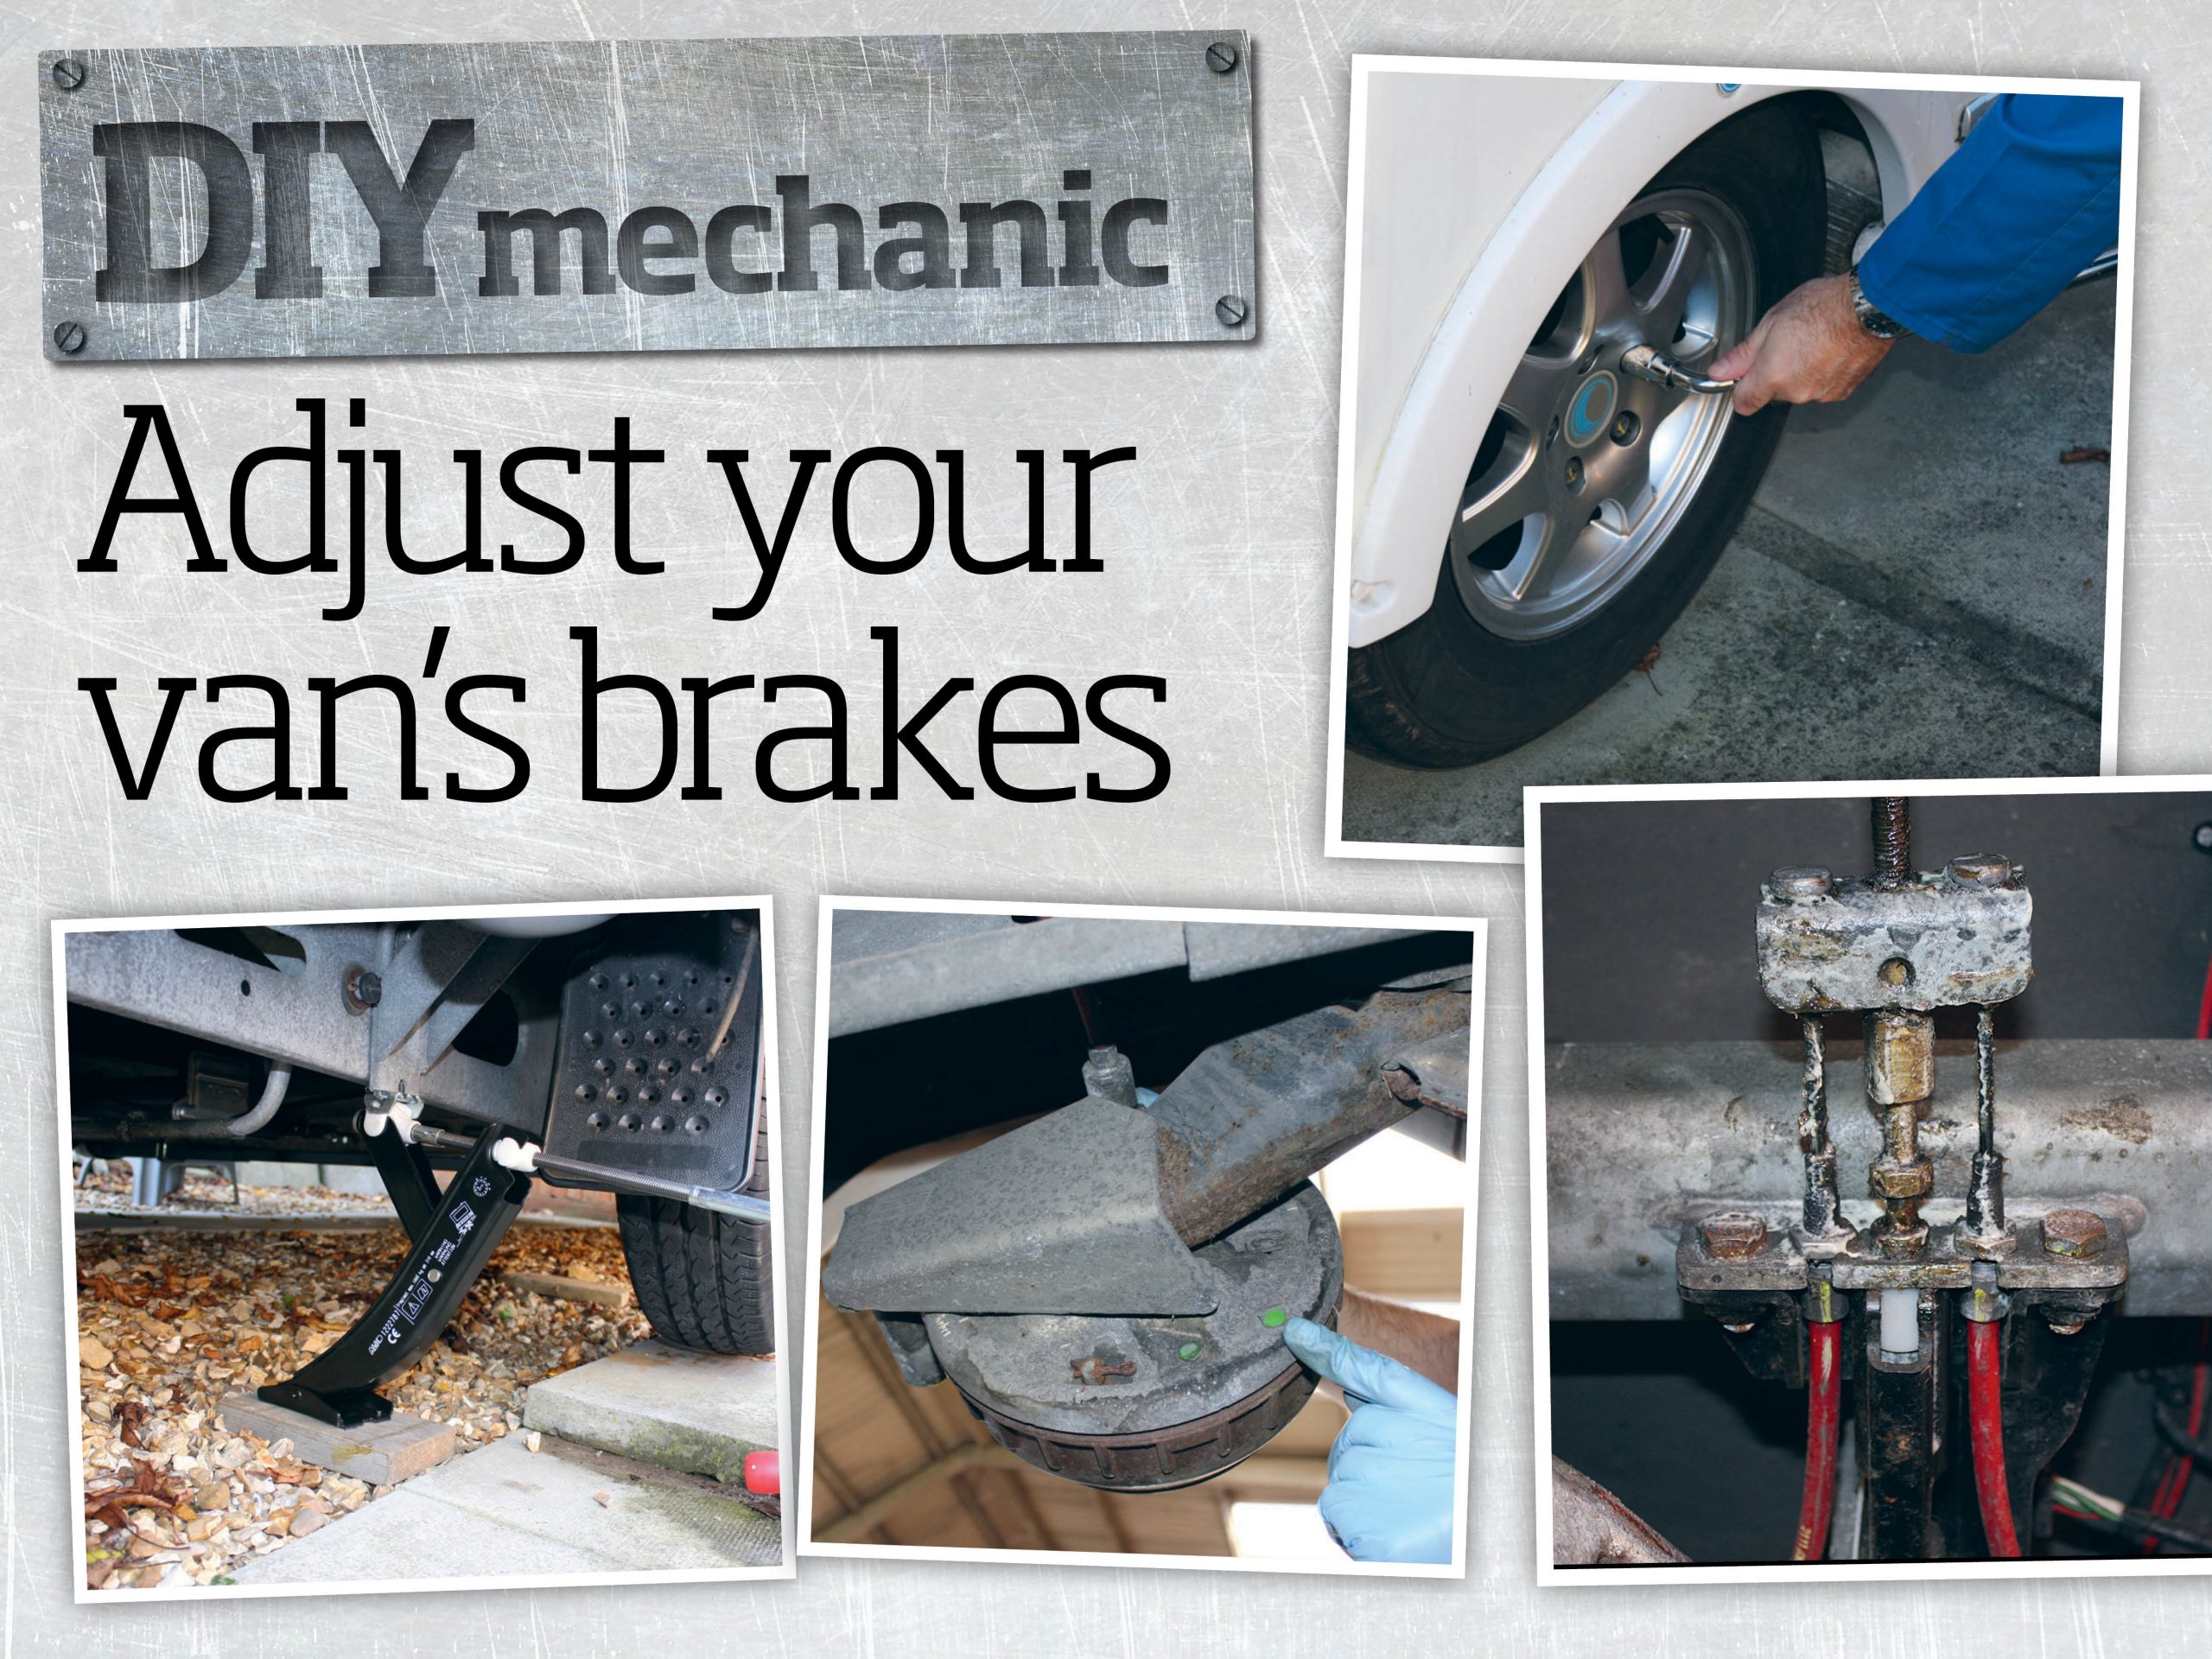
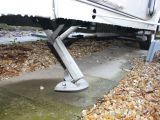
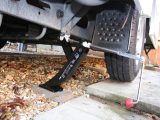
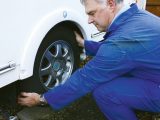
The first step is to ensure that the handbrake on the caravan is applied, and that the hitch is fully extended. Then raise each of the caravan’s corner steadies so they are clear of the ground. This is to prevent them from being damaged during jacking.
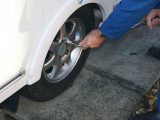
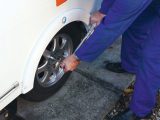
Next, slacken all of the wheel-bolts just enough to allow you to remove them without having to use any great force while the wheel is off the ground.
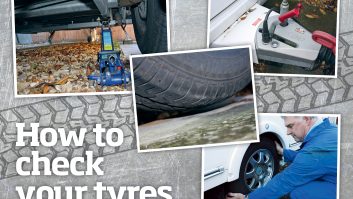
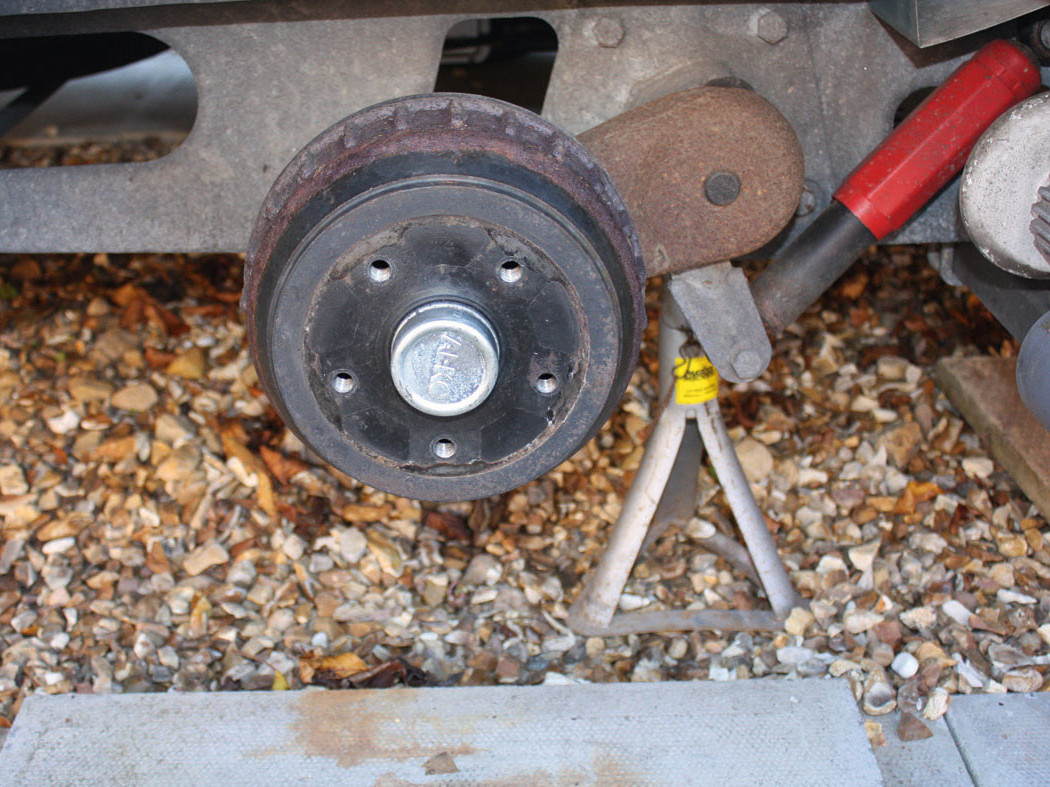
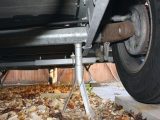
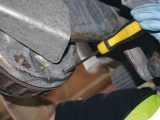
We covered jacking caravans in another Practical Caravan guide on how to check your tyres. Whenever I work under the caravan, my preference is to support it on axle stands, which provide a far more stable base and are much less likely to fail than a jack.
Spin and listen
When the caravan is supported high enough to lift the tyres clear of the ground, lower all of the corner steadies to give extra support and stability. Once you’re happy that the caravan is secure, release the handbrake. Rotate each wheel in turn to ensure that they the can spin freely. Provided there’s no resistance, the sound of the brake drum just catching the shoes inside is acceptable, and no adjustment may be necessary.
However, if there is any drag, the adjustment that we’re going to cover here may solve the problem. If it doesn’t, you may need to delve deeper into the braking system, which we’ll cover in an upcoming issue.
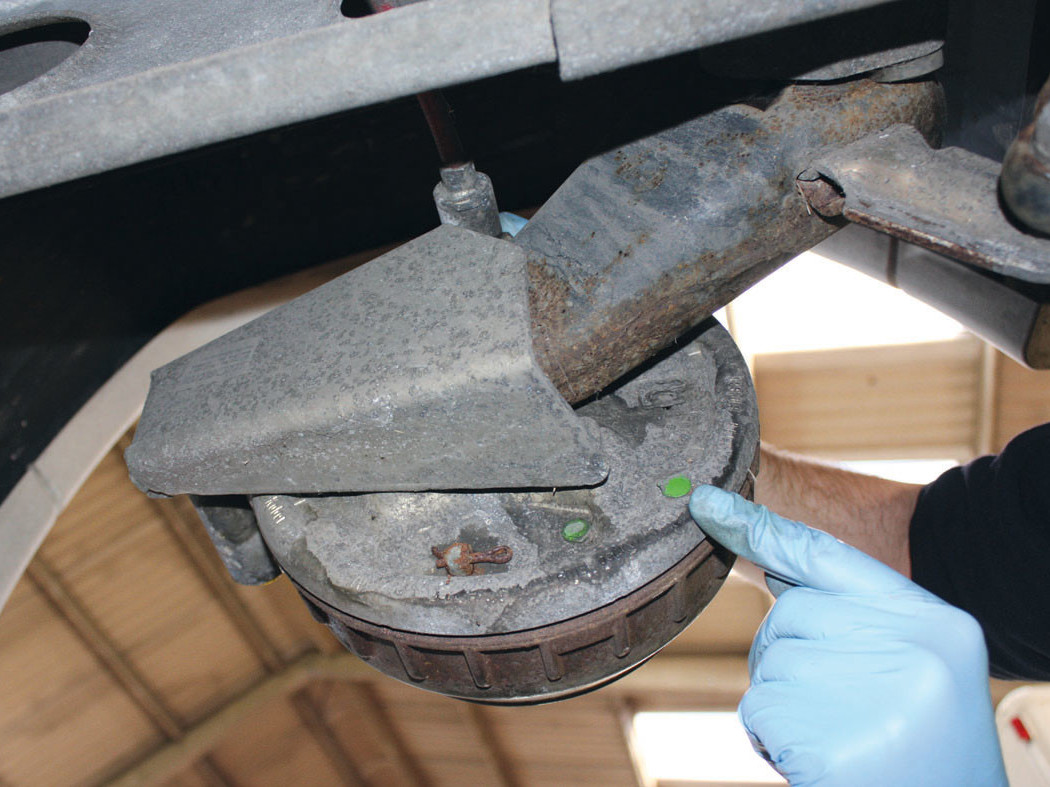
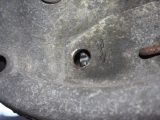
Remove the wheel on the side that you’re going to be working on first. When viewing the backplate from beneath the van you should see at least one small, bright-green plastic bung (my caravan only has one bung on each backplate, but others have a couple).
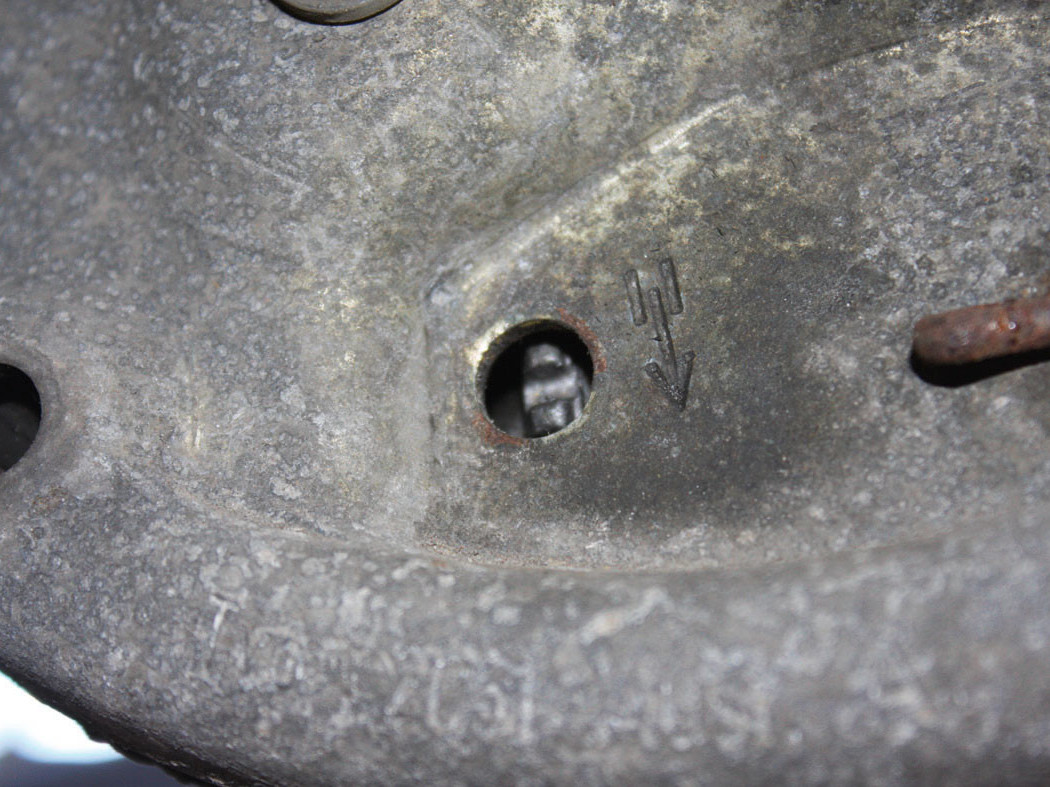
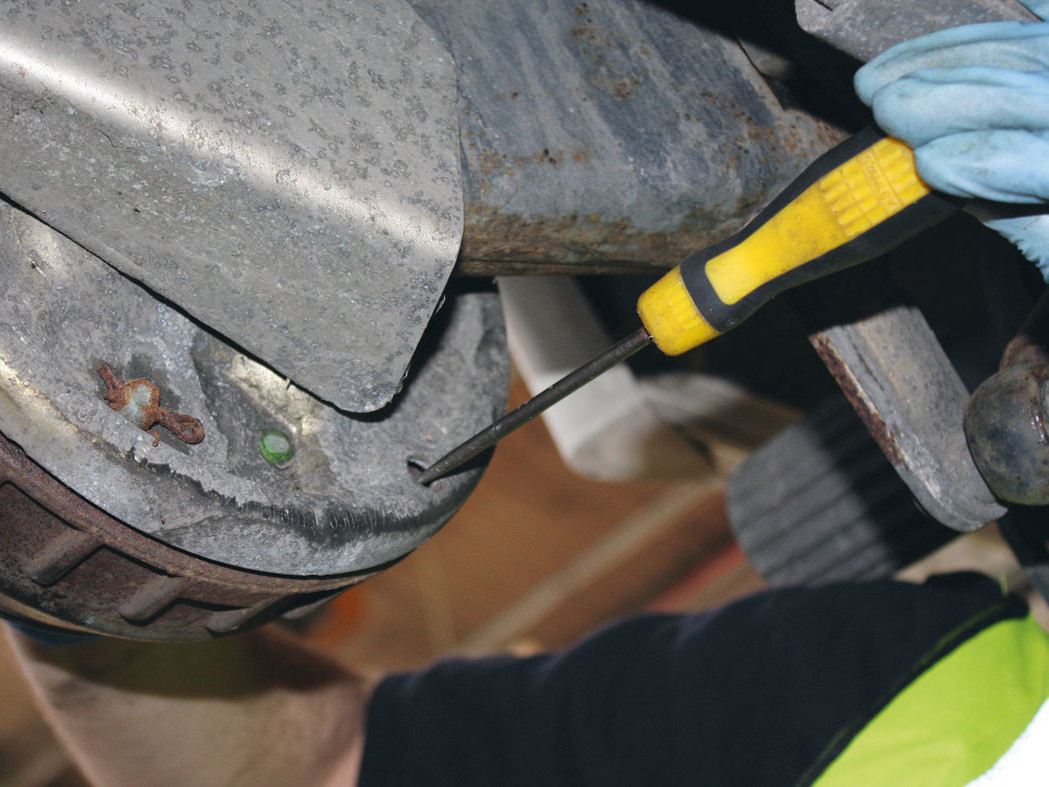
Look closely and you’ll see an arrow adjacent to the bung. If you can’t, clean the area around it so you can see it clearly. Once you’ve established that you’ve found the right bung, remove it. Behind it, you’ll see the teeth of the adjuster. When carrying out the adjustment, move the adjuster in the direction of the arrow until resistance is felt when turning the road wheel in a forwards direction. At this point, whilst still rotating the wheel in the forwards direction, move the adjuster in the opposite direction to the arrow until no resistance is felt at the wheel.
Also, should you rotate the drum in the wrong direction, turn it a few full rotations in the forwards direction before you do any more adjusting.
Turn and test
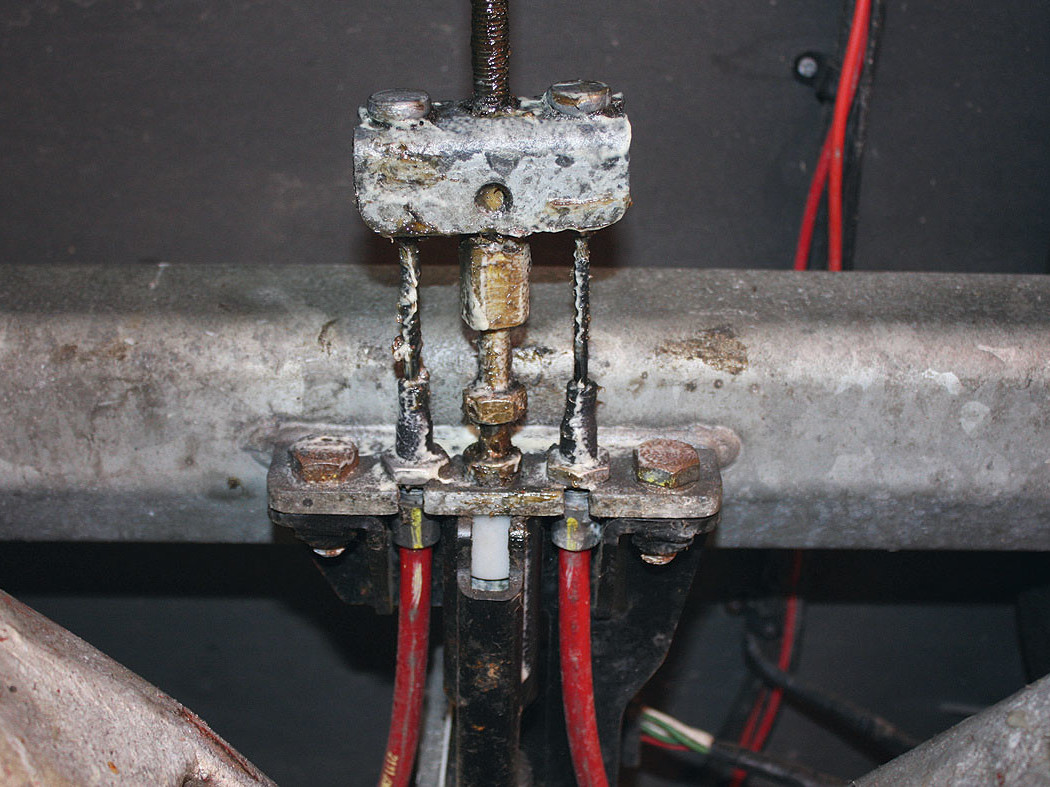
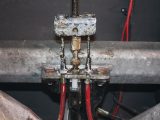
When you’ve done both wheels and they feel/sound the same, check the operation of the handbrake. With a gas-assisted handbrake, it’s almost impossible to apply it partially. On the ratchet type, though, simply pull it on by one or two clicks, and then check that both drums have met with the same degree of resistance when you try to turn them. If so, the procedure is the same as for a gas-strut assisted handbrake: apply it fully and check the balance bar in the centre of the caravan; this is where the rod from the hitch and the cables to each of the brakes meet. Ensure that it is at 90˚ to the rod from the hitch, that both sides are pulled evenly and that the brake drums cannot be turned.
If all is well, make sure that you’ve replaced the green bungs, and put the wheels back on. Do not tighten the wheel nuts completely at this stage.
Once the wheels are back on, release the handbrake to double-check that the wheels spin freely, and then apply the handbrake again to be certain that they lock.
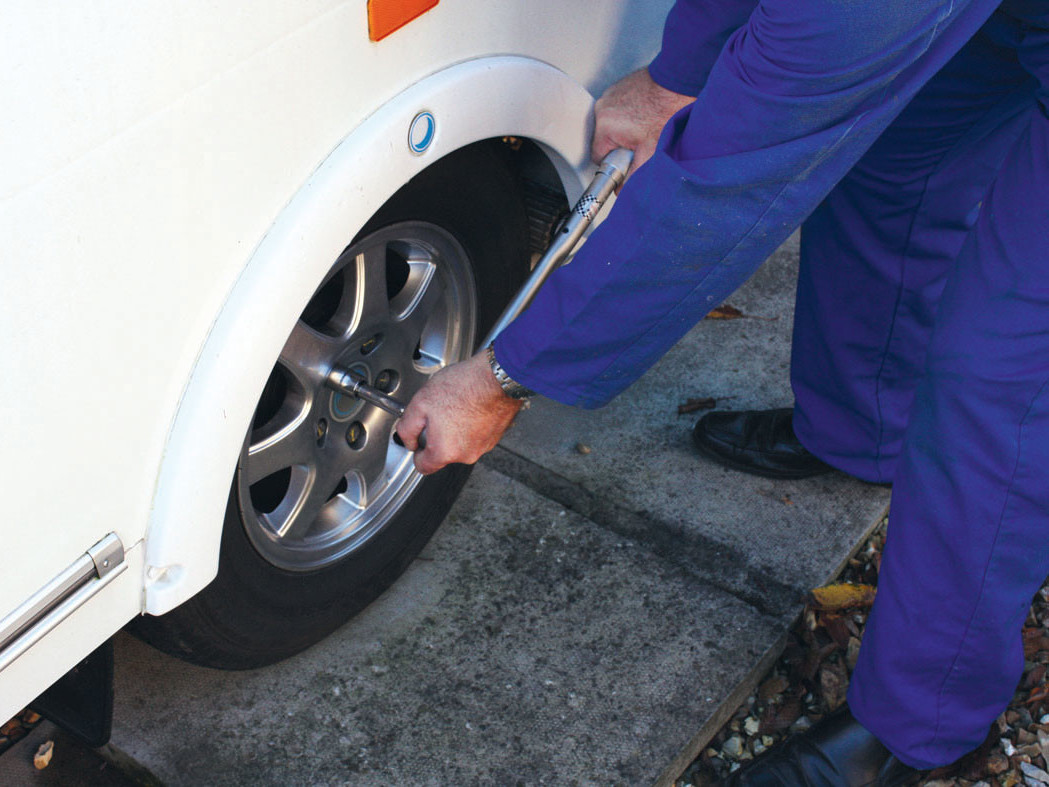
Lower the tourer to the ground, and tighten the wheel nuts to their correct torque setting. If you don’t know what that is, don’t guess; consult your van’s handbook for the recommended torque setting.
Thanks to Wayne at Yorkshire Caravans in Bawtry for his help with this feature for Practical Caravan.
Once you can hear the brake shoes catching the drum without binding, the brake is correctly adjusted