


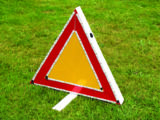


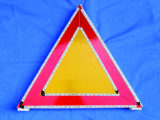


Mandatory items when you are travelling in mainland Europe include hi-vis jackets and a red triangle which, in a breakdown, must be deployed at a distance from the rear of your caravan to warn oncoming traffic that there is a stationary vehicle ahead.
Most of the commercially available triangles are of the folding variety, which come packed inside plastic sleeving for storage. But in the main, they are small and can easily be missed when deployed.
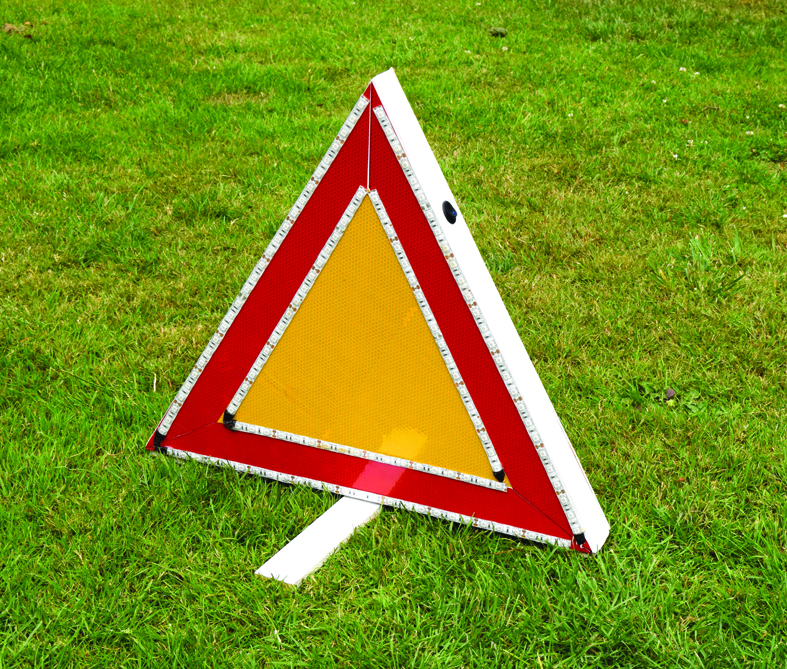
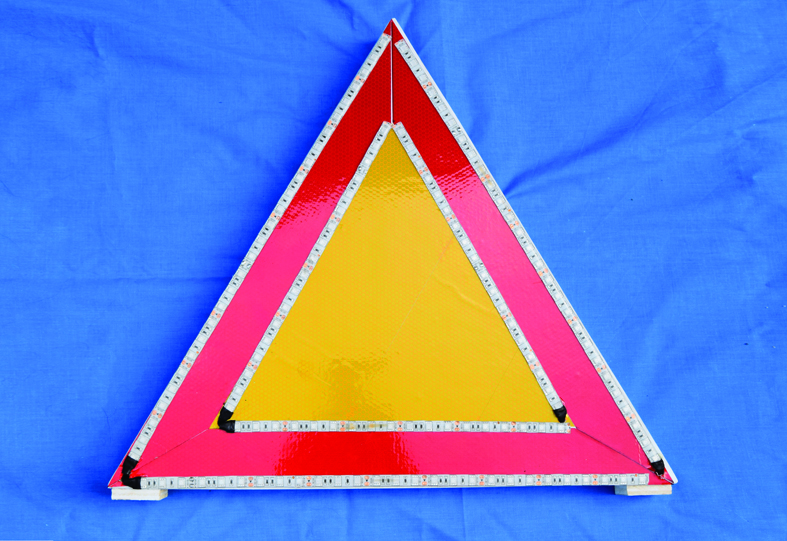
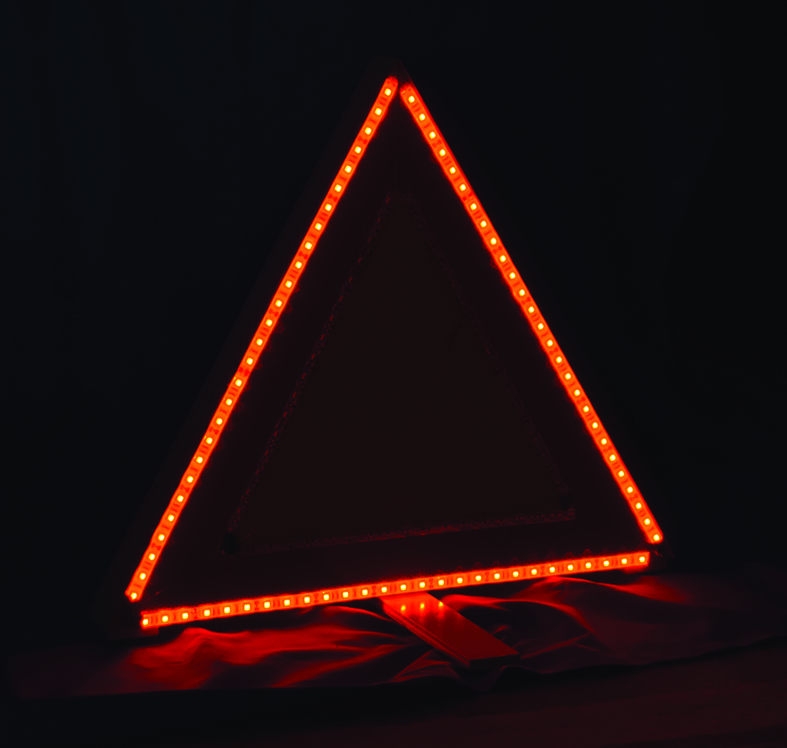
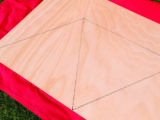
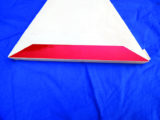
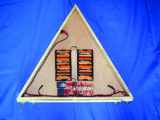
This project covers the construction of a 450mm-high triangle that has a large reflective red and yellow surface area and alternately flashing red LED triangles (one inside the other), which draw attention to it, especially at night.
We would advise using this to supplement your original triangle, rather than replacing it.
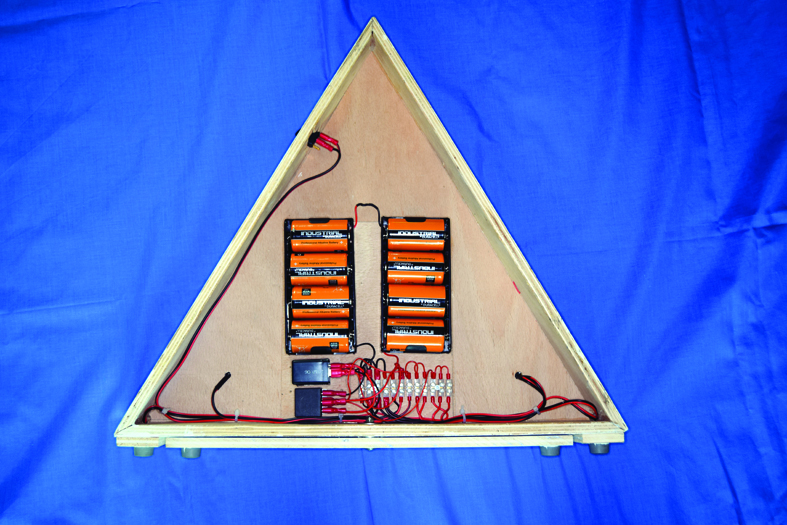
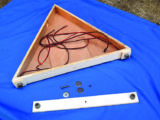
The two LED triangles are driven by an electronic car flasher unit, which in turn powers the operating coil of a changeover relay, also commonly used in cars. Although heftier than needed, both have been chosen because they are cheap and readily available.
The power source is eight alkaline D cells in series (the battery holders will need to be connected accordingly), giving 12V. These D cells have a long storage life and the warning triangle will, it is to be hoped, spend long periods not being used. Should the need arise, they have plenty of capacity to run for extended periods.
The batteries should be replaced if the triangle is used for any length of time. Most batteries are sealed and won’t leak if discharged, but finding the batteries are flat in an emergency is best avoided.
The skills needed for this project are an ability to solder and some basic carpentry.
Parts
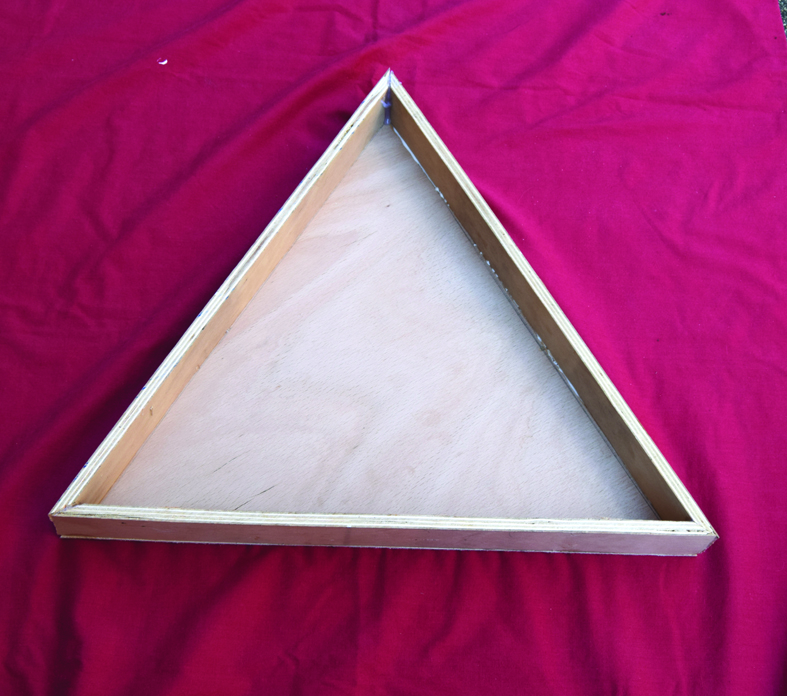
- Sheet of 3.6mm plywood (1220 x 600mm)
- Enough 12mm plywood for triangle sides and stand swivel (I used some scrap wood)
- One 5A rocker switch
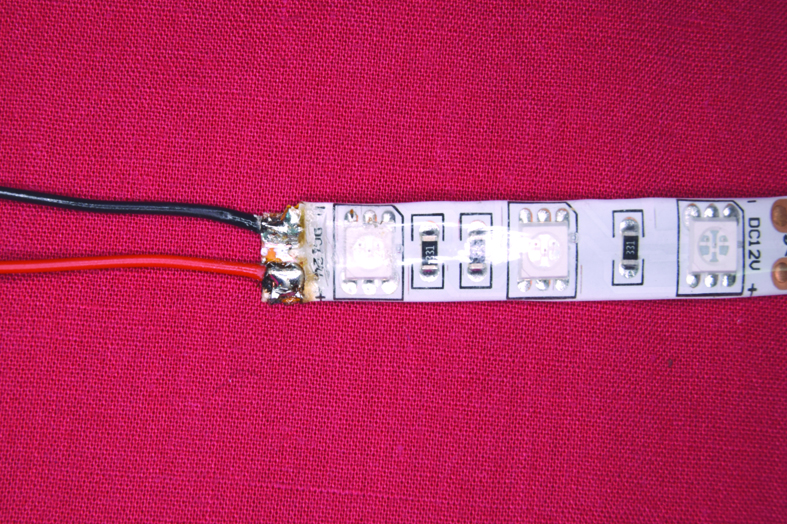
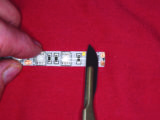
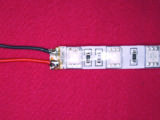
- 5m of red LED strip, which must be IP65 grade with self-adhesive backing. Only cut this at a point showing a pair of shears
- 2m of 50mm-wide red self-adhesive reflective tape
- 0.5m of 100mm-wide yellow self-adhesive reflective tape
- Four rubber feet
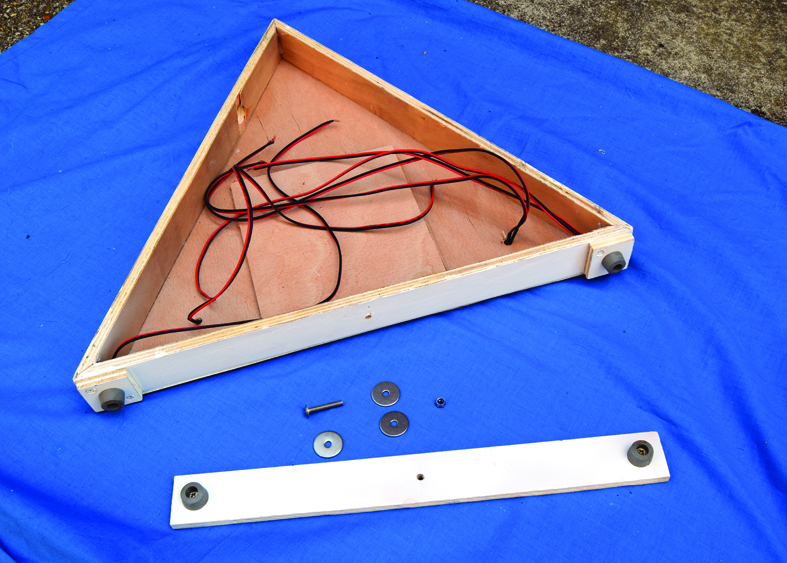
- One M5 30mm bolt, one M5 self-locking nut and three M5 ‘Penny’ washers
- One 40A 12V changeover relay
- One electronic indicator ‘Flasher’ unit (bimetallic types will not work)
- Connector strip (12-way, 5A ‘chocolate block’ variety)
- Two D cell four-way battery holders
- Eight alkaline D cells
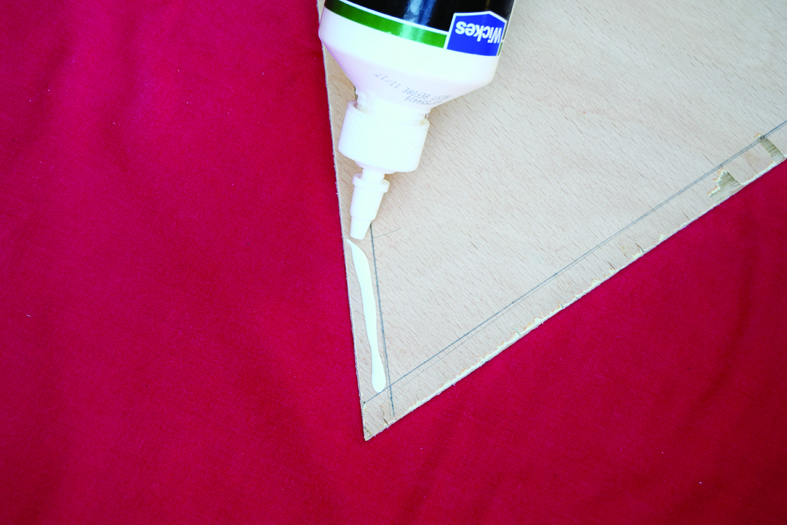
- Wire, crimp connectors, heat-shrink sleeving, wood glue, small wood screws
Tools
- Tenon saw
- Soldering iron
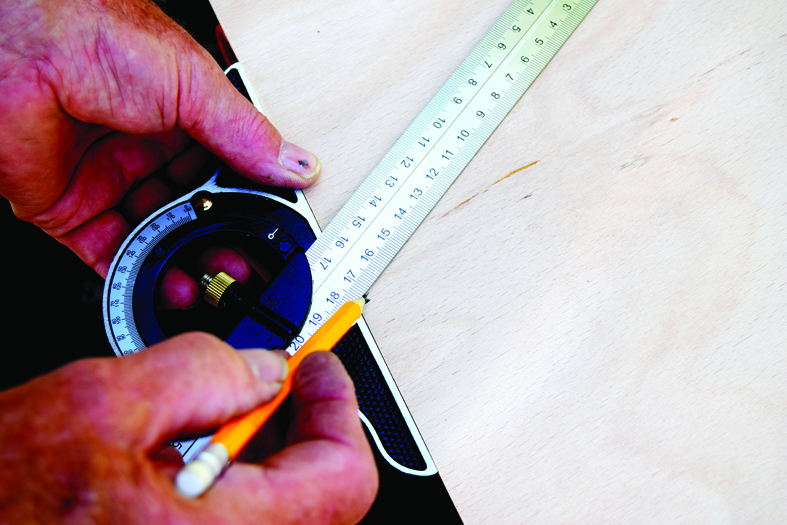
- Protractor or angle gauge
- Crimp tool
- Drills
- Heat-shrink gun
Time taken: around three hours
If you liked this… READ THESE:
Best caravan gadgets and accessories
How to renovate a caravan step
If you’ve enjoyed reading this article, why not get the latest news, reviews and features delivered direct to your door or inbox every month. Take advantage of our brilliant Practical Caravan magazine SUBSCRIBERS’ OFFER and SIGN UP TO OUR NEWSLETTER for regular weekly updates on all things caravan related
Future Publishing Limited, the publisher of practicalcaravan.com, provides the information in this article in good faith and makes no representation as to its completeness or accuracy. Individuals carrying out the instructions do so at their own risk and must exercise their independent judgement in determining the appropriateness of the advice to their circumstances. Individuals should take appropriate safety precautions and be aware of the risk of electrocution when dealing with electrical products. To the fullest extent permitted by law, neither Future nor its employees or agents shall have any liability in connection with the use of this information. You should check that any van warranty will not be affected before proceeding with DIY projects.
This project covers the construction of a 450mm-high reflective triangle with alternately flashing red LED triangles, which draw attention to it, especially at night