


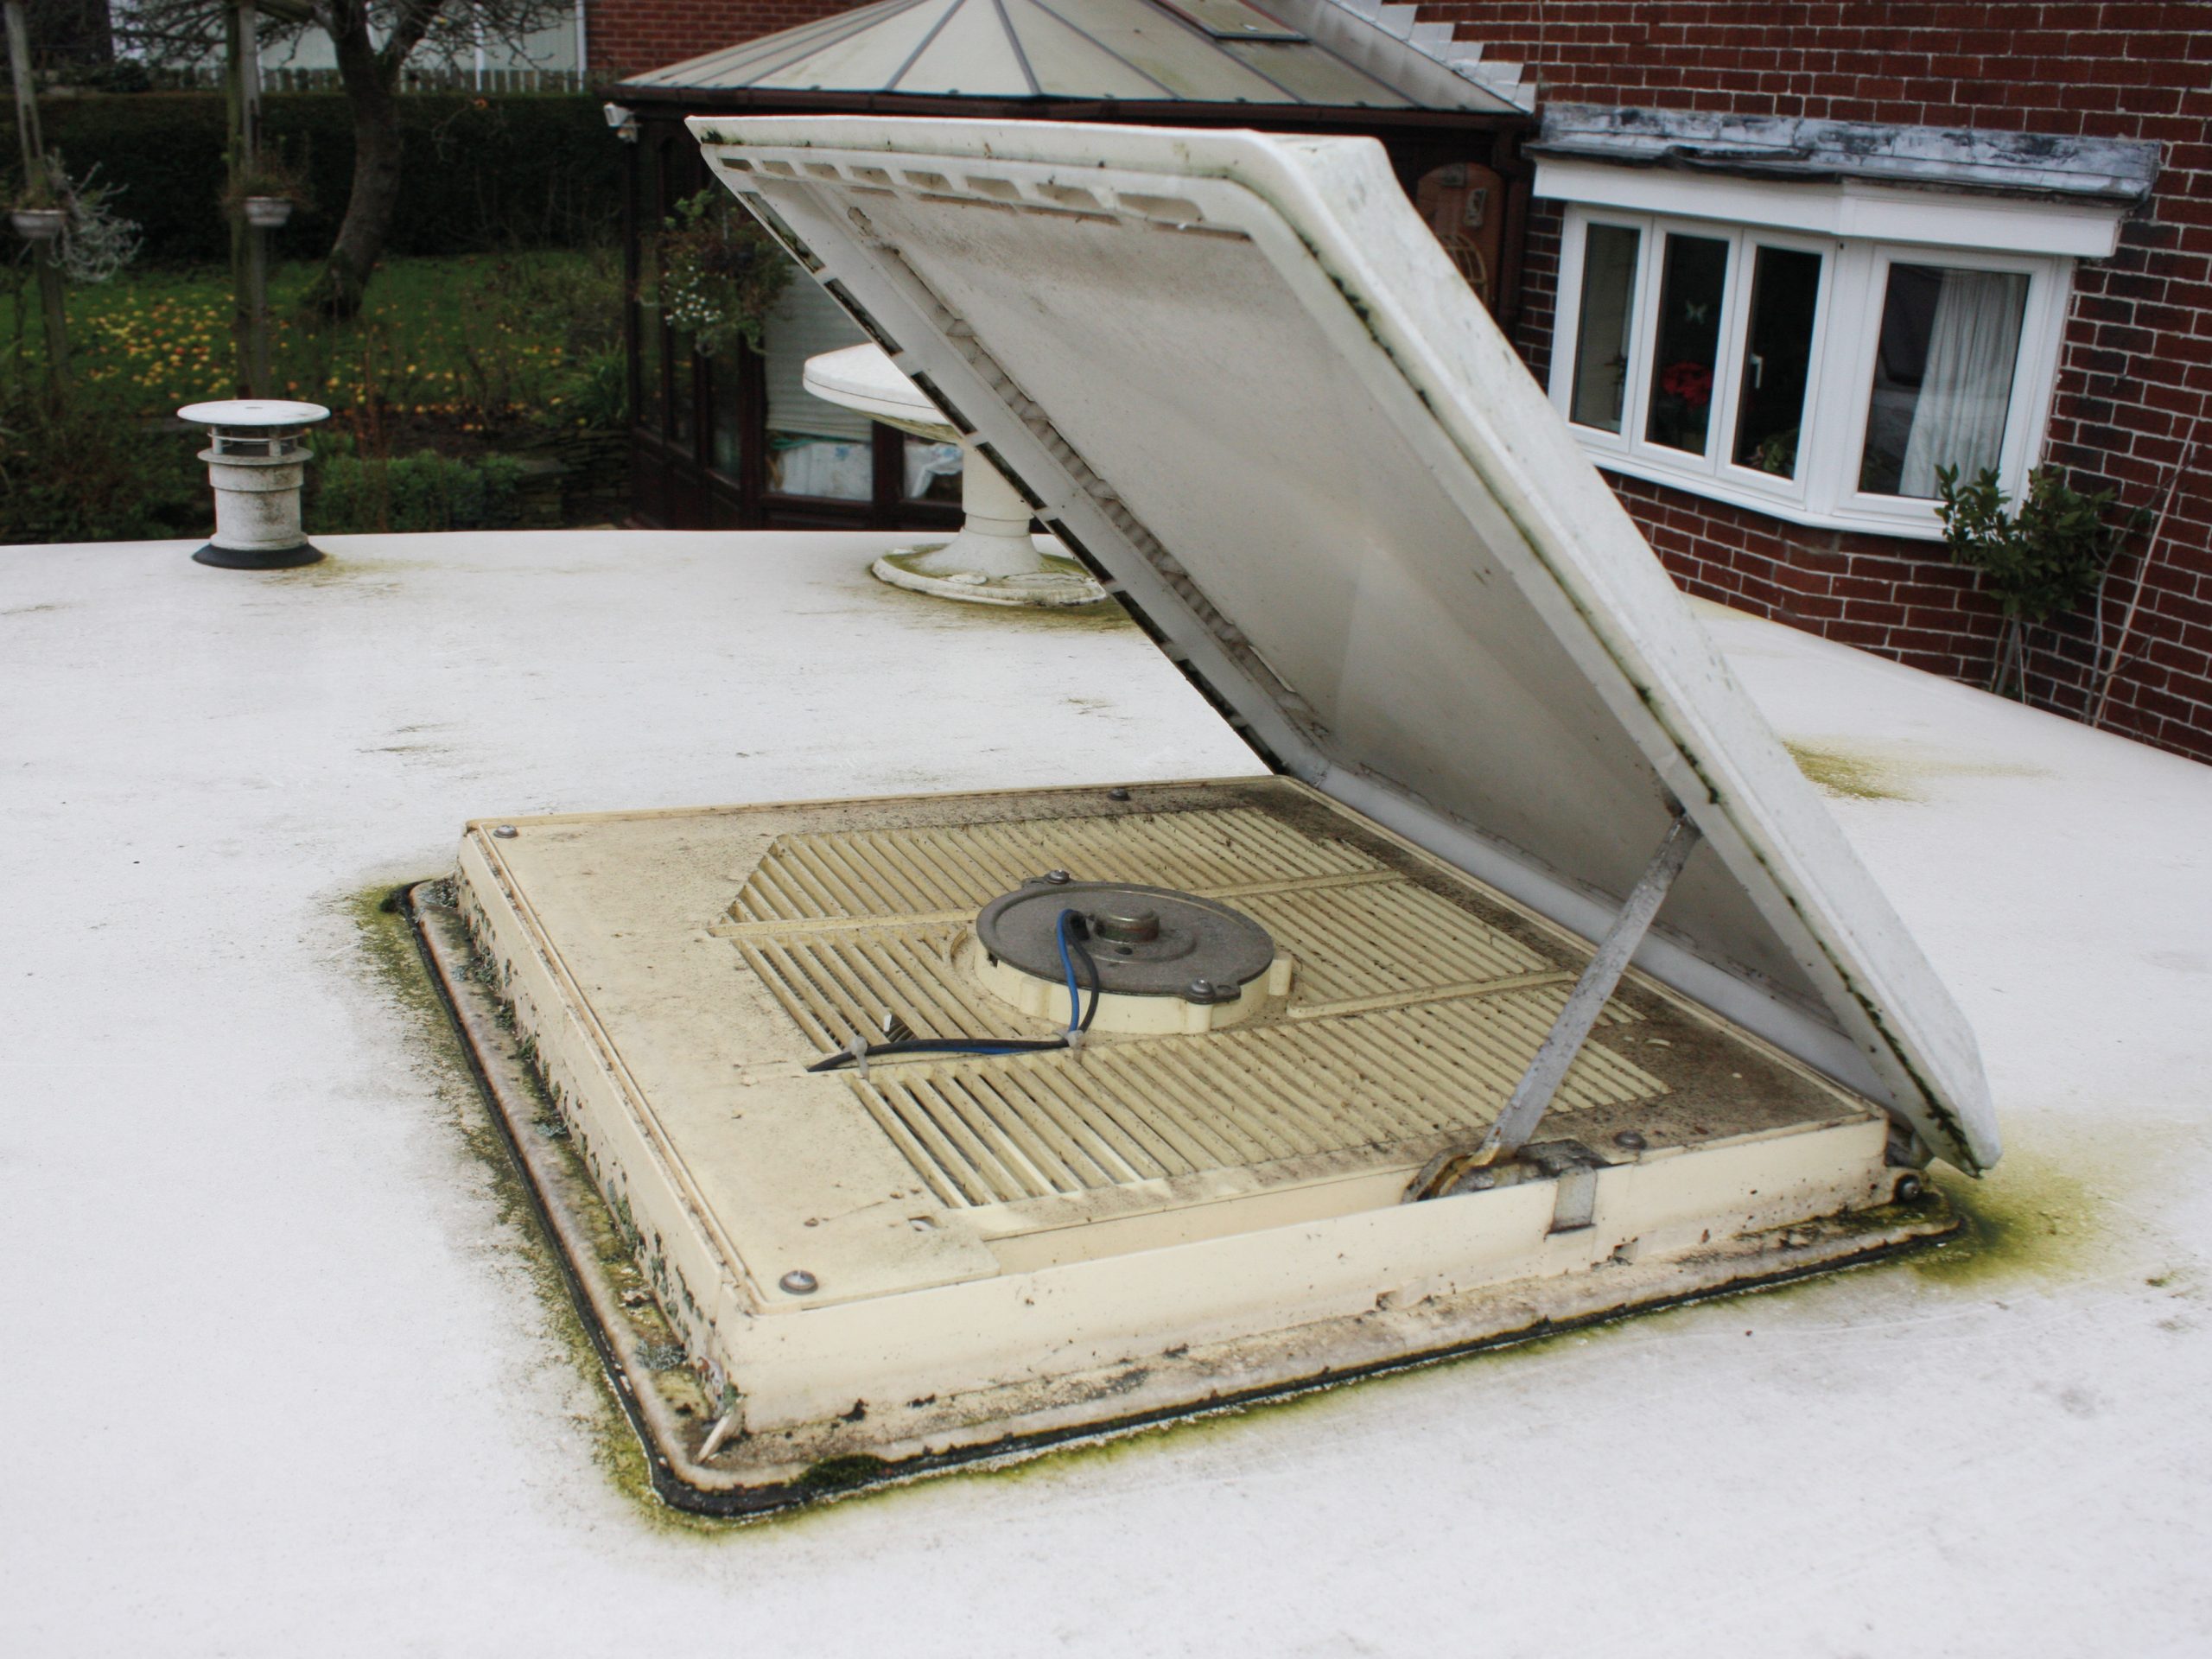


Omnivents — Some people love them, others don’t. Personally, I quite like them, but I’ve found a secondary use for them and have, over the years, relied on them to bring cool air into the van rather than as an extractor fan; in hot weather, it’s especially effective when paired with a portable desk fan.
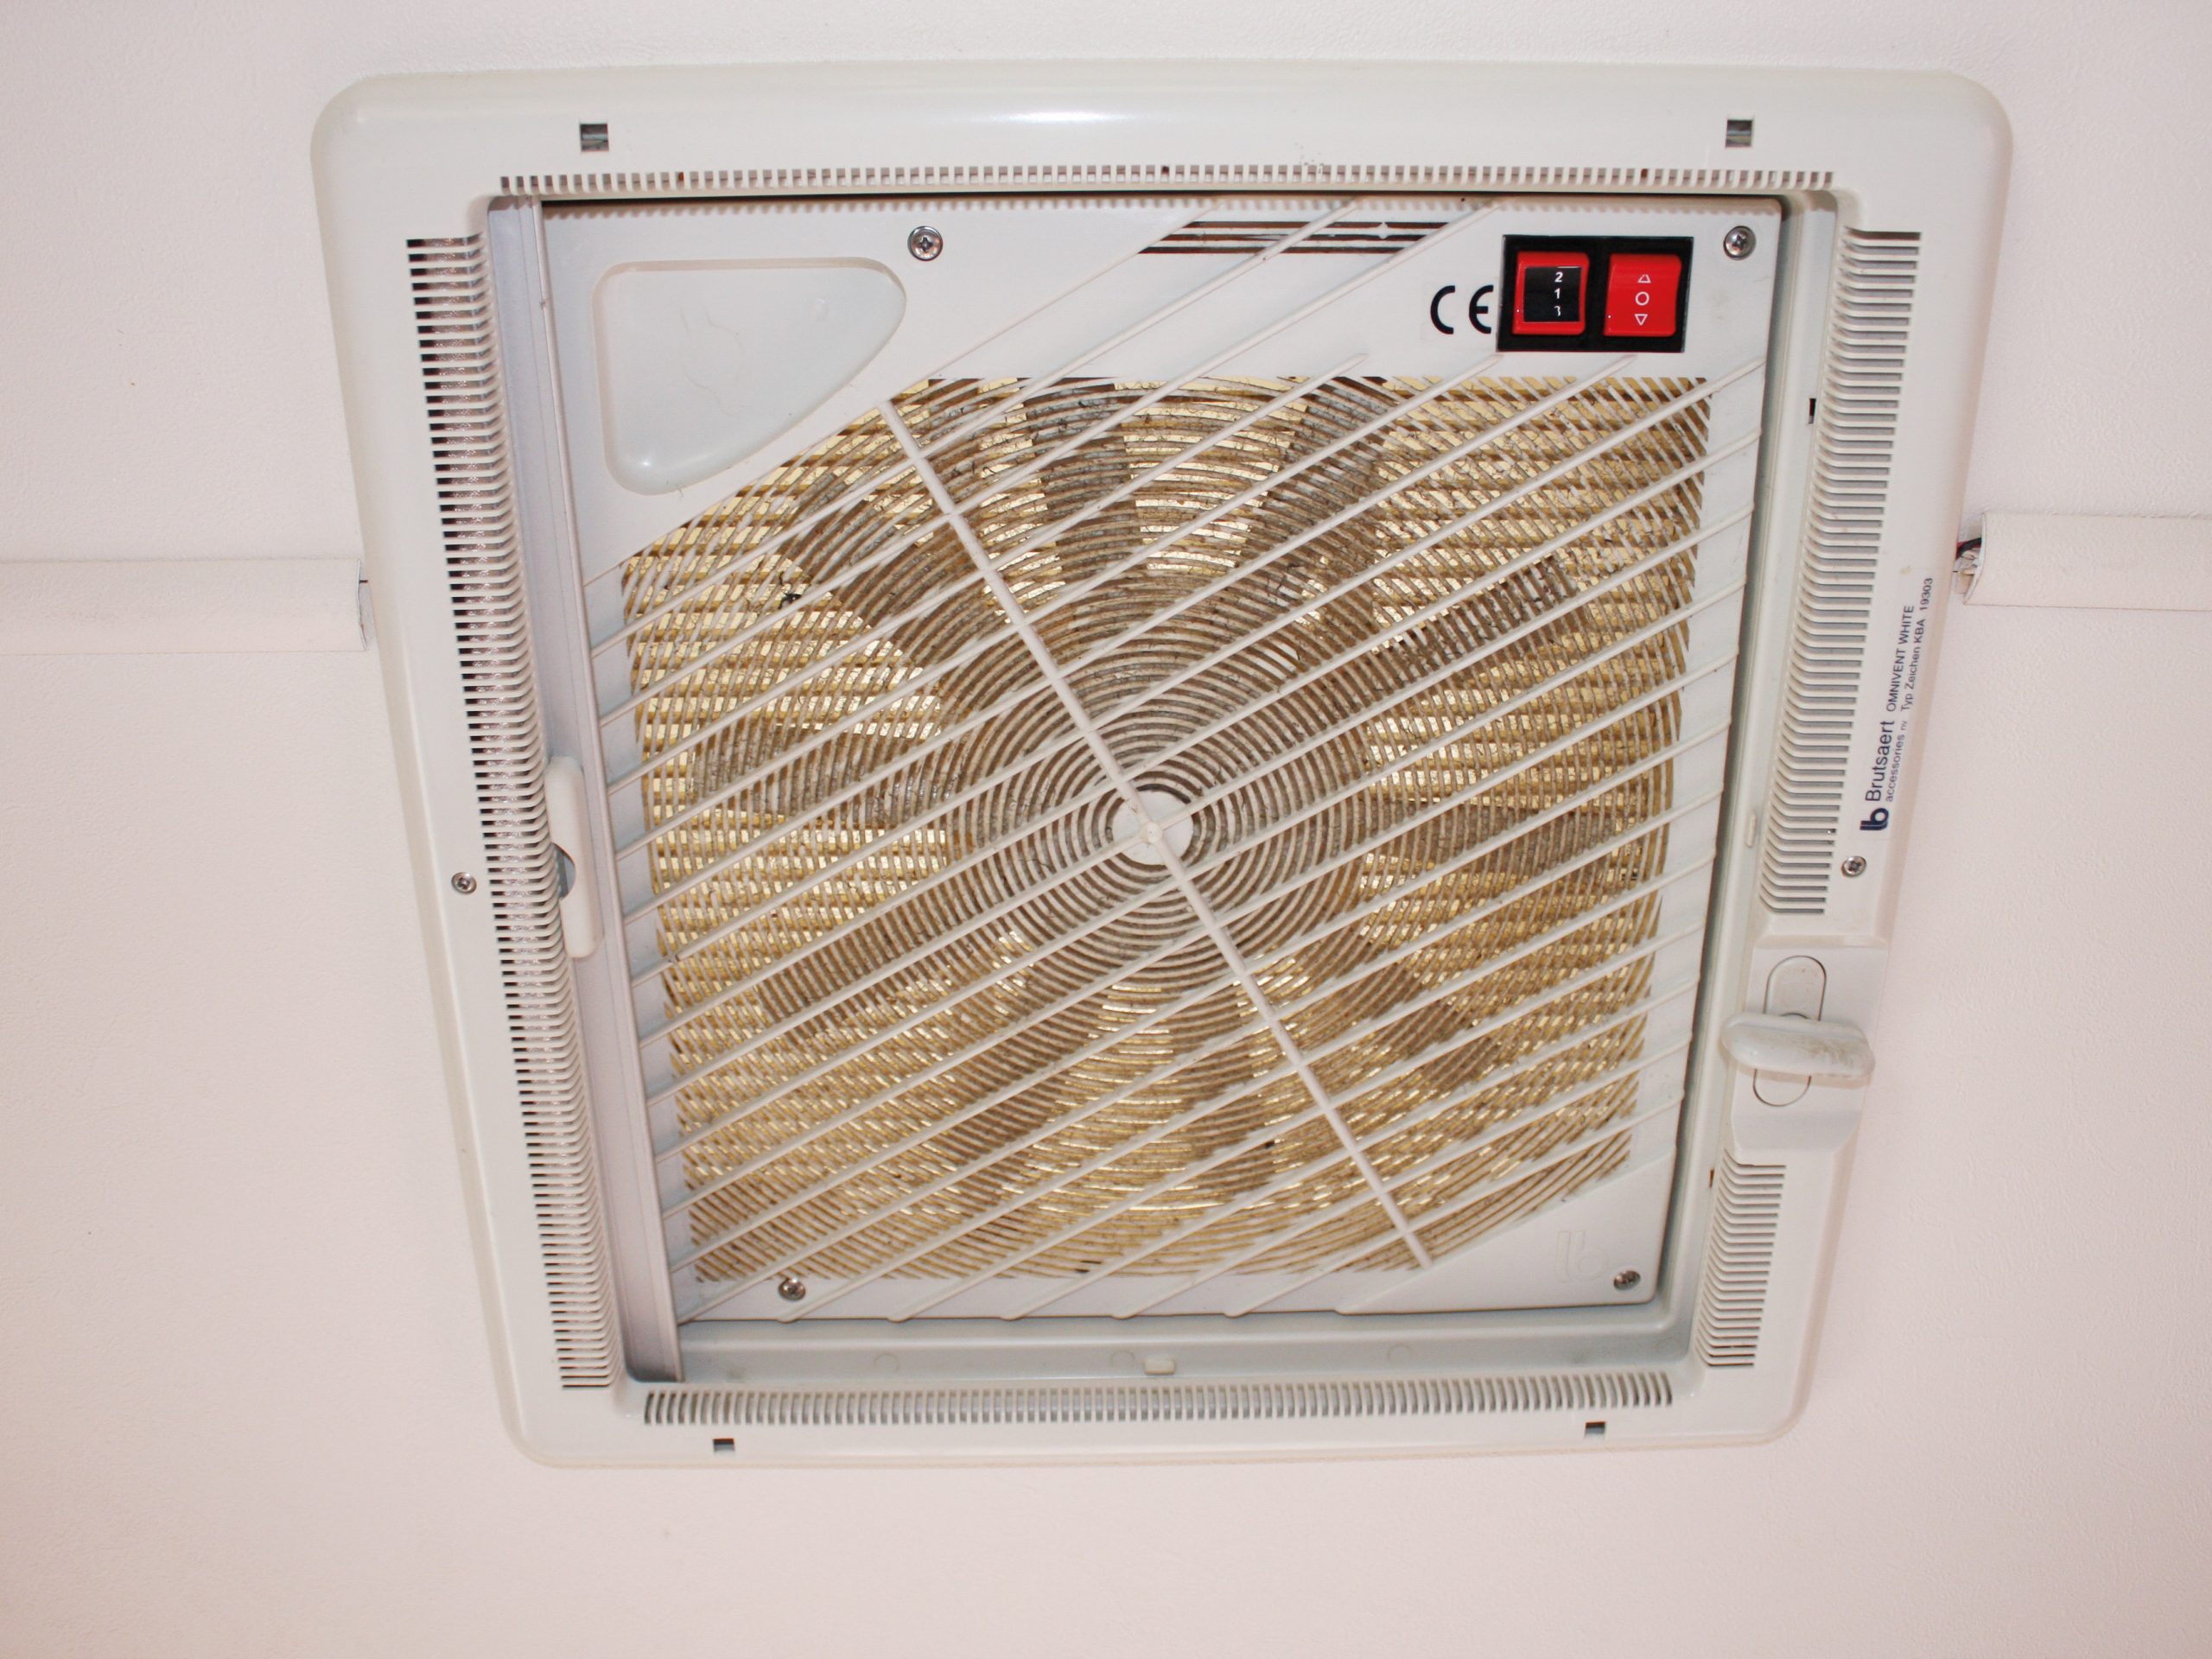
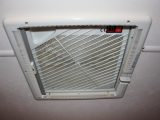
Yes, they can be noisy, especially early versions, like the late 1990s model in this example. They were made of solid plastic and blocked out daylight. Newer ones are made of clear plastic and, as a result, are far better. They also have mesh upper screens rather than solid-plastic slats as before. Later versions boast touch-sensitive controls rather than positive switches; they look neater but opinion is divided over whether they work any better.
Historic grime
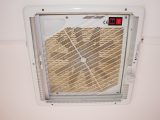
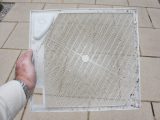
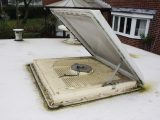
One thing is certain, though: they get quite dirty over time. I was surprised by just how filthy the slats and fan blades can get the first time I saw them. Such grime also makes it less likely that any natural light will penetrate inside.
Despite this, it’s not a problem you’re likely to notice because you don’t often see the grille, mesh or fan. It was only by chance that I saw the state of the 1990s Omnivent in this example.
Moreover, if any of the parts on your Omnivent are past their sell-by date, they could be replaced. The good news is that spares are readily available (read our article on sourcing spare parts).
In our case, the outer cover may soon need to be swapped for a new one, because it is badly tarnished from being parked under trees. We may not be able to restore it to its former glory, but that’s another project.
Whether yours is an earlier or a later version, dismantling it for cleaning is pretty similar and very simple. However, later Omnivents have a different internal surround that must be removed to allow access to the screws that hold the internal grille in place. We’ll cover that later. For now, we’ll concentrate on the earlier version.
You’ll need a few basic items to do this job:
- A crosshead screwdriver
- An 8mm spanner
- Warm soapy water
- A cloth and/or a small brush
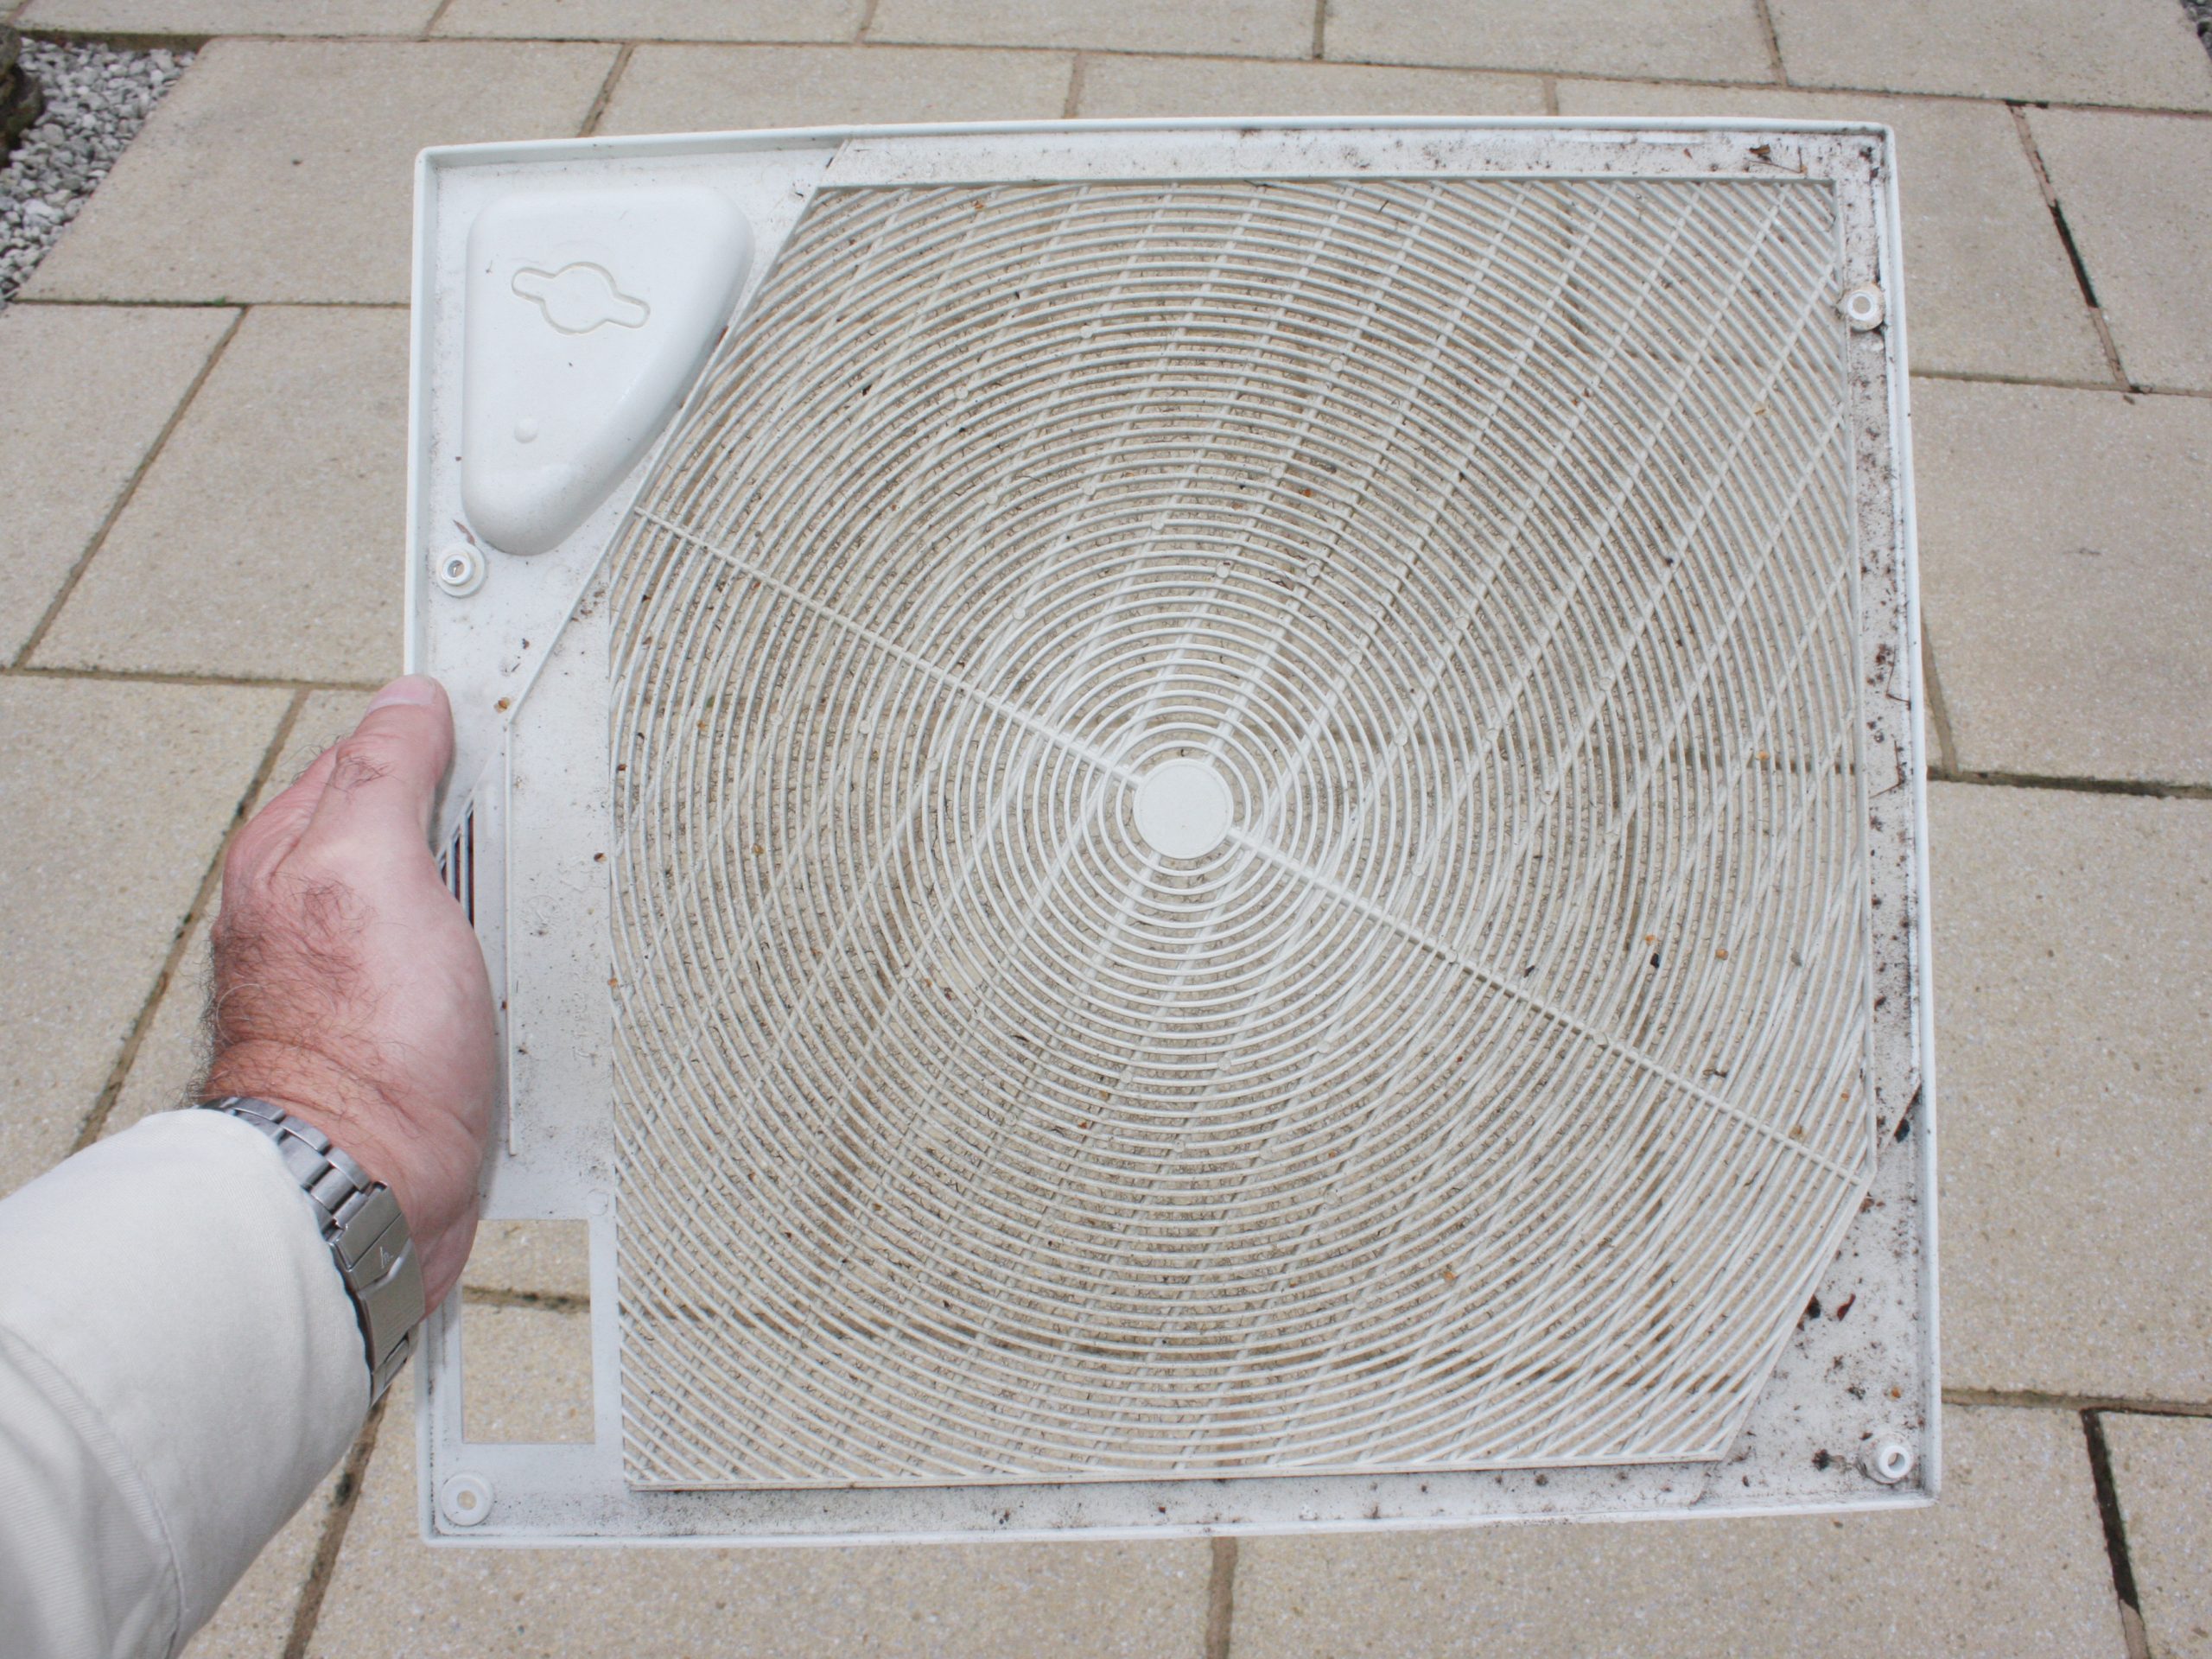
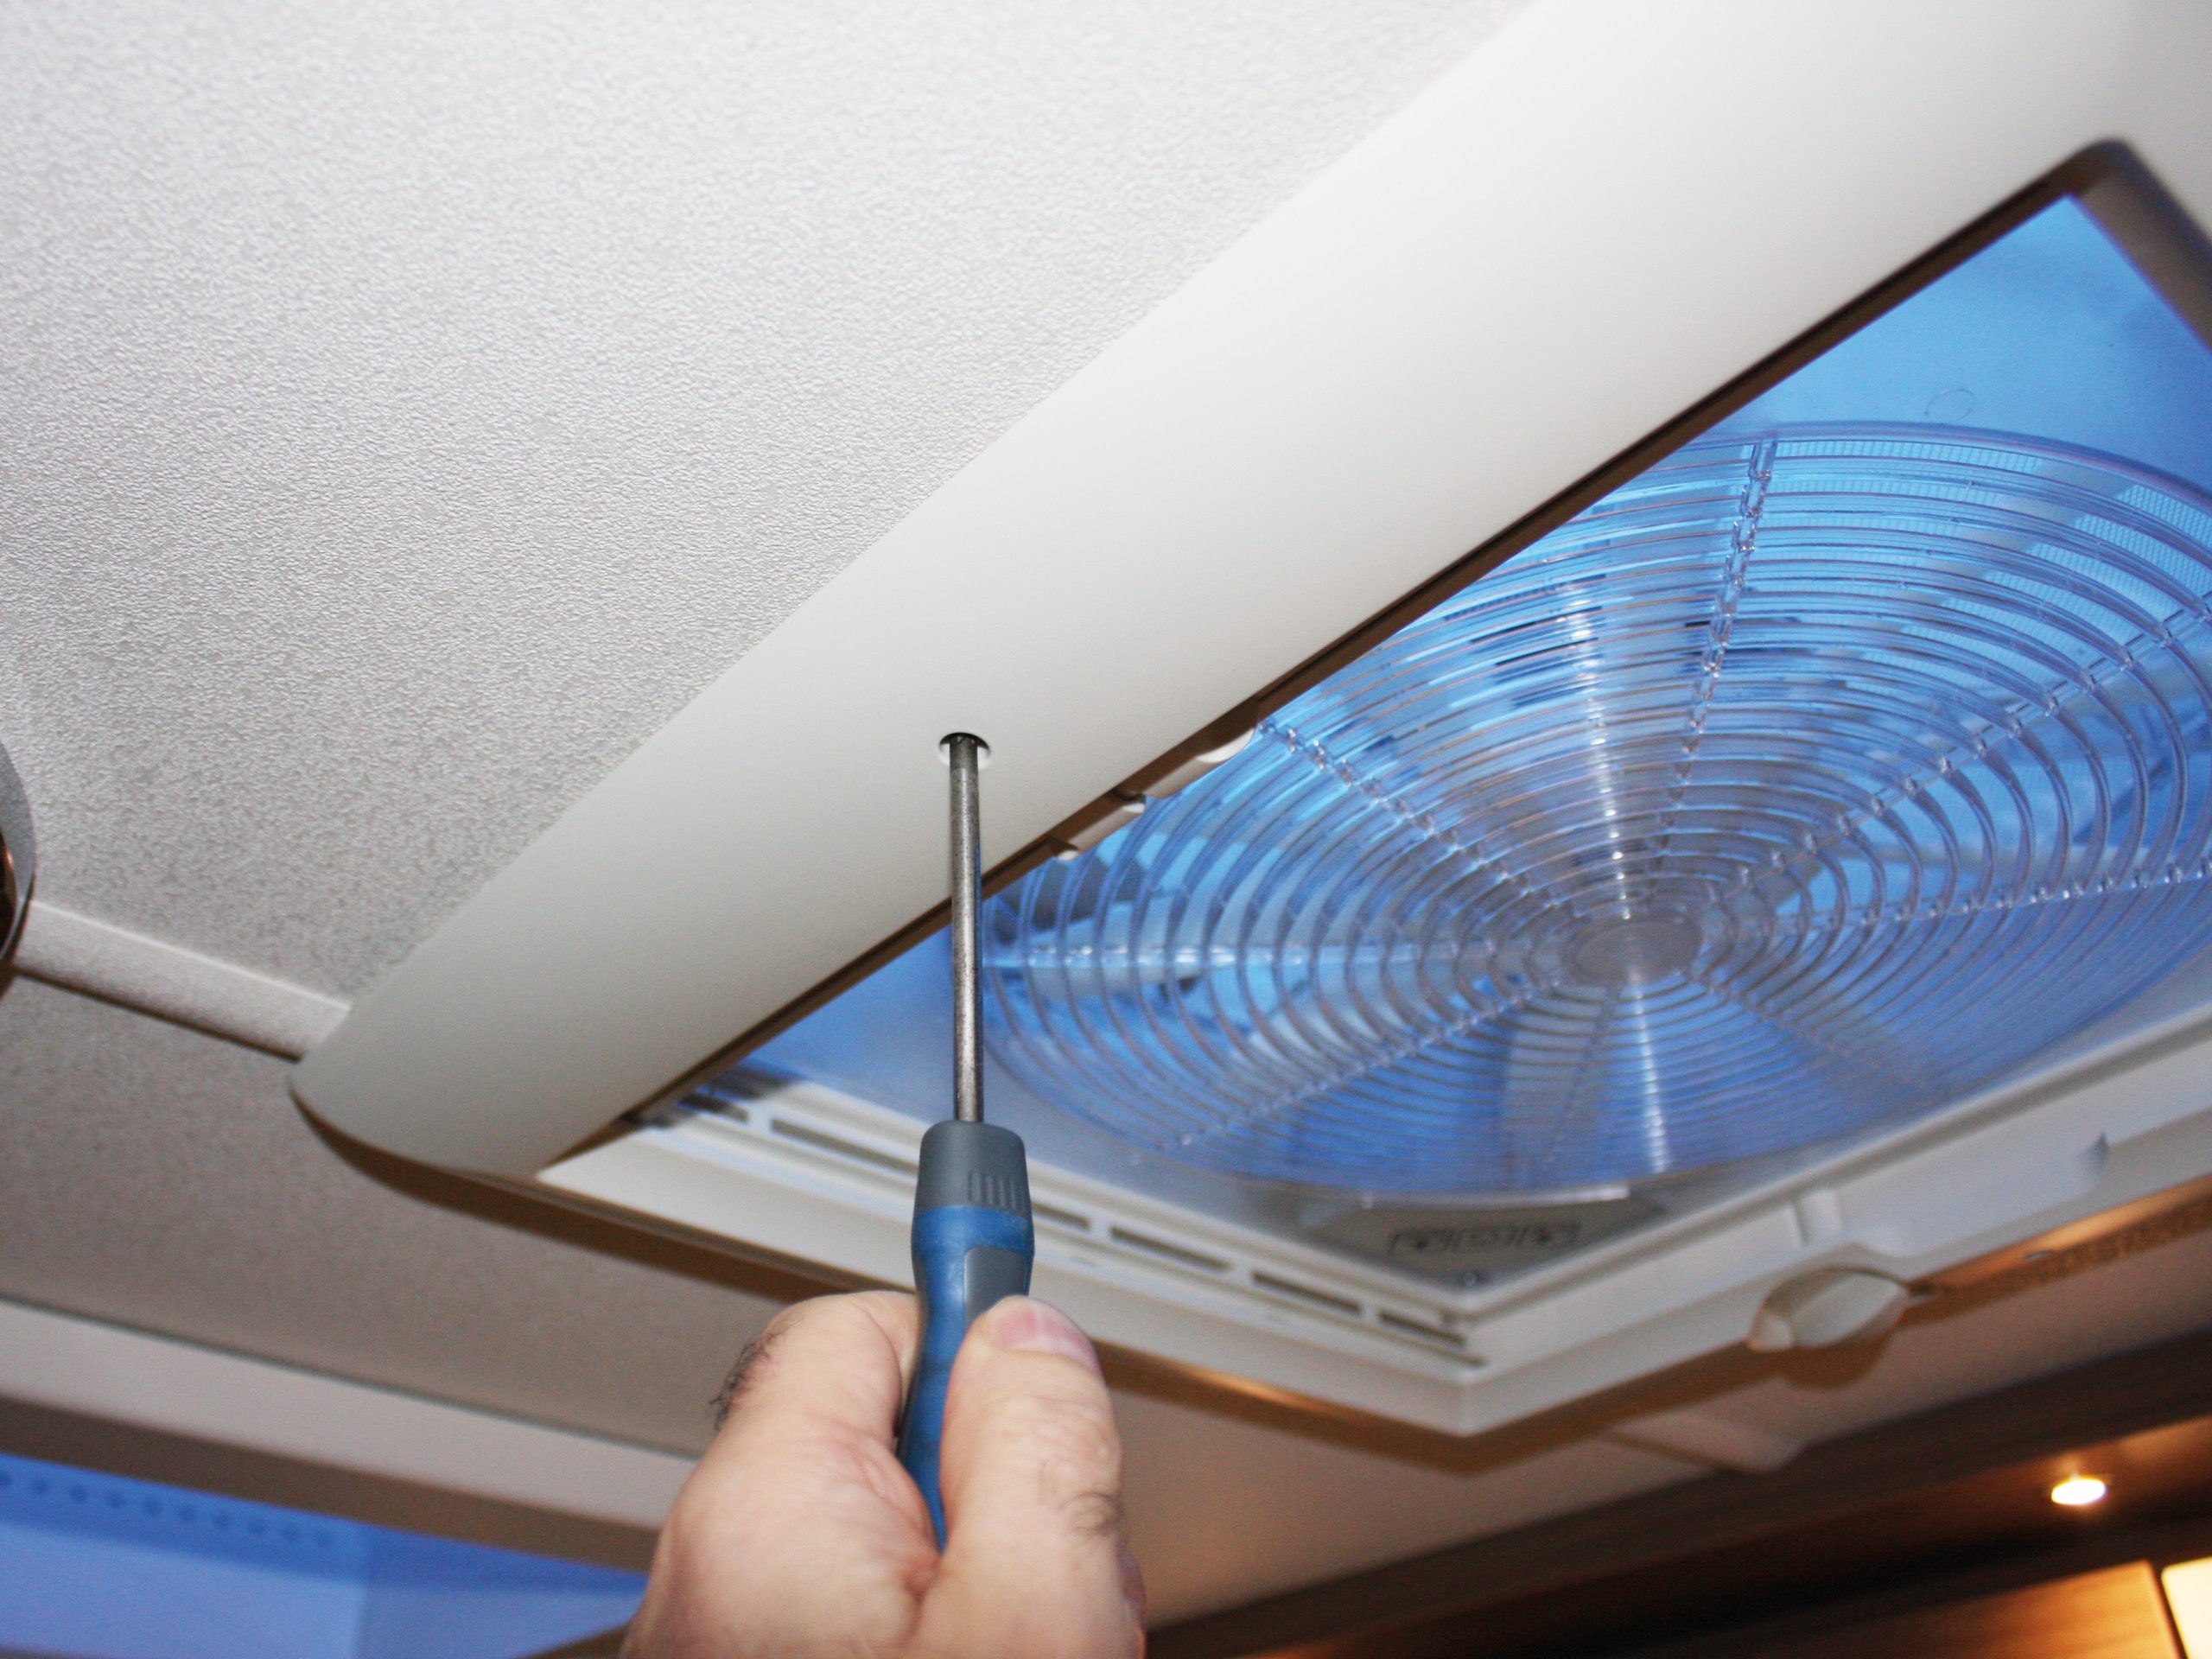
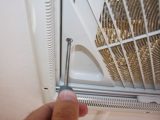
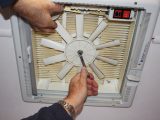
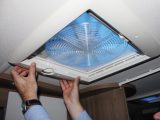
First, ensure that the power to the Omnivent is safely turned off! Next, working inside the caravan, remove the four crosshead screws and washers that hold the internal grille in place. The grille will drop out.
Carefully clean the grille using soapy water. Don’t be too vigorous, because some of the plastic may well have become brittle over the years and could break easily.
Cleaning the fan on older Omnivents
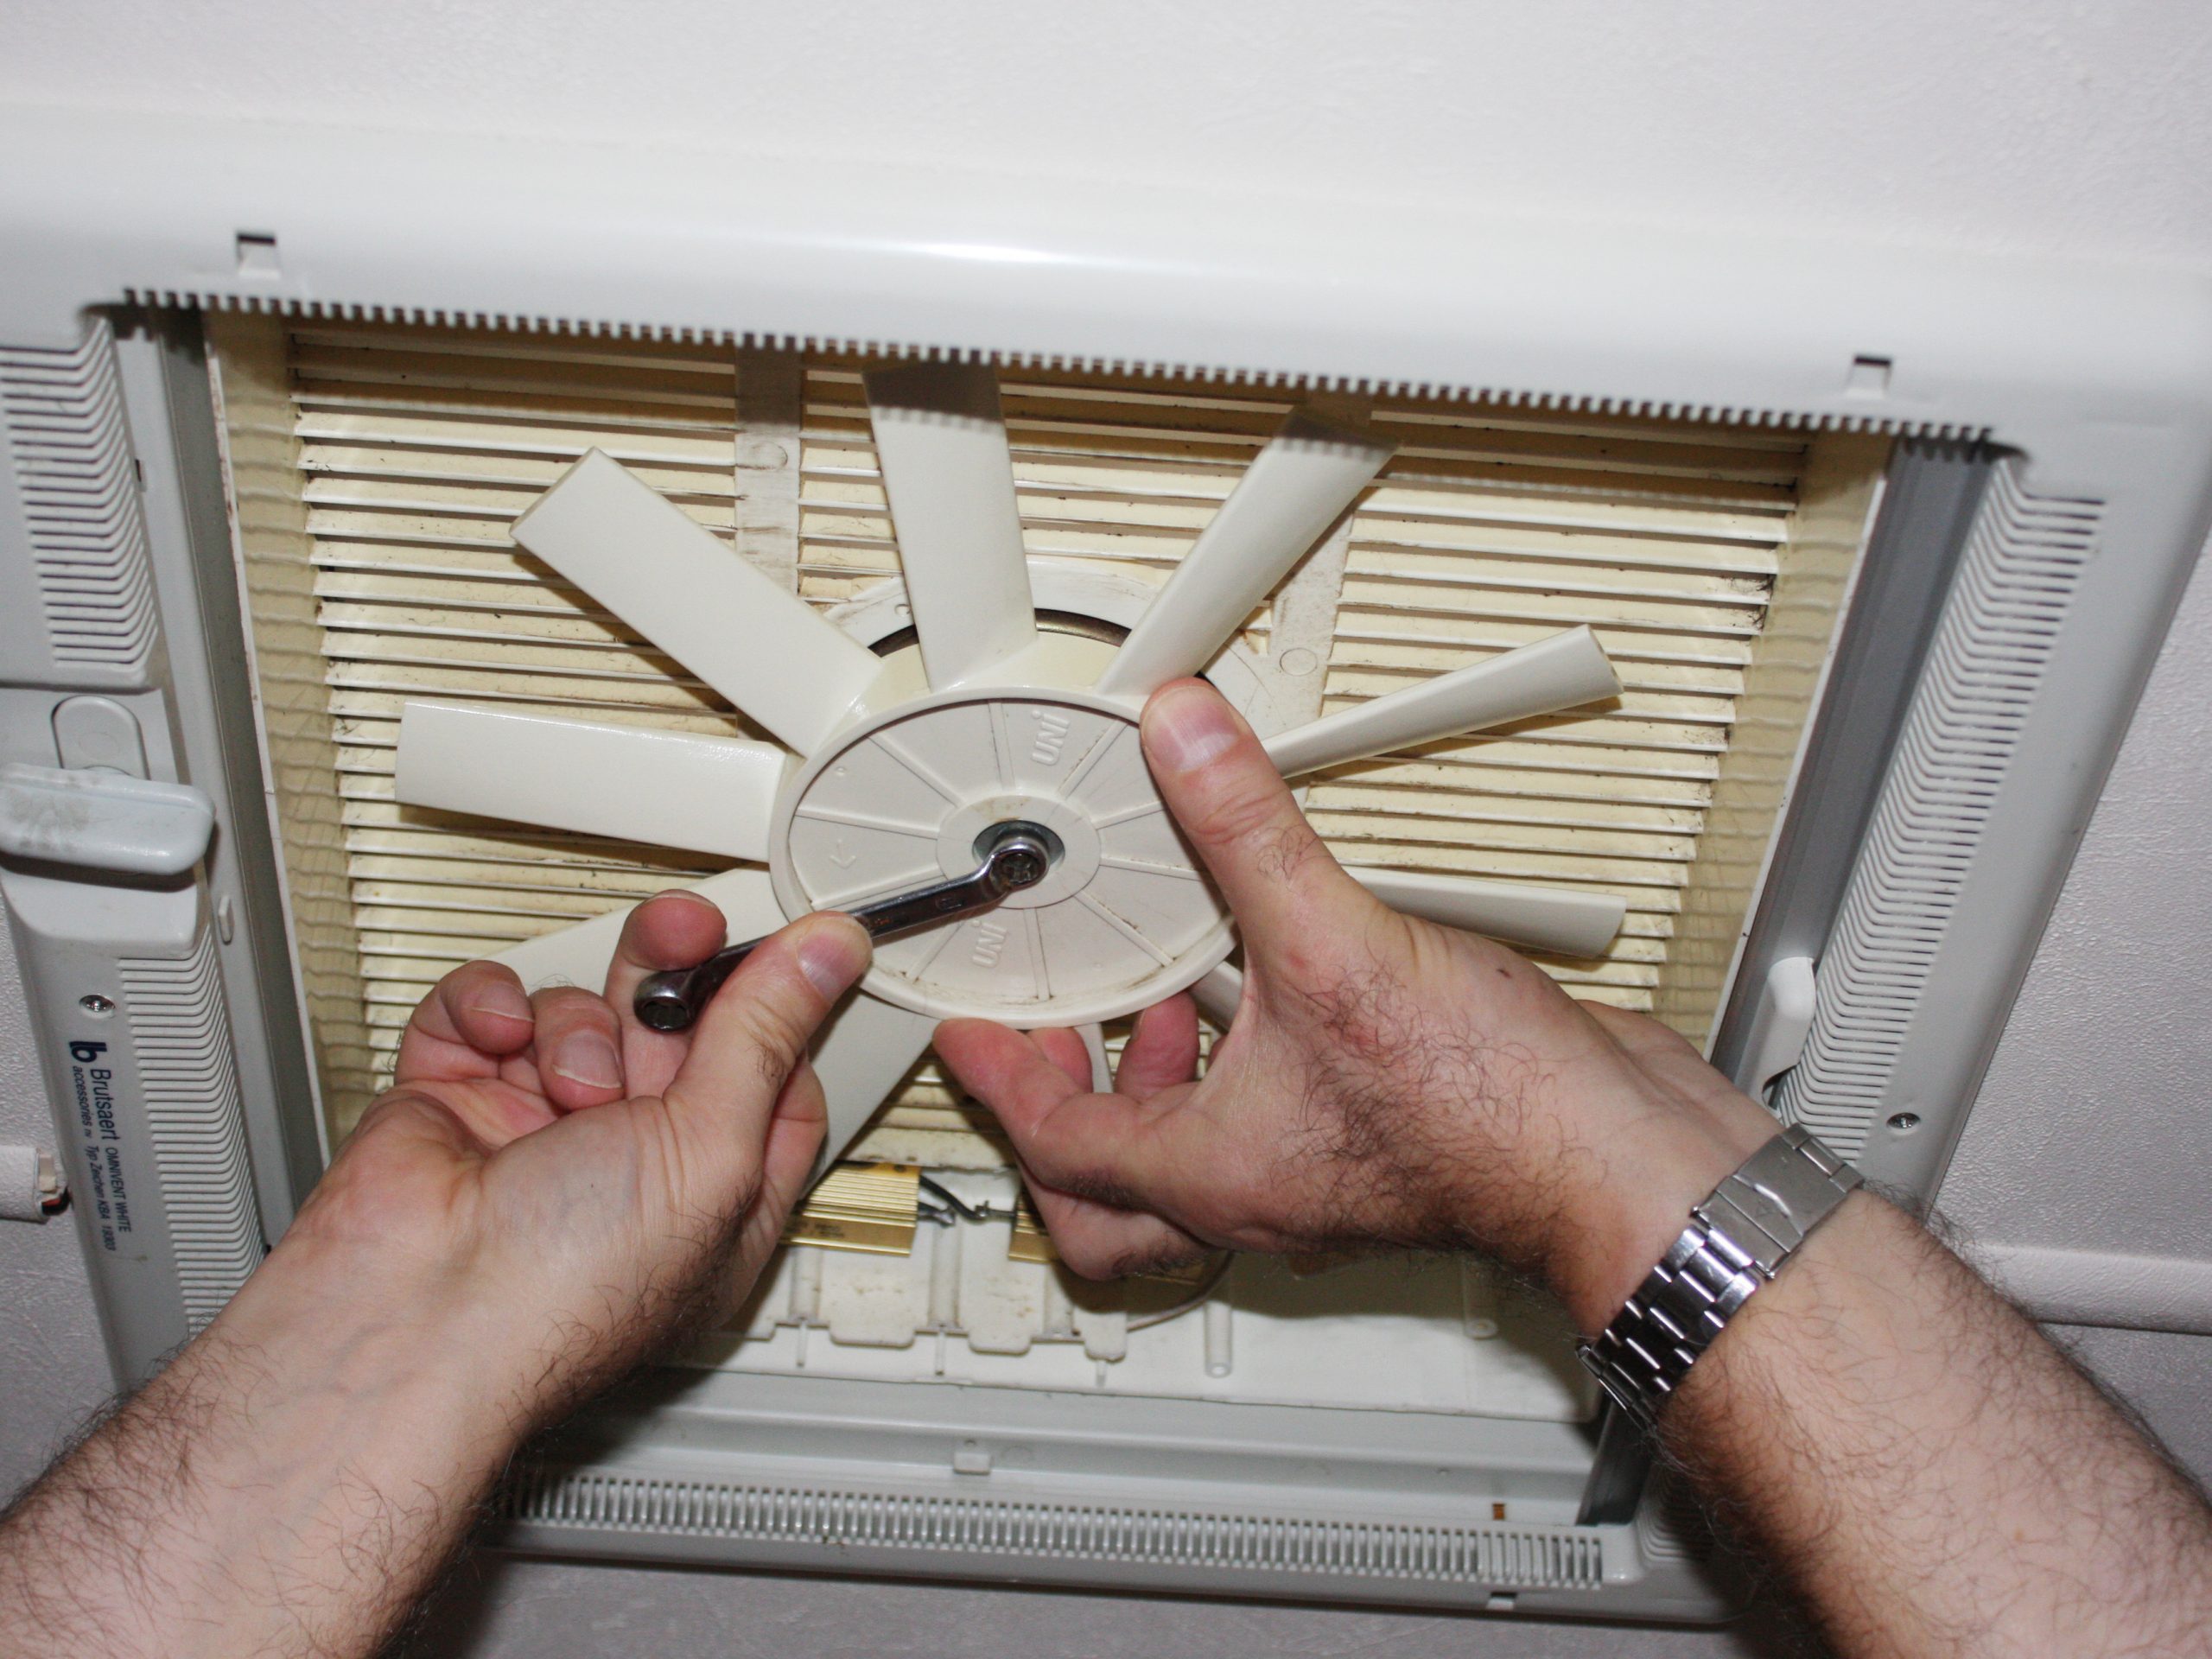
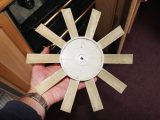
The next job is to remove the fan. Hold one of the blades to keep the fan still and undo the centre nut with the 8mm spanner. It should not be too tight. With the nut removed, the fan will just drop out.
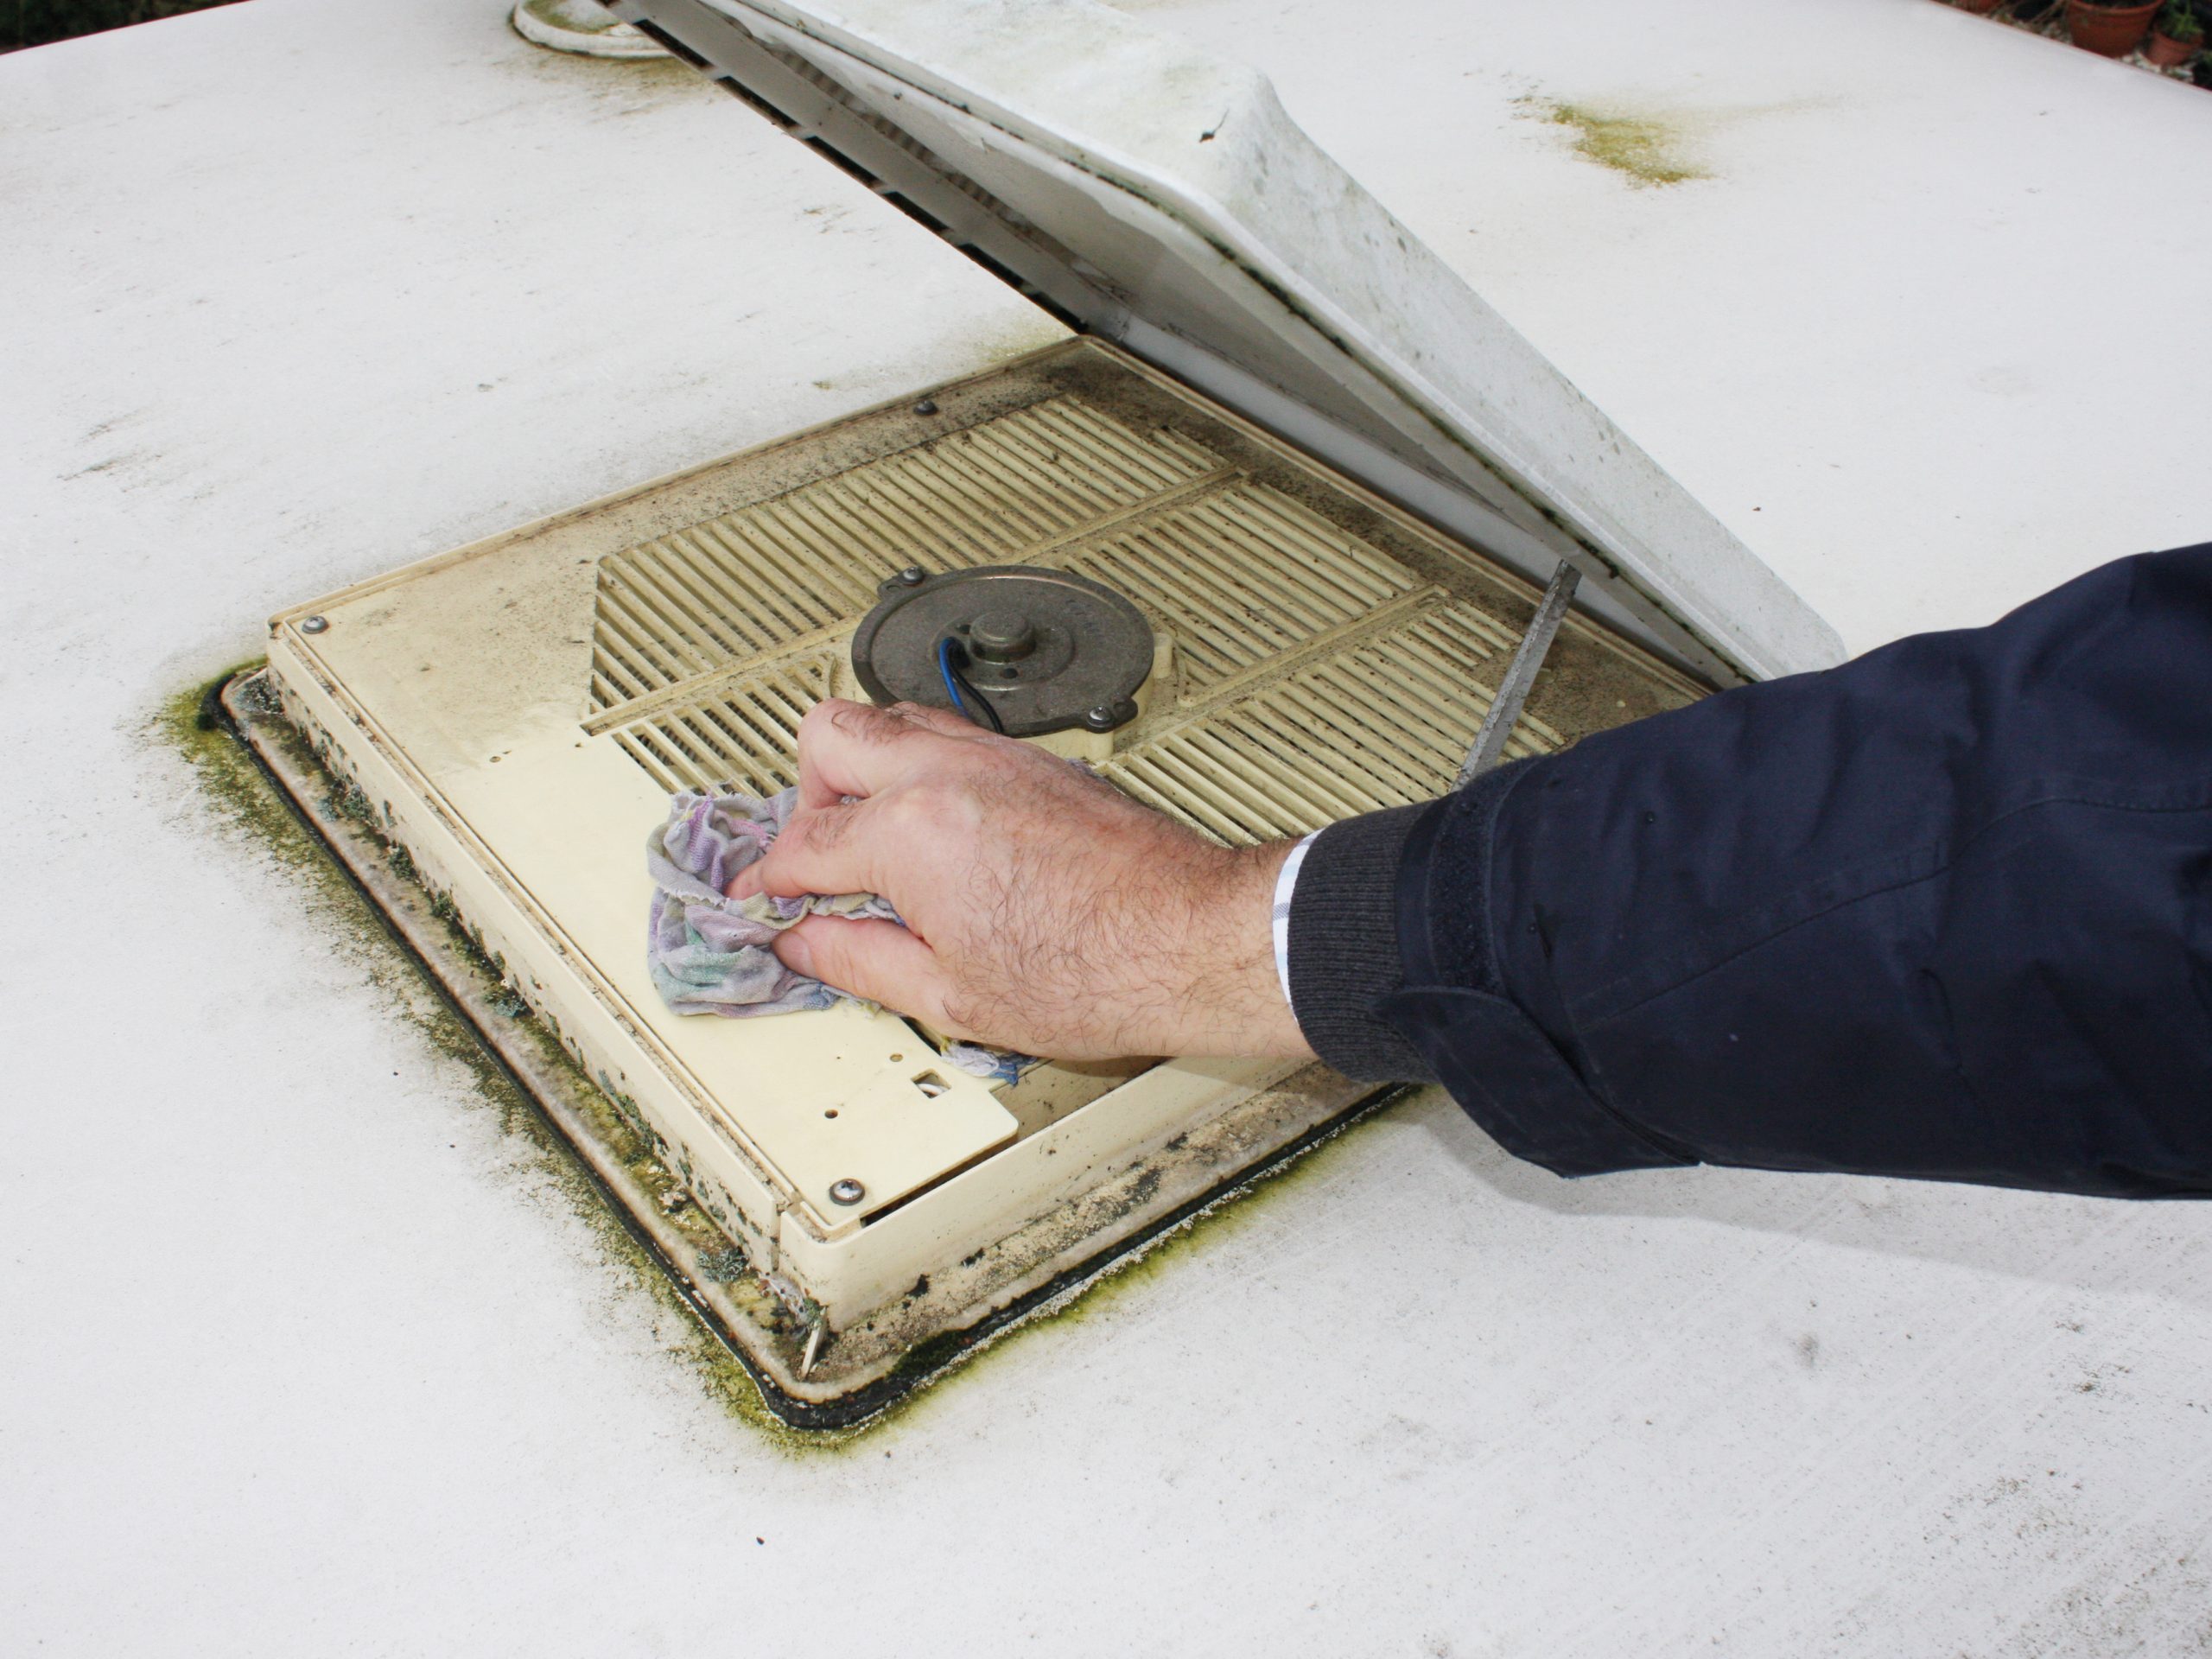
Clean it carefully. With the grille and fan removed, wipe around the sides of the main unit with a damp soapy cloth. There’s no need for the cloth to be wet through; if it is, you’ll end up with a wet floor and shirt sleeve!
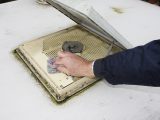
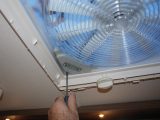
Cleaning around the sides shouldn’t be a problem, but be careful when you’re wiping the top grille because, once again, the slats may be quite brittle. If you’ve got the patience, you could clean between the slats. It’s not such a difficult job for the lower grille, but the upper one presents challenges. First, it is easier to clean the latter in situ than to remove it, but getting at its top surface requires access to the roof and the ability to reach into the Omnivent without putting much pressure on the grille.
To do so, open the cover fully and carefully wipe around the top grille with the damp soapy cloth. Dry it as well as you can.
If you choose to remove the grille instead, you’ll need rooftop access anyway to remove (from above) the screws holding it in place and to disconnect the wires leading to the motor.
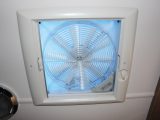
Inside the van and with the parts all clean and dry, replace the fan. You’ll see that the spindle on the motor has two ‘flats’ on opposing sides, as has the hole in the fan. Line these up, slot the fan in place and replace the nut. It needs to be nipped up, but don’t over-tighten because that’s likely to cause damage. Before refitting the inner grille, test the fan on all settings to ensure that it has been replaced properly.
Replace the inner grille and secure it with the four crosshead screws. Test the Omnivent again to make sure that nothing is catching anywhere.
Finally, if you opened the cover, make sure that you’ve closed it!
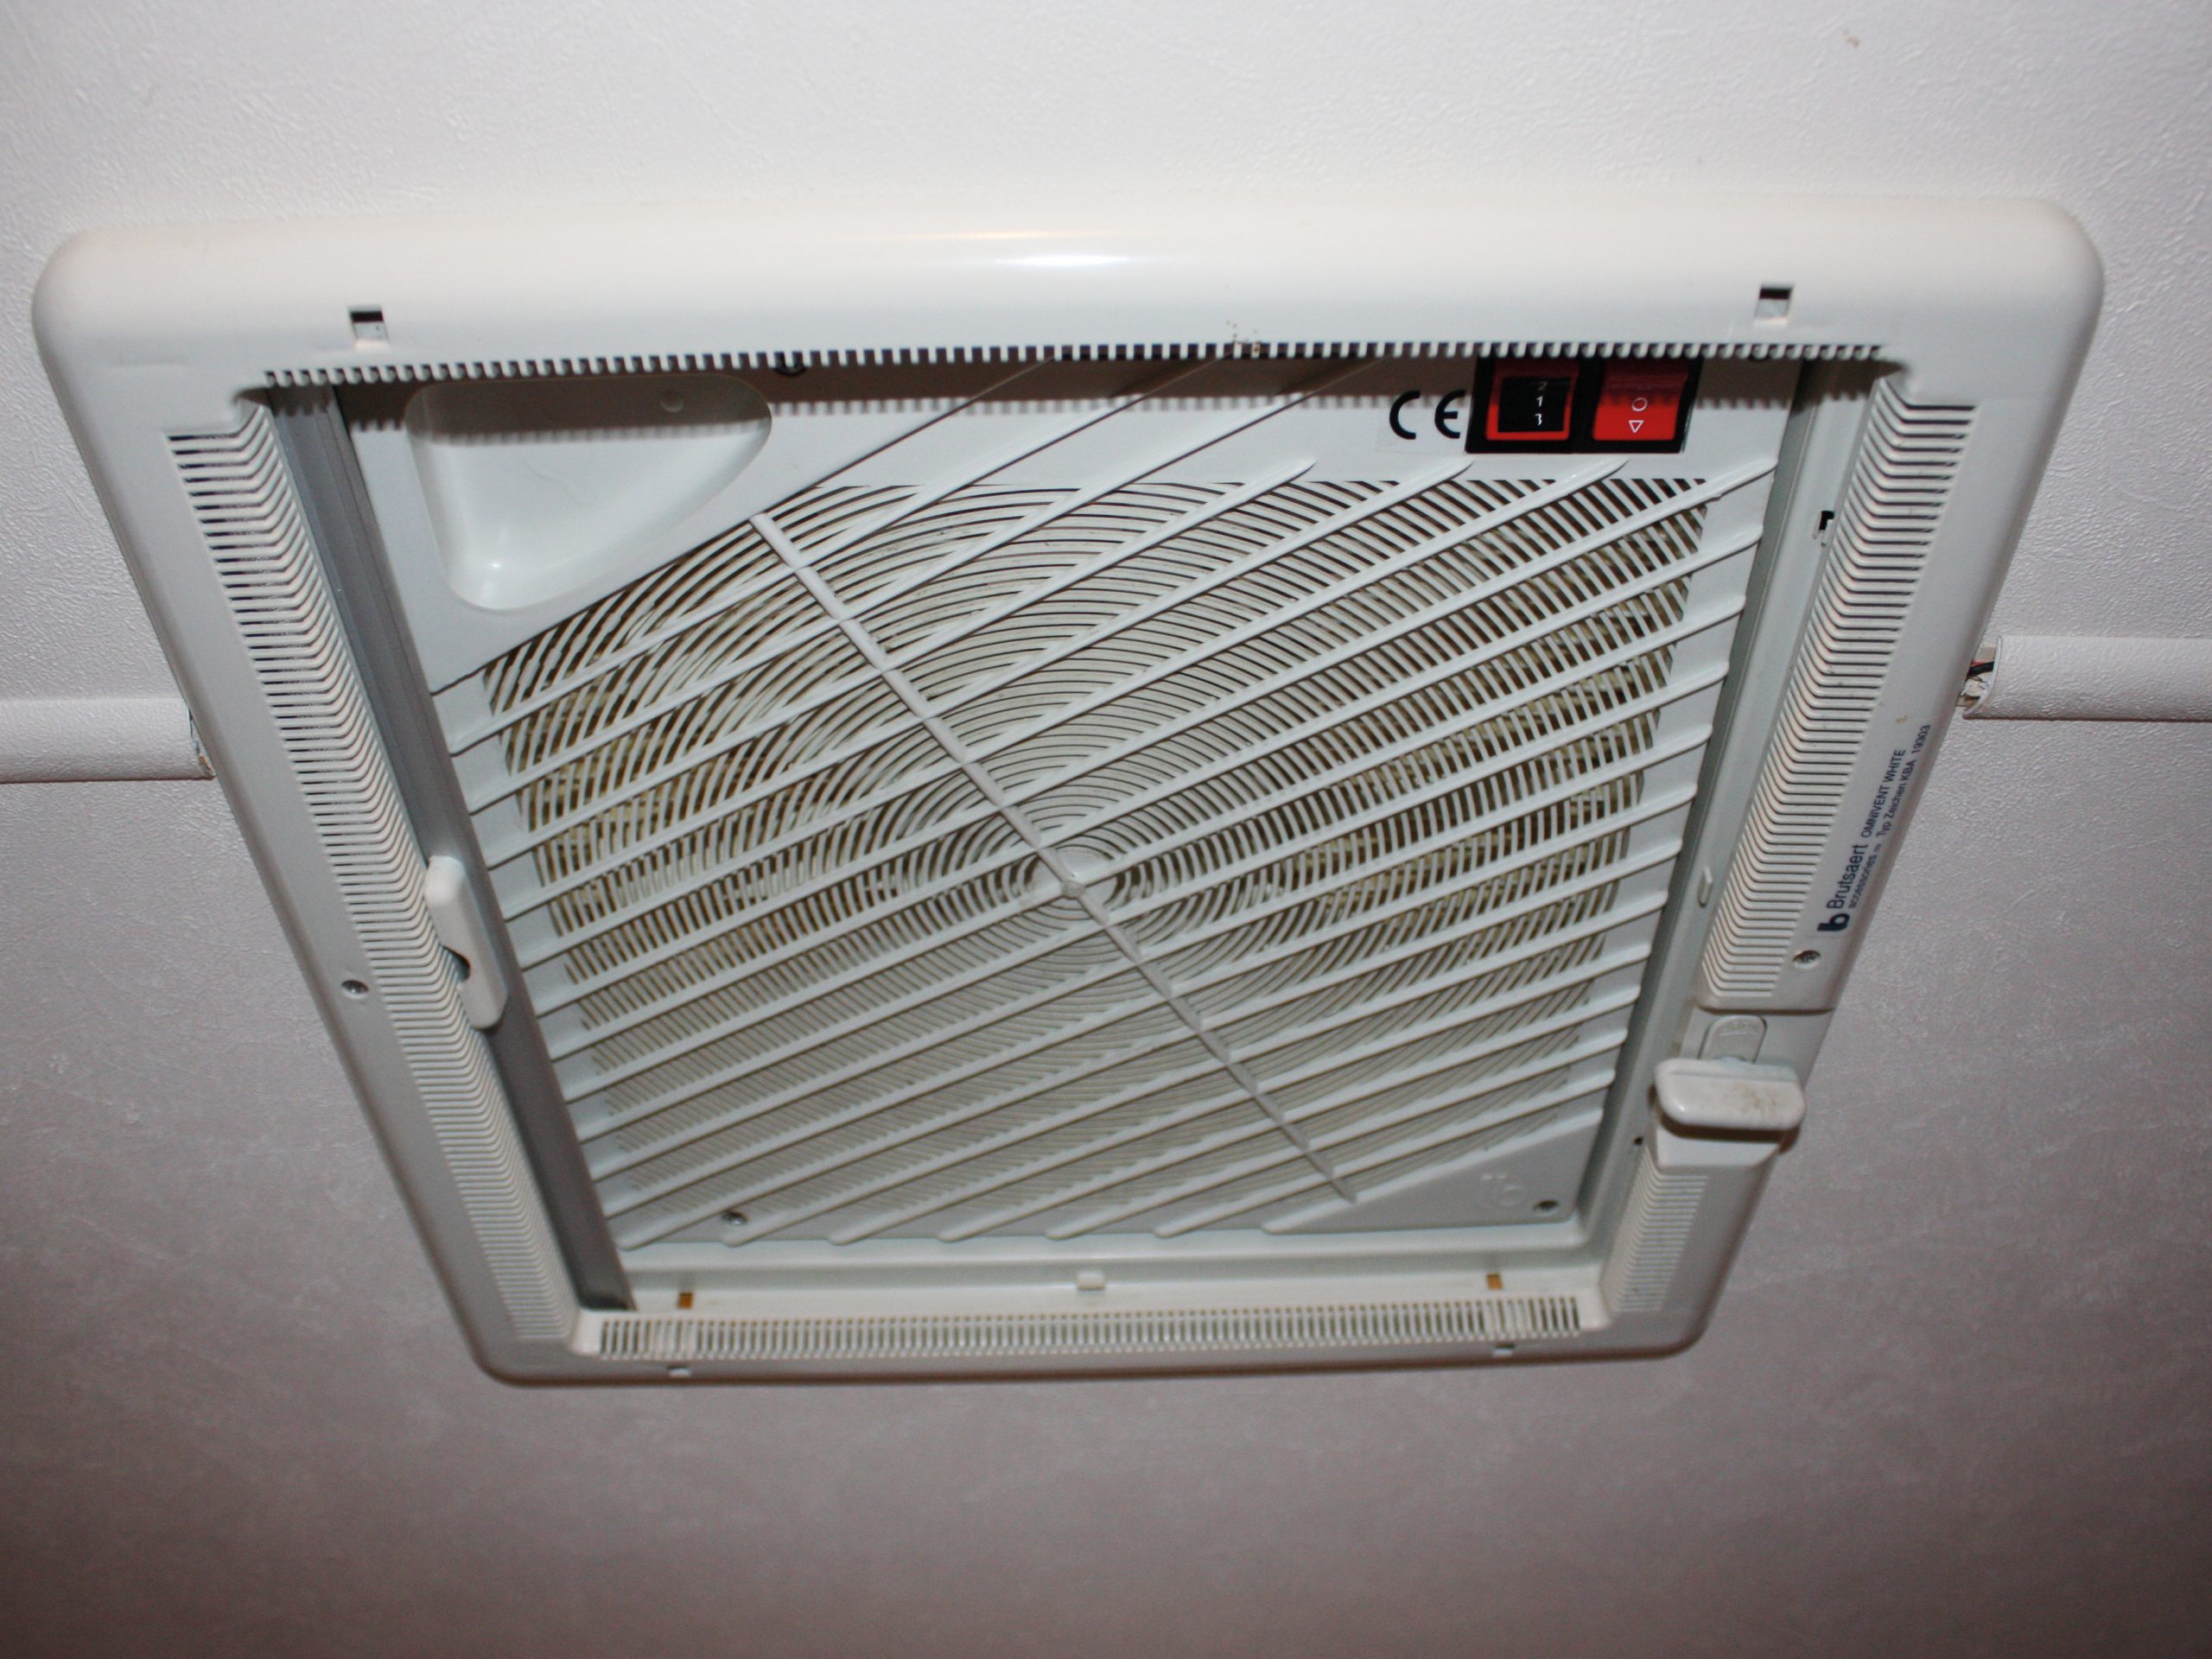
Cleaning recent Omnivent models
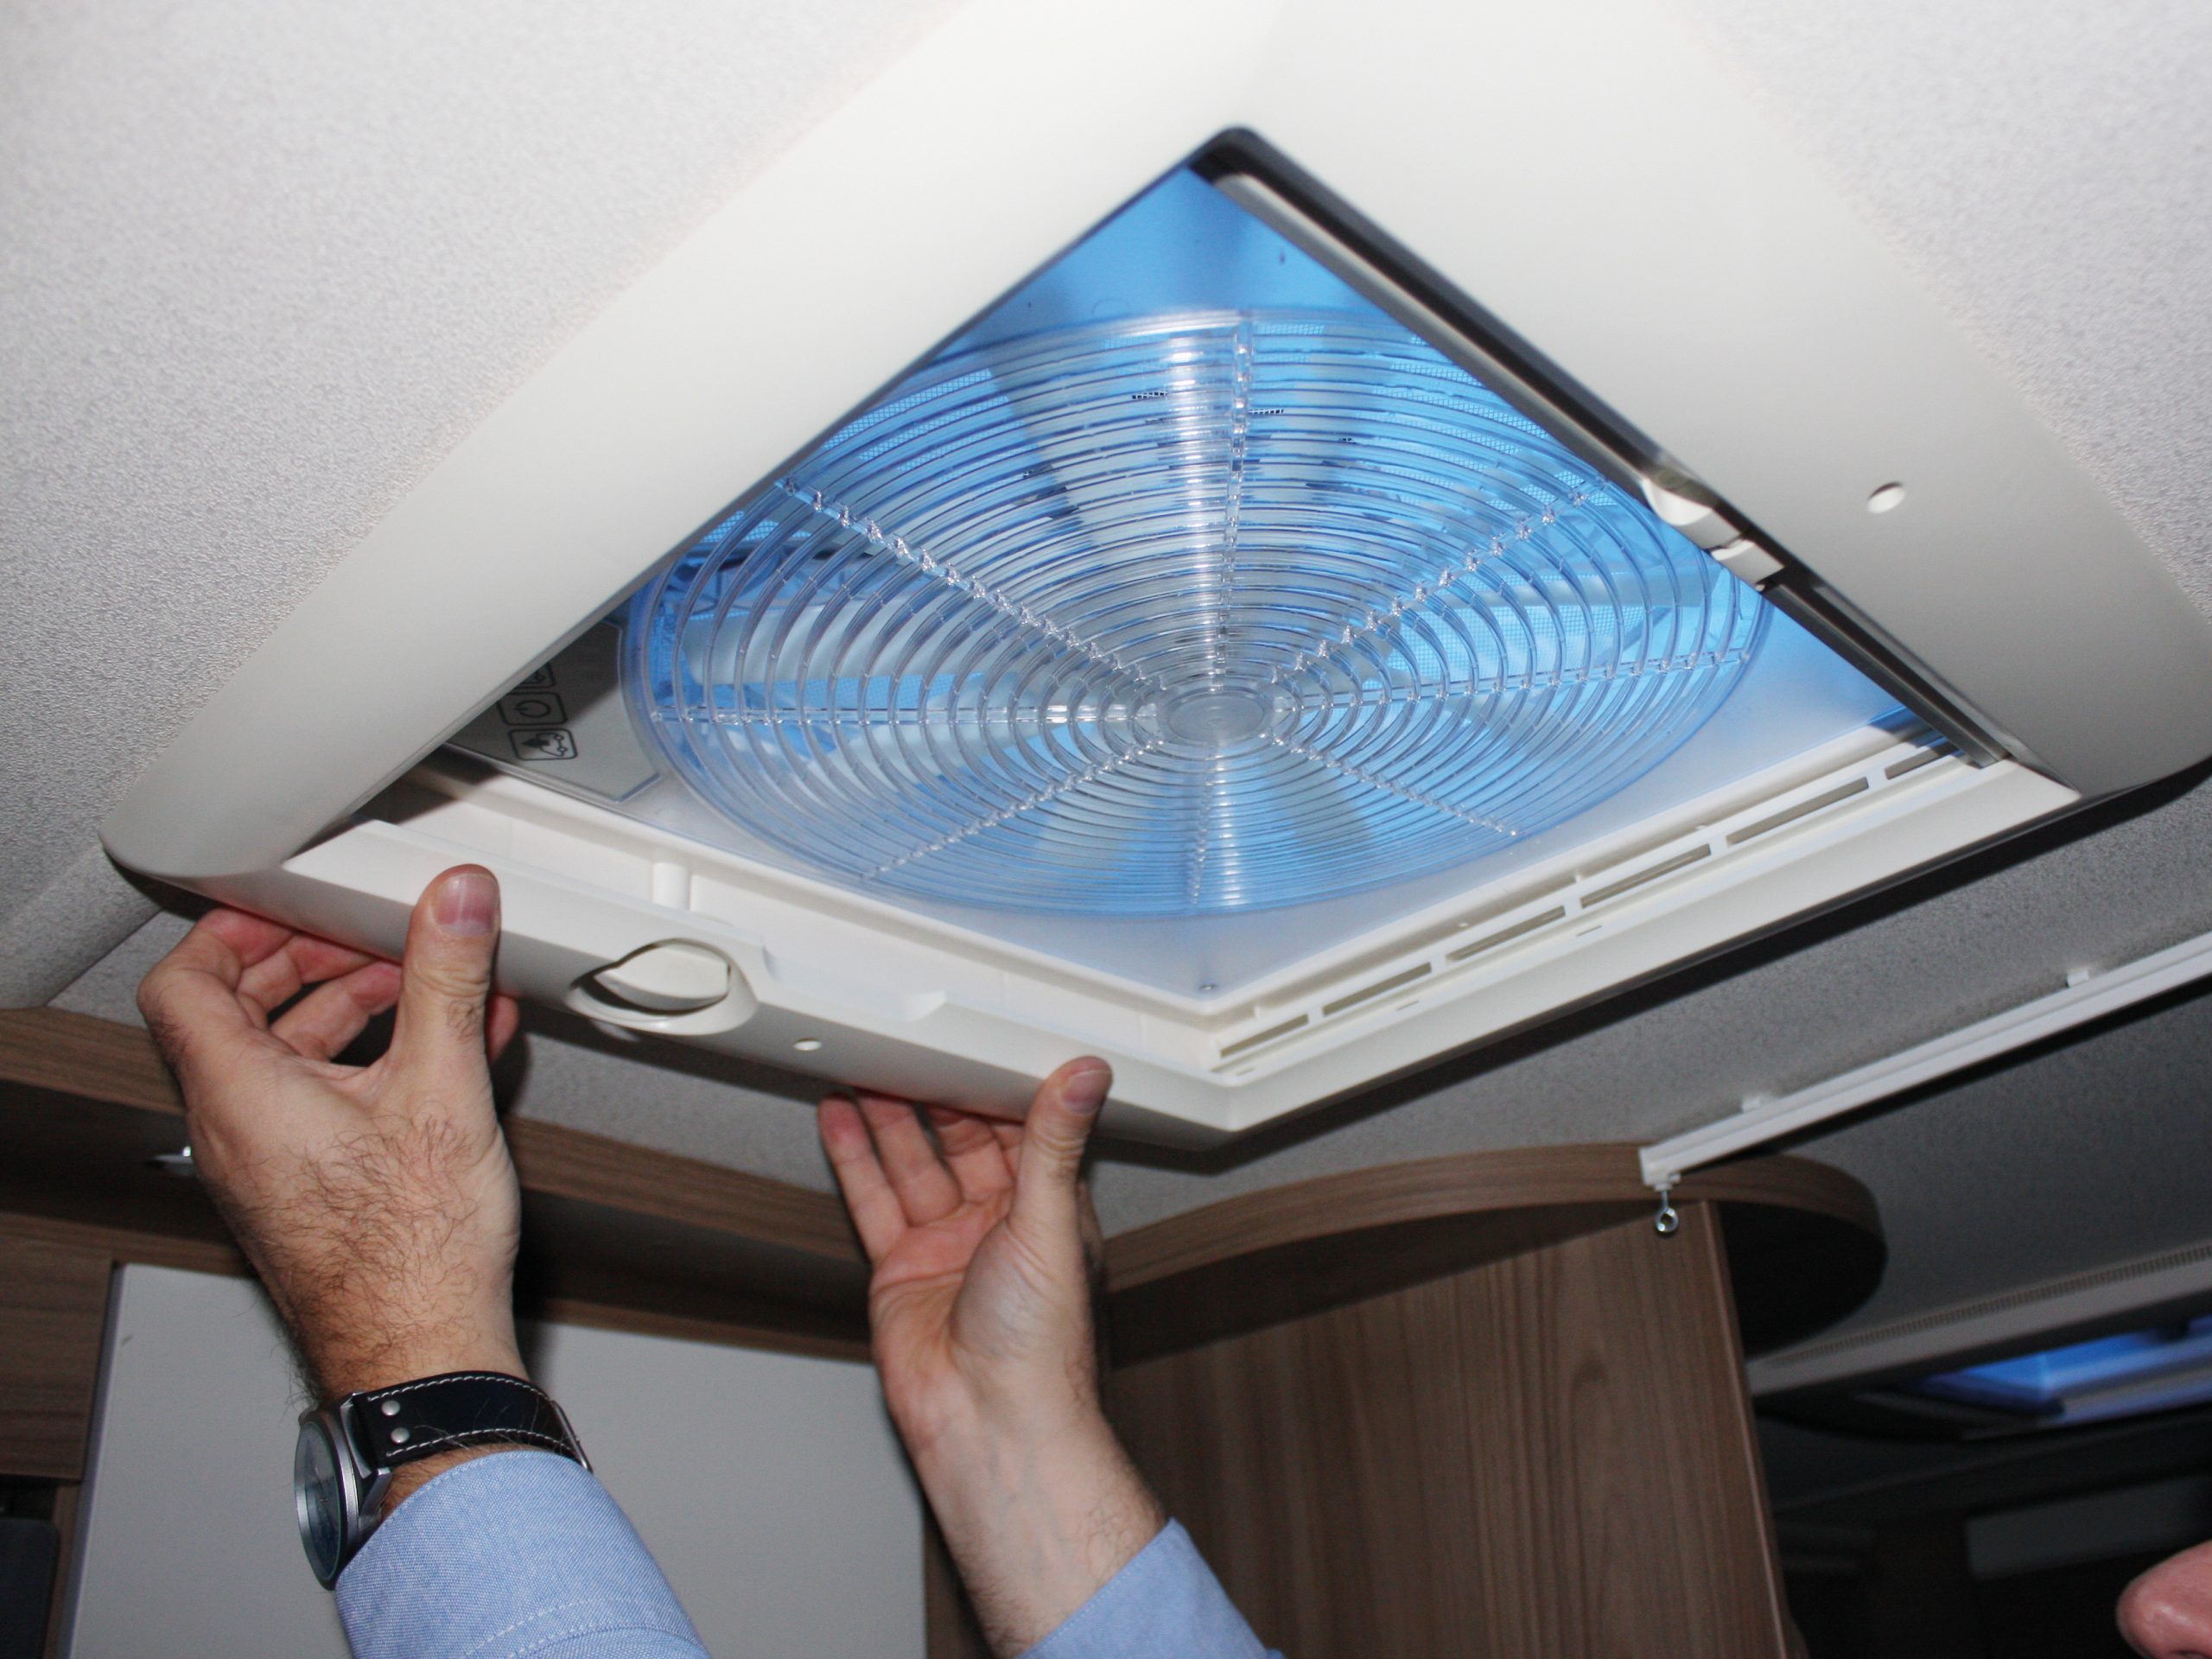
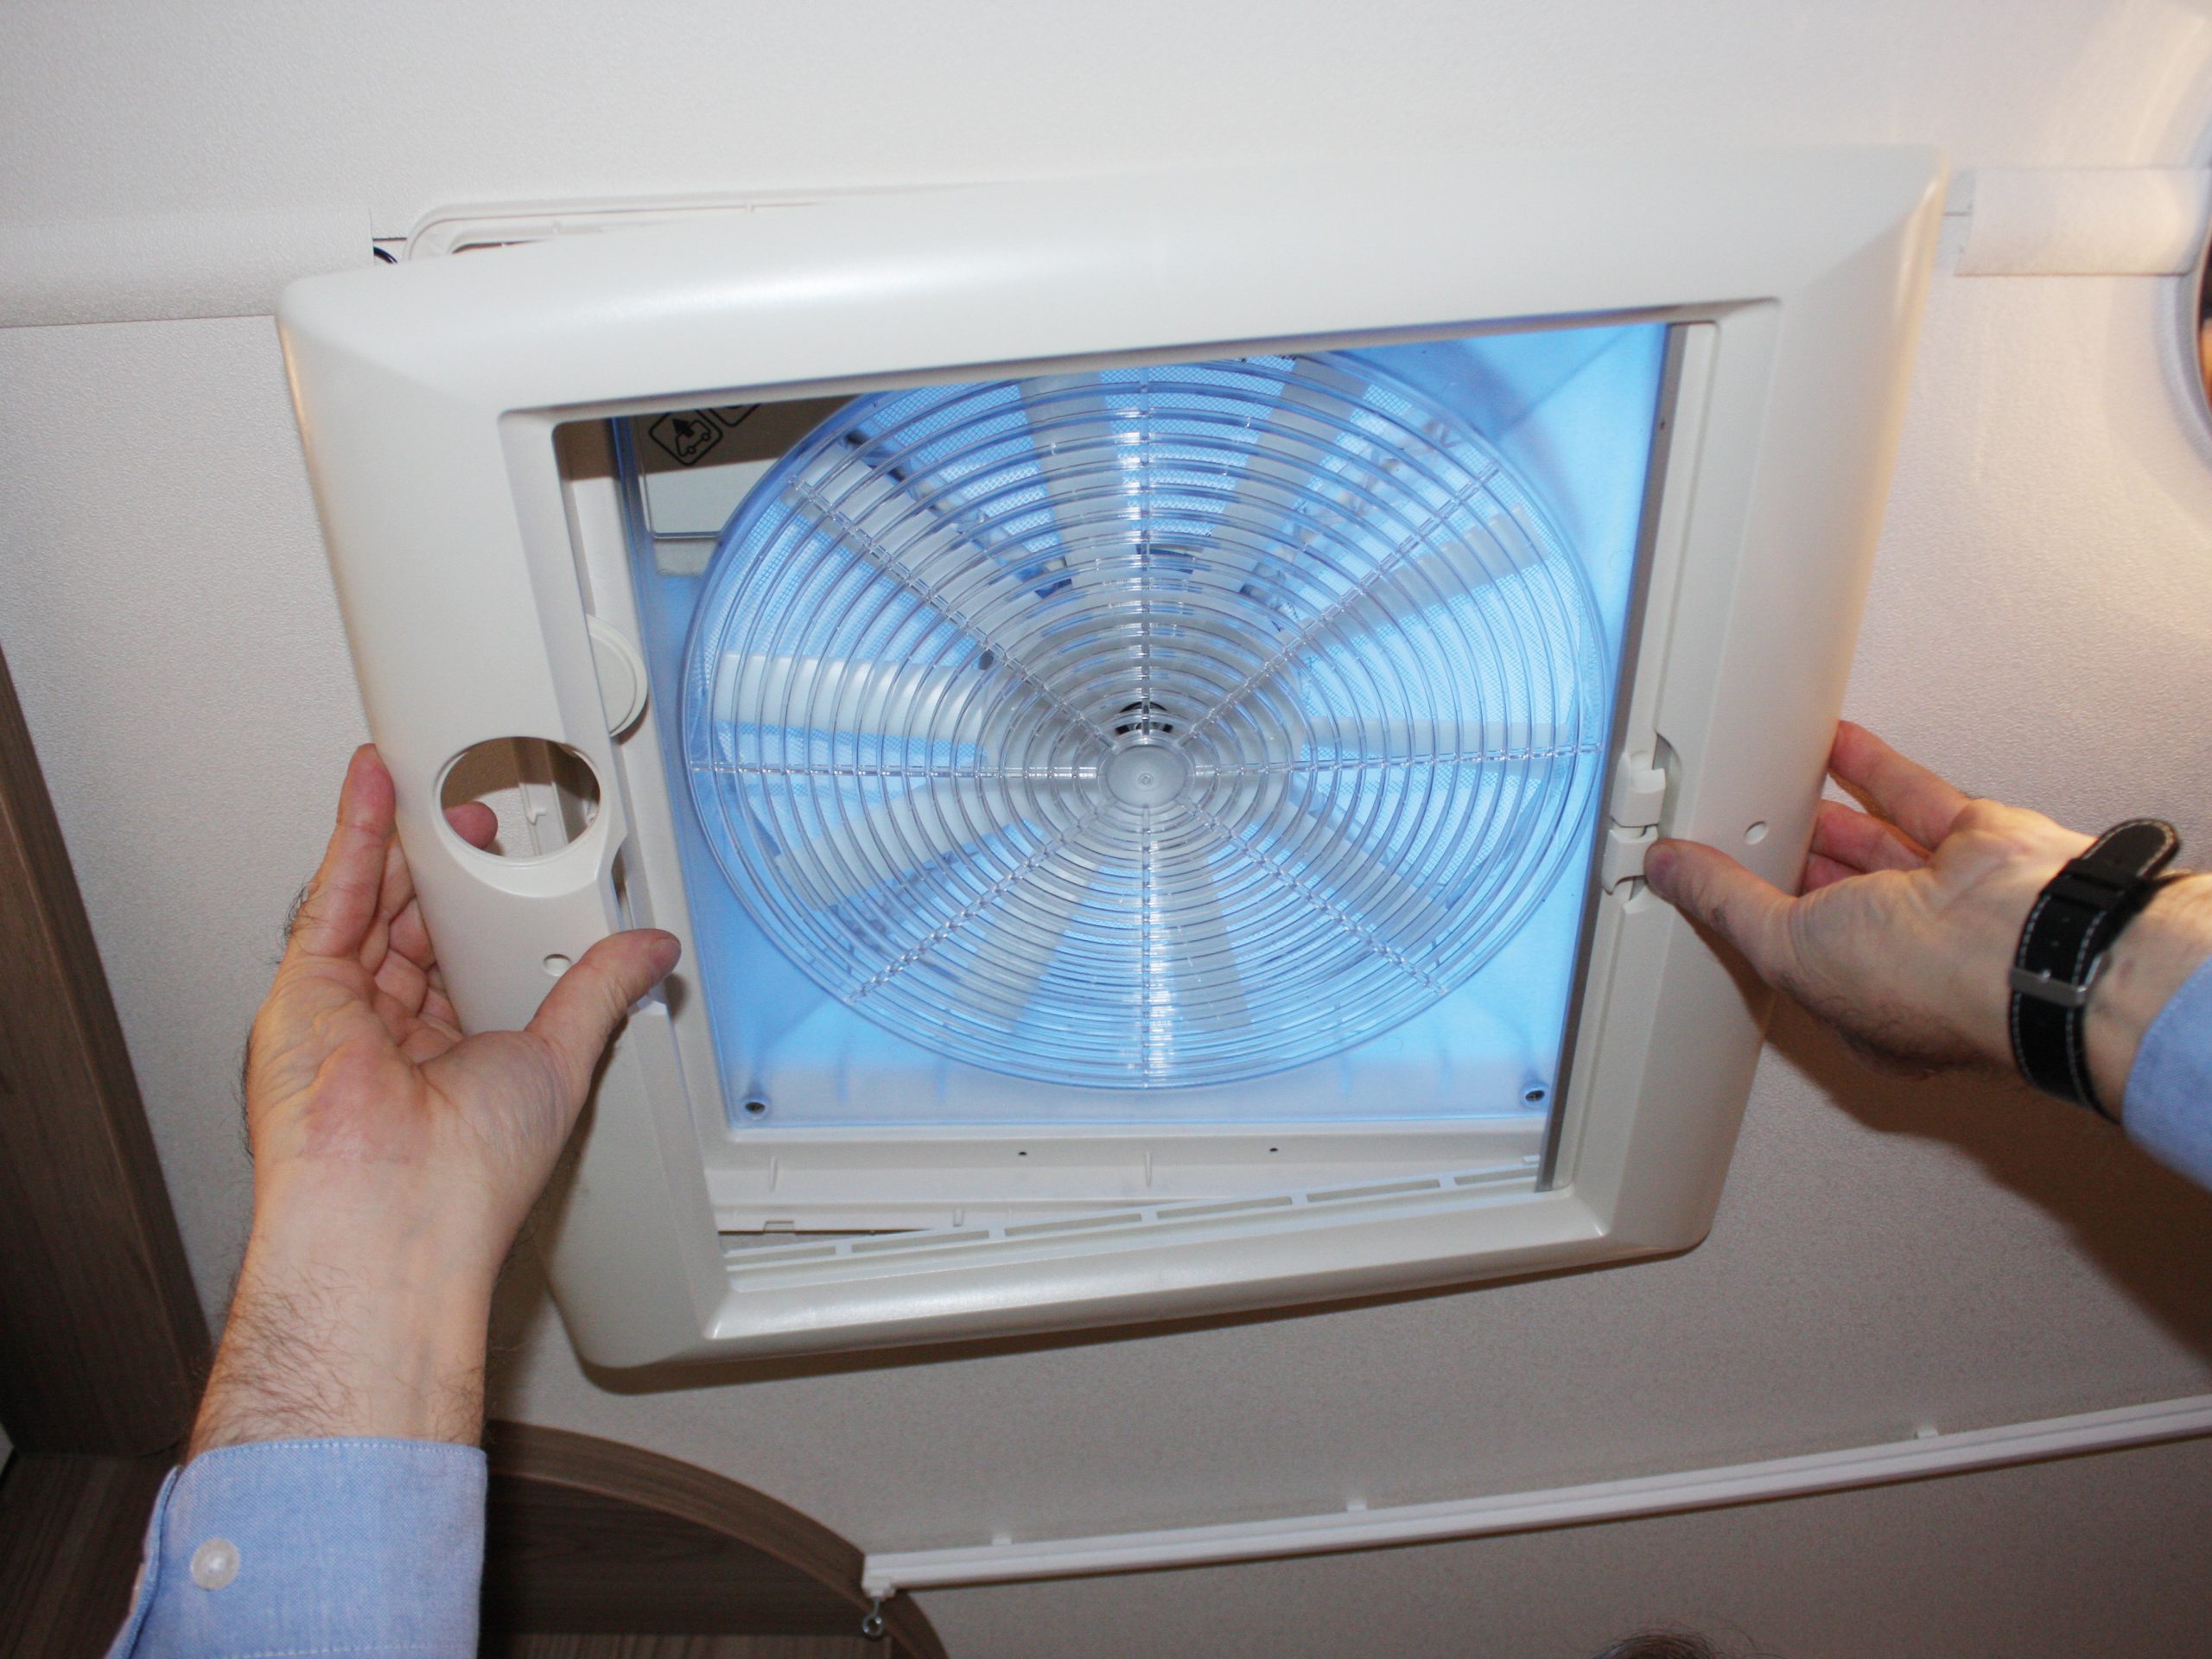
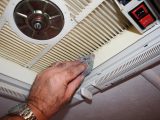
We’ll now move on to later models. In the example shown in our photographs, you’ll see that access to the four crosshead screws is nearly impossible due to the chunkier surround it has. You’ll struggle to get the grille out even if you do succeed in undoing the screws, so the first job is to remove the surround.
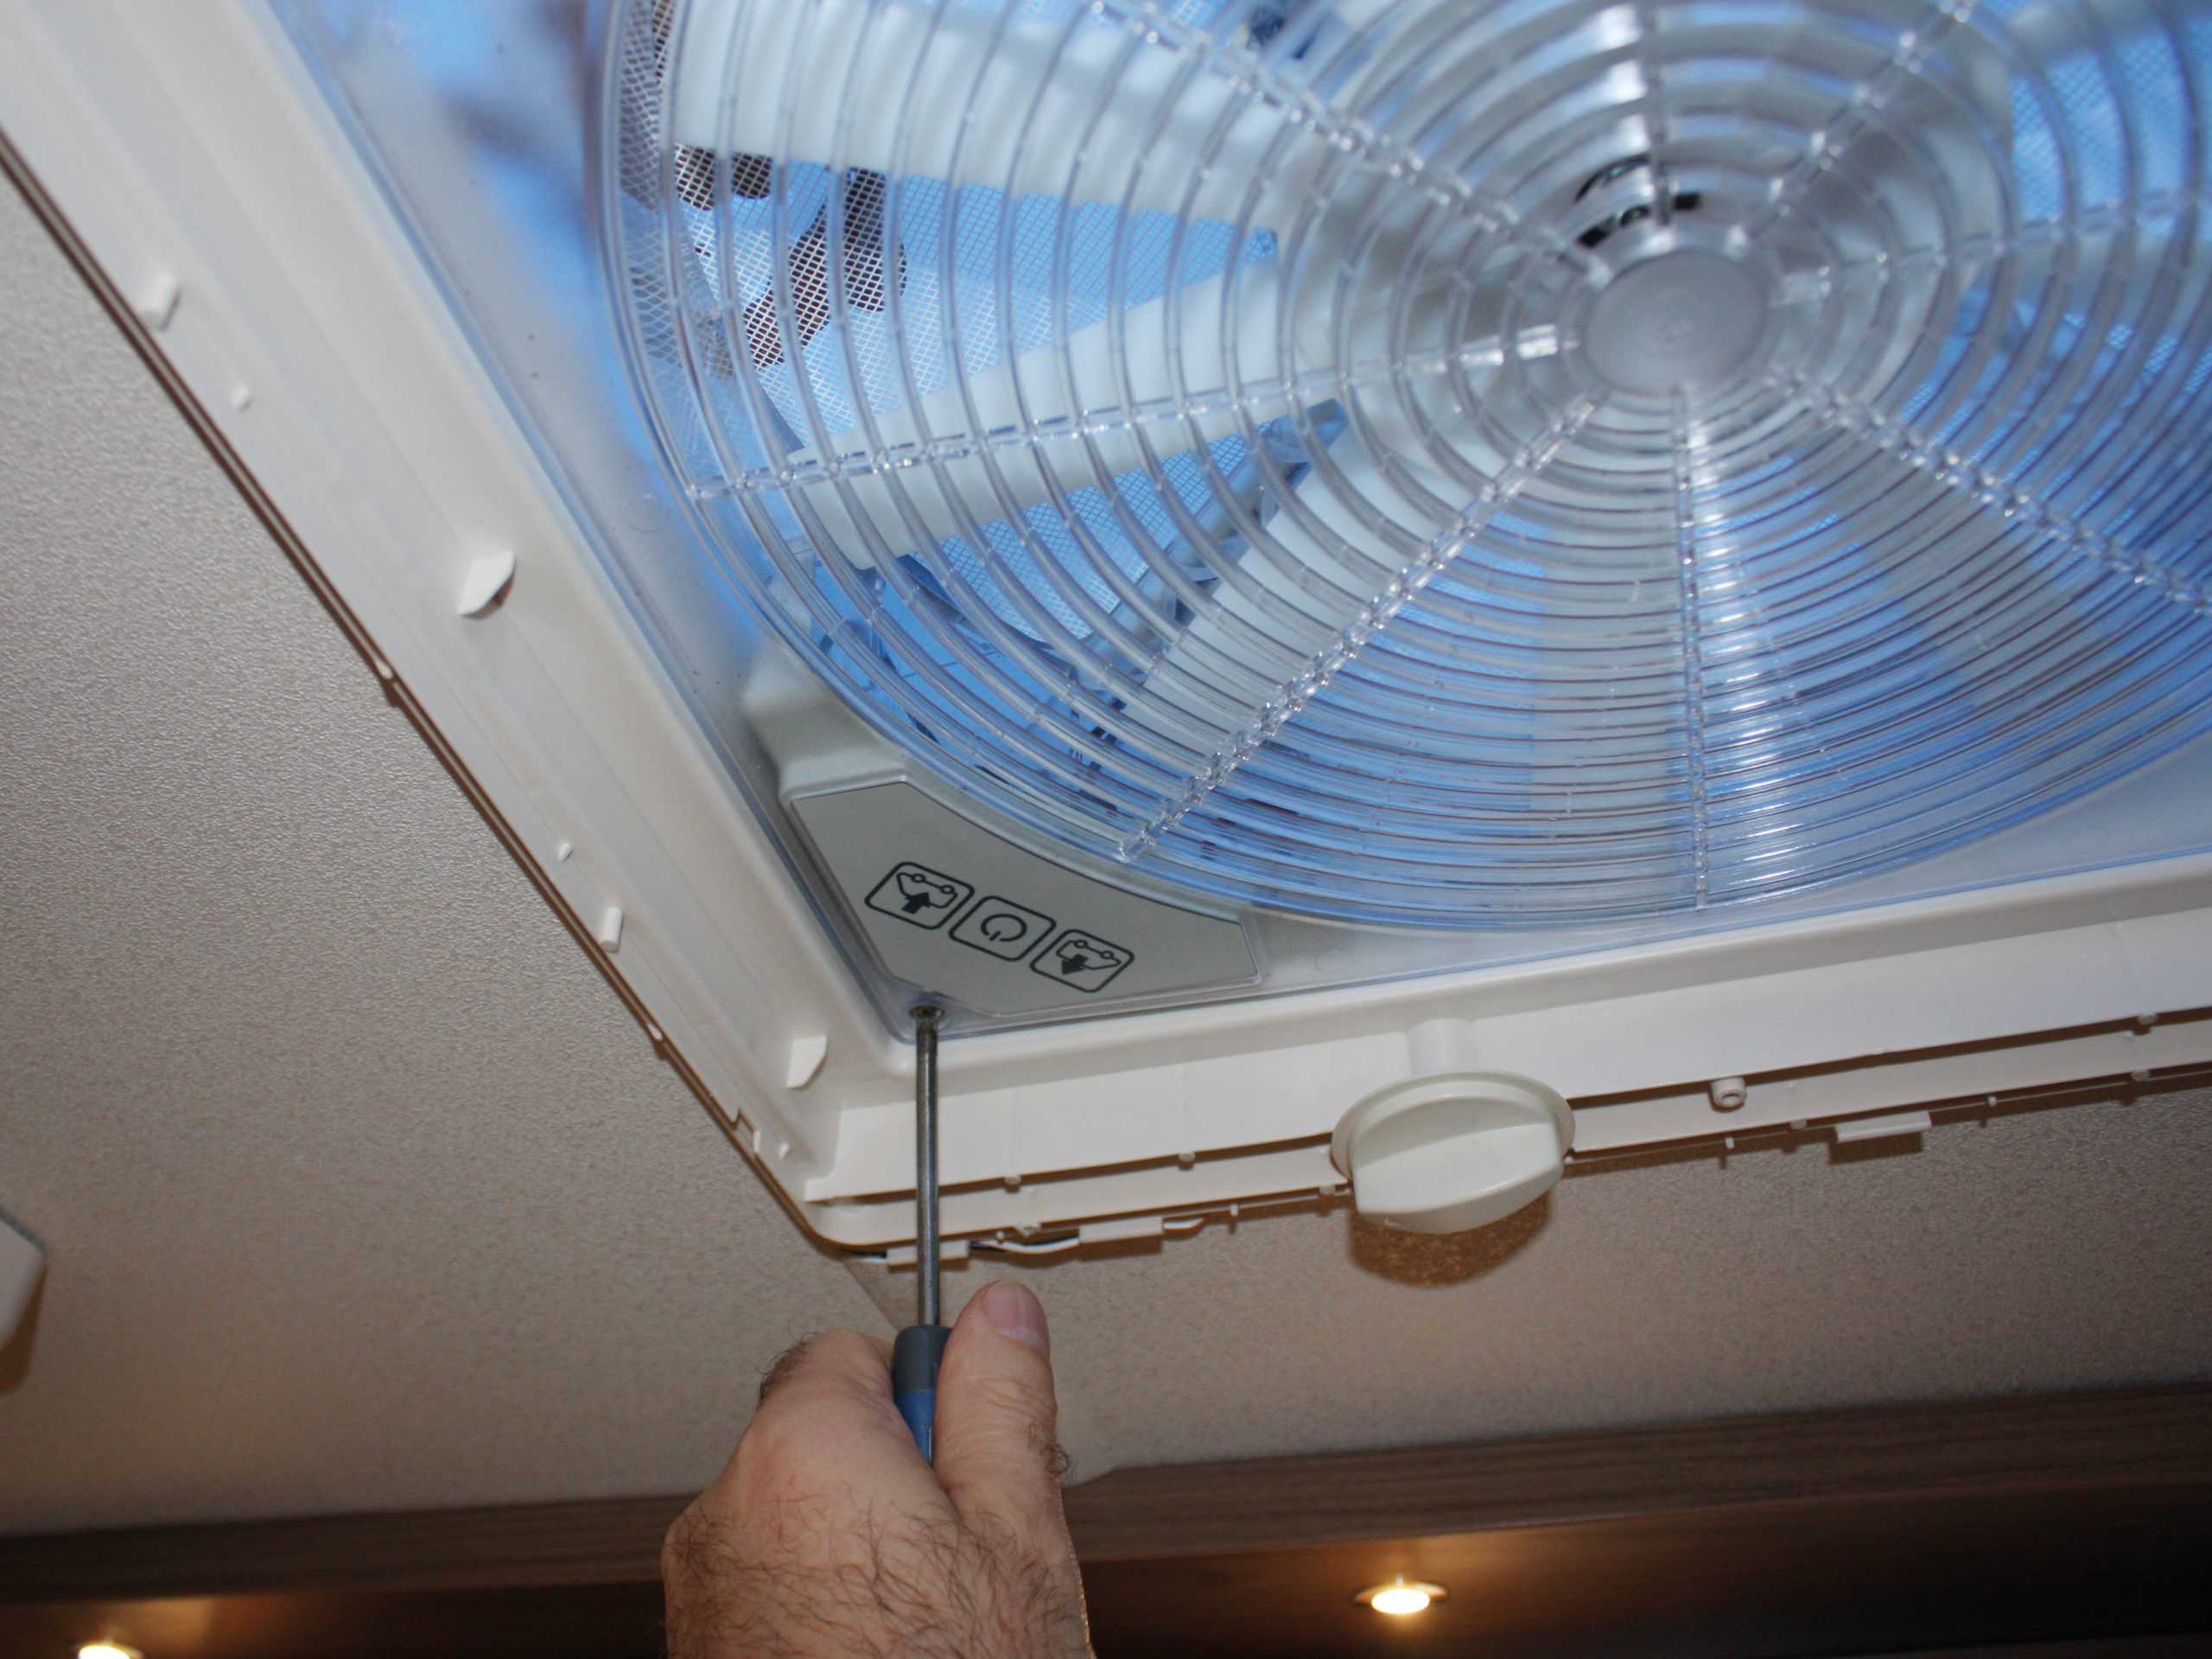
First, remove the two crosshead screws that secure the surround to the Omnivent unit. One is near the cover winder and the other is on the opposite side.
You’ll find that the surround does not drop freely when the screws are removed, because it is still held firmly in place. To take it down, grip the side where the winder is and pull that side down while pushing it outwards (away from the fan). It should unclip on that side. You then need to slide the surround in the opposite direction so that it comes free from the clips on that side, too. You’ll notice that it has a mesh grille rather than the slatted plastic one on older models.
When replacing the surround, do so in exactly the reverse of the order described above, because the clips on each side are different. You risk breaking them if you don’t. The rest of the instructions are the same as for the older version of your Omnivent.
if any of the parts on your Omnivent are past their sell-by date, they could be replaced