


Want to improve your caravan’s braking performance?
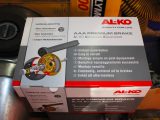
You could consider the Al-Ko AAA Premium Brake upgrade.
Before I go any further, Al-Ko doesn’t recommend this to be a DIY installation for the following reasons.
Call in the experts!
First, you will need torque wrenches capable of tightening bolts to 370Nm, which is a great deal more than the capability of your average home toolkits.
Second, you will need to lift the caravan in order to get acceptable space to be able to tighten the above bolts.
Third, getting the toe-in and camber adjustments correct is imperative, otherwise you could experience rapid tyre wear and/or odd towing characteristics from the caravan.
A decade in the making
For more than 10 years, caravan chassis manufacturer Al-Ko has been developing a reliable, self-adjusting braking system that would work in all kinds of situations and climates – from the freezing temperatures of northern Scandinavia, to the desert heats of north Africa, and on boat trailers where wheels are often immersed in (salt) water.
Al-Ko took the initiative to design the system in a quest to develop and manufacture the safest braking system for caravans.
A system that would remain so in perpetuity, not just at the time of purchase or following a service.
There are two Al-Ko AAA Premium Brake kits available: one for the 2051 axle (for caravans with an MTPLM of 1550kg or less) and one for the 2361 axle (for single-axle caravans with an MTPLM exceeding 1550kg).
Twin-axle caravans will usually have a pair of the 2051 axles.
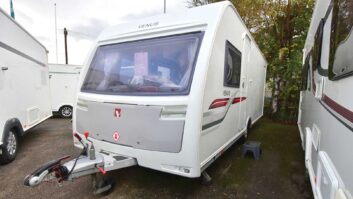
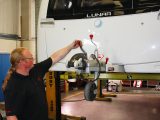
I had the upgrade fitted to our caravan, and watched Al-Ko service engineer Ian Forsyth carry out the installation at the company’s UK headquarters in Warwickshire.
Getting started
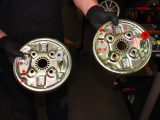
In essence, the original backplates are replaced with the new ones, which come ready-assembled with the brake shoes and mechanisms, and are marked ‘L’ (left) and ‘R’ (right).
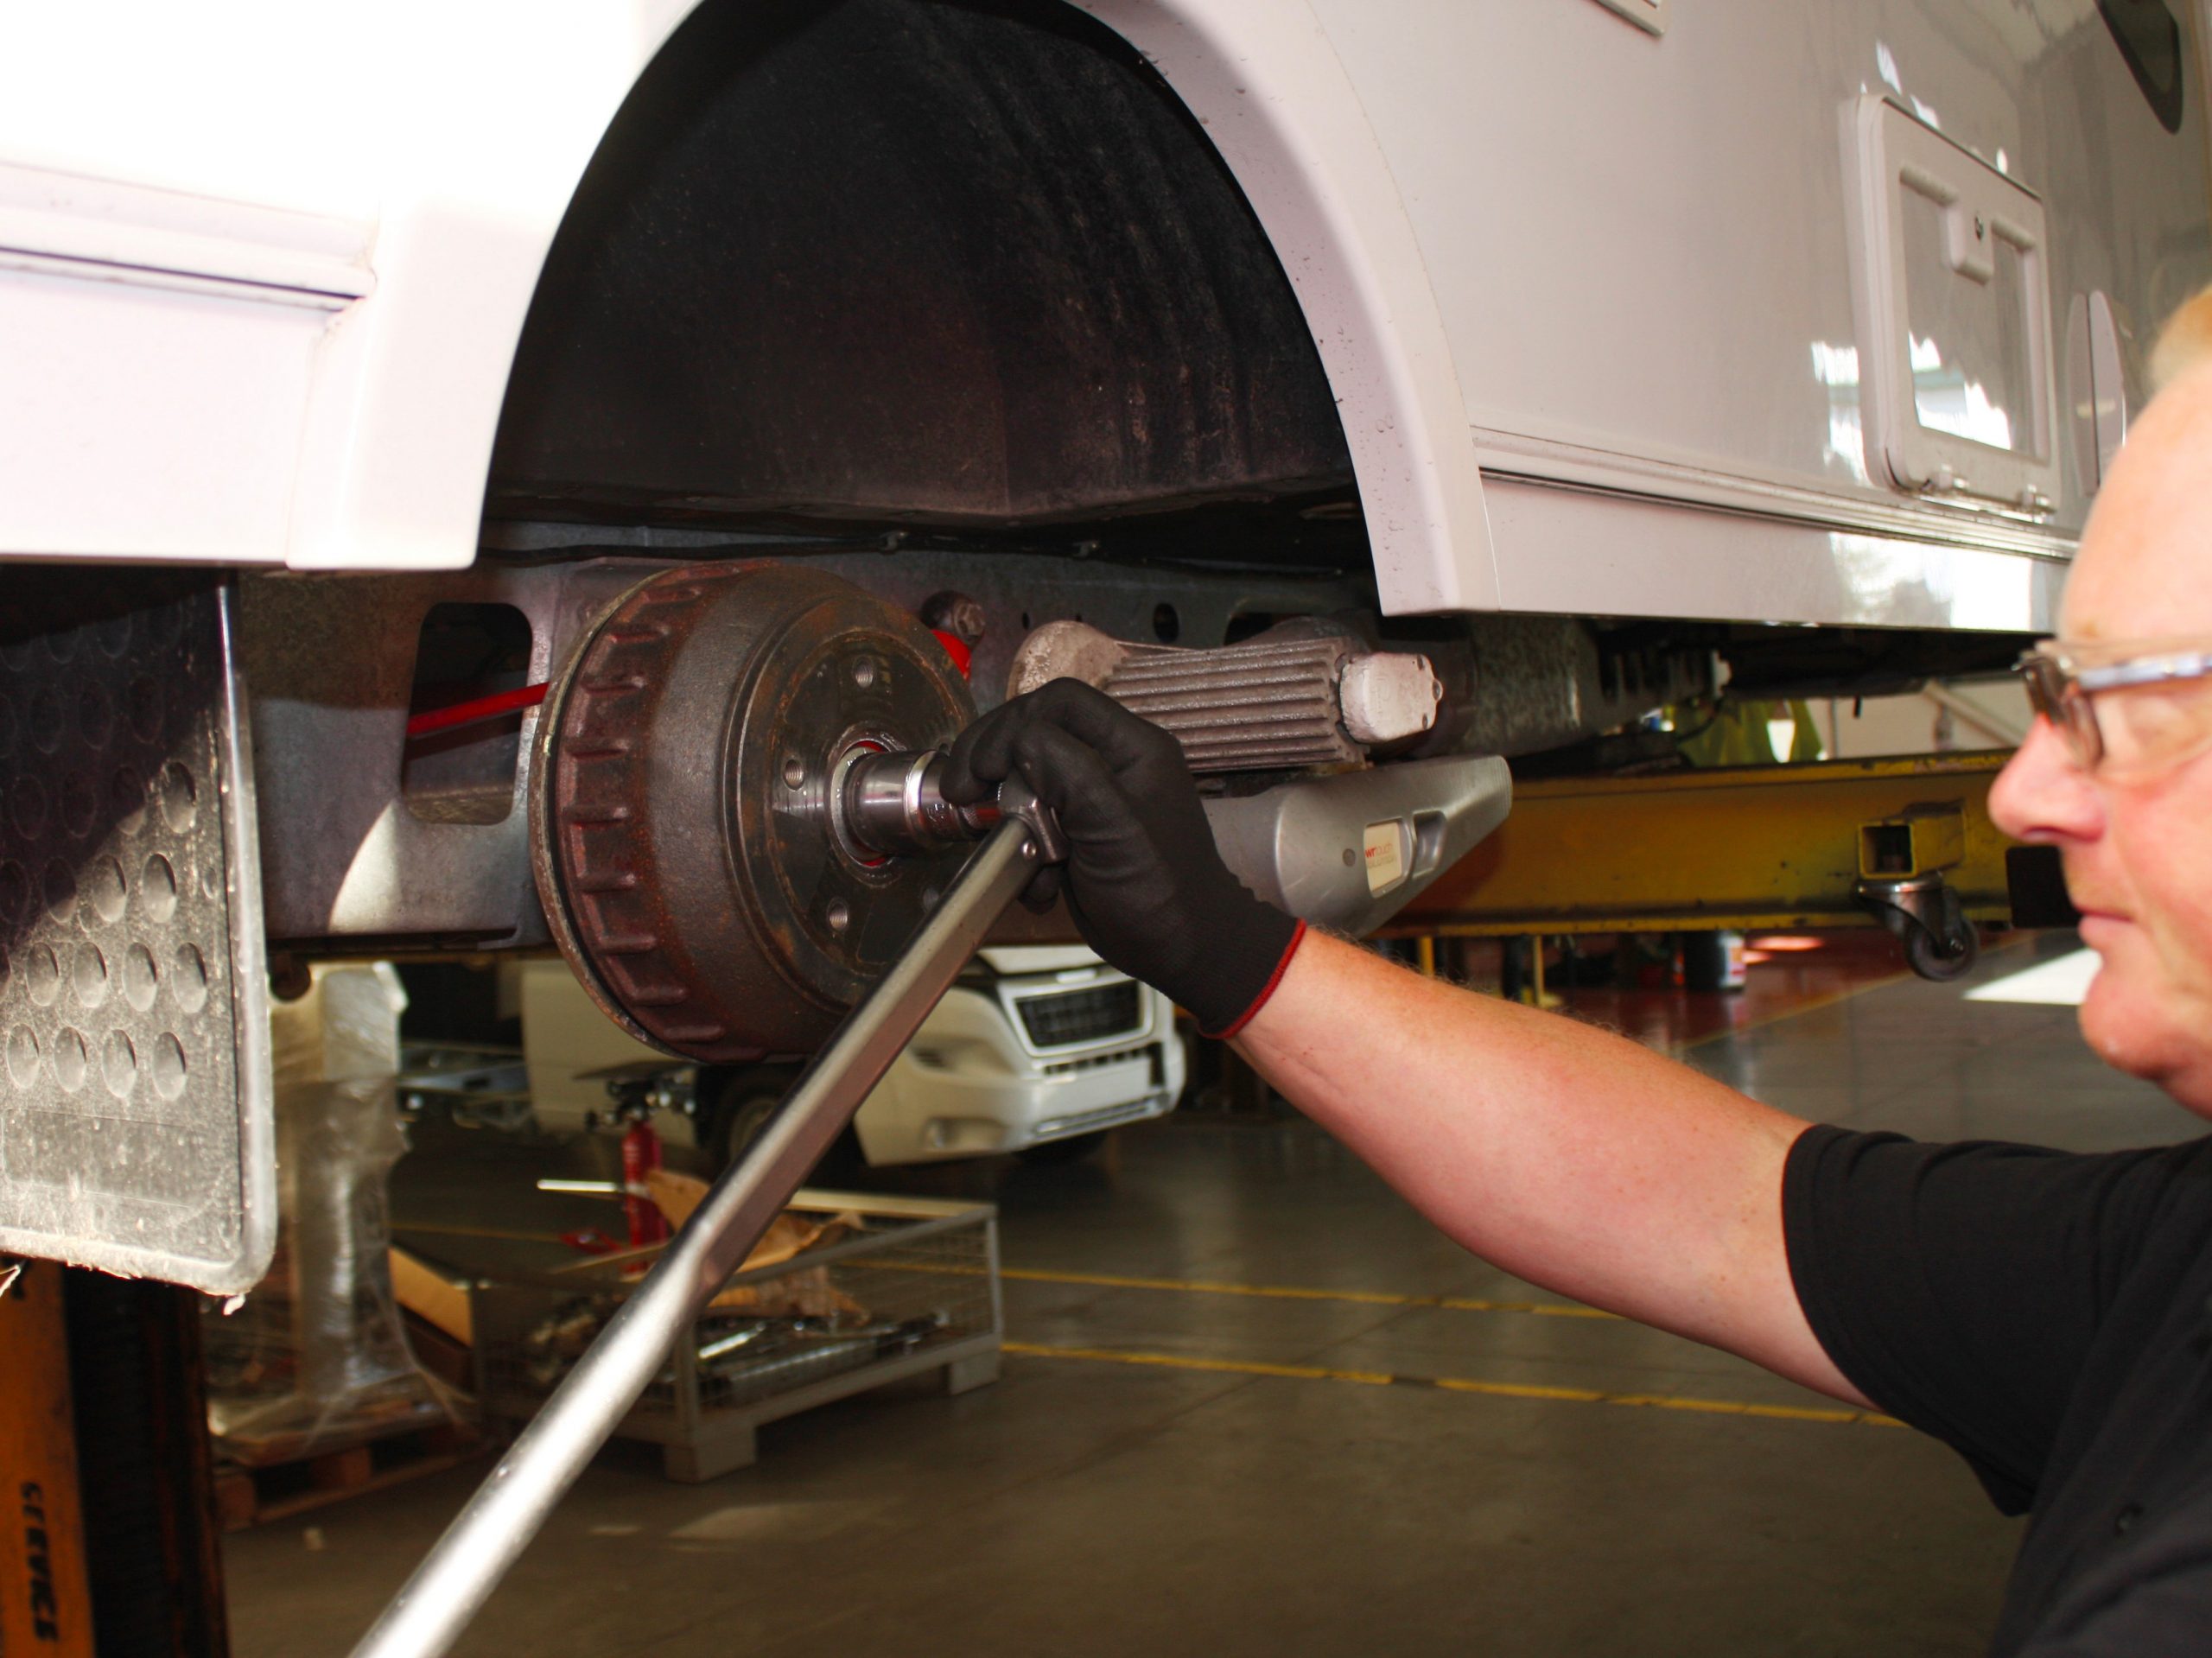
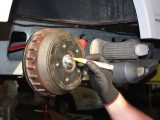
After the caravan was raised on a lift, the road wheels were removed, followed by the brake drums (which are re-used).
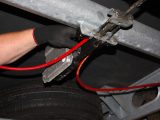
Next, the position of the brake Bowden cable shield was observed and marked – this ensures that the new backplate is replaced in the same position as the original.
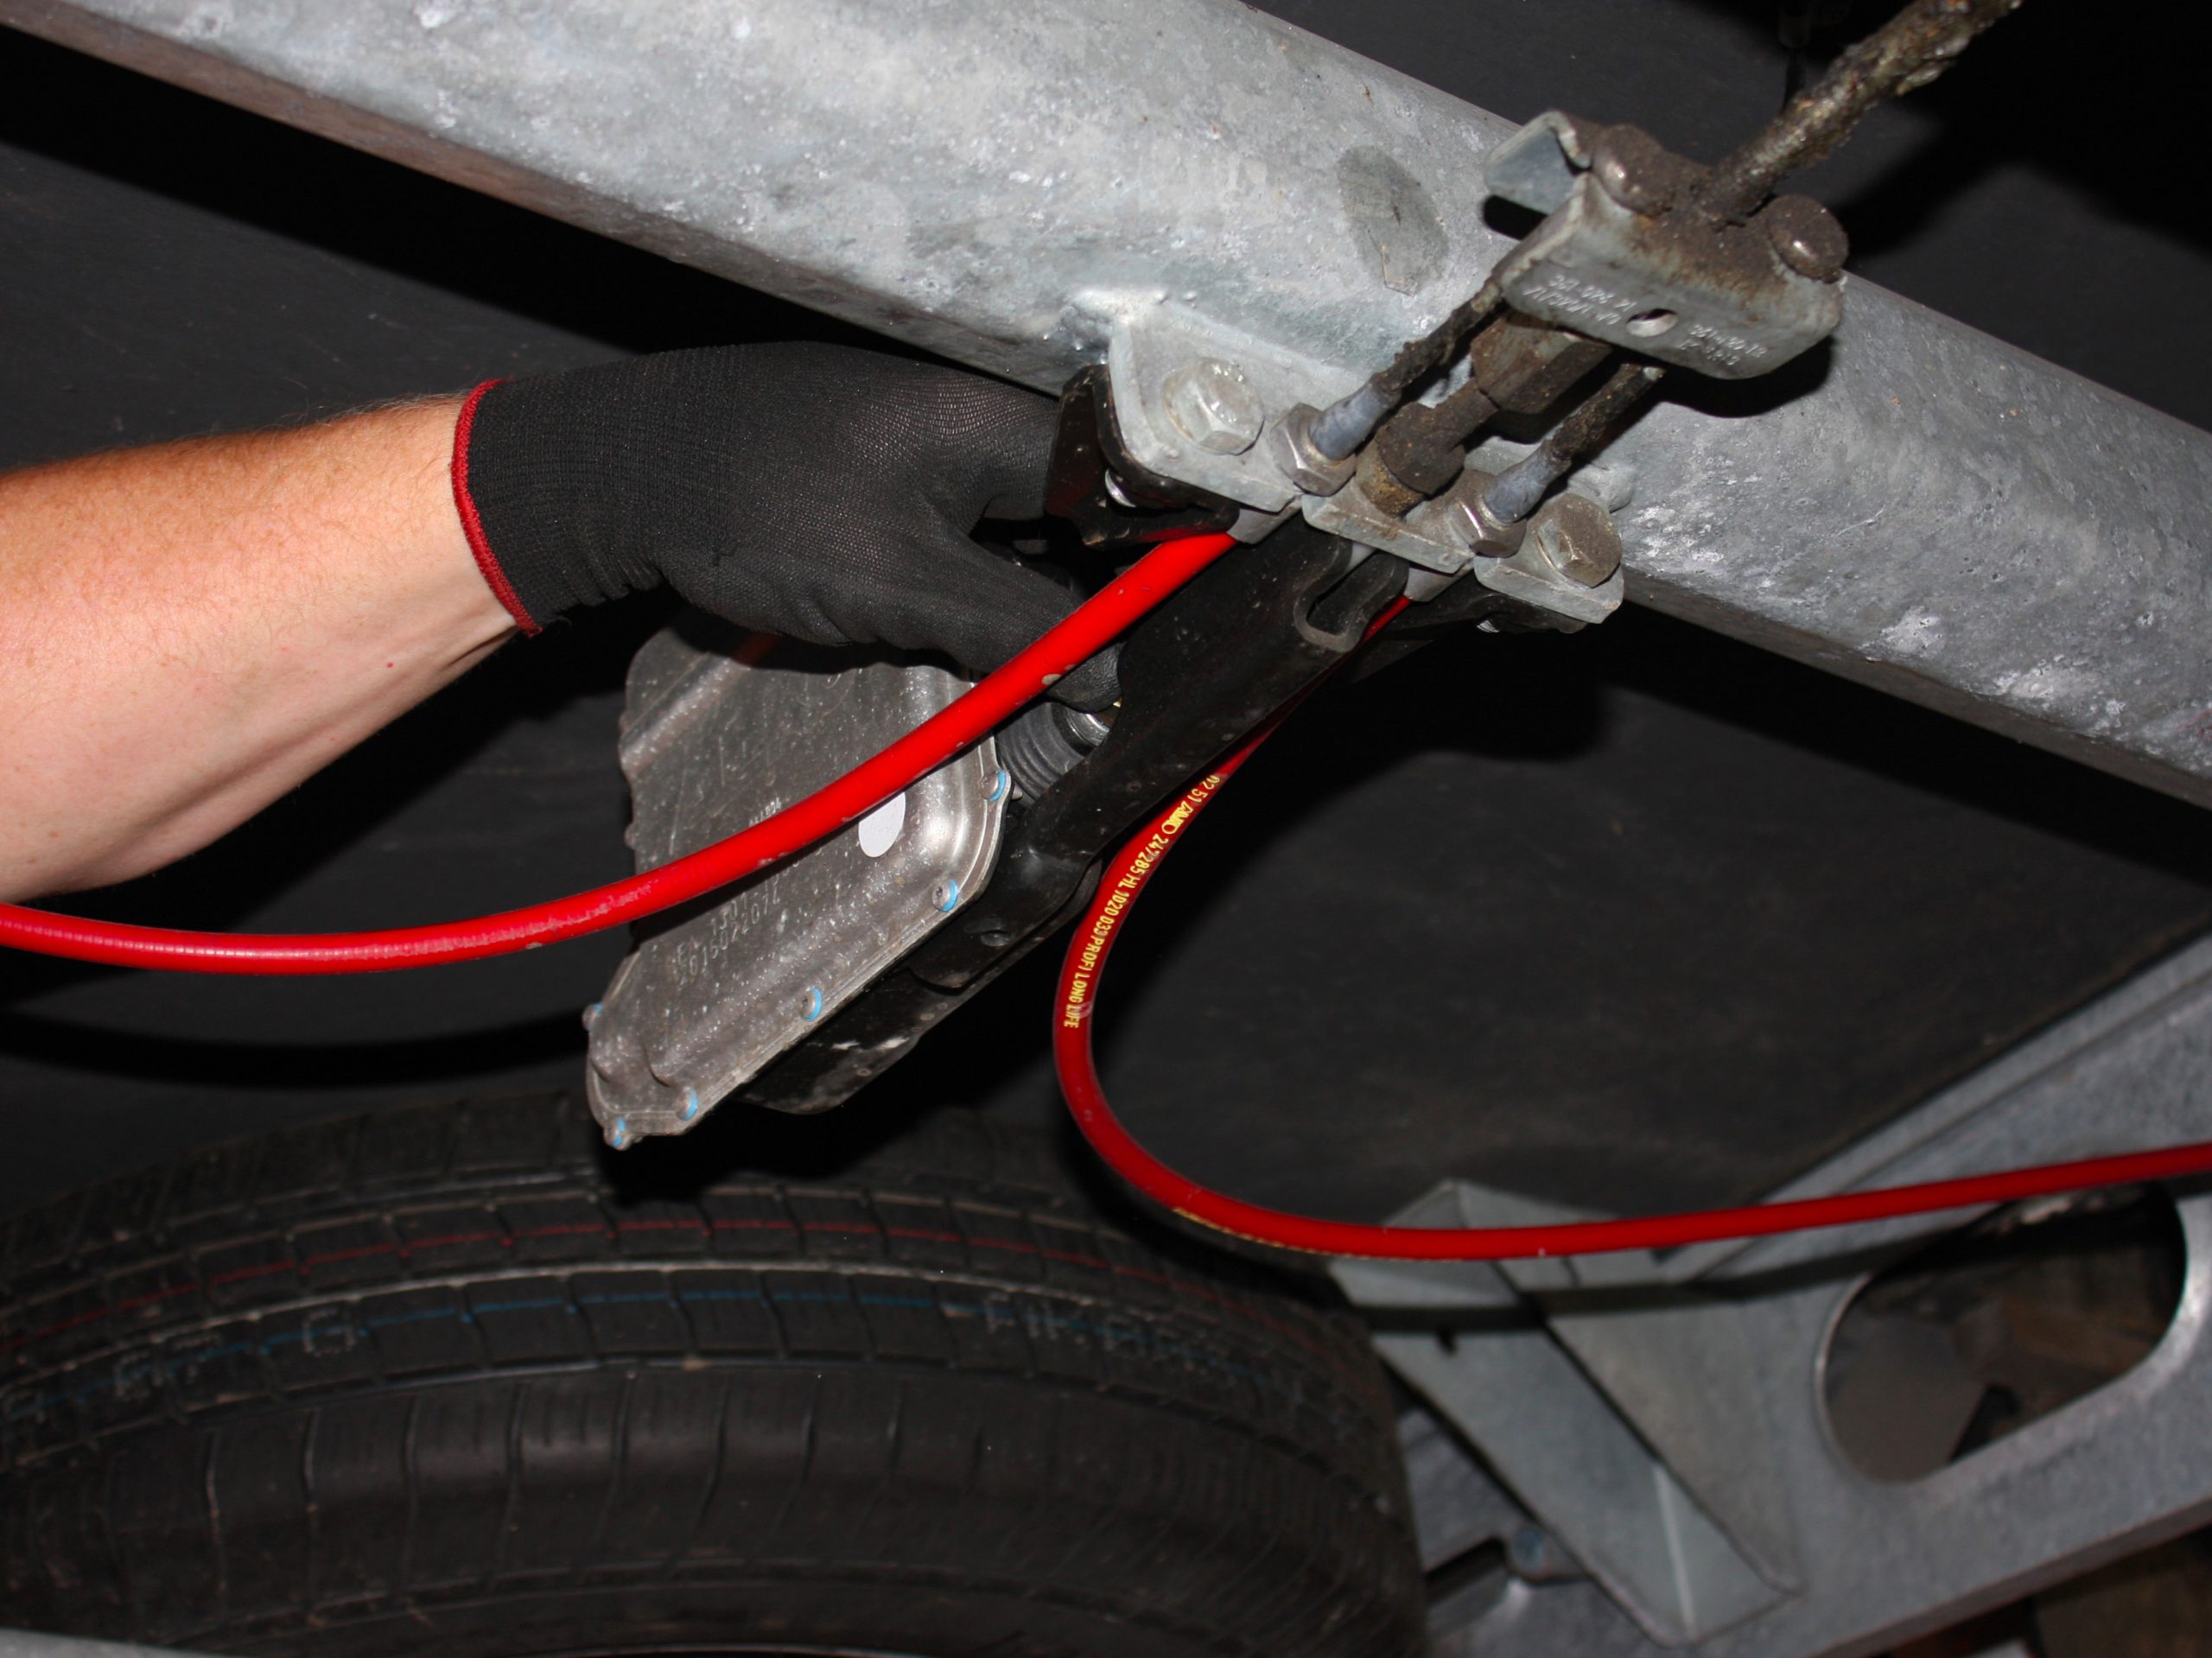
Ian then slackened the Bowden cables at the balance bar, which allowed him to easily slip the other end out of the operating mechanism within the brake assembly.
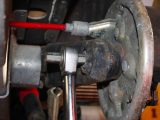
After marking the position of the stub-axle (there is a groove on the stub-axle) in relation to the backplate, the bolt securing the hub assembly/stub-axle to the suspension unit was removed.
The groove denotes the correct position for the stub-axle to be in for correct toe-in and camber alignment.
The correct alignment
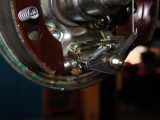
With the backplate and stub-axle removed, castellations can be seen on the backplate.
These help with locating the backplate on the suspension unit and stop it rotating.
The new assembly was then attached to the suspension unit, with Ian taking great care to ensure that all the markings aligned correctly.
Once tightened to the correct torque settings, all parts were marked with paint so that it would be easy for a service engineer to spot if anything had moved.
With the Bowden cables already slackened, it was an easy matter of slotting them back into place in the brake assembly.
If they aren’t loosened, it’s a tough job to pull them sufficiently to be able to slot them back into place.
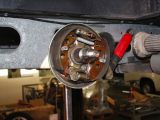
The drum was then replaced using a new one-shot nut, and the centre cap replaced. No manual adjustment of the brakes was necessary.
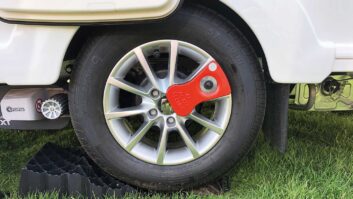
The nearside change is a little more complicated because the Secure wheel-lock receiver has to be removed, which is done when the drum is off.
Reducing free play
Once the brake assemblies had been changed on both sides, the Bowden cables were re-adjusted at the balance bar, before the free play on the brake rod was correctly set.
This is one of the big differences compared with the original set-up, where the free play is between 5mm and 7mm.
On the new system, that free-play tolerance is reduced to between 3mm and 4mm.
With that all set up correctly, Ian operated the caravan’s handbrake several times, which caused the self-adjusting mechanism to do its job.
After making sure that the brakes were operating correctly – i.e. releasing fully and locking fully – the wheels were replaced and the caravan returned to ground level. Job done.
What difference does it make?
It was then time to test drive the system.
Now, our caravan is not that old, and the brakes were adjusted when it was last serviced, so I have no reason to believe that they were not operating correctly.
However, it was immediately apparent how much smoother the new set-up was.
When braking from any speed, previously I always detected a very slight delay before the caravan’s brakes operated, whereas with the new brakes, the whole outfit appears to brake as one. It really is that noticeable.
Al-Ko claims that, during its testing, stopping distances were reduced by up to five metres when compared with the manually adjusted system, and after feeling how much better the self-adjusting system felt, I can quite believe it.
It would be interesting to do our own testing.
Fitting the self-adjusting brakes should take no longer than a couple of hours by an Al-Ko-approved workshop and, while they don’t expect owners to be queuing at the gates, changing is a worthwhile consideration should brakes be worn out or faulty.
What does it cost?
The RRP of the kits is £175 including VAT for the 2051 and £225 for the 2361 (plus a couple of hours’ of labour for the fitting).
Servicing times should be reduced because there’s no manual adjustment of the brakes required, although Al-Ko still recommends the removal of the brake drums to clean and visually inspect the system.
With the best will in the world, with manually adjusted brakes it is very difficult to get both sides adjusted to exactly the same tolerance, hence the greater leeway in the various adjustments.
The self-adjusting brakes have much tighter tolerances and, as a result, my experience is that they feel both much smoother and efficient.
I’m converted!
It was immediately apparent how much smoother the new set-up was