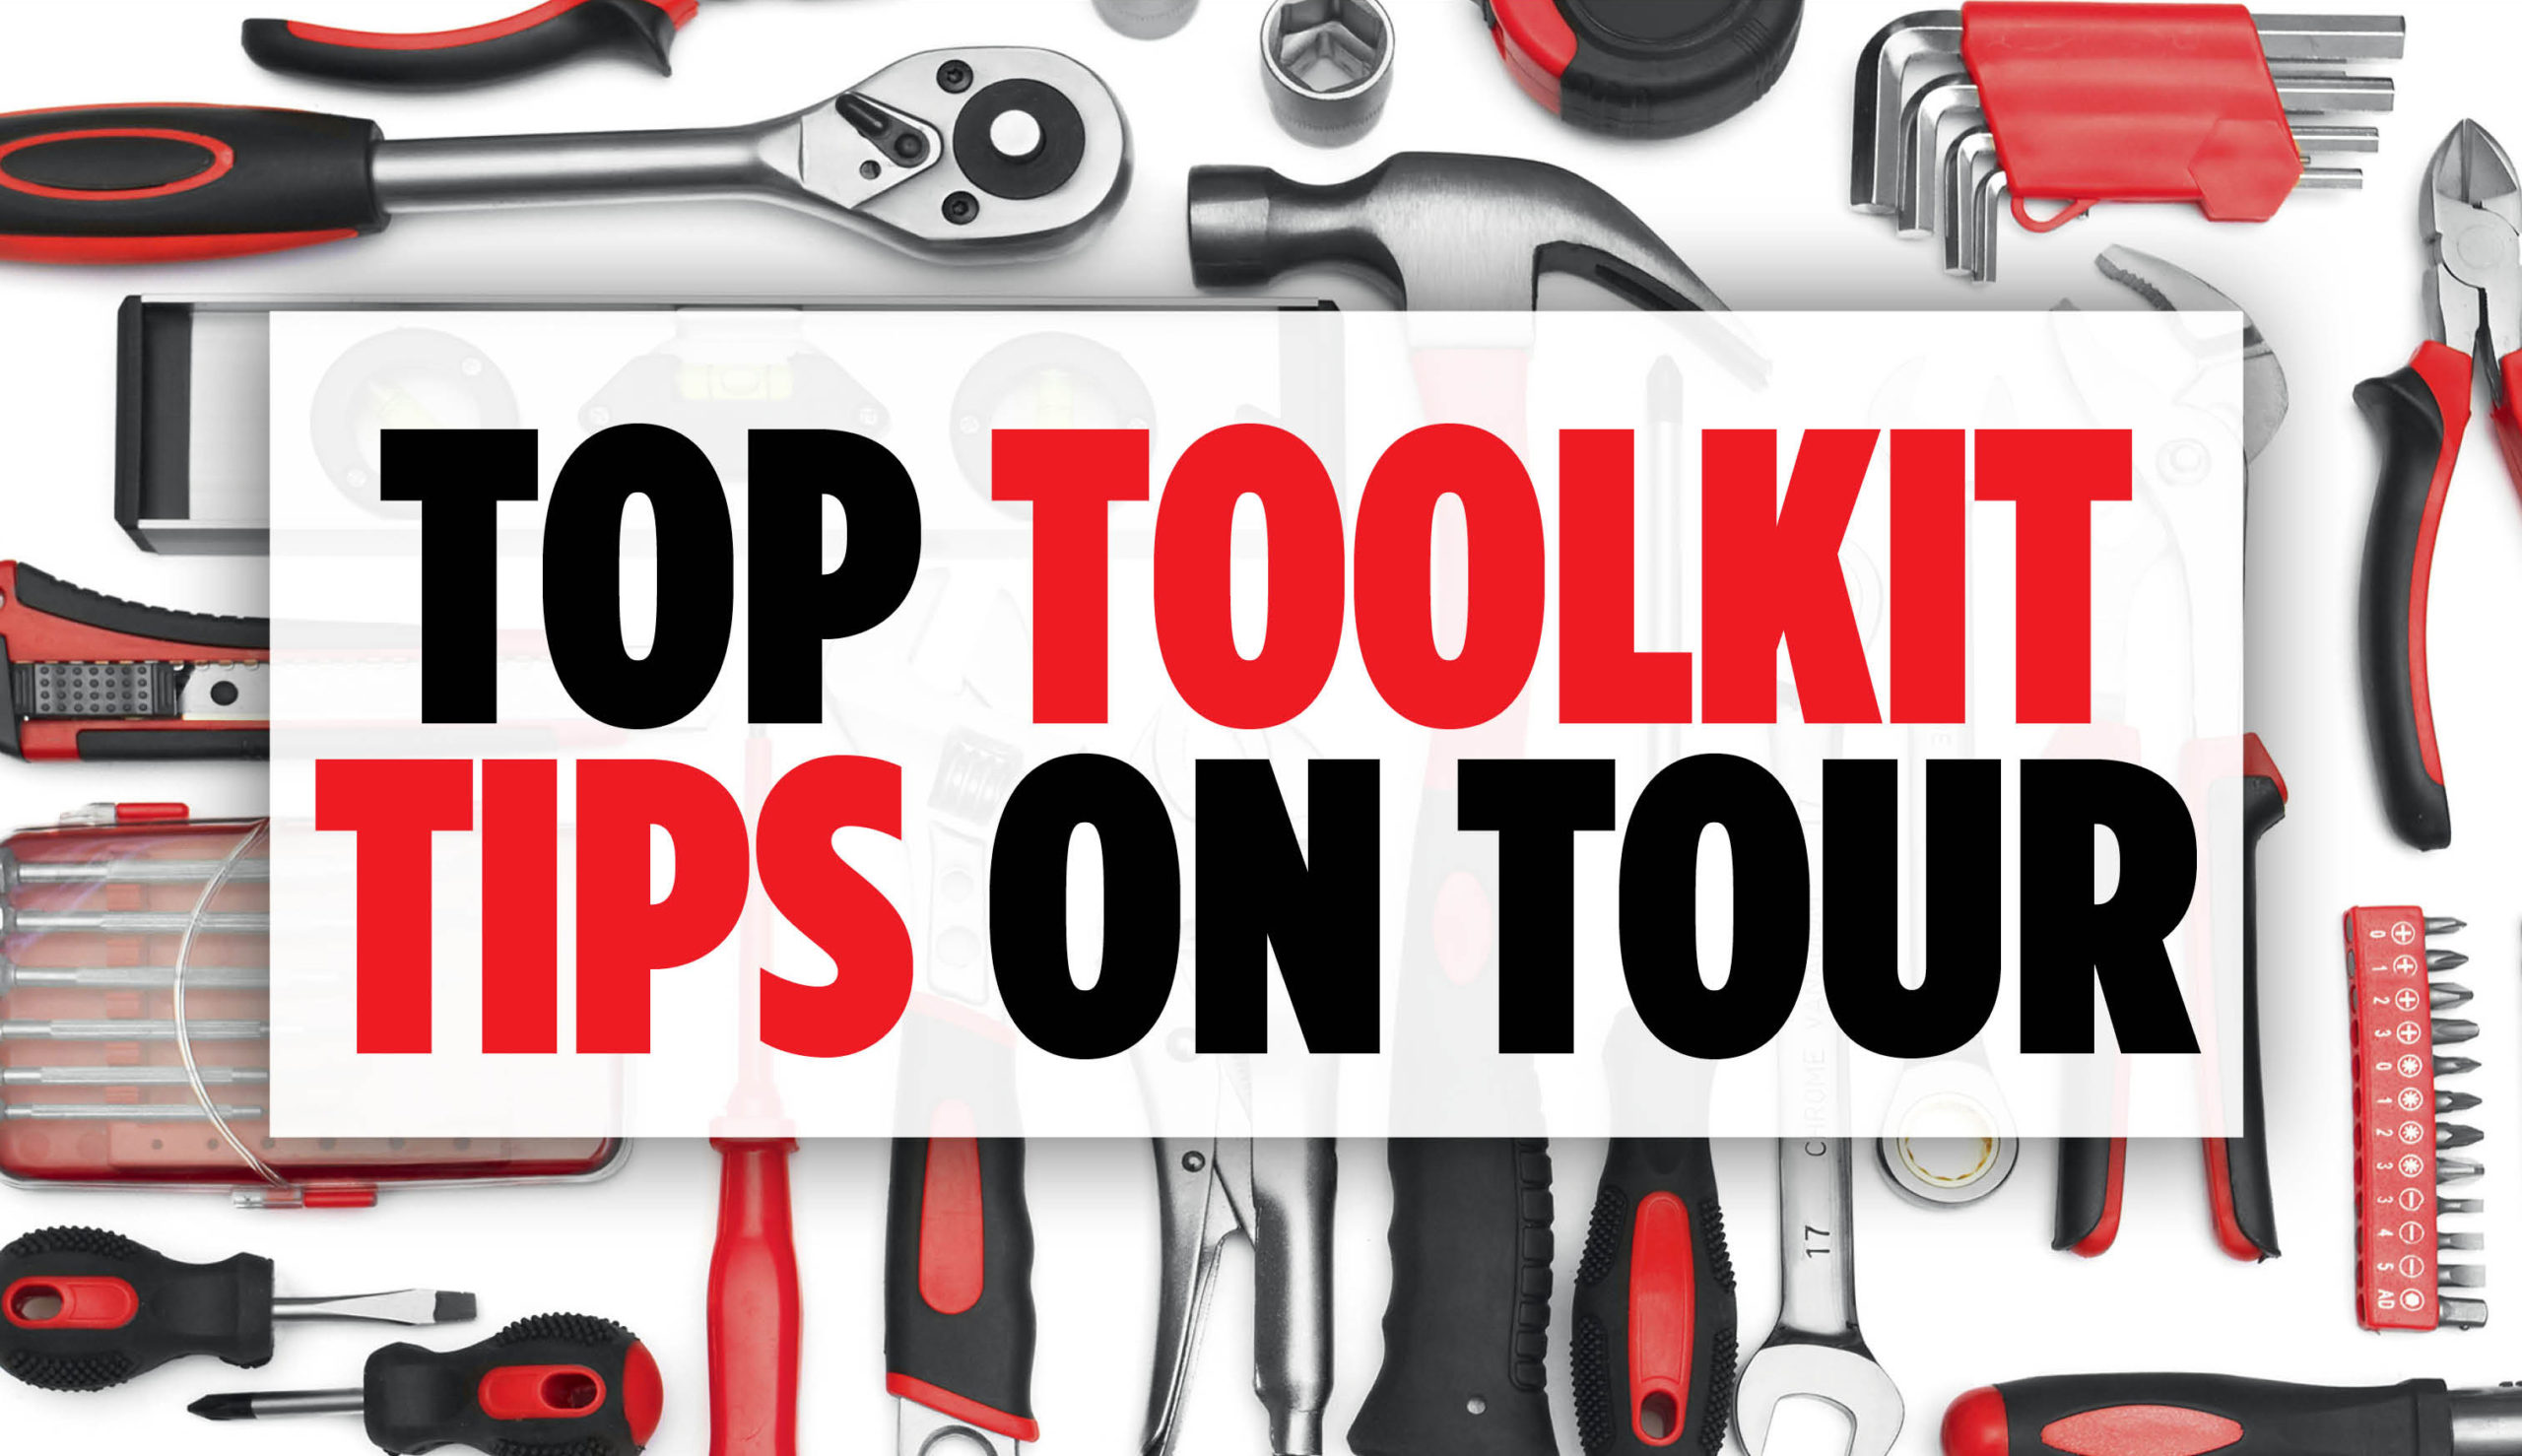


One of the many things touring helps to teach you is self-reliance, and Covid-19 has certainly reinforced this. Why rely on others when you can fix minor problems yourself? Here, we show you some of the top toolkit tips on tour.
There is a belief that owners couldn’t possibly fathom their van’s complexity without visiting a dealer or retailer. For some electrical problems – and all safety-related matters of course – that is true, but for certain equipment, it isn’t the case. Unlike cars, caravans are largely handbuilt by human beings. So if they can do it…
What you do need, though, is a good caravan tool kit covering the basic kit in your unit, and common sense. Certain things need to be left to the professionals, such as safety-related items (gas systems and so on); but for anything not safety-critical – such as broken window latches, faulty lights, or a toilet that won’t flush, it’s worth investigating yourself.
Not only will you save time and money, but the feeling of glory that comes with a fix can be addictive! Even if you don’t succeed, at least you’ll have a clearer understanding of how it works and be better able to brief the garage repairing it. (You should also keep in mind how any warranty might be affected.)
Do your homework
Before you buy any tools or roll up your sleeves and get stuck in, do some homework. Start with owner’s manuals and product information booklets – for fuse locations, technical specifications and all sorts of procedures.
Look for videos about similar faults and ask questions on forums you trust. The latter can point you in the right direction and give you alternative ideas on how to tackle the task.
Check the price of the parts you’re working on. If t’s a £5 part, you might want to replace it, but if it’s rare or expensive, you’ll need to plan accordingly.
Take photographs
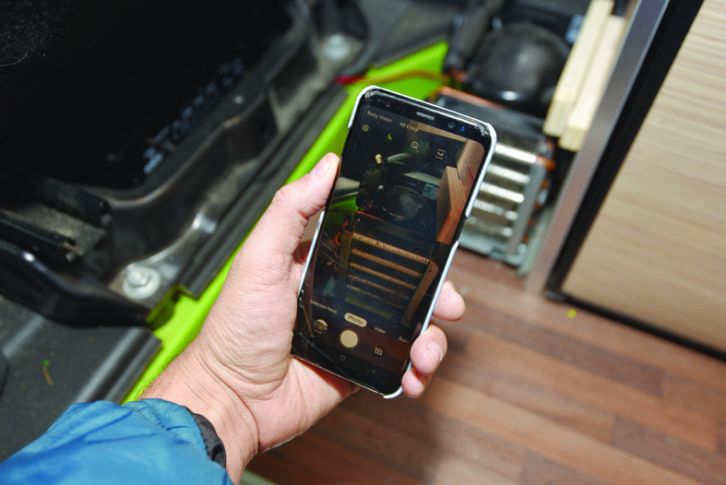
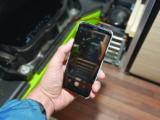
If you’re dealing with anything that is fiddly or complicated, use your phone or tablet to photograph every step. Not only does this give you a guide for reassembly, it also allows you to share the images with others if you need help. It’s all too easy to miss a small detail or part on reassembly.
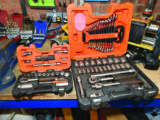
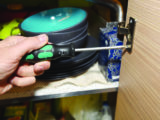
Basic hand tools
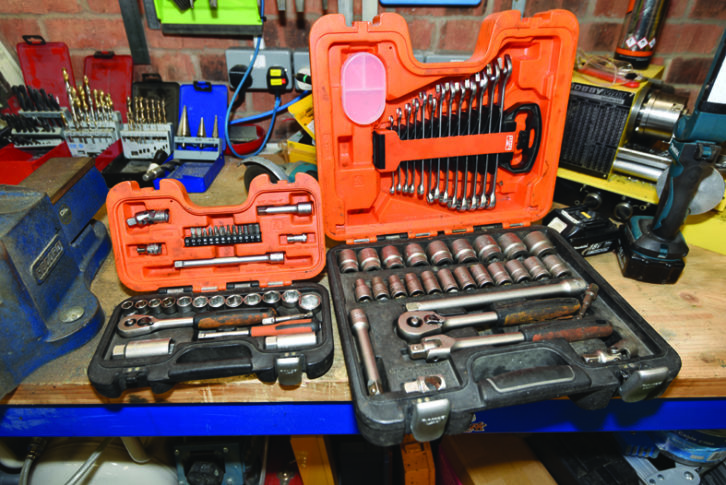
An all-in-one tool set with a good selection of bits/drives in a carry case is a good place to start, but which set to choose depends on your enthusiasm and willingness to get stuck in with the oilier mechanical jobs – be they on the caravan or beneath the car bonnet.
The key is to beware the false economy of cheap, unbranded tools, which are more likely to damage fixings, snap and wear out rapidly.
But you don’t have to spend £2000 on a set to get good tools. Machine Mart’s Pro range are excellent basic sets, while Halfords Advanced sets offer great value (and come with a first-rate lifetime warranty).
Other solid brands include Stanley, Bahco, Sealey, Laser, Teng, Facom and Wera. One excellent set we’ve found is Bahco’s S330 (£33 from Screwfix). This 3/8-inch set includes screwdriver bits that are great for a wide range of habitation tasks.
Most of these sets come with some form of screwdriver bits, but it’s best to pack a separate set of screwdrivers too. Wera makes excellent ones (Screwfix sells a set of six for £26) that have special laser tips, which prevent them from slipping on the screws.
It’s also worth buying some stubby flat-head, crosshead and Pozidrive screwdrivers (a few quid online), because caravans tend to have limited access to certain fixings. Avoid cheap unbranded screwdrivers, which don’t last and just chew up screw heads – don’t waste your money on them.
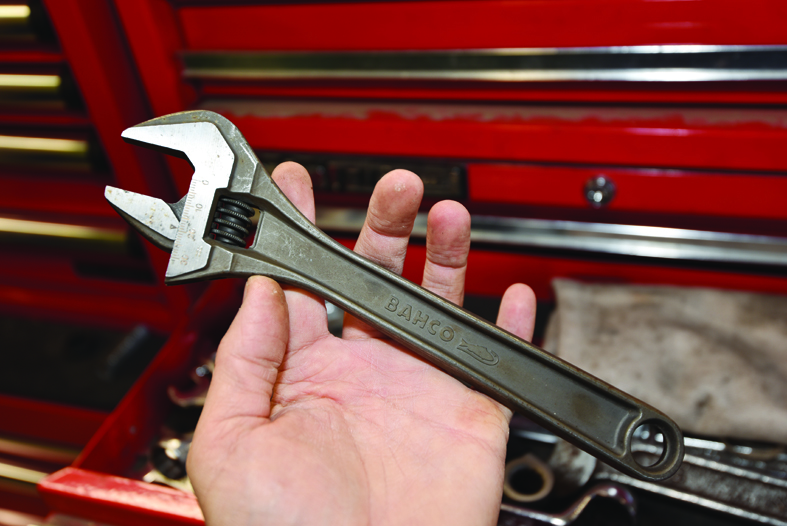
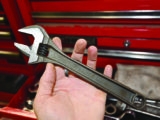
Some people sneer at them, but a good-quality adjustable spanner is another must-have: they can tackle most fixing sizes from 0-30mm (in the case of a typical medium-sized spanner). Again ,It’s important to buy a quality brand, though – cheap ones have wobbly jaws and a tendency to slip off the fixings.

Lastly, although you’re likely to have at least one good sharp knife in the kitchen, it’s unwise to redeploy this for DIY purposes – it’s far better to pack a dedicated multi-tool in your kit!
Electrical essentials
Before you assume that dealing with anything electrical requires a degree in computer science, a laptop and a calculator with those funny symbols, think again.
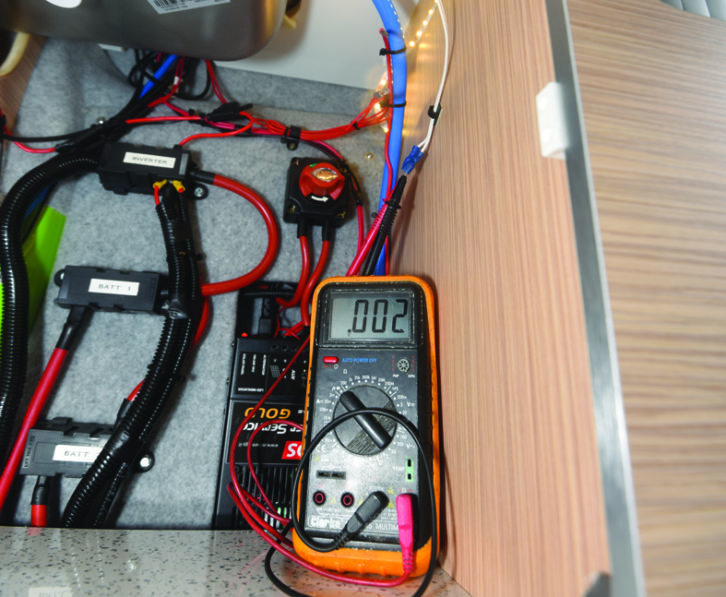
Most habitation items in a van run off 12V battery power. When you plug into a hook-up, your charging system kicks in and the battery is recharged with mains power. But all of the systems are running on 12V. And the good news is that, as long as you take care – and ensure that you have disconnected any mains hook-up – 12V systems are easy and safe to check.
Many power problems can be traced back to a flat battery. If any electrical item is playing up, this is always the first question to ask: is the battery charged?
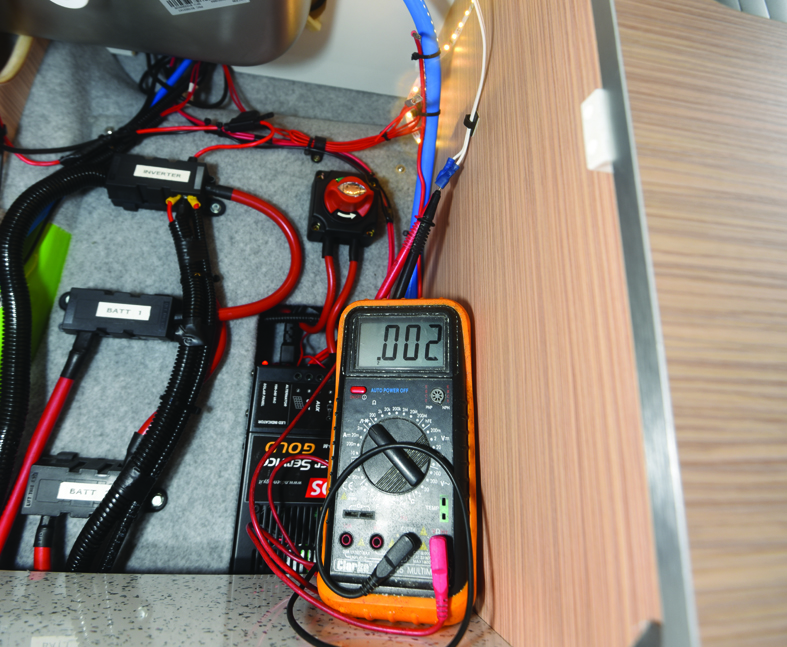
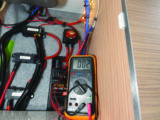
Low voltage can cause all sorts of nonsense to show up on your control panel and make any electrical gadget behave oddly. In winter, batteries have less capacity, so the first step in checking any electrical concerns is to measure battery voltage with a multimeter. Forget using your control panel – low voltage will cause it to misbehave.
Just £20 to £30 buys a basic digital multimeter and they’re a doddle – although you can get them online for even less, brands from Machine Mart, Halfords or your local dealer are recommended.
Plug the leads into the appropriate holes on the instrument (they’re labelled), turn the dial to DC 20V and simply touch the red lead to your leisure battery positive and the black lead to your leisure battery negative.
Typically, a voltage of around 13V means the battery is fully charged, 12.6V means it’s half-flat and anything under 12V that it’s pretty flat and needs recharging. In winter in the UK, small single solar panels will struggle to keep a leisure battery recharged, so it’s wise to plug into a mains hookup in any period of lay-up.
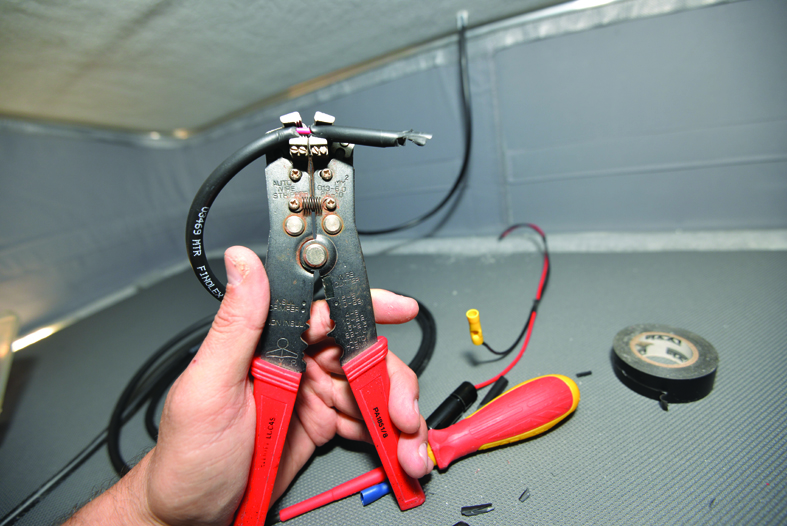
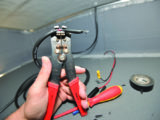
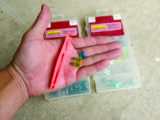
The other essentials are automatic wire-cutters (about £20), a pack of automotive wire and a ‘chocolate block’ electrical terminal block. If a connector breaks or fails, this will let you bypass it. Don’t bypass fuses with it! If a fuse keeps blowing, there’s a wiring fault, or something too powerful plugged into a 12V socket.
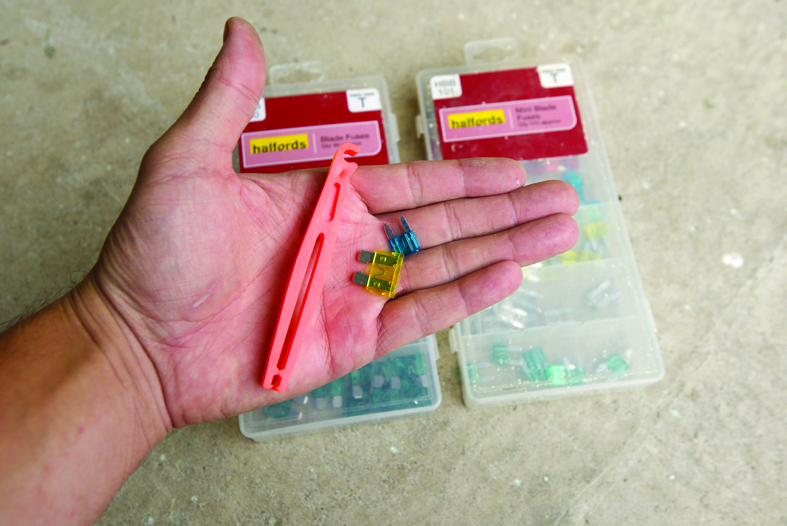
Whichever fuses your 12V system uses, keep multipacks – Halfords are a good source. Don’t buy cheap online fuse kits – many have high resistance and can melt fuse holders and cause all sorts of problems. Keep spare fuses by the fusebox if you can.
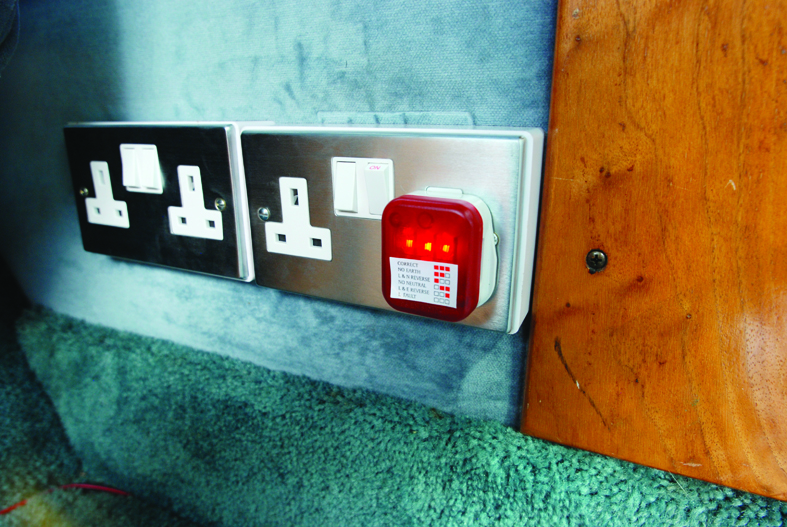
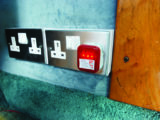
On the 240V side of things, there is nothing to buy other than a socket test plug that can check if you have reversed polarity when on a mains hook-up. For more information about reversed polarity, see our advice on how to cope with reverse polarity on tour.

With any caravan, familiarise yourself with the consumer unit RCD switches. If one trips, you need to know how to reset it. If it keeps tripping, unplug your mains hook-up lead from the site bollard (before removing it from the van end) and seek help.
RCDs trip for a reason: you’ve either overloaded a circuit with a high -powered device (such as hairdryers or kettles from home), or there’s an electrical fault.
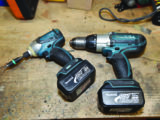
Useful power tools
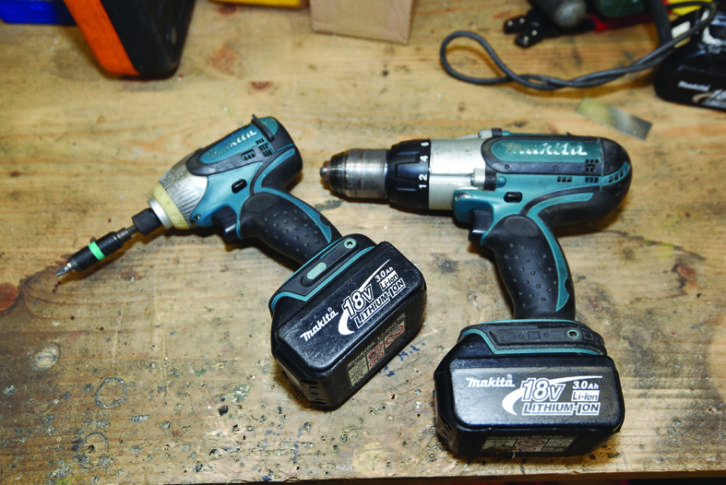
A cordless drill driver (with a screwdriver bit adaptor) is worth packing if you’re doing more extensive touring – these can drill holes in things for emergency repairs and tackle stubborn fixings and even spiral tent pegs. Branded ones are best, but you can find acceptable versions in Machine Mart and even Lidl (the Erbauer brand).
The key thing is to buy one that’s lithium-ion powered – they hold their charge well in storage. Nickel-cadmium versions are cheaper, but go flat when they are not in use – the one time you need them, you can bet that they will have no charge, so we think they’re not really worth having.
Essential consumables
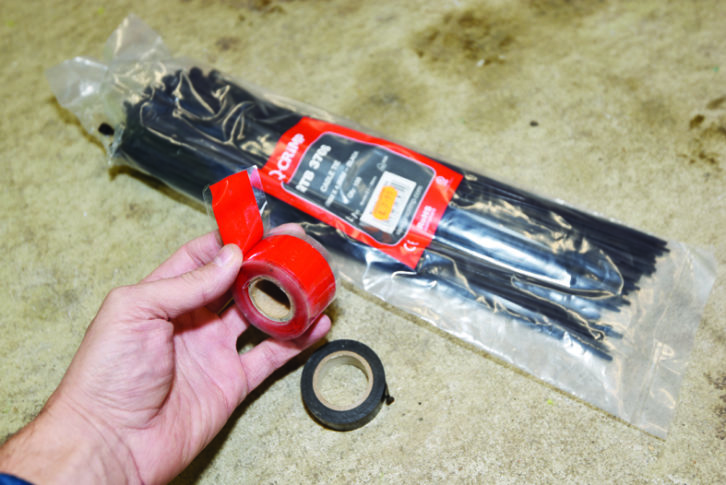
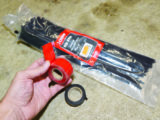
There’s an old saying that if it’s supposed to move, but doesn’t, add WD-40, and if it’s loose, but should be rigid, add gaffer tape. This is true! Pack both, together with a large multipack of cable ties (Lidl do some great value packs).
From rigging up temporary washing lines, to reattaching bicycles to bike racks, cable ties are endlessly useful.
Insulation tape is also a must, together with self-amalgamating silicone tape. This handy tape is designed to stick only to self and can temporarily seal leaking water pipes. It works under water and can be used on all manner of (temporary) fixes – a lifesaver if you’re somewhere remote.
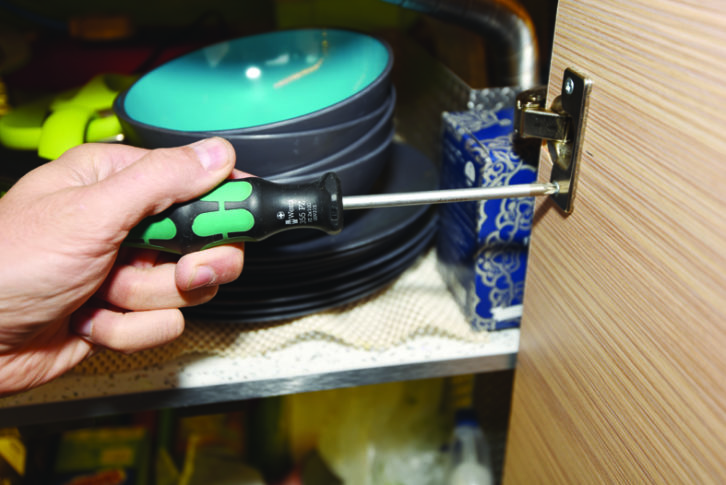
Latches and locks
Aside from 12V problems, other items likely to fail in a caravan are those that move and are used a lot – habitation and toilet door hinges, window latches, rooflights, blinds and door locks. All can be fixed by an owner with patience and common sense (you might need parts for the blinds, but these are often available cheaply online – hence the need to do your homework!).
Bear in mind, though, that to access the mechanism, you often have to remove plastic trim – which goes brittle with age – around the windows and doors, so do take care when you’re unclipping any of this.
Don’t use a screwdriver to do this – it will crack the trim itself, or damage the boarding behind it. Instead, get yourself a plastic car-trim removal kit, widely available online for under a tenner.
These are a set of miniature plastic prybars that you insert behind the trim, levering it off without causing damage.
Verdict
Tackling those simple repairs in your caravan is basically about gaining the confidence to have a go, and the only way to get this is – well – to have a go. You don’t always need to tow your caravan to a dealer and spend money – many of the small, common problems can be solved quickly and easily on a campsite, without having to impinge on your precious holiday time. So, as long as it’s appropriate and safe to do so, have a go – you might just surprise yourself!
If you liked this… READ THESE:
Top towing tips for safe travels
Best caravans: our top picks for every caravanner and budget
If you’ve enjoyed reading this article, why not get the latest news, reviews and features delivered direct to your door or inbox every month. Take advantage of our brilliant Practical Caravan magazine SUBSCRIBERS’ OFFER and SIGN UP TO OUR NEWSLETTER for regular weekly updates on all things caravan related.
Future Publishing Limited, the publisher of practicalcaravan.com, provides the information in this article in good faith and makes no representation as to its completeness or accuracy. Individuals carrying out the instructions do so at their own risk and must exercise their independent judgement in determining the appropriateness of the advice to their circumstances. Individuals should take appropriate safety precautions and be aware of the risk of electrocution when dealing with electrical products. To the fullest extent permitted by law, neither Future nor its employees or agents shall have any liability in connection with the use of this information. You should check that any van warranty will not be affected before proceeding with DIY projects.
Many power problems can be traced back to a flat battery. If anything electrical is playing up, this is always the first question to ask: is the battery charged?