


‘Distress purchases’ are those things that we have to pay for with unavoidable regularity, but see no tangible benefit or life improvement from – insurance, boiler repairs, replacement car tyres… and yes, tow car and caravan servicing.
Of course, you have to buy these things – it’ll cost you a lot more in the long run if you don’t – but that doesn’t ease the pain as you swipe your card or hand over your hard-earned cash.
Value for money
So if you have to fork out for such things, best make sure you’re getting value for money, and in the case of your beloved tourer, that the servicing is thorough and of the highest standard.
These days, a good-quality annual van service is likely to cost you from £150-£250, depending on where you live; but this is definitely money well spent. Here’s why:
Regular servicing maintains your warranty on any new or newish tourer. Usually, that warranty states that an annual service is part of the contract. The dates are usually very prescriptive, too, and an oversight or delay could invalidate your warranty. Book early!
A thorough service will identify any problems such as water ingress early on.
If you have a full-service history for your van, it shows you look after it. This will reassure buyers when you sell it on, and should secure a better price.
You can’t put a price on your safety. Gas and electrical appliances in your van could be lethal if not maintained. Cleaning flues and maintaining burners will eliminate any chance of carbon monoxide (CO) build-up in your van.
Finally, let’s face it, nobody wants to be stuck on the hard shoulder of the M5 with a mechanical breakage on their tourer or, worse still, a seriously damaged or even destroyed caravan, should the worst happen.
Consult the experts
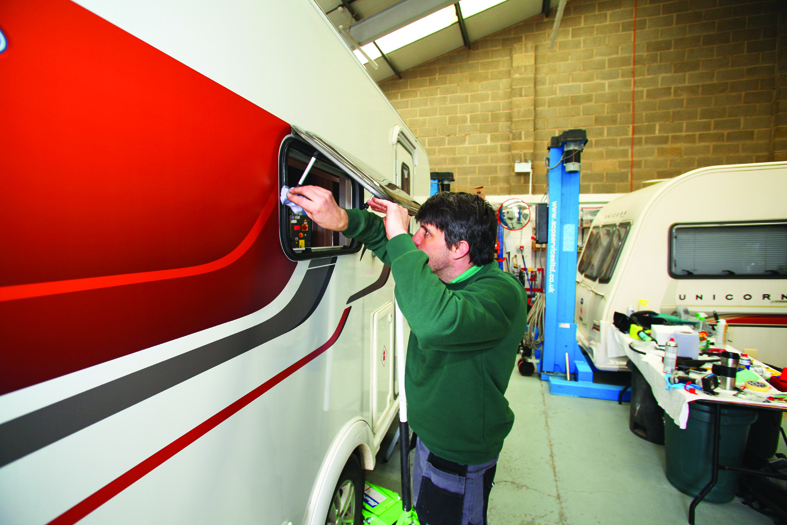
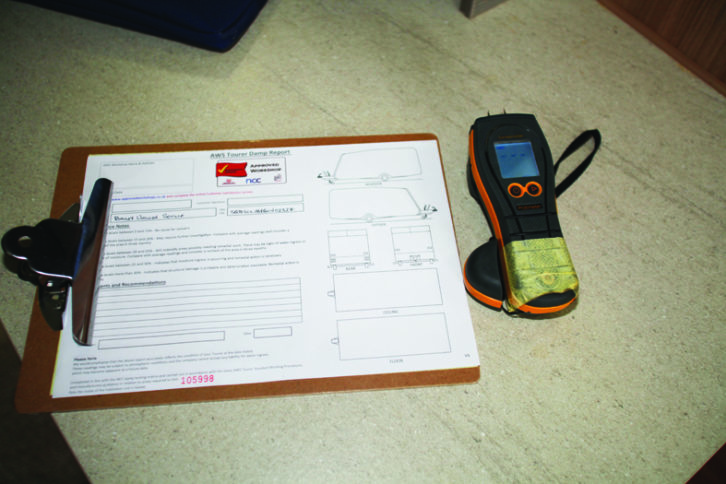
Practical Caravan headed to Out & About Motorhome & Caravan Services to find out what a full AWS-spec service entails.
O&A is run by father-and-son team Chris and David Hayes, in South Lincolnshire. As well as being Approved Workshop Scheme registered, they have Gas Safe credentials and are a Dometic service centre and E&P Approved Dealers.
As Chris and David push today’s star, a Bailey Unicorn Seville single-axle, into the workshop, David explains the O&A ethos: “We only use manufacturer parts, and we aim to go the extra mile for the customer. Have you noticed how clean we keep the floor? That way we don’t have to worry, moving in and out of customers’ vans.”
So, here is what happens during a caravan service at O&A.
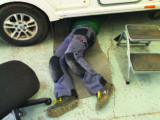
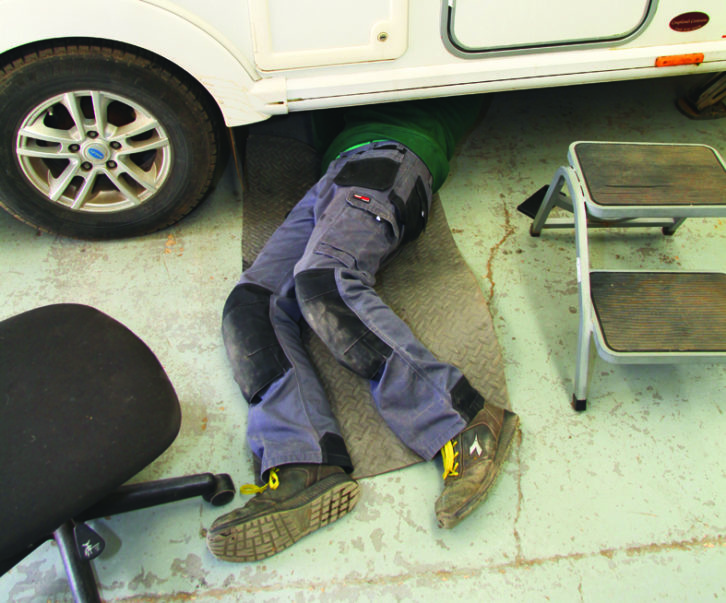
1.With the steadies down, the service begins with the whees, tyres, brakes and axles. The caravan is jacked on its Al-Ko jacking points and axle stands put in position. One wheel is removed and the tyre checked for age, wear and damage (physical and UV). The outside of the tyre is more prone to sunlight damage.
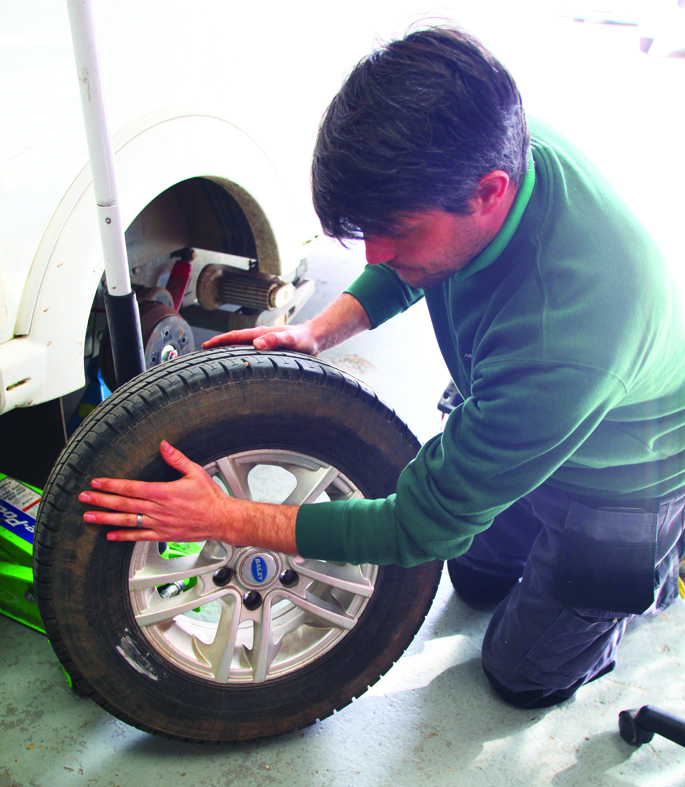
2. Next, the axle bolts are checked for tightness, the suspension damper is inspected for leaks and corrosion, and the wheel arch area is checked for signs of corrosion and damp.

“If brakes have been overheating, the drums have a blue tinge,” says David. “It doesn’t happen much with modern brakes, but older ones sometimes have a tendency to drag, and the heat build-up can cause excessive rusting.”
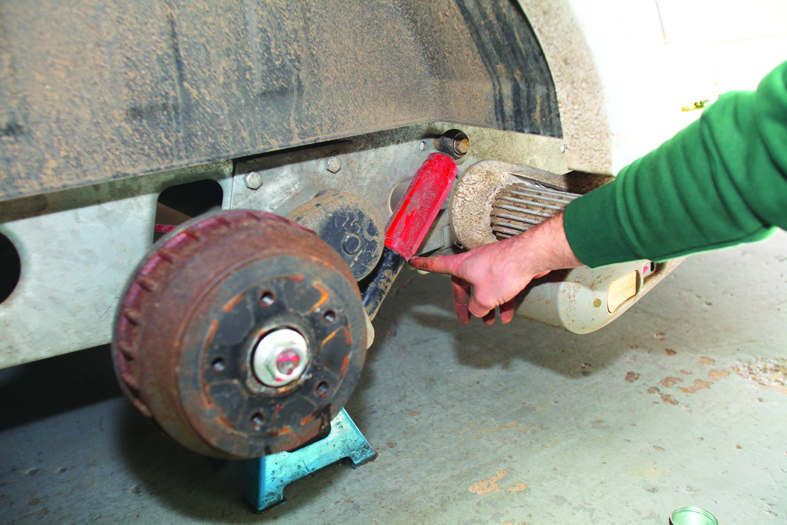
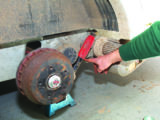
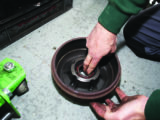
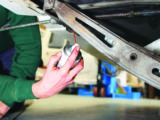
3.The hub nut is removed and the brake drum taken off. “Don’t use an air tool when removing the axle nut – it’s overkill, and could loosen the axle by accident,” says David. The van has had little use this year, due to Covid restrictions, so it’s clean inside the brake housing; but David checks the brake shoes for wear, and that the friction material is still firmly bonded to the shoe.
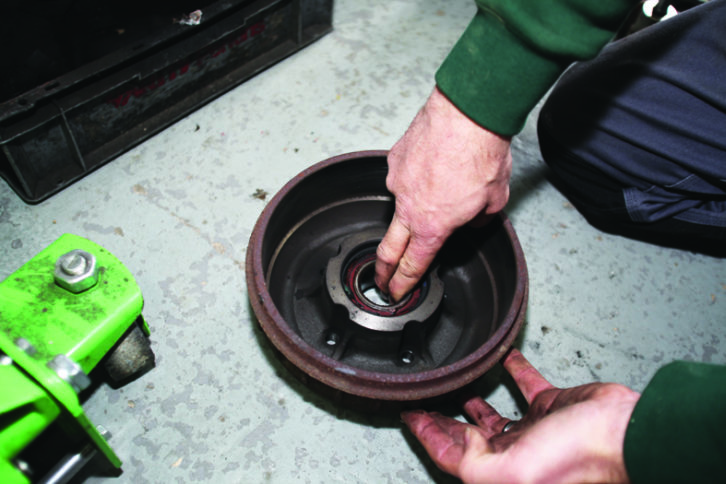
He then lubricates all of the moving parts, including the brake actuator, which pushes the shoes out onto the drum when the brakes are applied.
Finally, David turns his attention to the drum, feeling for wear or scoring, then for wear or damage to the central bearing. After that, the drum goes back on.
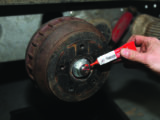
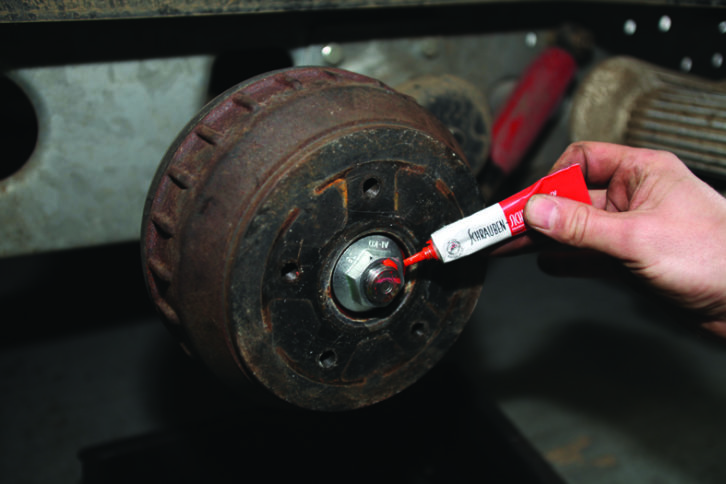
4.Modern Al-Ko hub nuts (£3-£4) are tightened to 290Nm and single-use. There are three options for BPW hub nuts. BPW charges £12 for each nut, but they can be used three times. O&A replaces the nut at every service, for safety’s sake, especially if they don’t know the caravan’s history. “We show the old nut to new customers, so they know it’s been done,” says David. “Don’t over torque it,” he adds.
Now the wheel goes back on. You should always start tightening wheel nuts by hand, so they don’t become cross-threaded, then tighten, but don’t torque them with the wheel in the air. Torque them up after lowering the wheel to the ground.
AWS forms have a section that is signed by a second person after the wheel nut tightness has been double-checked.
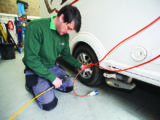
5.With the wheel back in position, the motor mover clearance will be checked with a 19mm block, then the tyre pressure is checked.
Tyre pressures are typically 65psi on a single-axle, and 32-35psi on twin-axles. The C on the end of the tyre-size profile (embossed on the tyre wall) denotes a commercial tyre. Regular road tyres aren’t built to take those pressures.
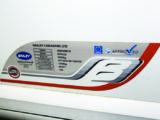
The optimal pressure is noted on the data plate near the door on Swift and Bailey caravans. If it’s not, check your manual or call the manufacturer.

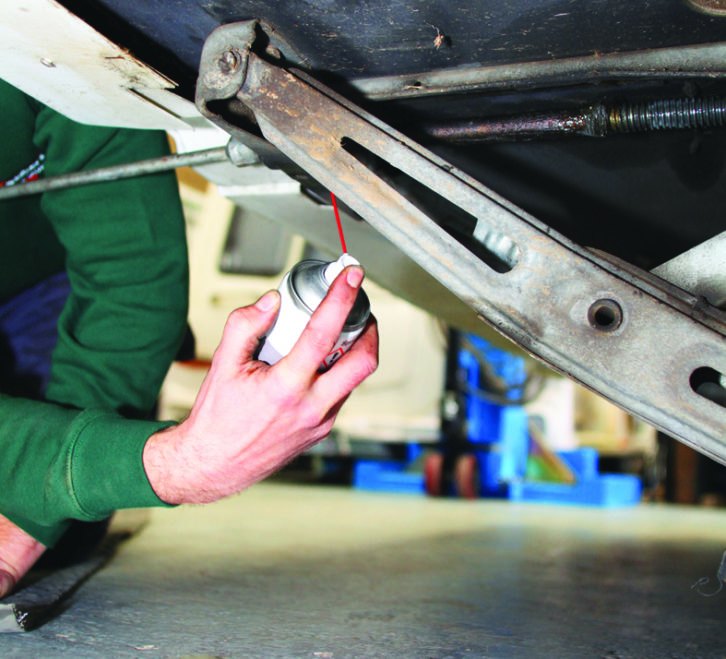
6.David next checks the spare-wheel tyre pressure and release mechanism. The slide-out, trombone-style holders are particularly prone to seizing up, so a spray grease should be used regularly on the sliding mechanism.
7.Corner steadies are next on the list for inspection and maintenance. “Spray lube is best for the steadies,” says David. “Thick grease clogs and just ends p collecting damaging grit.”
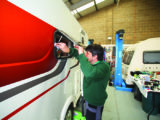
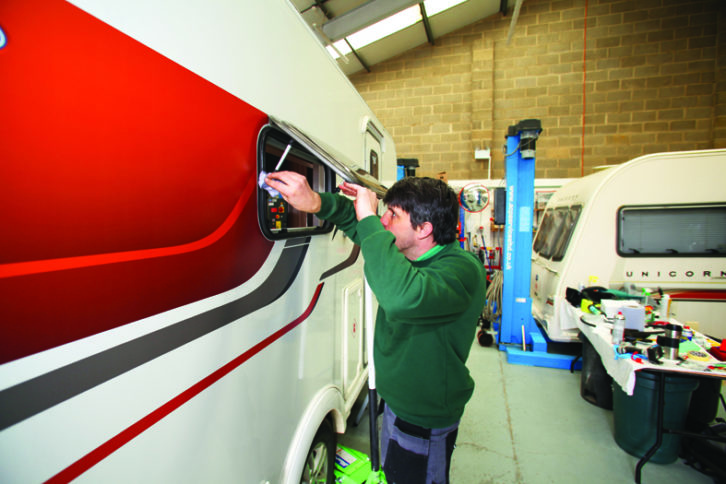
8.UV light and cleaning chemicals can cause rubber seals to dry out and crack, so next, David treats all of the window and door seals with silicone spray. He sprays the silicone into a cloth and wipes it carefully onto the seals.
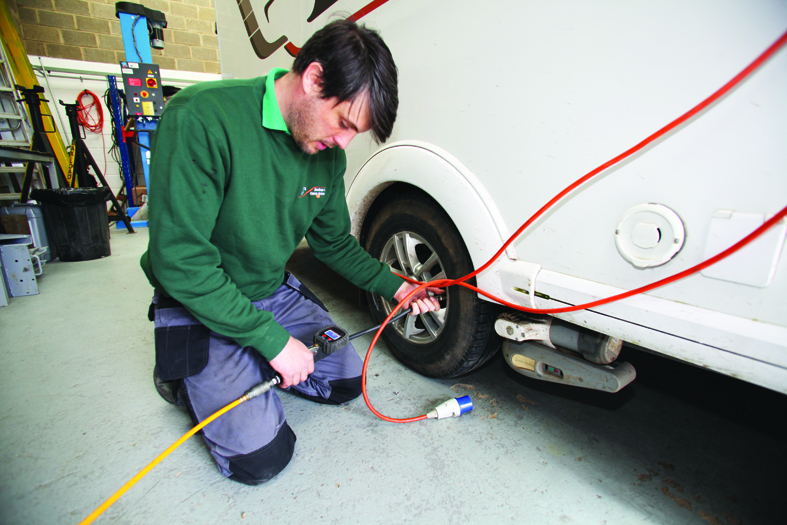
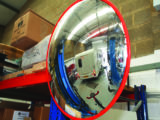
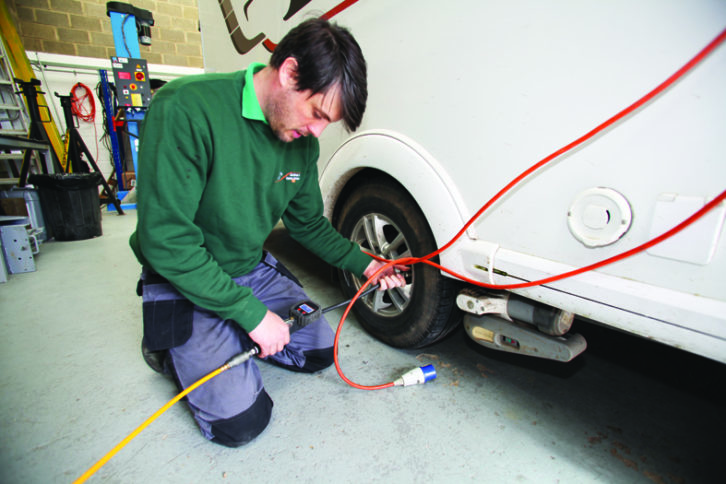
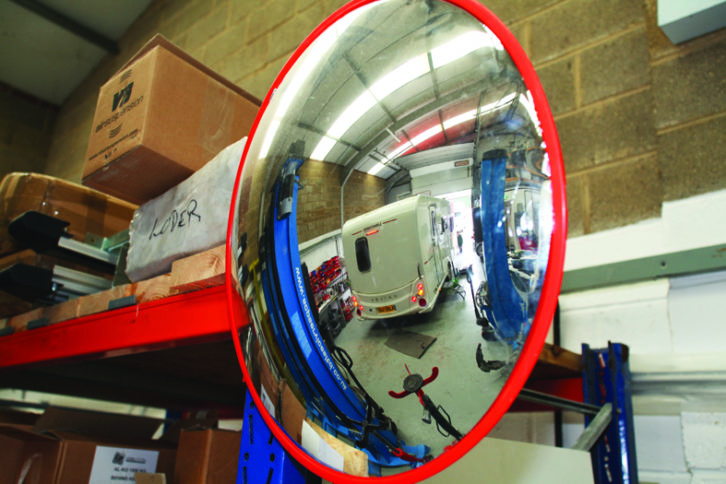
9.Now, he moves on to the lights. First, he plugs an electronic box of tricks into the caravan’s towing-electric cable, which means he can switch each circuit on individually. He’s also positioned a convex mirror on the far wall, so that he can see all of the lights illuminate, without having to keep walking to the back of the caravan. All is looking good with the Bailey.
Next, David moves to the A-frame. Here he tests the Al-Ko stabiliser and decides the friction pads are slightly worn, so adds a spacer shim to each side to tighten them up. It’s a quick job and works perfectly; the stabiliser is retensioned.
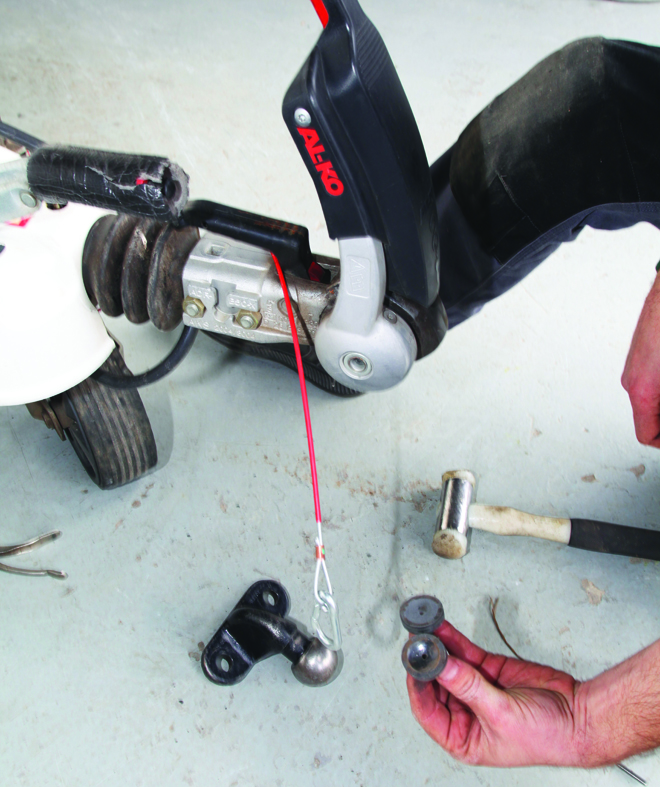
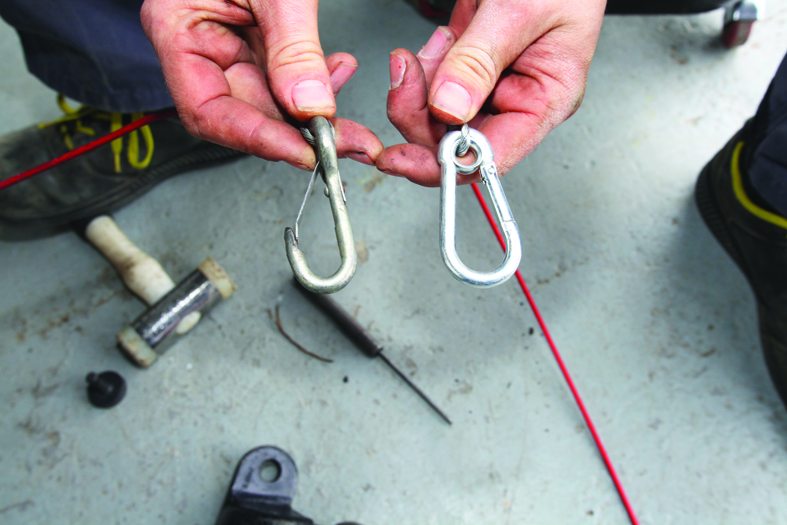
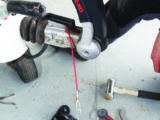
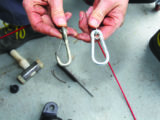
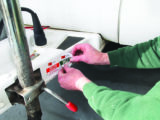
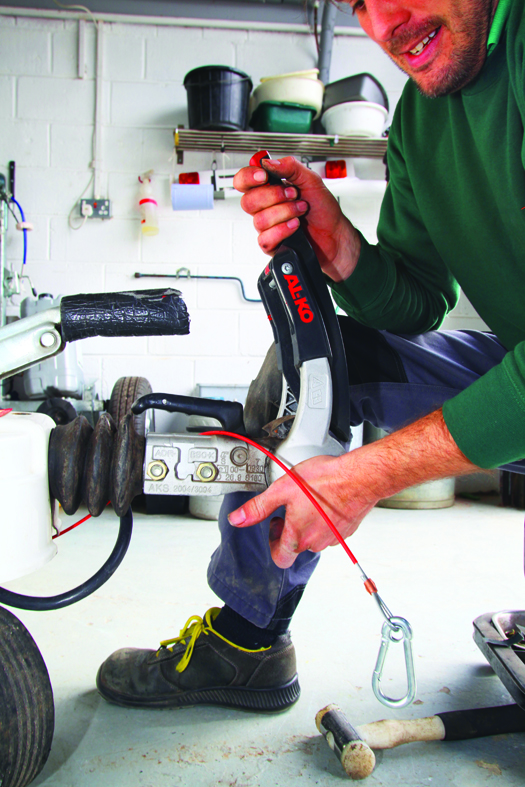
10.David then connects a grease gun to the two grease nipples, which lubricate the hitch-head mechanisms, before checking the breakaway cable. “It looks as though it has been stretched,” he points out. “See how the hook is looking slightly straightened.”
He decides to replace it with an updated carabiner-style cable, which he says can be attached to the tow car at any angle, unlike the basic spring-clip design, which should always be kept straight.

11.Next, he checks for any play in the hitch-head and ram. “If the damper is broken, it either won’t move at all, or it will slide straight in,” he explains.
Finally, David tests the handbrake mechanism and damper, then the jockey wheel. All of these are working properly, although he does note that a non-original replacement jockey wheel has been fitted.
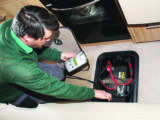
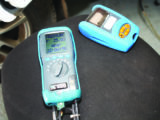
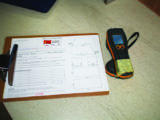
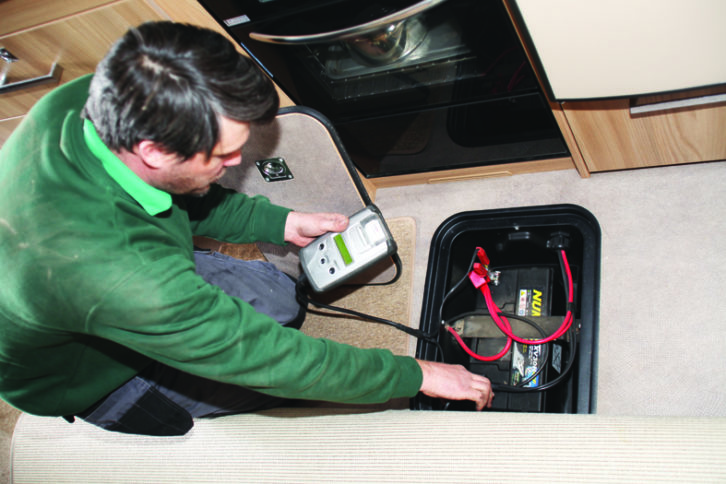
12.Moving to the interior, David now carries out a battery check. His sophisticated battery meter offer a range of readouts on the health of the caravan’s battery, and even produces a handy printout. Good new – the Numax leisure battery has plenty of life in it.
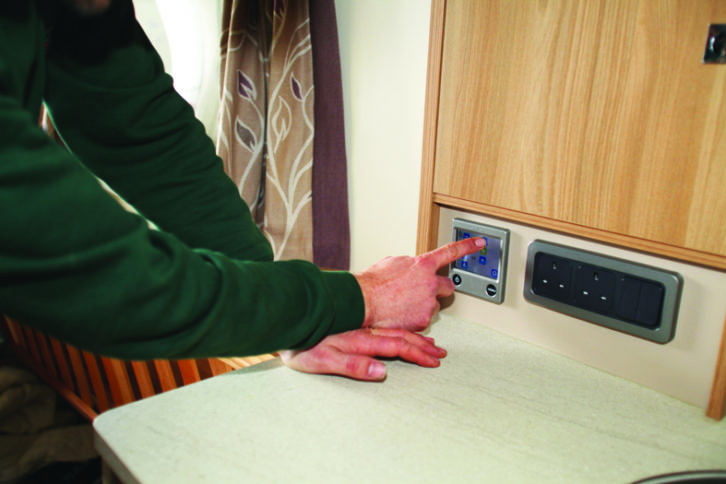
13.Now, he carries out an RCD test, using a device that deliberately overloads the system, to ensure that the RCD cut-off triggers as intended.
Yet another device checks the electrical current flow and the draw of the various appliances. “Know your caravan,” advises David. “Especially if you like to tour on the Continent. Look here, for example. You can see that together, the 3kW heating, the cooker and the fridge draw over 18A. That will trip most campsites in the UK, and Euro sites often only deliver 6A, tops.”
All is well with the electrics, so David carries out a quick polarity check, before doing an earth bond test.
A 0.00 reading on this test confirms that both the gas and the electrical systems are properly earthed to the caravan chassis.
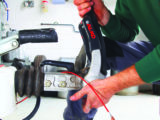
14.Back inside the van, he turns the Alde heating on to let it warm up, then checks the water system.
First, David bleeds the system, running each tap until the water is flowing smoothly. The pump microswitch that’s triggered by changes in water pressure is working perfectly.
David then does a physical check for leaks in visible pipework. All dry as a bone.
The Alde heating is warming up nicely throughout the van, so there are no problems there.
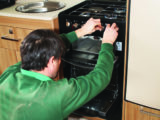
15.While still in the van, David tests the cooker. All of the burners fire up quickly and burn cleanly, so he then checks the gas shut-off mechanism, listening intently for the tell-tale clicks that tell him it’s working perfectly.
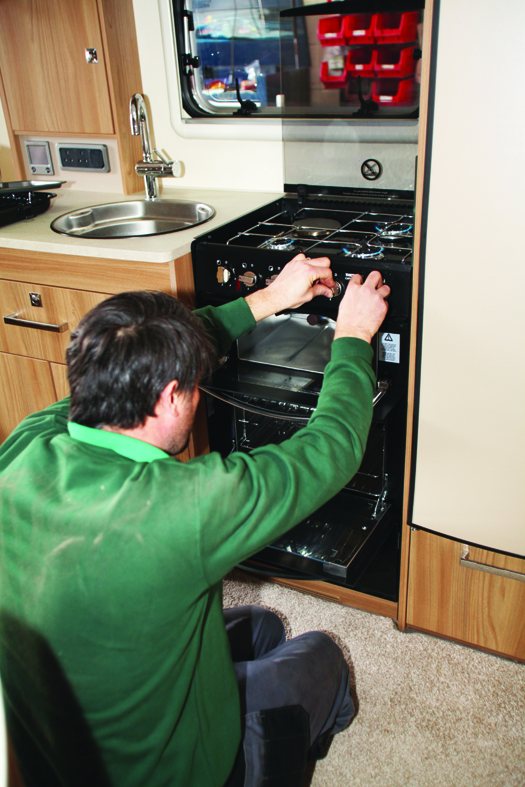
He tests the gas rings on both high and low settings, and checks that once up to temperature, the flame in the oven shrinks when he turns the temperature down. Nothing if not thorough!
“You should aim to light all your burners and the heating, the fridge and the cooker the weekend before you go away. That’s the best time to discover any issues,” he says.
Moving on, David checks the dates of manufacture printed on the orange gas pipes. Orange pipes last for 10 years, while older black pipes have a five-year lifespan.
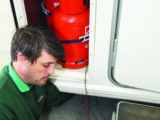
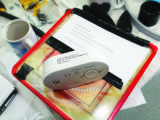
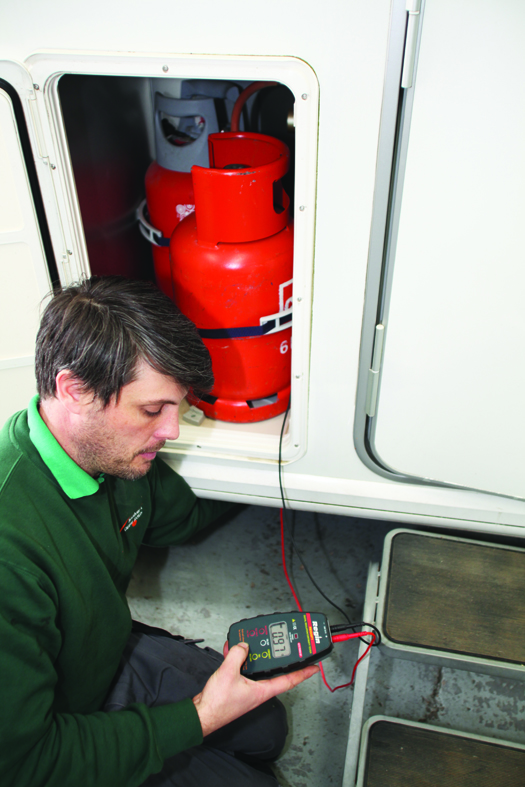
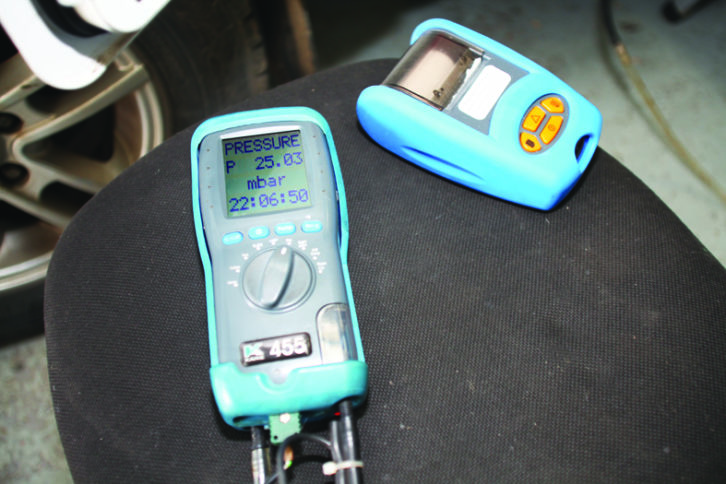
16.Still in the caravan’s gas locker, our Gas Safe-approved technician carries out a gas-tightness test, designed to highlight any leaks. With his meter plugged in and the system pressurised, David waits 10 minutes to check if there’s any drop-off in pressure. There isn’t. His device prints out a confirmation ‘receipt’.
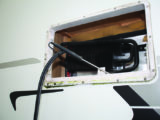
17.The penultimate test involves checking the caravan fridge when it’s working on gas. “A healthy system has a blue flame,” David says. “But when you can’t see the flame, you have to do a flue-gas analysation test.” His device measures the flue emissions to calculate how good the ‘burn’ is. Today it’s spot-on.

“On a hot, 30°C+ day, turn your fridge down, not up,” he says. “It sounds crazy, I know, but turning your fridge up creates a bigger flame and more heat. On hot days, that heat can’t dissipate. Caravans have absorption fridges, which are different from domestic compressor fridges.”
18.Finally, David carries out a damp test. He has a test matrix from Bailey, which indicates the various parts of each caravan that can be damp-tested. This is because composite materials can’t be tested. In fact, only the floor of the Seville is made of wood, so this is a quick test, and all is well. “Older caravans with more wooden panels can be tested more thoroughly,” he explains.
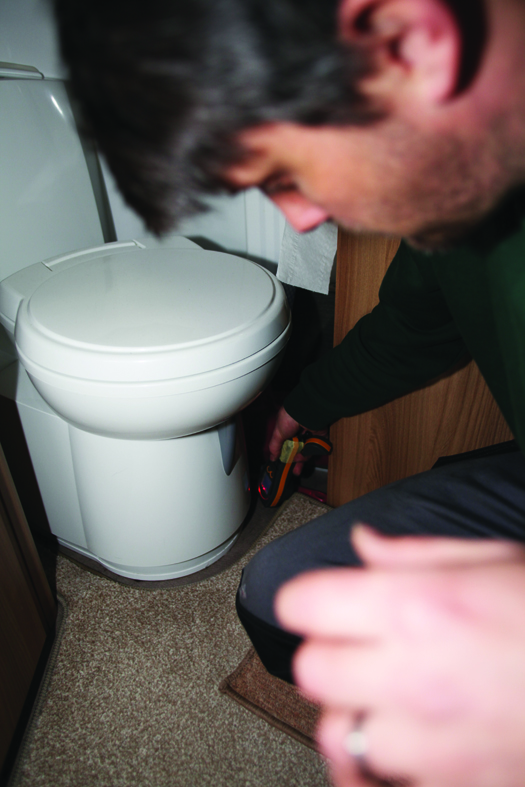
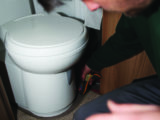
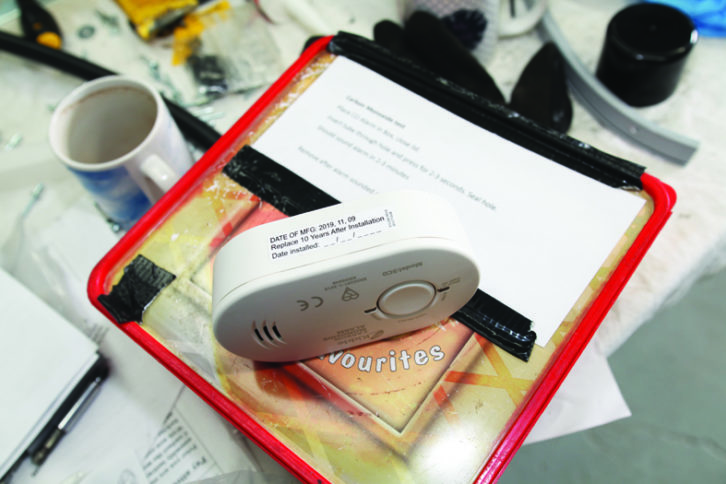
19.There is just one more test. David opens an old plastic biscuit tin, and inside there’s a CO aerosol spray.
He pops the caravan’s CO alarm in the tub, closes the lid, then sprays a blast of CO into the tub through a small hole, which he then seals with some tape. A short time later, the alarm starts to sound.
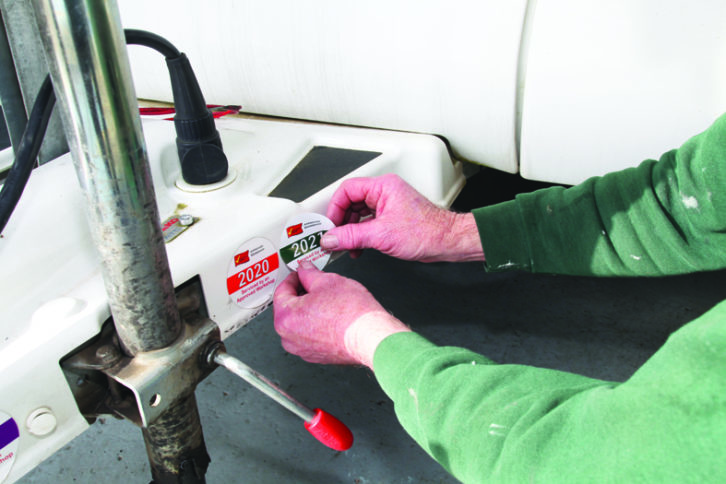
20.That’s it. The full service is now complete and the caravan has passed with flying colours. Mind you, the owner has requested an antifreeze fluid change in his Alde heating system.
As a large tub of freshly mixed glycol is moved into position, David begins by grabbing a huge, octopus-like Alde pumping system from its box, and wrestles it into position. But that’s a story for another day!
TOP TIPS
|
If you liked this… READ THESE:
If you’ve enjoyed reading this article, why not get the latest news, reviews and features delivered direct to your door or inbox every month. Take advantage of our brilliant Practical Caravan magazine SUBSCRIBERS’ OFFER and SIGN UP TO OUR NEWSLETTER for regular weekly updates on all things caravan related.
Future Publishing Limited, the publisher of practicalcaravan.com, provides the information in this article in good faith and makes no representation as to its completeness or accuracy. Individuals carrying out the instructions do so at their own risk and must exercise their independent judgement in determining the appropriateness of the advice to their circumstances. Individuals should take appropriate safety precautions and be aware of the risk of electrocution when dealing with electrical products. To the fullest extent permitted by law, neither Future nor its employees or agents shall have any liability in connection with the use of this information. You should check that any van warranty will not be affected before proceeding with DIY projects.
Tell the dealer about any problems you know of, or think your caravan might have. That way they can be prioritised and spare parts ordered early in the day, if any are needed.