In addition to your caravan’s annual service, there are plenty of jobs you can tackle yourself to keep it in tip-top condition year-round. Here are some recommended caravan servicing DIY tasks.
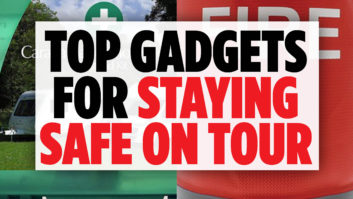
♦ Regularly check the batteries in your smoke and CO detectors and change them when needed.
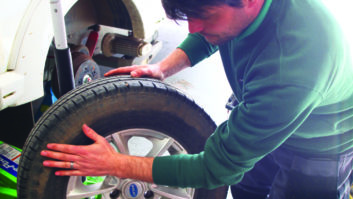
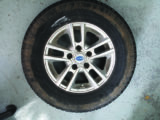
♦ Check your tyre pressures before every journey (and don’t forget the spare).
♦ Keep an eye on the age of your tyres. You’ll find the date imprinted in a small lozenge on the tyre wall. The two numbers indicate the week and year of manufacture. For example, ‘11.18’ means the tyre was made in week 11 of 2018. Change your tyres when they reach five to seven years old, even if the tread is not worn out.
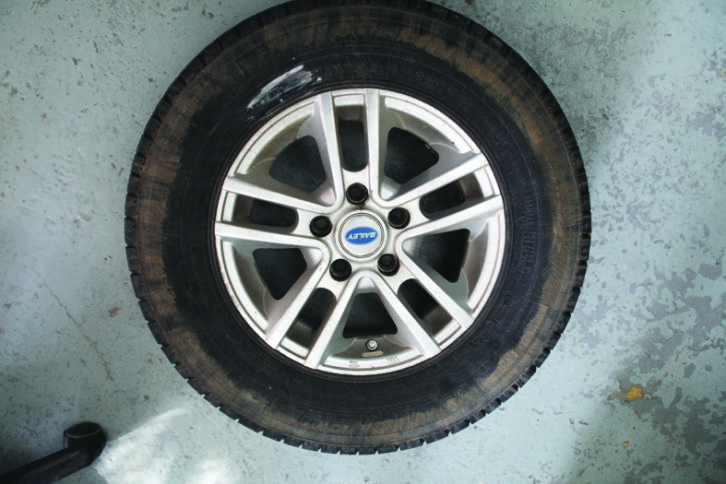
♦ Look for any tell-tale signs of cracking or damage in the inner and outer walls of the tyre, especially if you know you have caught a kerb, or hit a pothole or some road debris.
♦ Check the tyre tread depth; 1.6mm is the legal minimum, but we would recommend 3mm as a sensible minimum.
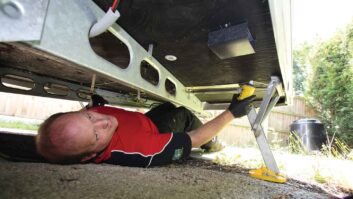
♦ Keep an eye out for corrosion on the chassis, especially at joints, and if the surface has been damaged or scuffed, for example, by heavy kerbing or a feisty speed bump.
♦ Make a mental note about whether your hob burners are firing up quickly and cleanly.
♦ The first obvious sign of water ingress can be a damp or musty smell. Keep a nose out for it.
♦ If you have 12V electrical problems and your battery is more than five years old, consider replacing it. Make sure that the battery terminal connections are tight.
♦ Lubrication is the caravanner’s friend. Consider greasing/oiling the easy-to-access points on a regular basis between services; moving parts on the hitch-head, the handbrake cable, the corner steadies, and accessories such as motor movers.
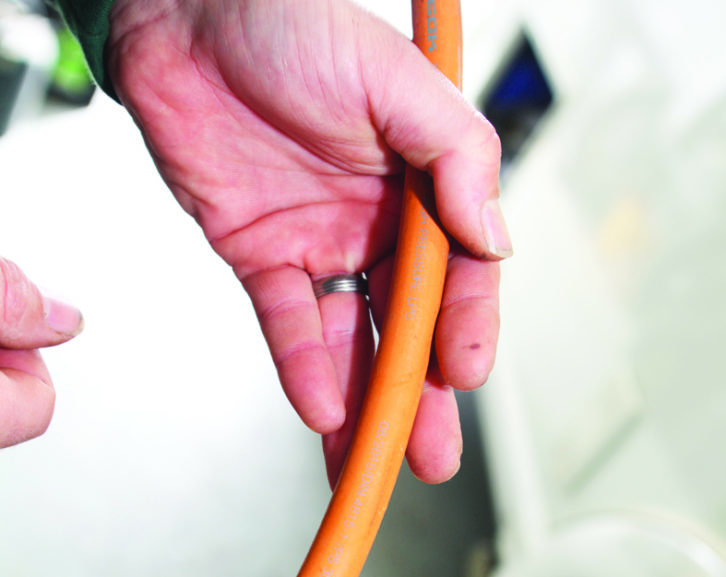
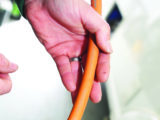
♦ The gas pipe to the regulator should be changed every 10 years. The date of manufacture will printed on the pipe.
♦ If you’ve ever whacked your jockey wheel on a speed bump or ferry ramp (and who hasn’t?), check it hasn’t been damaged.
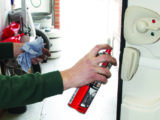
♦ Use a cloth to apply silicone spray to all rubber door and window seals. Do this after major caravan washes.
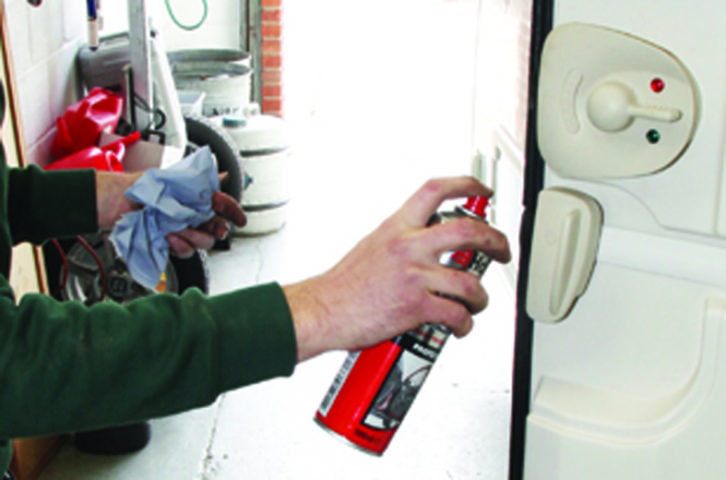
♦ Spraying WD-40 into locks keeps them lubricated and stops water getting in. At the very least, apply spray lubricant at the start and end of the season. Cans with thin tube applicators are ideal for use in locks.
♦ Clean algae and moss from around seals, because they can grow and eventually push the seal away from the window.
♦Keep your towball clean. Rust and grease damage your Al-Ko stabiliser and might cause a horrible graunching sound when you manoeuvre your tourer. New, painted towballs should be taken back to a metal finish with a piece of emery cloth before use, and greasy/dirty towballs should be wiped clean.
♦ Stabiliser pad wear can be seen on the scale on the front edge of the stabiliser. With a lowball secured in the cup, push the handle down until you start to feel friction (just the weight of your hand resting on the handle). Now check where the arrows align on the scale. On an Al-Ko 3004 stabiliser, they should fall between the green and the red lines. The nearer it is to red, the more wear has taken place. Next, push the handle right down. The arrows should now align with the black line.
♦ Worn friction pads are simple to replace and cost around £25. Alternatively, they can be shimmed.
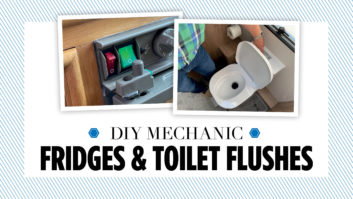
♦ Coat the toilet cassette blade/seal lightly with silicone lubricant (or olive oil) on a regular basis.
♦ Ensure that the fridge flue is kept clear and has good ventilation all around it.
♦ When changing gas bottles, consider using an LPG leak detector spray (about £6) to ensure you have tightened everything up correctly. Simply spray it on the connections, and it will bubble up if gas is escaping.
If you liked this… READ THESE:
Caravan Servicing – what to expect
The Pain-Free Touring Guide to Europe
If you’ve enjoyed reading this article, why not get the latest news, reviews and features delivered direct to your door or inbox every month. Take advantage of our brilliant Practical Caravan magazine SUBSCRIBERS’ OFFER and SIGN UP TO OUR NEWSLETTER for regular weekly updates on all things caravan related.
Future Publishing Limited, the publisher of practicalcaravan.com, provides the information in this article in good faith and makes no representation as to its completeness or accuracy. Individuals carrying out the instructions do so at their own risk and must exercise their independent judgement in determining the appropriateness of the advice to their circumstances. Individuals should take appropriate safety precautions and be aware of the risk of electrocution when dealing with electrical products. To the fullest extent permitted by law, neither Future nor its employees or agents shall have any liability in connection with the use of this information. You should check that any van warranty will not be affected before proceeding with DIY projects.
Use a cloth to apply silicone spray to all rubber door and window seals. Do this after major caravan washes.