


I suspect that many of you have towed your caravan to the accompaniment of groans from the back of your tow car.
And, no, I’m not talking about the “Are we there yet?” from children.
In most cases, the noise will be from the stabiliser, if dirt has contaminated the friction pads and caused them to ‘glaze’.
Four friction pads surround the towball. Those to its left and right grip it when the handle is pressed down, while those forward and to the rear do not move.
A temporary fix is to give the pads a quick clean in situ with fine emery paper or cloth.
However, you may need to check the pads for wear and remove them for cleaning or replace them using a few modest tools:
- Small flathead screwdriver
- Small punch
- Small hammer
- 14mm open-ended spanner
- T30 Torx key
- Fine emery cloth
- Brake cleaner
- Clean cloth
The procedure is the same for hitches with red or black handles.
Are the pads worn?
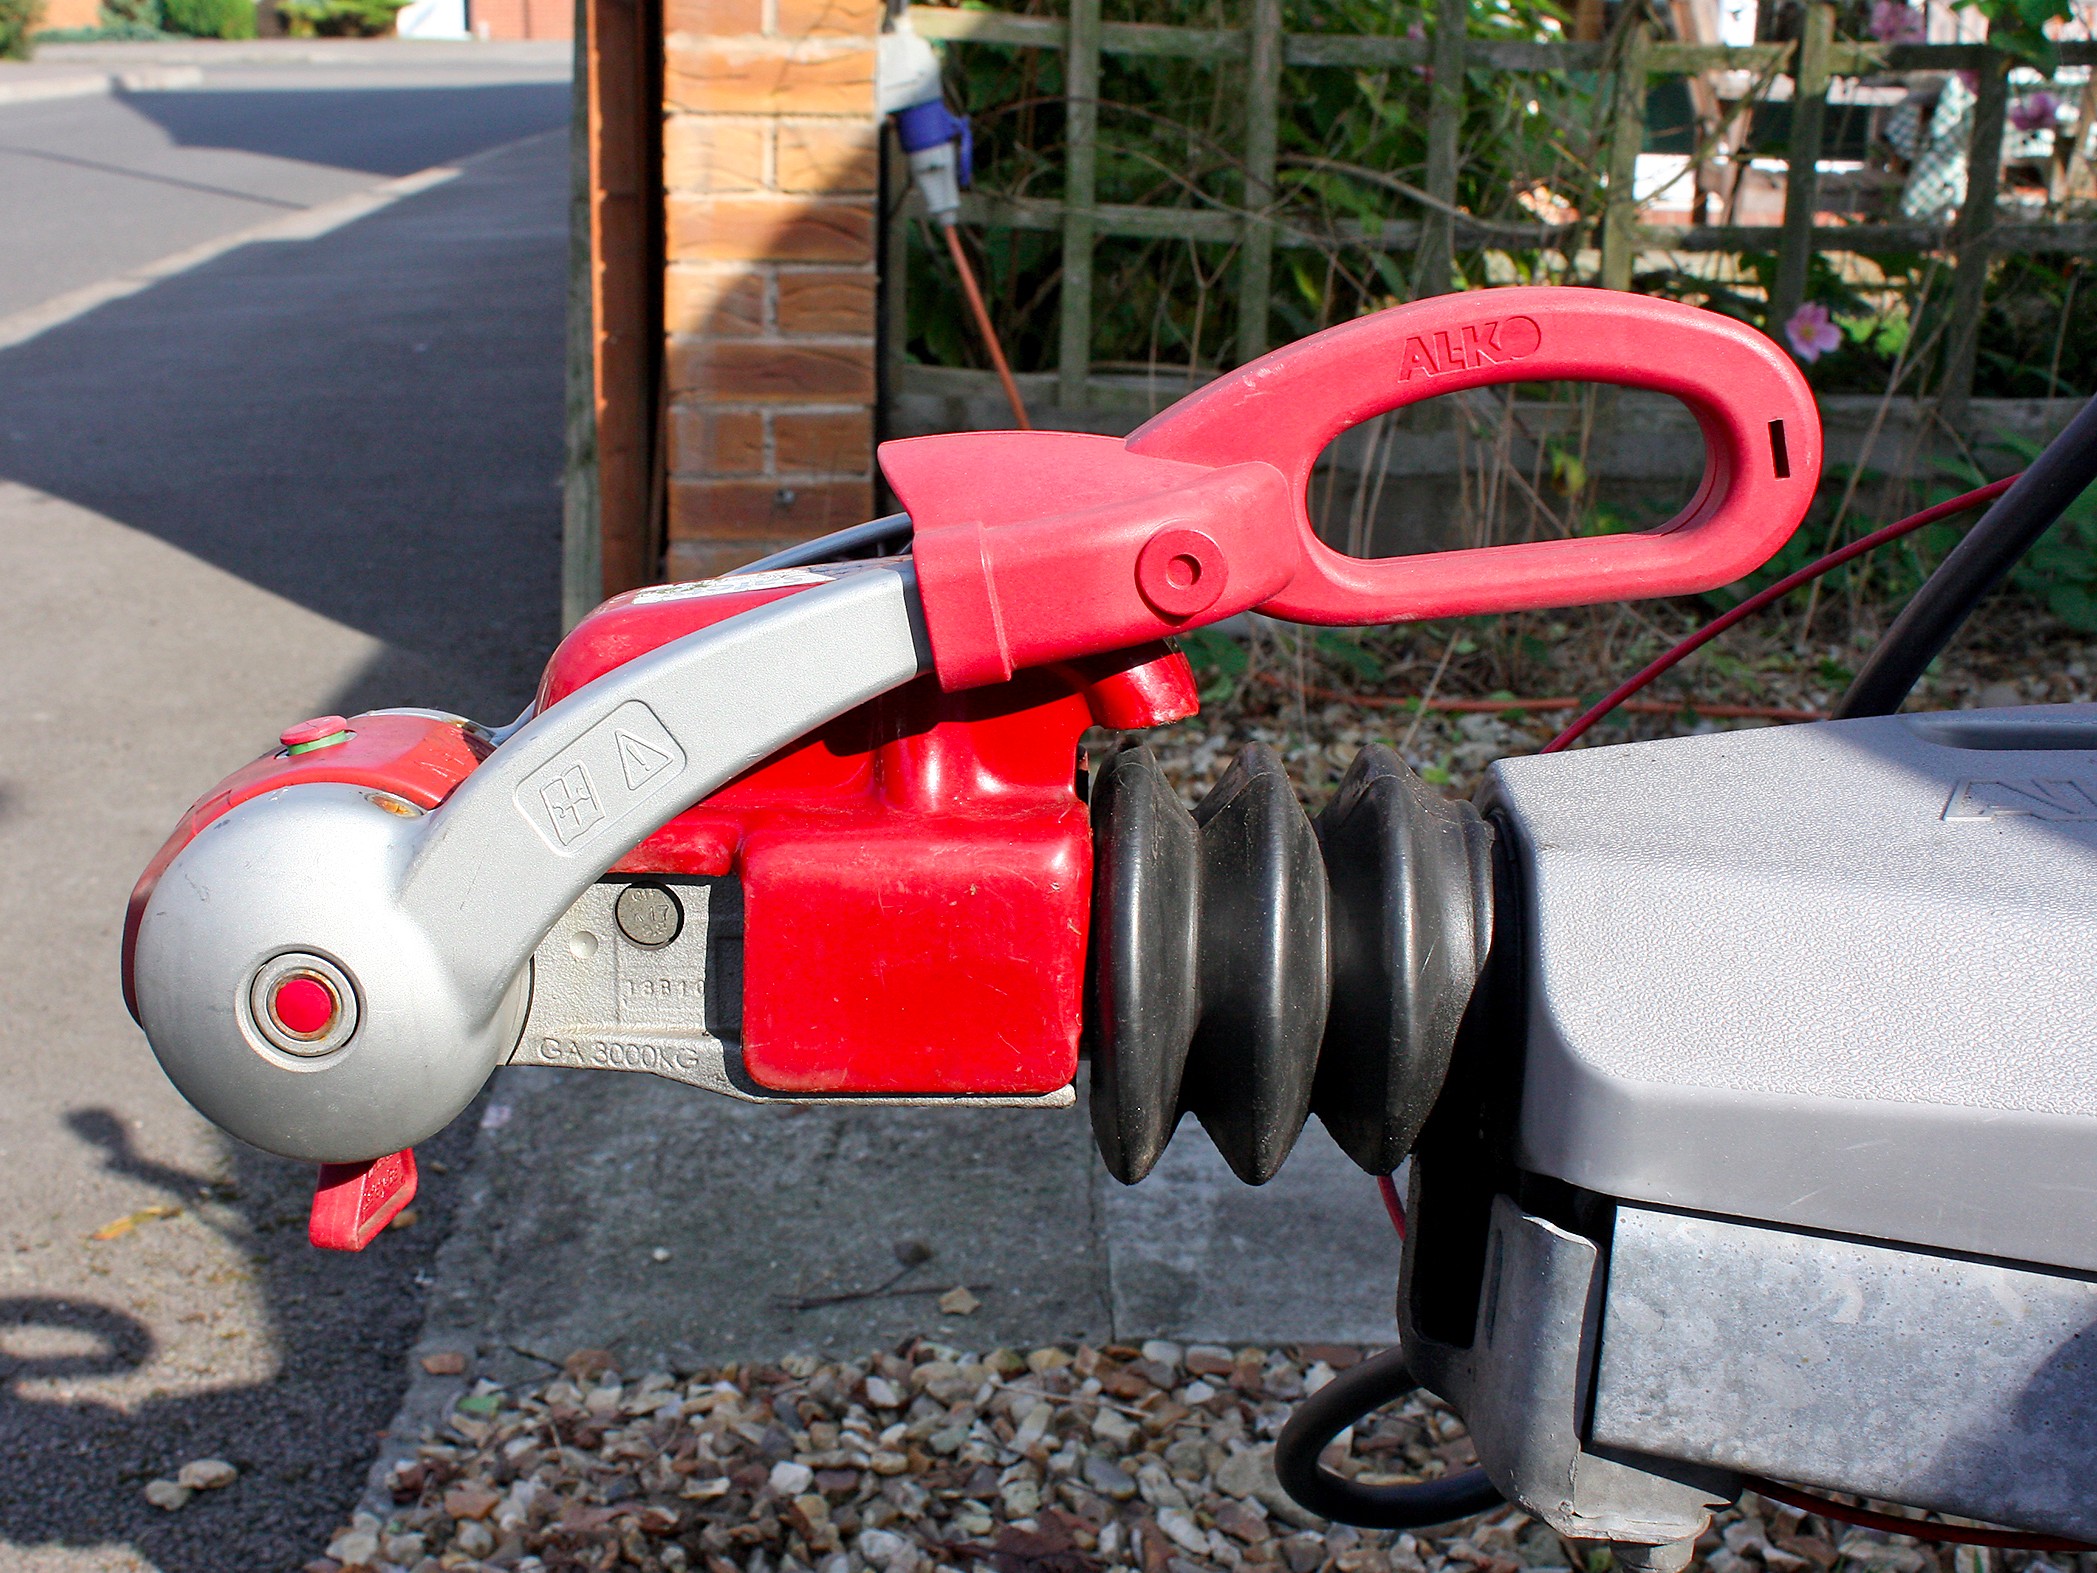
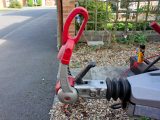
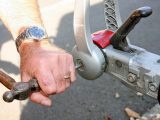
First, couple the caravan to the car, but don’t engage the stabiliser.
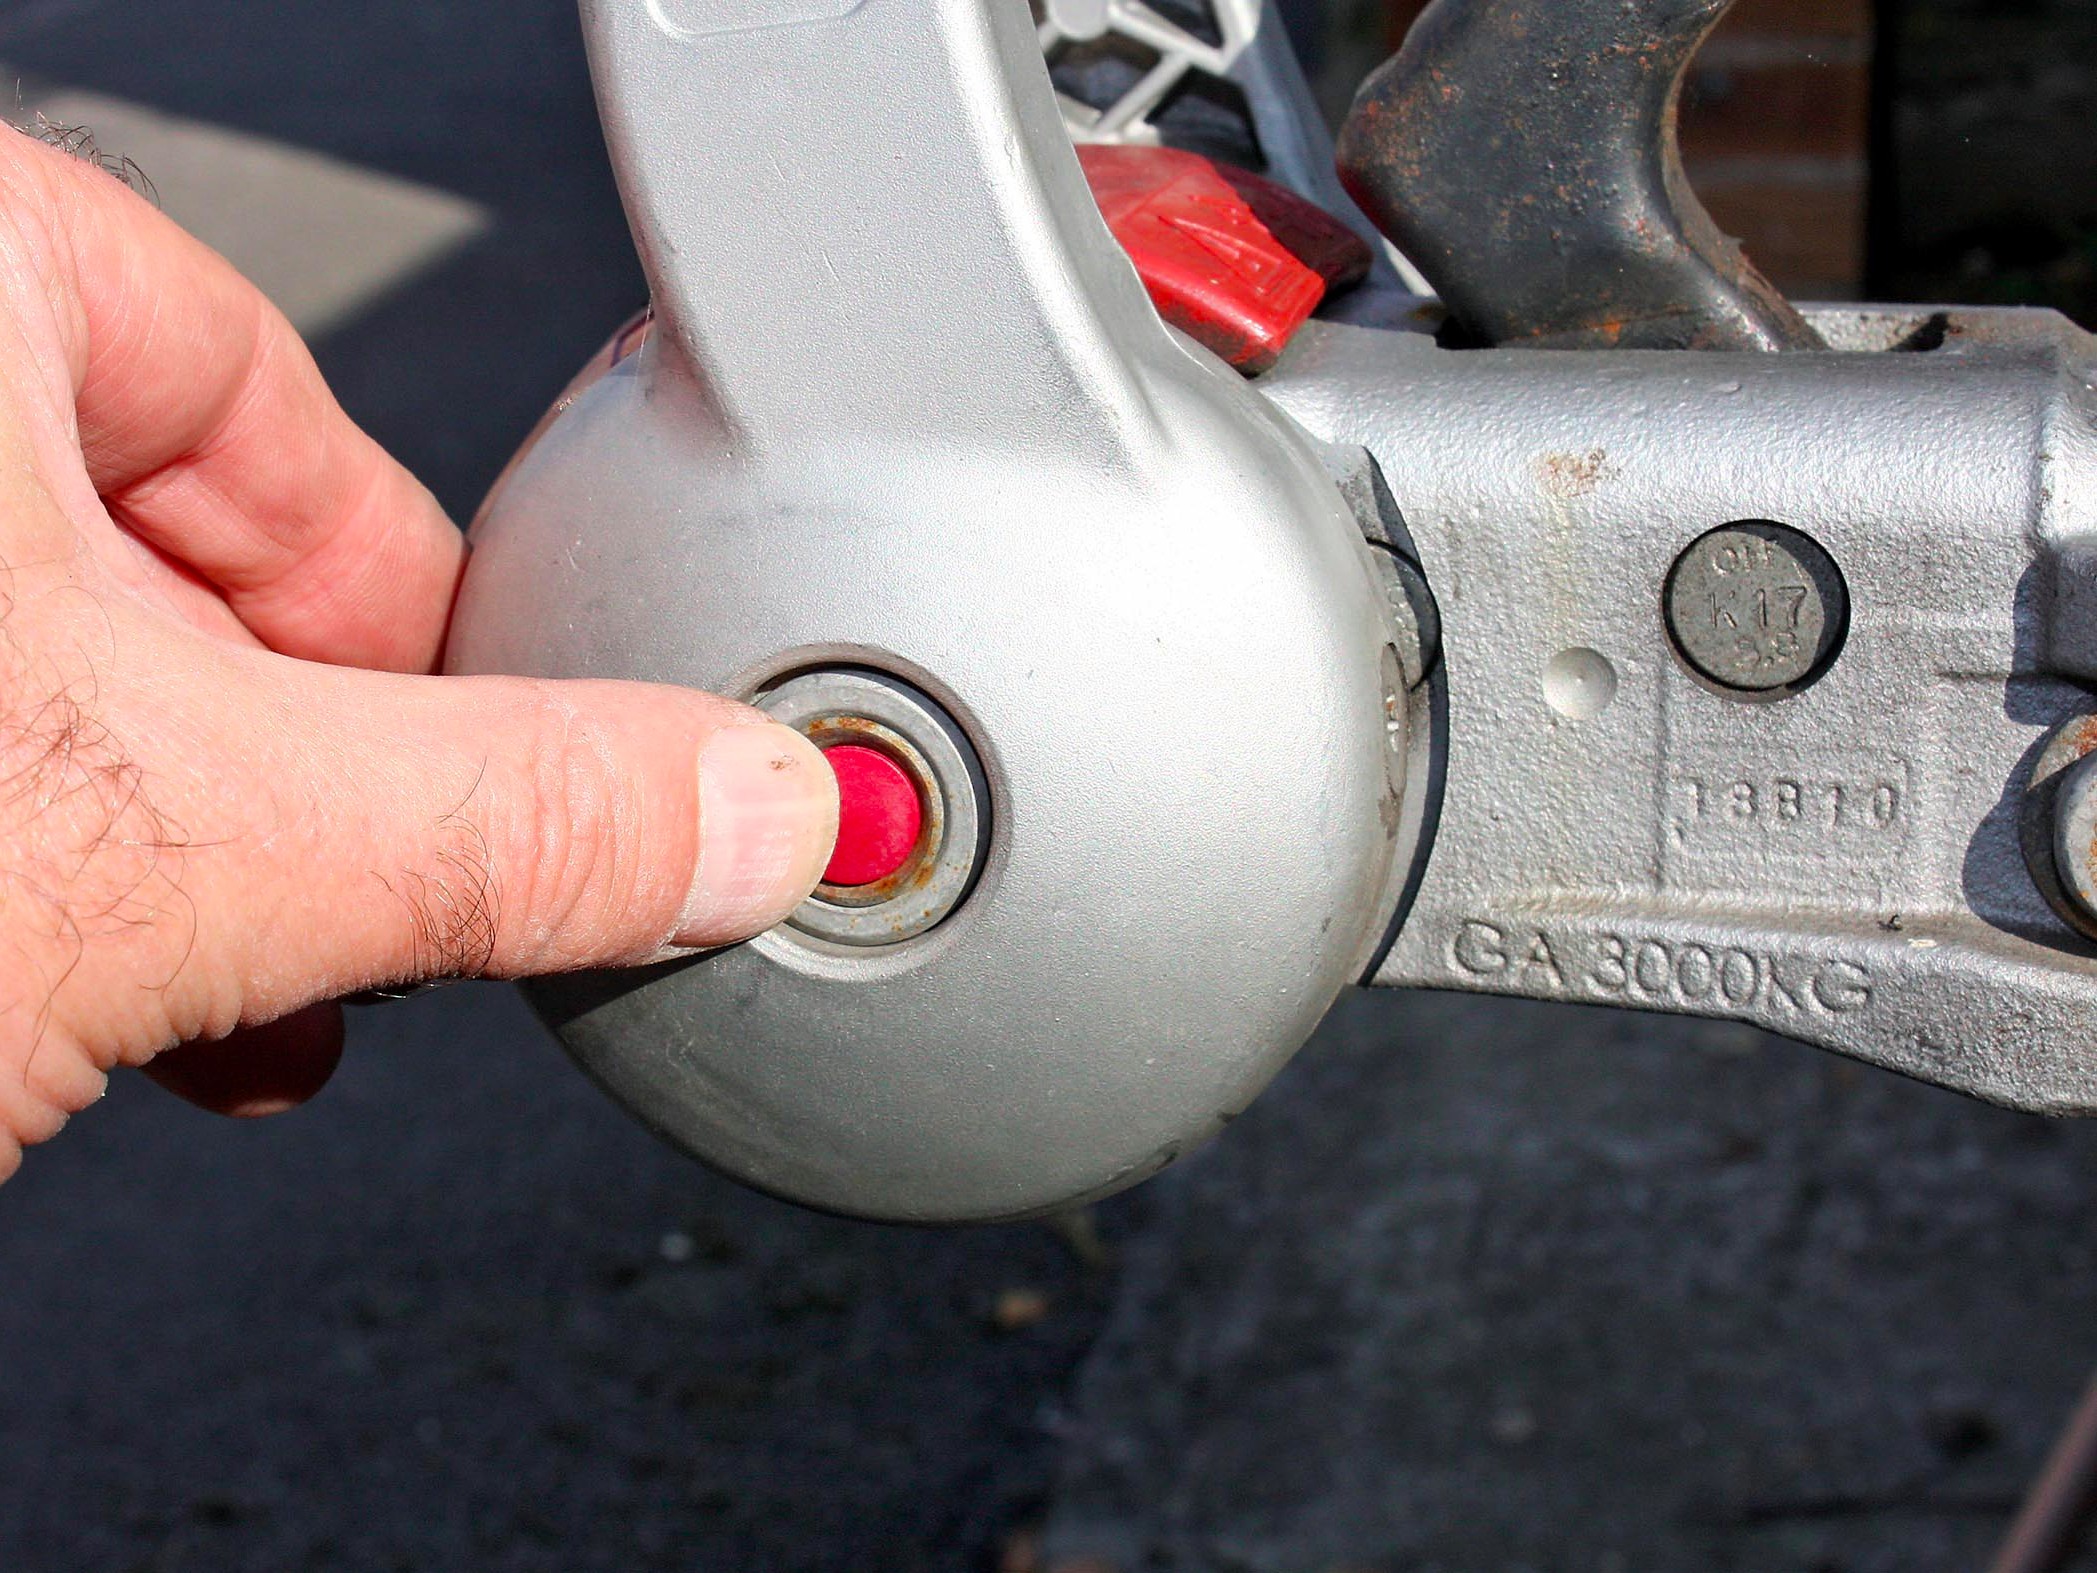
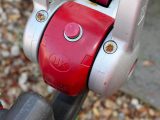
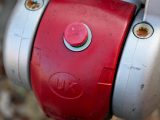
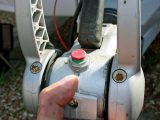
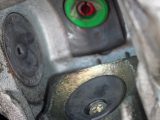
You will see recessed areas on either side of the soft, red rubber dock at the front of the hitch head, and an arrow on either side of the handle, next to the hitch.
Press the handle down and, when you feel some resistance, check where the arrows are.
If they’re below the recessed area or within it, the side pads are fine. If they’re above it, the pads are worn and must be replaced.
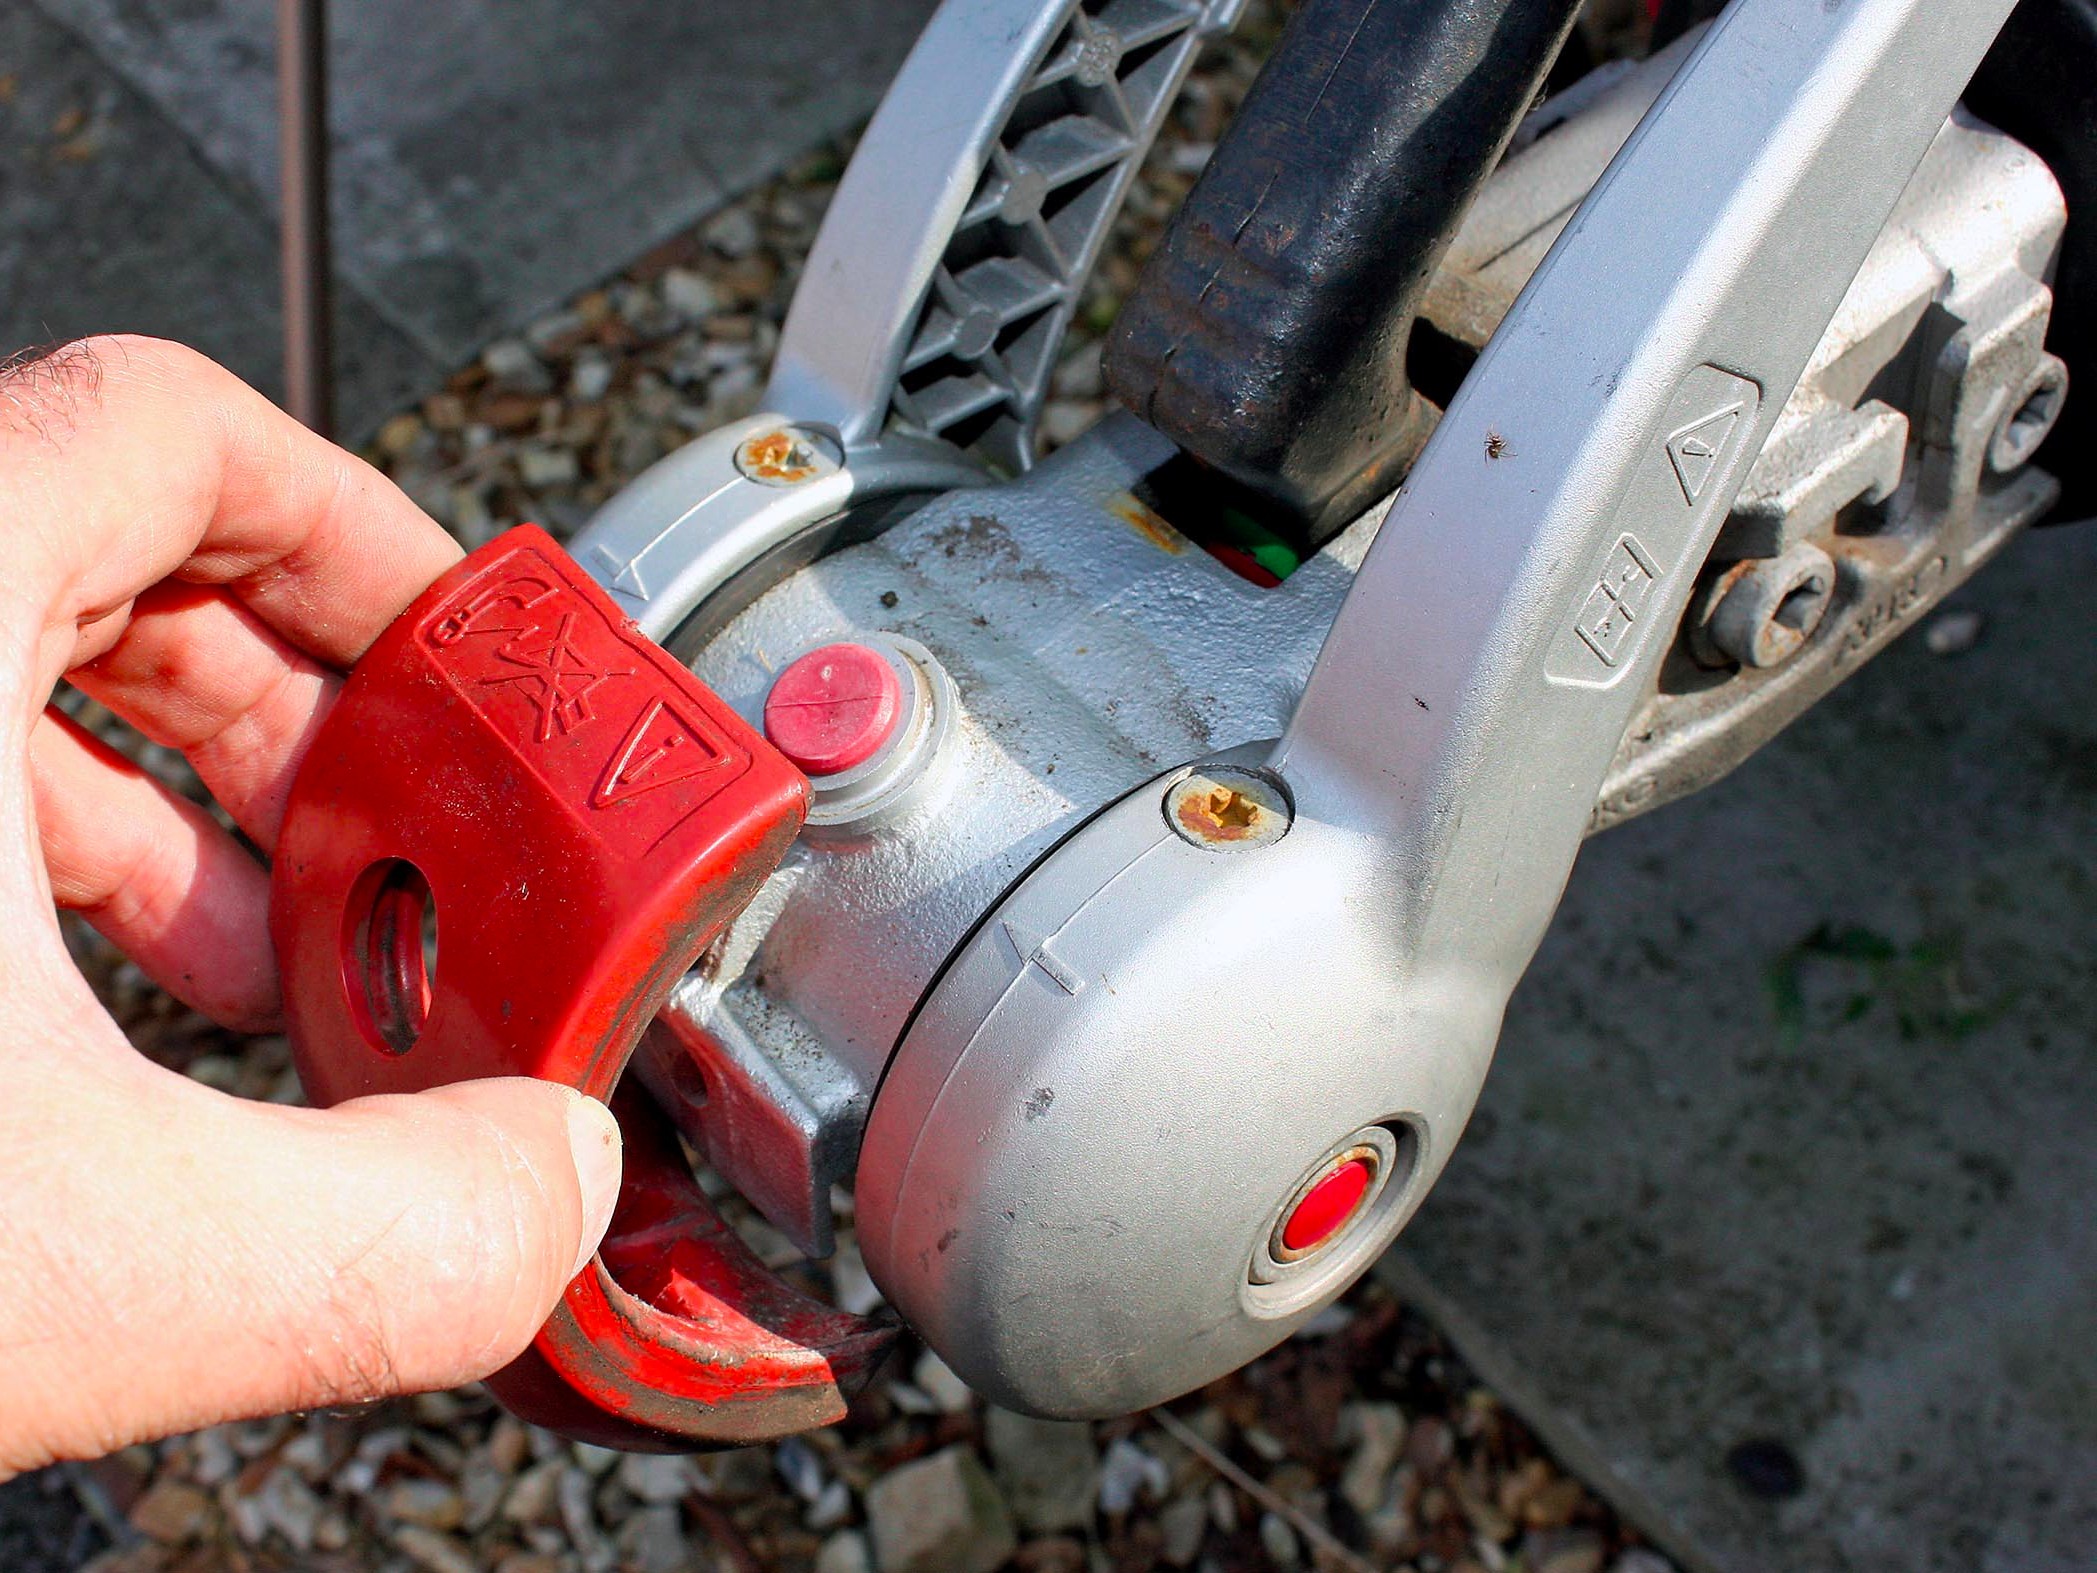
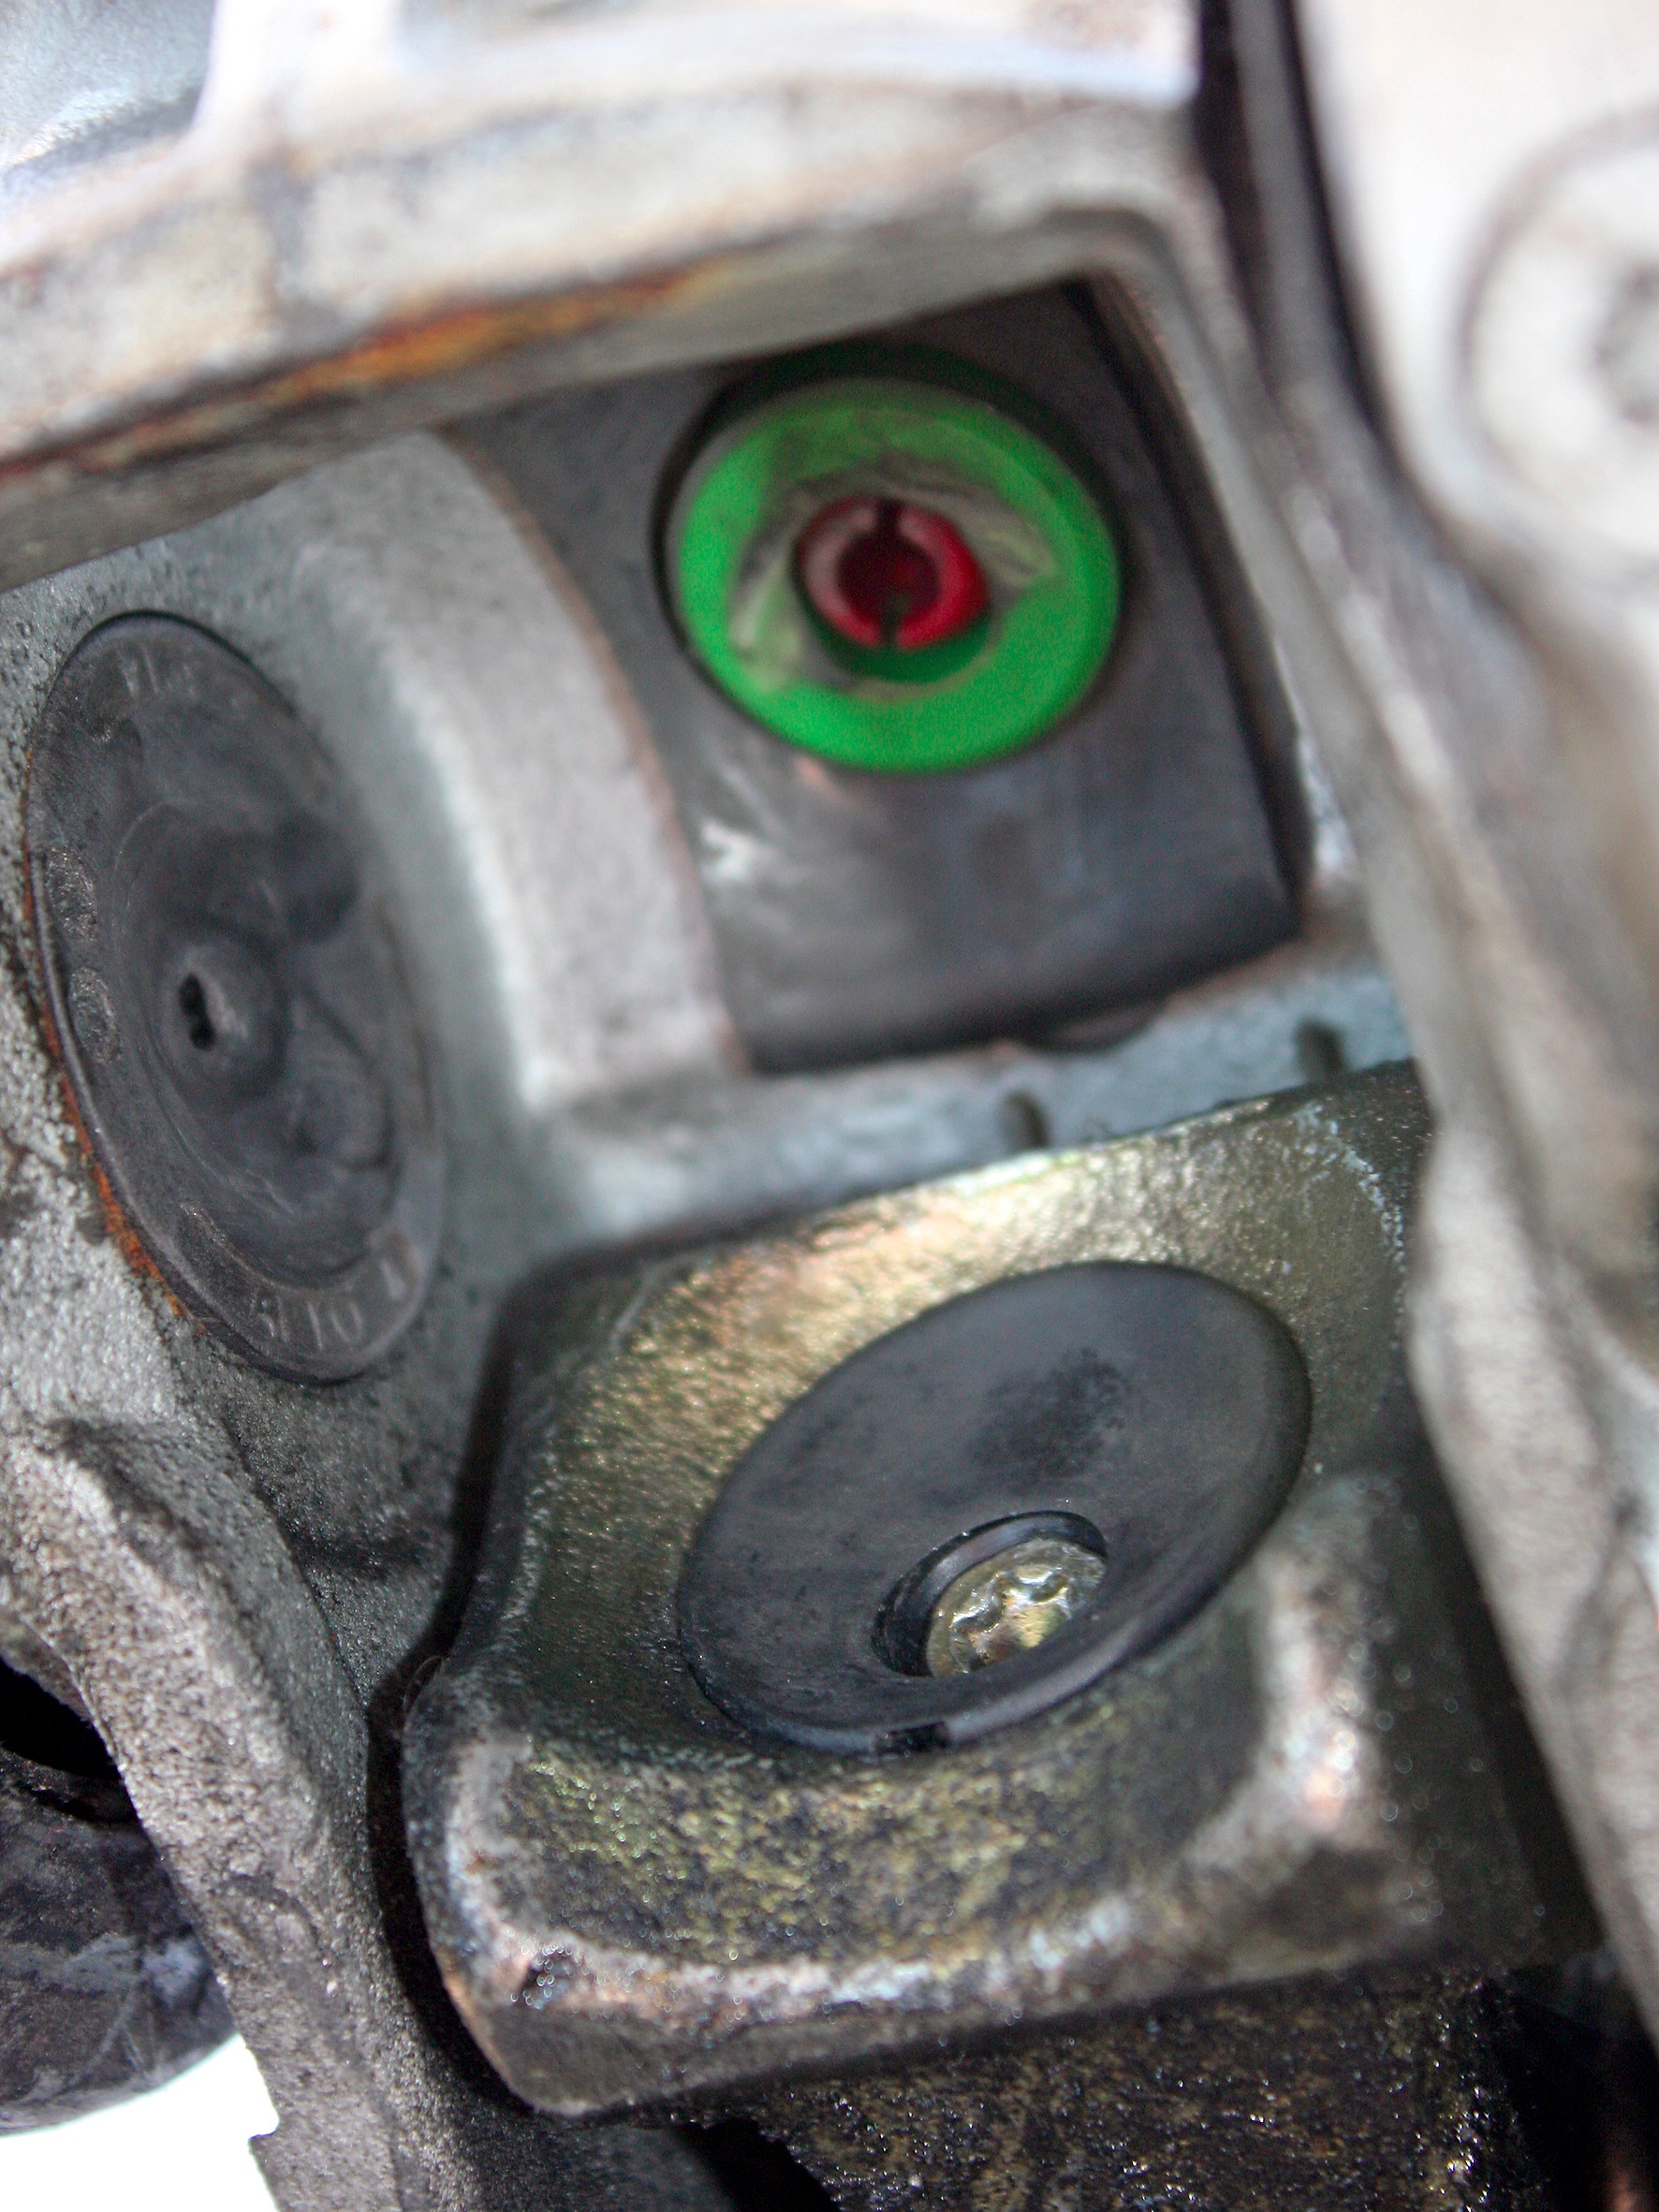
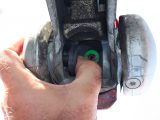
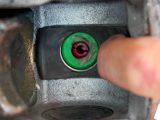
Look at the front of the stabiliser handle. If you see the green plastic segment below the red one (not the button on the front of the hitch), the front and rear pads are fine.
However, if you see only the red segment, they are worn and new ones are needed. Now, unhitch the van.
Let’s get started
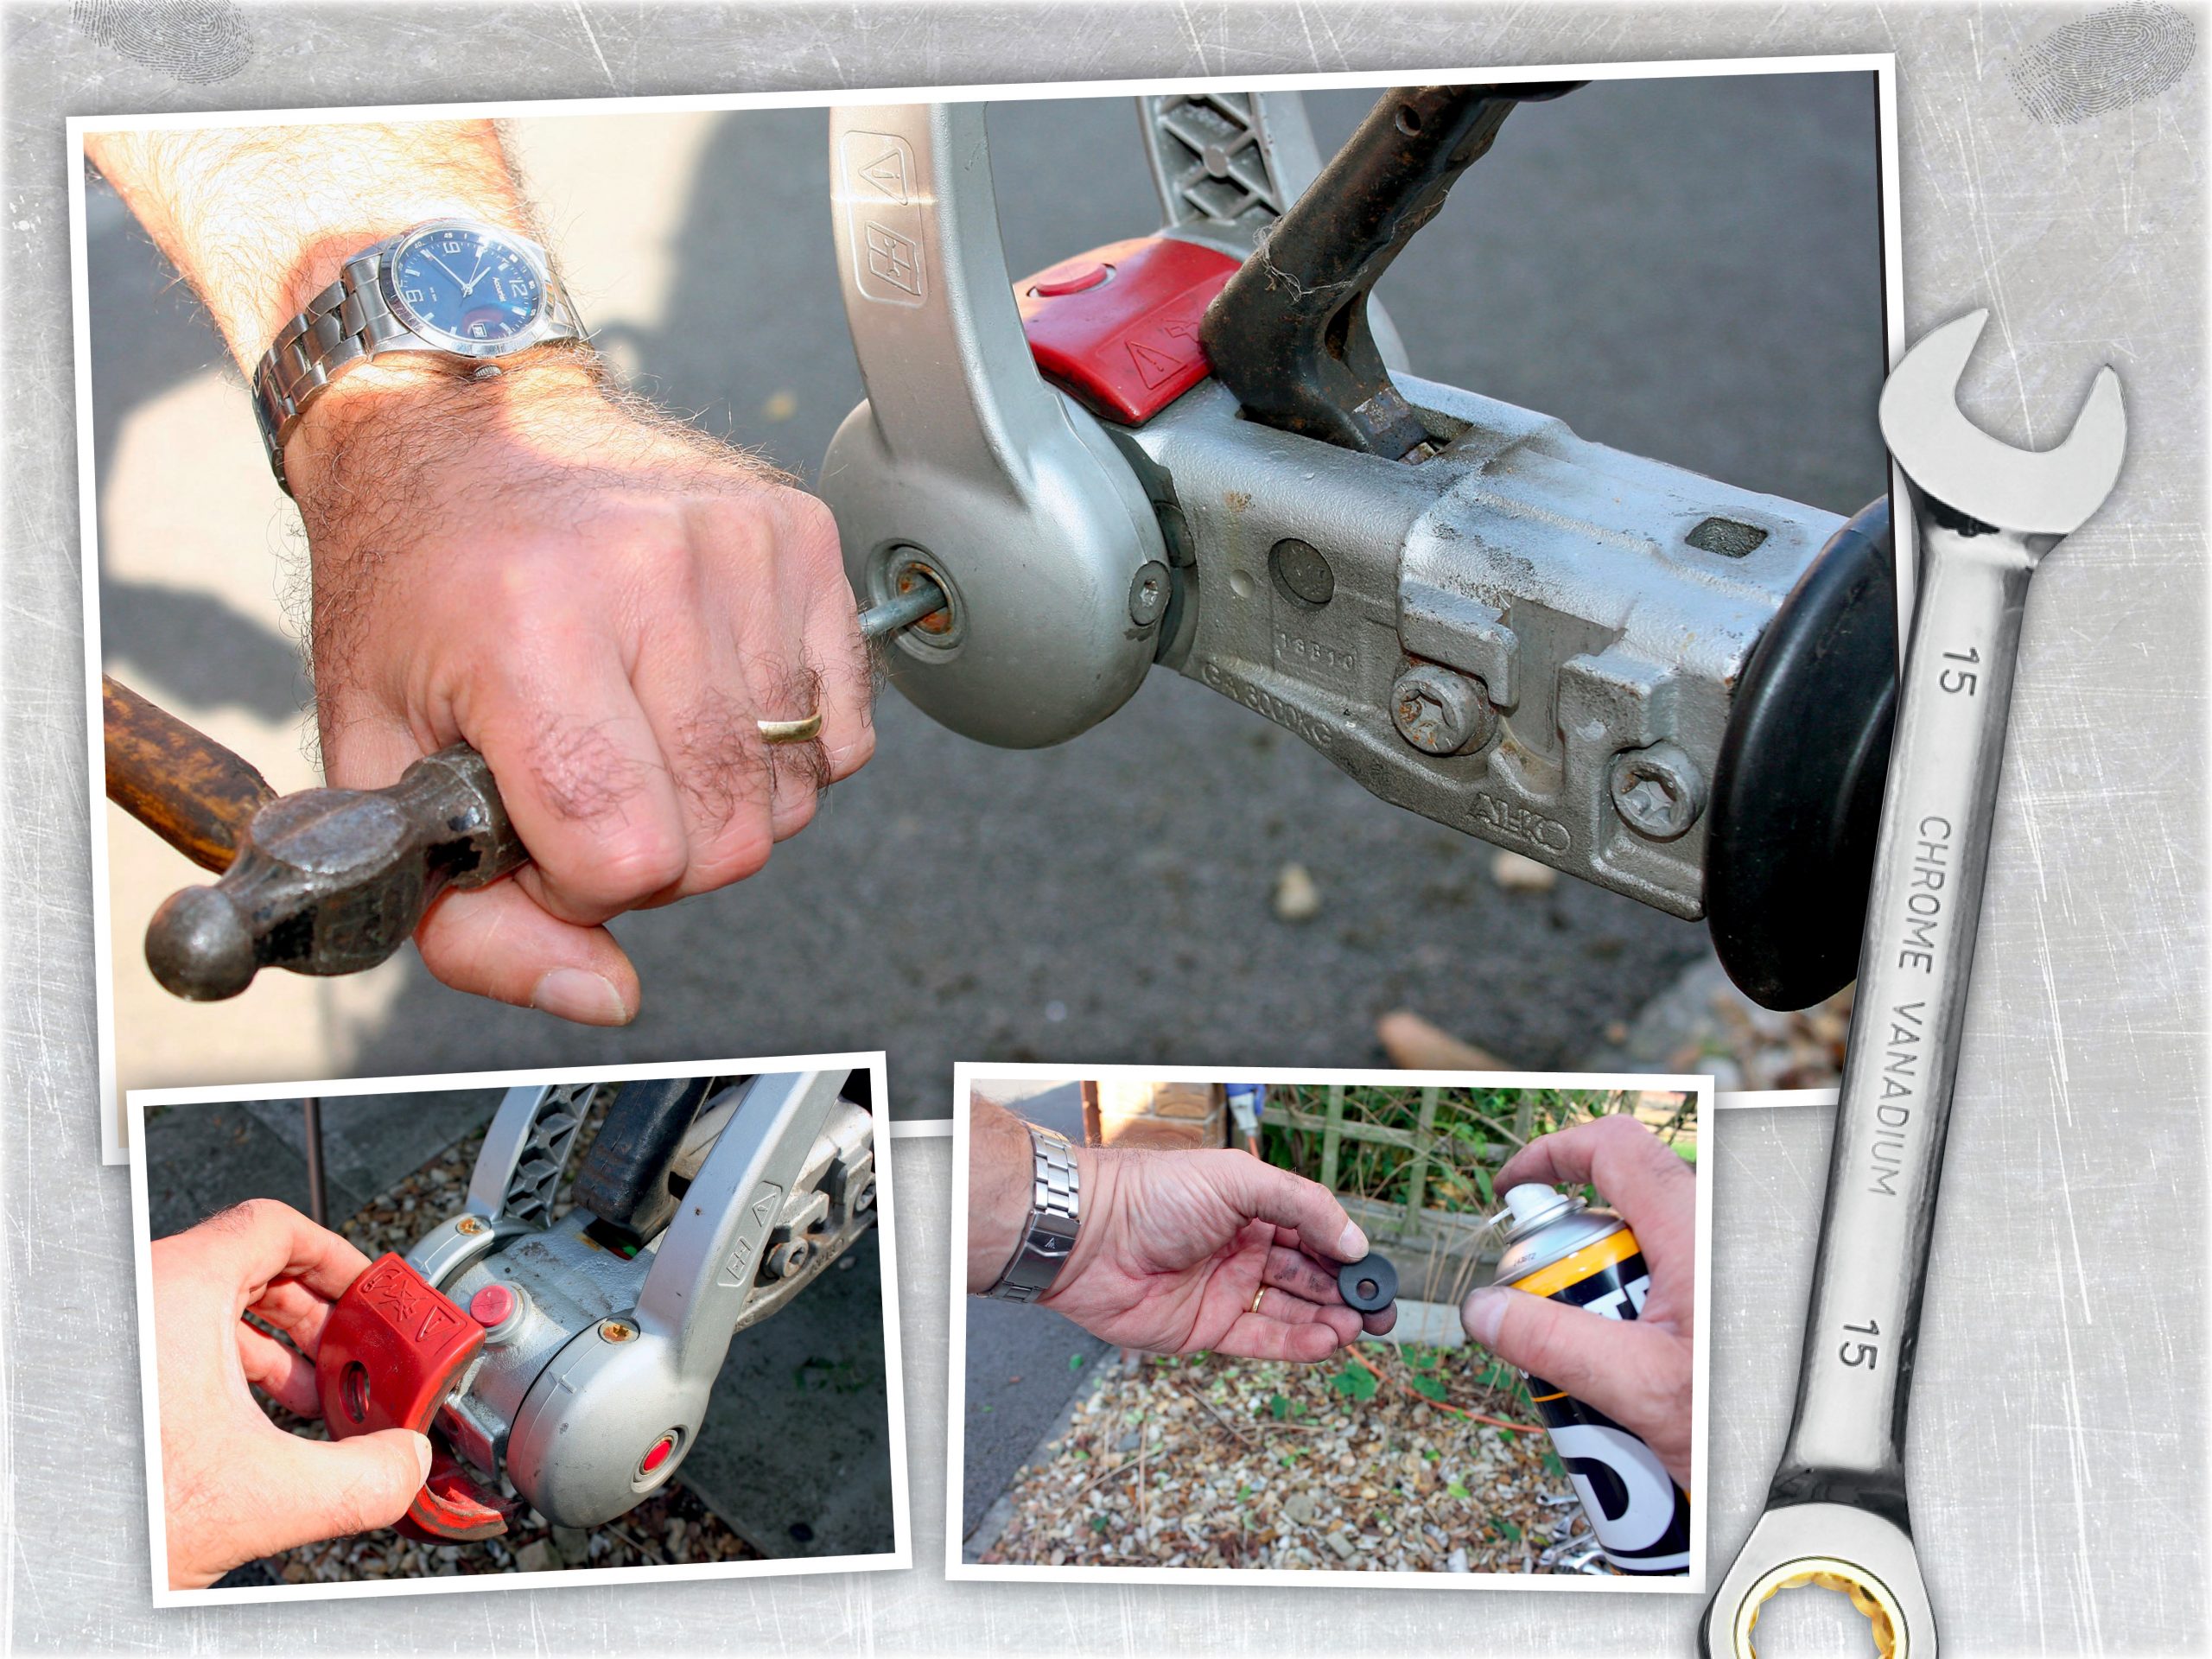
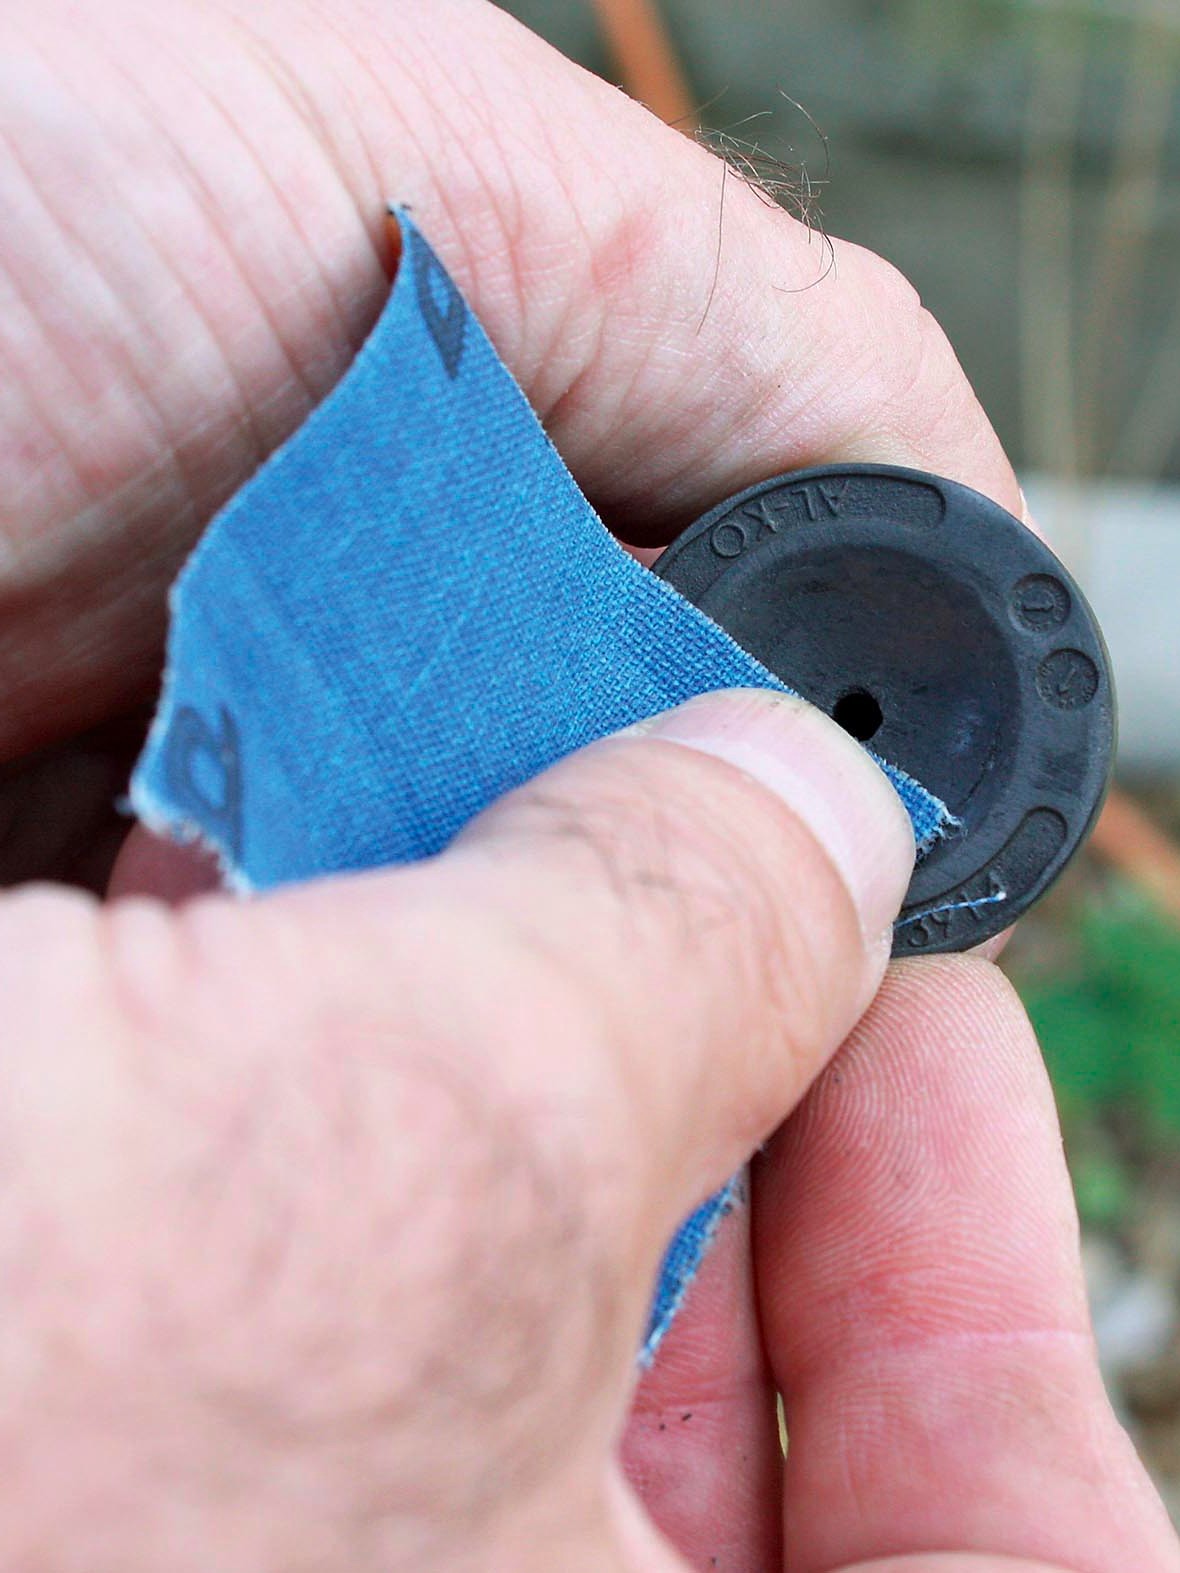
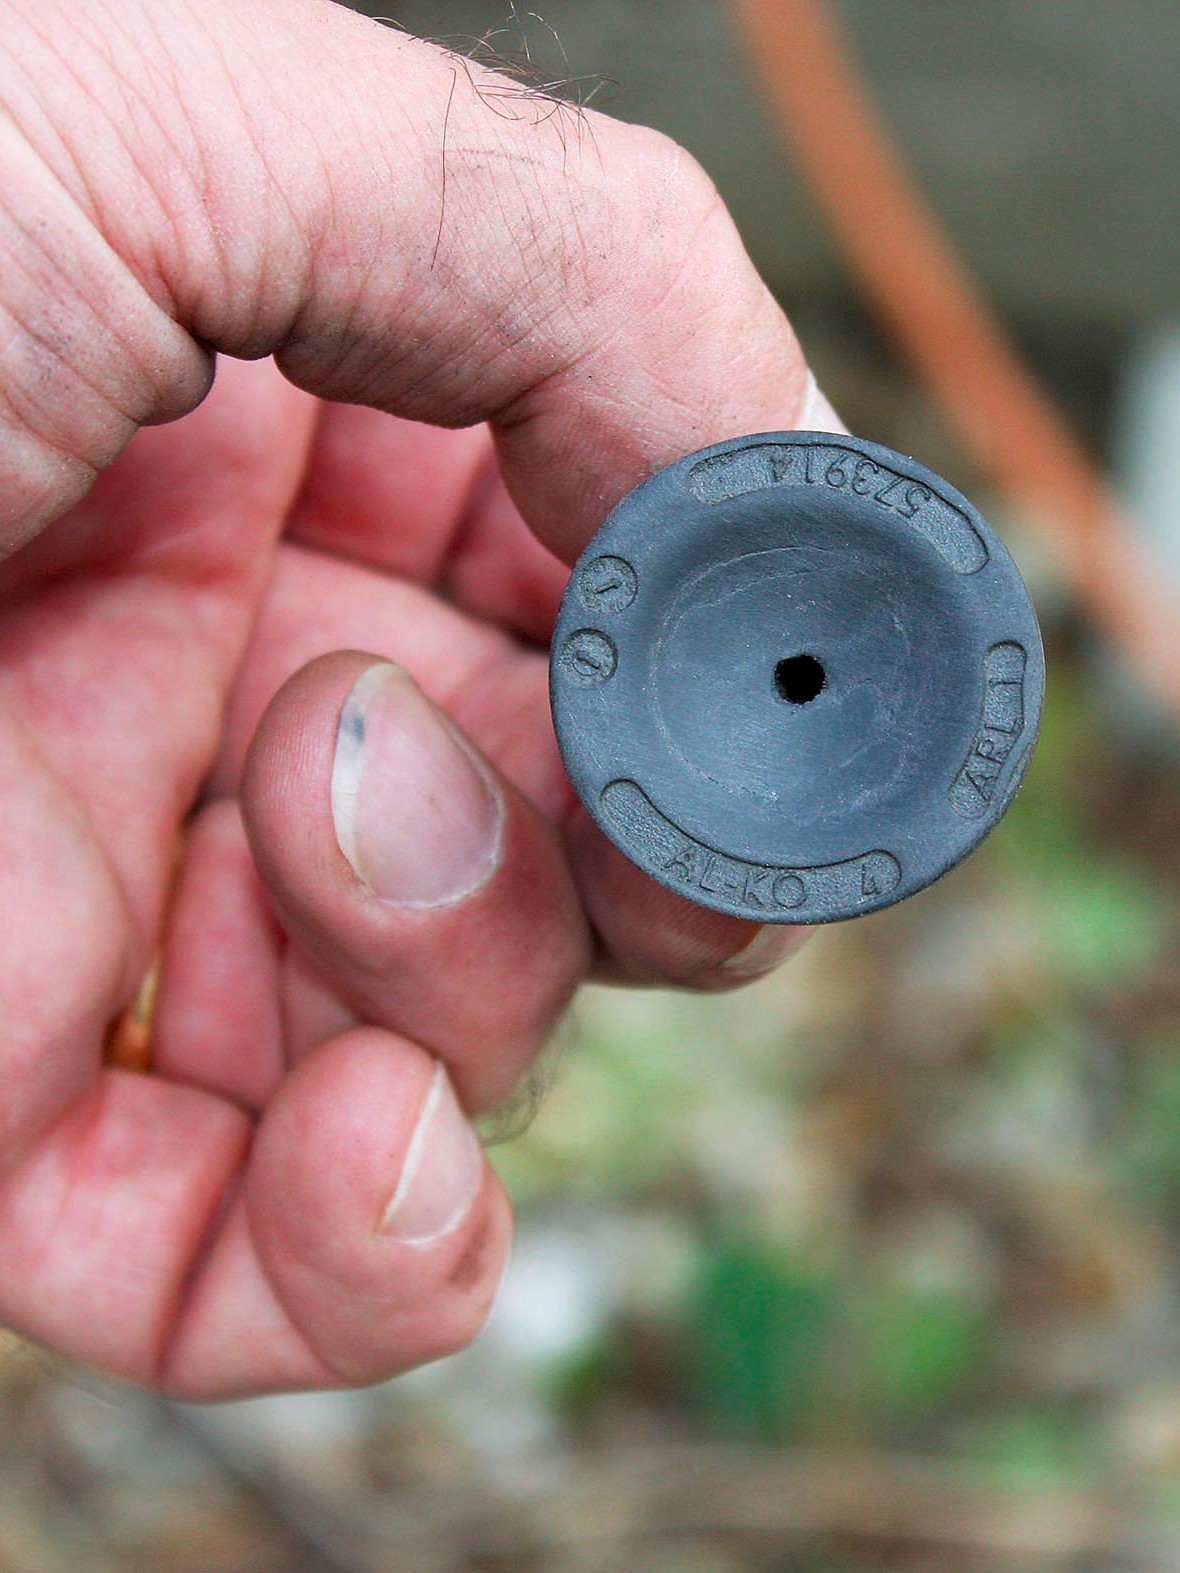
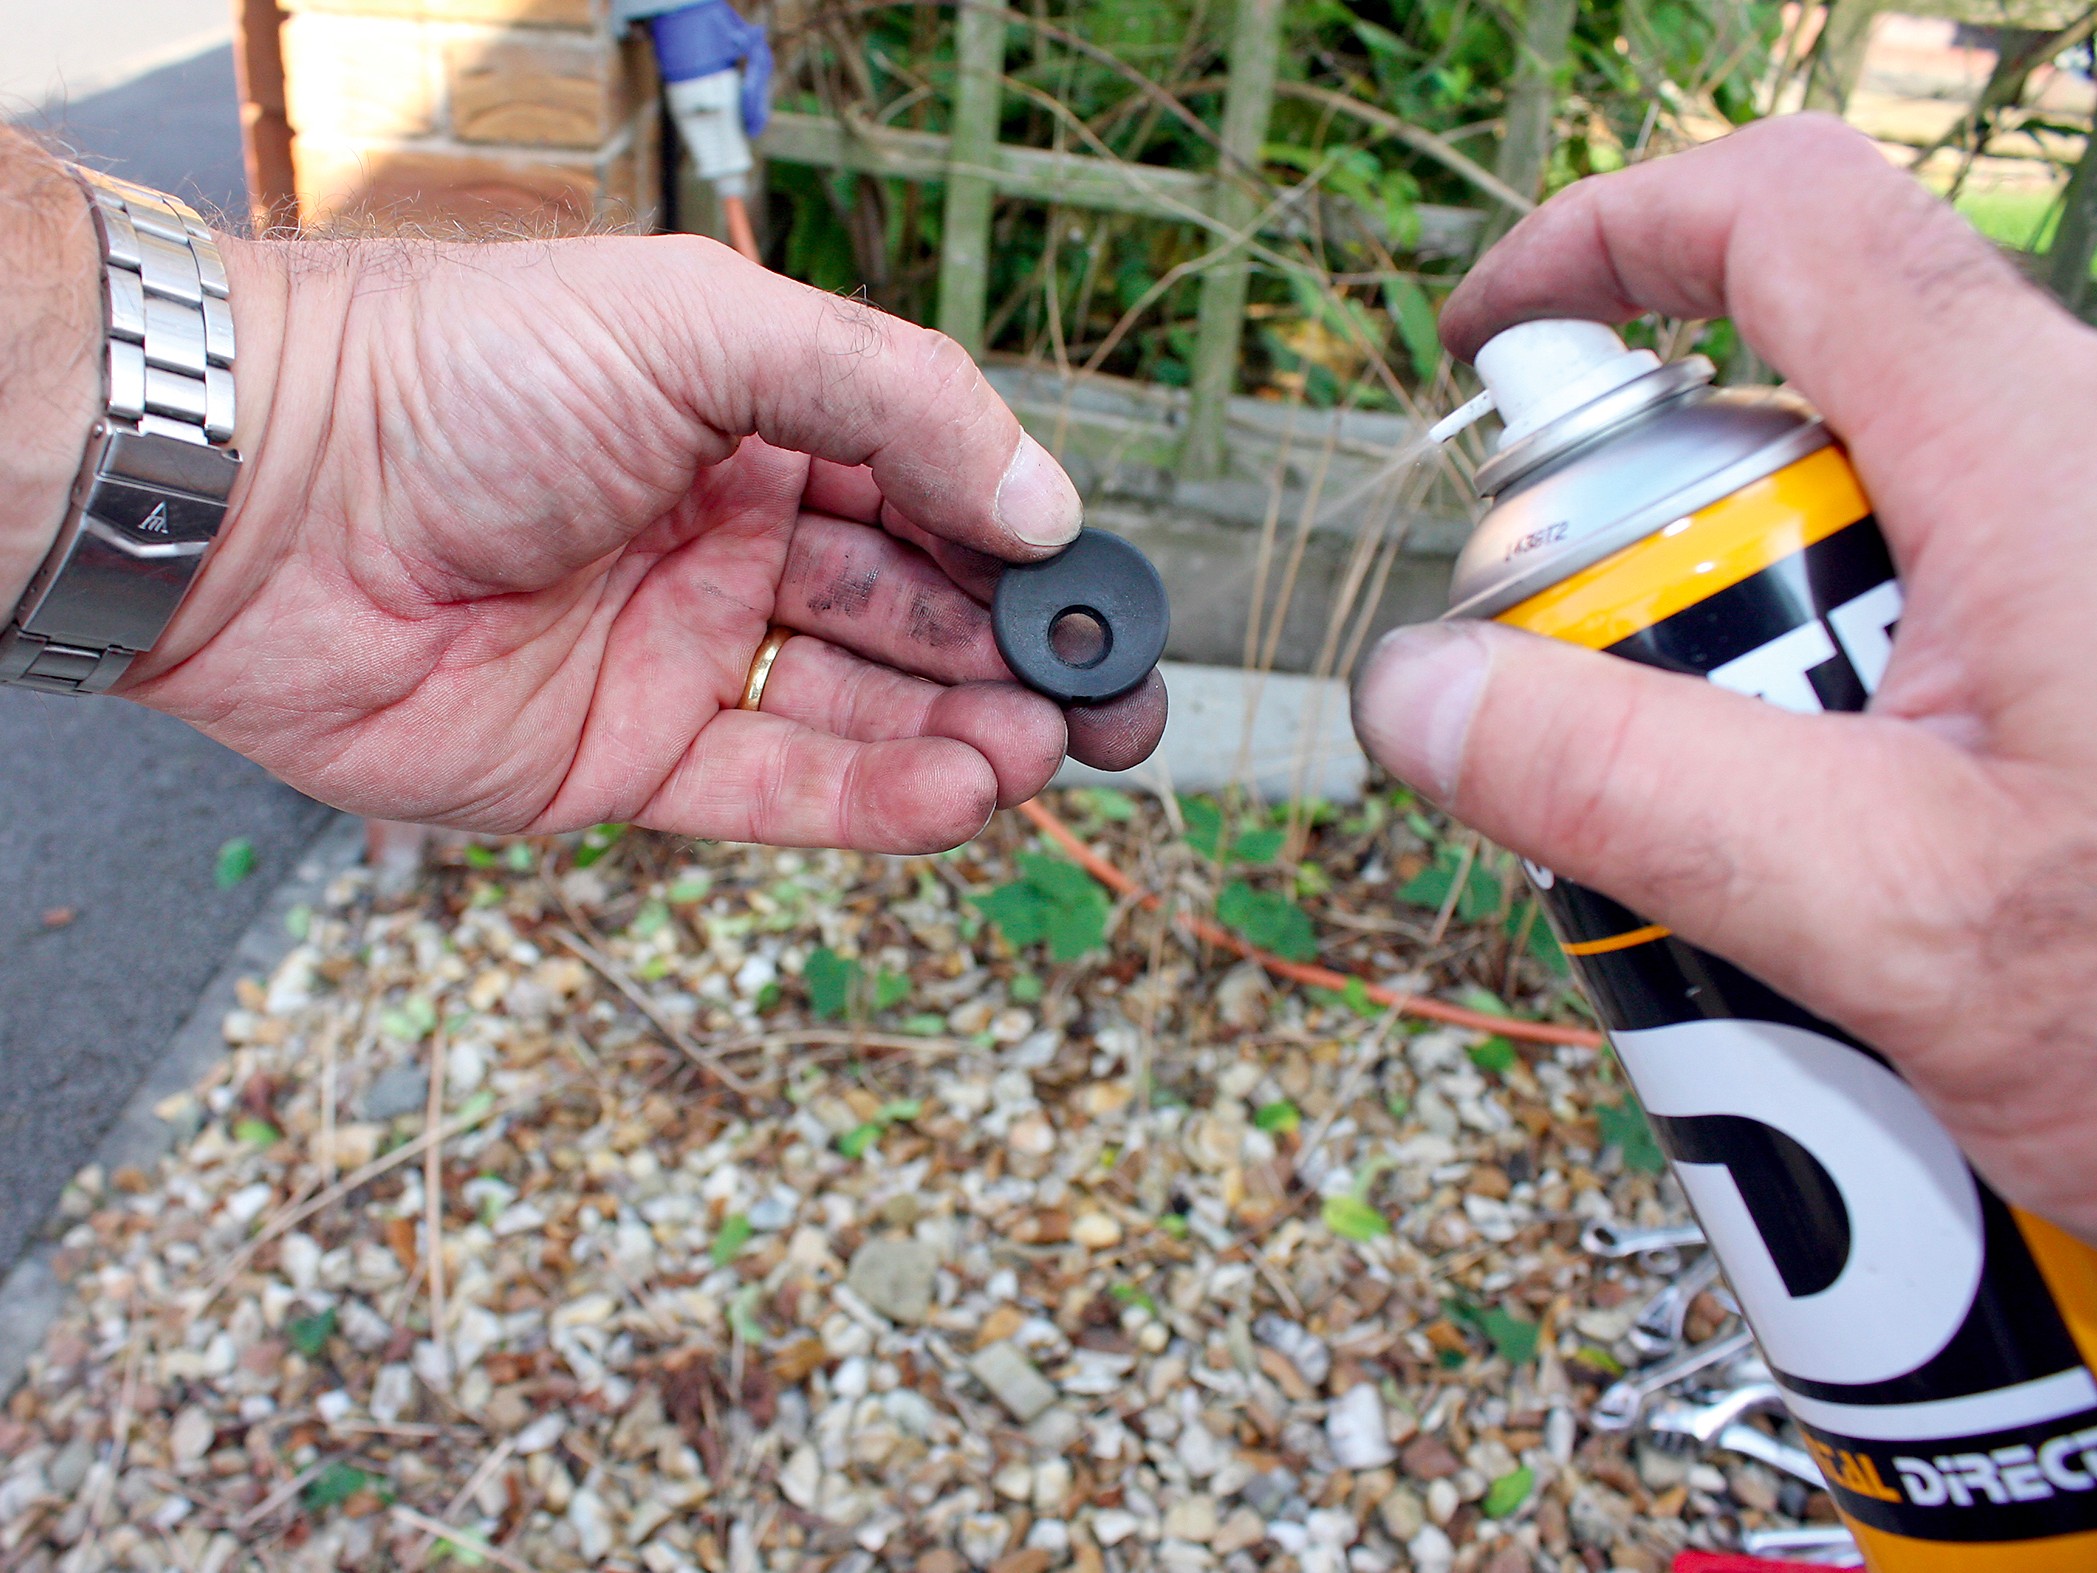
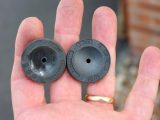
Start with the side pads. Remove the small red caps on either side of the hitch and use a small punch to tap out the friction pads.
Occasionally, a washer or shim comes out with a pad. These are necessary for correct adjustment, so make a note of which side they come from and put them back in the same place during reassembly.
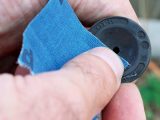
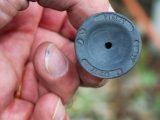
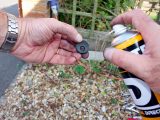
Examine the pads, and if they appear at all shiny, rub them with fine emery paper or cloth until the glazed look has gone and they’re smooth. Give them a final clean with brake cleaner.
Once you’re satisfied with the pads’ condition or you’ve opted for new ones, replacement is the reverse of removal.
First, ensure your hands are free from grease or oil. Put the stem of each pad into the hole from within the hitch head.
Press firmly until they click into place – you may need to push hard with both thumbs. Replace the red caps.
Next steps
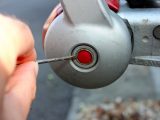
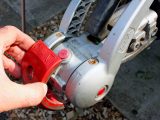
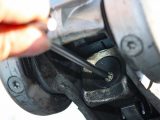
To take out the front pad, start by pulling off the red dock from the front of the hitch.
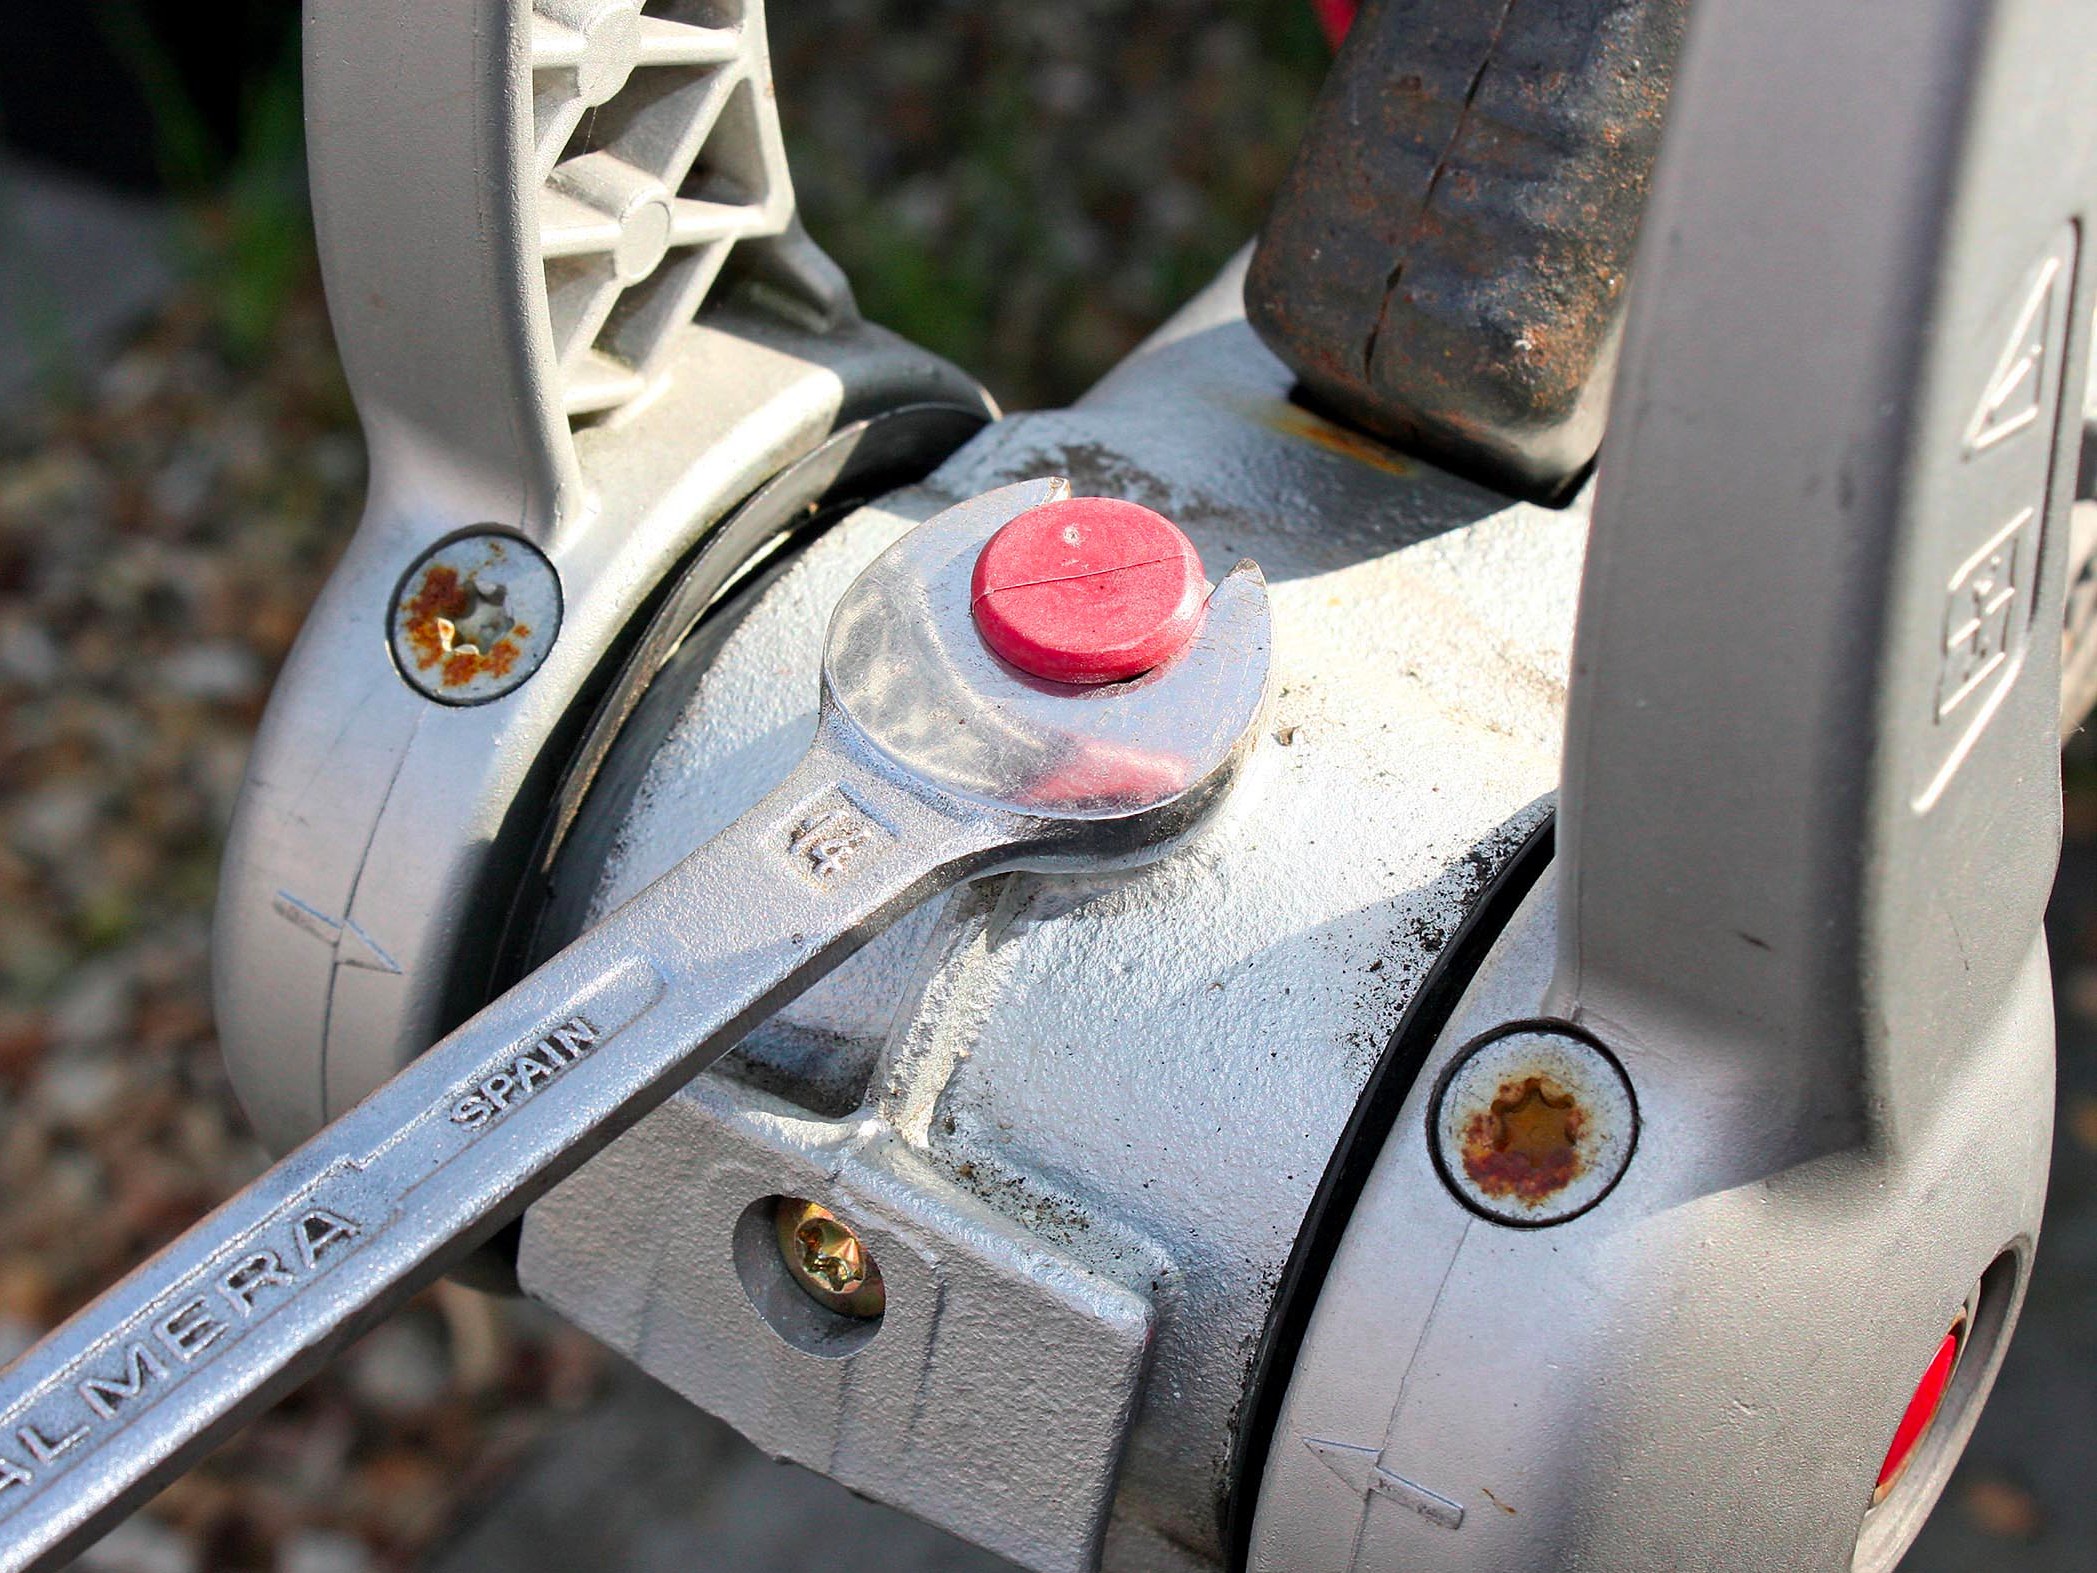
Push up from the inside, lift the button on the front and fit a 14mm spanner around it to prevent it from retracting.
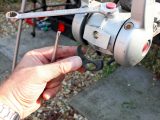
Look at the front of the hitch, beneath where the red dock was, and you’ll see a Torx-head screw. Remove this with the T30 Torx key. The front friction pad will now come out easily. Clean or renew and fit it by reversing the previous steps.
The Torx-headed screw only needs to be nipped up (Al-Ko recommends a torque setting of 5Nm).
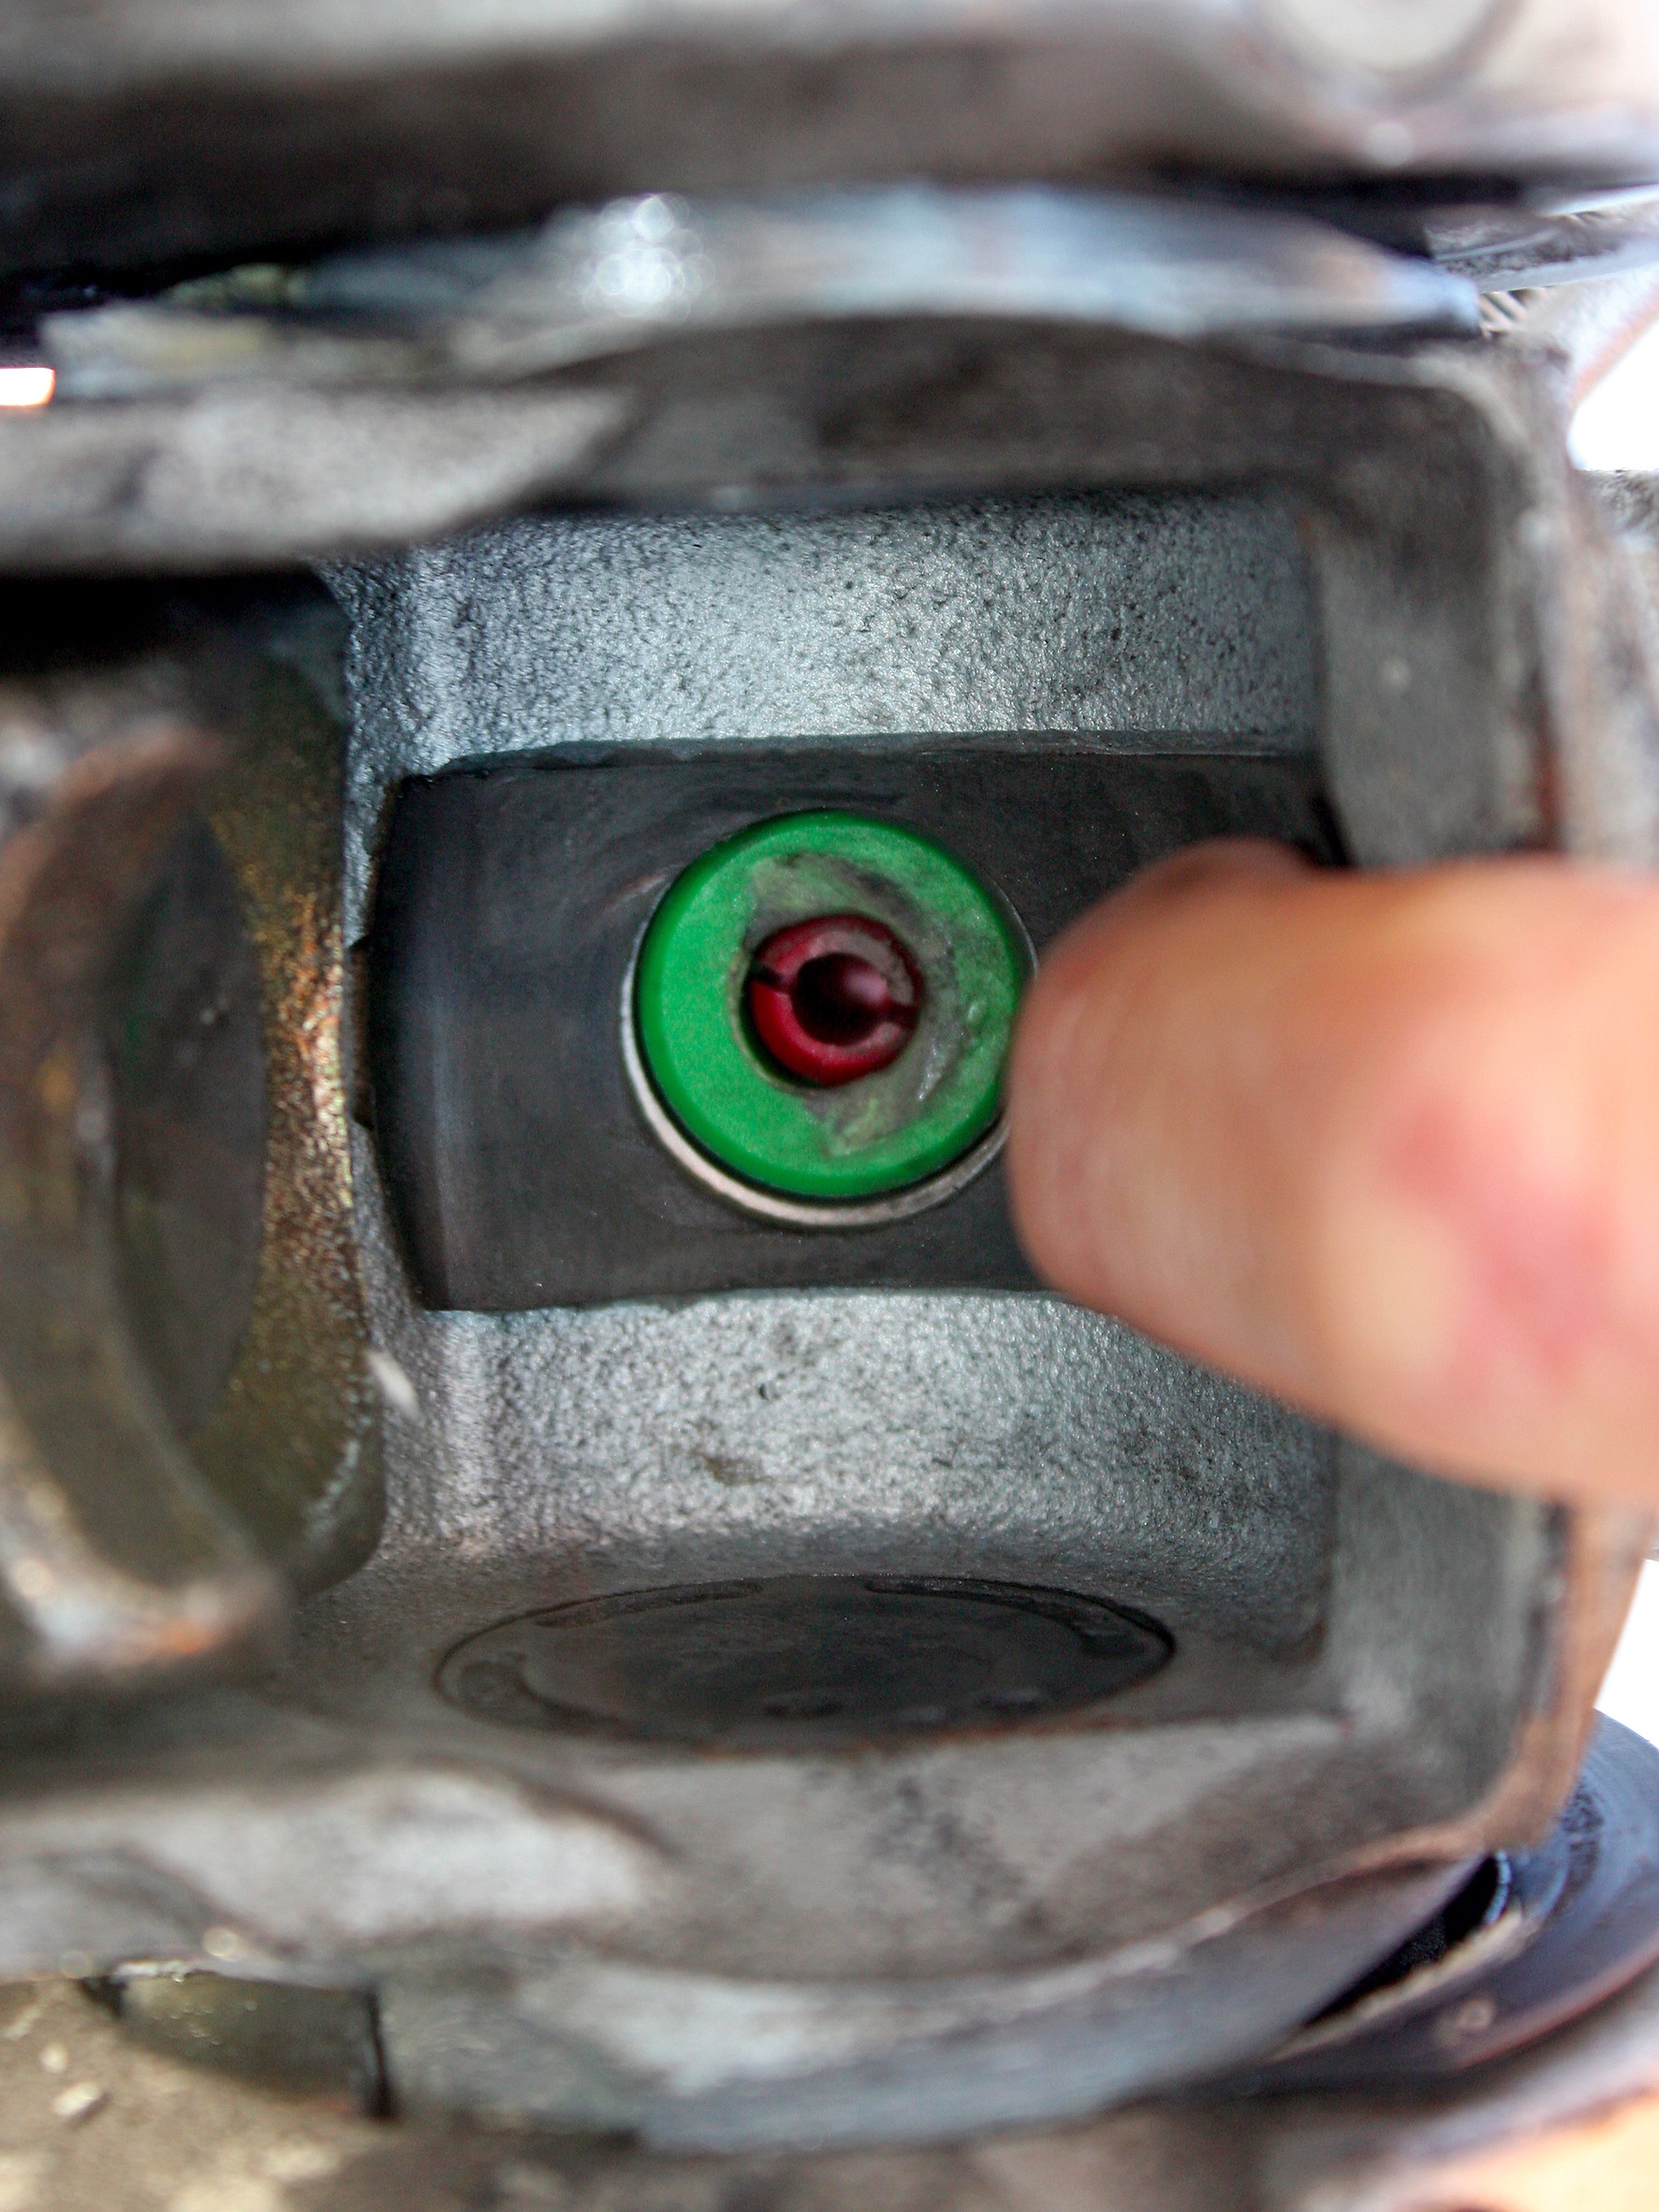
The rear pad, which is at the back of the hitch area, is also held by a Torx-head screw. Remove the screw and then the rear pad, which may need gentle assistance from a small flat-head screwdriver.
Clean or renew and reverse the foregoing steps.
Check your work
Hitch up your outfit, ensure that the stabiliser is correctly engaged, and double-check the wear indicators in case something is not refitted right.
If it all looks OK, unhitch and replace the red dock.
This may be the hardest part of the job – you’ll get one side attached as it pulls off the other.
Ensure your hands are free from grease or oil that may contaminate the stabiliser pads before starting this project