


Cleaning a caravan can feel like a daunting task. After all, it can mean having to get rid of deeply entrenched grime, muck and black streaks that can build up during the offseason or from a season of touring. Or perhaps you’ve looked at your tourer and think the paintwork is looking a bit dull.
This is an important maintenance task, but one that can feel almost impossible at times. Black streaks can be depressingly resilient to get rid of, for instance: although you can attack it with all the muscle you can muster, it might still be there afterwards, mocking you with its seeming indestructibility.
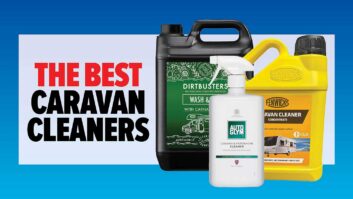
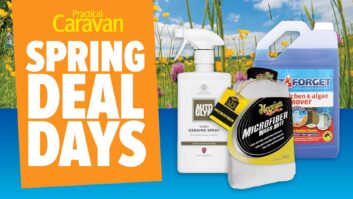
That’s where my 10-step cleaning guide comes in. Here, I’ll be talking you through how to clean a caravan, as well as explaining some of the basics, such as when the ideal time to clean a caravan is, as well as the equipment you will need to do so. This is the ideal time of year to reach for products such as the best caravan cleaners and the best caravan polish to give your van the attention it needs to restore some shine and return it to its former glory.
If you’re looking for tips for a specific part of cleaning your caravan, you can also navigate to a particular section using the menu below.
Practical Caravan is supported by its audience. When you purchase through links on our site, we may earn an affiliate commission. Learn more
Cleaning a caravan – a step-by-step guide:
Cleaning a caravan roof
Front and rear panels
Cleaning decals and graphics
Treating chalky glass fibre
Cleaning the seals
Windows
The A-frame
Wheel cleaning
Clean and protect your tyres
Furnishings and upholstery
When is the best time to clean a caravan?
First, the cleaning a caravan experience can be made a bit less arduous by choosing the best time to do battle. Ideally, this will be on a cool, dry day, when your caravan isn’t standing in strong direct sunlight.
If the weather’s too warm, the grime and grit you rinse off, and the cleaning solutions and polishes you apply to your van, will dry out before you have time to wash or buff them off. This can lead to scratching and streaking, and more time and effort needed to get the desired finish.
What do I need to clean a caravan?
Even the best small caravans will require plenty of time to clean, so using high-quality cleaning products, which make the job easier, is definitely the way to go.
Cheap (dilute) cleaning solutions are available, but if you value your time and want to conserve some energy, choose recognised cleaning product brands with established reputations.
To give your caravan a comprehensive spring clean, you should consider buying the following products:
- Caravan cleaner: These are specifically formulated to eradicate black streaks and remove algae
- Shampoo: Washes and (often) waxes your van, producing a shiny finish
- Window cleaner: Specialist products for acrylic (plastic) caravan windows
- Upholstery cleaner: Usually spray-on products, these will clean and protect caravan soft furnishings
- Wheel cleaner: Strong cleaners that are designed to remove tar, road film and brake dust from your wheels
- Tyre shine: A spray or thick gel which cleans, lubricates and protects tyres
- Polish: Take your shine to the next level and gain longer-term protection with a good-quality polish
- Ceramic protection: An optional extra that adds a special protective layer to the surface of your caravan
By including some or all of these special products in your cleaning kit, you can both clean and protect your beloved tourer.
How to clean a caravan:
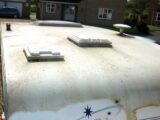
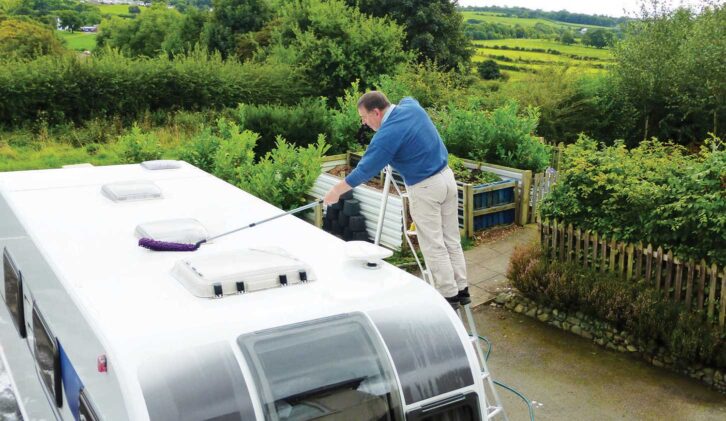
Step 1 Cleaning a caravan roof
The caravan roof is often really grimy, while the rest of the exterior positively sparkles.
Of course, nobody actually sees it, but that’s no reason to omit it from your cleaning regime. In fact, cleaning a caravan roof is often the best job to start with.
It remains a very hotly debated topic, but I always prefer to work from the top down when cleaning tow cars or caravans.

Use a stepladder to gain access to the roof, and start by soaking the roof so that the grime, algae and road film has time to soften. Next, using a soft brush and a soapy detergent mix, loosen all of the dirt from the roof, paying particular attention to the edges of rooflights, vents, solar panels, aerials and other furniture, where the worst gunge tends to gather.
Use plenty of water to wash the muck away, so that you are not grinding it into the roof surface as you clean. While you may not be able to see it initially, this will cause micro-abrasions, which will damage the caravan’s ‘top coat’ over time.
Investing in a long-handled brush will mean that you don’t have to climb onto the caravan roof to reach the middle.
After rinsing off the gunk from the first shampoo, you’ll be able to see where the more resilient grime remains. You might need to up your chemical attack to remove this, and apply a bit more elbow grease.
I’d recommend cleaners from the likes of Fenwick’s or Autoglym for this chore.
Once the roof is clean, rinsed and dried, you might also want to protect it with a good-quality polish or one of the ceramic protective coatings now on the market, such as Autoglym Rapid Ceramic Spray. It’s more work, but should pay dividends next time you come to comprehensively clean your tourer.
Perspex rooflights can be washed down initially with a bubbly soap-and-water solution, then treated with a window cleaner formulated for plastic windows, such as Fenwick’s Windowize. This is designed to remove light scratches and hazing.
Ensure your cloth or brush is fully rinsed, with no grit or grime in it, when you clean plastic windows.
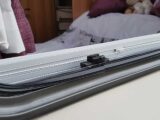
While up on your stepladder, clean your solar panel to maintain its effectiveness, and run a cloth along the groove in the awning rail where the cord slides through.
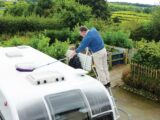
Step 2 Front and rear panels
The next step is for the caravan’s sidewalls to be soaked and any grime softened with wash-off from the roof (the main reason why I always clean from the top down).
The front and rear panels are likely to be the dirtiest, so I start with those.
Unless you use a towing cover, the front panel takes the brunt of the dirt and debris that is thrown up by the tow car, and the particulate-filled exhaust emissions that circulate behind the car also penetrate the surface. Meanwhile, the vortices created by the flat rear end of a caravan suck in all the road muck, which sticks to the panel.
Begin this stage by soaking the panels and removing the worst of the road film with a soapy detergent solution and a soft brush, mitt or sponge. For this task, use a light, circular rubbing action, which will help to avoid grinding abrasive particles into the caravan’s paint surface.
If your van is really grimy, you should consider the two-bucket cleaning method. Here, you have one bucket of clean water, in which you rinse your cloth each time it has wiped down a dirty section of your caravan. The second bucket holds your cleaning solution, and the cloth or sponge only goes in here once it’s been rinsed out.
This way, you’re less likely to transfer grit and particles from the dirty water bucket back onto the side of the van.
Rinse this off, then step back and assess which areas might need extra attention.
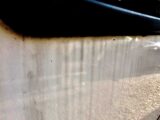
This is where you’re most likely to find the dastardly black streak, streaming down vertically from any protrusions, including windows, hatches, handles, lights and the caravan awning rail.

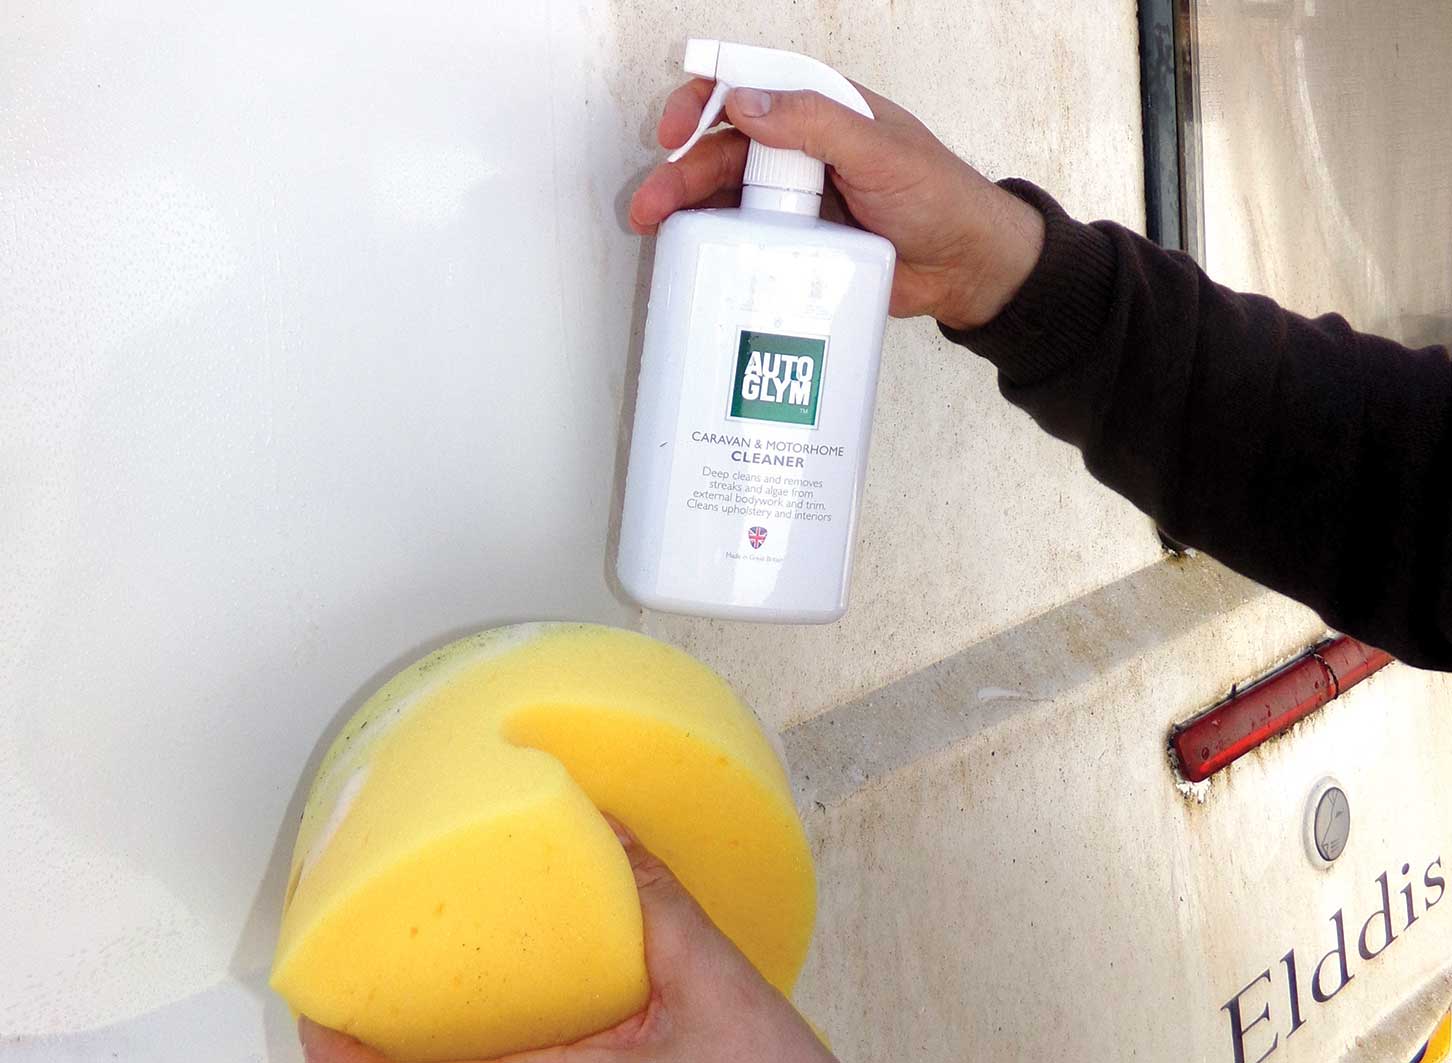
Like the roof, these streaks and more ingrained areas will need to be treated with a cleaning solution, such as Autoglym Caravan Cleaner, an award winner at the Practical Caravan Awards 2024.
Spray it on, leave for a minute or so, then carefully rub them off. In personal tests, I found that these two brands were the most effective for removing resolute black streaks.
Now rinse down the caravan panels, then dry them carefully with a squeegee, chamois or specialist drying cloth.
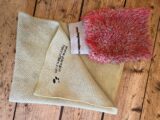
There are plenty of these items available on the market these days, but I still rely on my trusty wash mitt and drying cloth from Paragon Microfibre.

These are put to use at least weekly and although I must have had them for the best part of a decade, they remain as good as ever.
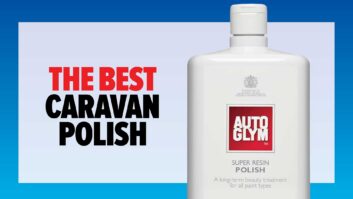
After all this attention, your caravan walls will be gleaming, but you should consider polishing the caravan with a specialist product, such as Autoglym’s Super Resin Polish.
This isn’t the cheapest product out there, but it delivers a great finish with excellent protection, plus it goes on and comes off pretty easily (very important when you are cleaning a caravan!).
If you’re running out of time, energy or the will to live at this point, I’d suggest prioritising the van’s front panel for the polishing treatment, because it’s the one that needs most protection.
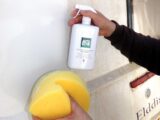
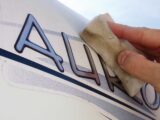
Step 3 Cleaning decals and graphics
Cleaning caravan decals and graphics should be done very carefully and you shouldn’t use harsh chemicals, which can cause discoloration and fading.
In addition, it’s best to take care not to clean them too vigorously, because the graphics and decals could detach.

Use a soft cloth or brush to clean decals, applying lots of soapy water. I also like Erase Away foam pads, which I found online. These non-abrasive pads contain no harmful chemicals, and they’re great for cleaning in and around raised decals.
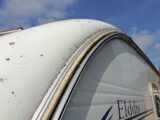
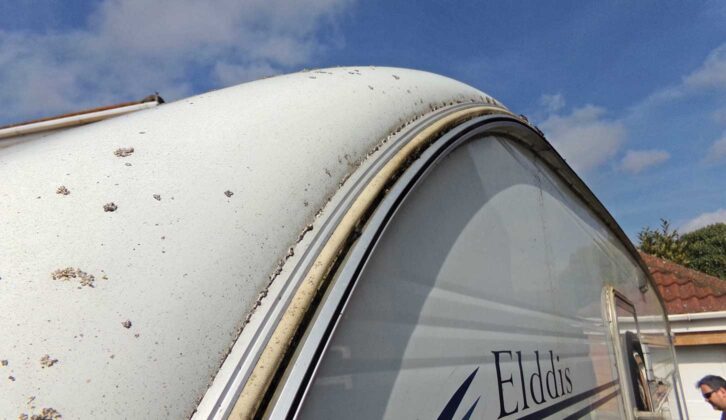
Step 4 Treating chalky glass fibre
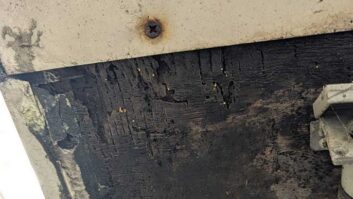
The protective top coat on older glass fibre panels can degrade over time, subjecting the material underneath to the rigours of climate and UV damage. As the years pass, this can cause the panel material to dry out and become ‘chalky’.
If you spot this on your own caravan, act immediately. Depending on how badly oxidised the surface is, you can either polish it back to a shiny finish, or for worse damage, use a cutting agent to remove the dusty layer.
A cutting agent is an abrasive material suspended in a soft paste, rather like liquid sandpaper. Professional car detailers use them to restore and repair paint surfaces.
I would recommend Meguiar’s Ultimate Compound, and the use of a rotary buffer with a wool pad.
Once you get down to a solid surface with no chalkiness, wipe any dust residue away with isopropyl, and use a high-quality wax polish to buff the surface back to a shine, adding several applications for extra protection. Thereafter, you will need to polish this panel regularly to prevent or minimise further oxidation.
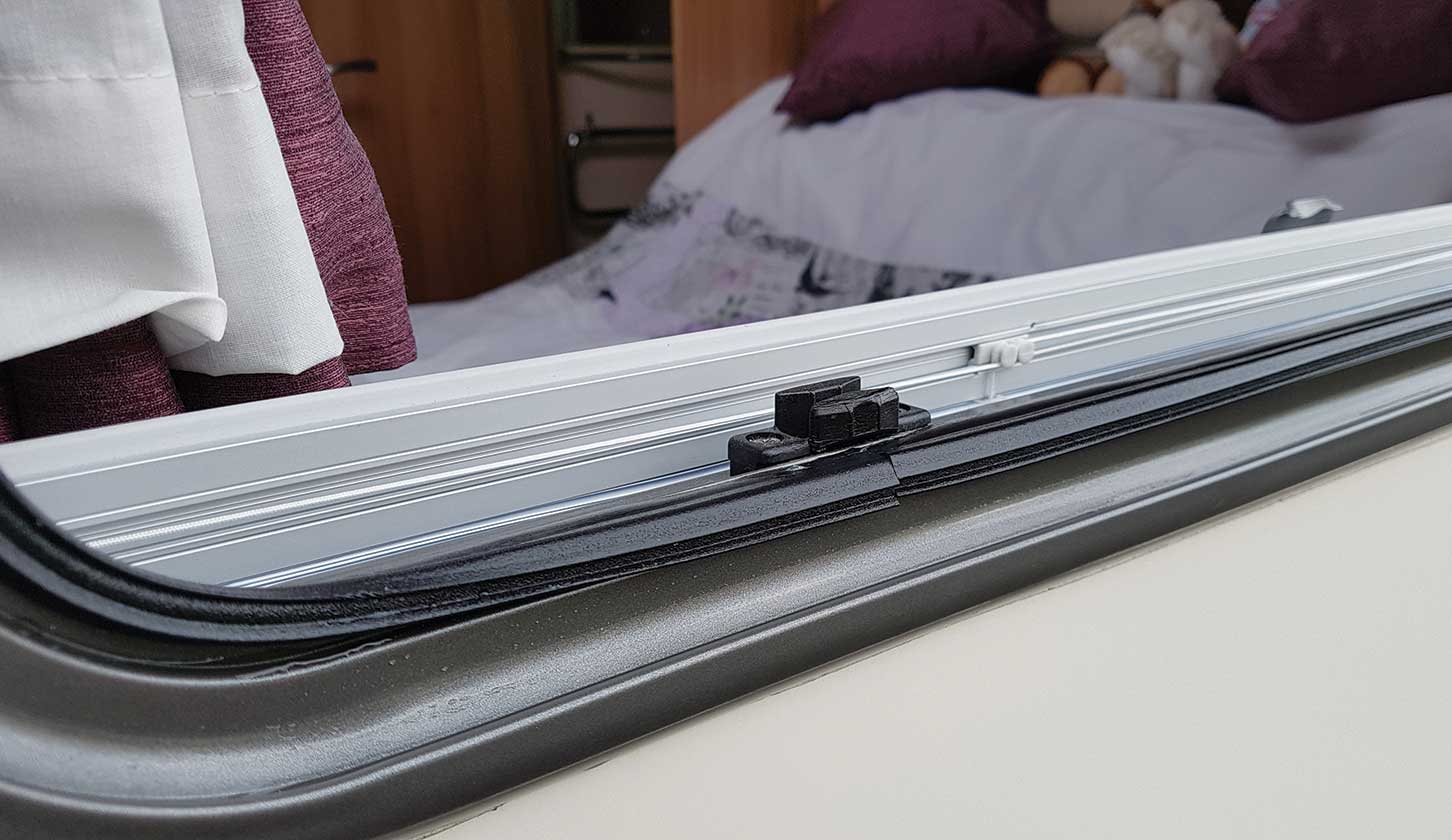
Step 5 Cleaning the seals
Algae and muck tend to gather around all the window, door and hatch seals, so wash them with soapy water, then, once they’ve dried, treat them with a specialist silicone spray, such as Thetford’s Seal Lubricant or Halfords Silicone Lubricant.
This will help to keep the rubber supple and prevent cracking, and will also protect against UV damage, extending the viable lifetime of the seal. Take a look at our guide to the care and repair of rubber seals for more.

Step 6 Windows
Wash your plastic caravan windows down carefully with a loaded soapy mitt, sponge or soft brush, ensuring that it’s thoroughly rinsed out between applications.
Afterwards, dry the window with a clean chamois or soft microfibre cloth. With the worst of the traffic film removed, consider using Care-avan’s Acrylic Window Cleaner to polish your windows and remove any smears. For older vehicles with scratched or hazy windows, consider applying Fenwick’s Windowize.
Step 7 The A-frame
Wash down your A-frame with a cleaning product that has degreasant properties. Then consider lubricating the various moving parts with a lubricant, such as WD-40 or 3-in-One. A spray-on grease is ideal for lubricating the mechanisms underneath the A-frame, but you’ll need to take care to avoid getting any grease or oils on the stabiliser’s friction pads.
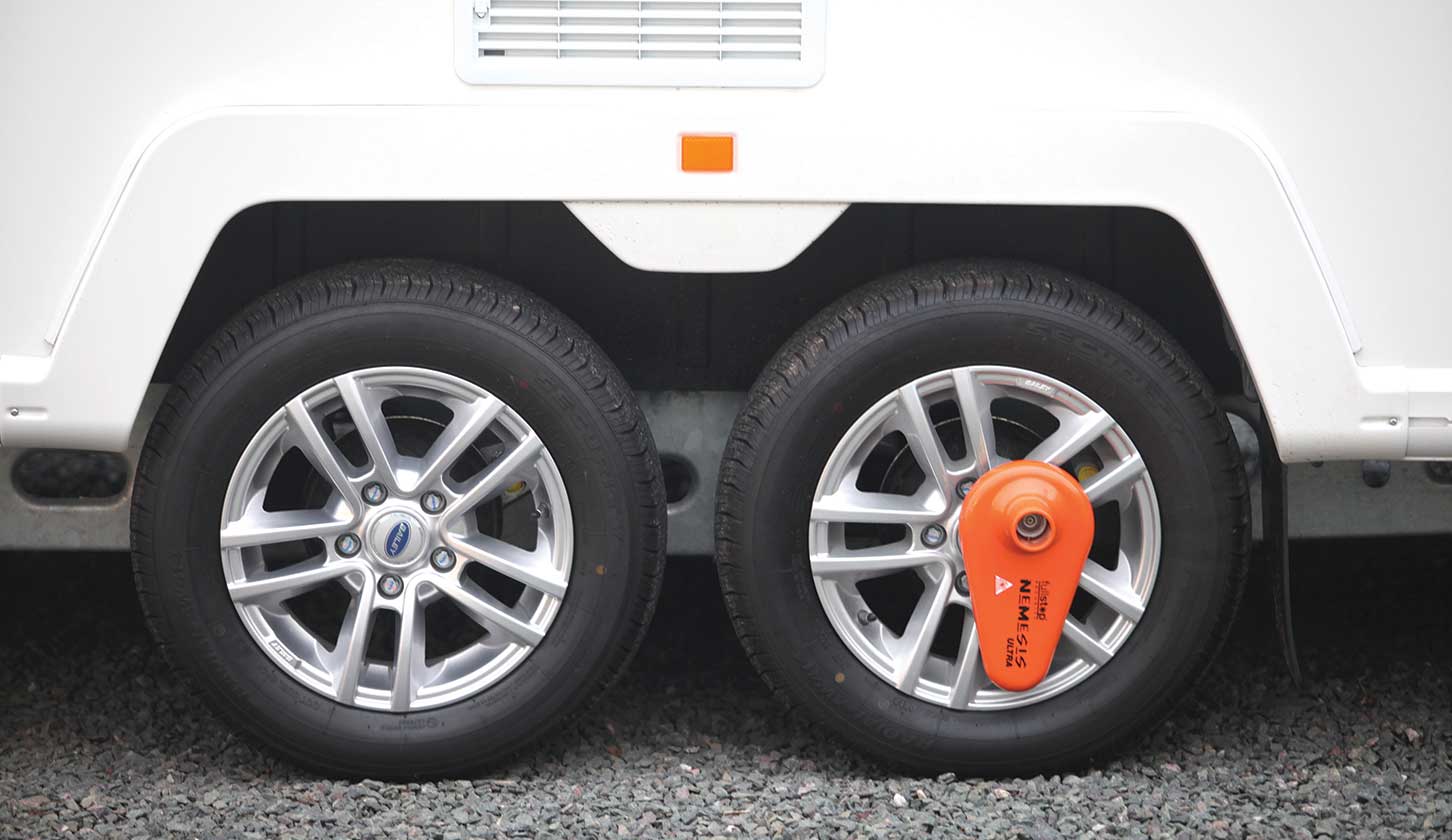
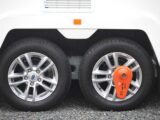
Step 8 Wheel cleaning
Caravan wheels are likely to be coated in traffic film, mud, tar spots and brake dust at different times of year, so to clean and protect them, select a specialist treatment such as Autoglym Clean Wheels or Simoniz Tar Remover. Alloys will benefit from regular rub-downs with a quality polish.
Step 9 Clean and protect your tyres
For this important step in proceedings, I like the viscosity of a gel treatment, such as Meguiar’s Endurance Tire Gel, but others might prefer the spray-on ease of Autoglym’s Instant Tyre Dressing. A good tyre dressing cleans and protects the rubber.
Step 10 Furnishings and upholstery
Carefully check over your furnishings and upholstery, and treat any marks or stains with a quality cleaning product, such as Care-avan Interior Cleaner or Autoglym’s Interior Shampoo.
Note: It’s essential to read all application instructions carefully before using cleaning products recommended in this feature
Own-brand products from the likes of Halfords and Aldi are also recommended. By purchasing recognised brands, you can be sure that toxic chemicals and other elements that don’t biodegrade are not included in the formulations.
The cost of cleaning products for a caravan
As you will have noticed from this feature, buying high-quality, recognised brands of cleaning products is expensive, especially if you need to buy them all at once.
That said, they should last for several years. But if you want to spread the cost, I would start by purchasing a good caravan shampoo, then a quality, bespoke cleaning solution. Other products can be added to your armoury over time, and remember, polishes and protectants for your car, as well as wheel- and tyre-cleaning solutions, can also be used on your caravan.
Now that you’ve cleaned the exterior, it’s time to think about the interior! In our guide to the best caravan vacuum cleaners, we share our favourite picks on the market.
Future Publishing Limited, the publisher of Practical Caravan, provides the information in this article in good faith and makes no representation as to its completeness or accuracy. Individuals carrying out the instructions do so at their own risk and must exercise their independent judgement in determining the appropriateness of the advice to their circumstances and skill level. Individuals should take appropriate safety precautions and be aware of the risk of electrocution when dealing with electrical products. To the fullest extent permitted by law, neither Future nor its employees or agents shall have any liability in connection with the use of this information. You should check that any van warranty will not be affected before proceeding with DIY projects.
If you’ve enjoyed reading this article, why not get the latest news, reviews and features delivered direct to your door or inbox every month. Take advantage of our brilliant Practical Caravan magazine SUBSCRIBERS’ OFFER and SIGN UP TO OUR NEWSLETTER for regular weekly updates on all things caravan related.