If you’re new to caravanning, your first time towing a van was probably when you left the dealership; but the next time should certainly not be when you go on holiday. Tow it for a couple of hours at least, on some familiar roads, including a dual carriageway. And if the dealer coupled it up for you, now’s your first time to practise the process of hitching up a caravan.
Ensure the caravan’s parking brake is on and the jockey wheel is wound down to meet the floor, then lock in place. Next, wind up the corner steadies, then wind the jockey wheel so that the hitchhead rises above the level where the car’s towball will be.
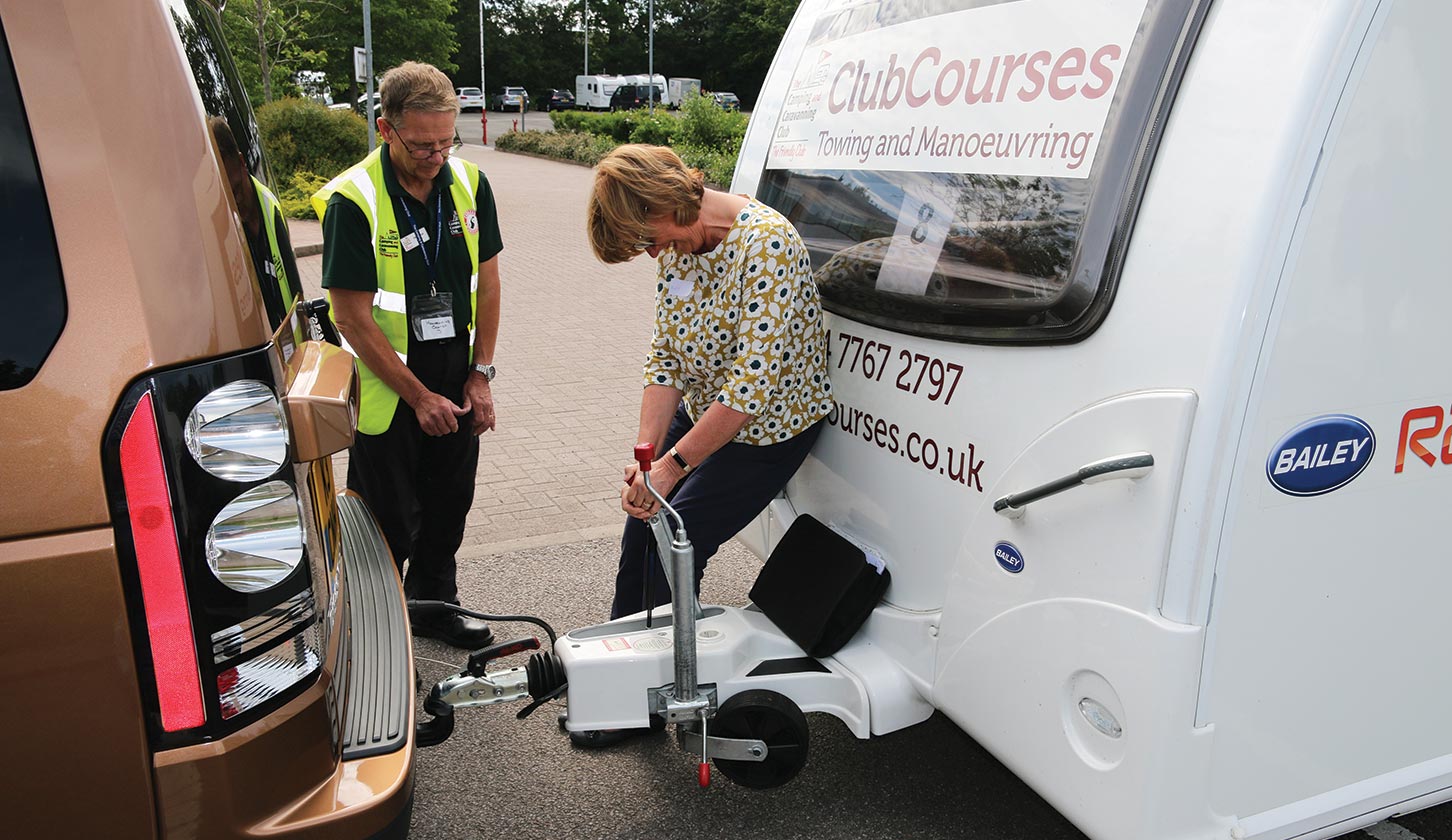
Reversing to hitch up a caravan is much easier with an assistant. They should stand at one side of the drawbar up to the front panel of the van – not between the hitch and car, for safety’s sake. Wave the driver slowly back, indicating through the rear window, or hold a fist with forearm vertical above the coupling head to show its position.
Once in place, put the car’s parking brake on and turn the engine off. First things first – attach the breakaway cable. How you do this will depend on the type you have: for more information, see our article on caravan breakaway cables.
Unlatch the caravan’s coupling head, wind the jockey wheel to lower it onto the towball and lock into place. Don’t trust the green hitch indicator ‘button’ popping up as gospel: they can sometimes stay raised if packed with grease.
Slightly wind the jockey handle the other way, trying to lift the car’s rear, then you know it’s properly coupled.
Only now should you wind up and stow away the jockey wheel, before releasing the caravan’s parking brake.
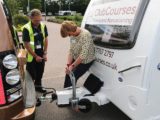
See and be seen when you’re hitching up a caravan
Plug in the electrics. Get your assistant to check all of the tail-lights. For the indicators, operate each side; don’t just use the hazard warning lights.
Refit your numberplate if it’s shared with another trailer, or you removed it for security.
Next, get your outfit in a perfectly straight line and set your towing mirrors to show a small and equal amount of caravan in each one.
Vertical-format mirrors are best – they allow good rearward vision and a view of the caravan wheels’ proximity to kerbs, too. Now you’re all set to go!
Top tips for coupling your caravan to a car
- For a caravan with an AKS stabiliser, the towball must be totally free from grease; for a non-stabiliser coupling head, plenty of grease is applied.
- Reversing cameras make hitching up easier and some have ‘towbar view’ in their menu.
- Removable towbars may lack a breakaway cable eye, so loop it around the swan-neck, clip it back onto itself and pull tight. Then ‘clamp’ around it on the swan-neck with a wrap of insulating tape, so it cannot ride up and over the coupling head.
- Current cars and vans have 13-pin electrics, older ones have two seven-pin plugs. You need a Y-shaped adapter cable to link 13-pin to twin seven-pin.
- Check electrical sockets and plugs are dry; connect with the car’s ignition off.
- Ensure electrics cable has enough slack for a tight turn, but cannot rub on the road. If excessively long, loop around the jockey wheel column. If cable has to cross left or right, pass it over the drawbar, not under.
- Remove the numberplate when storing your caravan. A stolen van should draw police attention without a numberplate. If it passes a speed camera, you won’t have to prove it wasn’t you!
If you liked this, be sure to take a look at these:
- We take a look at the best caravan sat navs on the market, to help you navigate safely
- This guide talks you through the process of reversing a caravan
Future Publishing Limited, the publisher of practicalcaravan.com, provides the information in this article in good faith and makes no representation as to its completeness or accuracy. Individuals carrying out the instructions do so at their own risk and must exercise their independent judgement in determining the appropriateness of the advice to their circumstances. Individuals should take appropriate safety precautions and be aware of the risk of electrocution when dealing with electrical products. To the fullest extent permitted by law, neither Future nor its employees or agents shall have any liability in connection with the use of this information. You should check that any van warranty will not be affected before proceeding with DIY projects.
If you’ve enjoyed reading this article, why not get the latest news, reviews and features delivered direct to your door or inbox every month. Take advantage of our brilliant Practical Caravan magazine SUBSCRIBERS’ OFFER and SIGN UP TO OUR NEWSLETTER for regular weekly updates on all things caravan related.