Towing up to two tonnes of steel and glass fibre down the road at 60mph really isn’t something to be done lightly. You’ll need an appropriate tow car, preferably some training and a well-maintained tourer with excellent caravan brakes.
On today’s often chaotically busy roads, having the ability to stop your outfit quickly and safely is more essential than ever, so it’s crucial that you keep your caravan brakes in tip-top condition. Well-maintained brakes on your tow car and caravan will deliver effective deceleration in any emergency situation.
Part of standard Tow Car of the Year testing, where we’re able to pick out the best cars to tow a caravan, is to do an emergency stop from 60mph, and without exception, the hundreds of outfits that I’ve assessed over the years have all remained under control and been brought to a halt in a surprisingly short distance.
This guide explains all you need to know about your caravan brakes, to ensure they perform at their best after hitching up a caravan.
Brakes for caravans: what you need to know
How do caravan brakes work
Overrun mechanism in reversing
The caravan handbrake
How to adjust your Al-Ko caravan brake shoes
Repairs and regular maintenance work
Caravan brakes – everything you need to know:
How do caravan brakes work
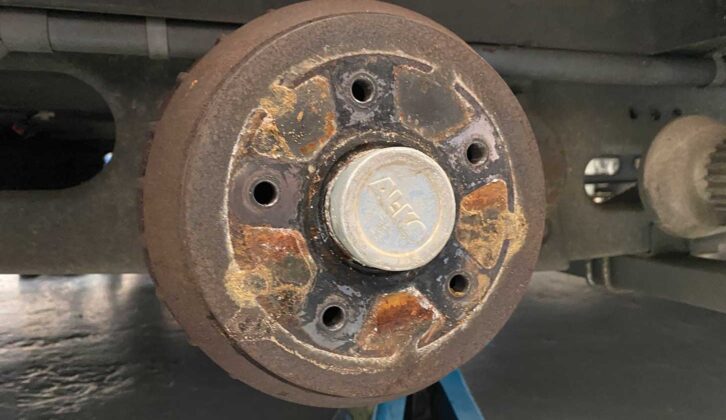
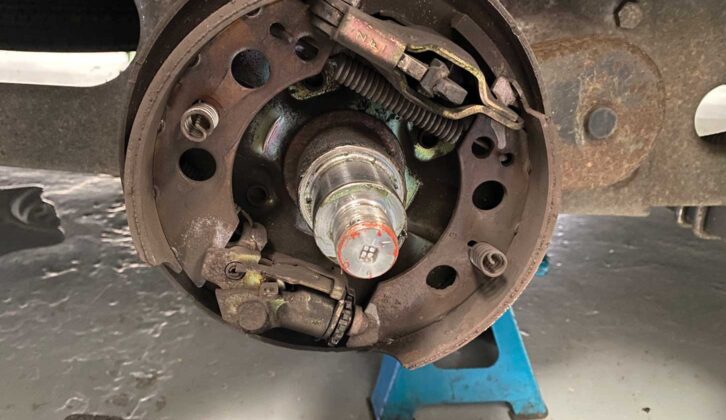
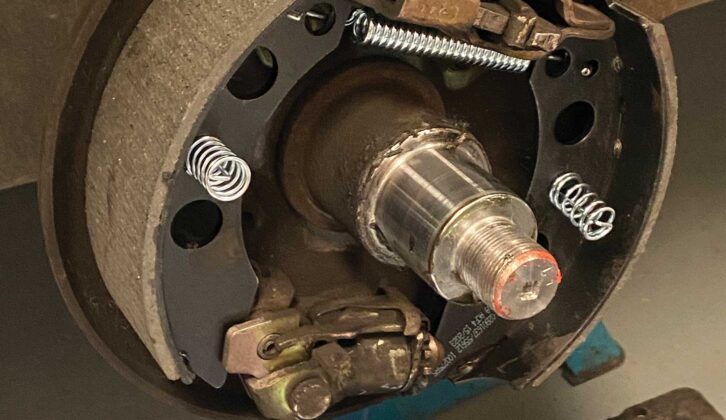
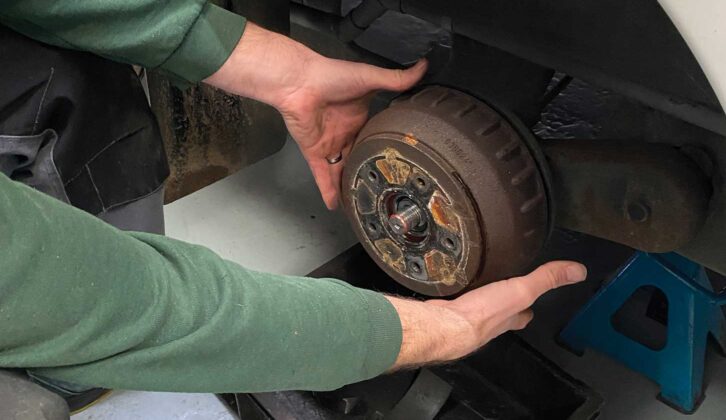
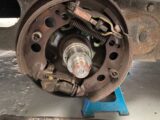
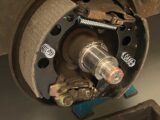
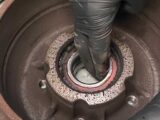
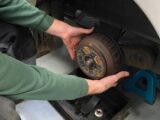
Caravan brakes are drum brakes, with an actuator lever, an adjustment mechanism and curved brake shoes housed inside the protective ‘drum’ behind the wheel.
The internal mechanisms are fixed to the stub axle and do not rotate, while the drum encircling them turns on the hub as the vehicle moves.

When the brakes are applied, the brake shoes are pushed outwards and press against the inside surface of the rotating drum. The friction material on the shoe slows or stops the drum turning and the van decelerates.
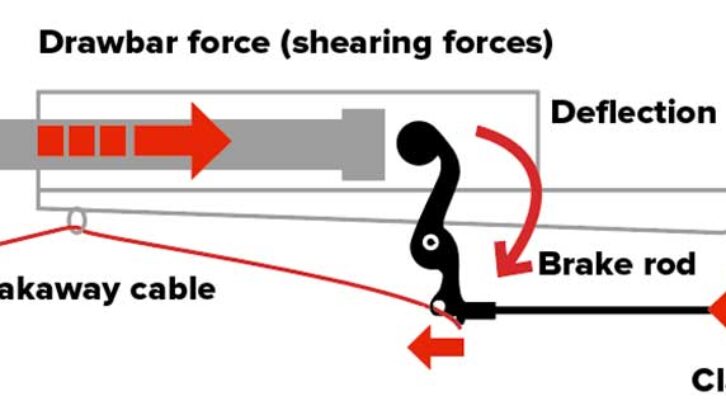
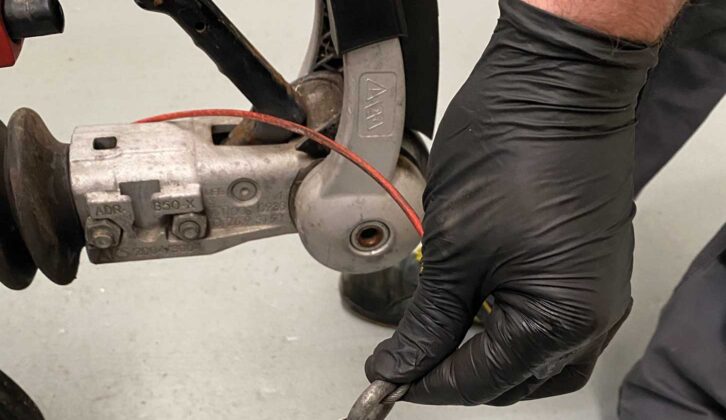
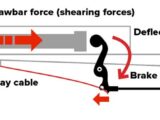
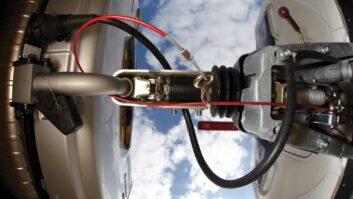
Caravan brakes use an overrun braking system. This means they are not connected to the brake pedal in the tow car – at least not directly. Instead, when you press the brake in the tow car, it decelerates, but the momentum of the following caravan causes the tourer to push up against the caravan towbar.
This momentum compresses an assembly in the caravan coupling which, via a lever, rod and cables, applies the van brakes.
The harder you brake the car, the harder the van brakes are applied. It’s a simple, but effective, low-maintenance mechanism.

A coupling damper in the caravan’s hitch head delivers gentle braking by controlling the way the van pushes up against the tow car when you brake.
If your caravan braking seems more violent and the brakes feel like they’re ‘snatching’, the damper could be damaged, or the brakes might need adjusting.
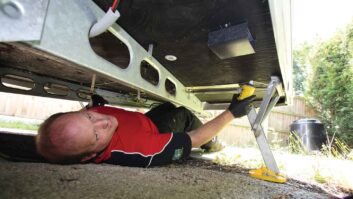
The brake cable under the van goes into the back of the drum housing and is attached to a brake-actuator lever. When pulled by the cable, this pivots and pushes the brake shoes out and against the inner drum.
Overrun mechanism in reversing
When reversing a caravan, the tow car pushes backwards and compresses the hitch head, which in turn applies the van brakes. However, this braking effect only lasts momentarily, because a brake-release lever inside the drum brake senses the reversing motion and withdraws the brake shoes from the brake drum.
This is why, when you are reversing, you’ll initially sense a little resistance, before you hear a metallic click from the axle as the release system kicks in. When you start moving forward again, a return-spring pulls the release lever back to its original position and the drum brake operates as normal.
So it is best to tow forwards onto your levelling ramps, rather than reversing on, because the braking will be more precise. See our guide to levelling a caravan for more on achieving a flat tourer.
Caravan handbrake
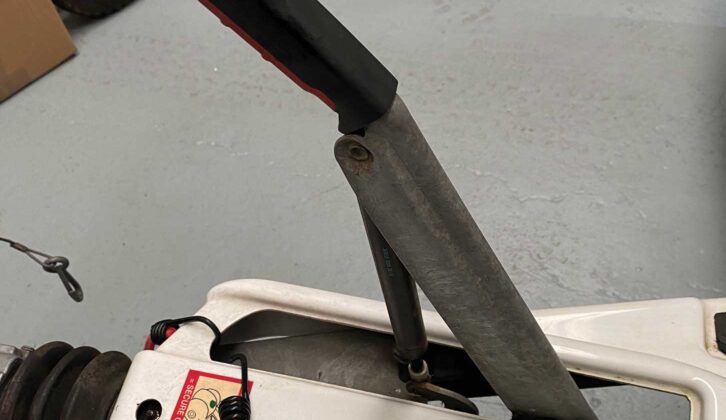
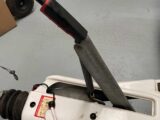
Again, in the interests of simplicity, the handbrake is attached to the rod and cables that operate the main brakes. When raising the handbrake, the rod and cables are pulled and the brake shoes actuated. Pulling and releasing the handbrake can feel strenuous.
Caravan handbrakes have ratchet mechanisms or hydraulic dampers. When it is properly adjusted, a ratchet handbrake should pull up no more than two clicks. If it goes further than that, adjust the brake rod by loosening the locking nut a few turns, then screwing the brake rod further into the handbrake. Finally, tighten the locking nut.
With both of these types of handbrake, when applied, the handle section should be pointing up at an angle of 45 degrees. If it points much higher than that, it suggests there is a problem, with brake wear the prime suspect and brake rod adjustment its accomplice.
How to adjust your Al-Ko caravan brake shoes
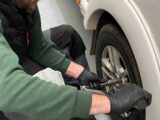
This is a simple job, but brake adjustment should only be attempted by the competent DIY caravanner or those with mechanical experience. If in doubt, leave it to your AWS-certified technician.
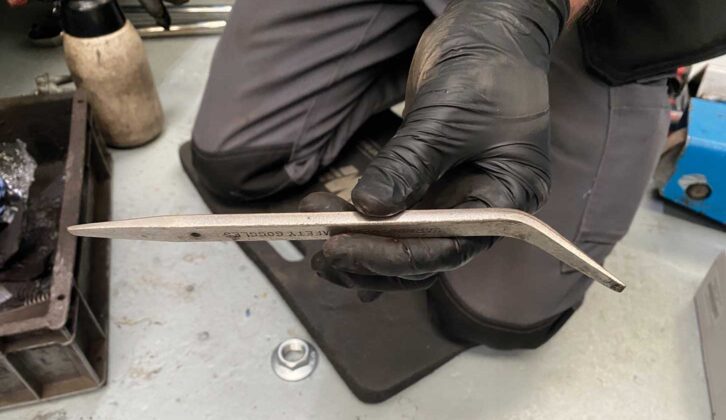
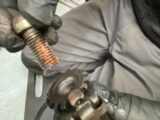
Start by popping off the small, protective plastic cap on the rear of the brake housing. Inside the aperture that is revealed is the starwheel adjuster, which can be turned, one click at a time, with a flat screwdriver or specialist tool. An arrow next to the aperture shows which direction to turn the starwheel to tighten the brakes (that is, to push the brake shoes out onto the drum).

Turn the adjuster until the brake shoes press into the drum and the hub won’t turn, then turn the starwheel back nine clicks, until the hub will just turn, but there is a little scraping sound and some friction.
Note that you should always spin the hub or wheel forwards in making adjustments, because using a reverse motion could activate the auto-reverse mechanism. Always adjust the brake shoes first, before you start tightening the adjustable brake rod under the hitch head. Once the brake shoes are correctly adjusted, you can take up any slack at the brake rod.

Caution! Do not overadjust brake shoes, as the brakes will drag and the friction will cause overheating. Operate the handbrake a few times and check the wheels will turn by hand when it is released.
Repairs and regular maintenance work
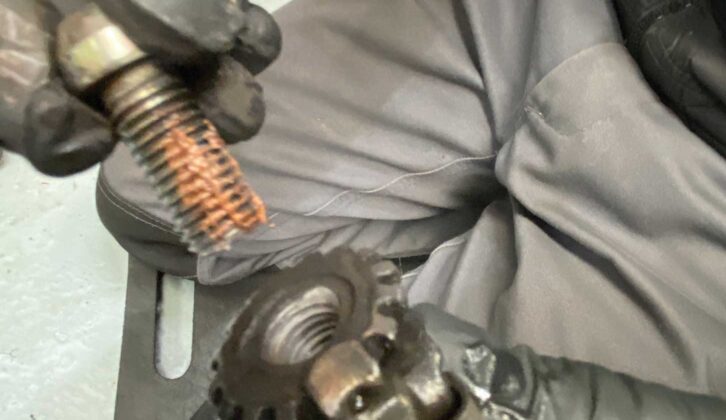
An Al-Ko hub nut is a single-use (elliptical) locking nut for Al-Ko chassis caravans. Cheaper hub nuts are available, but are not recommended.
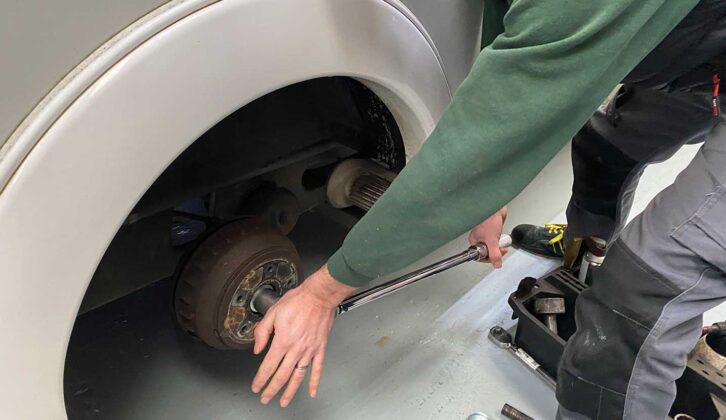
BPW recommends a maximum of three uses for the hub nut on its chassis. Al-Ko hub nuts should be torqued up to 290Nm, while BPW has the recommended torque figure displayed on the drum. Hub nut maintenance must be scrupulous, as any failure can cause disaster.
Don’t use air tools or power-wrenches to unscrew or tighten torqued bolts – they are not sensitive enough to do the job properly and safely.
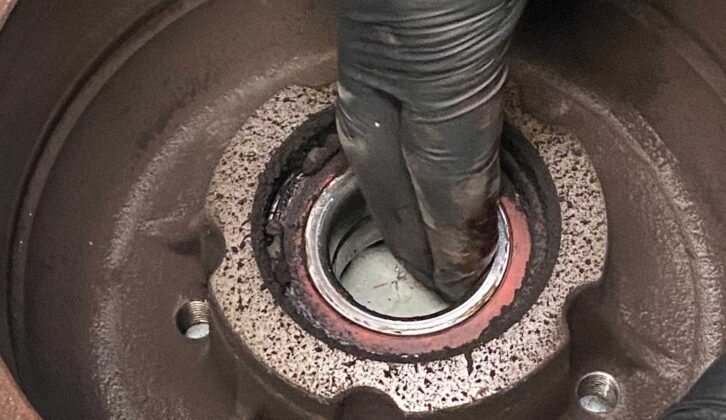
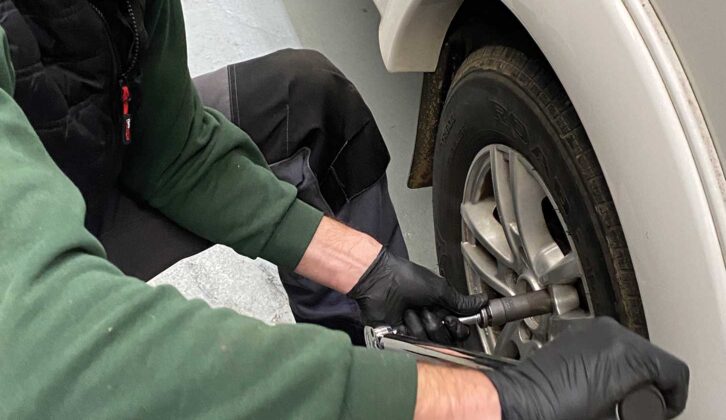
Keep all external moving parts of your brake system clean and lubricated with grease. DO NOT grease or lubricate inside the brake drum – only brake-cleaning spray should be used here.

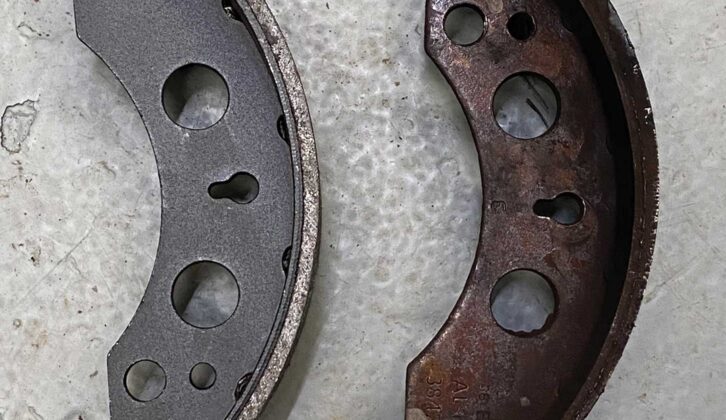
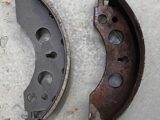
If you hear your brakes (not the hitch) squealing, it’s likely that your brake shoes have experienced excessive wear and there may be metal-on-metal friction inside the drum.
This is dangerous, because performance will be impaired and the friction will damage the inside of the drum. If this happens, get your brakes serviced immediately, because extended use in this state will damage your brake drums and necessitate the purchase of new ones at £100 to £200 each. Annual caravan servicing should avoid this situation.
Thanks to David and Chris at Out & About Motorhome & Caravan Services for their help with this feature
Future Publishing Limited, the publisher of Practical Caravan, provides the information in this article in good faith and makes no representation as to its completeness or accuracy. Individuals carrying out the instructions do so at their own risk and must exercise their independent judgement in determining the appropriateness of the advice to their circumstances and skill level. Individuals should take appropriate safety precautions and be aware of the risk of electrocution when dealing with electrical products. To the fullest extent permitted by law, neither Future nor its employees or agents shall have any liability in connection with the use of this information. You should check that any van warranty will not be affected before proceeding with DIY projects.
If you’ve enjoyed reading this article, why not get the latest news, reviews and features delivered direct to your door or inbox every month. Take advantage of our brilliant Practical Caravan magazine SUBSCRIBERS’ OFFER and SIGN UP TO OUR NEWSLETTER for regular weekly updates on all things caravan related.

