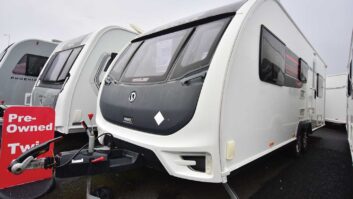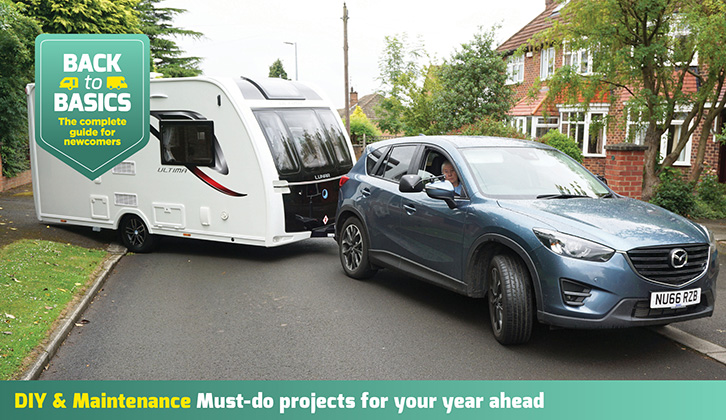
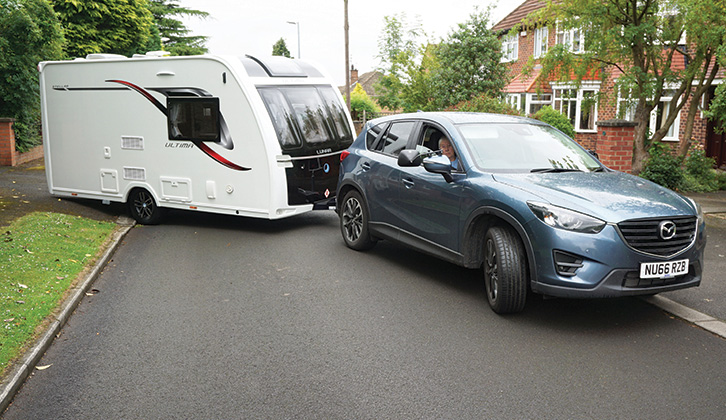
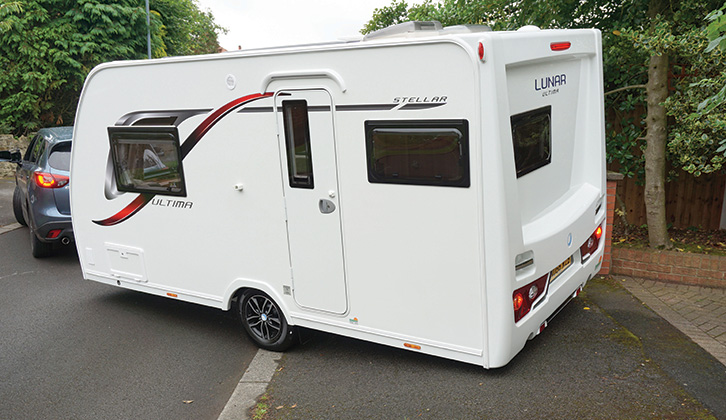
If, like me, you store your caravan beside a house that is built higher than the road outside and connected to it by a steep drive, there is a risk – particularly with longer, lower outfits – of dragging the van’s rear corner on the ground when arriving or leaving.
This vulnerable part of the caravan, such as the bottom of the rear plastic panel, might not easily be repaired.
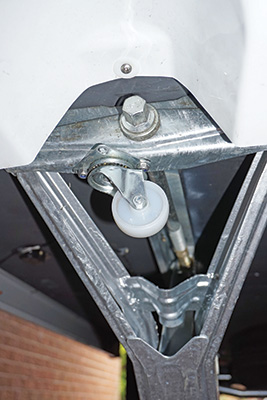
However, it is quite a simple matter to purchase a pair of small, rotating, wheeled nylon castors, which can be mounted onto the rearmost part of the back wind-up legs.
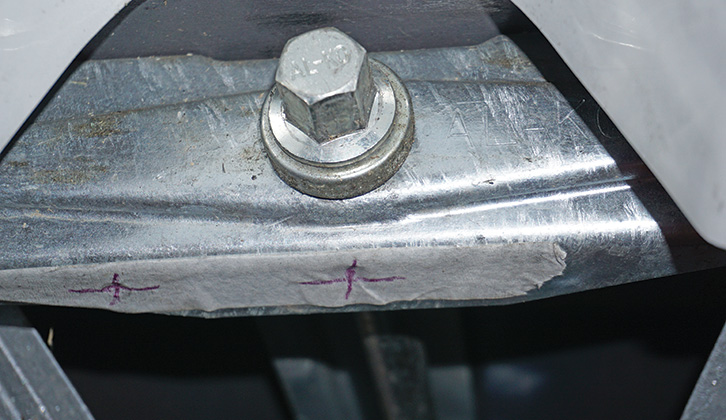
It does not matter which way the legs wind up and therefore whether the castors are fixed to the foot or to the top end of the leg. I have fitted castors to both with equal success. You might find that there is a hole that you can use to attach the castors, but you will probably need to drill a second one.
Two stainless steel bolts on each leg are all that’s required to keep the castors in place, and they will not get in the way when you pitch.
When you enter or leave your driveway, do so slowly and the castors will temporarily support the rear of the van and protect the back, bottom edge.
Step-by-step guide to adding a protective castor to your van chassis
1 As wheel drops into gutter, corner of van makes contact.
2 The longer your van, the bigger the scraping problem.
3 Using existing holes, apply masking tape and mark up any extra fixing holes.
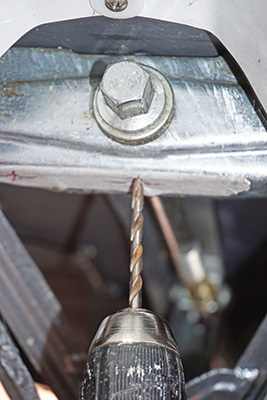
4 Drill holes on both sides and clean off swarf.
5 Attach the castors using two stainless steel bolts
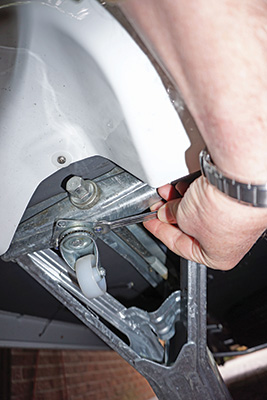
6 Castor protects rear panel
After more great DIY inspiration? Then head to our Back to Basics: DIY & Maintenance category, where you’ll find some brilliant projects and ideas to try out.
Future Publishing Limited, the publisher of practicalcaravan.com, provides the information in this article in good faith and makes no representation as to its completeness or accuracy. Individuals carrying out the instructions do so at their own risk and must exercise their independent judgement in determining the appropriateness of the advice to their circumstances. Individuals should take appropriate safety precautions and be aware of the risk of electrocution when dealing with electrical products. To the fullest extent permitted by law, neither Future nor its employees or agents shall have any liability in connection with the use of this information. You should check that any van warranty will not be affected before proceeding with DIY projects.
If you’ve enjoyed reading this article, why not get the latest news, reviews and features delivered direct to your door or inbox every month. Take advantage of our brilliant Practical Caravan magazine SUBSCRIBERS’ OFFER and SIGN UP TO OUR NEWSLETTER for regular weekly updates on all things caravan related