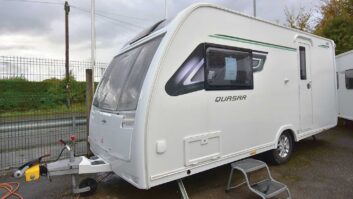


A few years ago, I installed a Dometic fridge fan in our caravan to assist with cooling in warmer weather.
The problem in most vans is a lack of air circulation at the back of the fridge, and a fan certainly helps with that.
In the UK, the single fan worked pretty well, but when we took a trip to the South of France, the fridge struggled to cope; especially the freezer.
The other problem I had with fitting the kit was that, owning to lack of space behind the fridge, I had to have it disconnected from the gas supply and pulled out into the caravan, something that I entrusted to my dealer. So, not entirely DIY.
Having recently changed caravans, I left the Dometic fan in the ‘old’ one, but because we’re hoping to head off to hotter climes soon, I decided to take a look at fridge fans again.
What you’ll need
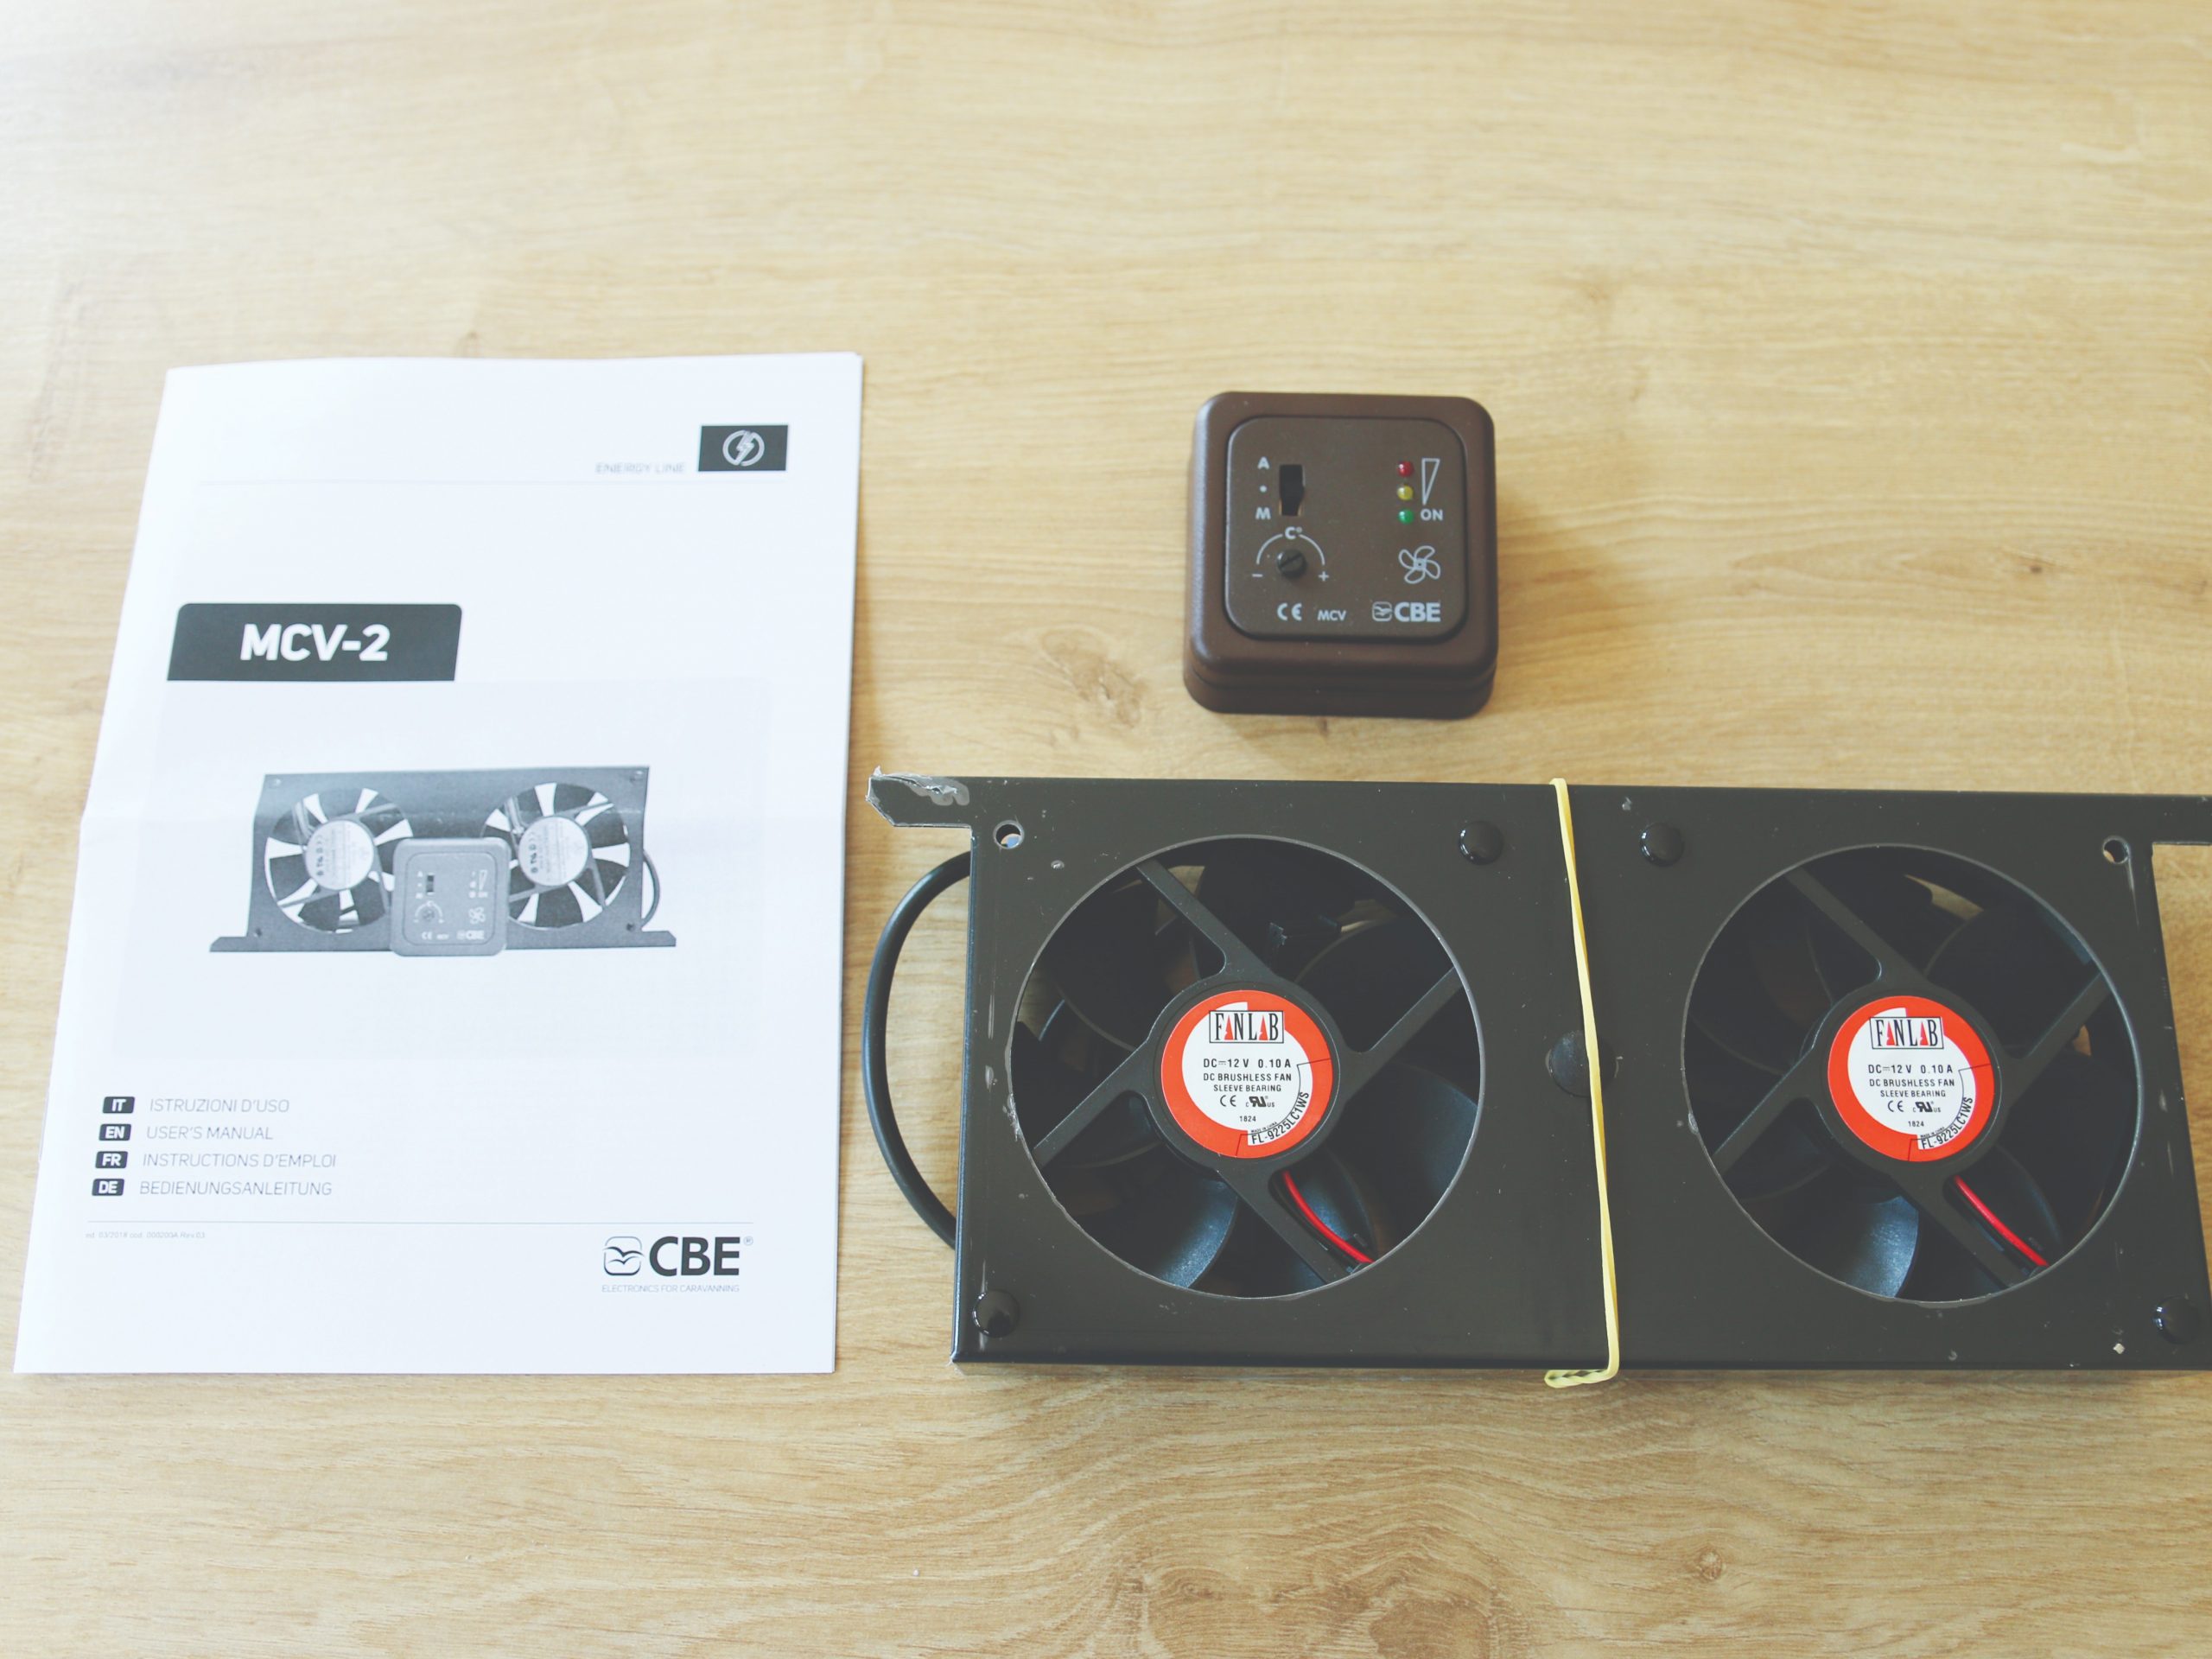
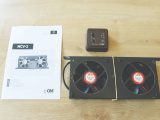
A bit of research led me to CBE Electronics, an Italian firm supplying electrical fittings to manufacturers of caravans and motorhomes here in the UK and on the Continent. A bit more digging and I found a number of excellent reviews for their MCV-2 refrigerator fans.
In theory, the fitting should be straightforward, too (practice was a little different, but certainly much easier than the previous kit), so I managed to prise open my wallet and order the kit.
They are available from CBE via a well-known auction site, or your dealer should be able to obtain one via Miriad Products, the UK importer.
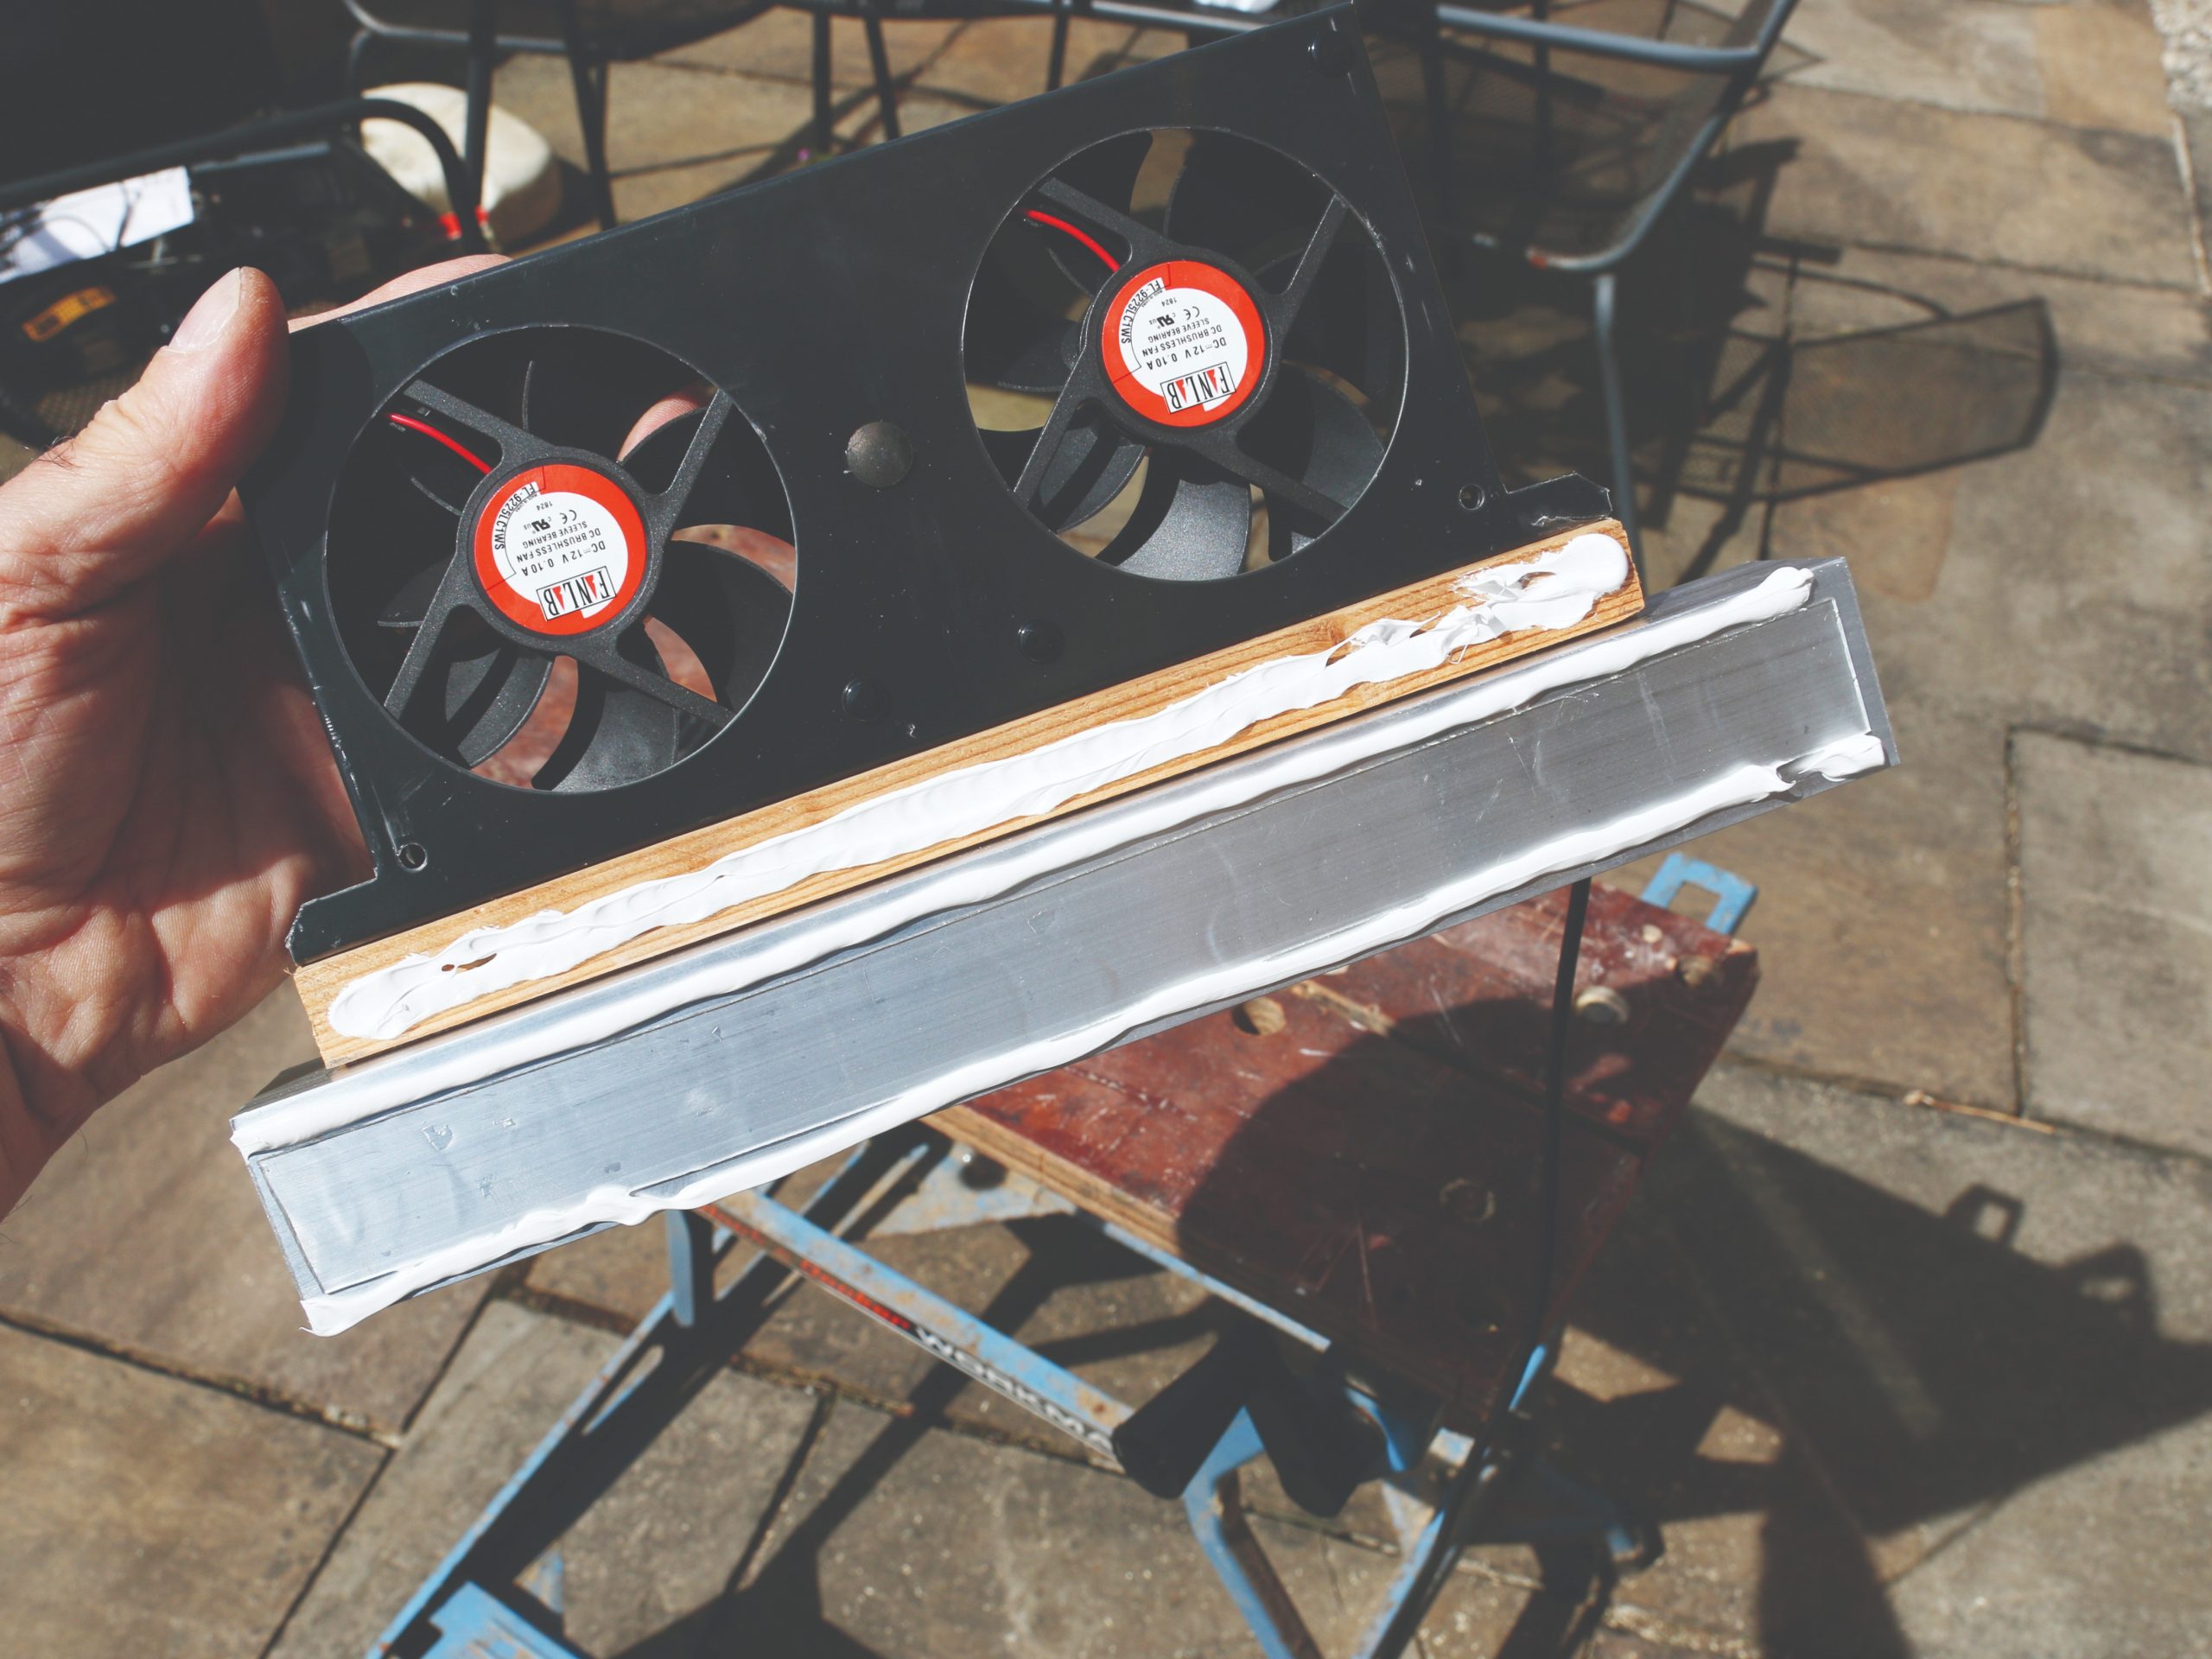
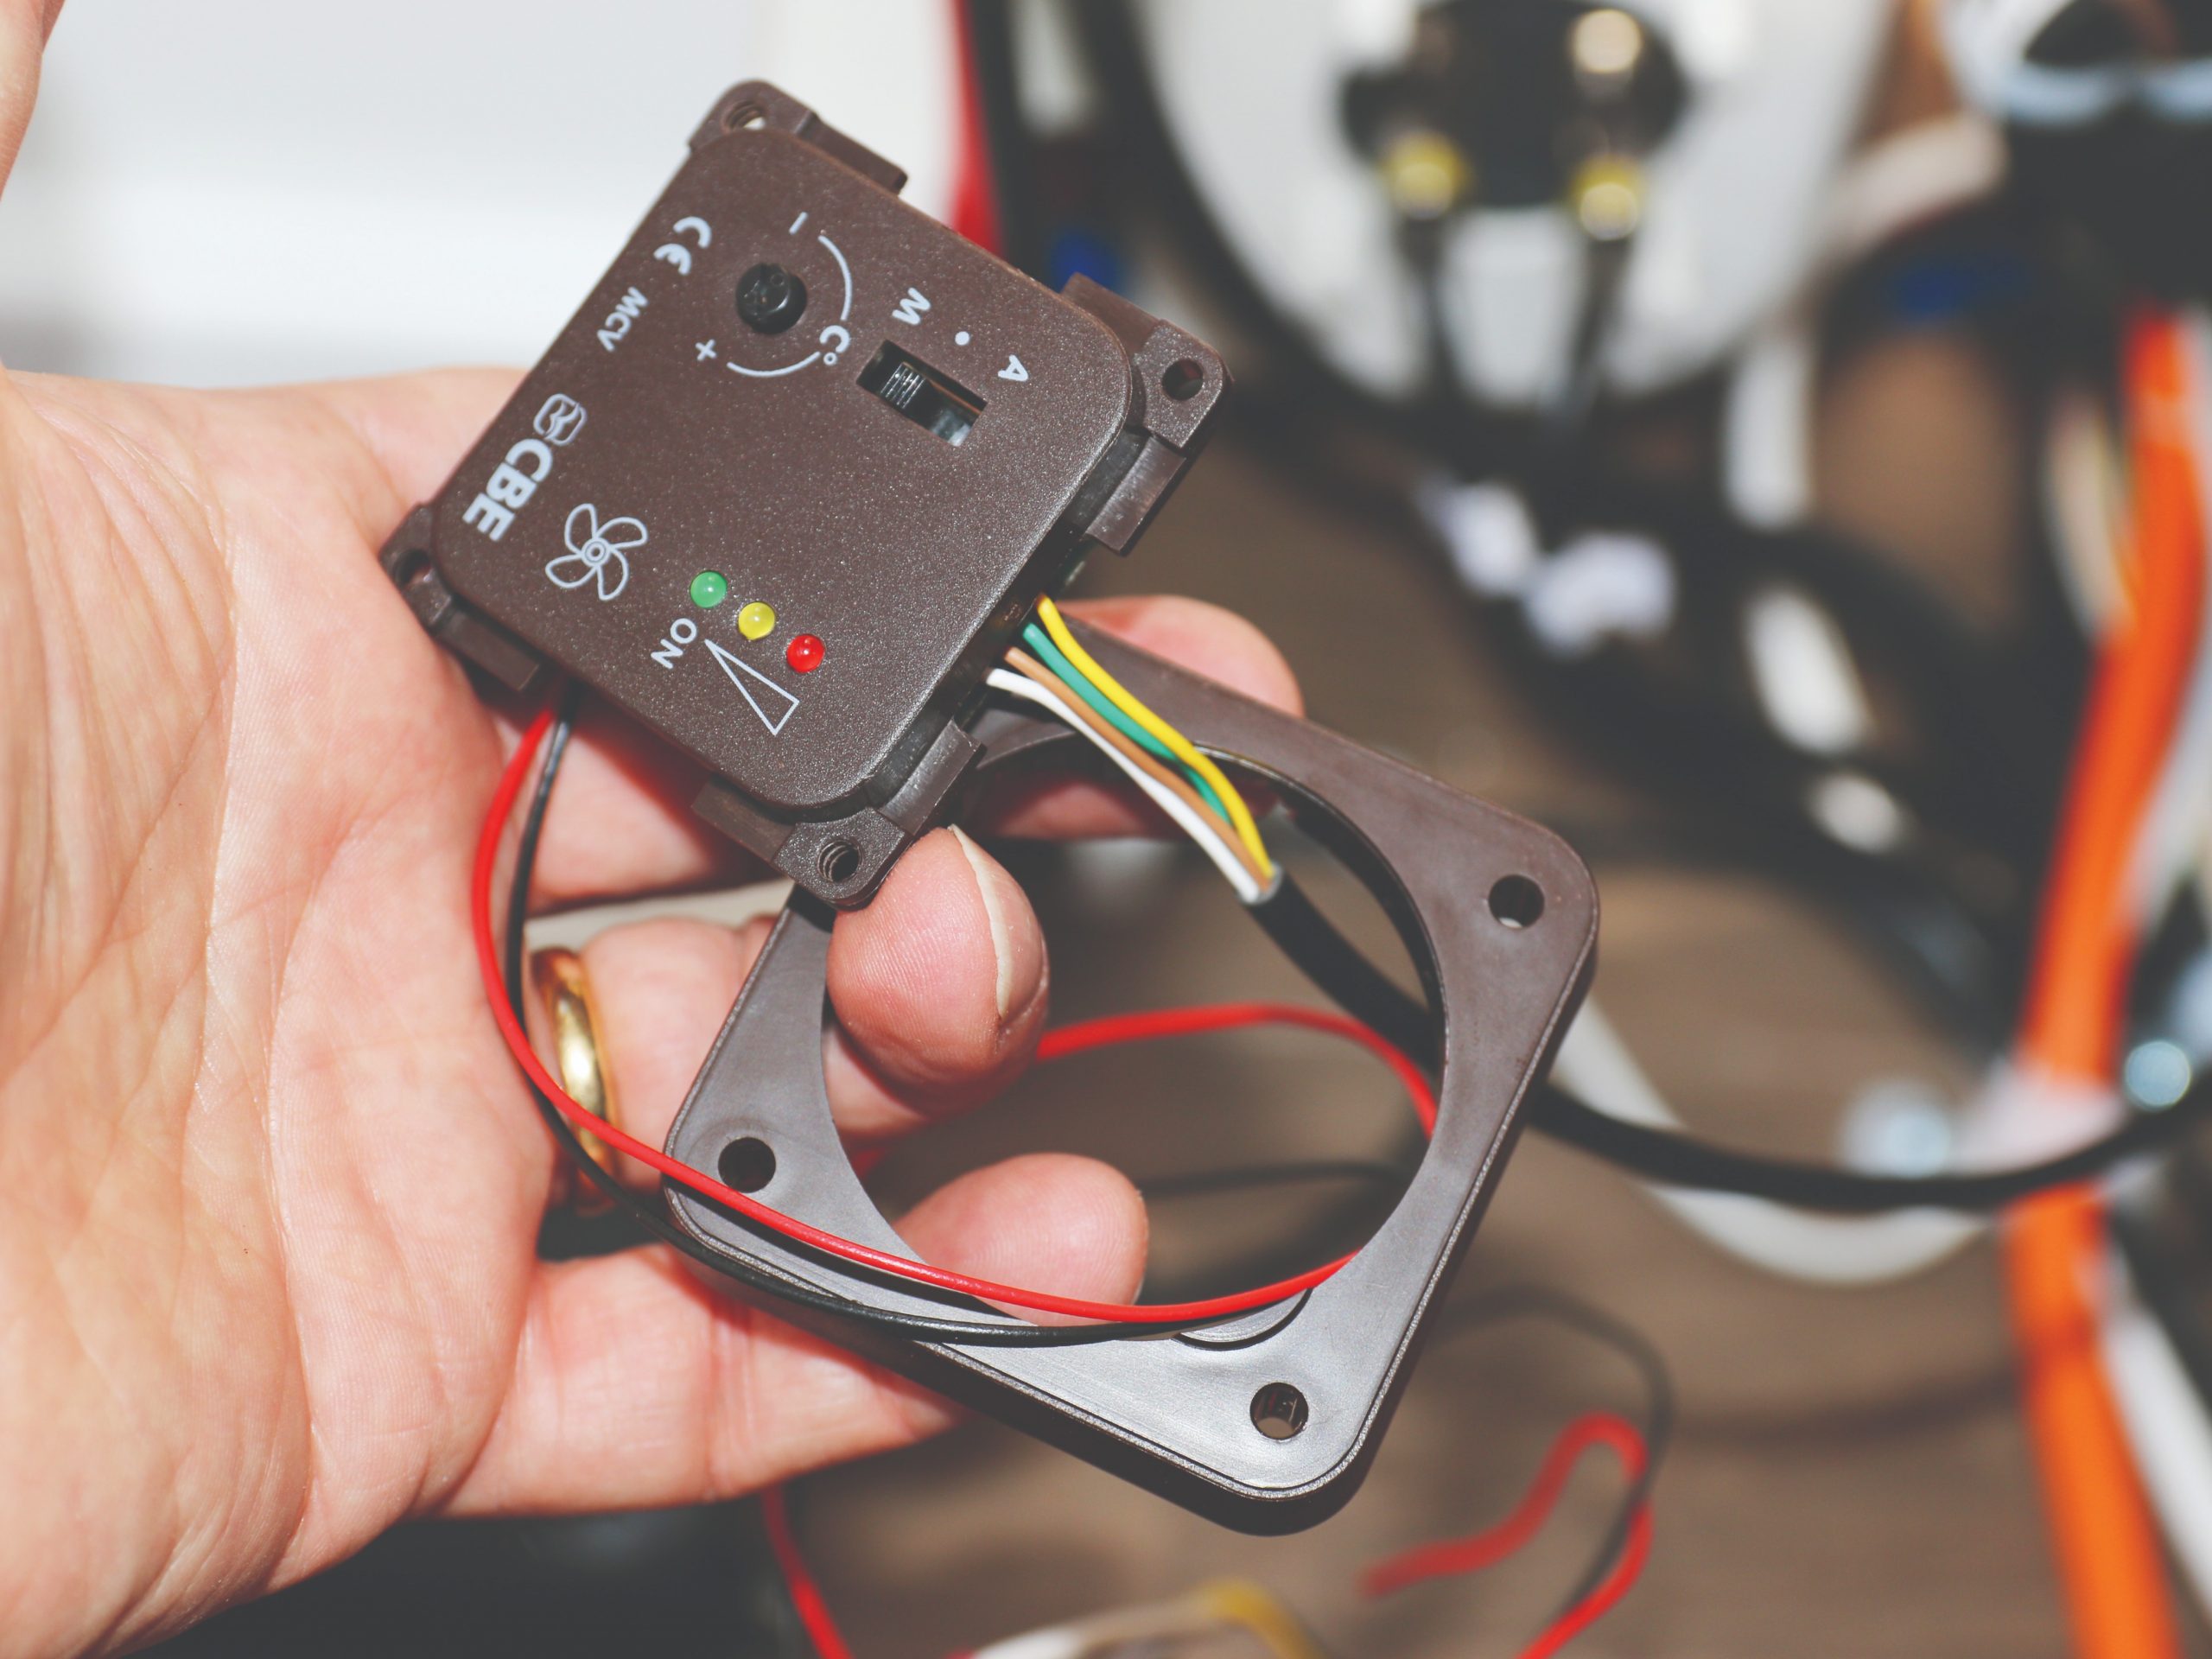
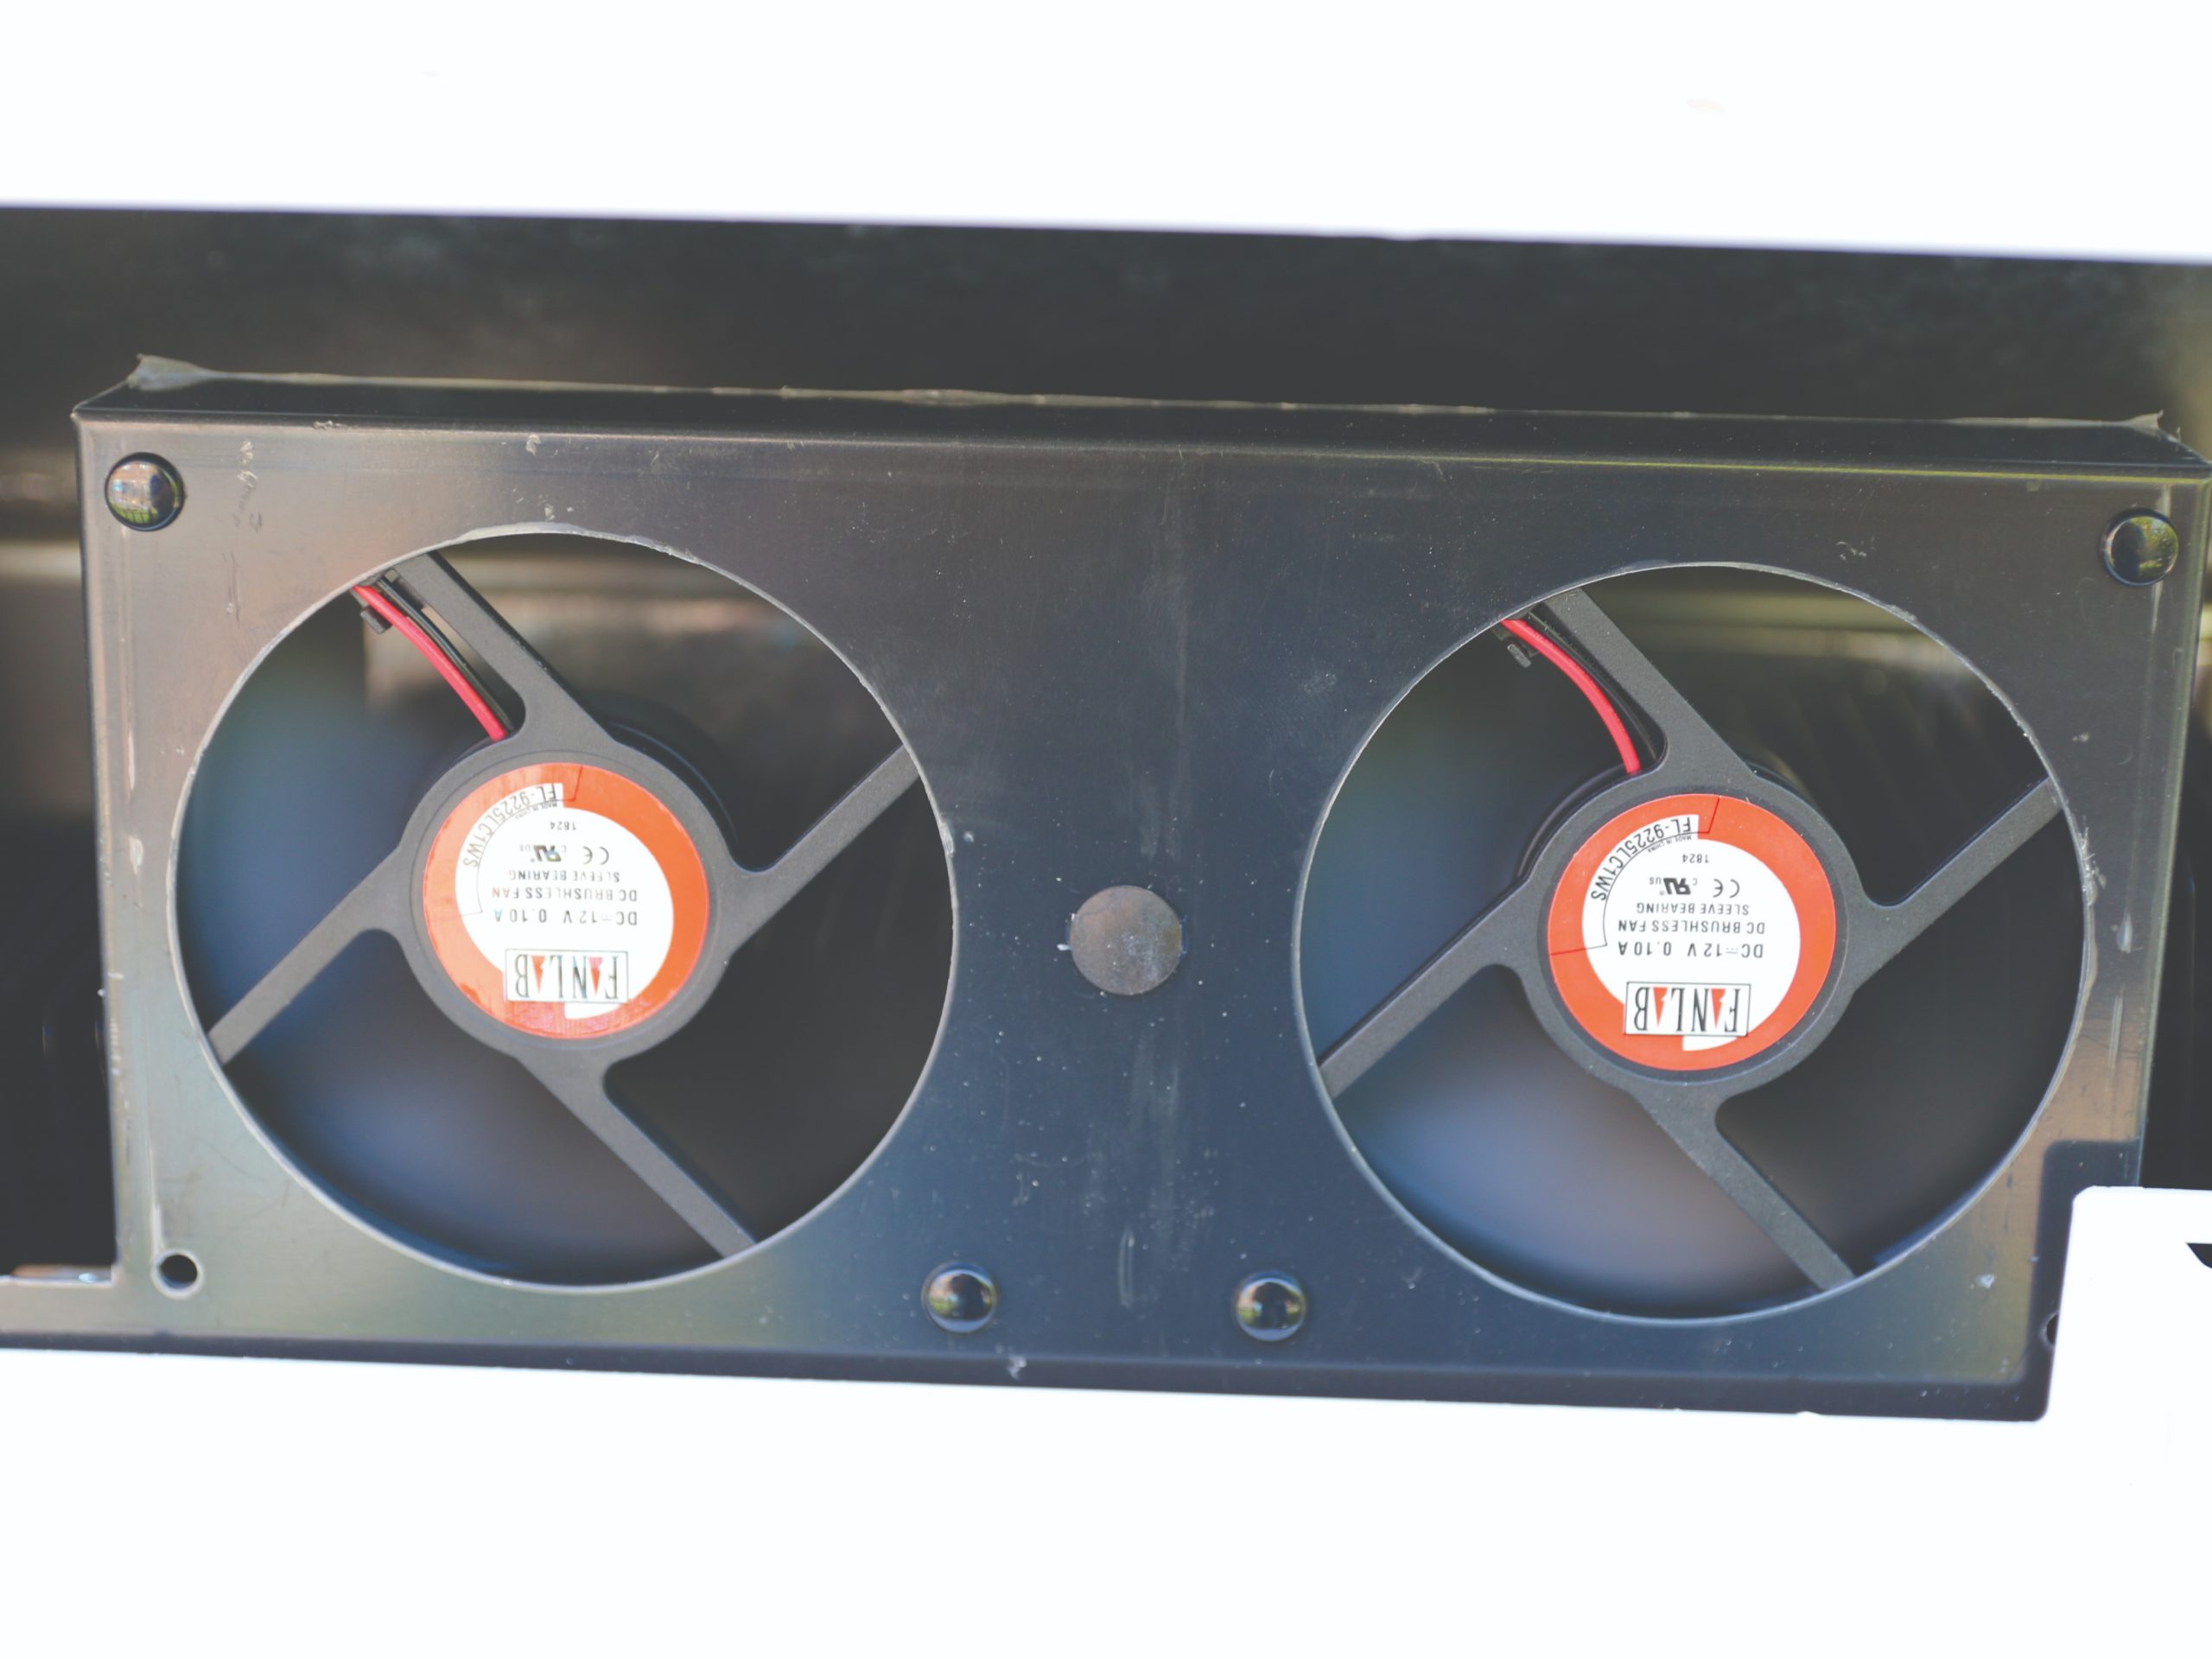
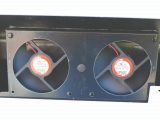
The kit comprises a twin fan unit with integral temperature sensor, wiring and a control unit. The control unit allows the fans to be switched on automatically (with varying speeds), switched on manually (fans operate at full speed), or switched off.
I also needed a few ‘extras’ to complete the job. These were:
- A length (about 300mm) of 40mm x 40mm angle aluminium
- A piece of 30mm x 15mm (or thereabouts) timber
- Sikaflex 512 adhesive/sealant
- Double-sided Gorilla Tape
- Selection of screws
- Cable ties
- Crimp wire connections
These tools will be needed:
- Drill and a small drill bit
- Screwdrivers
- Flexible gripper
- Small round file
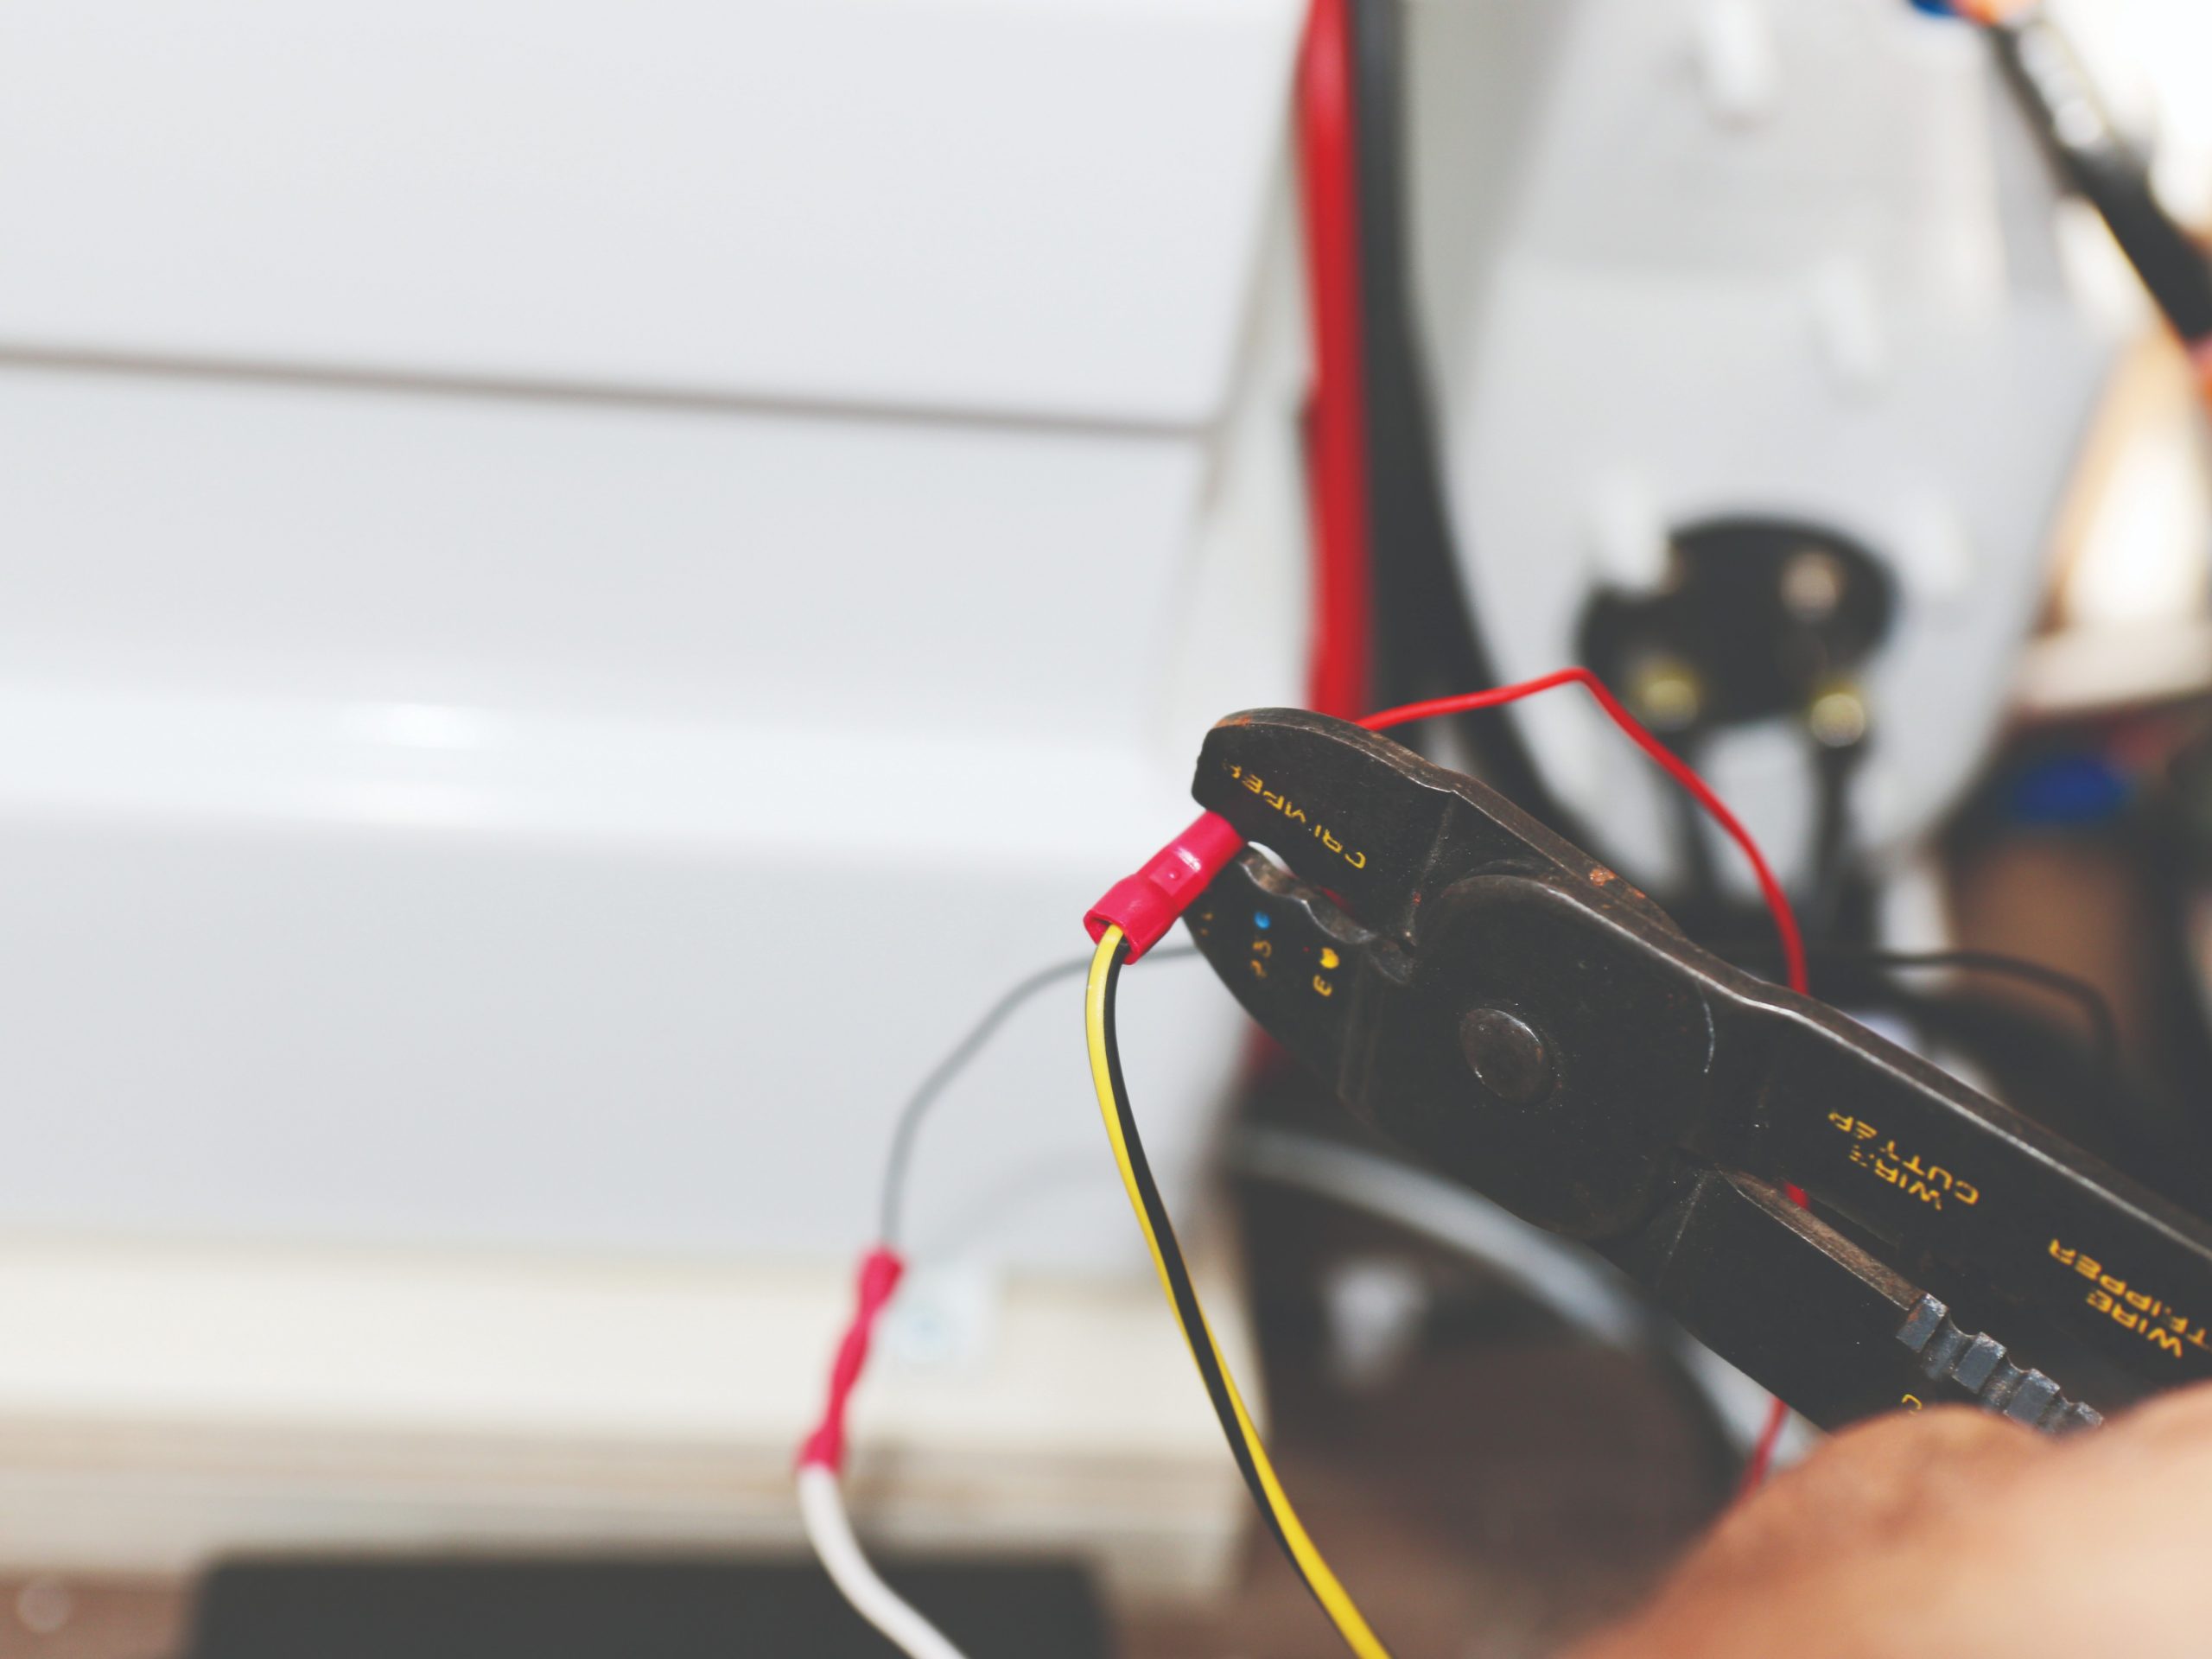
- Wire strippers and crimp tool
How to fit a CBE fridge fan
Before starting, ensure that the 230V mains and 12V battery supplies are disconnected.
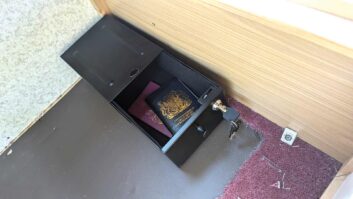
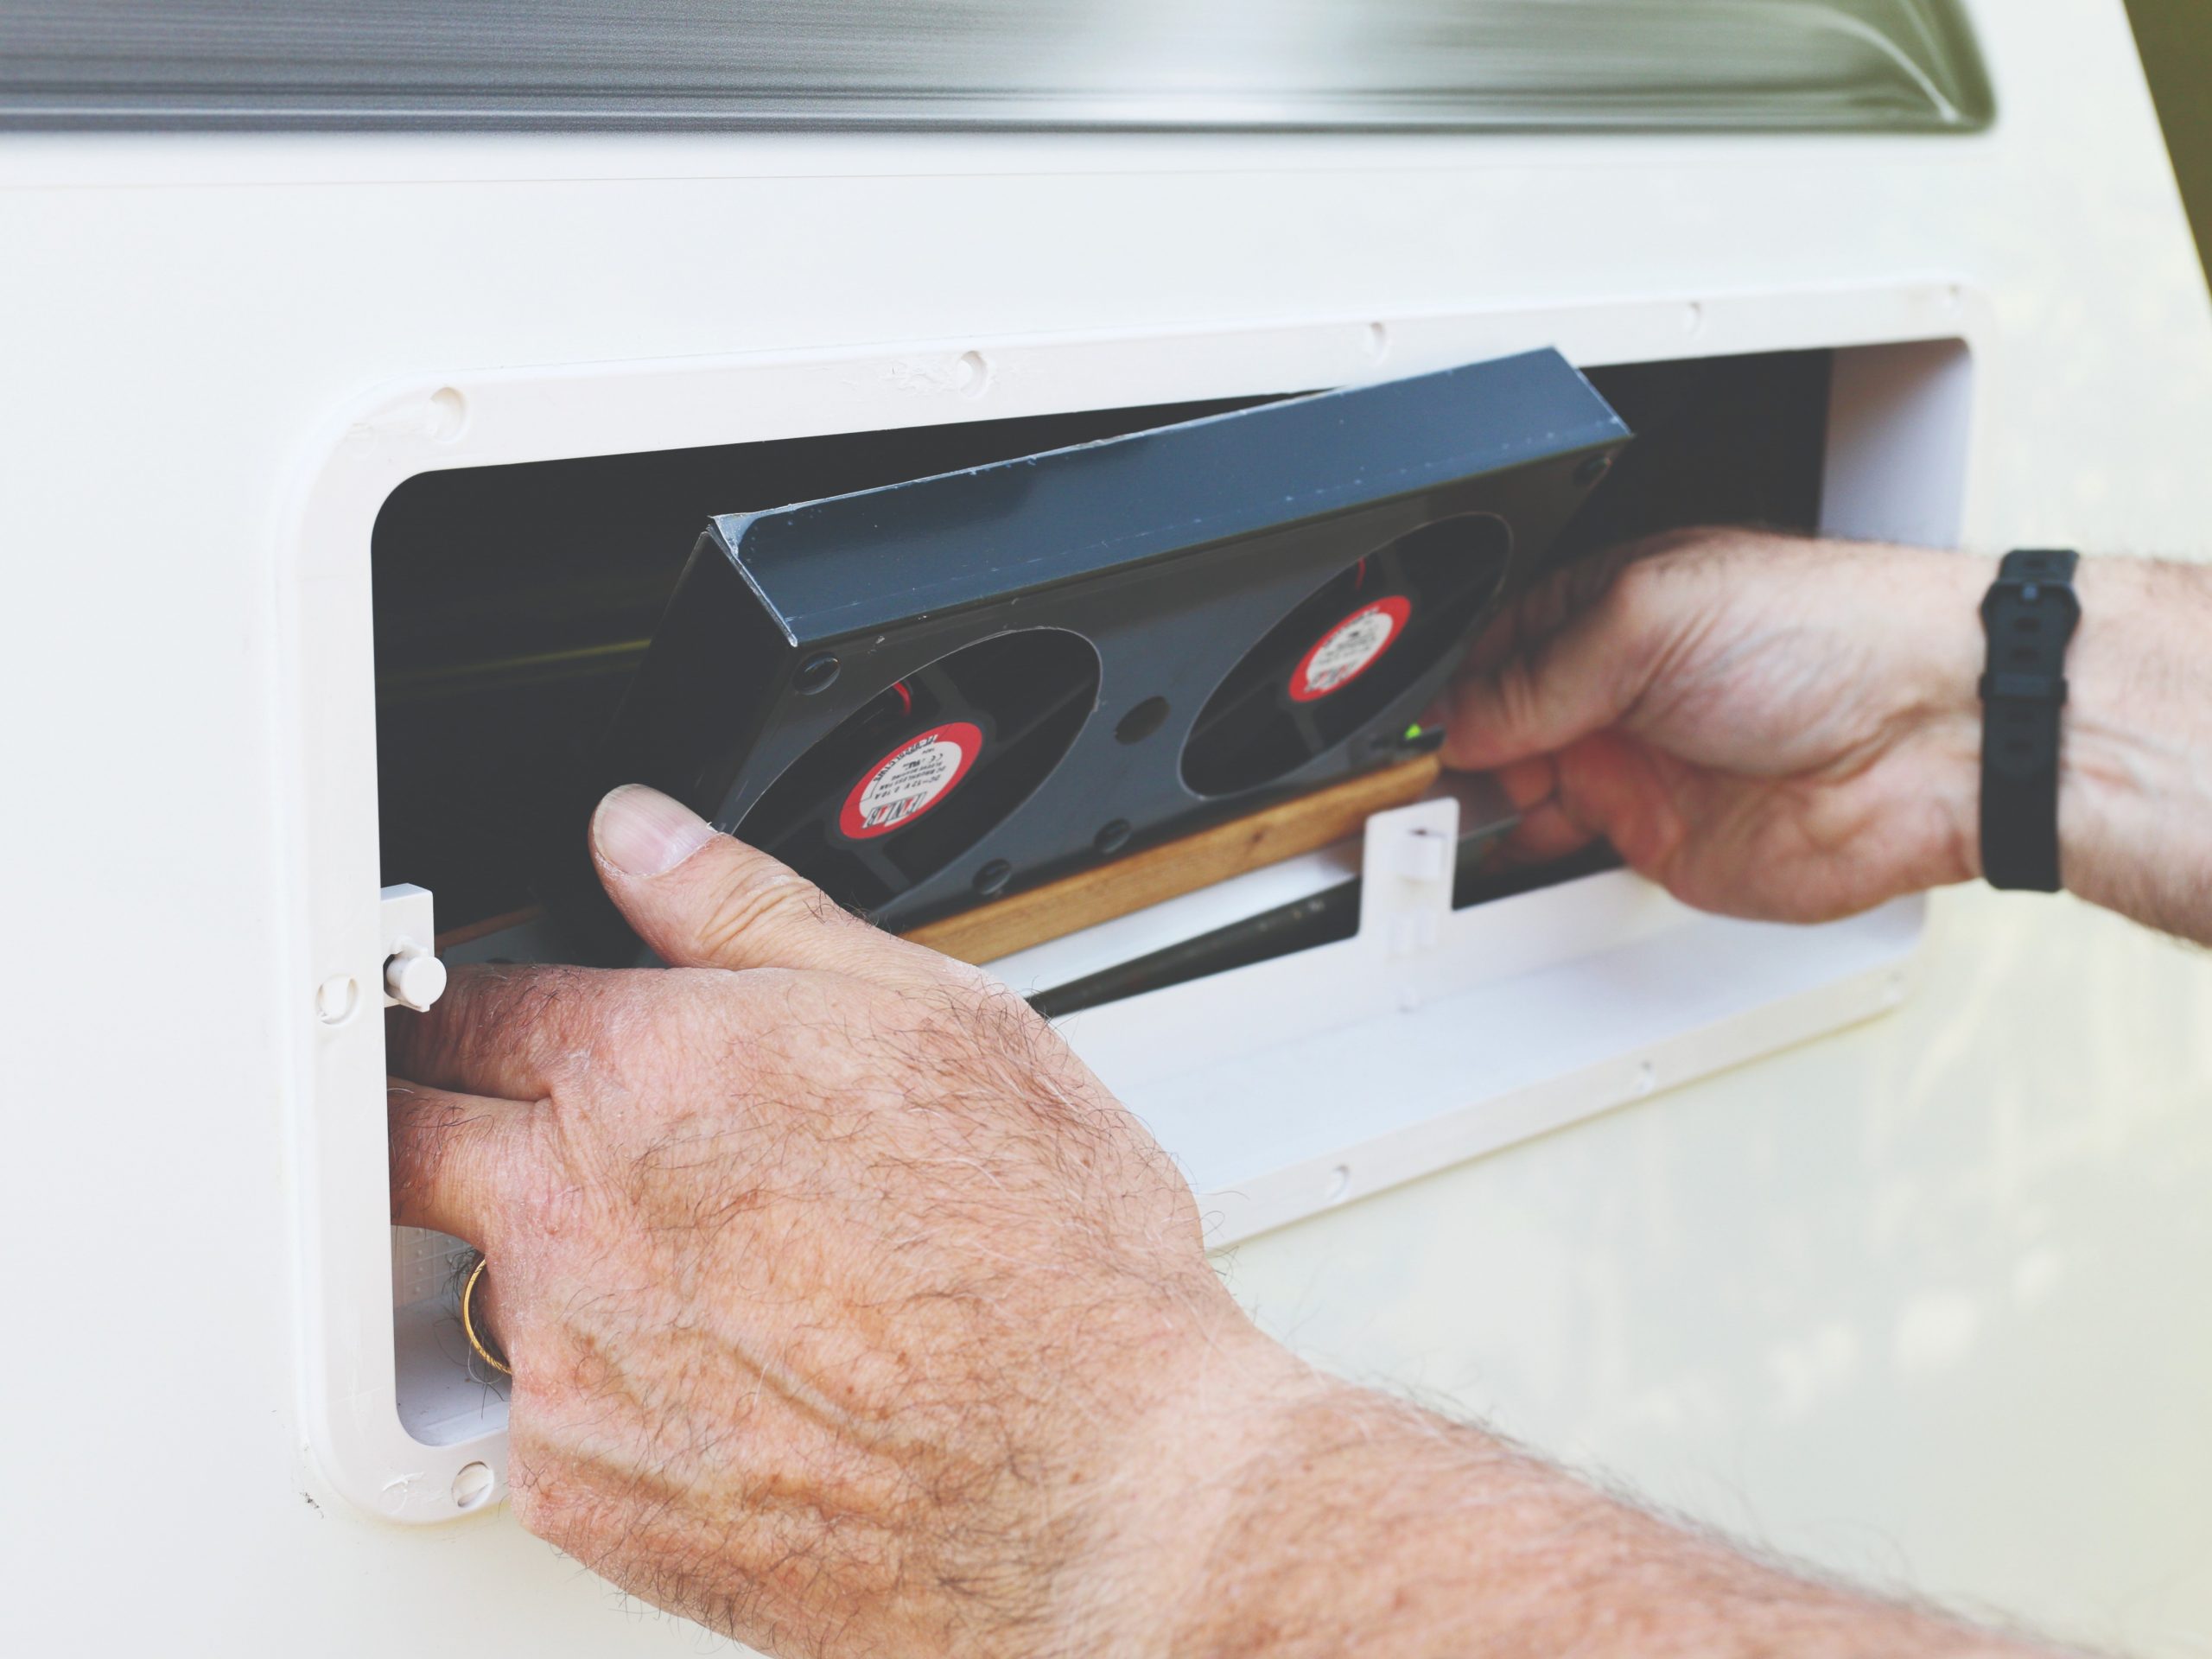
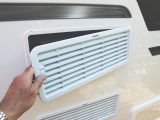
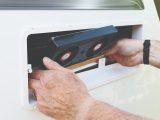
The fans need to be fitted inside the upper vent, so that they draw the air from inside and blow it out through the vent, so begin the task by removing both outer vents.
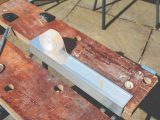
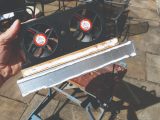
The kit instructions show the fans simply being screwed to the vent frame, but in our caravan, this wasn’t possible because there’s a plastic frame with a lip around the vent. This is where the aluminium angle and wood came in.
Reaching in through the vent recess, place the angle below the vent frame on the caravan wall, with the other part of the angle forming a shelf at the top.
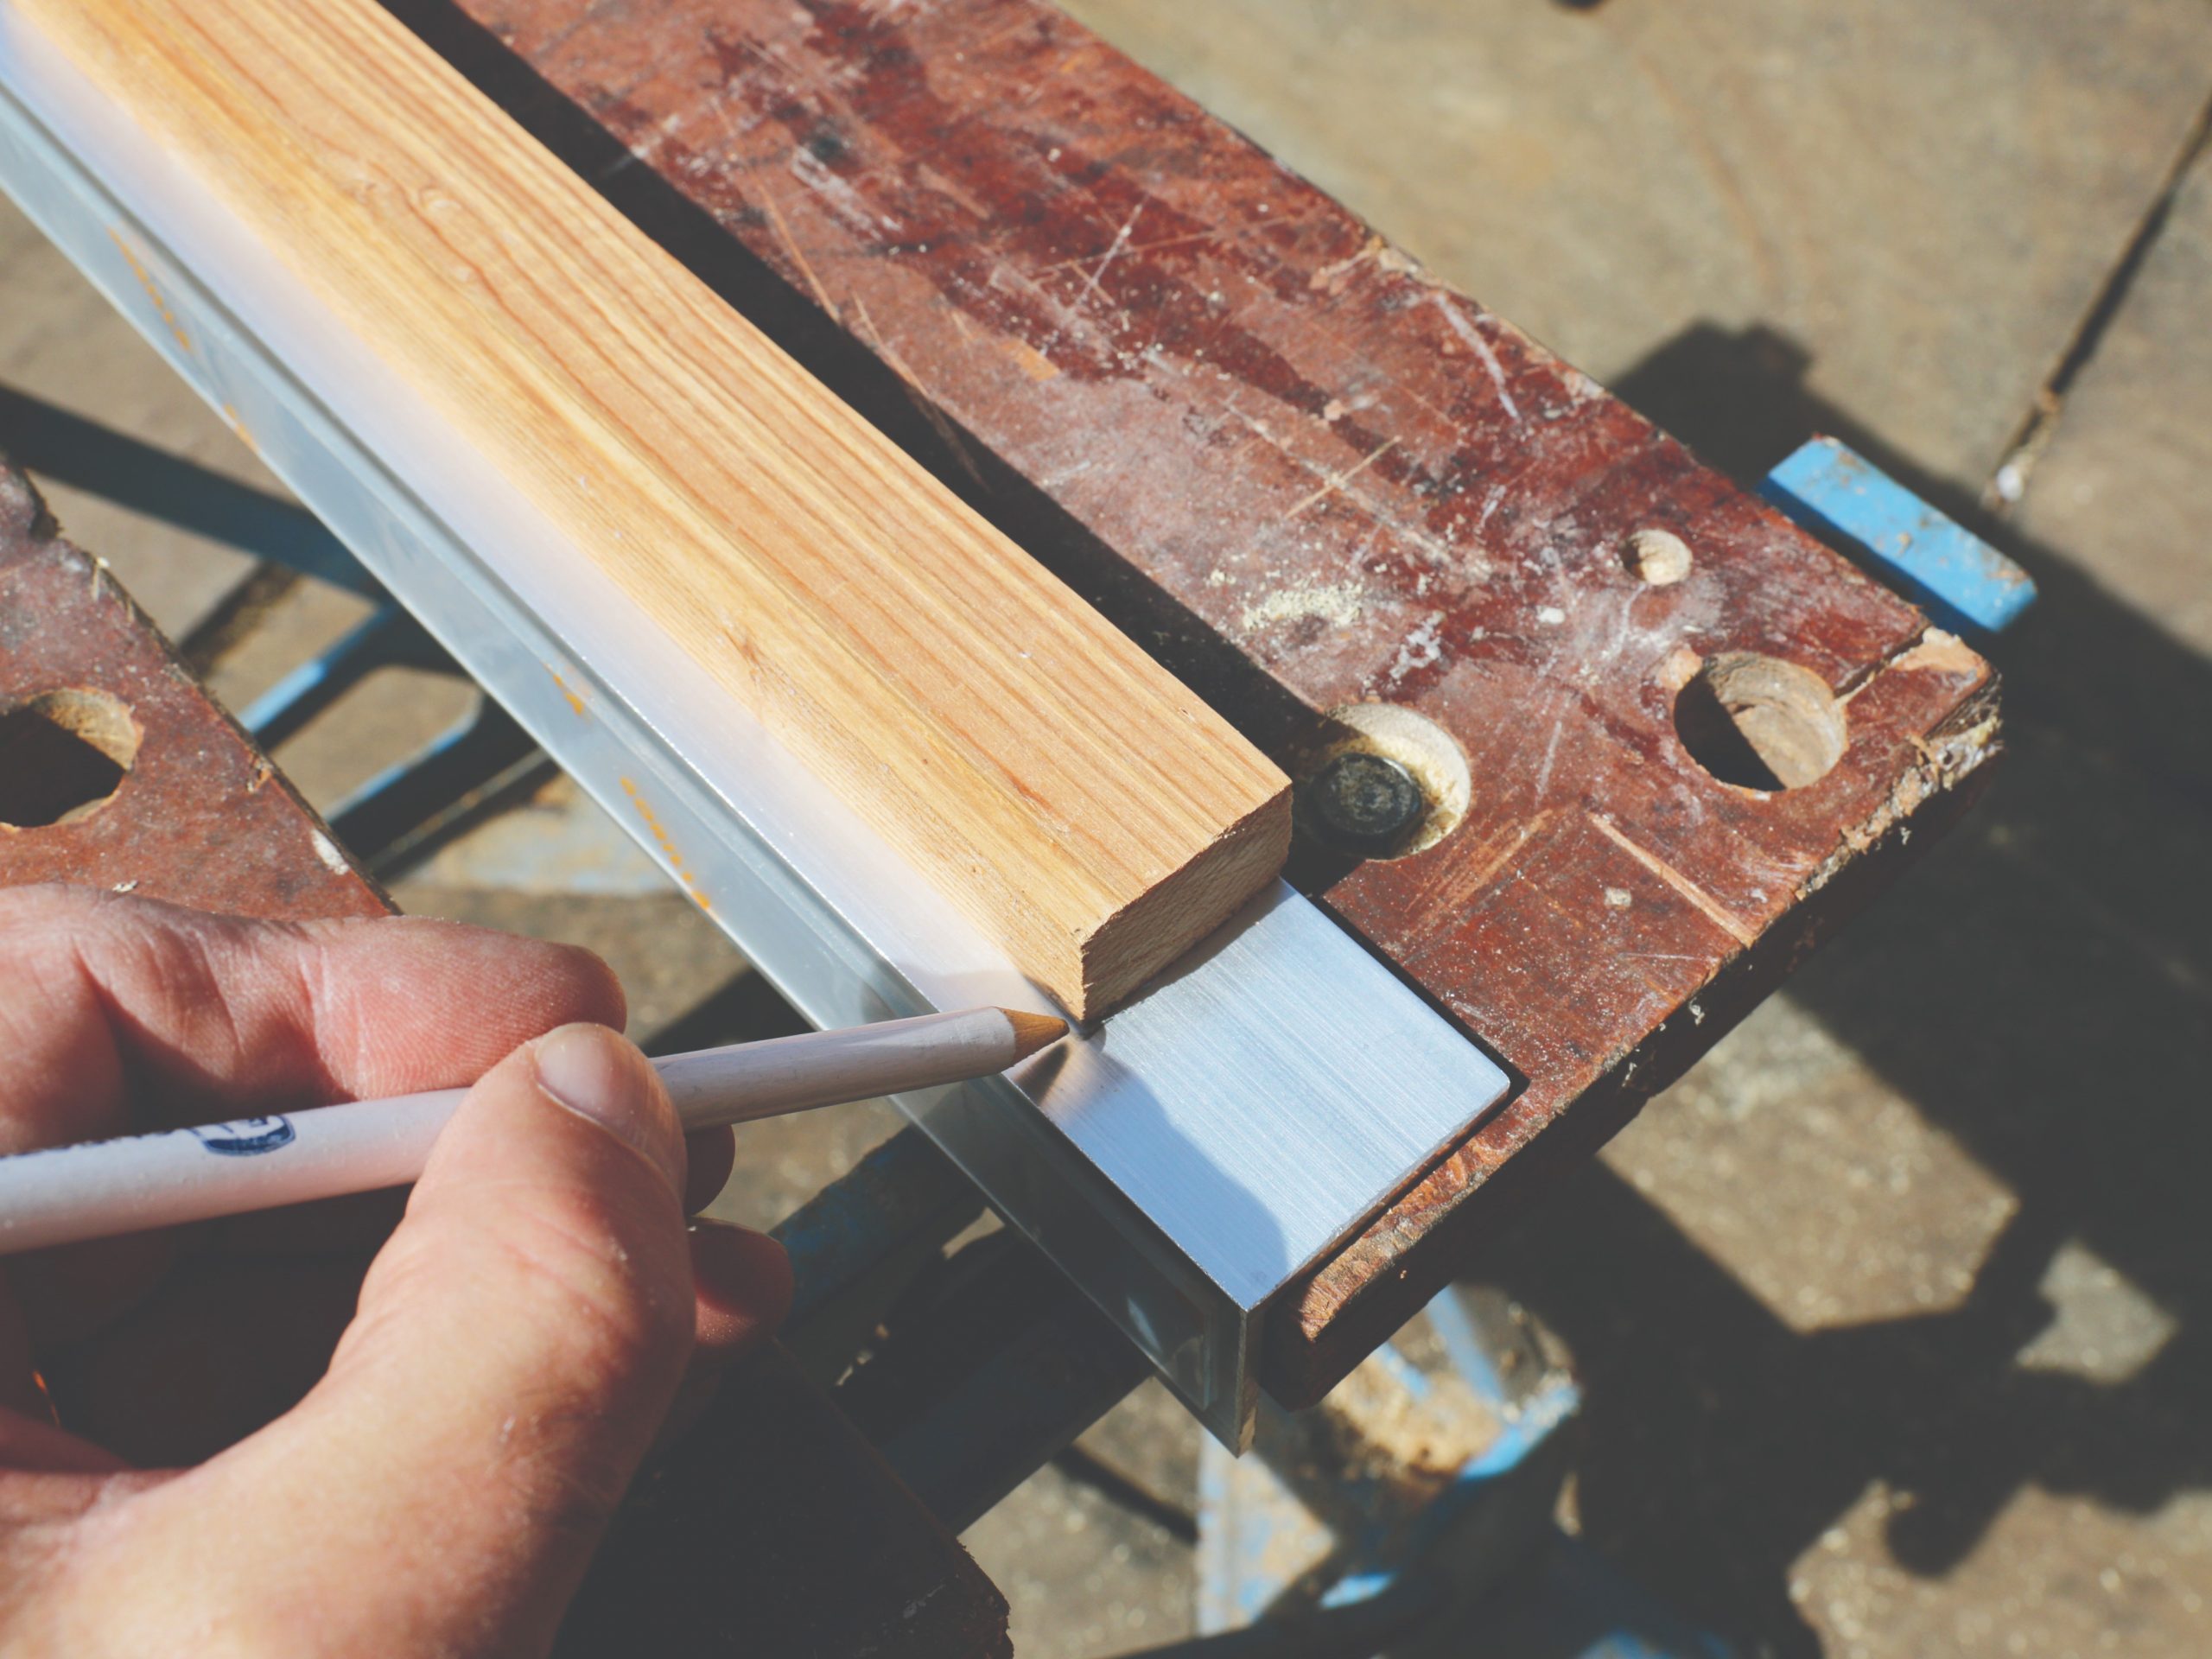
Place the timber on this shelf and against the wall/vent frame; keep it in place while removing it from the caravan, then mark its position on the aluminium.
Using a strip of double-sided Gorilla Tape, attach the piece of timber to the aluminium angle in the marked place. Then, using the fan unit as a template, mark the position of the holes on the top surface of the piece of timber, where the securing screws need to be, and drill some small pilot holes before attaching the unit with screws.
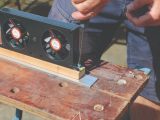
With the assembly complete, have a ‘dry run’ and slot it into place inside the vent aperture, to see that it fits and that there are no obstructions.
Once you are happy with how and where the assembly sits, put a strip of double-sided Gorilla Tape on the aluminium angle that will attach to the caravan wall, and then run generous beads of the Sikaflex adhesive either side of the tape and along the edge of the timber that will be against the wall/vent frame.
Now, carefully insert the whole assembly into its final spot. You will only have one attempt at this, so it must be right first time! Then press it home firmly.
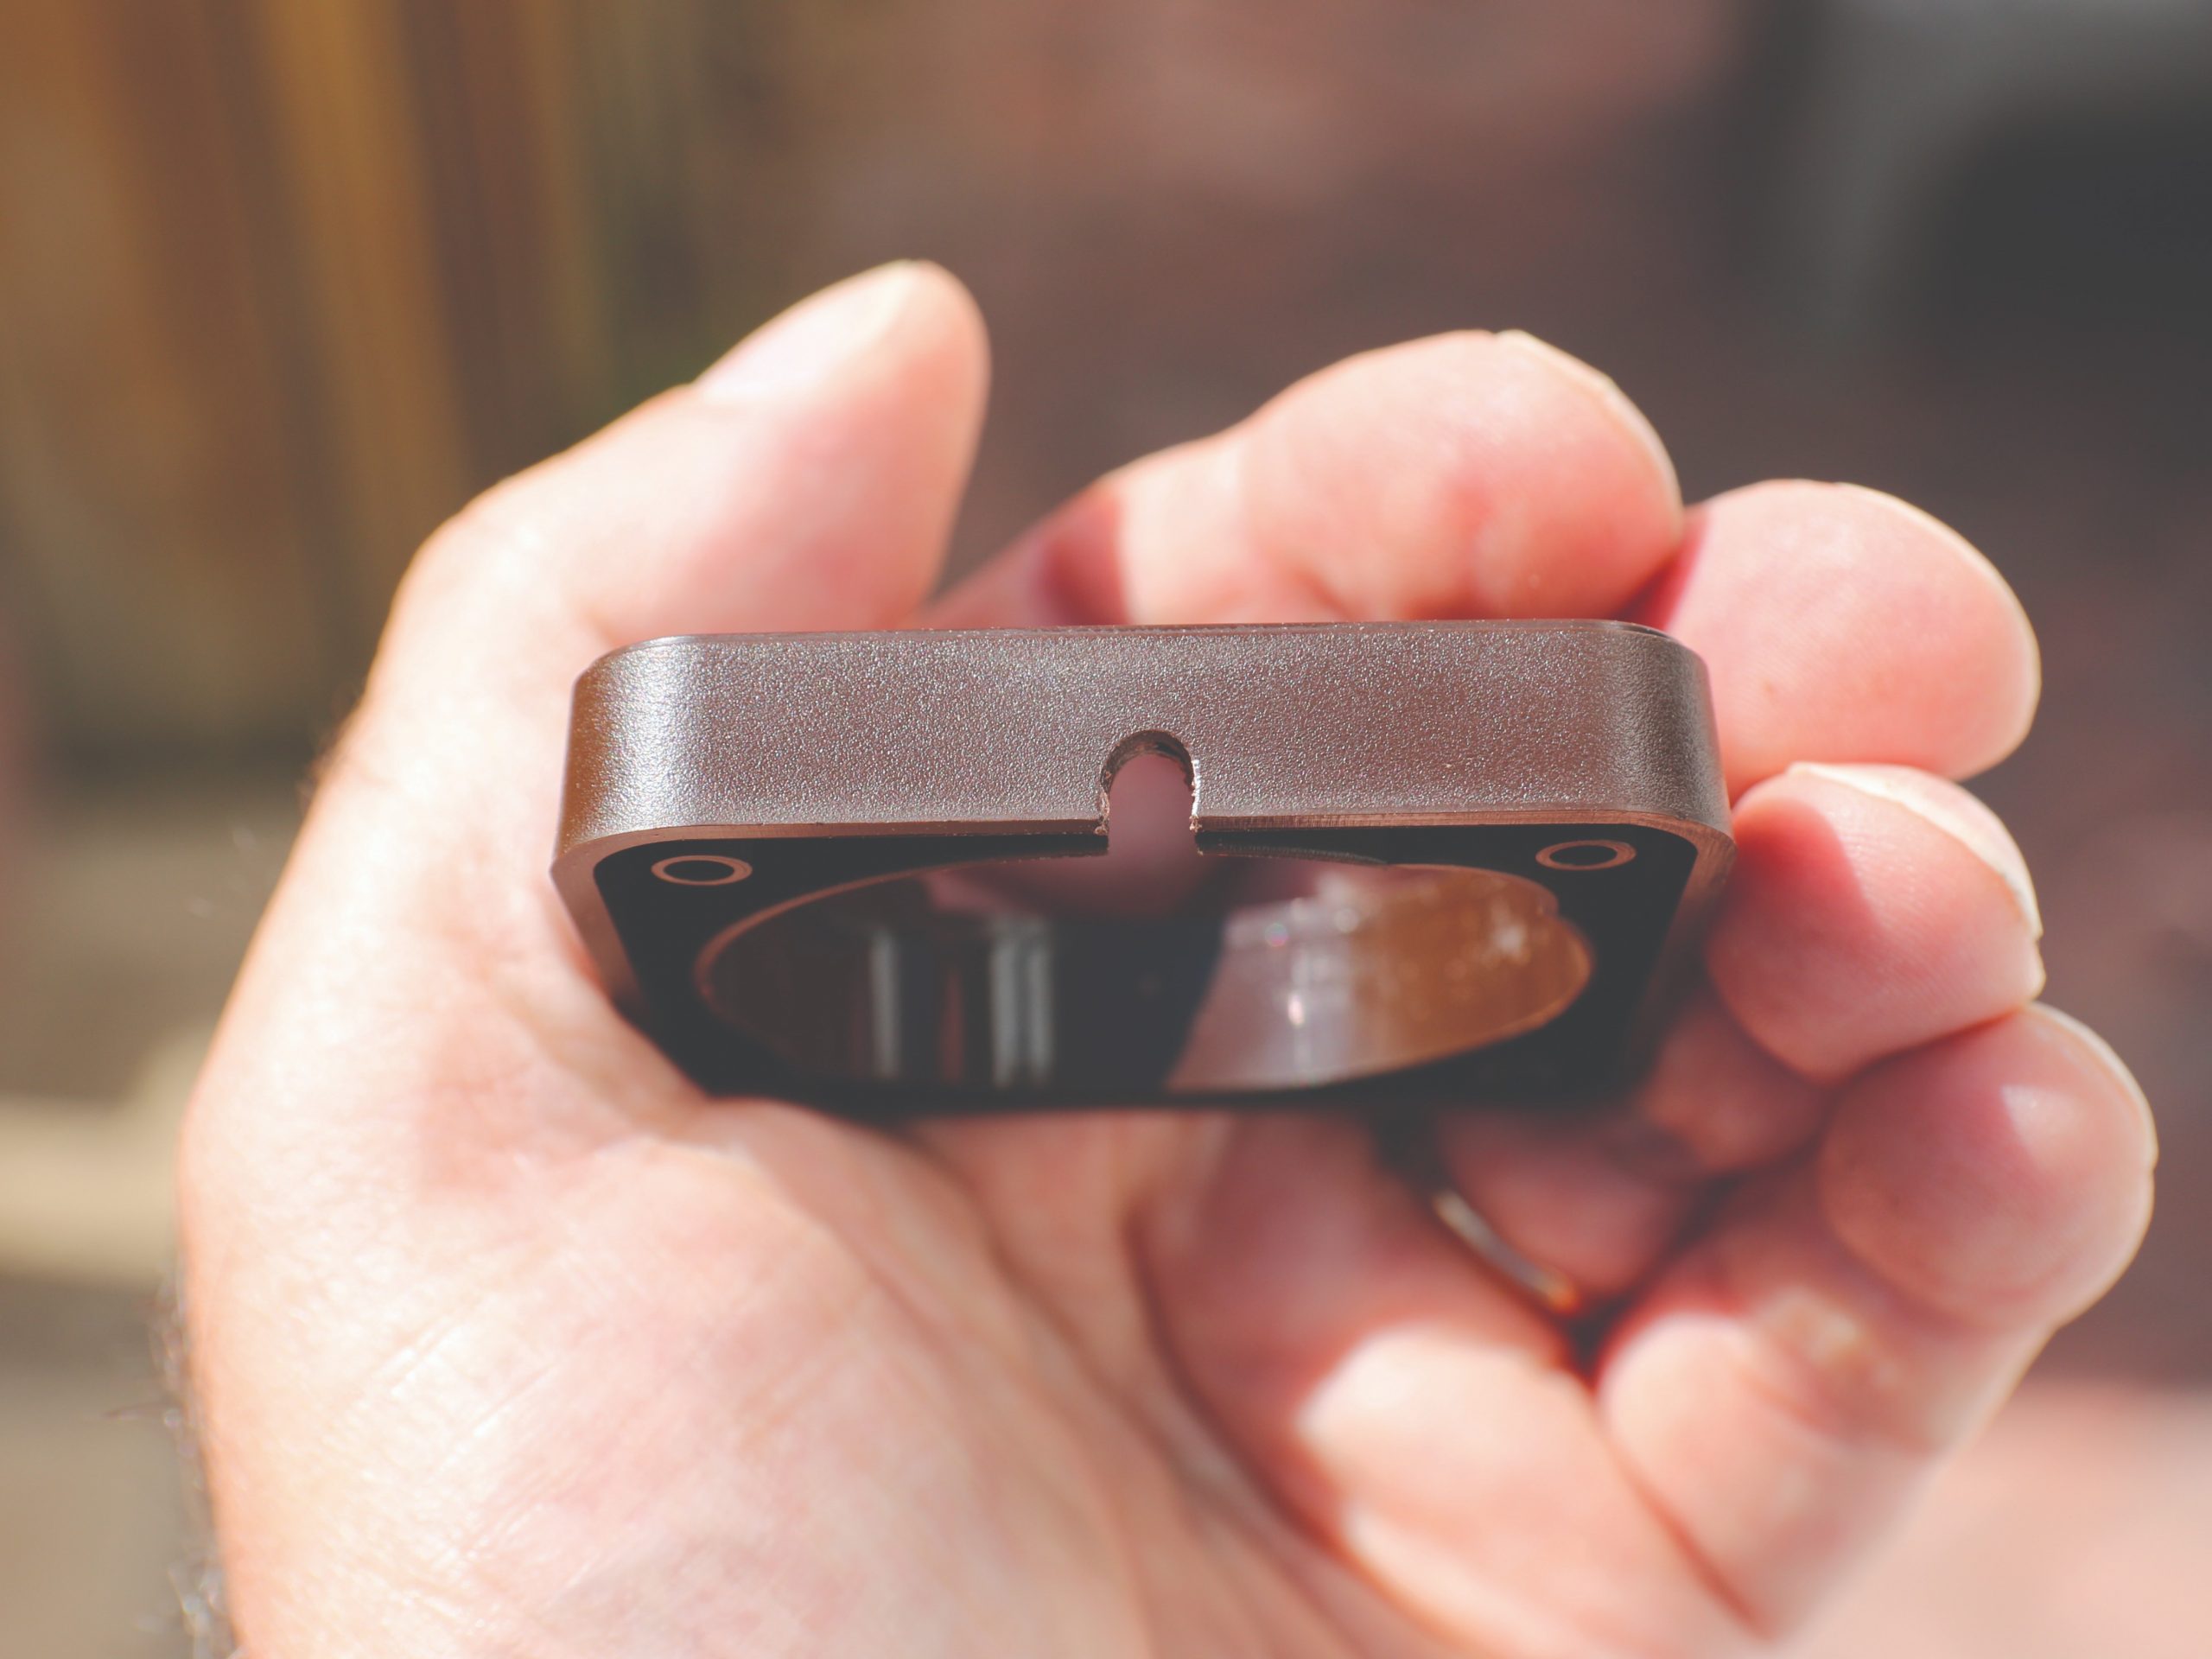
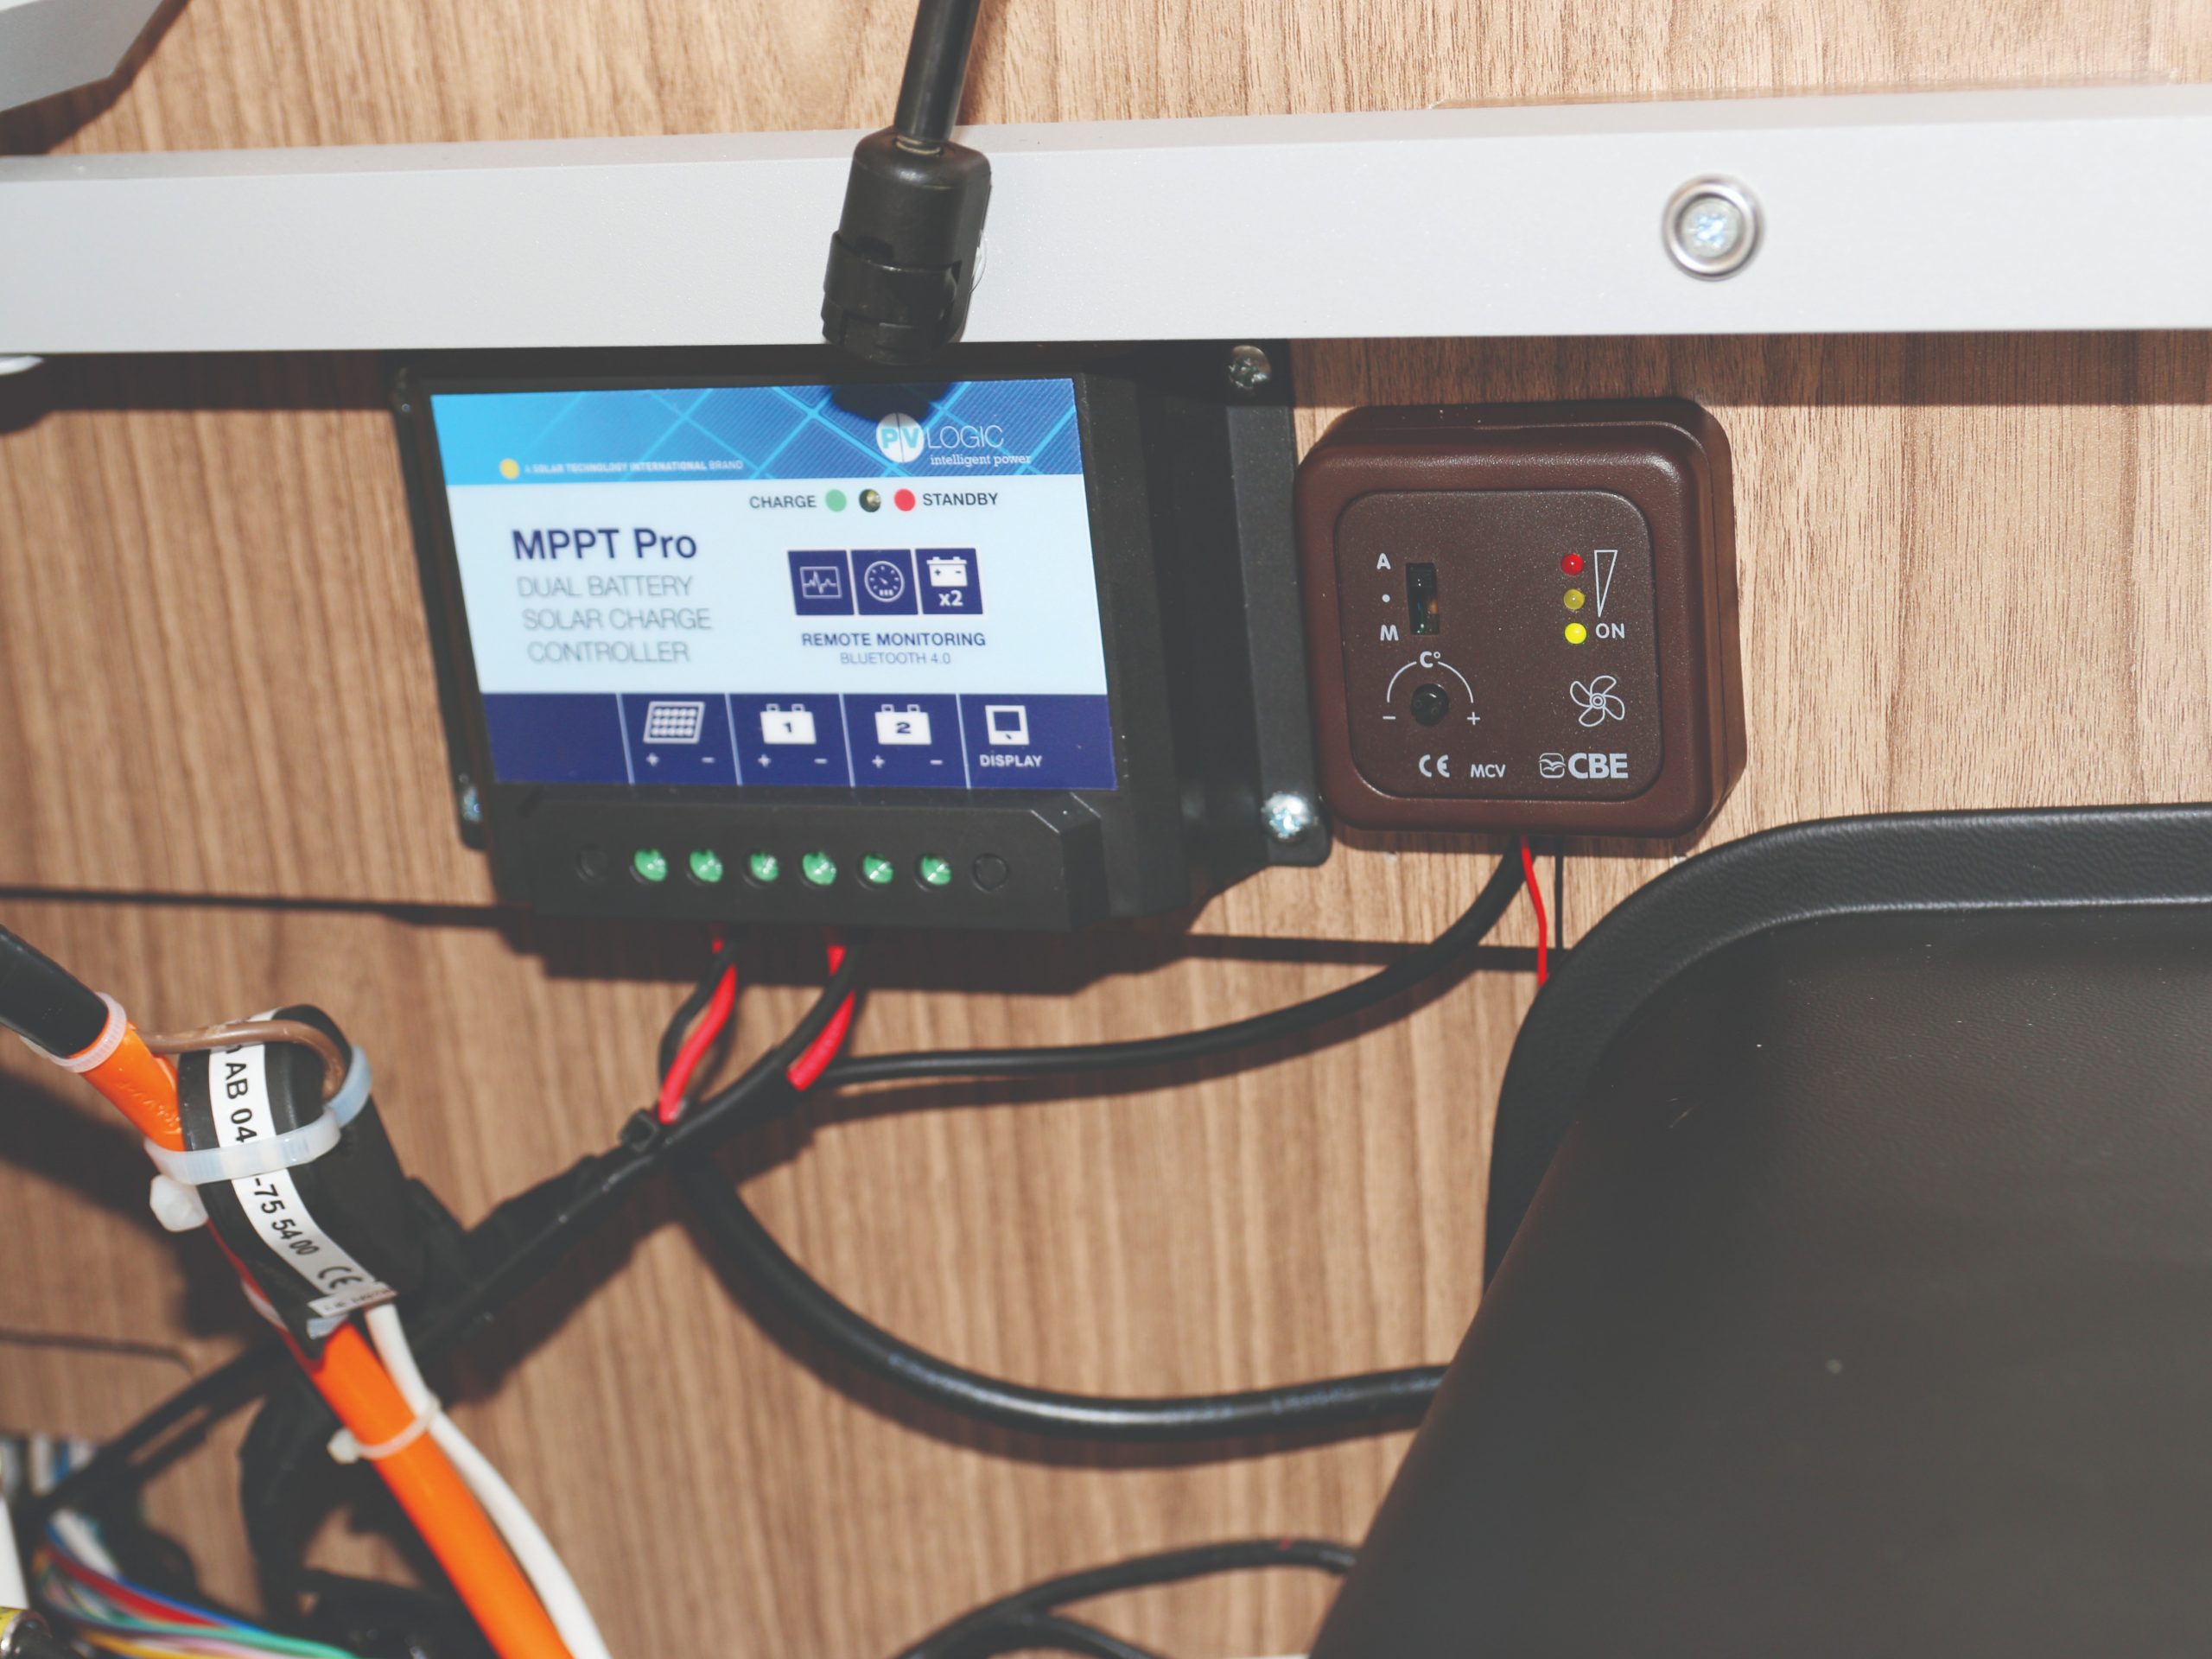
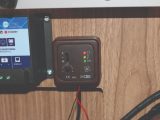
Next, you need to choose where to mount the control unit. I decided that the most appropriate place for ours was under the front offside bunk, adjacent to the fridge.
Keeping control
You can mount the control wherever is most convenient for you, but bear in mind that the cable from the fan unit will have to be within reach.
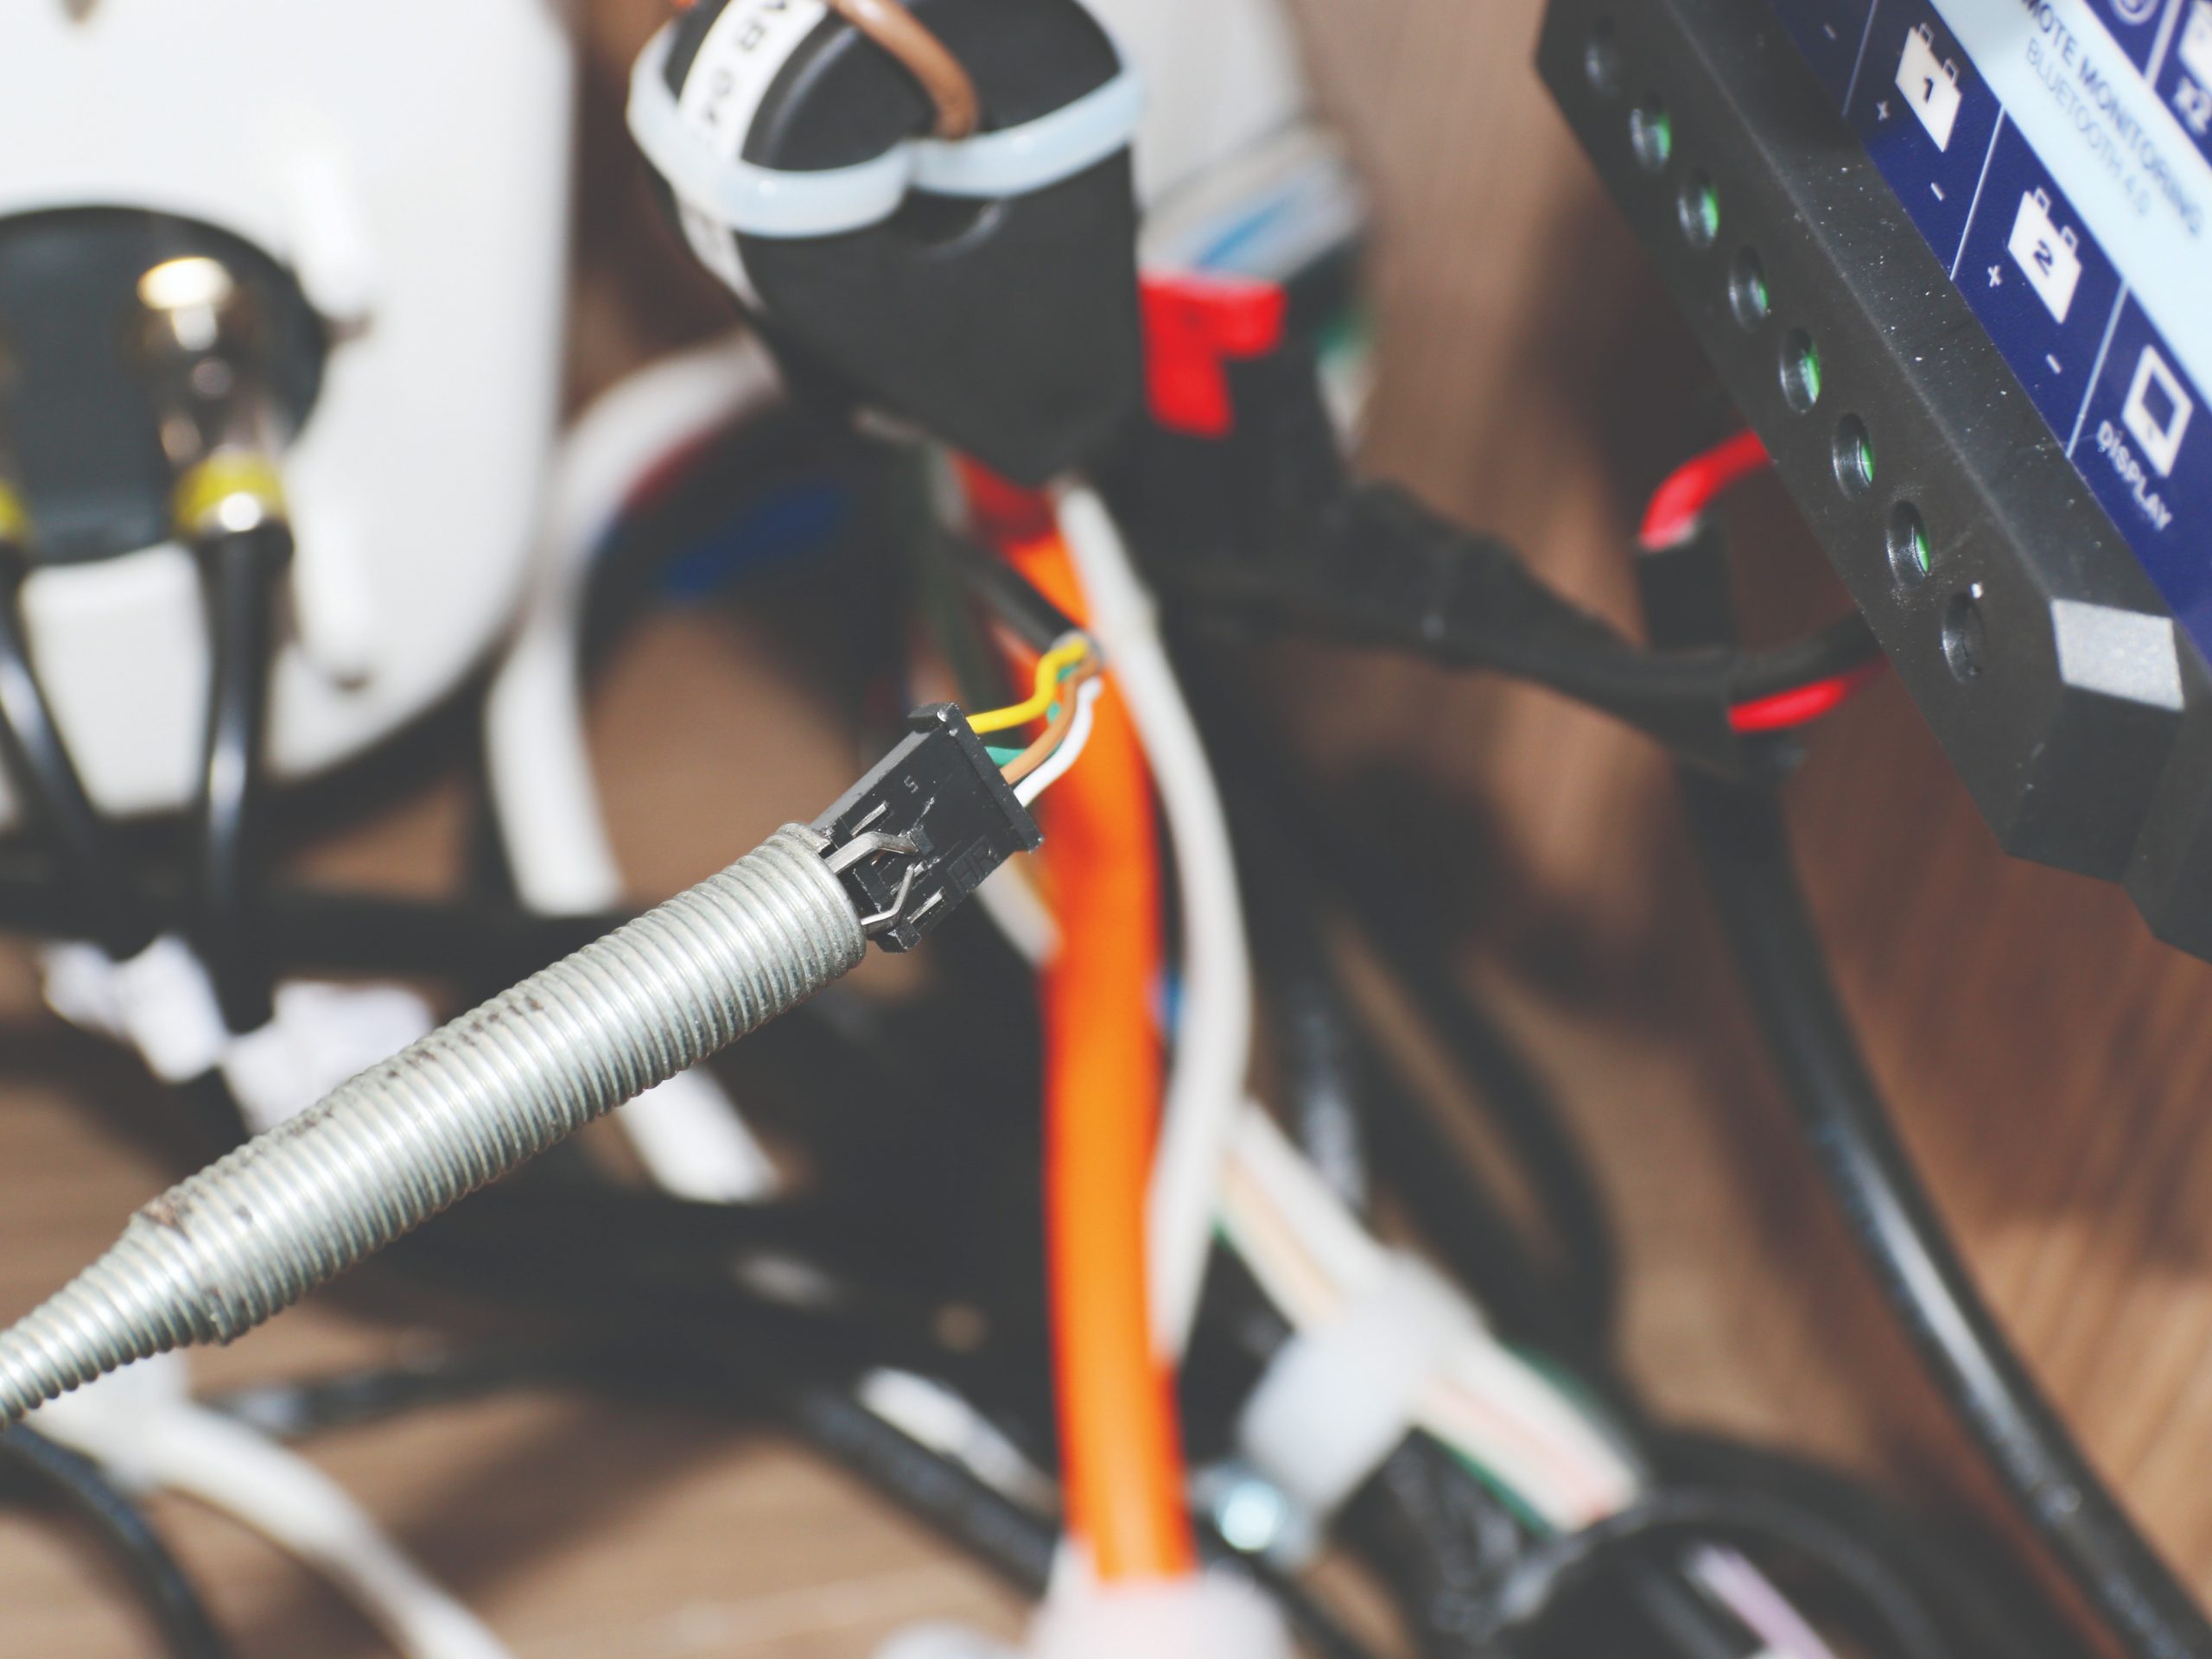
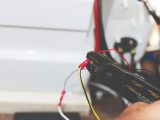
For me, the most difficult part of the whole process was feeding the cable, with its plug, from the back of the fridge and into the underbunk area. This was were the flexible gripper (and my wife, Kay!) came in very handy.
Cabling up
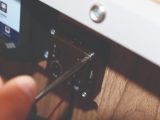
As the cable and power feed wires were being fed into the control unit from beneath (rather than from behind) the panel, I filed a slot into the unit’s mounting plate to accommodate this.
Feed the cable through the mounting plate, and then connect a suitable 12V power feed (this must be fused – a 5A fuse is more than enough) to the red (+ve) and black (-ve) wires.
With the cable and power feeds connected, mount the control unit and fit the fascia plate. Reconnect the 12V battery and test the fans.
Switch the control to manual (M) and the red LED should illuminate, and then check that the fans are working. They should blow air outwards. I’m pleased to say they are very quiet.
Switching to the automatic (A) setting, the green LED should light up, but the fans probably won’t rotate because the temperature won’t be hot enough.
There is also an adjustable thermostat on the control unit, so you can set the temperature at which the fans kick in. In factory settings, the fans will operate at full speed if the temperature is above 50C, with reduced speed operation between 28C and about 50C.
Once you are satisfied that everything is working correctly, you can complete the job by securing any cabling/wires with cable ties, and finally replacing the outer fridge vents.
If you liked this… READ THESE
How to renovate a caravan step
How to store your van over winter
If you’ve enjoyed reading this article, why not get the latest news, reviews and features delivered direct to your door or inbox every month. Take advantage of our brilliant Practical Caravan magazine SUBSCRIBERS’ OFFER and SIGN UP TO OUR NEWSLETTER for regular weekly updates on all things caravan related.
Future Publishing Limited, the publisher of practicalcaravan.com, provides the information in this article in good faith and makes no representation as to its completeness or accuracy. Individuals carrying out the instructions do so at their own risk and must exercise their independent judgement in determining the appropriateness of the advice to their circumstances. Individuals should take appropriate safety precautions and be aware of the risk of electrocution when dealing with electrical products. To the fullest extent permitted by law, neither Future nor its employees or agents shall have any liability in connection with the use of this information. You should check that any van warranty will not be affected before proceeding with DIY projects.
The problem in most caravans is a lack of air circulation at the back of the fridge. Fortunately, a fan can help with that. It’s certainly useful in warmer weather