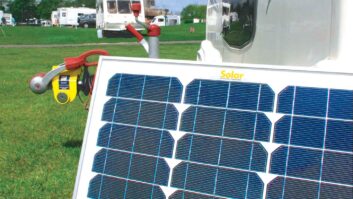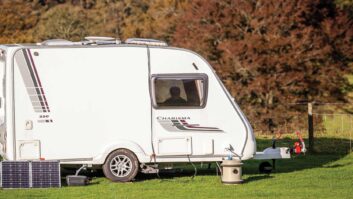


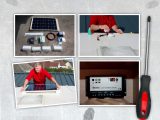


Solar panels are very useful to have: one will help keep your battery topped up on even the dullest of days. Fitting a panel may sound daunting, but it’s relatively simple.
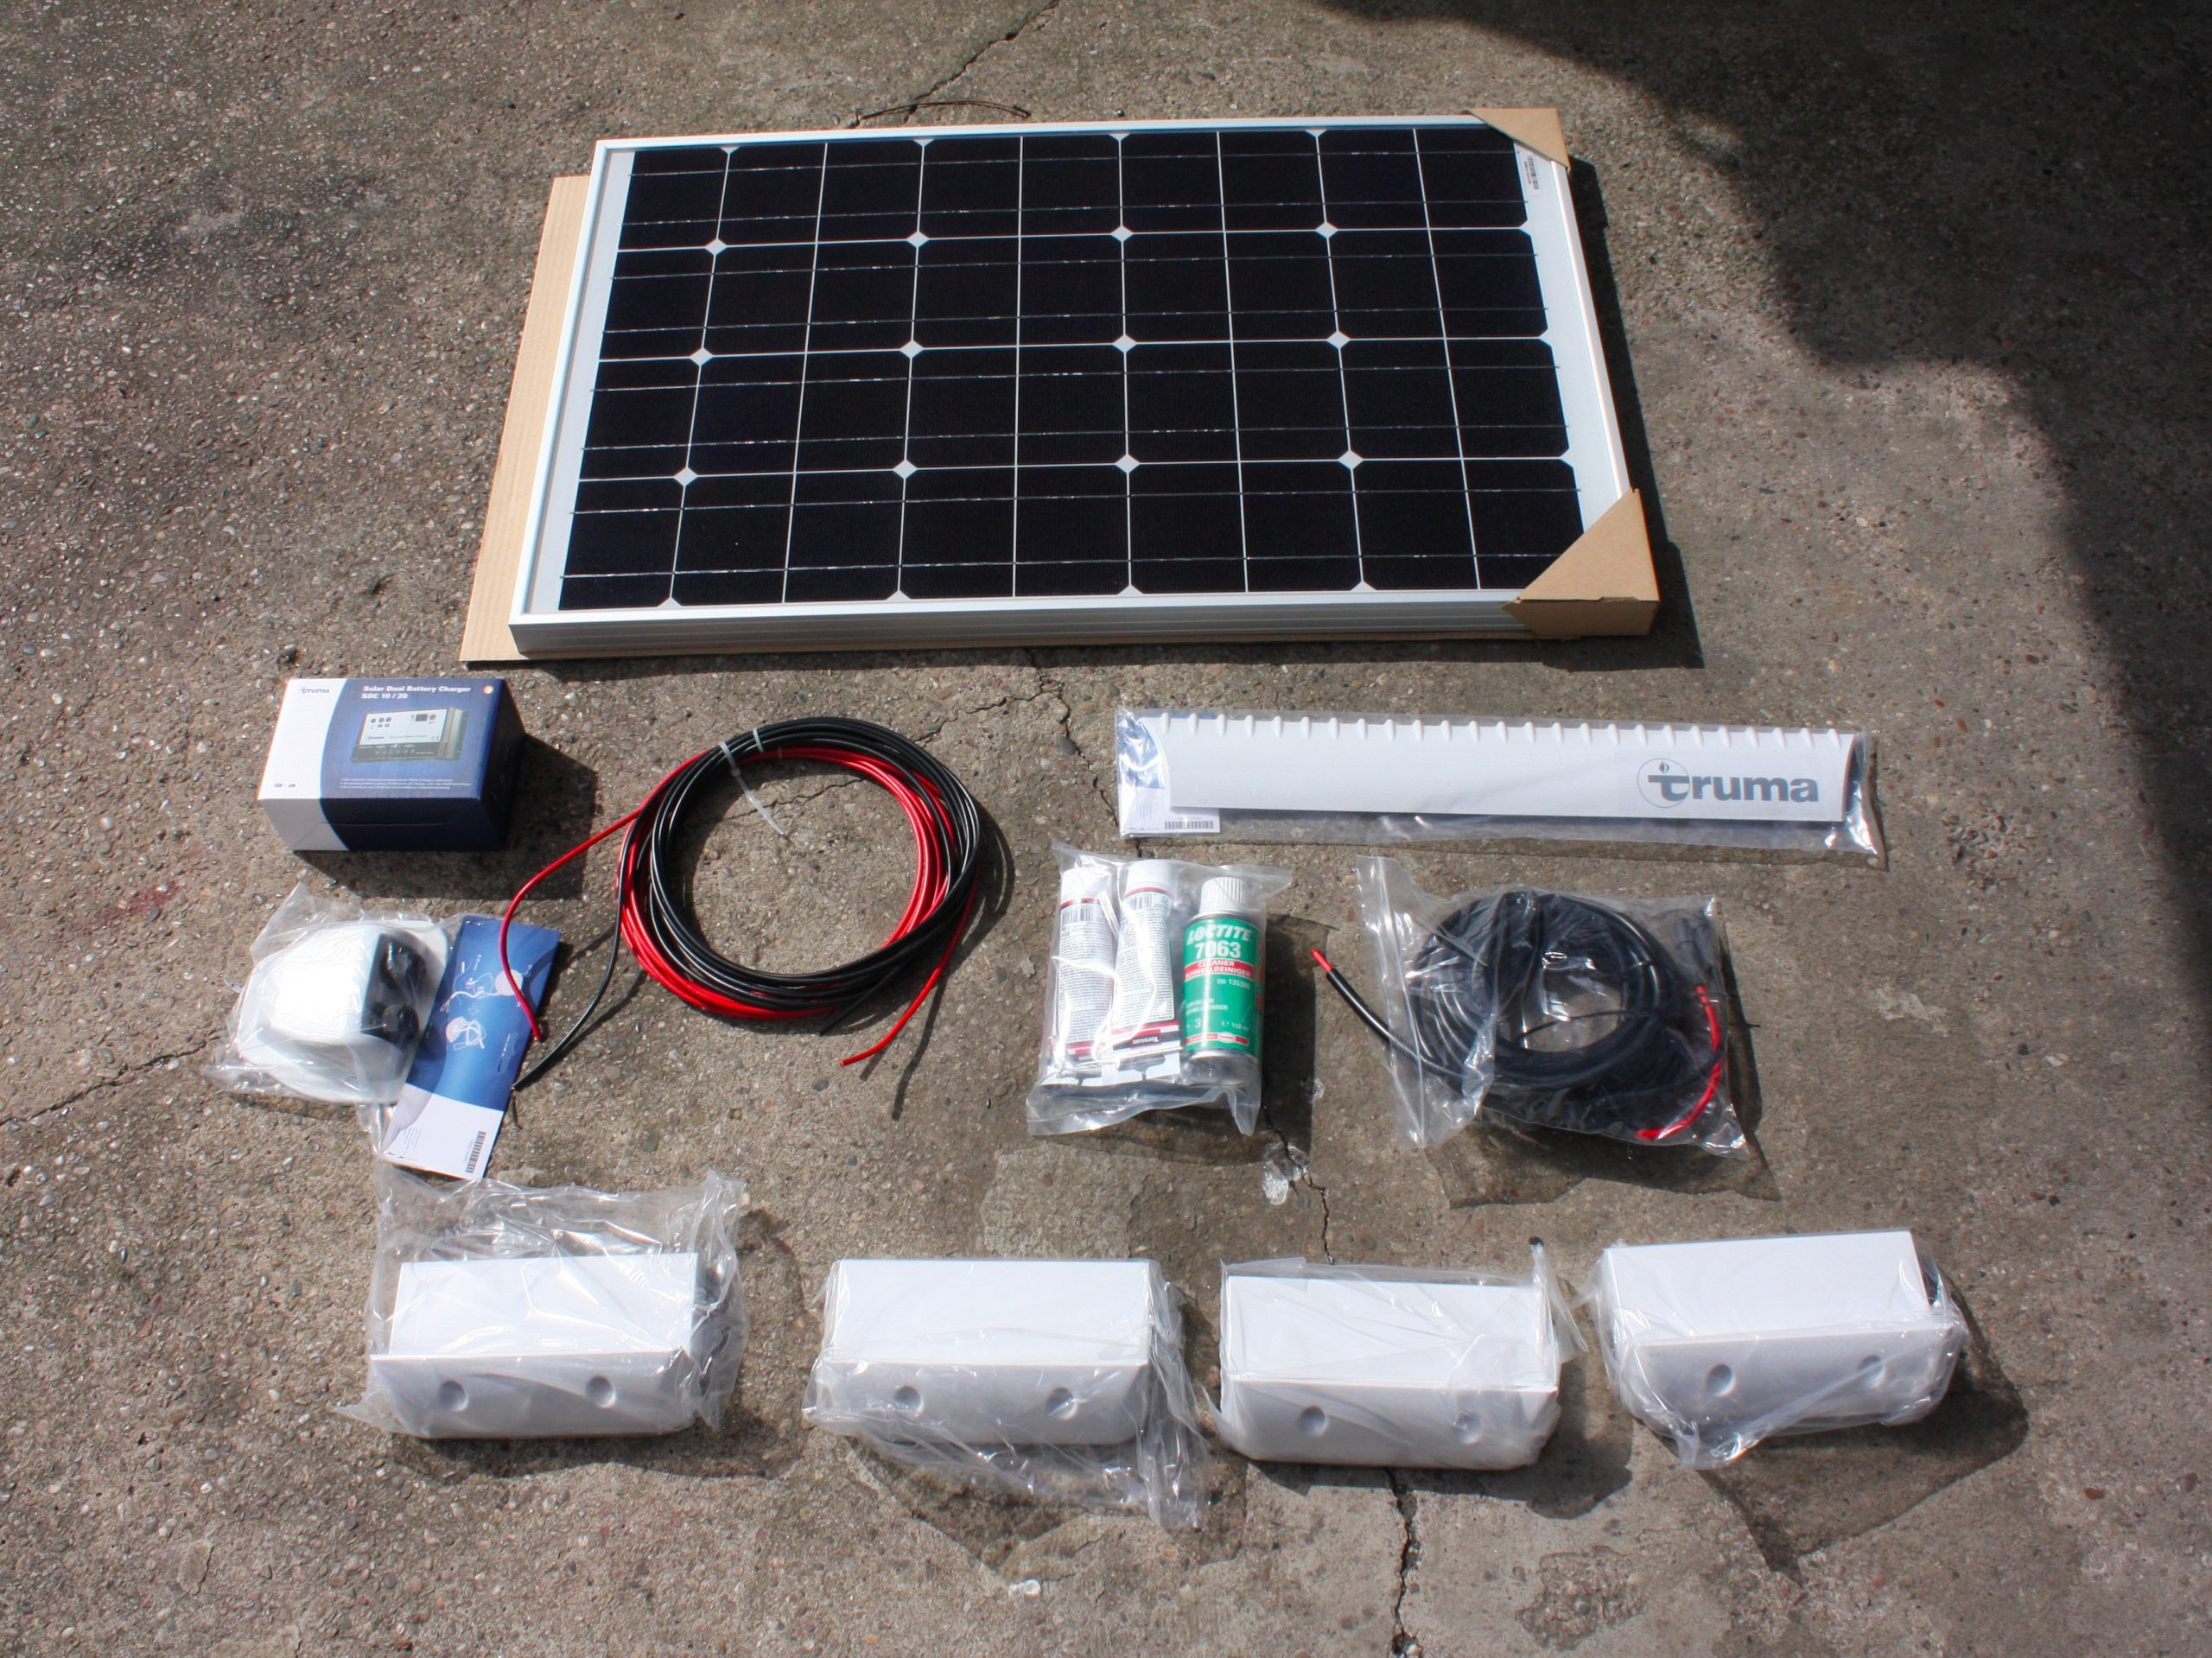
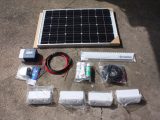
We chose a Truma 65 Wp SolarSet kit. Before installing you need to decide where you’re going to mount the panel – you’ll have to drill a hole in the roof to allow for a cable that needs to connect to the battery via the control unit.
Tools required for the job are:
- Cleaning kit (sponge, bucket)
- Cloths
- White spirit
- Cleaning spray (included in kit)
- Drill with 2mm to 12mm bits
- T25 Torx bit
- Craft knife
- 24mm and 27mm open-ended spanners
- Electrical crimps (optional)
- Various screwdrivers
- Wire cutters/trimmers
- My son, James (or another able helper!)
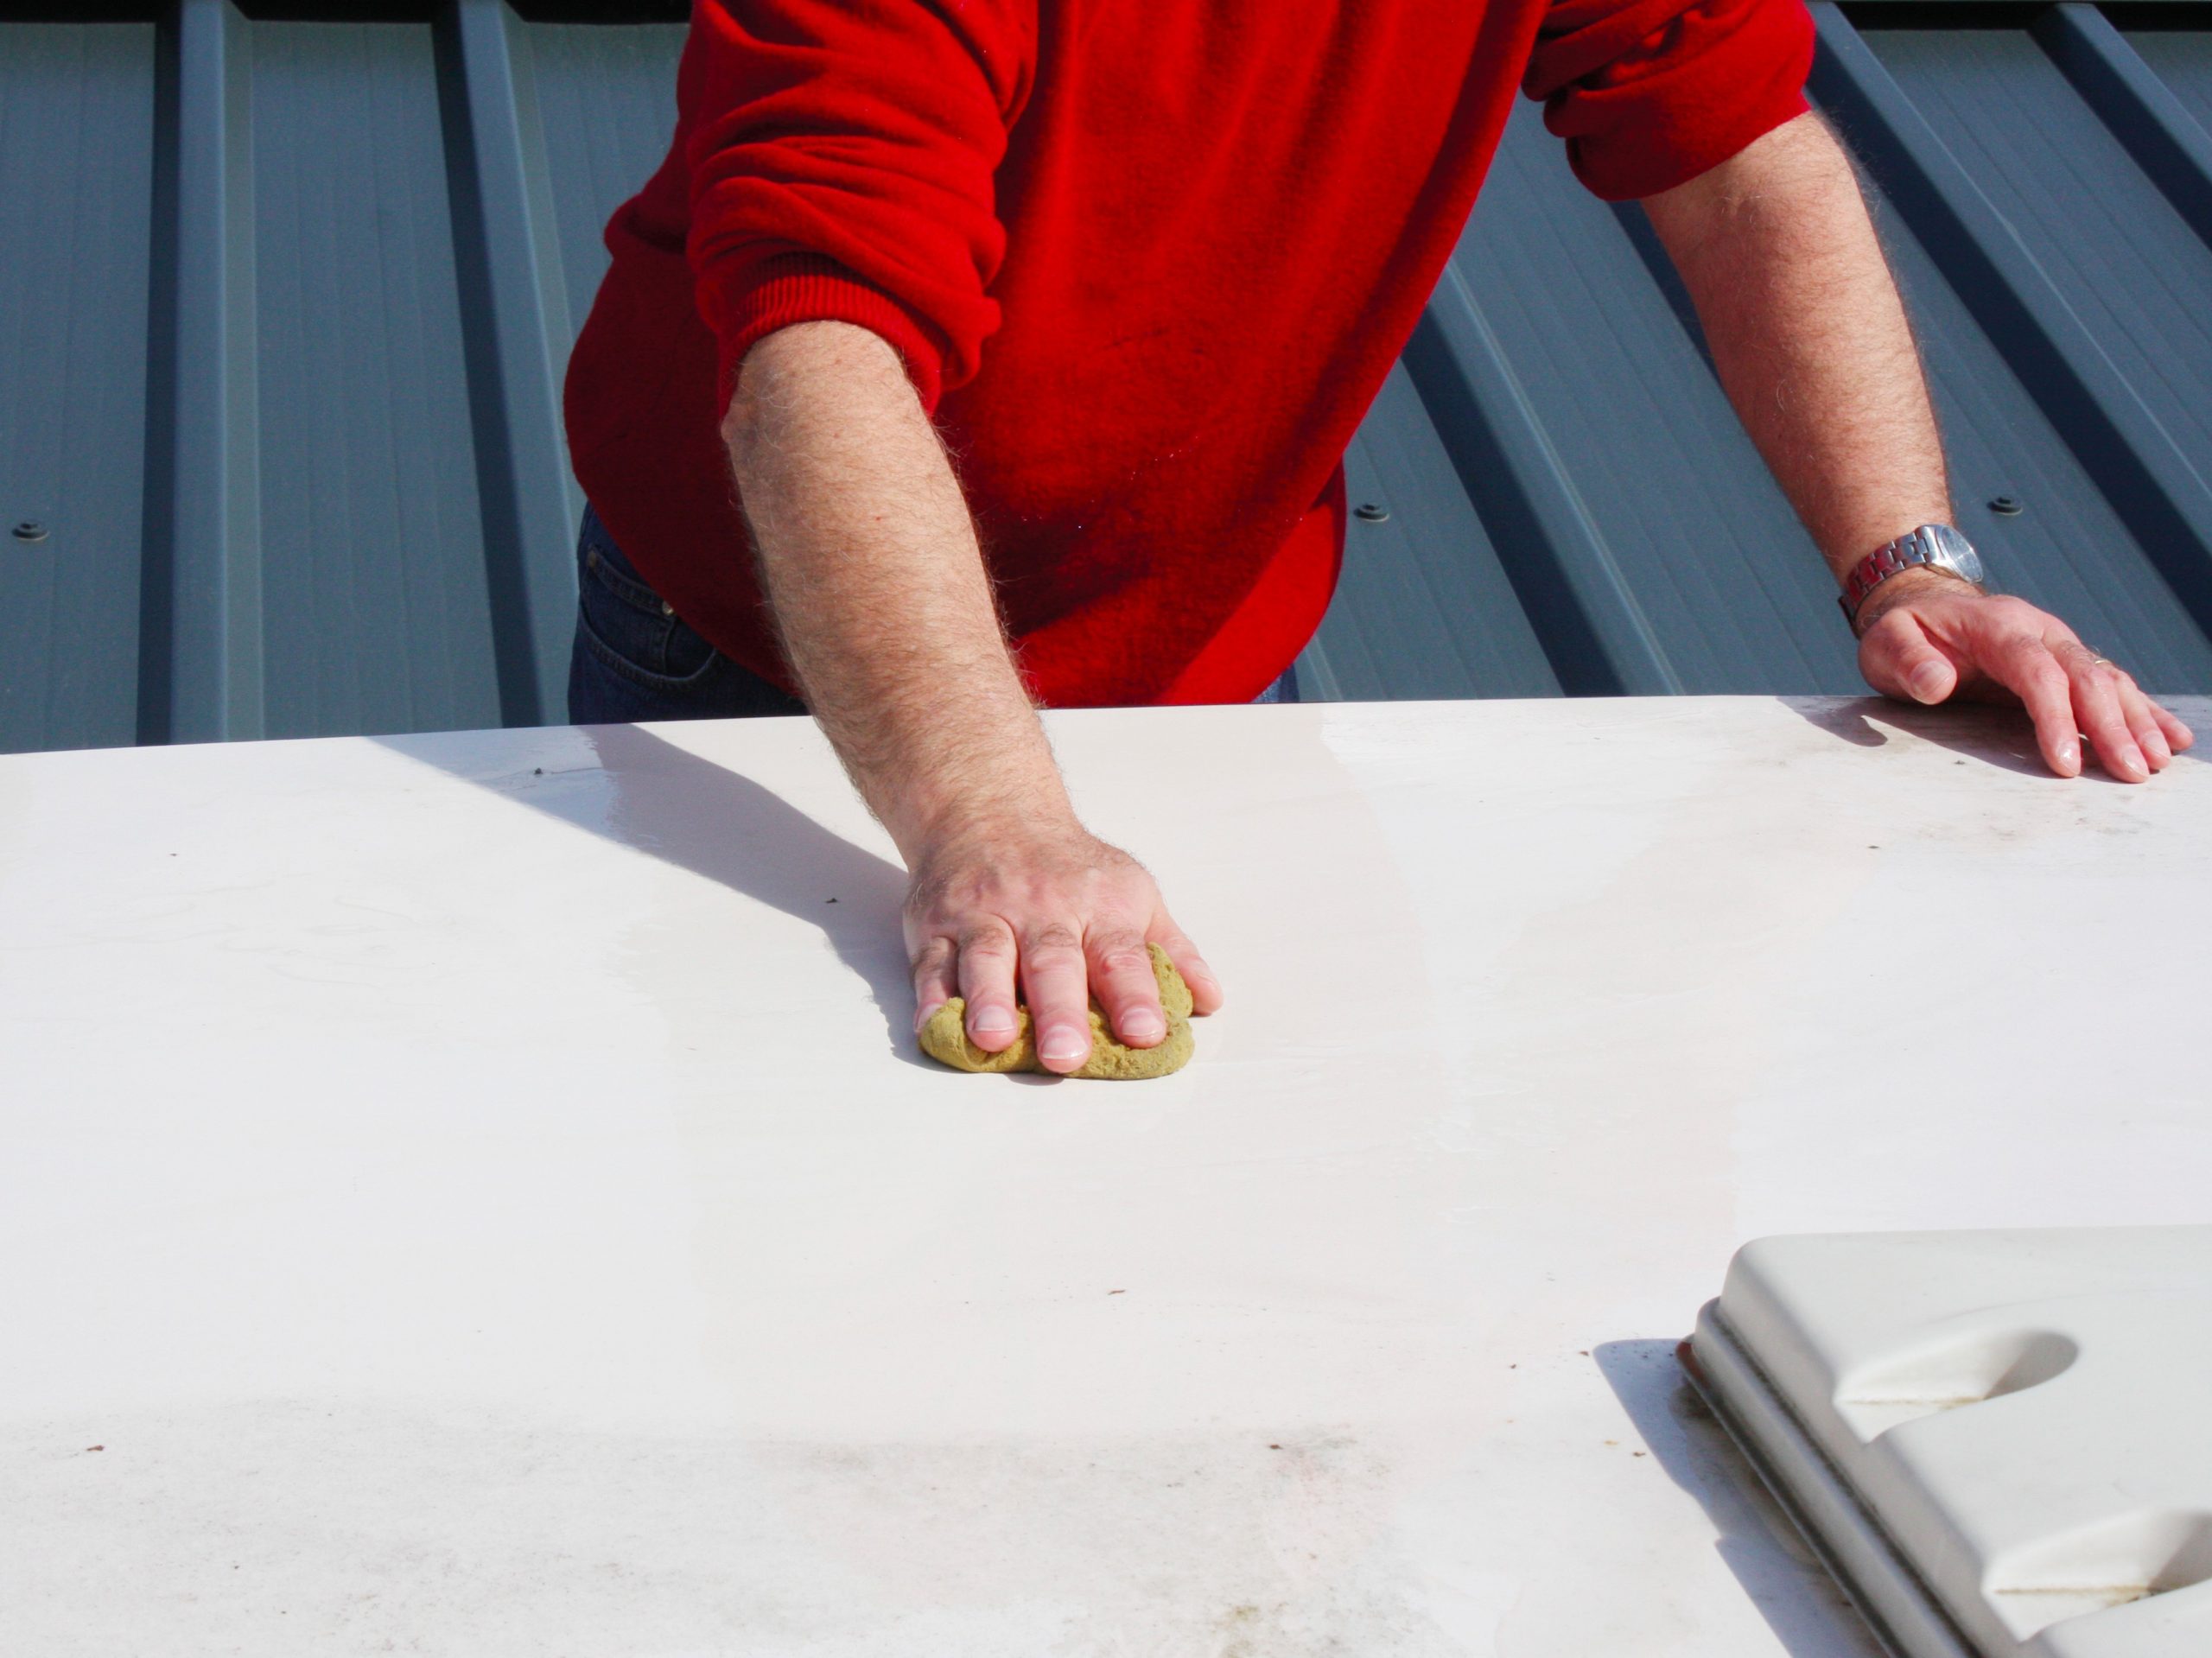
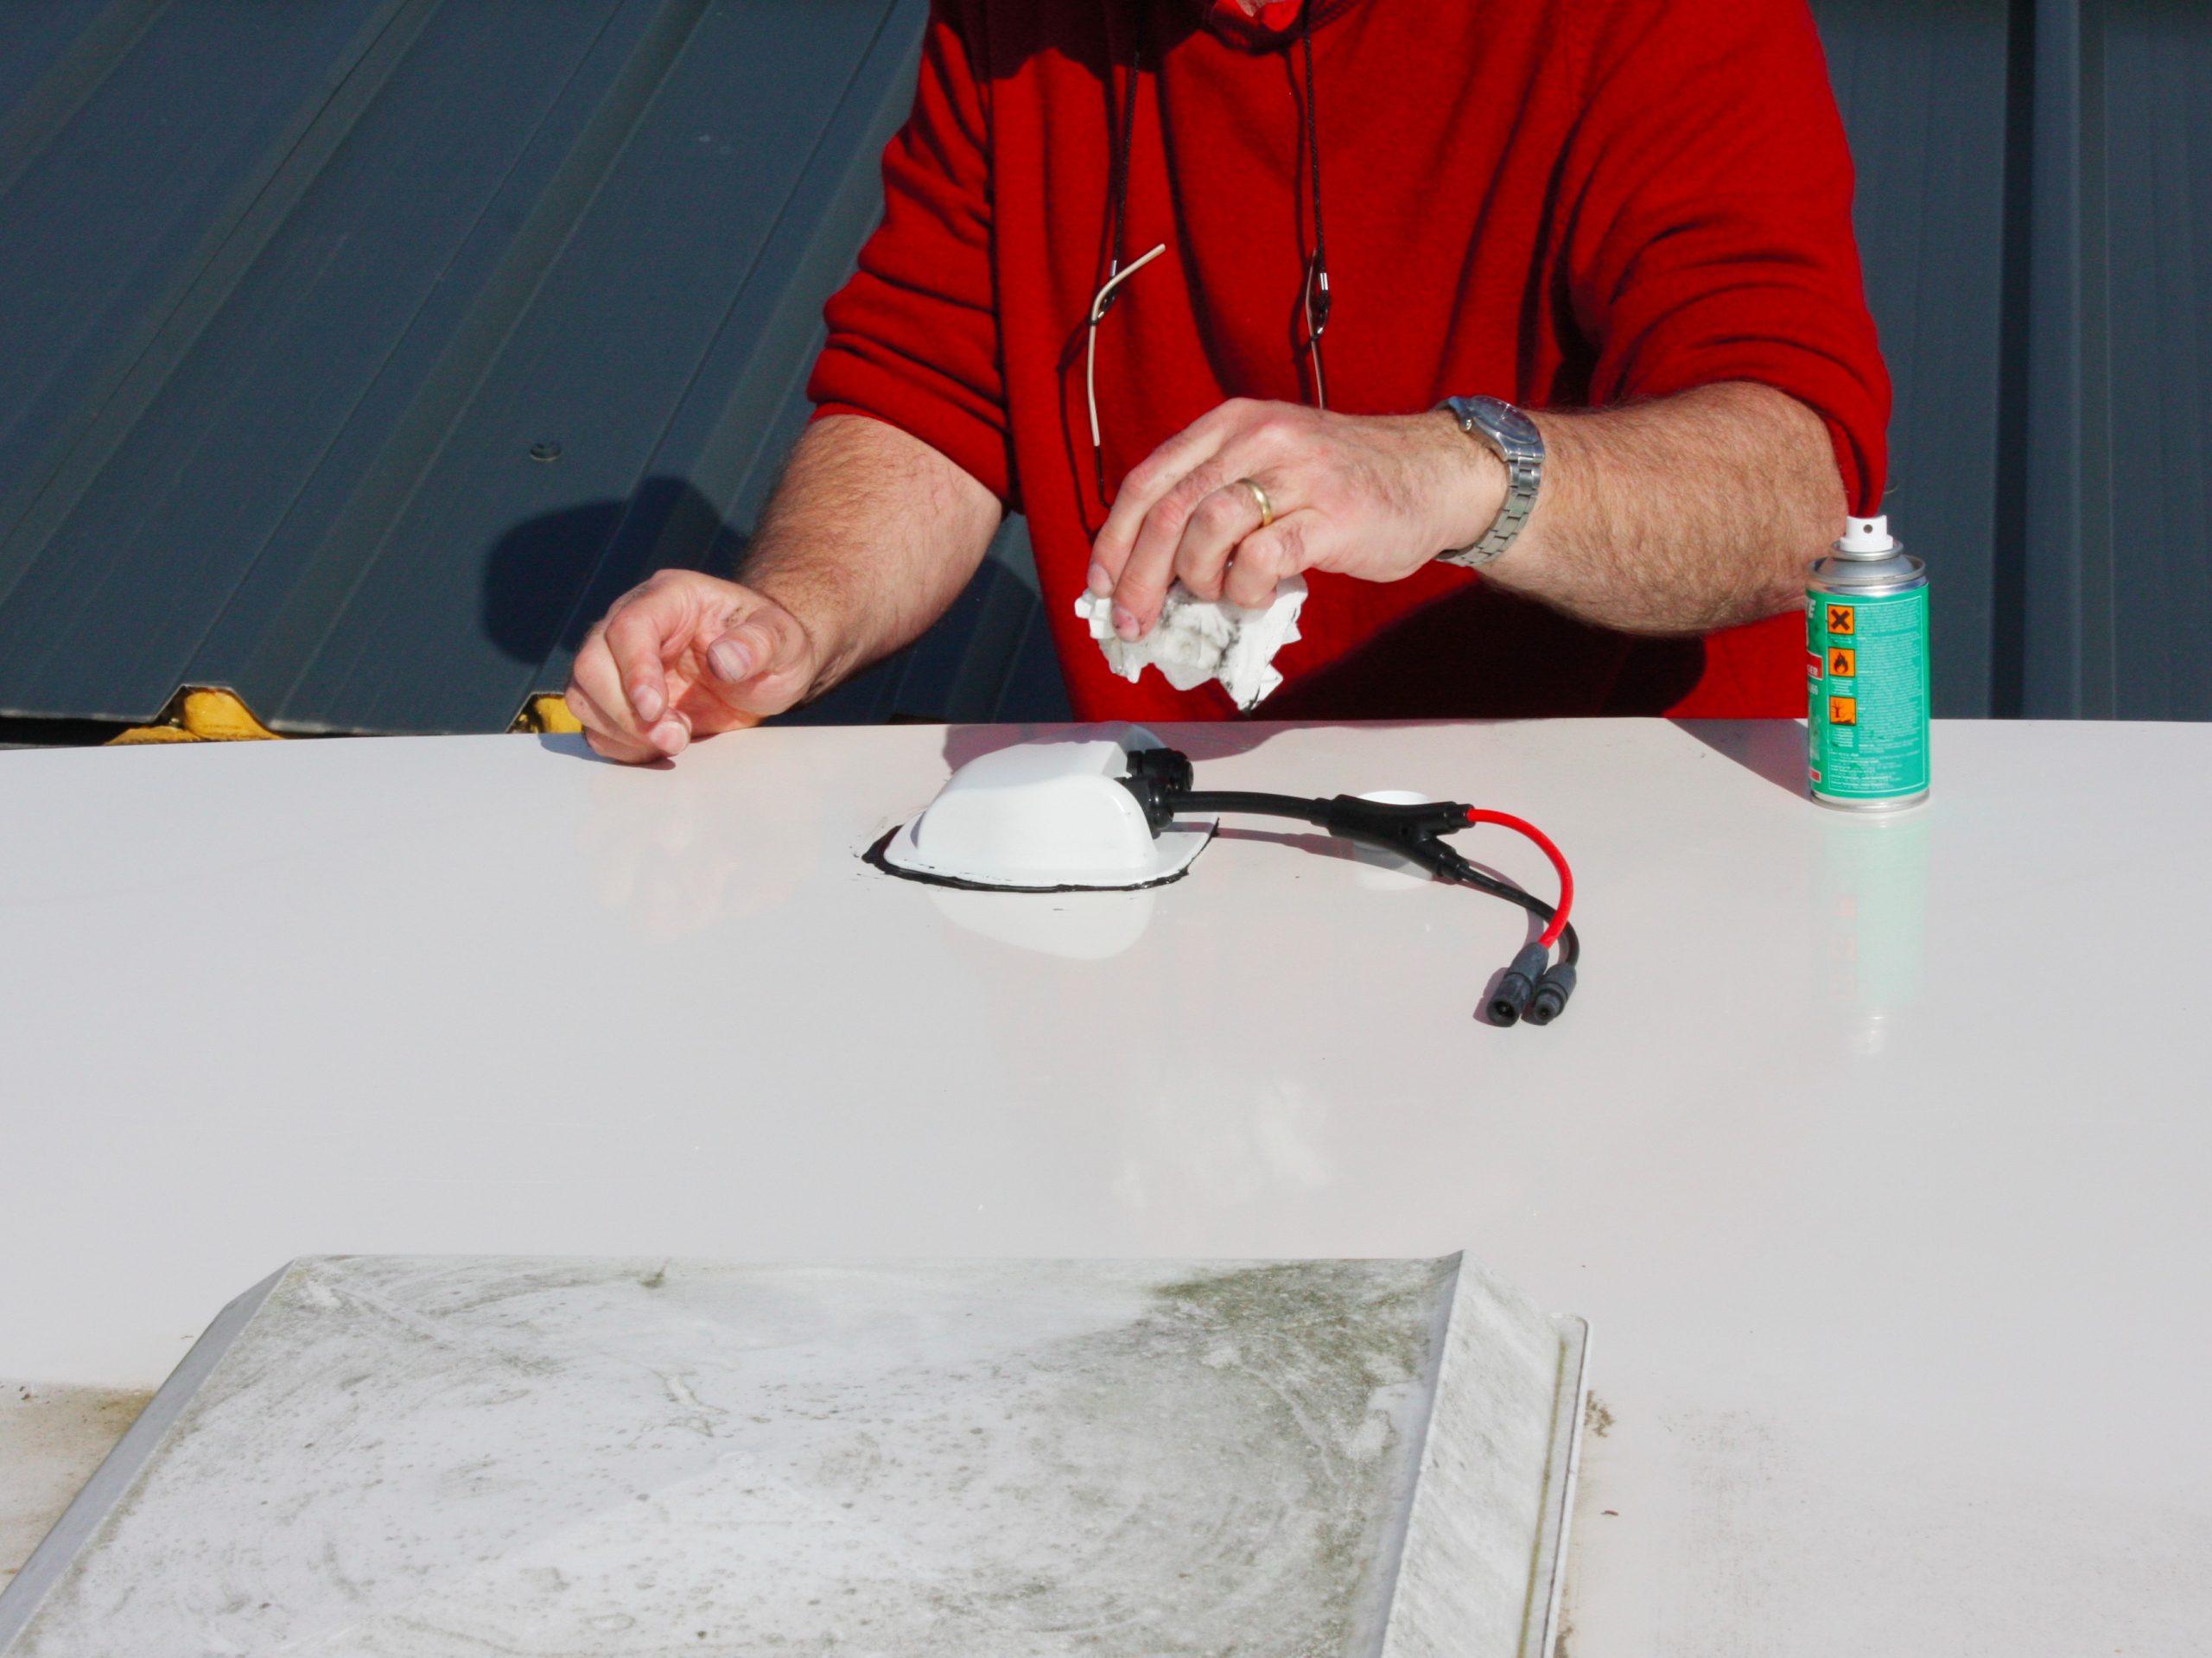
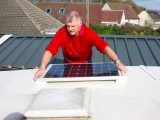
First, thoroughly clean the area where the solar panel is going to sit. We washed and dried it, before cleaning it with white spirit and the supplied spray.
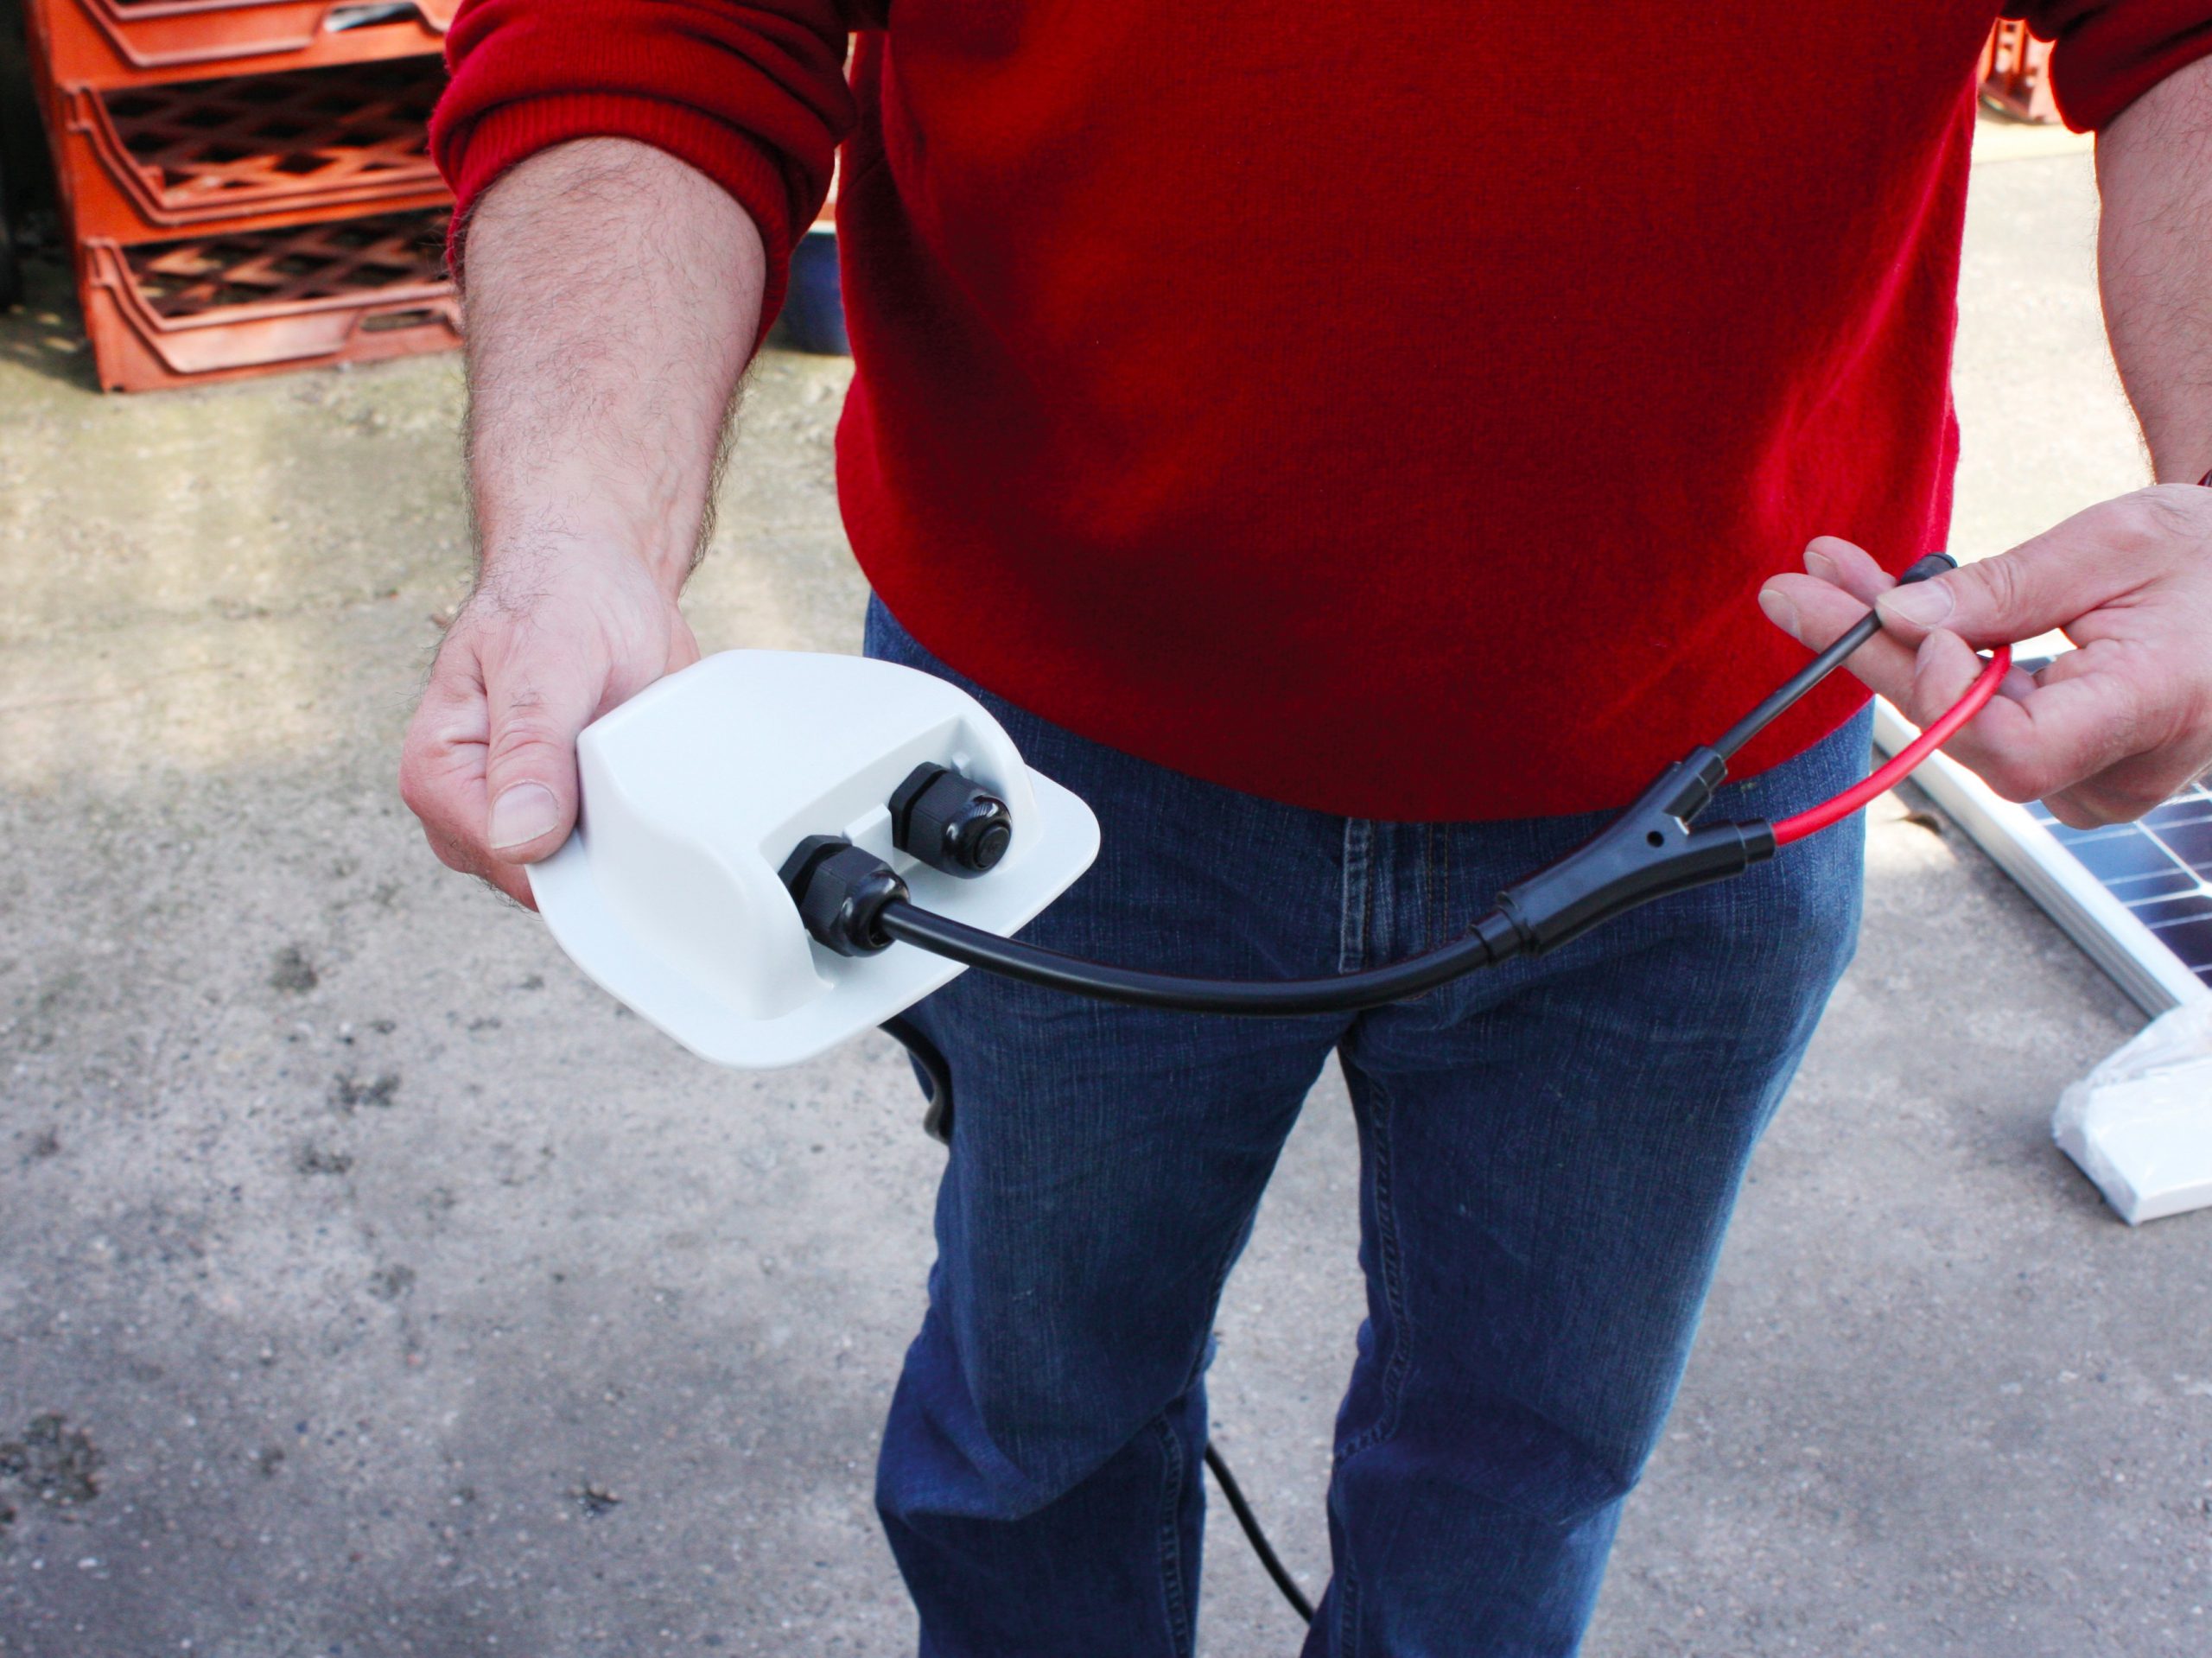
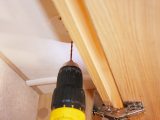
Then, from inside the van, a 2mm pilot hole was drilled through the roof, which was followed by a 12mm hole. Truma suggests using a 35mm hole-cutter for this, but because the cable was quite flexible and didn’t lift the ‘Roof Leadthrough’ housing (see our picture gallery), the 12mm hole was sufficient in our case. Any burr around it was then removed. Rather than having cables across the roof, we decided to fit the solar panel over the housing because there was plenty of clearance.
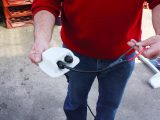
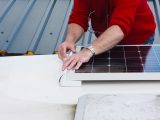
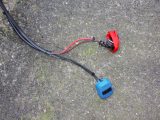
Next, take the cable (with the Y-connector and waterproof connections) and pass it through the Roof Leadthrough housing, ensuring the Y-connector is on the outside! You’ll need to leave approximately 50cm (20in) to the outside. Tighten the screw connections around the cable where it passes into the housing, using the 24mm and 27mm spanners. Next, pass the other end of the cable through the hole in the roof, leaving just enough for you to turn the housing over.
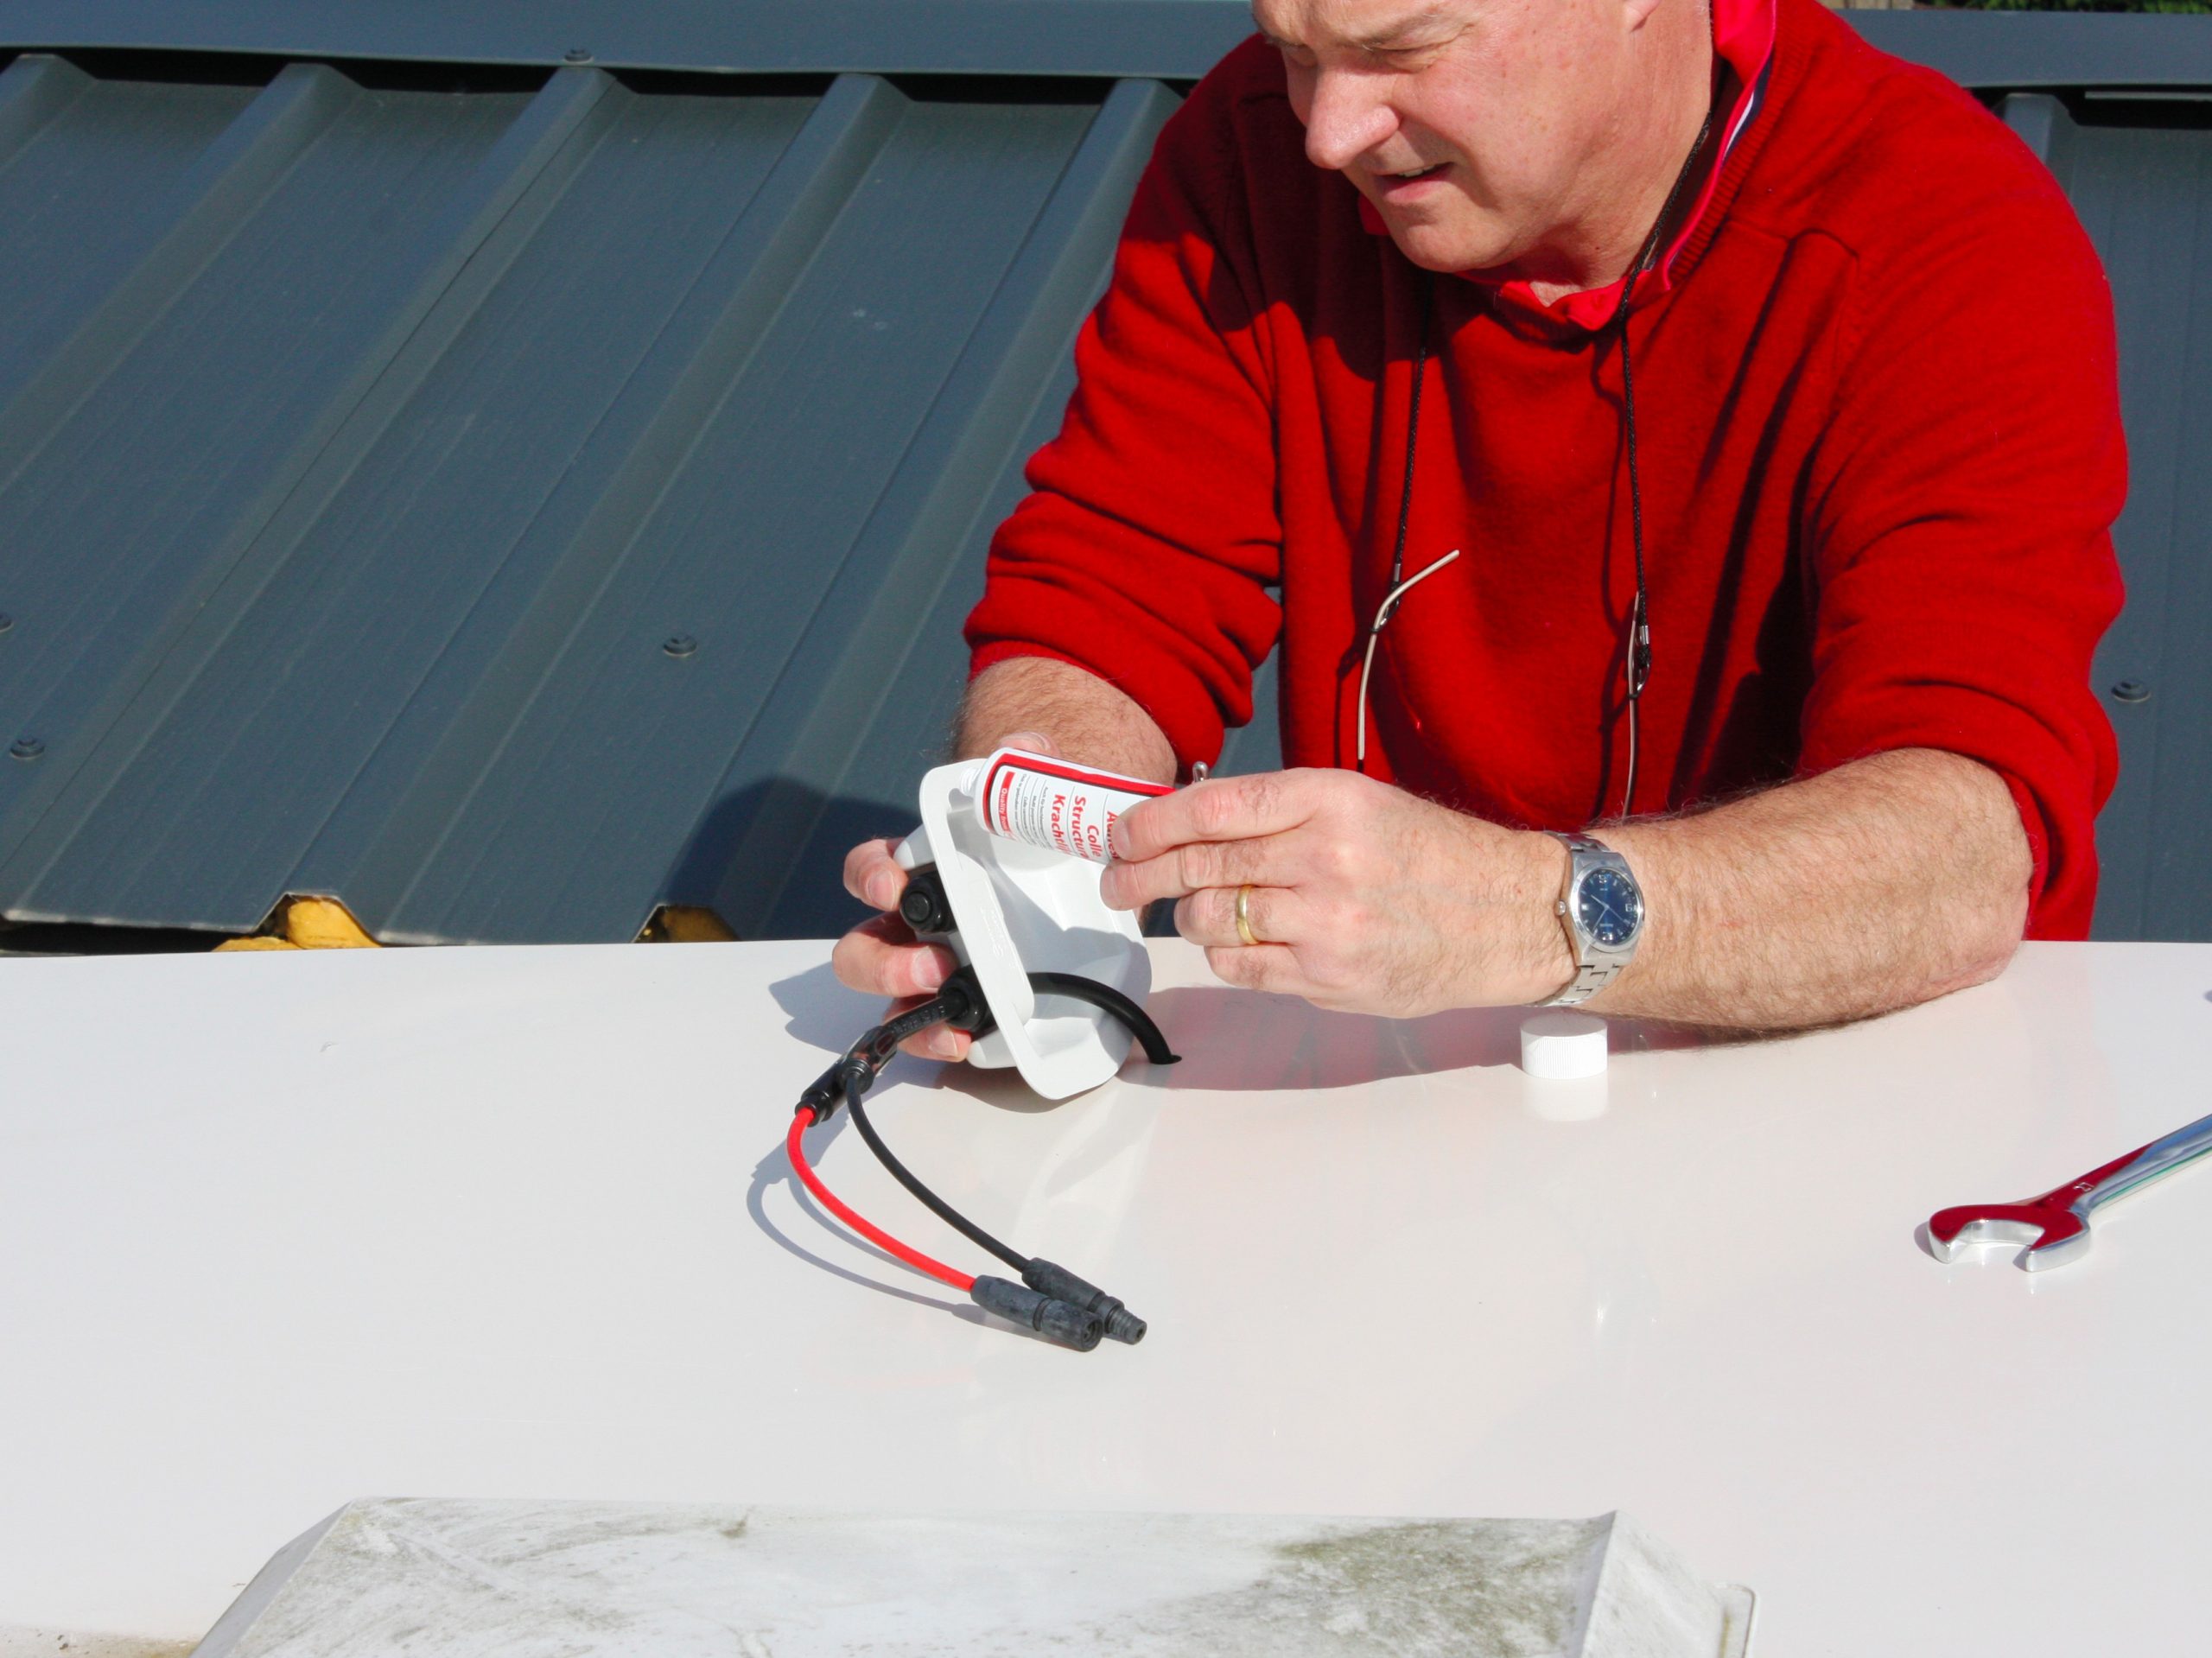
Then, put a bead of the supplied adhesive around the base of the Roof Leadthrough housing. It sounds simple, but one of our tubes split!
Once this is done, feed the remaining cable through the roof until the housing sits over the hole. Gently press it into place ensuring that there are no gaps in the adhesive, which needs to be 1-2mm thick.
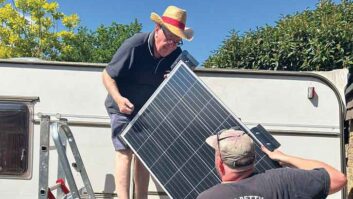
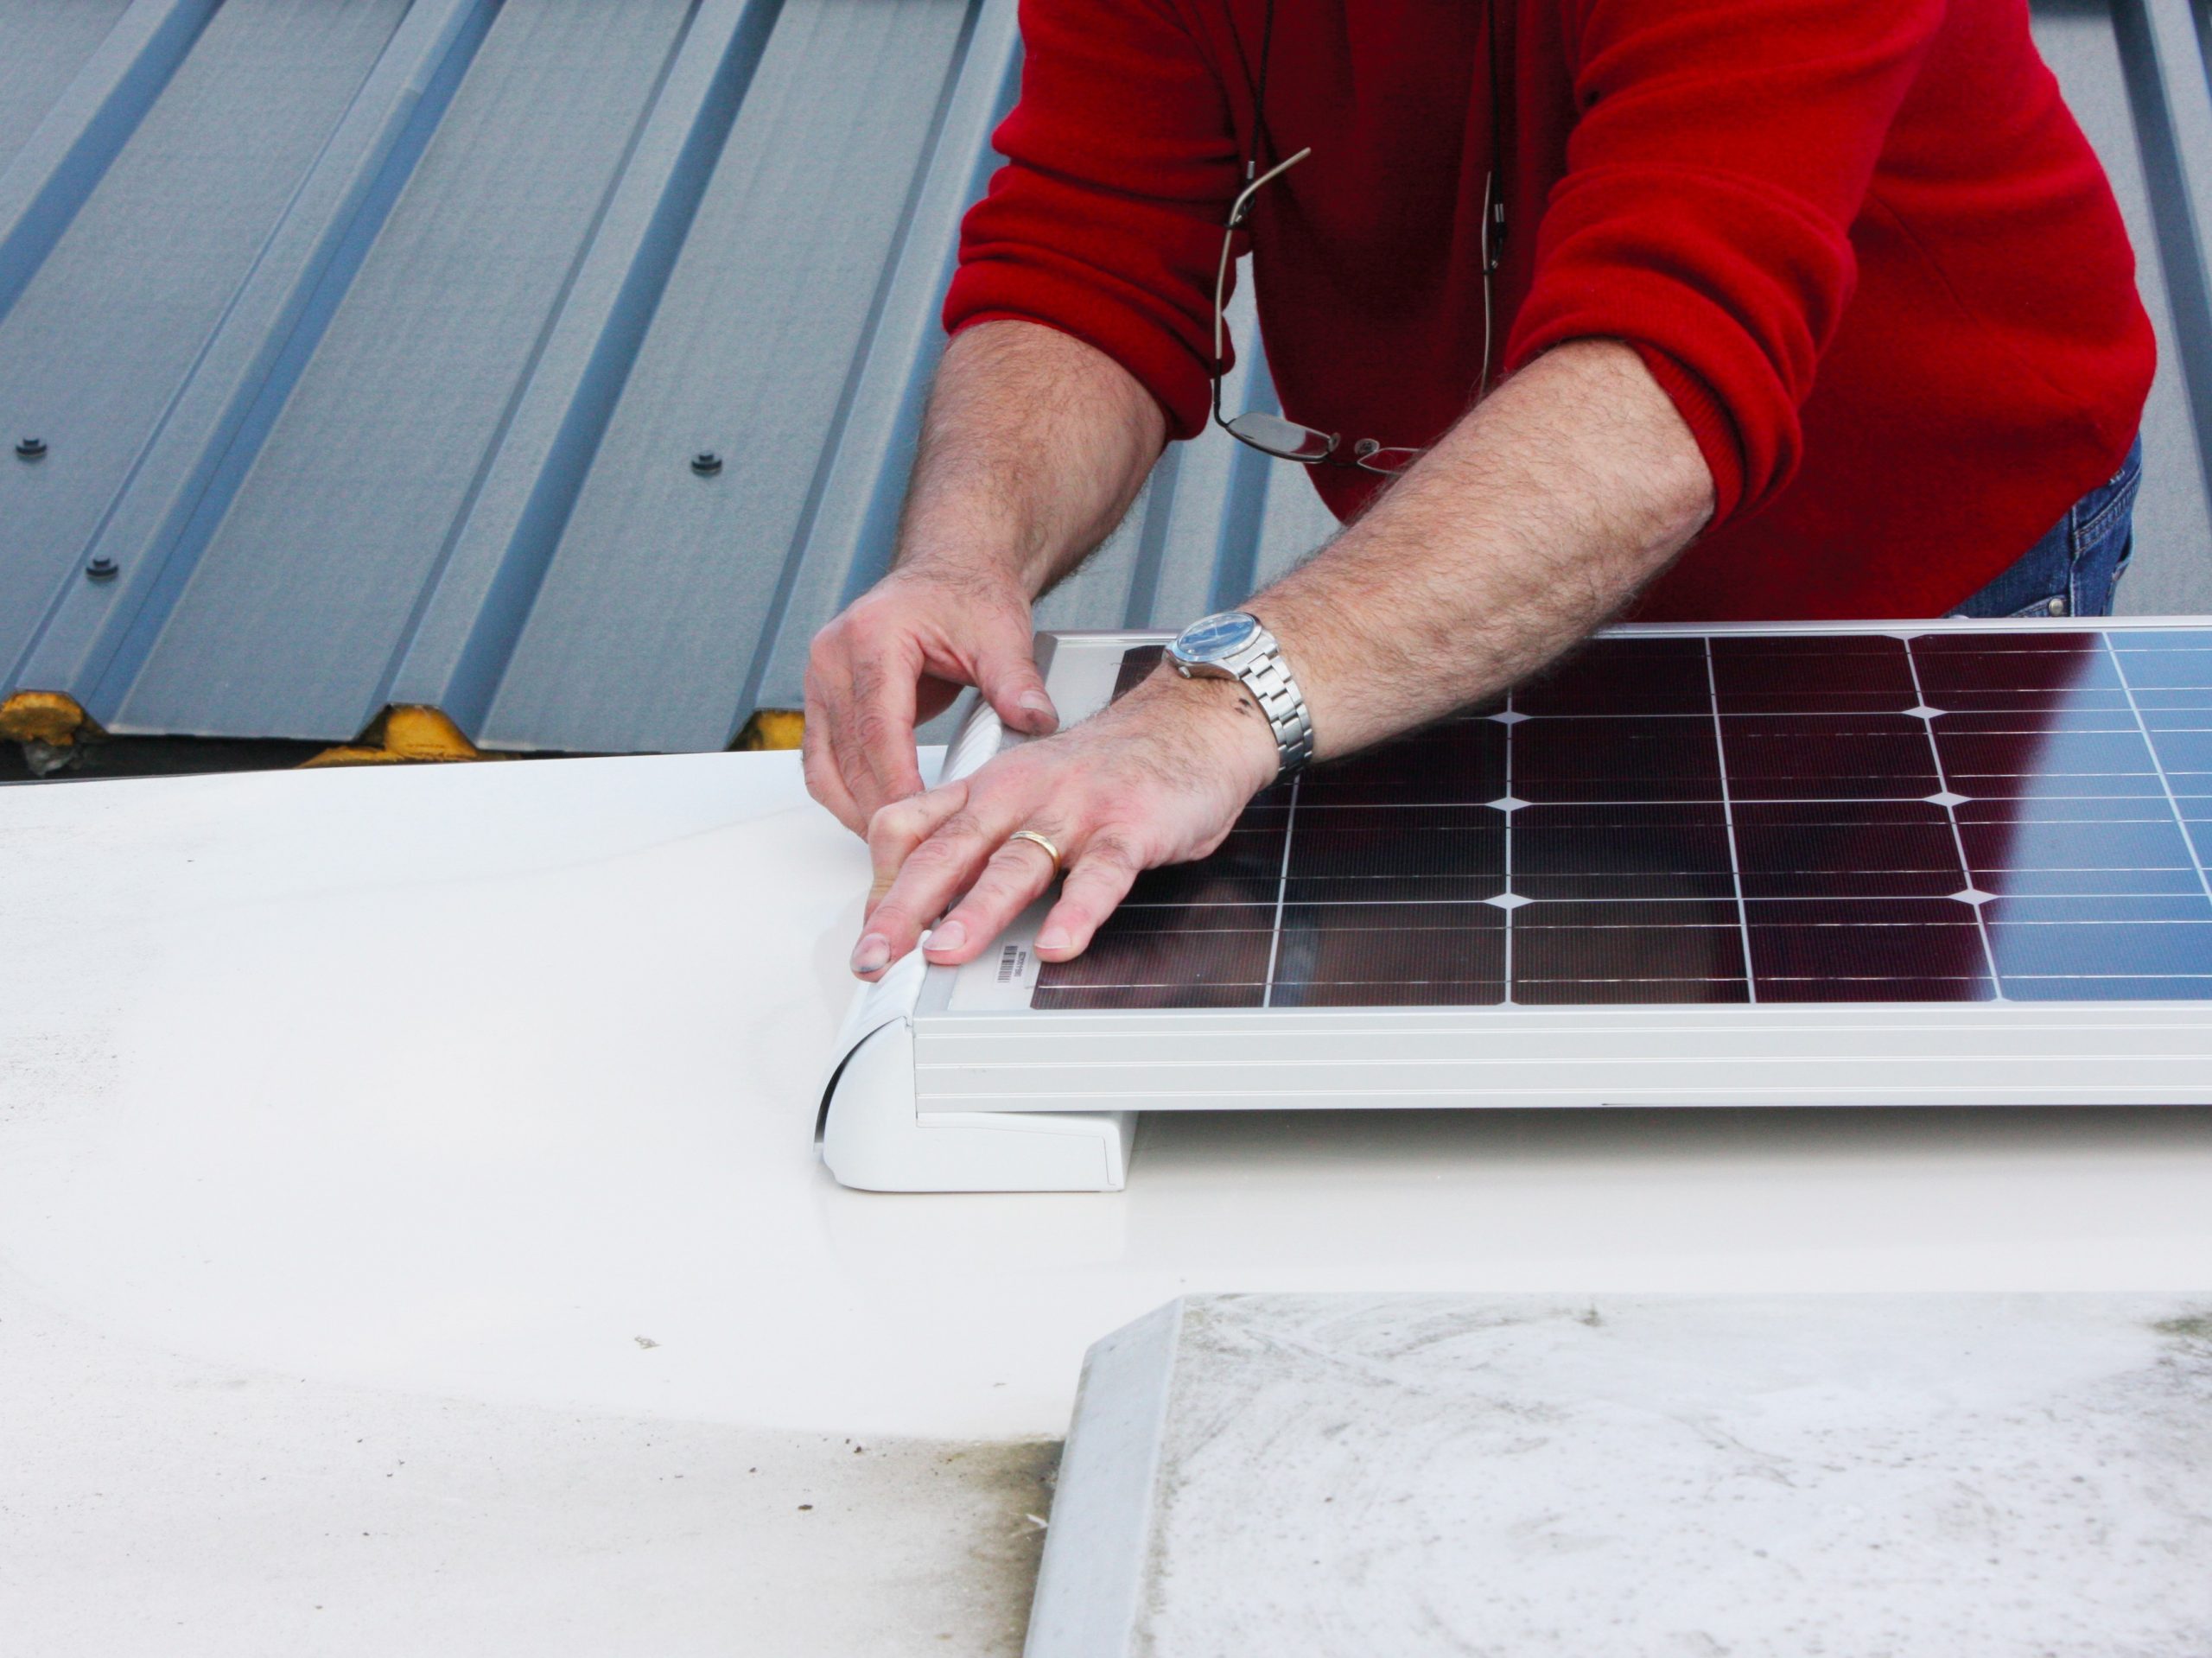
The feet then have to be attached to the solar panel; they are fitted flush to the frame using the Torx-headed drilling screws. We marked where the holes should be and drilled 2mm pilot holes in the frame, before attaching the feet with the screws.
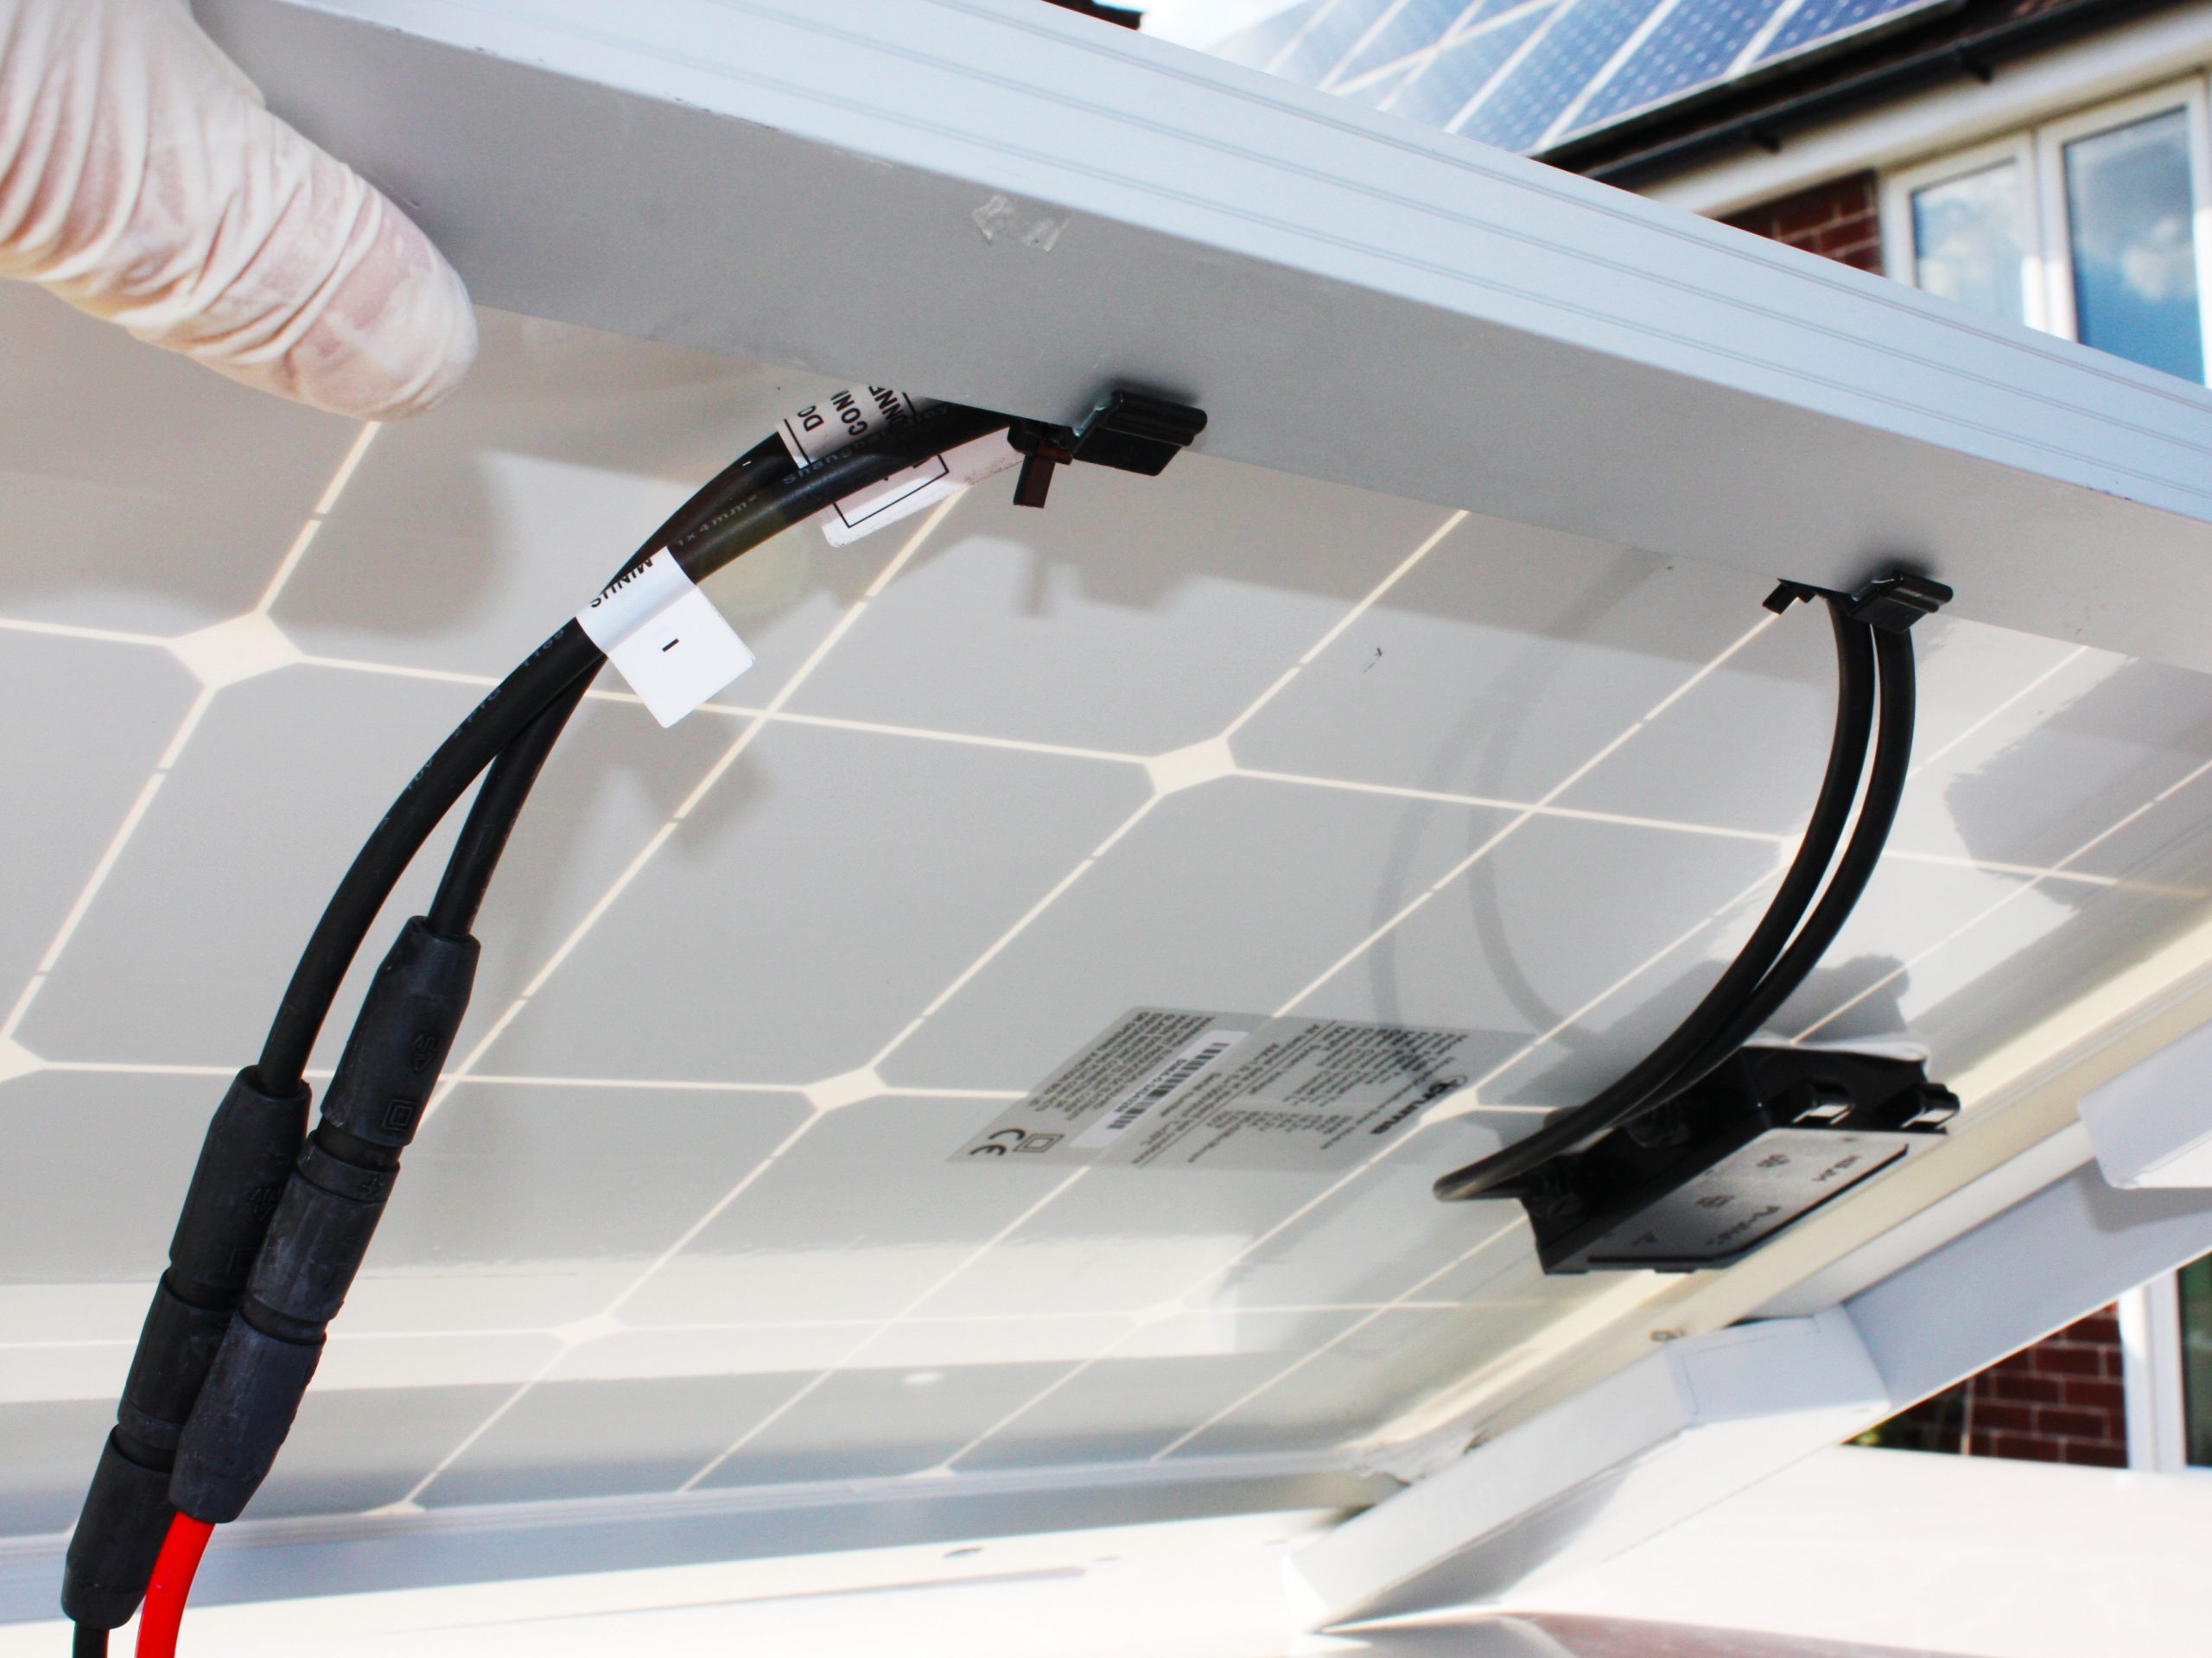
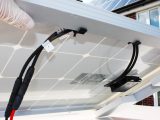
Back on the roof, attach the waterproof connections on the solar panel’s cables to those on the cable leading into the caravan, then secure any loose cable under the panel with the clips provided.
To ensure that the solar panel is fitted squarely, either mark the roof with a non-permanent pen or use a strip of masking tape. Apply three parallel lines of the adhesive onto the underside of the feet (there are guide markings), then turn the unit over and put it in position. Gently press the unit down to form a secure bond, again leaving a thickness of 1-2mm of the adhesive. The adhesive shouldn’t ooze out, but if it does, it can be wiped away with a cloth and the supplied spray cleaner. Ideally, the unit should be left for the adhesive to harden (24 hours) before the spoiler is attached. This simply slots into place on the front edge.
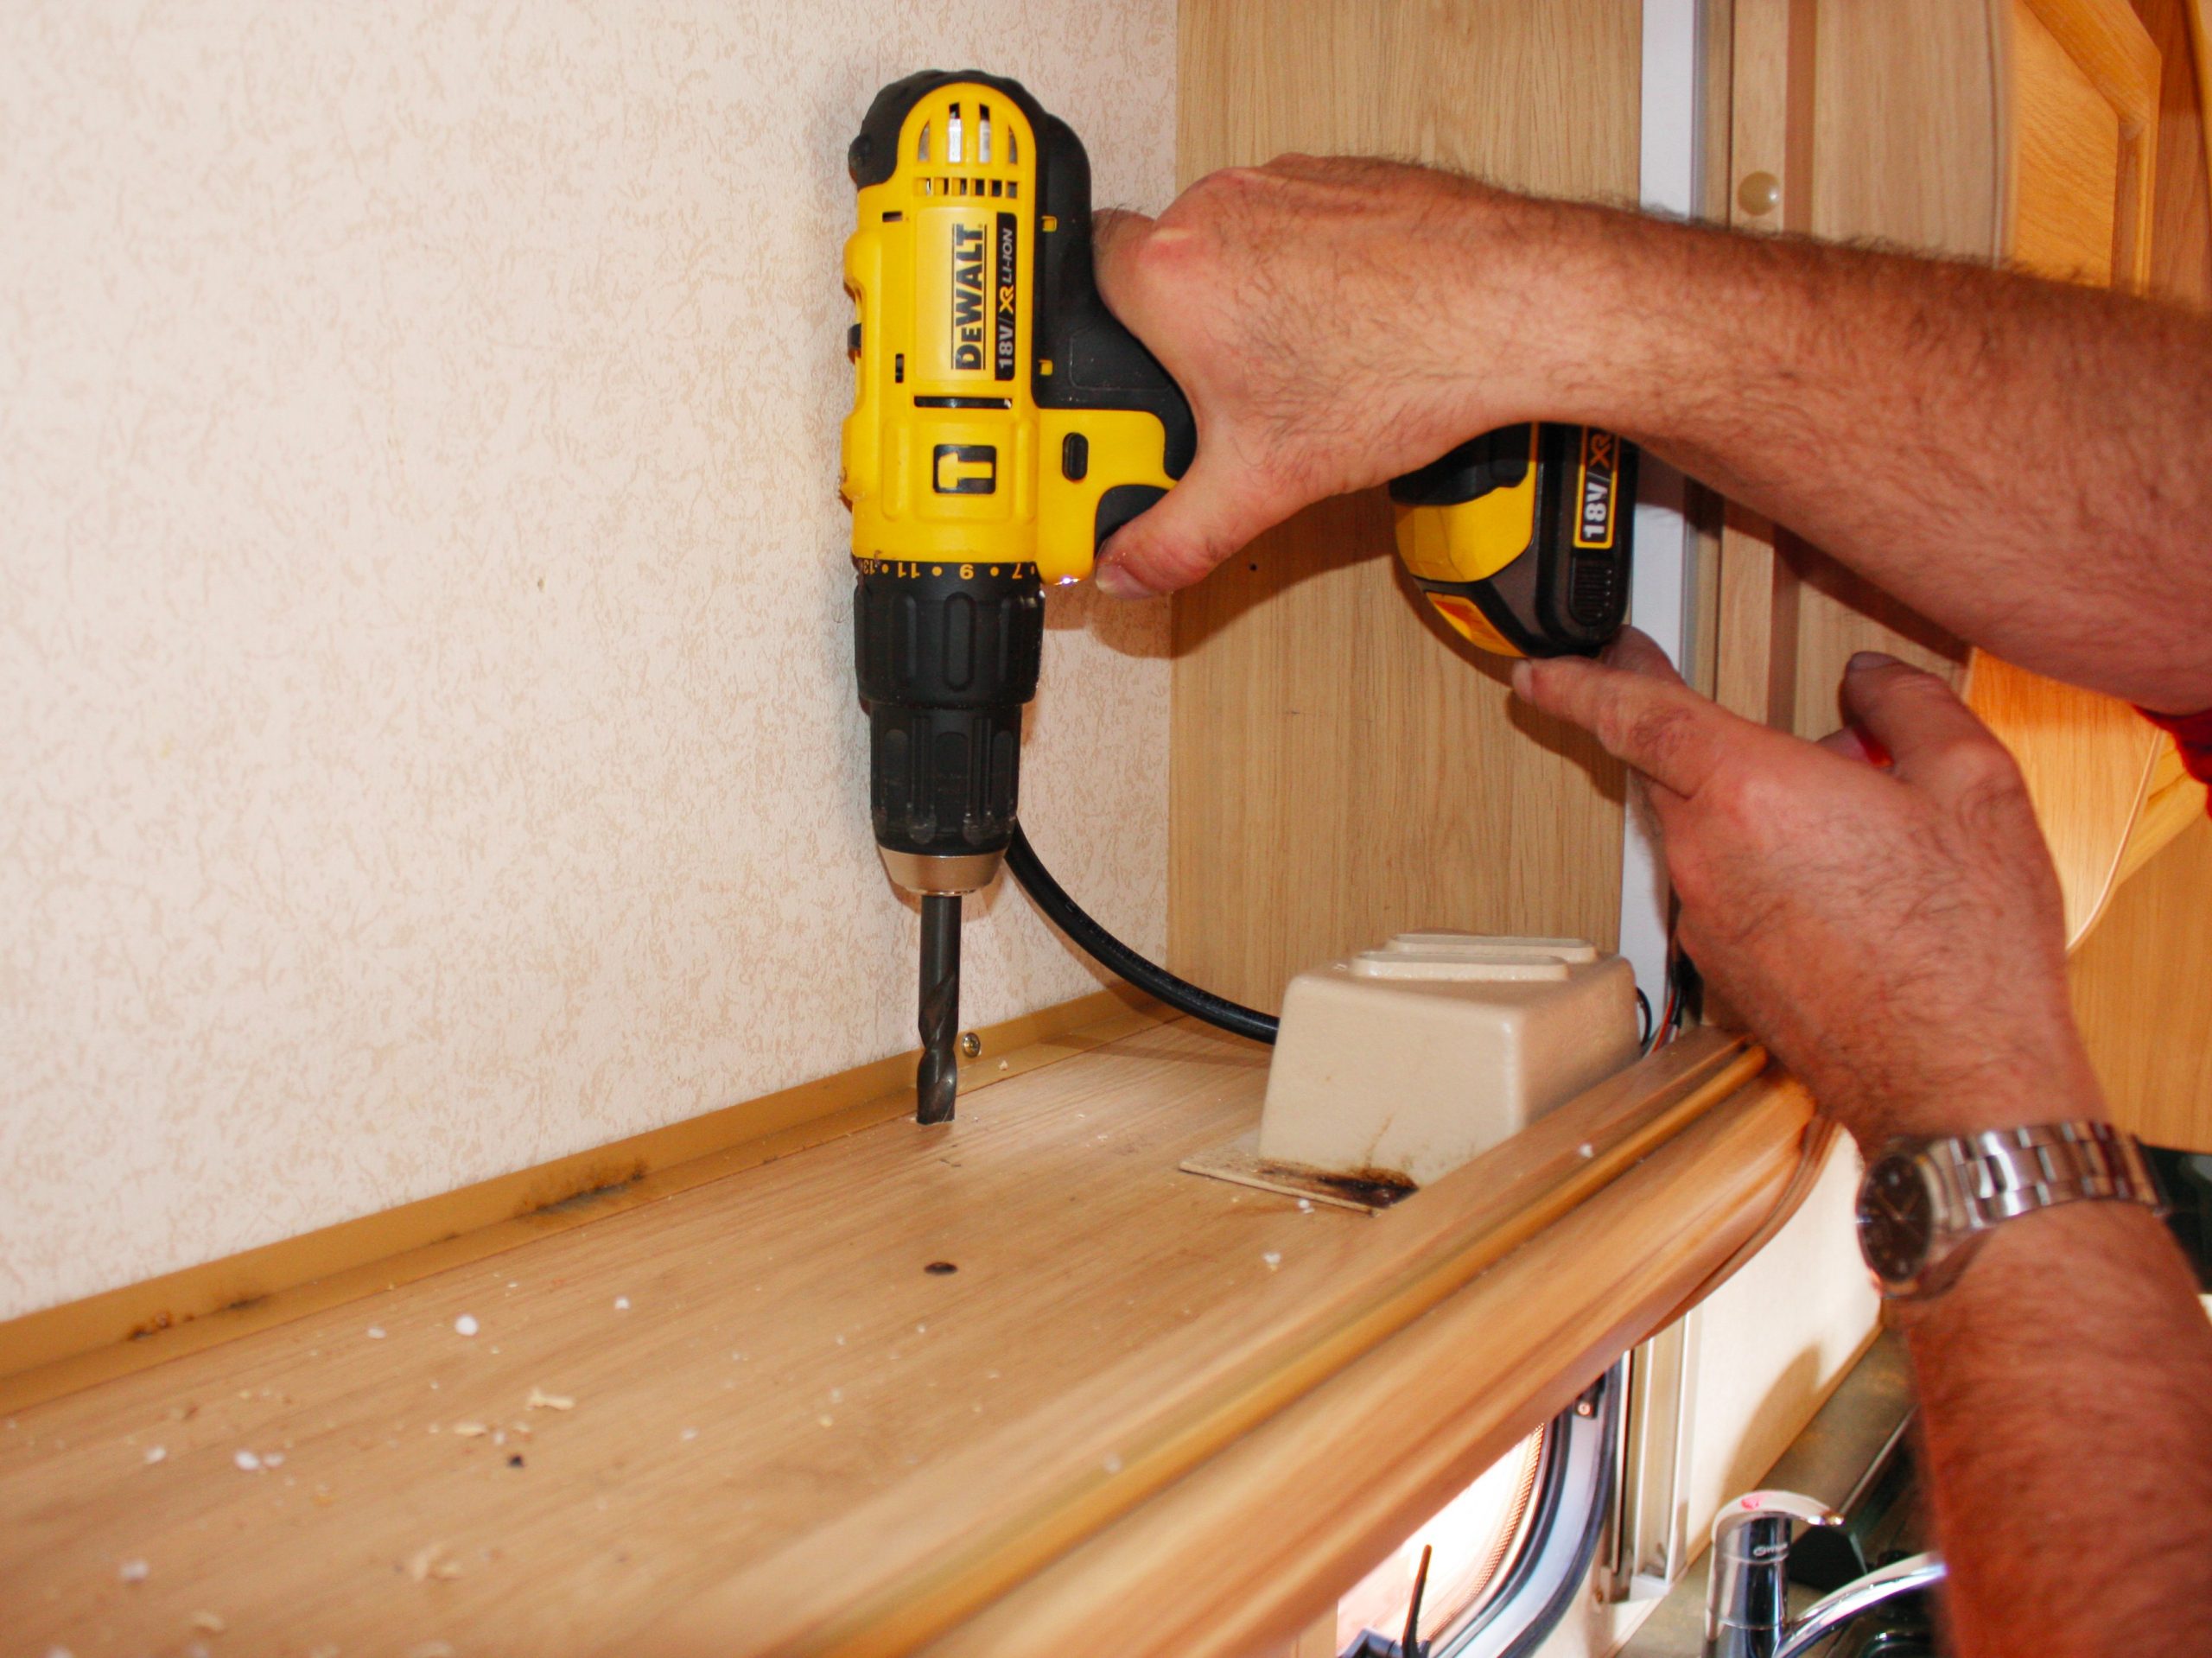
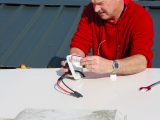
Inside the caravan, you need to determine where the control/charger unit will be fitted. We chose to mount ours inside the overhead locker where the solar panel cable fed in. The latter was cut to the required length, then hidden inside some self-adhesive trunking (bought from a DIY store). The ends of the wires were then fitted with electrical crimps.
After drilling a 12mm hole through the bottom of the locker (and behind a pelmet), the remainder of the cable was fed through and into the bed base beneath. Once again, self-adhesive trunking was used to keep the job neat. The wires in the end of the cable within the locker were trimmed and fitted with crimps.
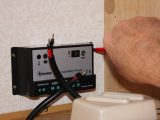
Next, the control/charger unit was secured to the wall of the van using short screws (ensure yours aren’t long enough to penetrate the outside wall!). The connections from the solar panel, and the cable from the battery, were then connected in the appropriate places (pictures on the unit show where these need to be made).
The cable leading to the battery was cable-tied to others along the floor of the bed base, before being passed into the battery locker (with the battery removed). This required another 12mm hole to be drilled and the cable fed through, and any gaps then sealed.
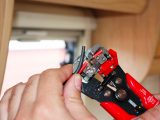
Outside the van, cut the cable to the same length as the caravan’s battery leads. We were able to attach the cables to the control/charger unit directly to the battery connectors (as well as the caravan’s leads). As is usual, the red wire attaches to the positive connection, and the black goes to the negative. Cable-ties were used to keep things tidy.
Truma recommends fitting the supplied temperature sensor, especially if an AGM (Absorbed Glass Mat) battery is used, but we were unable to do so due to lack of space in the battery locker. If it is fitted, it attaches to the side of the battery as close to the positive terminal as possible, then the wires are fed back to the control/charger unit and connected (as shown on the unit). This cuts the charge from the solar panel if the battery gets too hot.
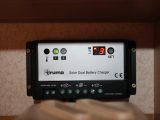
With the battery connected, the system should now be operating, and the green LED illuminated. You need to select the type of battery you have (in our case, H3 – Liquid Electrolyte), as well as the charging current distribution (used on motorhomes when there’s another battery for starting the vehicle) and the PWM (Pulse Width Modulation) charging frequency. The default setting is 25Hz.
Fitting a solar panel may sound daunting, but it’s relatively simple