


I love to explore Britain and further afield with my caravan and often find that my travels take me down remote country roads. Farmers tend to cut their hedges only in the winter months to avoid disturbing the wildlife, so come spring and summer, the roadside can be a tangle of undergrowth.
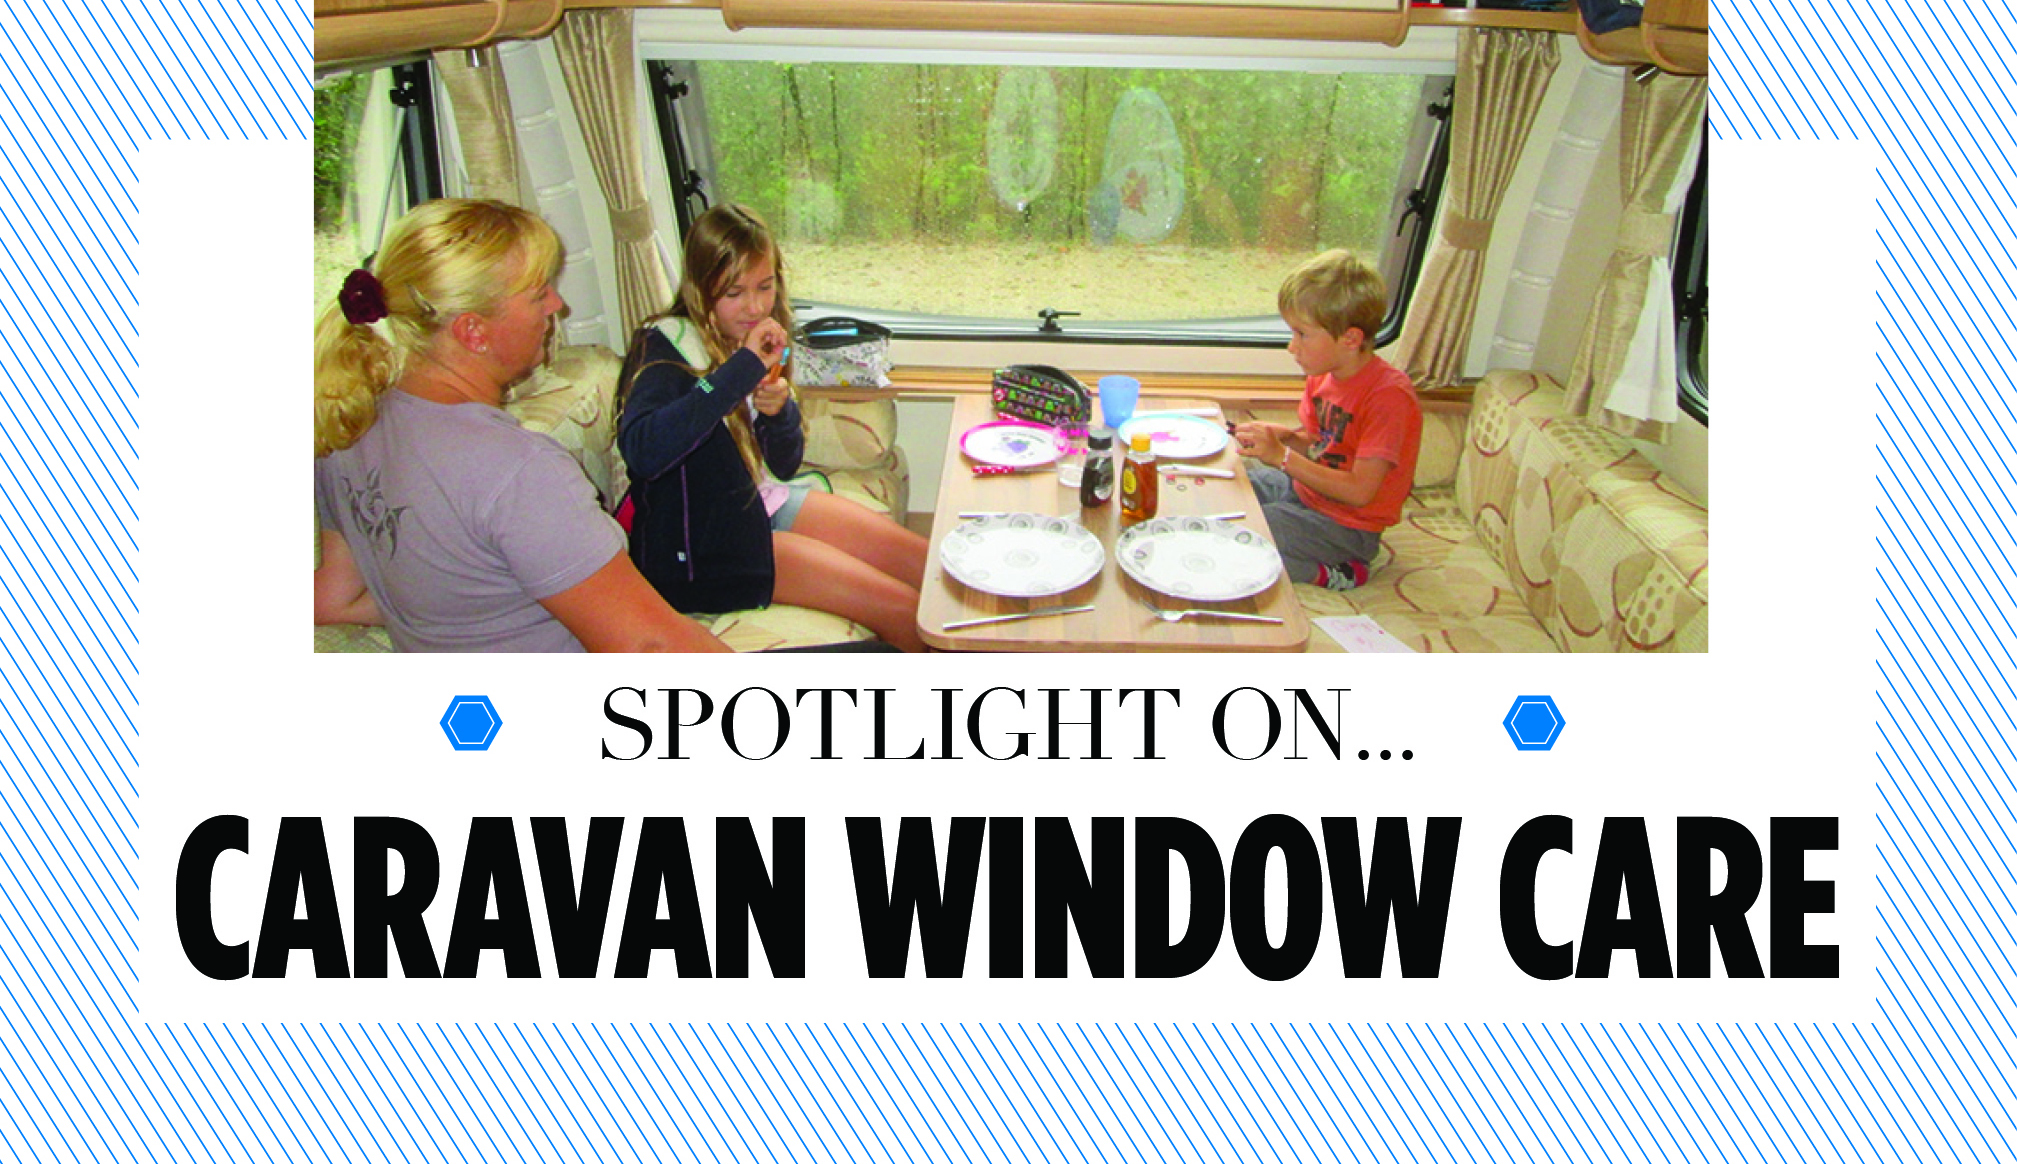
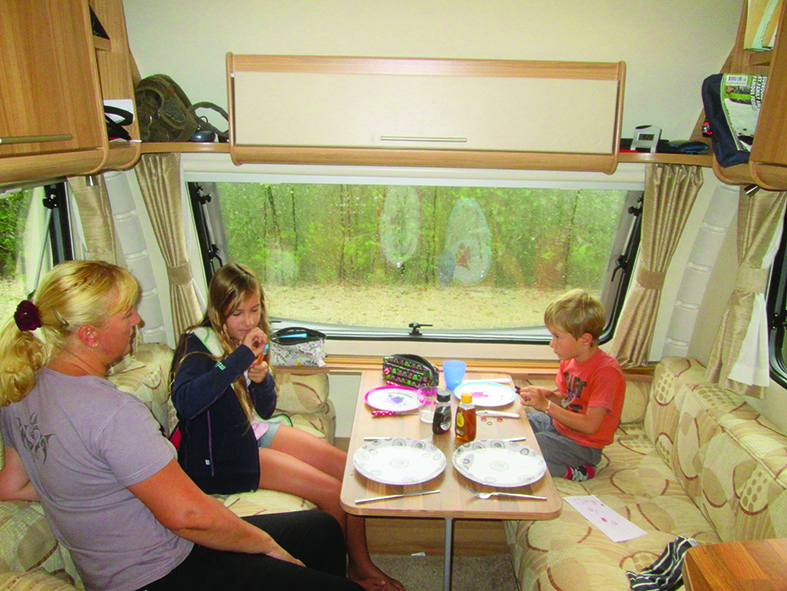
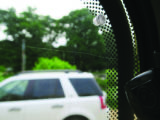
This brings me to my point. We all hate that scraping sound we hear as we make contact with the bushes, while avoiding oncoming traffic don’t we? And while I’m grumbling about pet hates I find it frustrating when we pitch up at a site and then relax with a cup of tea or a glass of wine, looking forward to enjoying the view from the caravan windows. Unfortunately, all we can see are dead bugs and road grime.
So let’s explore some ways to improve the perspective.
Window care

Cleaning acrylic windows is not the same as cleaning glass ones. Use the wrong product and it could permanently damage the window, requiring an expensive full replacement.
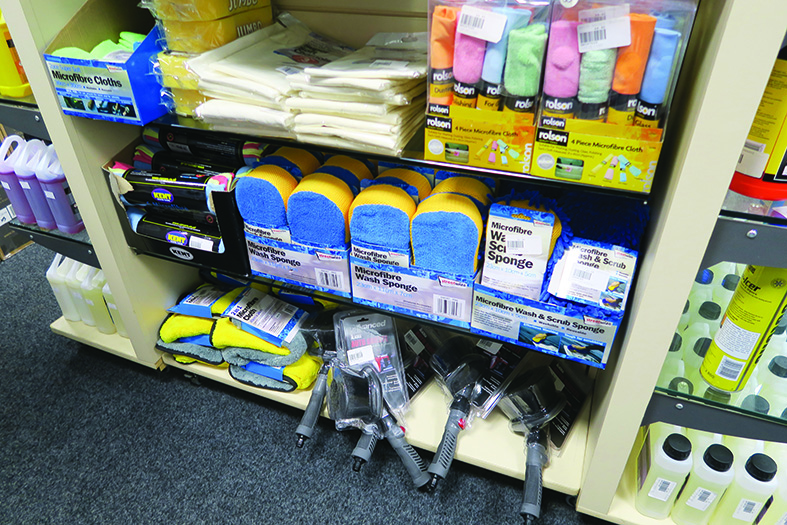
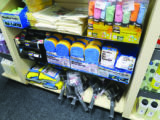
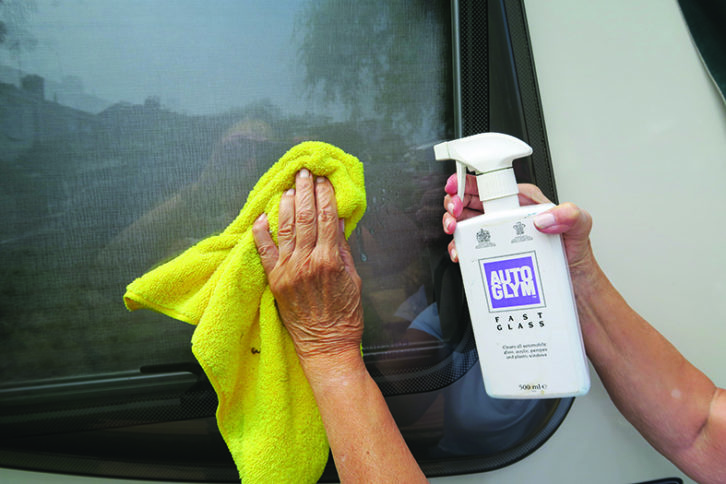
There are many specialist window-cleaning products on the market designed just for caravans, such as Autoglym Fast Glass, Caravan Acrylic Window Cleaner and Duplex Plastic Protection, to name but a few.
And a word of warning here – never use methylated spirit to clean your acrylic windows, because this will cause the window to crack or craze.
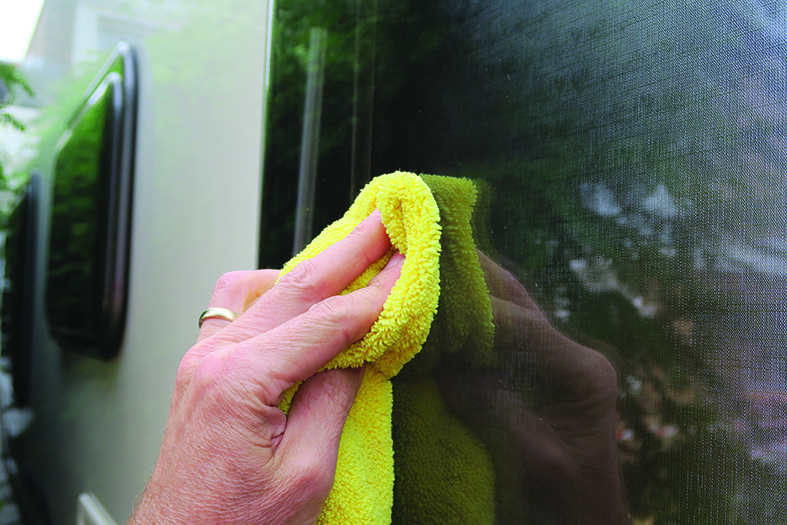
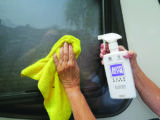
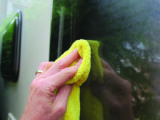
For the best results, when applying cleaning products, use a microfibre cloth or an open-weave cotton cloth.
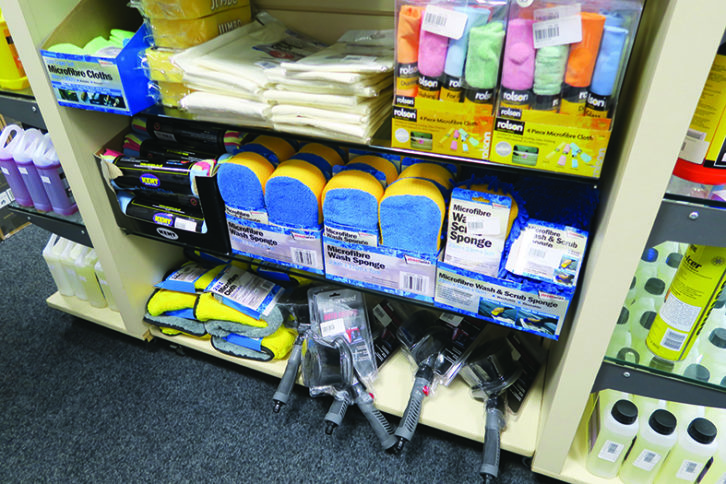
The gaps in the material will allow any loose grit that you pick up to sink into the fibre, preventing it from scratching the window further.
Take a trip to your local caravan accessory shop to see a good selection of products.
I always take a bottle of window-cleaner with me on my tours, so after arriving on pitch, I can give the windows a good clean, and then the dead bugs don’t impinge on my view.
Repair a scratched window
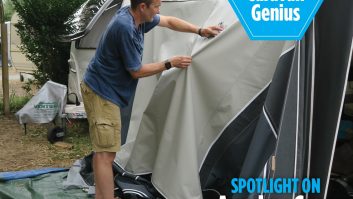
It’s not just the hedgerows that can contribute to scratches on your acrylic windows. If you use a caravan cover and forget to wash the van before fitting it, dirt and grit will sit under that cover and when the wind blows, the cover ends up acting like sandpaper. I always mash my caravan before fitting a cover.
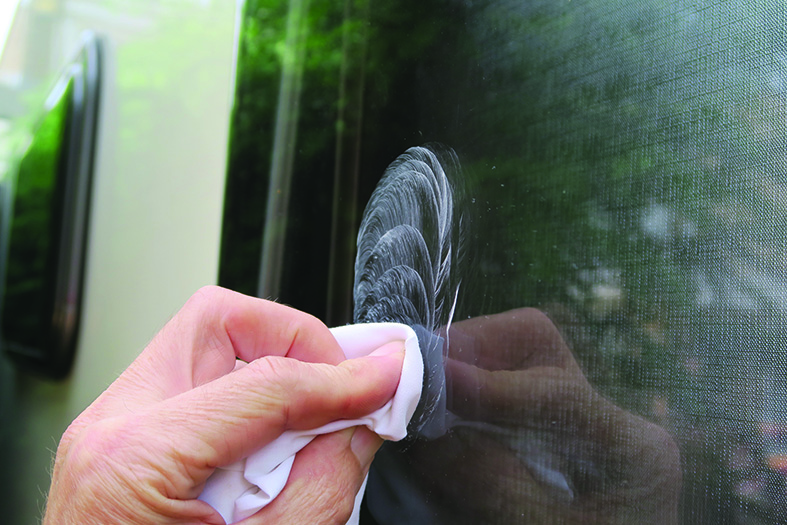
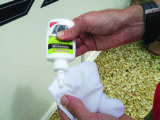
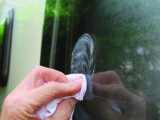
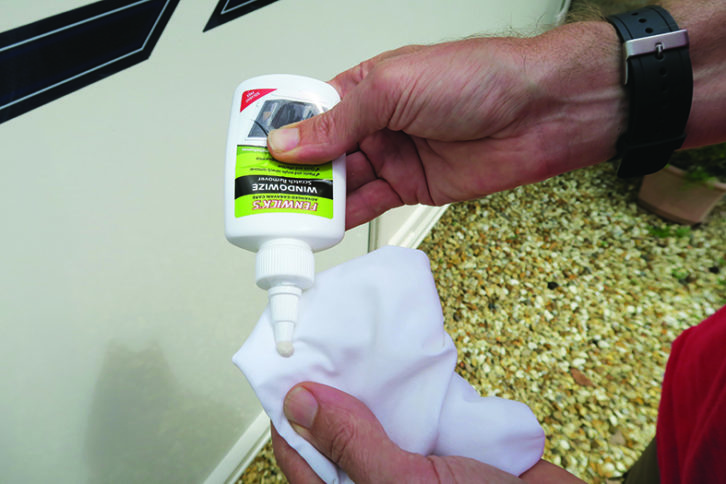
I decided it was time to repair some of the scratches on my acrylic windows, and I used a product called Fenwick’s Windowize. This will only tackle light scratches – deeper ones might entail replacing the whole window.
Step 1
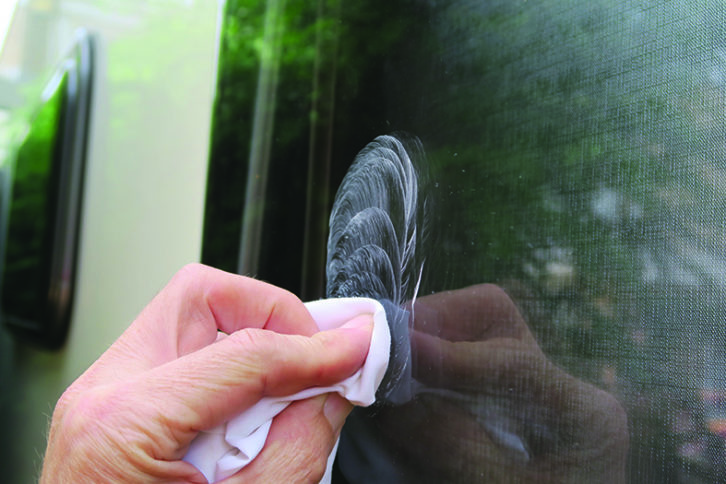
Step 2
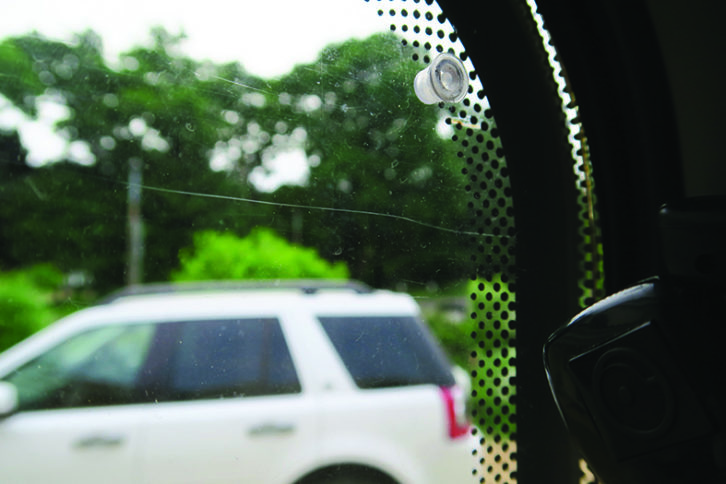
Step 3
Step 4

Step 5
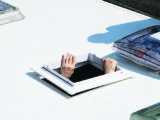
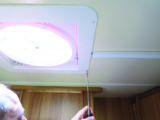
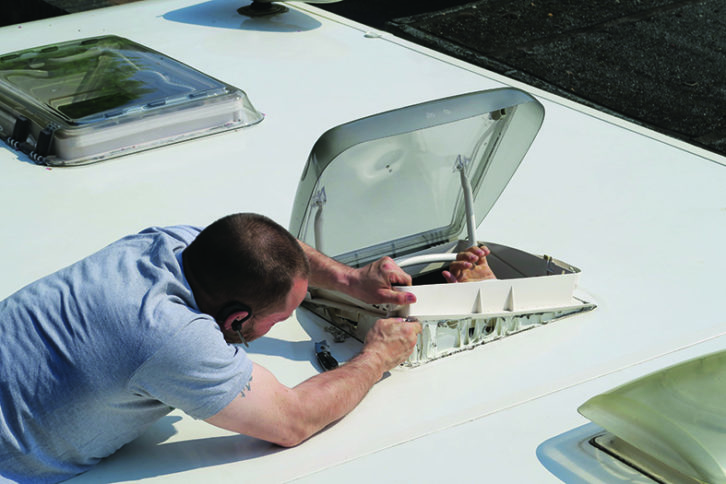
Upgrade a tired skylight
Skylight windows in caravans are also acrylic and can be just as prone to scratching and degradation as side windows.
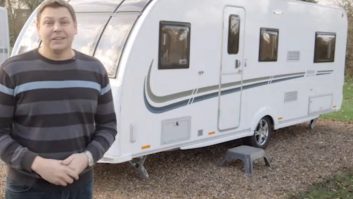
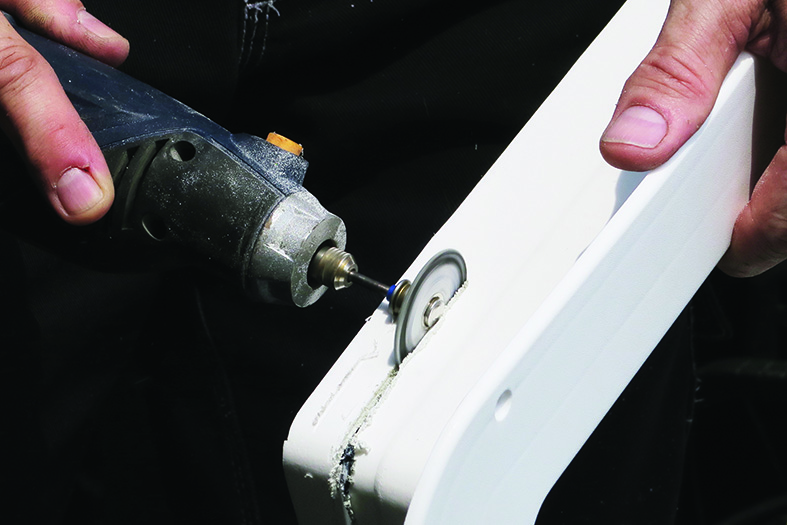
Although my caravan is only five years old, I found that some of the plastic mechanisms on the skylights had become brittle and started to snap off.
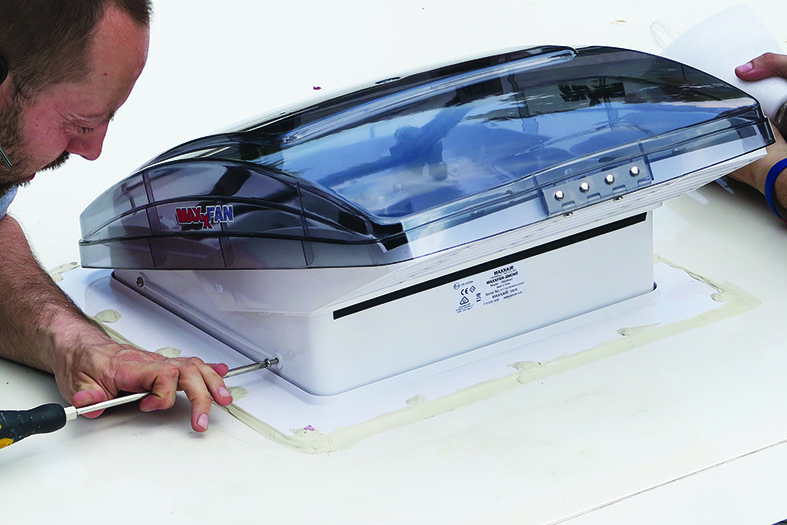
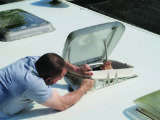
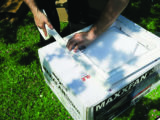
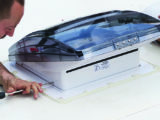
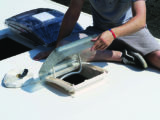
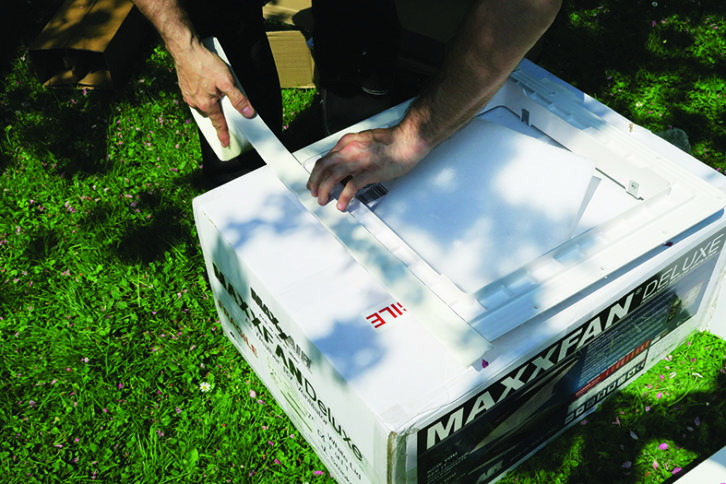
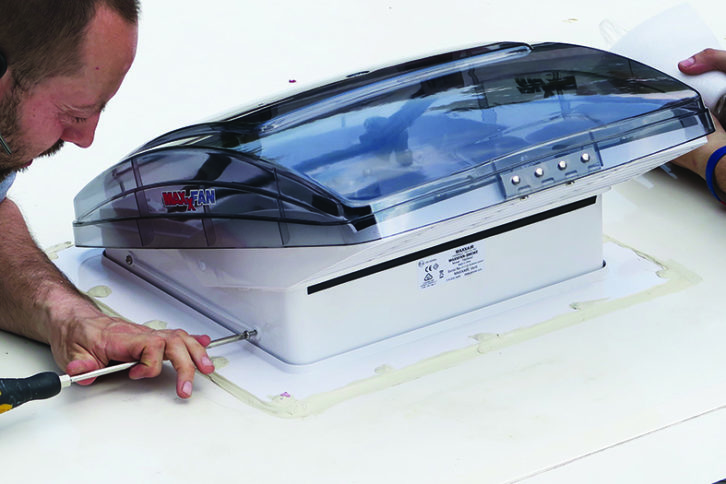
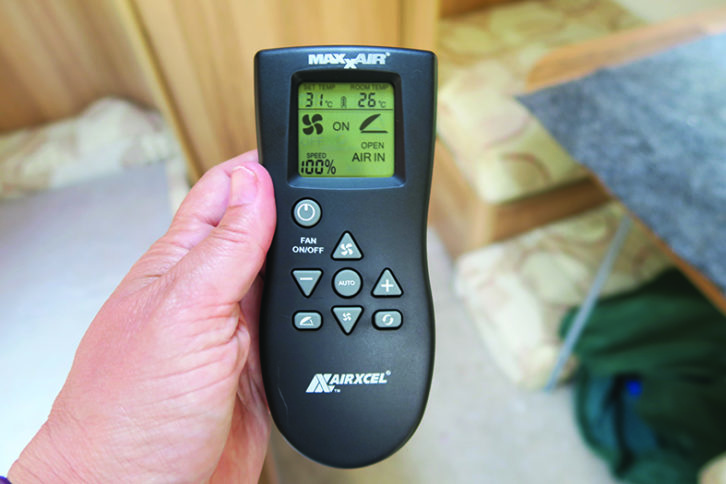
Researching some possible replacements, I came across the MaxxFan, a skylight with a fan incorporated within it.
We tend to spend the summer season in Spain and thought that this would be an excellent option to help keep our family cool during the heat of the day. It would also avoid the necessity of fitting an air conditioning unit, which can be costly and heavy.
We also fitted a Dometic Micro Heki to replace the bathroom skylight, which was falling apart. This involves a similar procedure to fitting the MaxxFan, but minus the electrics Overall, I was thrilled by the results.
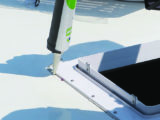
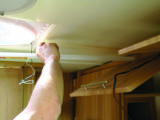
Step 1
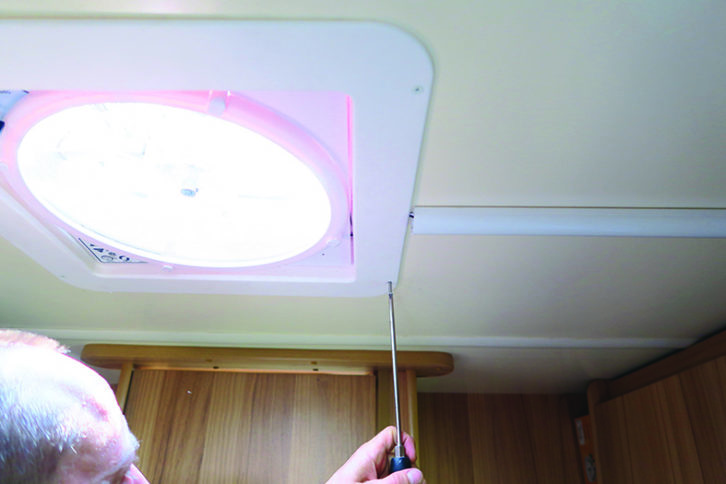
Step 2
Step 3
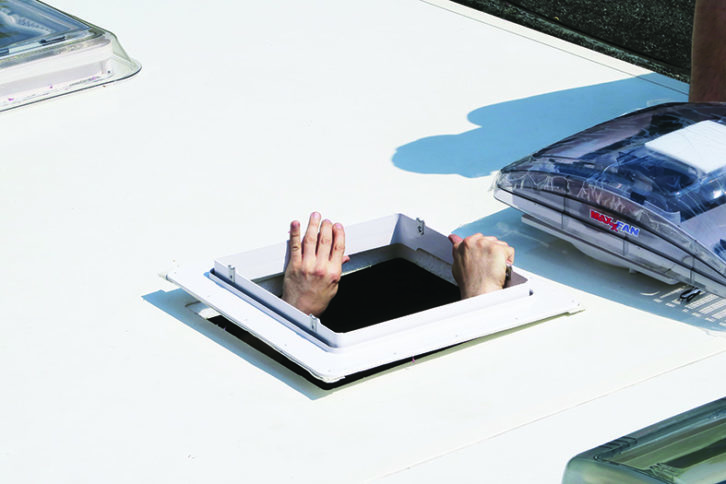
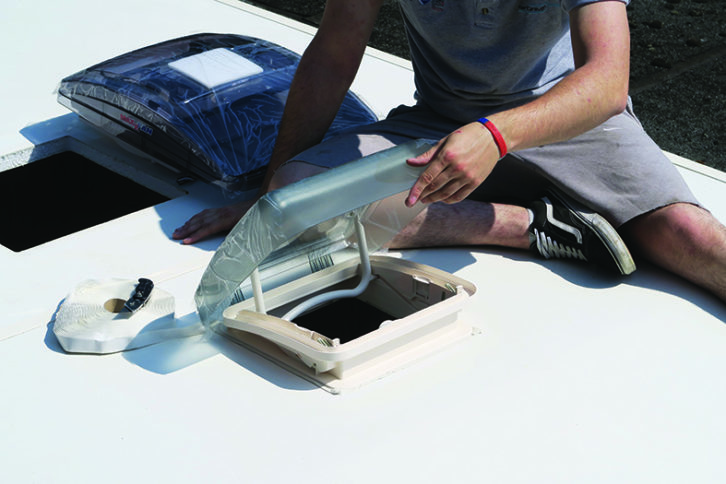
Step 4

Step 5
Step 6
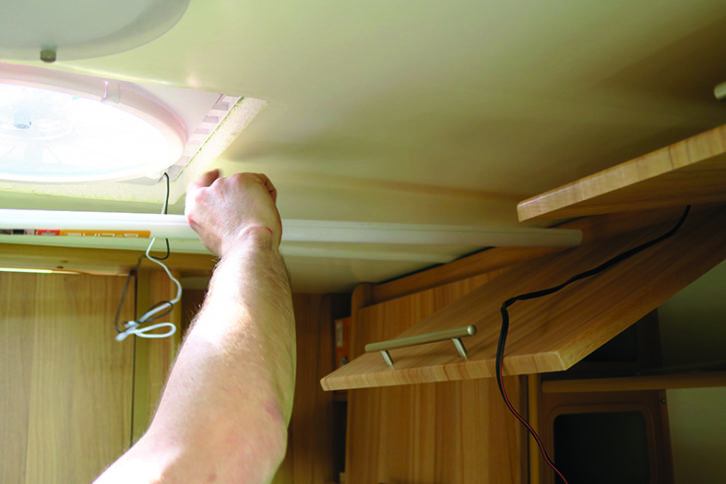
Step 7

Step 8
Step 9
Step 10
Top tips
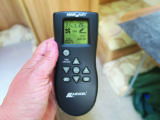
- Measure the thickness of the roof to select the correct model of skylight – this measurement can also be found in the manufacturer’s handbook
- Always carefully read the instructions before fitting and check that you have all of the components needed before starting the work
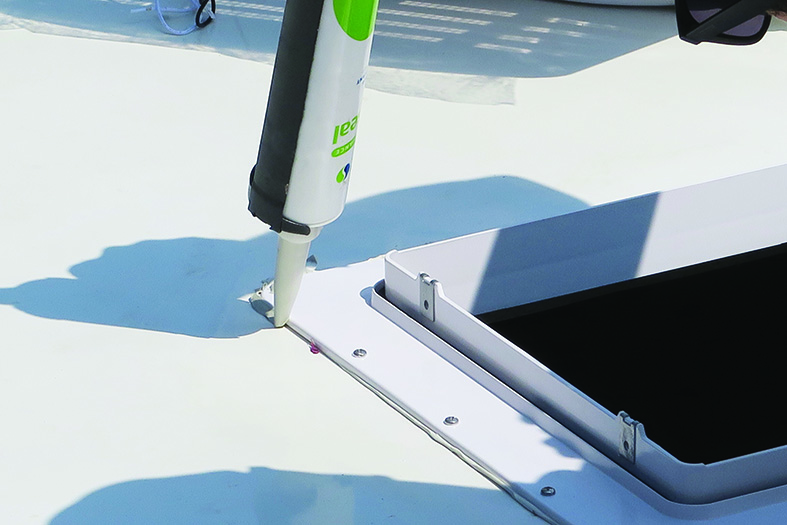
- Removing an old skylight unit on a hot day can be advantageous – the sealant will be more pliable than it is in cold weather
Final thoughts
All is not lost if you have a light scratch on your acrylic window or the skylight has seen better days. If the thought of repairing a skylight fills you with tread, contact a local dealer or mobile caravan engineer, particularly if there are electrics involved.
If you liked this… READ THESE:
Top gadgets for staying safe on tour
If you’ve enjoyed reading this article, why not get the latest news, reviews and features delivered direct to your door or inbox every month. Take advantage of our brilliant Practical Caravan magazine SUBSCRIBERS’ OFFER and SIGN UP TO OUR NEWSLETTER for regular weekly updates on all things caravan related.
Future Publishing Limited, the publisher of practicalcaravan.com, provides the information in this article in good faith and makes no representation as to its completeness or accuracy. Individuals carrying out the instructions do so at their own risk and must exercise their independent judgement in determining the appropriateness of the advice to their circumstances. Individuals should take appropriate safety precautions and be aware of the risk of electrocution when dealing with electrical products. To the fullest extent permitted by law, neither Future nor its employees or agents shall have any liability in connection with the use of this information. You should check that any van warranty will not be affected before proceeding with DIY projects.
Always wash your caravan before covering it up, or the cover can act like sandpaper on any trapped grit