


If it weren’t for the motor mover, there wouldn’t be nearly so many caravans being used in the UK. A bold claim perhaps, but when you consider the number of more mature caravanners who continue to enjoy our pastime because they are able to manoeuvre their tourers at the press of a button, rather than giving up because they can’t manhandle their tourer up the gentlest of slopes, it’s not such a controversial statement. Indeed, my wife Kay and I would certainly struggle at times with our caravan, even at our tender ages.
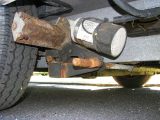
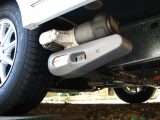
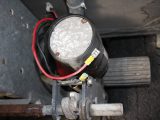
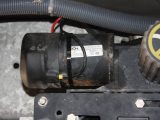
With the exception of the electronic control unit (which should be kept nice and dry inside the caravan), the caravan motor mover is a relatively simple and robust piece of kit, but because most of the moving parts are in the firing line from the road wheels (and that applies whether the mover is fitted in front of or behind the axle), a bit of maintenance every now and then won’t go amiss.
There are a number of different movers on the market: some have manual activation, some electric, and some use manual cross-actuation (when both movers are engaged at the same time from one side). The types of rollers (the parts that connect with the caravan tyres) also vary. Early examples often had grit in resin to create the drive surface, but most have been superseded by extruded-aluminium cogs.
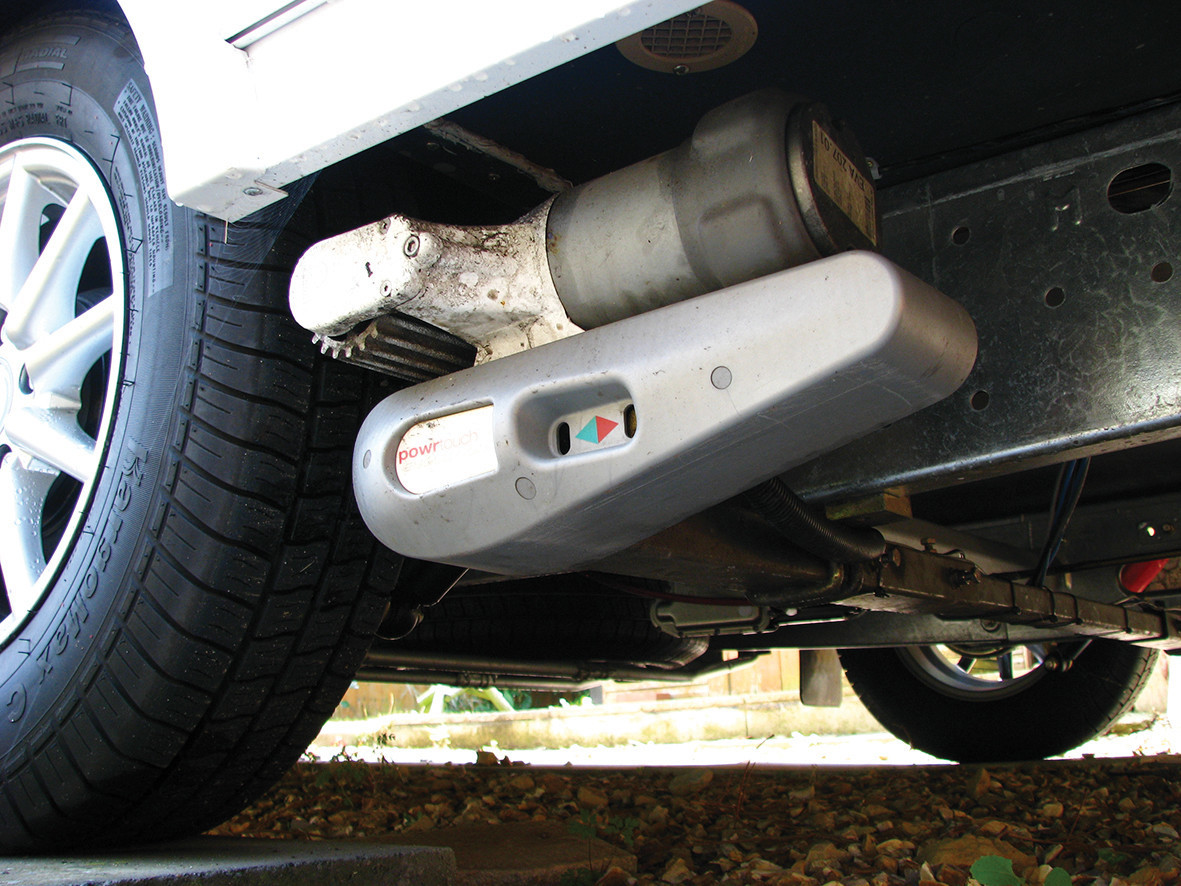
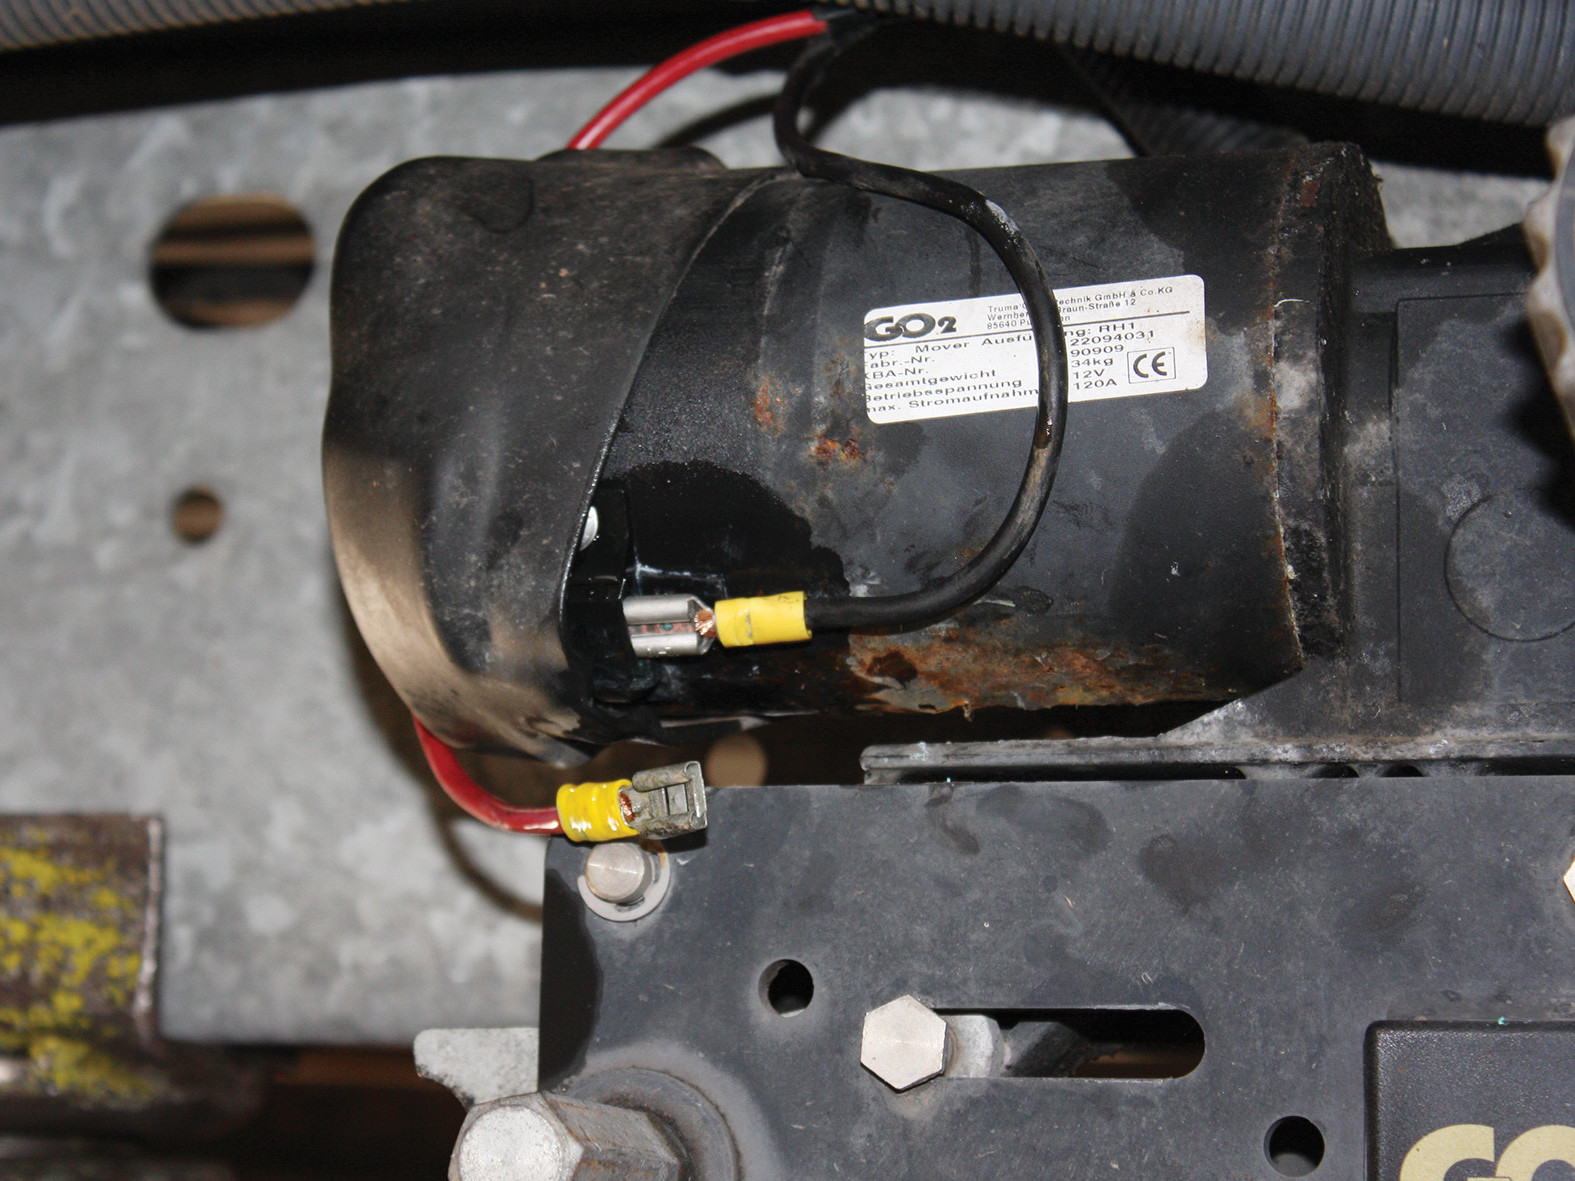
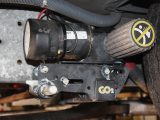
The movers we used were an early, but still functioning, Carver with manual engagement and cross-actuation; a Go2 by Truma; and a fairly new, fully electric Powrtouch Evolution.
The tools required for this job are very simple, too.
You will need
- Degreaser
- Spray grease or oil can
- Penetrating oil (such as WD40)
- Wire brush
- Cloth
- A selection of spanners (we used 2 x 13mm and 17mm)
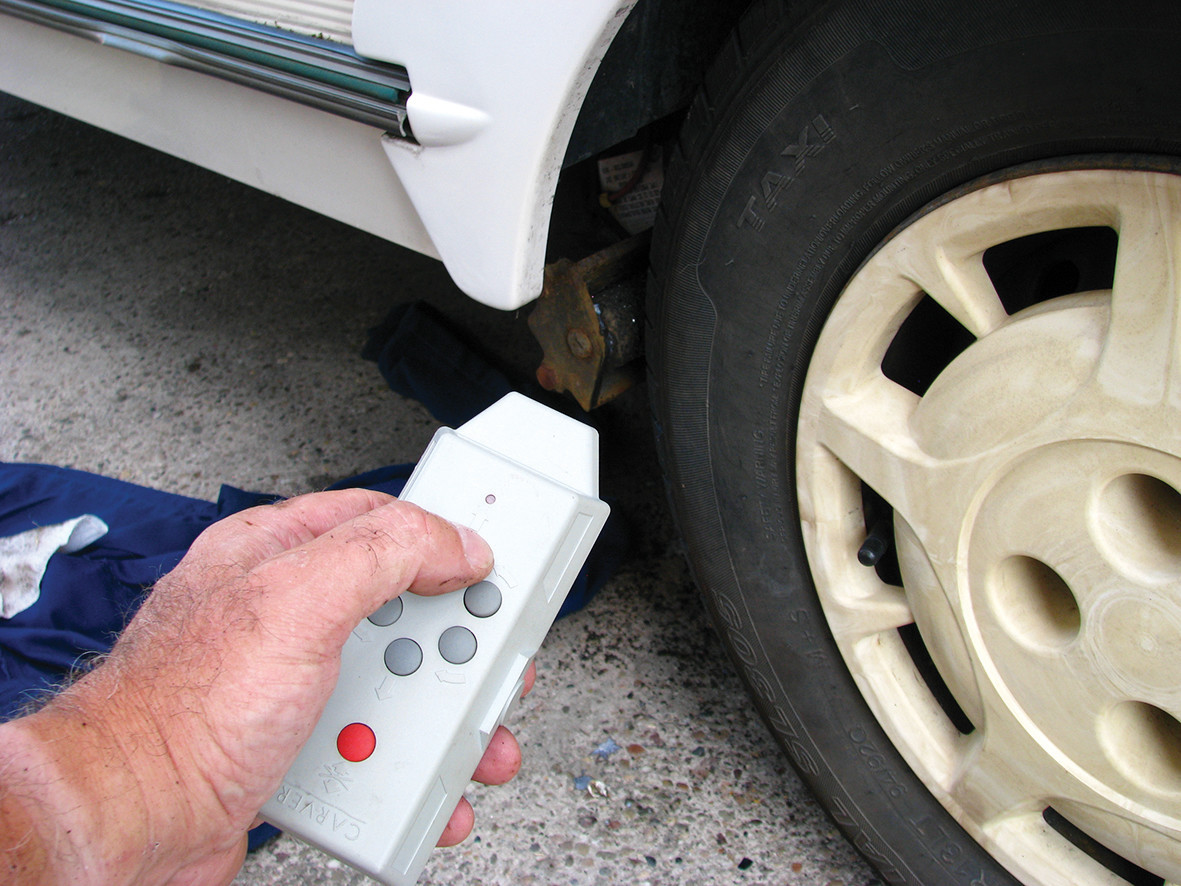
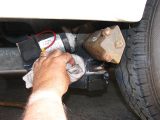
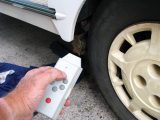
First of all, we’ll assume that the mover is working correctly and just needs cleaning and lubrication. Because you will not be moving the caravan, ensure that the handbrake is applied, the wheels chocked, and the corner steadies are down. Whether your mover has electric engagement or manual, engage and then disengage the unit to see which parts move, because these are the points that need lubrication. There will be both pivots and sliders, and in some cases the outside workings may have a plastic cover, which should unclip.
Important safety note
Always remember to disconnect the power to the mover before putting hands and tools near moving parts!
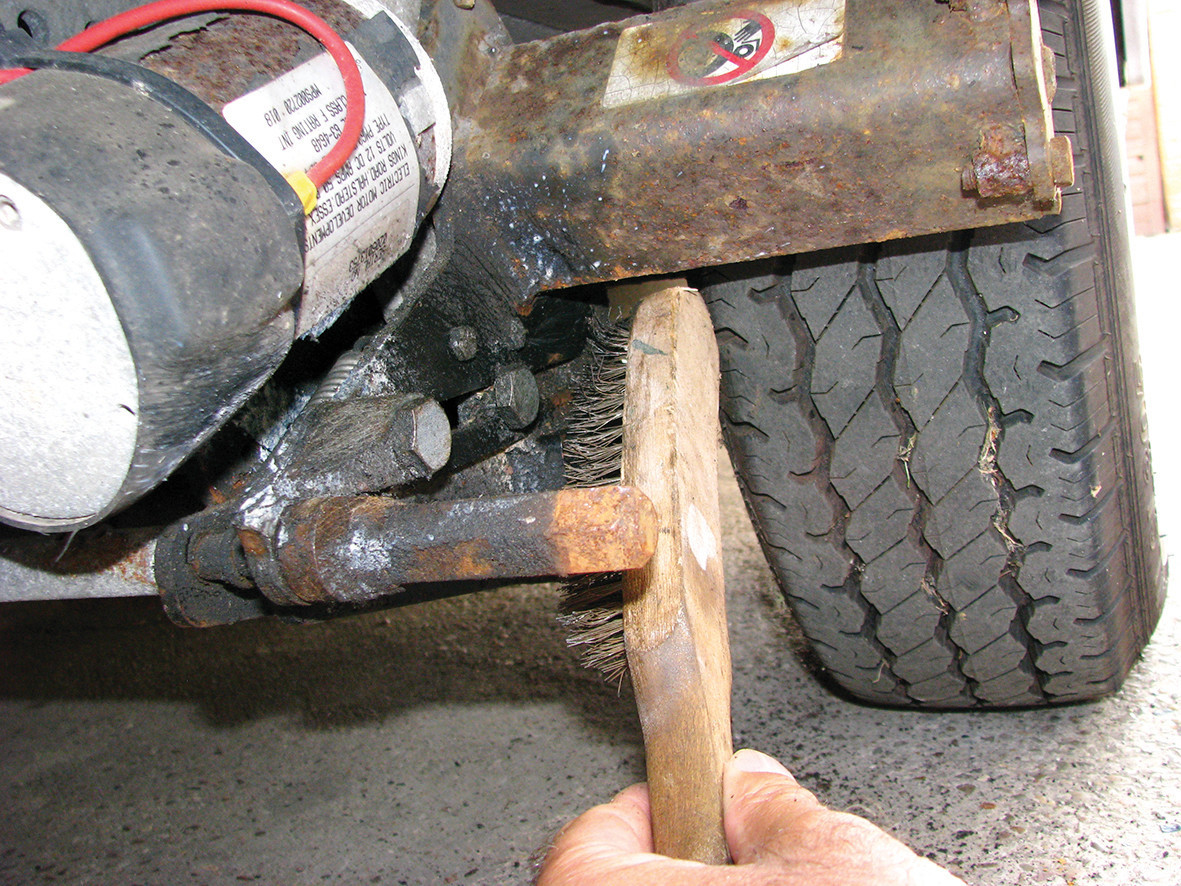
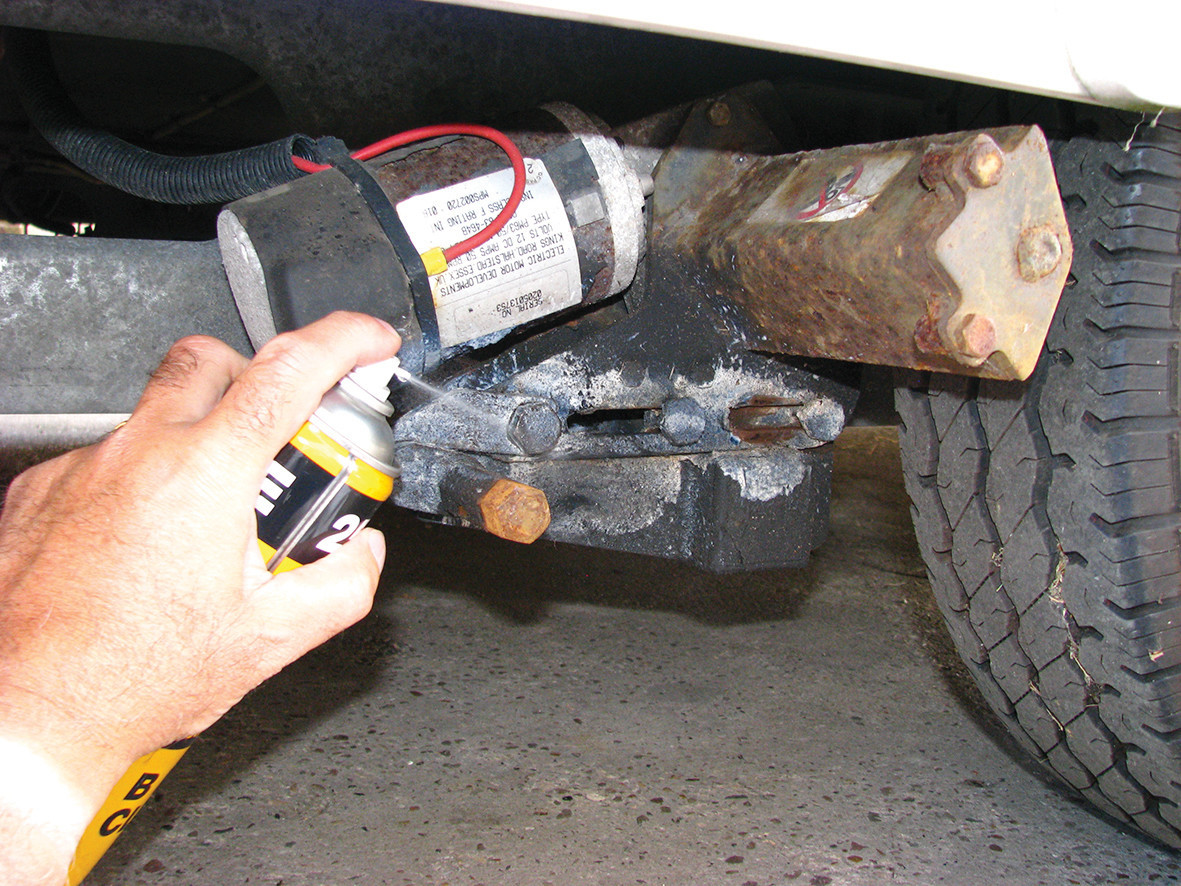
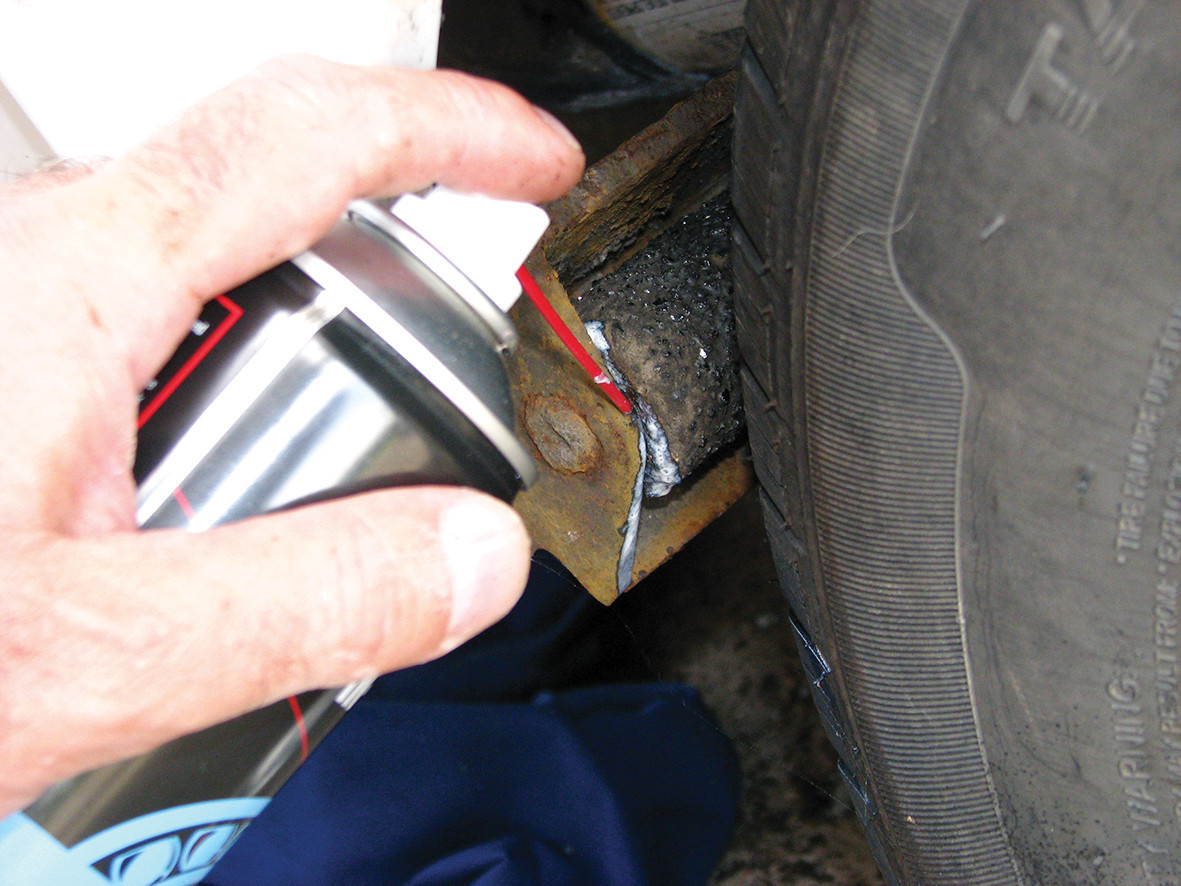
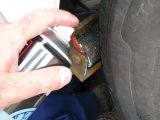
Start by cleaning it up
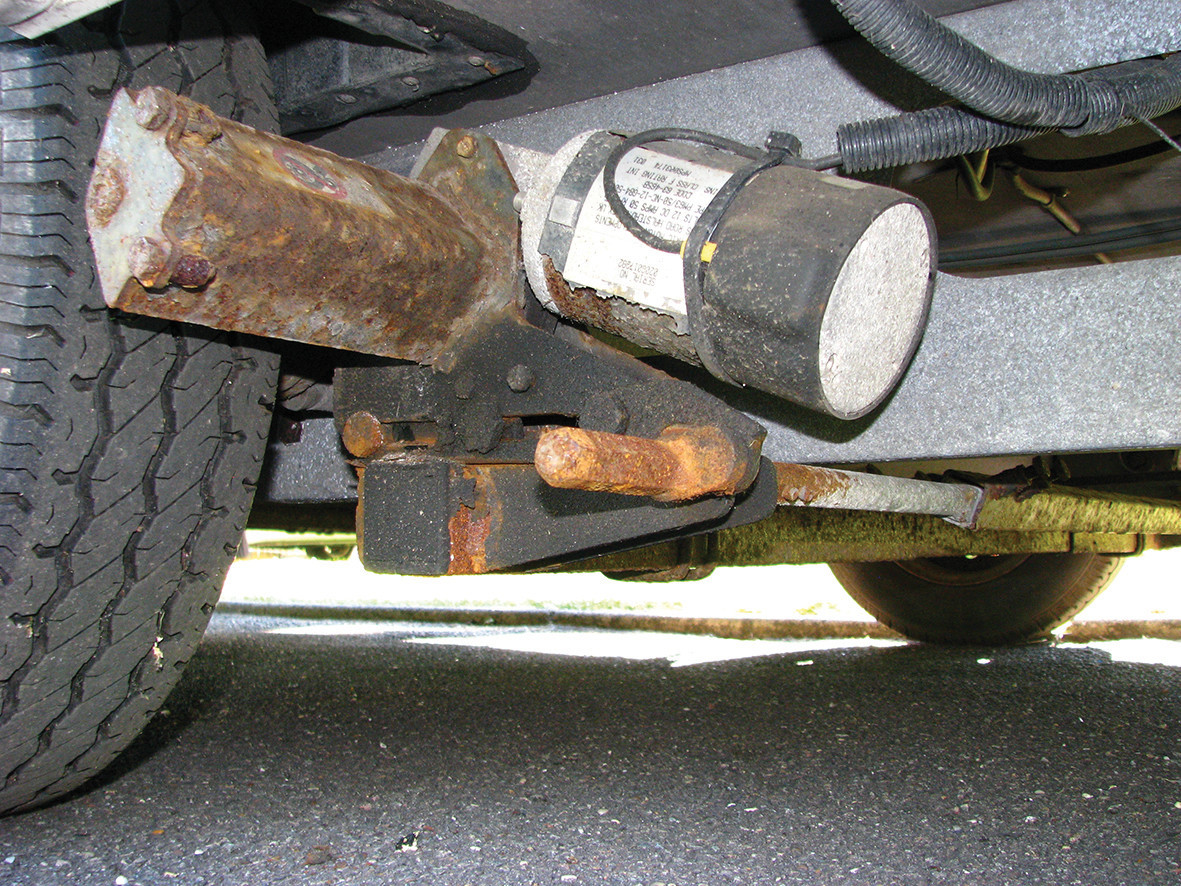
In the photos we’ve shown how to maintain the Carver motor mover, but the same principles apply to other brands.
Starting on one side, brush off any loose grime from the moving parts. Don’t forget the parts on the inside (they usually reflect those on the outside). Once you’ve removed the worst of the dirt, give the parts a clean using a degreaser and a cloth. It’s probably worth engaging the mover again at this point, because parts that you couldn’t see or reach will be exposed so you can clean them as well.
If it moves, grease it
If you’re happy that the device is as clean as you’re going to get it, lubricate all of the moving parts with spray grease or clean oil from an oil can (check in the manual or with the manufacturer for recommended lubricants), not forgetting the parts on the inside. Wipe off any excess grease/oil, and disengage the mover. Lubricate any of the parts that are now exposed that weren’t before disengaging. It may be worth engaging/disengaging the unit several times at this stage to work the lubricant into the moving parts, again wiping off any excess that oozes out.
Repeat the cleaning/lubricating process on the other side, then check that the unit engages and disengages smoothly.
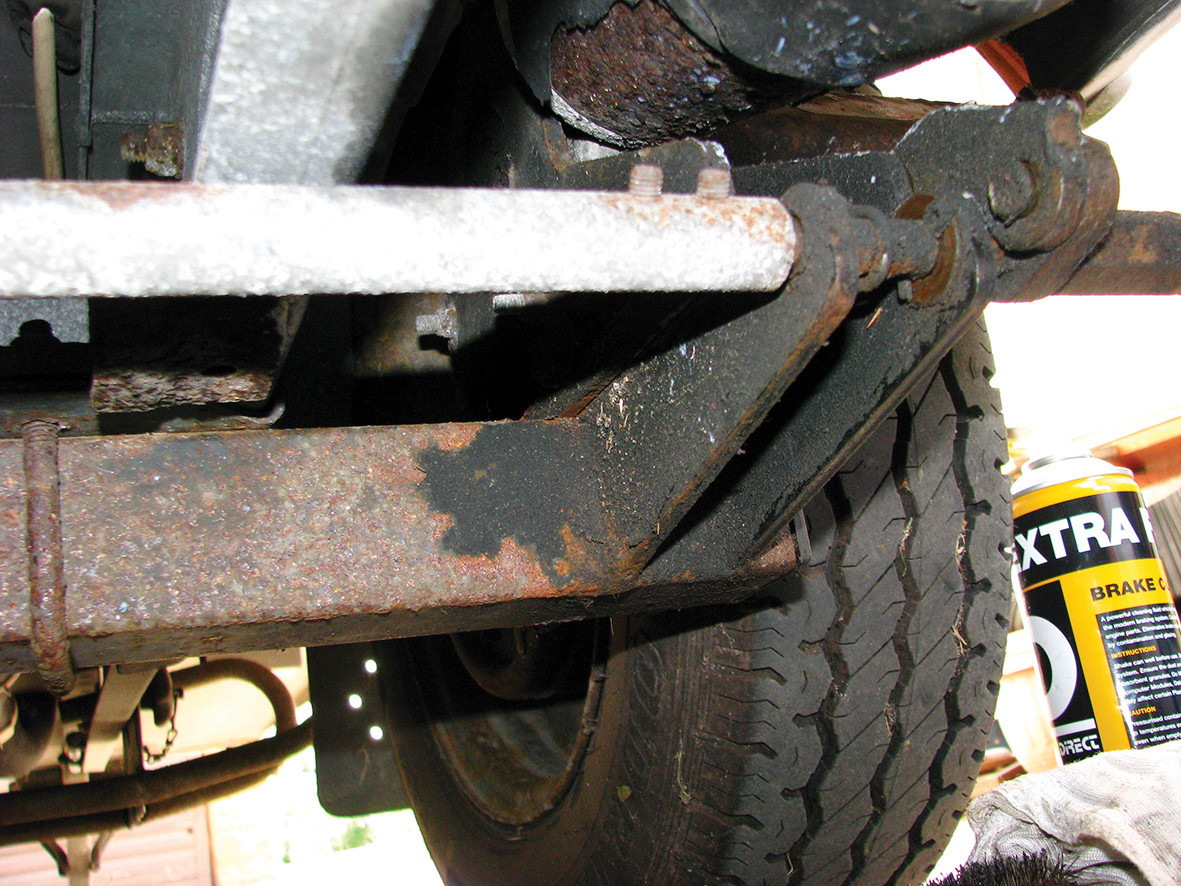
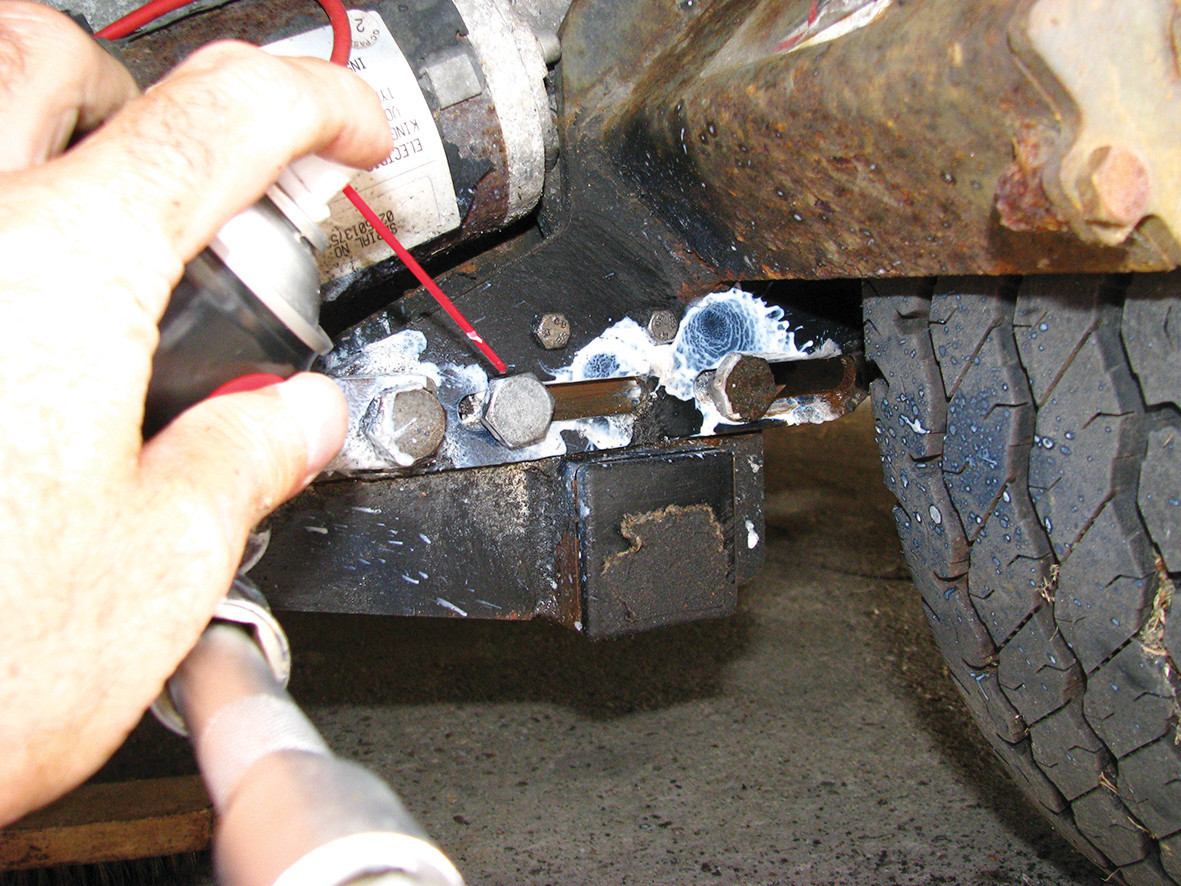
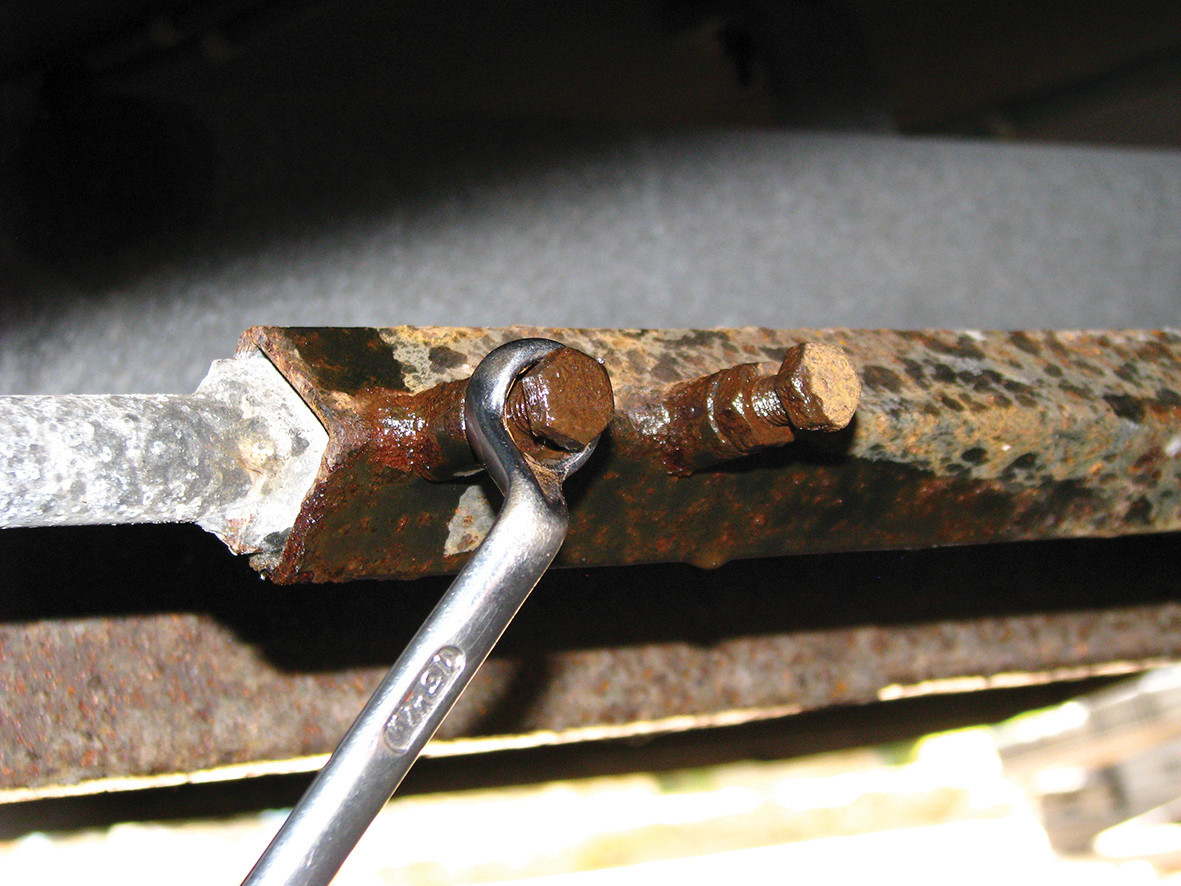
Once that has been done, check the security of the various mover-mounting bolts; these are broadly similar whatever the make. If necessary, a quick nip-up should suffice. Don’t over-tighten the nuts or bolts, especially if the mover has been fitted for a number of years, because they may have seized and could shear. (A quick spray with penetrating fluid first is a prudent precaution.)
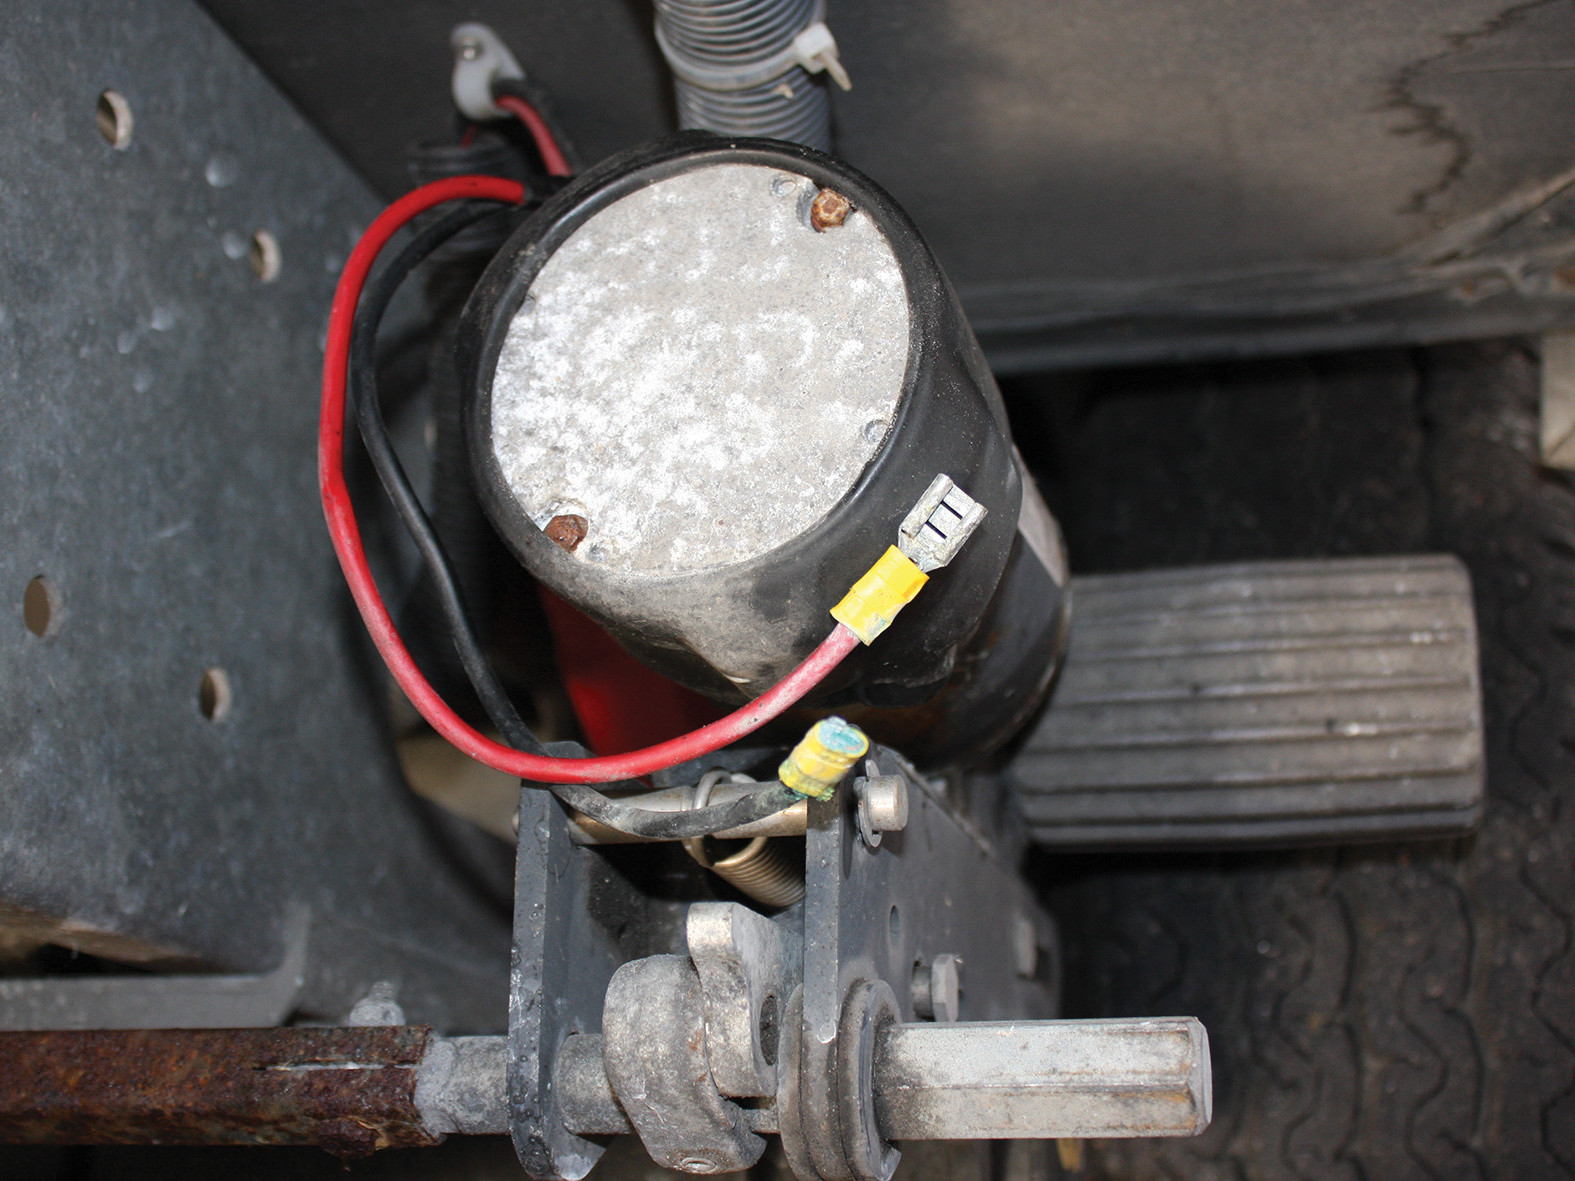
How to fix a common wiring fault
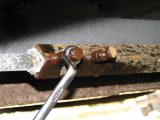
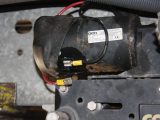
On one of our test movers (the Carver), one side was only working intermittently. The obvious causes such as the remote control’s batteries and the caravan battery were checked. Because the other side was working fine, the wiring was the prime suspect. Generally, the wires from each motor are in one piece all the way to the control unit inside the caravan, so there are unlikely to be any breaks in the cabling itself and, because the control unit should be clean and dry, the connection at the motor is the first place to look.
The connections were covered by a plastic sleeve, held in place by a large cable-tie. The tie was carefully cut off and the sleeve slid out of the way to reveal the problem. The negative connection to the motor mover had corroded badly, and the spade connector had broken off. The sleeve and cable-tie were holding the wire in place enough for a contact to be made at times, but not at others.
Fortunately, there was sufficient cable left to trim enough to reveal good wiring and, once a new spade terminal had been attached and the connections cleaned, the unit worked as good as new.
If you found this little maintenance project satisfying, why not try fitting Al-Ko side-lift jacking points, so that you can make sure your caravan is perfectly level whatever the pitch of the pitch! And if ever you should need to find spare parts for your caravan, click here for advice from Practical Caravan‘s expert John Wickersham.
Ensure that the handbrake is applied, the wheels chocked, and the corner steadies are down