


Although this project doesn’t add a new toy to your caravan, it’s a practical solution to a potential problem.
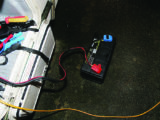
Over time, we have added several accessories that require 12V power directly from the caravan battery. If you just need one extra power supply, it’s fine to connect direct to the battery terminals, but when you need several, doing this isn’t ideal.
Add a fuse box
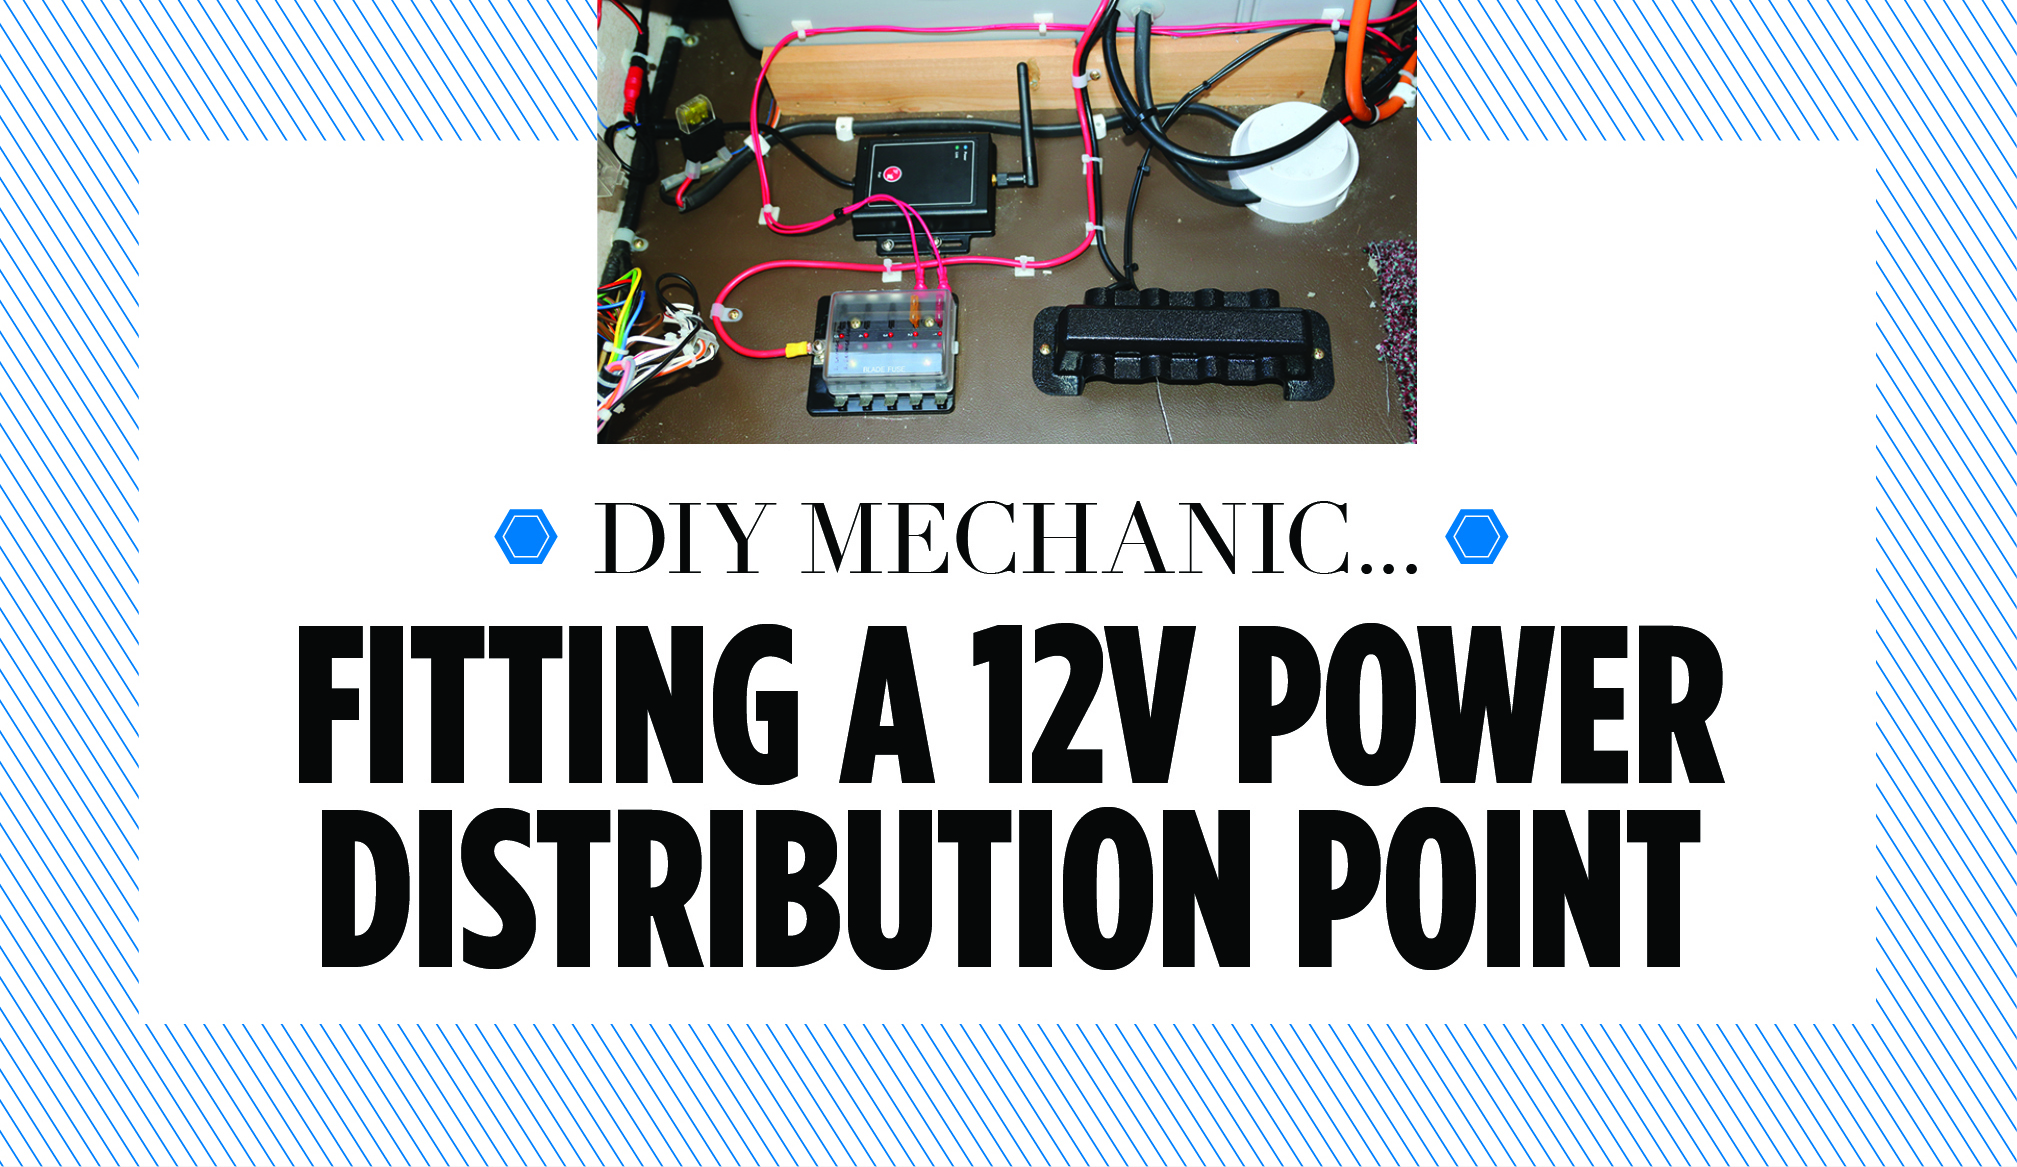
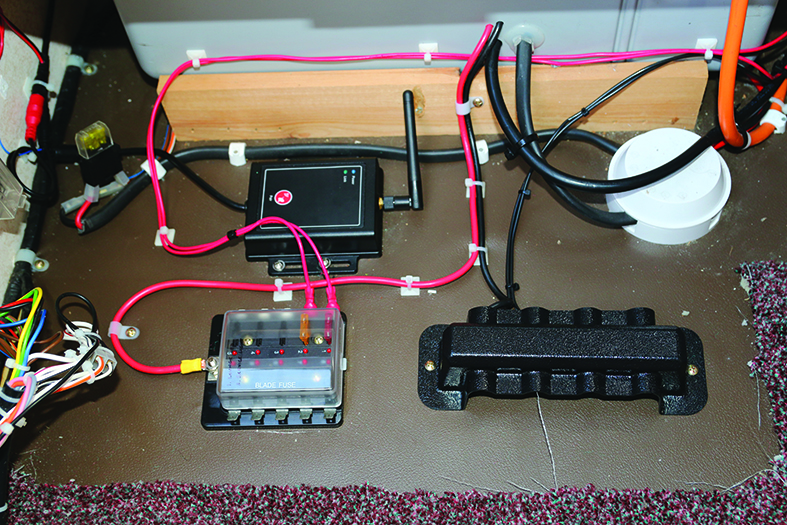
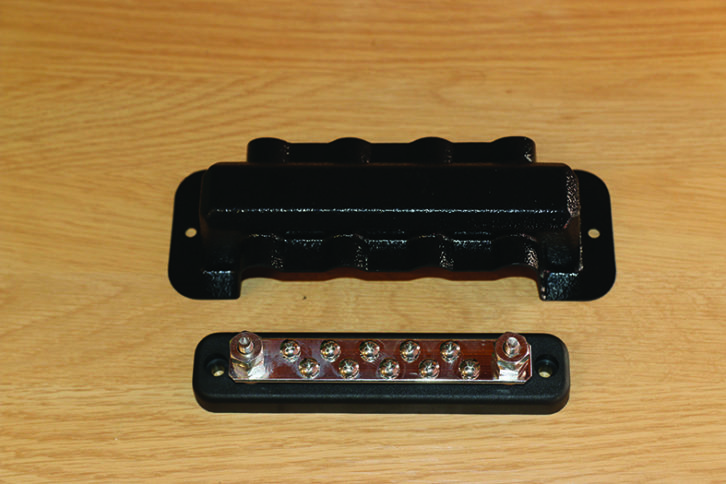
So what’s the answer? Pretty simple, really. It comes in the form of a fuse box and earthing block. Basically, a single cable feeds the fuse box from the positive (+) terminal on the battery, and a single cable from the earthing block attaches to the negative (-) terminal.
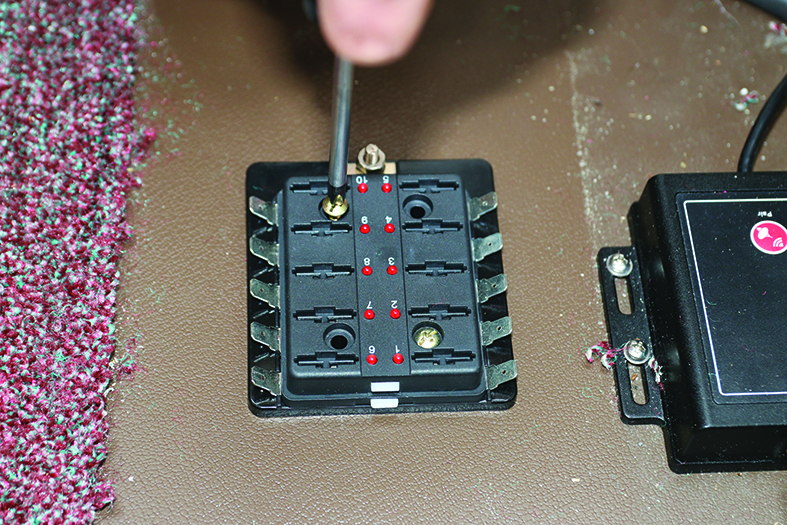
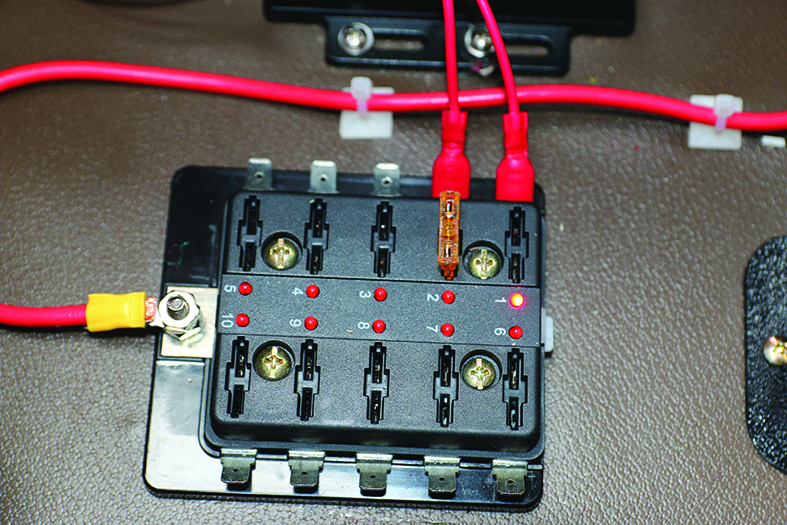
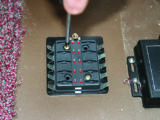
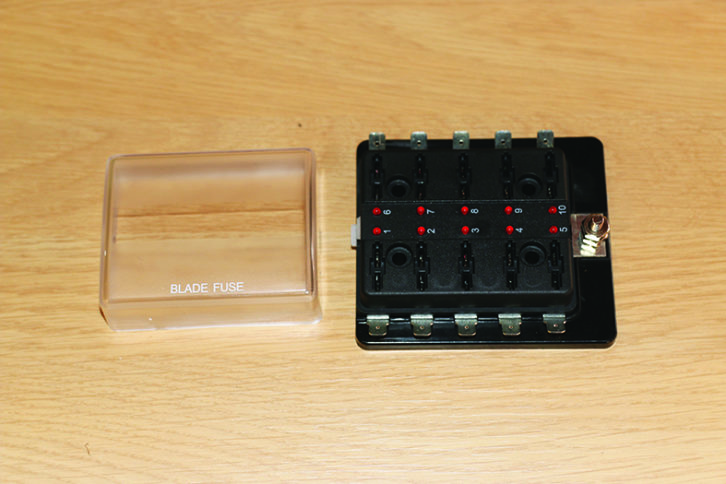
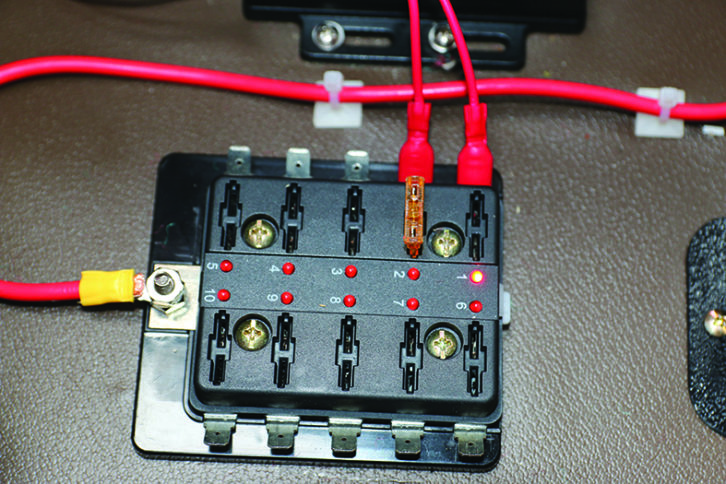
The fuse box we used wasn’t expensive, but has the benefit of having LEDs at each fuse that illuminate if a fuse blows, so it’s easy to see without having to check the fuses.
Both it and the earthing block have 10 connections, so can give power to 10 accessories.
The first thing to do is to work out the maximum current draw from your battery to all of the ‘extras’ you have, or are likely to fit your caravan.
The total fuse rating of all the additions must be less than the cable rating. Fortunately, these days, with things such as LED lighting, the draw is likely to be much less than it was only a few years ago. Armed with that figure, you’ll need to know how thick the cables from the battery will need to be.
As a guide, we used 16mm² cable, which according to the IEE Wiring Regulations, 18th Edition, is good for 110A (far more than we’ll ever require!).
Next, you need to decide on suitable plans to mount the fuse box and earthing block inside the van. Ideally, these should be as near the battery box as possible, but they also need to be accessible.
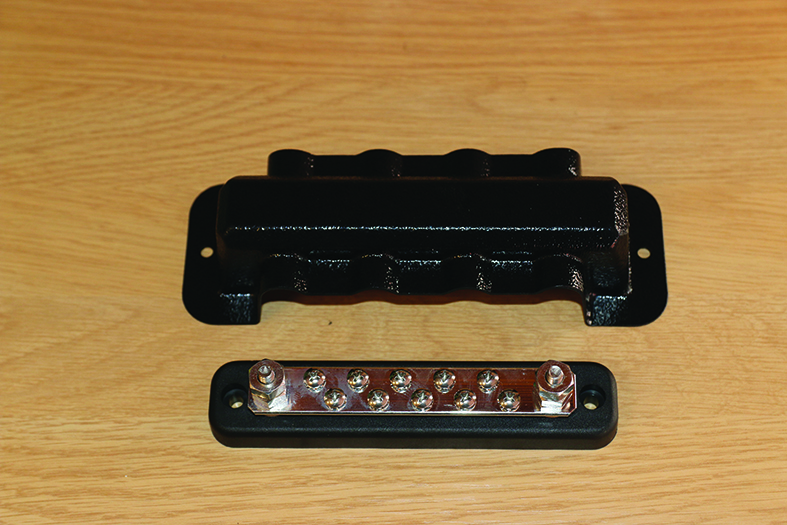
Parts required
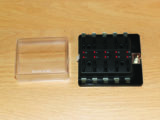
- Fuse box
- Earthing block
- Screws
- Selection of crimped space and ring terminals
- Cable (red for positive and black for negative)
- Cable ties
- Insulating tape
Tools required
- Wire cutters and strippers
- Screwdrivers
- Sockets/spanners
- Electric drill and suitable bit
- Crimps
- Sealant (for where ables from battery enter caravan)
Preparatory steps
Before starting the job, ensure the 230V mains supply and the 12V battery are disconnected.
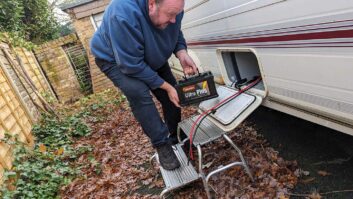
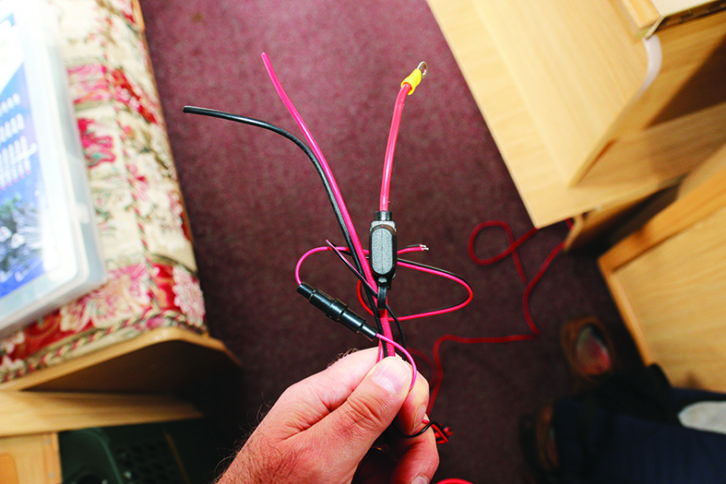
If you have any accessories already connected directly to the battery (ones that you are intending to connect to the fuse box), you need to disconnect their cables from the terminals.
Make a note of any in-line fuses that are connected to the cables, because you’ll need their values for later. Obviously, there might be power feeds to a motor mover, which you don’t want to disconnect.
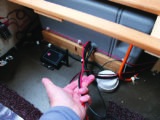
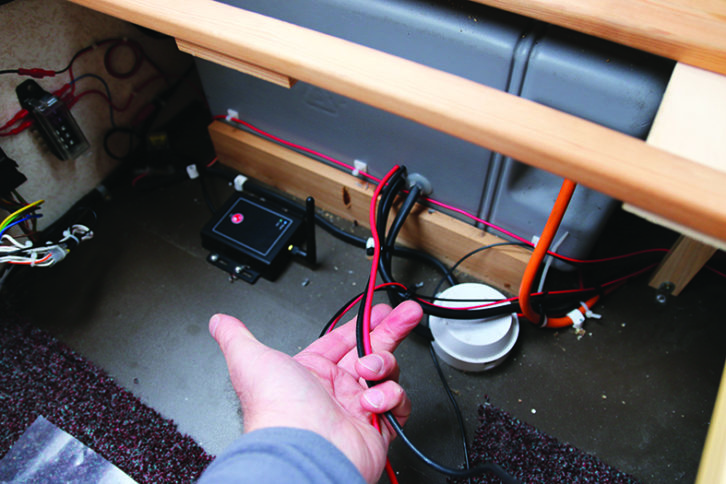
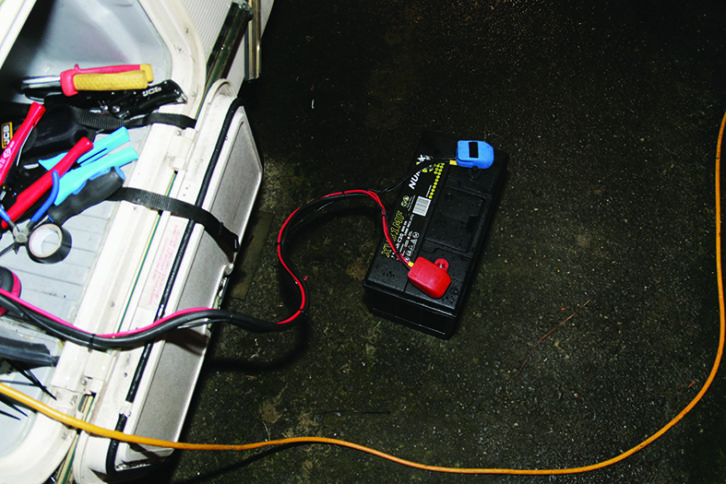
You’ll need to get the cables that will go to the fuse box and earthing block from the battery terminal connectors into the caravan. We drilled a couple of holes (just large enough for the cables to fit) through the back of the battery box.
Feed the cables through the holes into the caravan, making sure you leave enough of each on the outside to reach the battery terminal connectors.
We cable-tied these cables to the main caravan power feed, which meant that they were the same length as the originals.
Connect the new cables to the battery terminal connectors and seal the holes where the cables pass through, to prevent any gases given off by the battery entering the caravan.
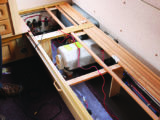
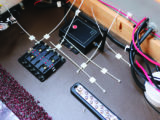
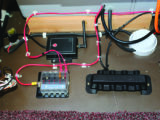
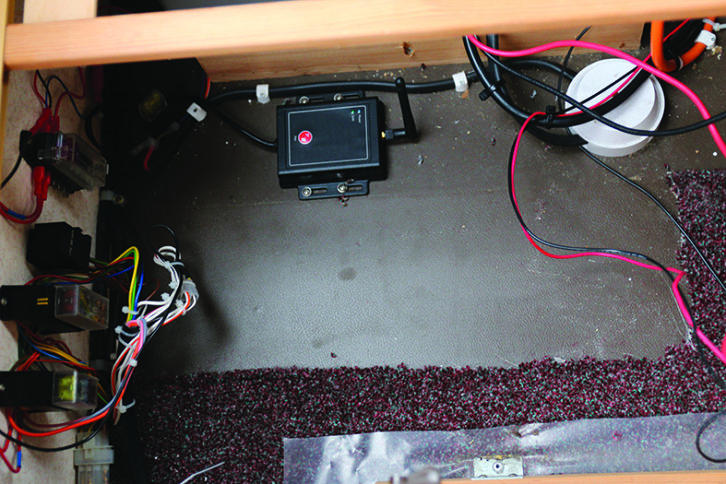
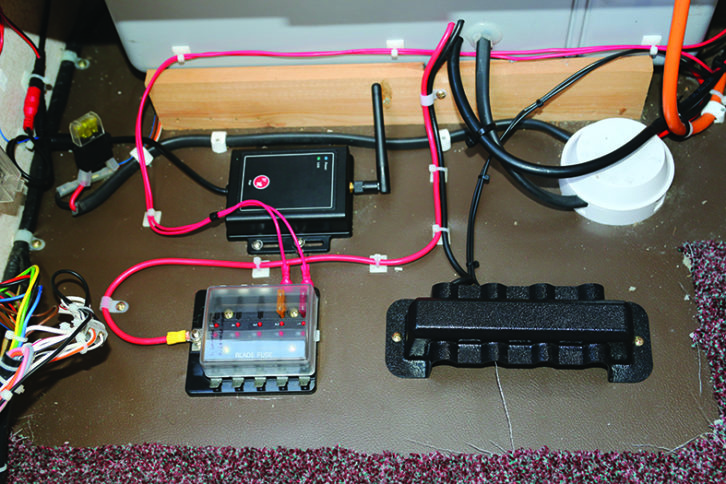
Working inside the caravan, secure both the fuse box and the earthing block using screws. We secured ours directly to the caravan floor, for security and ease of access.
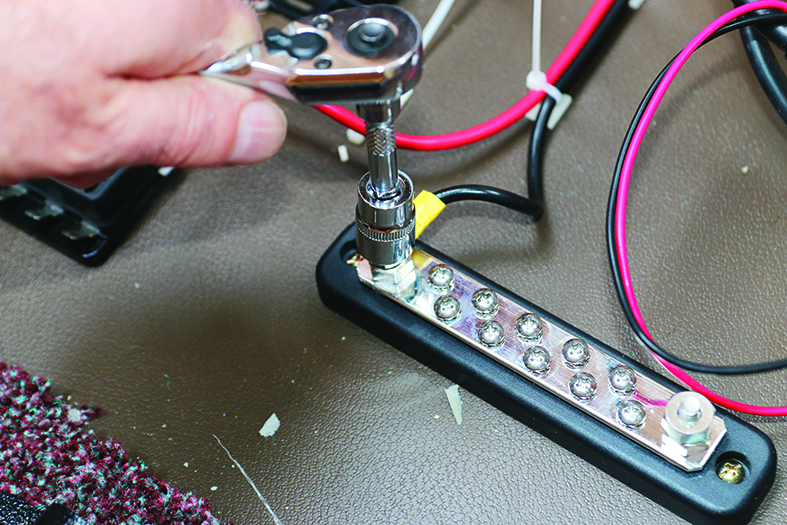
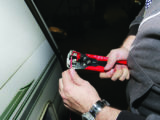
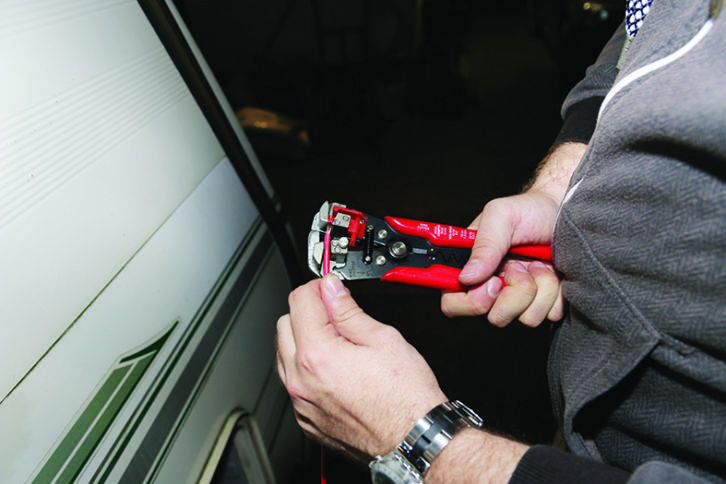
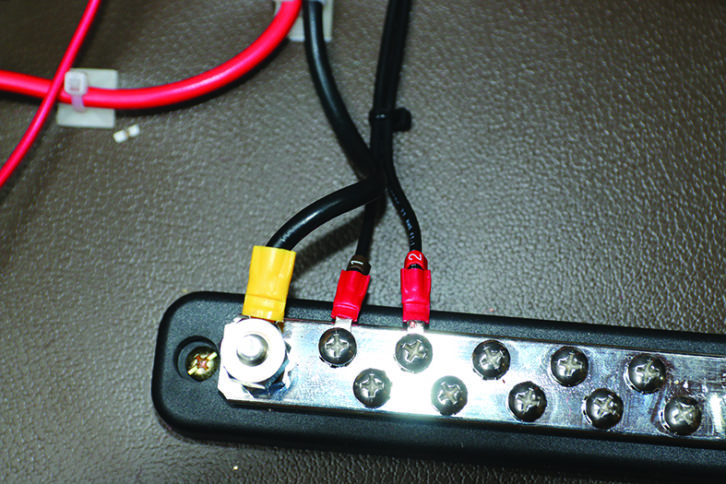
In our case, the connections from the battery on both the fuse box and the earthing block required ring terminals that were held in place by nuts. Suitably sized crimped ring terminals were used, after about 1cm of the plastic insulation had been stripped from the ends of the cables.
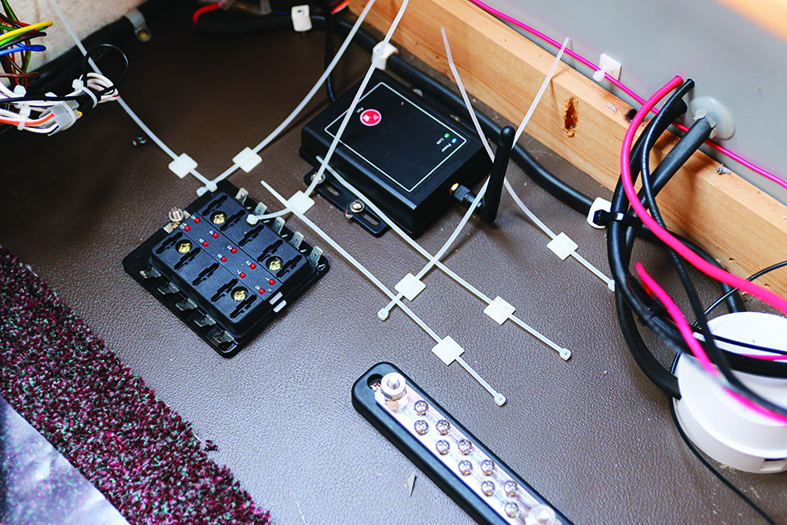
Using clips and self-adhesive cable ties, the cables were then routed and secured.
Wiring up
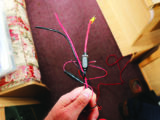
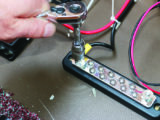
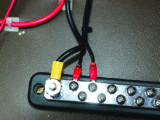
The connections to the fuse box required a female spade terminal, while those to the earthing block required small ring terminals.
Starting with the LED lights, their original cables were connected directly to the fuse box and the earthing block (red to the fuse box, black to the earthing block).
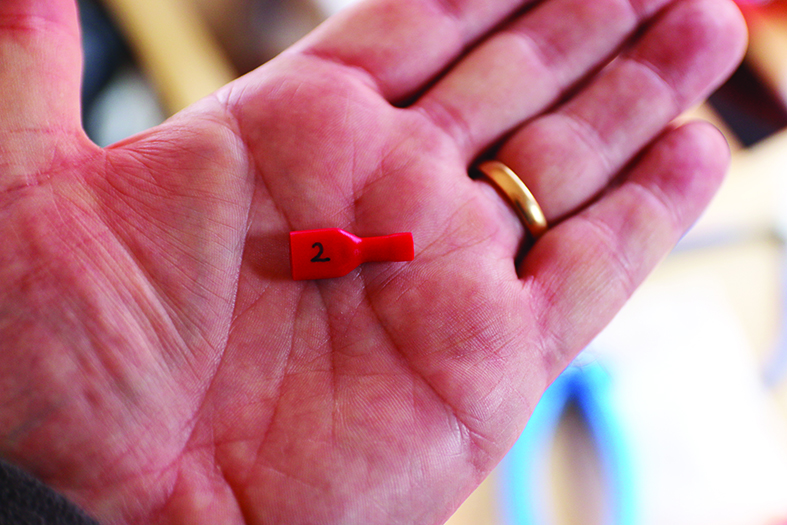
Conveniently, the fuse box connections are labelled 1 to 10. We had some cable markers to identify each of the cables, but if you don’t have these, you can either mark the insulation on the crimped connectors, or use another similar method to identify them. This is useful for the earthing block because it has no identifiers.
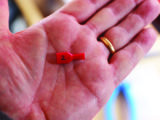
Using your fuse reference, insert an appropriate blade fuse into the fuse box. We wrote on the fuse box cover what each of the terminals was feeding, for future reference. Repeat this for each accessory.
Finally, we covered the power feed with insulation tape.
Step-by-step guide


If you liked this… READ THESE:
Add battery back-up to Alde’s control panel
Spotlight on Common Touring Errors
Top Gadgets for Staying Safe on Tour
If you’ve enjoyed reading this article, why not get the latest news, reviews and features delivered direct to your door or inbox every month. Take advantage of our brilliant Practical Caravan magazine SUBSCRIBERS’ OFFER and SIGN UP TO OUR NEWSLETTER for regular weekly updates on all things caravan related.
Future Publishing Limited, the publisher of practicalcaravan.com, provides the information in this article in good faith and makes no representation as to its completeness or accuracy. Individuals carrying out the instructions do so at their own risk and must exercise their independent judgement in determining the appropriateness of the advice to their circumstances. Individuals should take appropriate safety precautions and be aware of the risk of electrocution when dealing with electrical products. To the fullest extent permitted by law, neither Future nor its employees or agents shall have any liability in connection with the use of this information. You should check that any van warranty will not be affected before proceeding with DIY projects.
The first thing to do is to work out the maximum current draw from your battery to all of the 'extras' you have, or are likely to fit your caravan.