



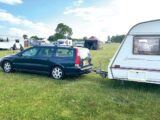
For the most part, Penny is a pretty well-behaved van. Yes, she’s had some investment over the past couple of years to keep her in the pink, but once you’re pitched up onsite, she
is comfortable, warm and dry.
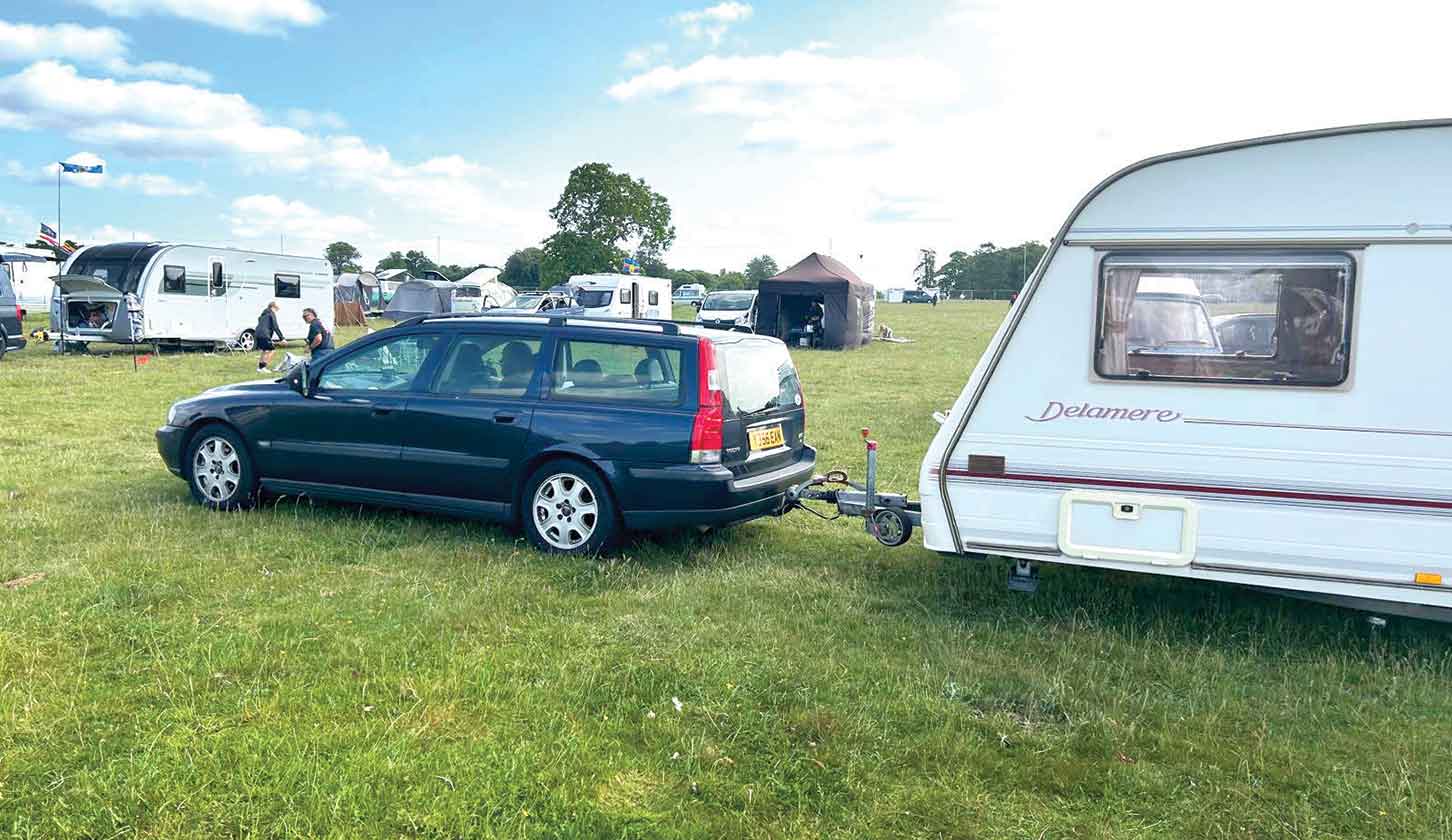
One thing makes us a little concerned, however. She sways about quite a lot on the road.
To be clear, this is never dangerous swaying or caravan snaking. We put a great deal of effort into ensuring Penny is packed sensibly when we’re loading the caravan. We put the heavy stuff in the middle, low down and never behind the back axle.
The water heater, fridge and cassette toilet being located behind the axle isn’t perfect for weight distribution, but by packing her close to our car’s 85kg noseweight limit, we’ve done everything we can to keep things running smoothly.
In fairness, our Volvo is not the best tow car. It’s soft on the back end, allowing itself to be bullied by our Bailey. Other models had load-adjusting suspension, but ours doesn’t, and this contributes to the van floating about behind the car.
Bobbing up and down is just about tolerable, but constant, small side-to-side movements in the van can be tidied up. Minimising such movements in a correctly loaded caravan is the ideal argument for fitting a hitch-head stabiliser.
How we went about fitting the new caravan stabiliser
No more fidgeting
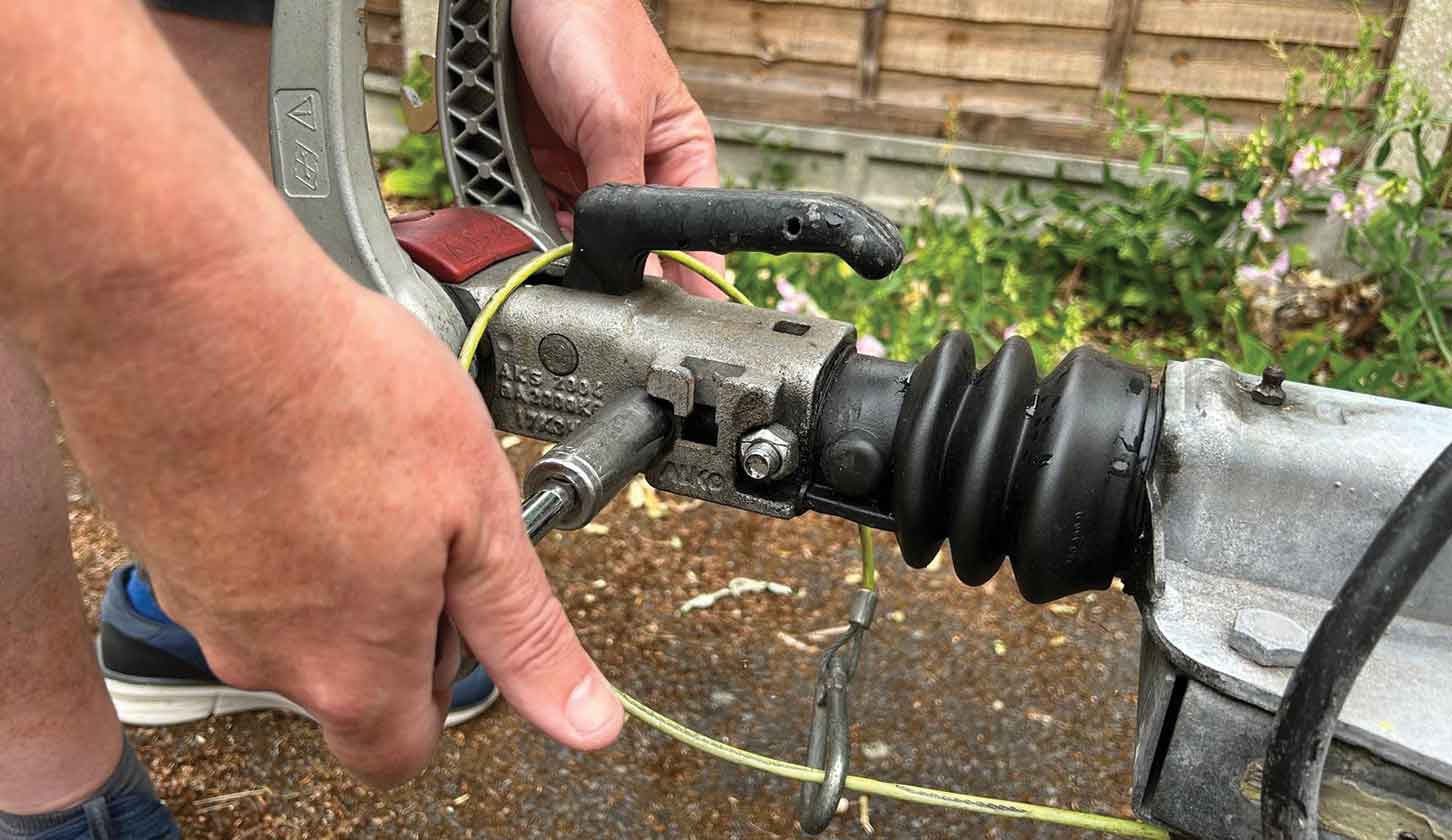
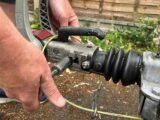
These days, many of the best caravans to buy have a hitch-mounted stabiliser. The typical Al-Ko hitch clamps onto your car’s towbar and the friction caused by the clamping pressure makes the van less fidgety on the road.
Penny was not equipped with one and years of towing various modern tourers, big and small, told me fitting a caravan stabiliser hitch was a must-have. Off to eBay I went.
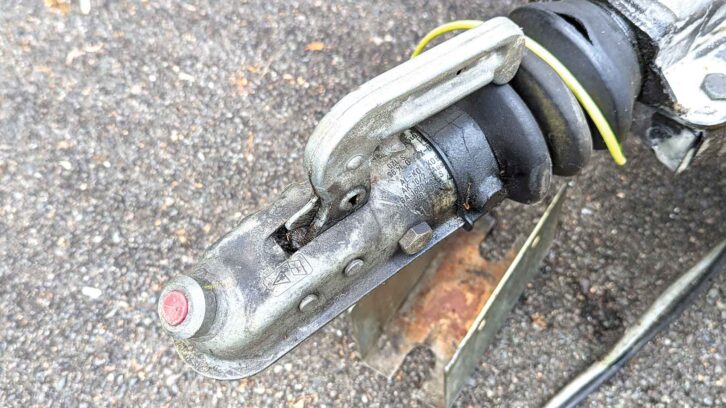
The modern Al-Ko hitch stabiliser is the AKS 3004. This is a fabulous bit of kit for sure, but retailing at around £450 means it is a little out of scope for a budget caravan project like ours.
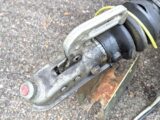
On eBay, there were various stabilisers. We didn’t want one of the old-school leaf-spring stabilisers, where a huge steel spring joins car and caravan, so our best option was a used Al-Ko unit. There are several versions – the 1300, the 2000, and a few others, but we found a well-priced AKS 2004 unit.
It’s an older model, but it was complete and free from obvious damage, and we reasoned that with a pad change, it could cope well with taming Penny.
Al-Ko stabilisers are an easy fit on an Al-Ko chassis, so we bought the AKS 2004, and then waited for the parcel to arrive.
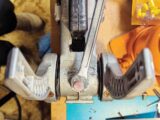
A few days later, the unit landed and we put it on the bench for inspection. It was dirty, but there was no damage to the hitch and the mechanism wasn’t rusted or seized.

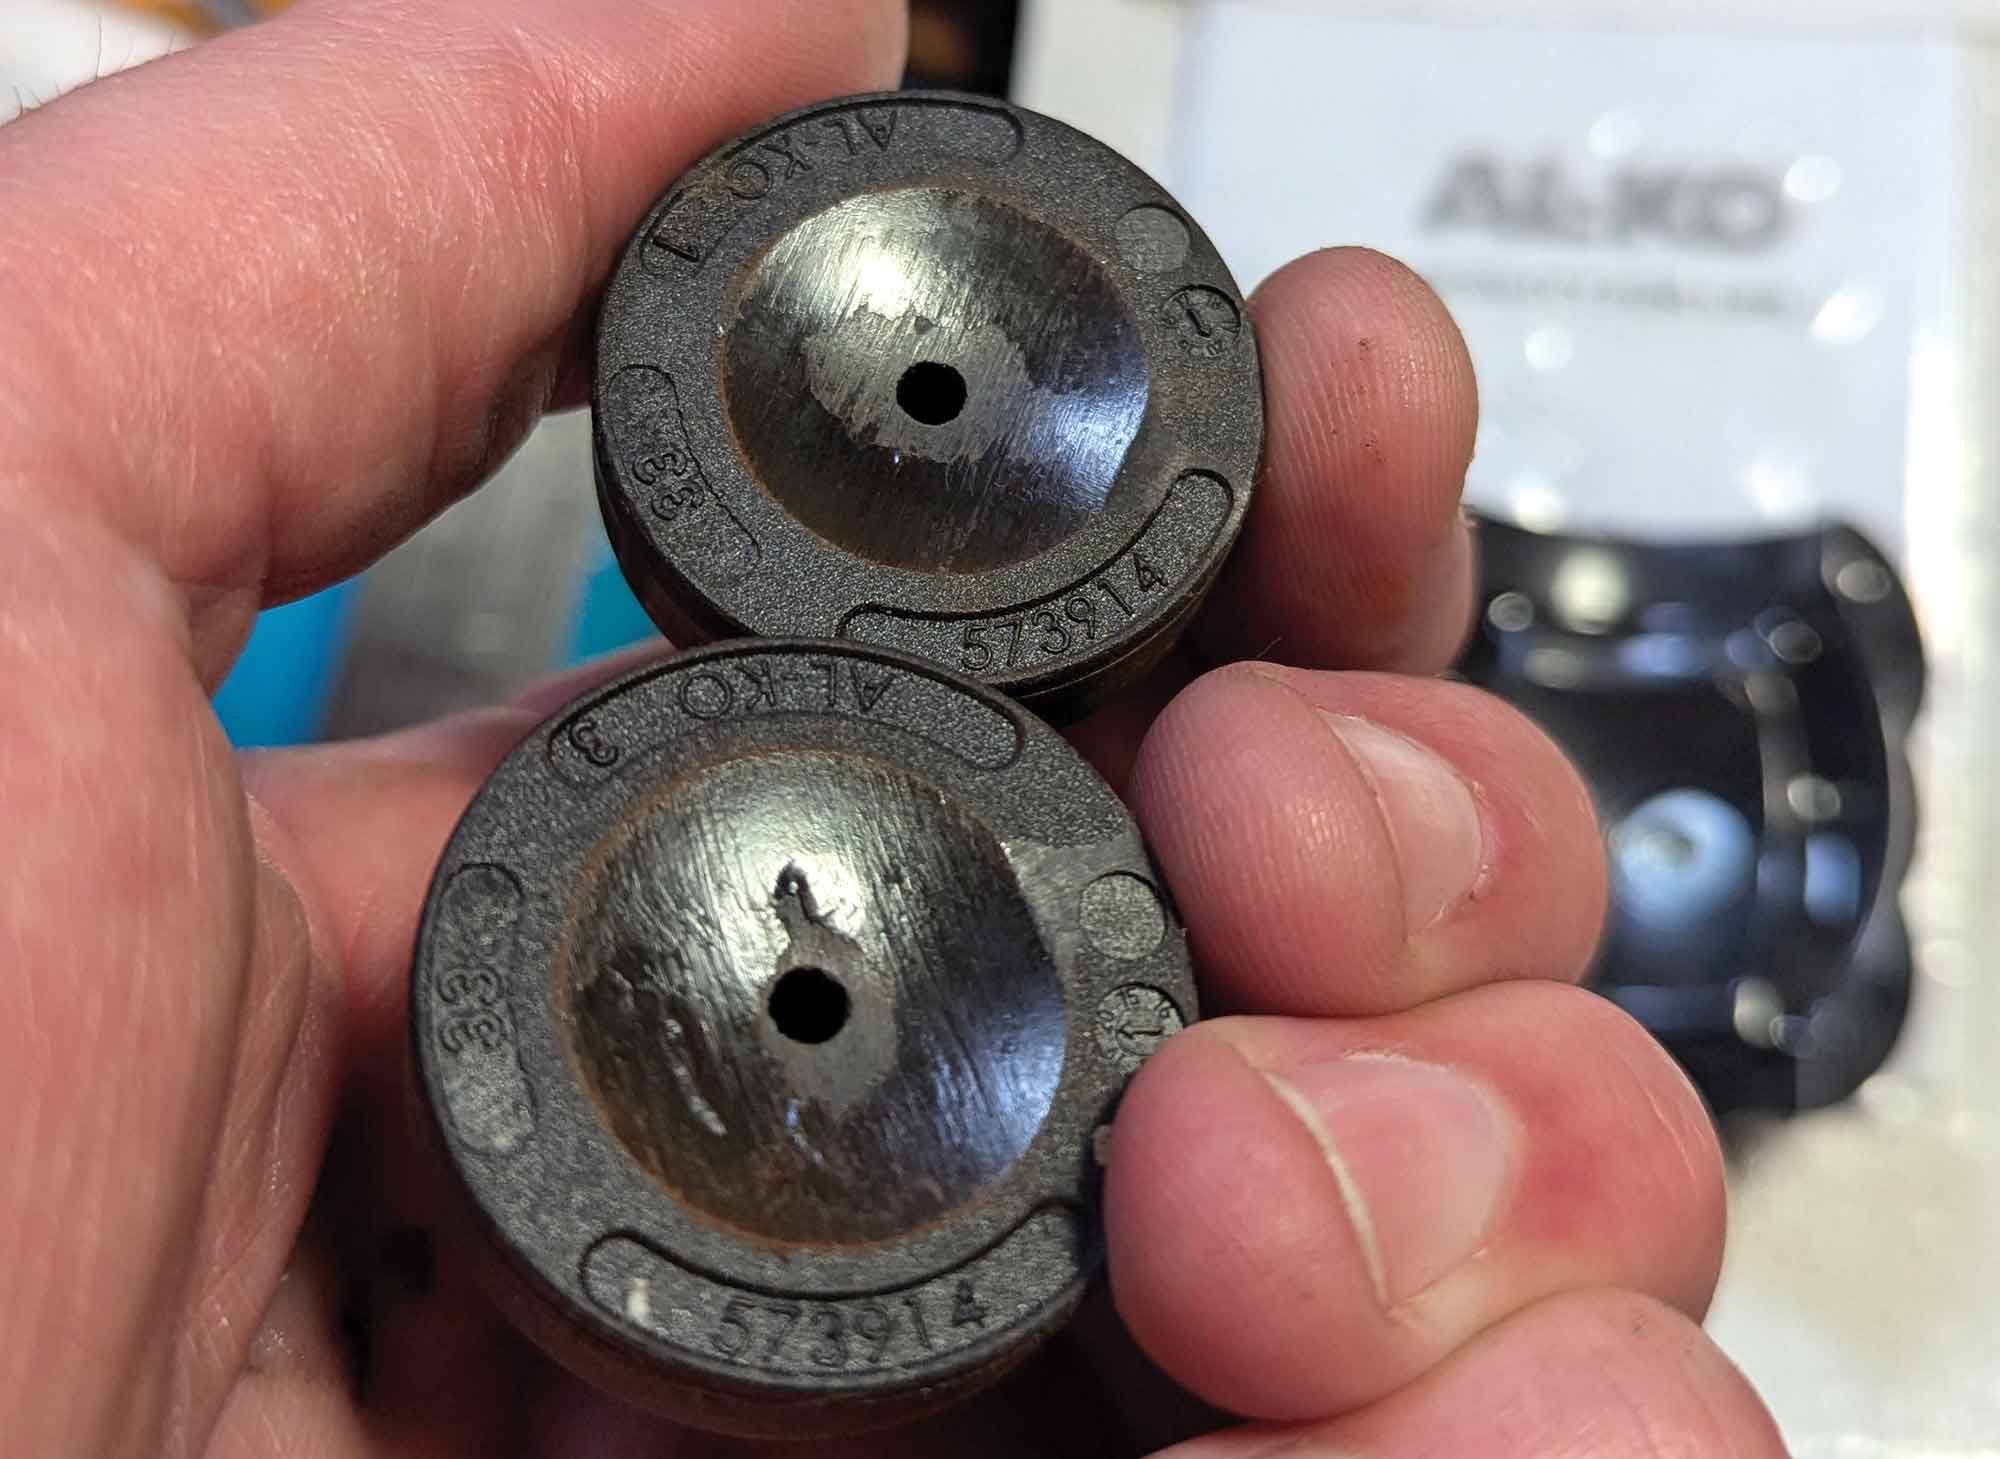
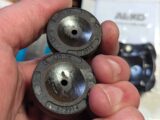
Happy with our serviceable example, we headed off to the local caravan accessory store (Reading Caravans) to buy some new pads. The shop staff did wince a bit when we said we wanted both pad sets. “That’s not going to be cheap,” said the jovial woman behind the counter. She wasn’t wrong, either.
We spent almost as much on the pads as we had on the used stabiliser. But we were advised that buying pads from a trusted source meant you got genuine Al-Ko parts. We saw no point in trying to make the van safer by fitting the caravan stabiliser then entrusting that safety to unbranded friction material.
Another product from Al-Ko you could be considering is a wheel clamp, in which case don’t miss our guide to “what Al-Ko wheel lock fits my caravan?” to ensure you get the right size.
With a total spend of £106.95 on the stabiliser and just under £90 on the pads, we were still going to have a stabiliser added for half the cost of a new one.
New fixtures
We also ordered new fixing bolts from Taunton Trailers. The old bolts looked fine, but given they are the only physical attachment of the hitch to the caravan, we thought this was a tenner worth spending.
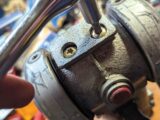
Renewing the hitch pads is a fiddly task, but not difficult. It is significantly less fiddly if you have the stabiliser on the bench. This allows you to see where the Torx-head bolts are, which locate the small pad.
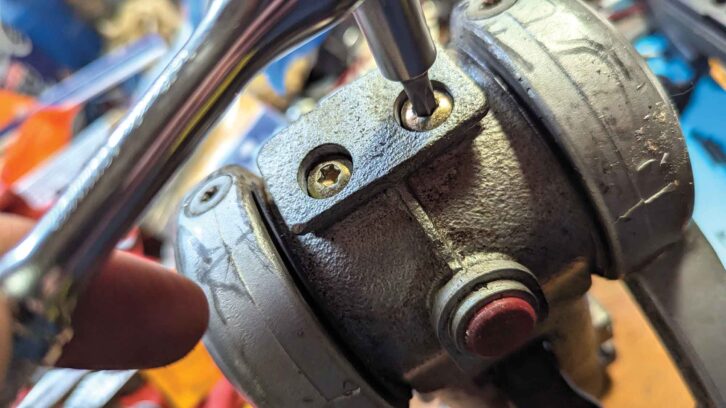
If you don’t already have a set of right-angled Torx keys in your caravan toolkit, get some before you start work. Or be ready to head to Screwfix halfway through, as I did.
The best order to carry out this task in is to remove the side pads, then the front one and finally the rear one.
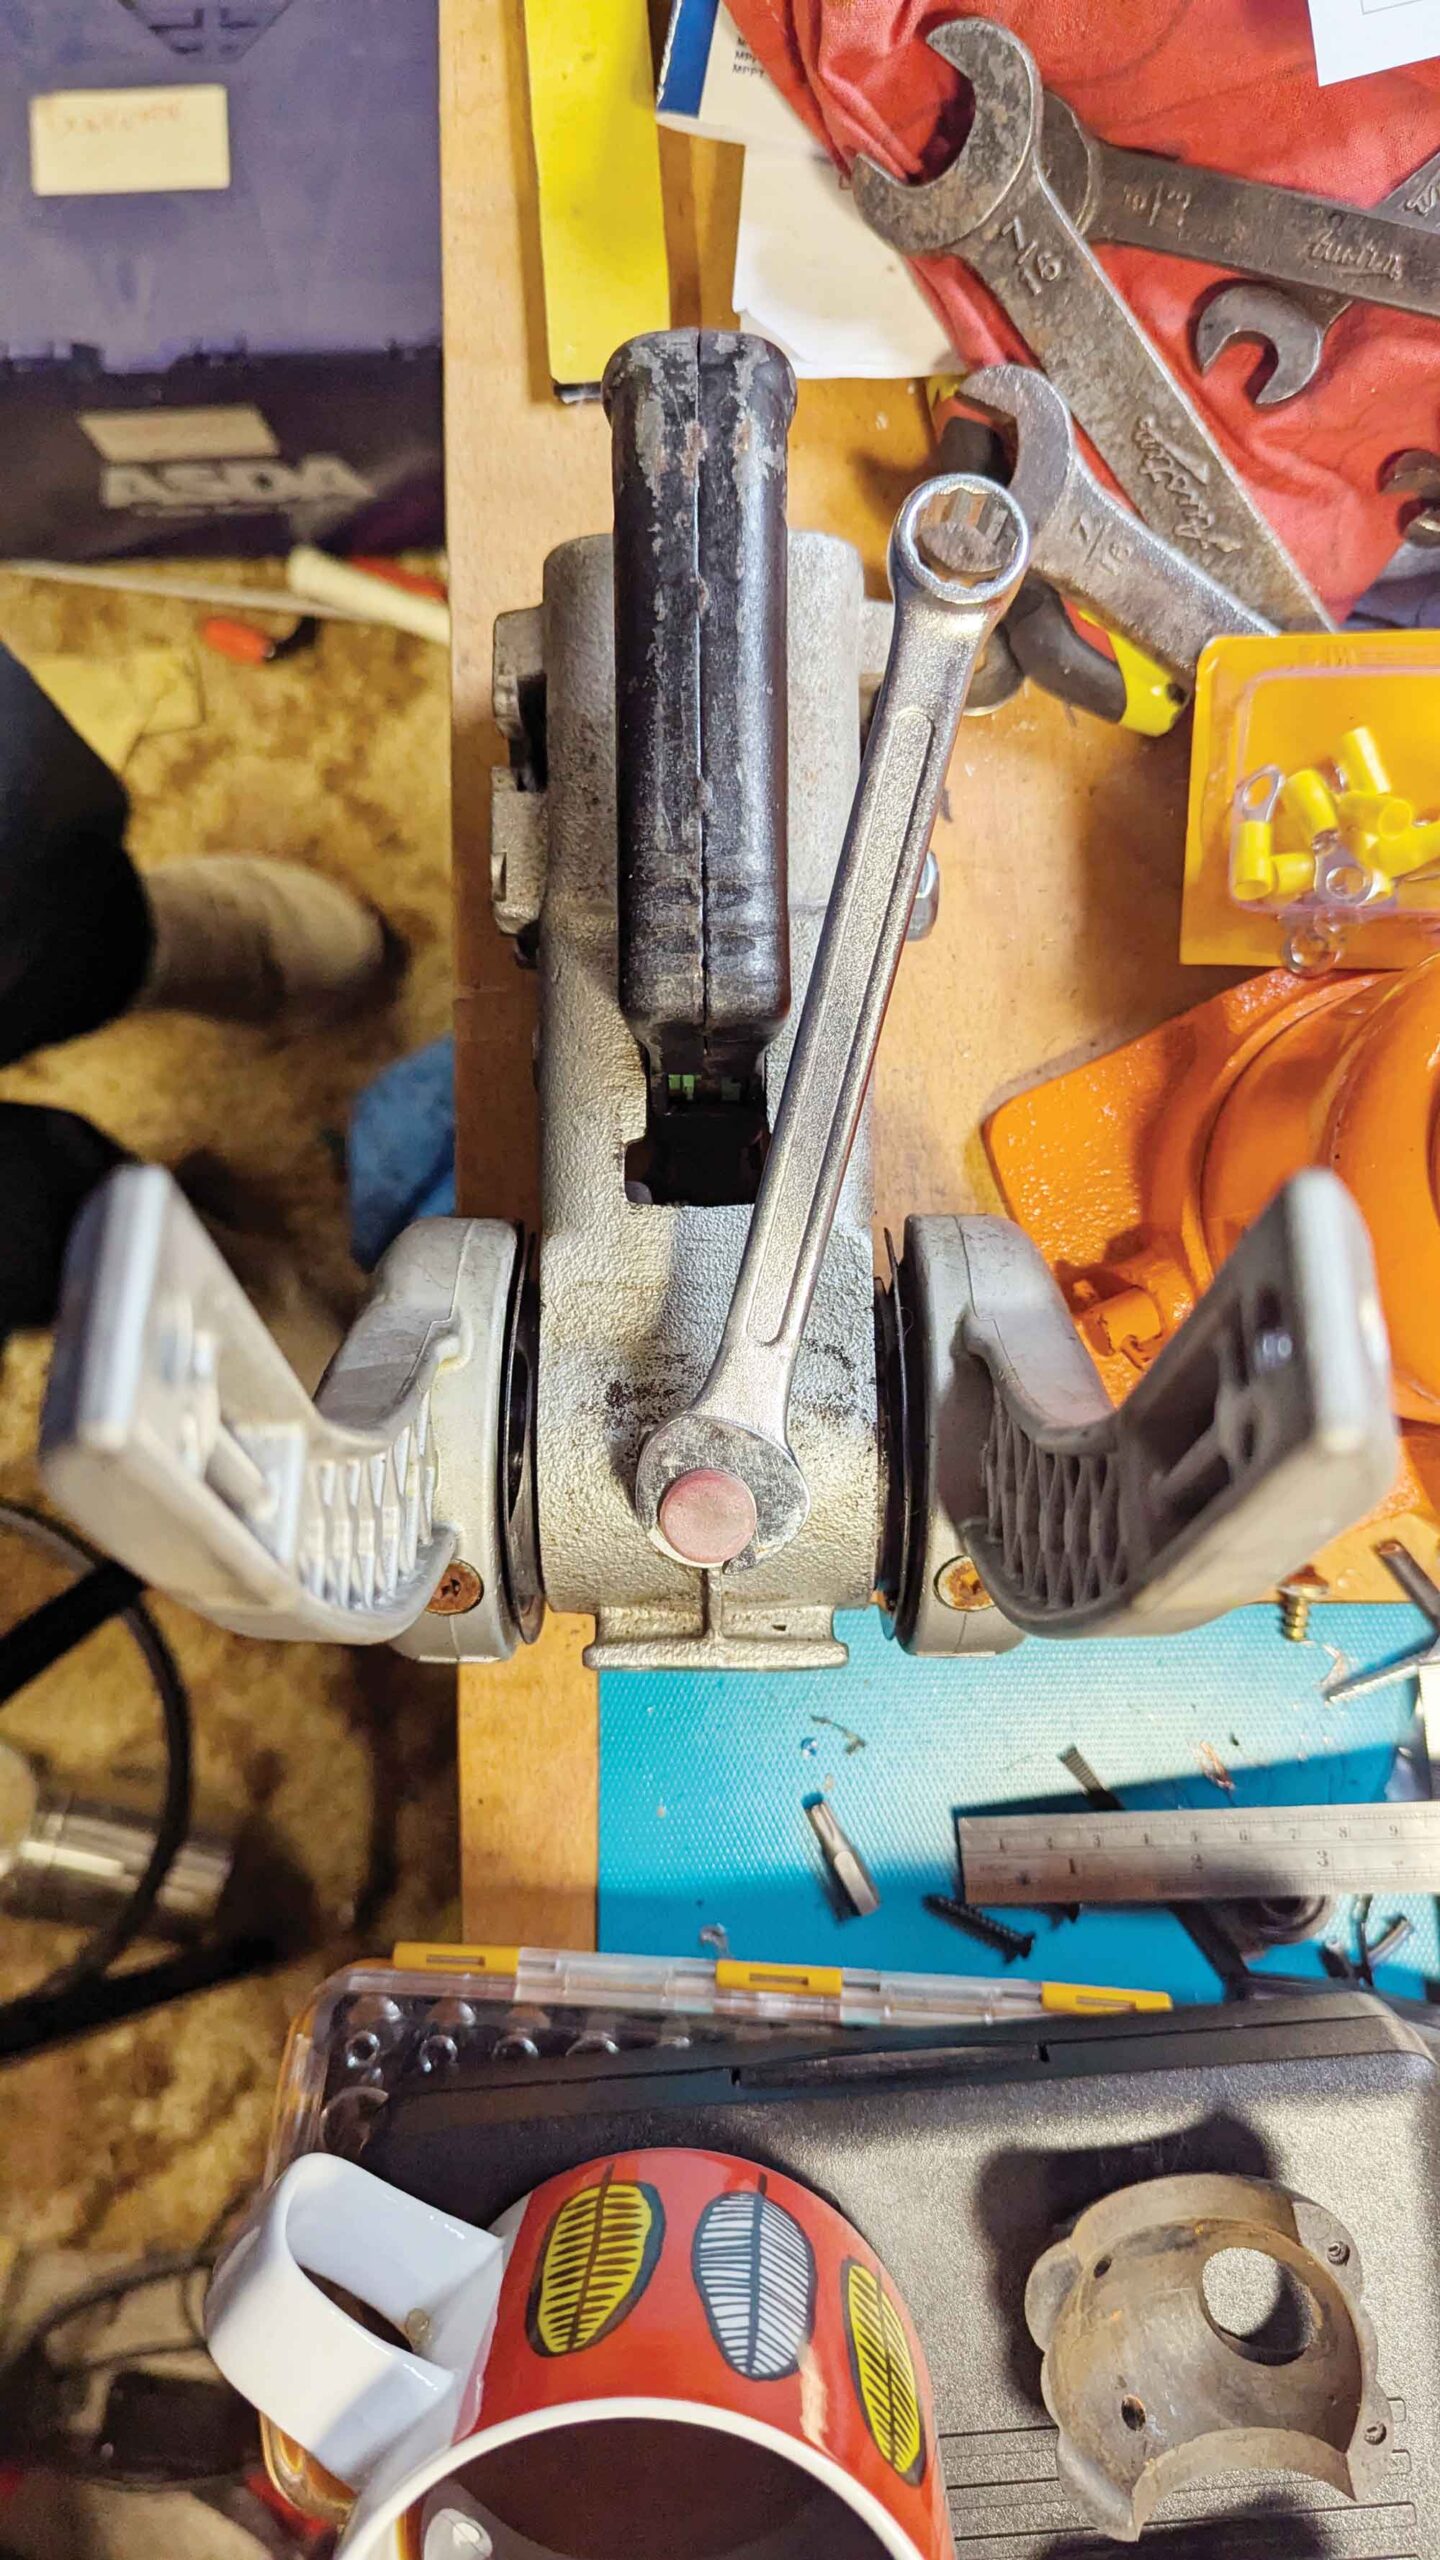
The side pads are easy to swap. Prise off the covers from the side of the hitch-head and then push the pads out with a screwdriver.
The front and rear pads are a little more involved. The larger front pad is held in place with two large screws. Peel back the ‘soft dock’ plastic cover on the nose of the hitch and the two bolts are revealed.
Once removed, you need to push the centre button in the top of the hitch-head upwards to release the pad. If you do this carefully, you can push the button out and hold it in place.
Push the button out, and on top of the hitch-head slide a 14mm open-ended spanner under the raised button. This will make the whole procedure a great deal simpler.
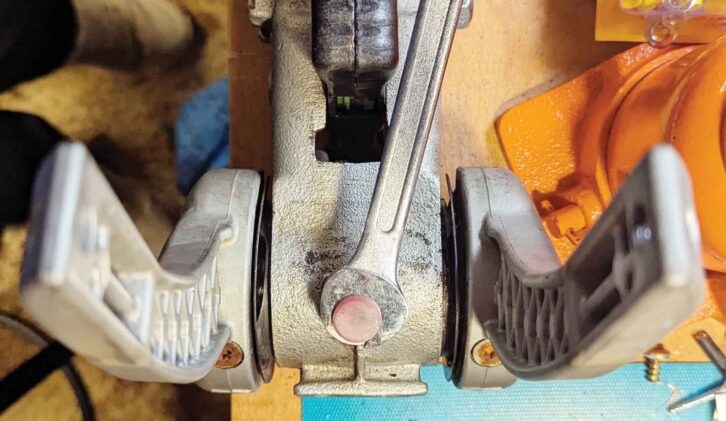
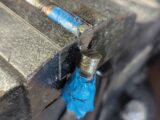
The smaller rear pad is held in place with a Torx-headed bolt. If you’ve removed the front pad, you can get to the bolt through the front of the hitch. This is considerably easier than trying to get to it blindly from underneath.
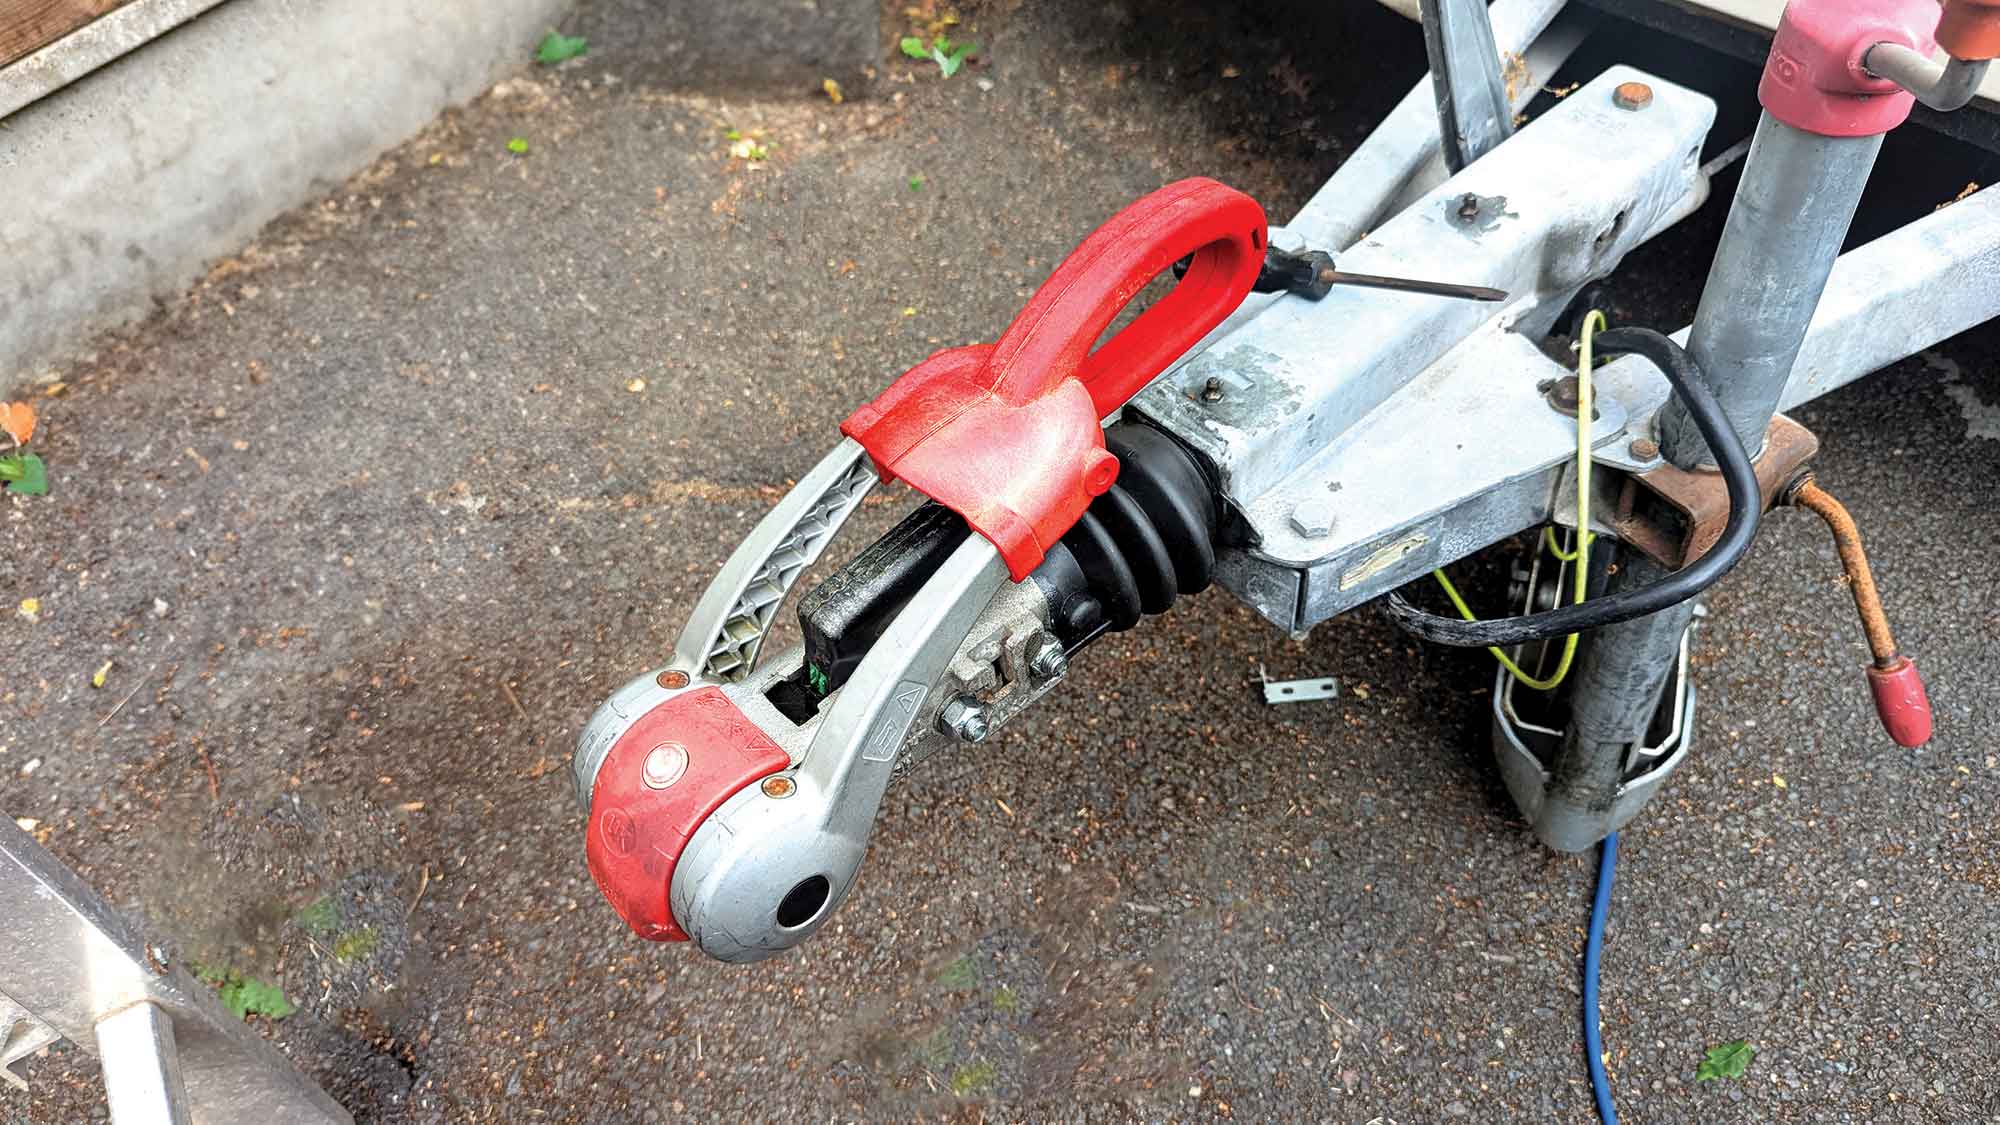
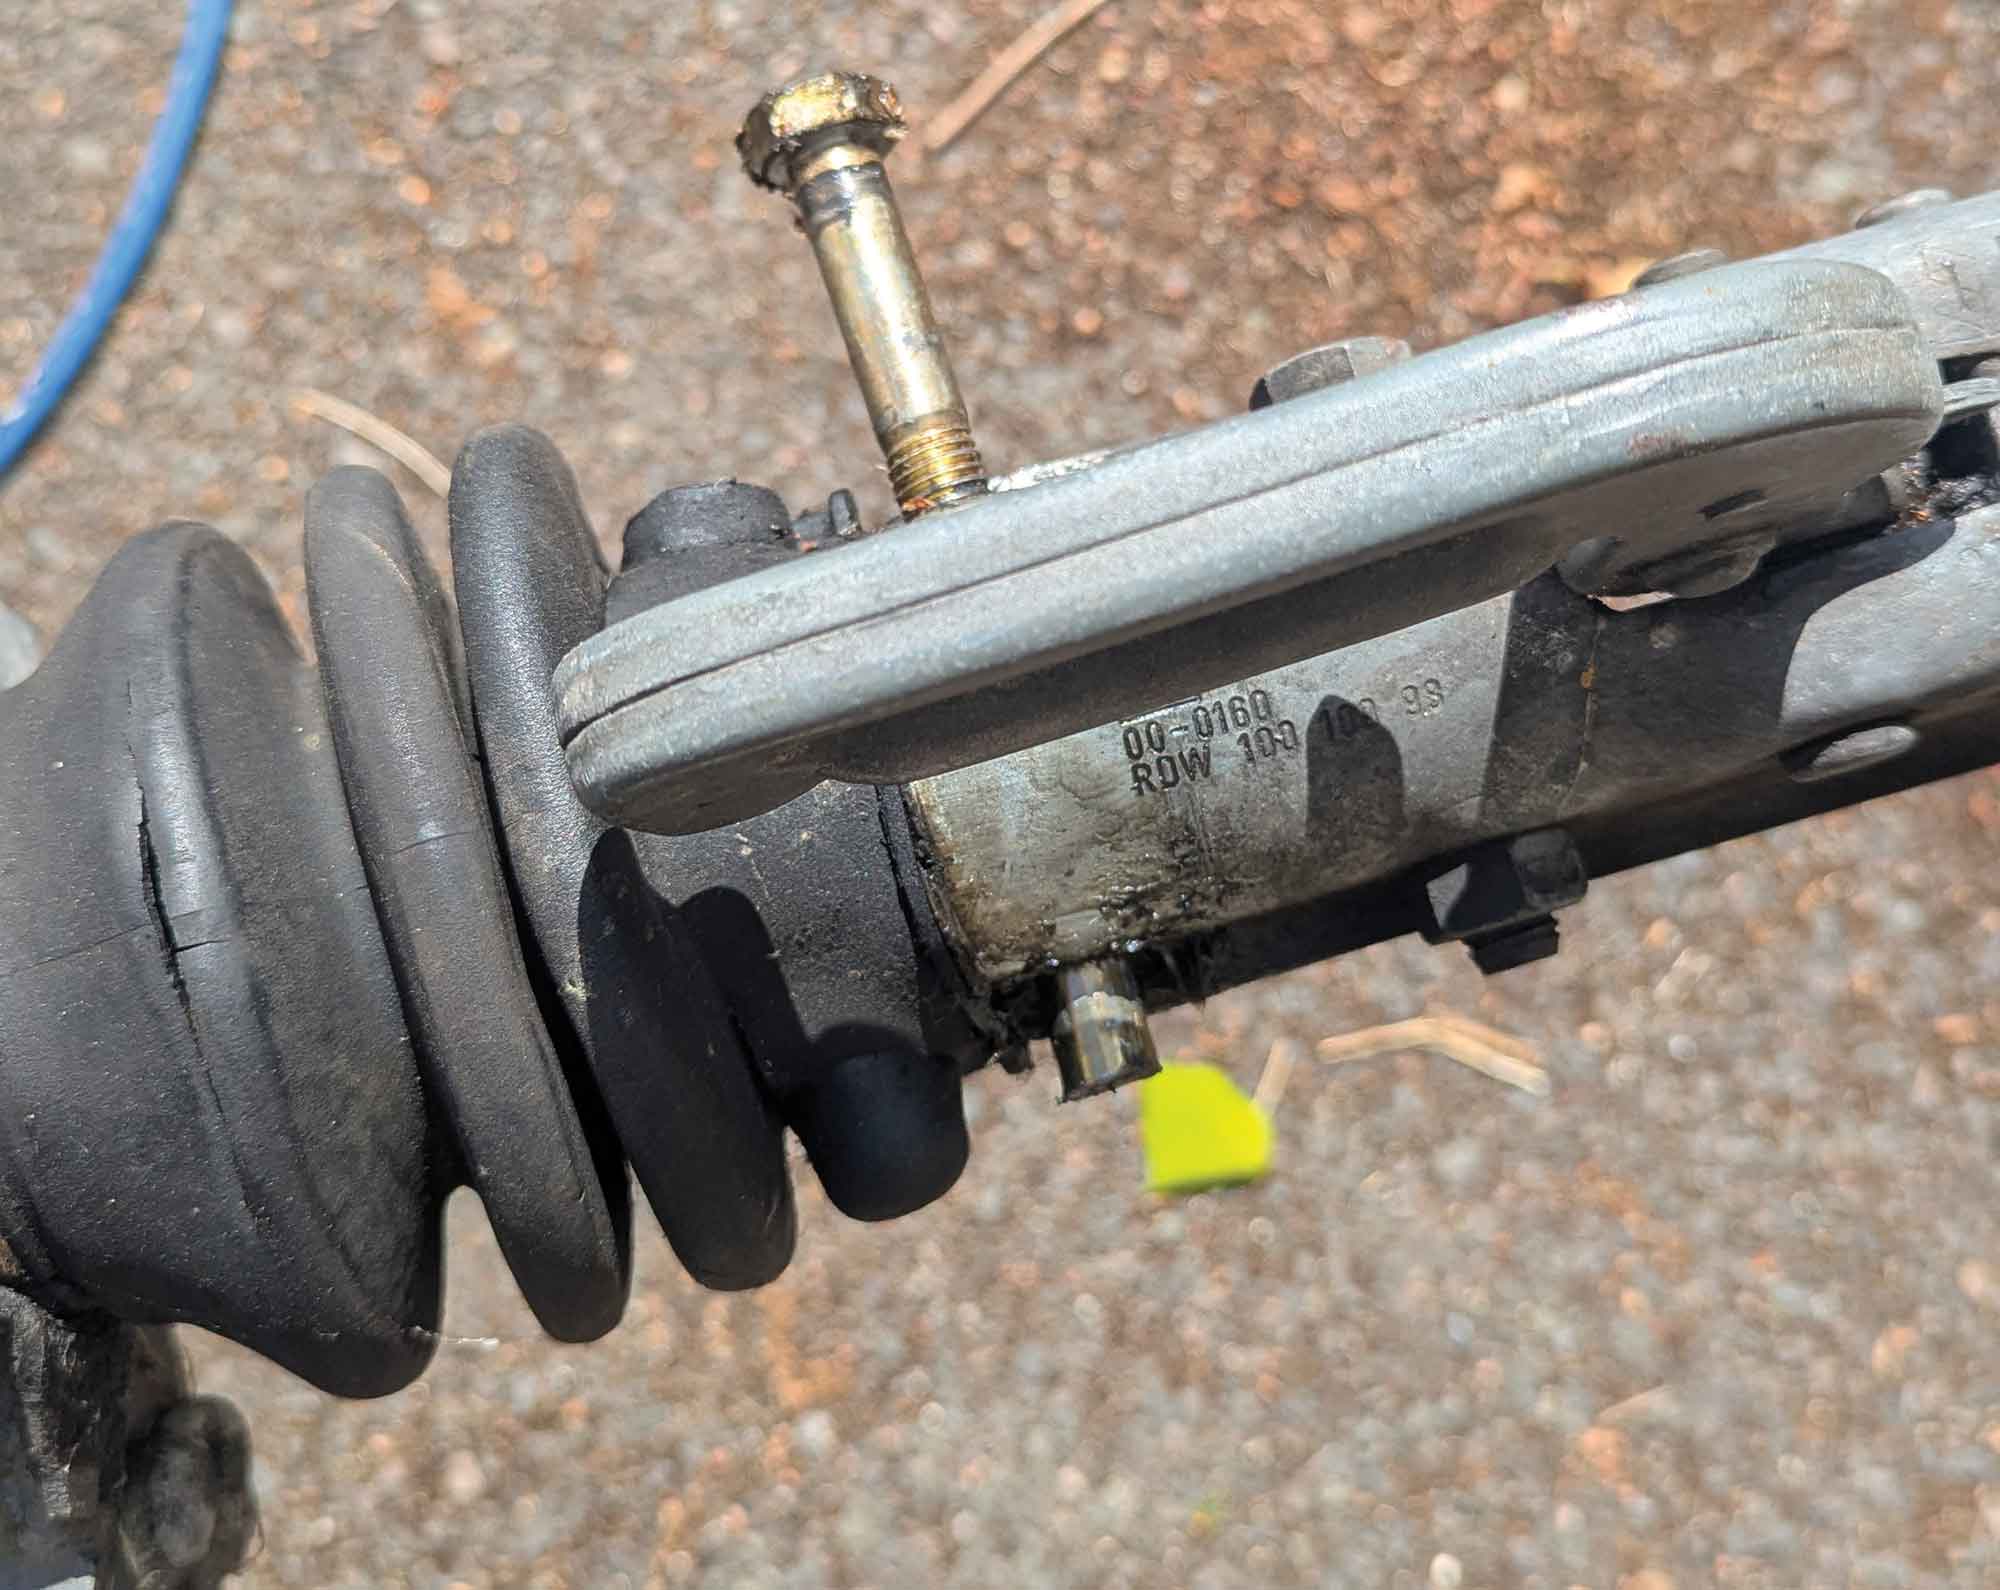
The installation is pretty straightforward if you do it right. Two bolts attach the hitch-head to the caravan drawbar. The front one holds the hitch to the bar, while the rearmost one also holds the hitch damper.
If you whip both bolts out, the damper will push forward and you’ve added a whole lot of extra grief to your day.
If you buy the hitch new, you get a nice dowel. This is 48mm long and can be used to drift out the rear bolt, but still hold the damper in place.
The dowel is the same length as the width of the drawbar. With the dowel in place and the bolts removed, the standard hitch-head can be lifted off.
Swapping the gaiter
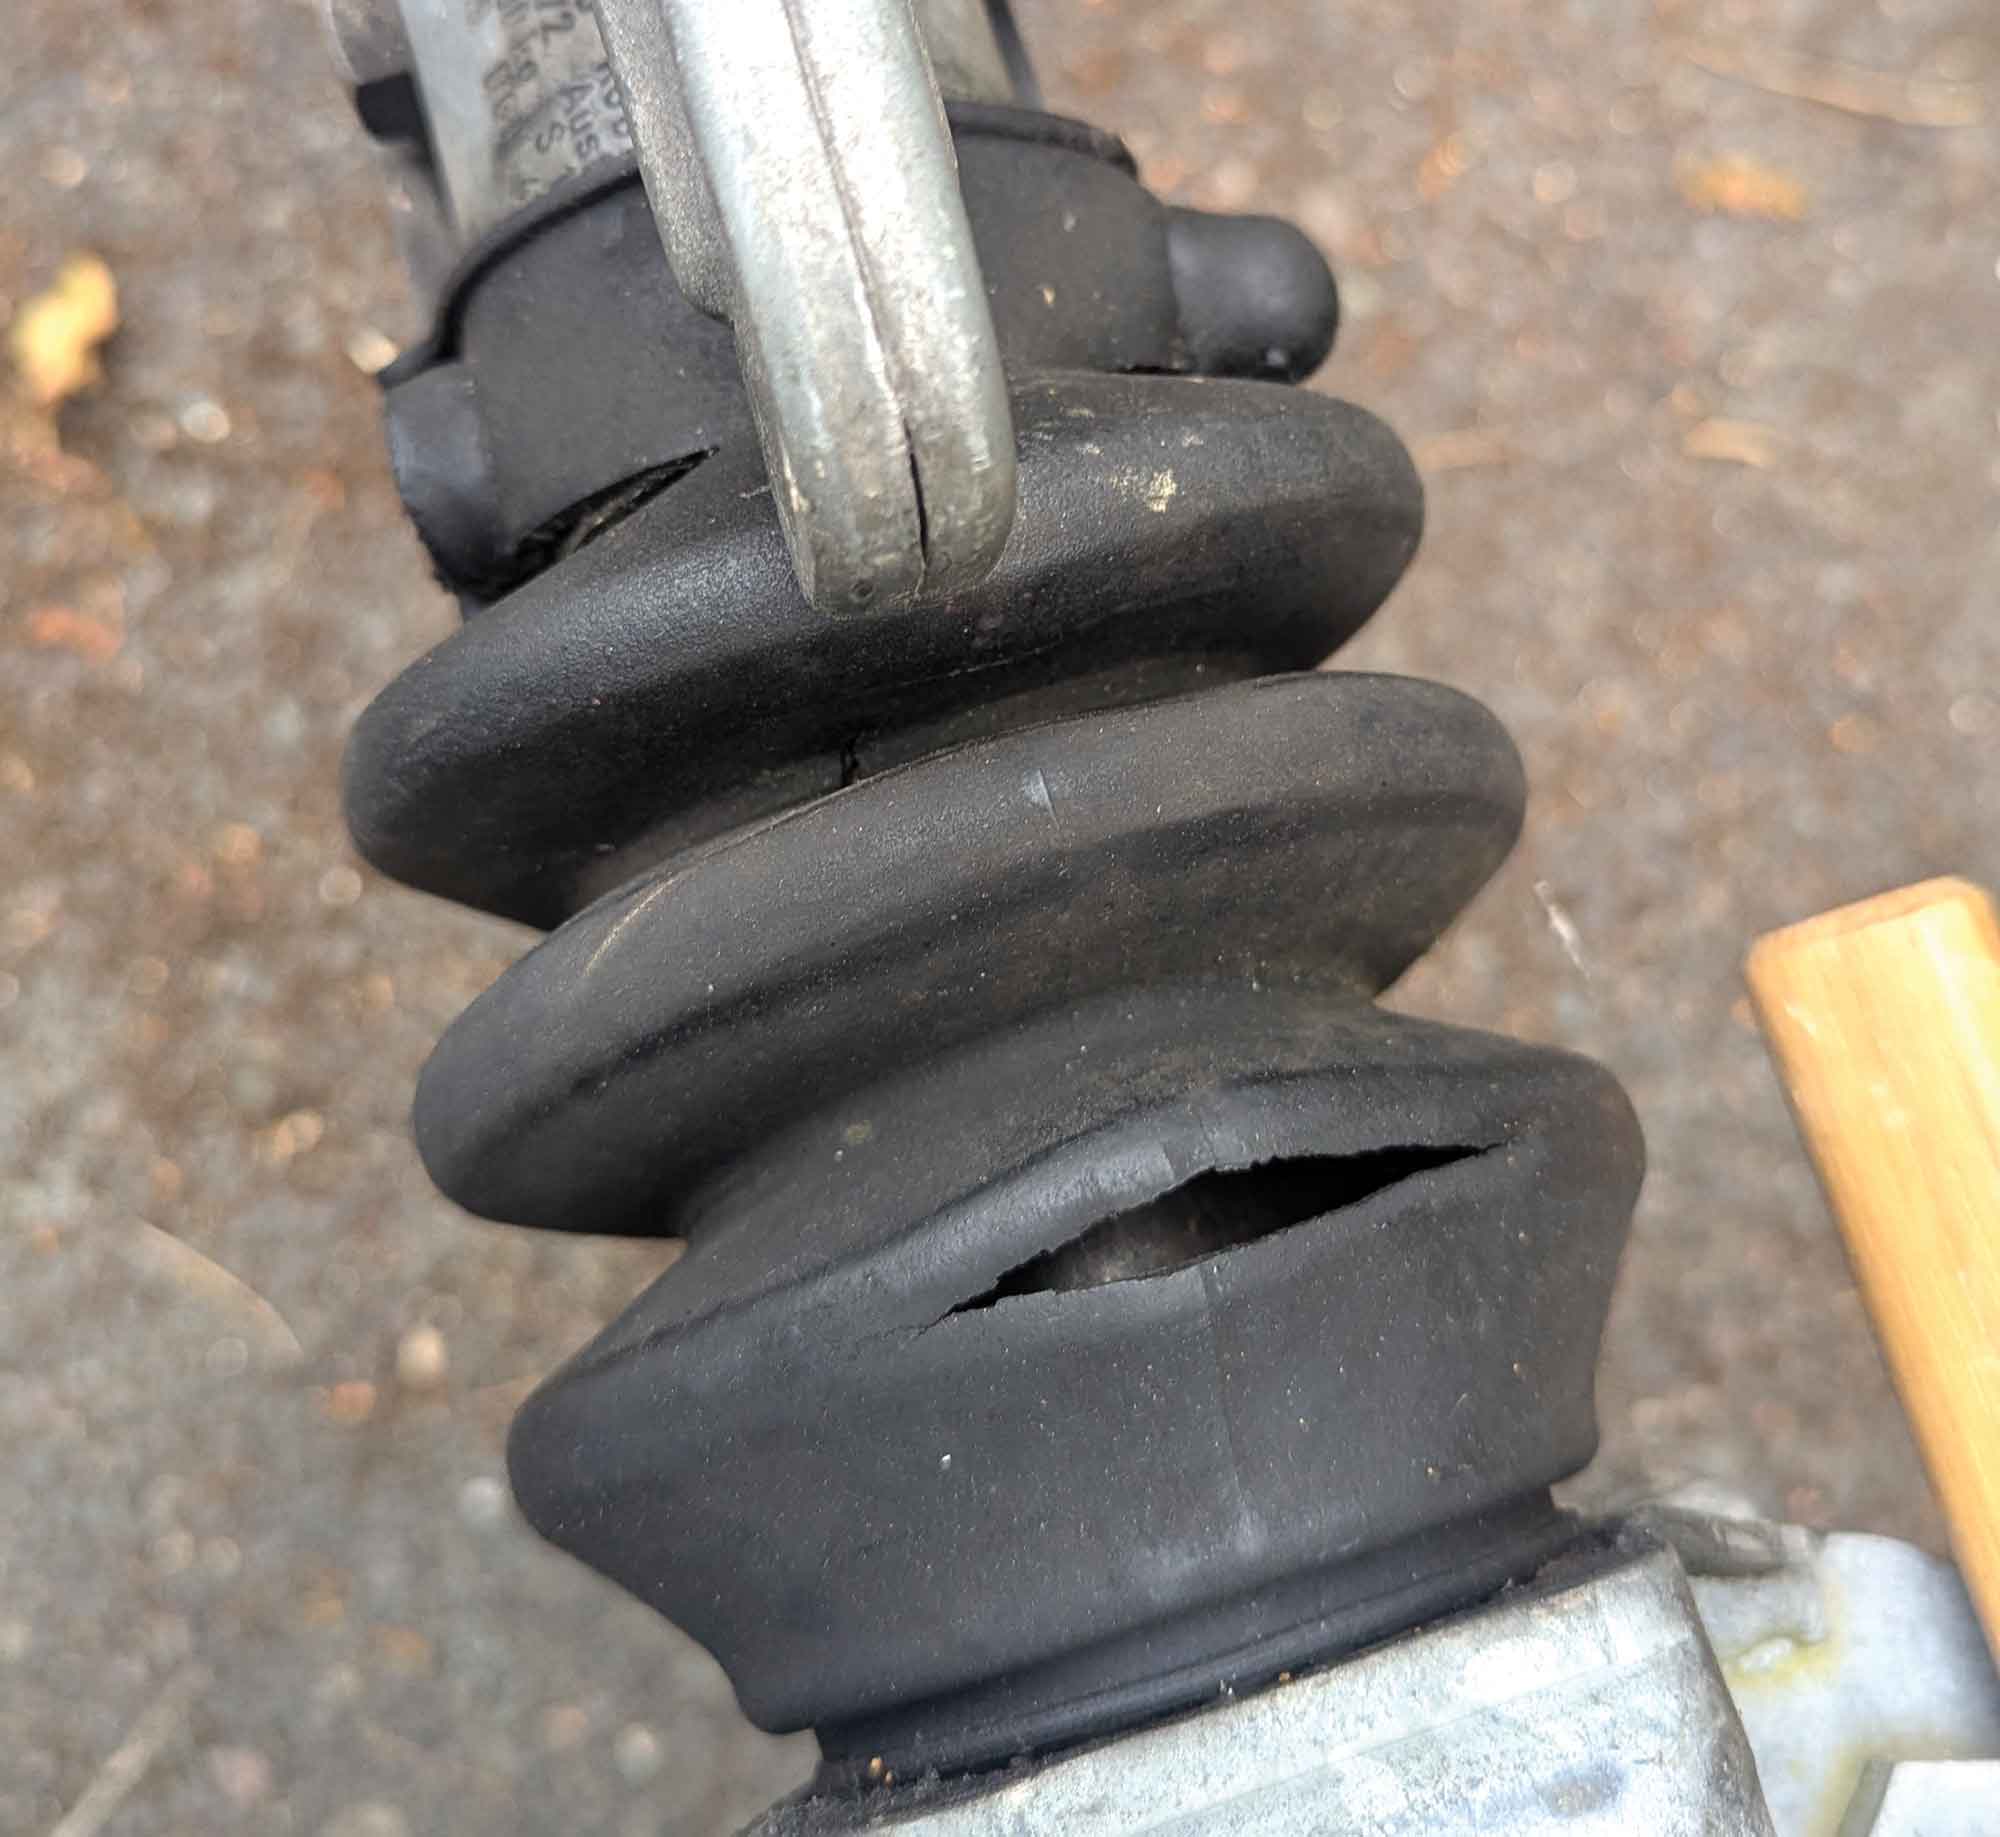
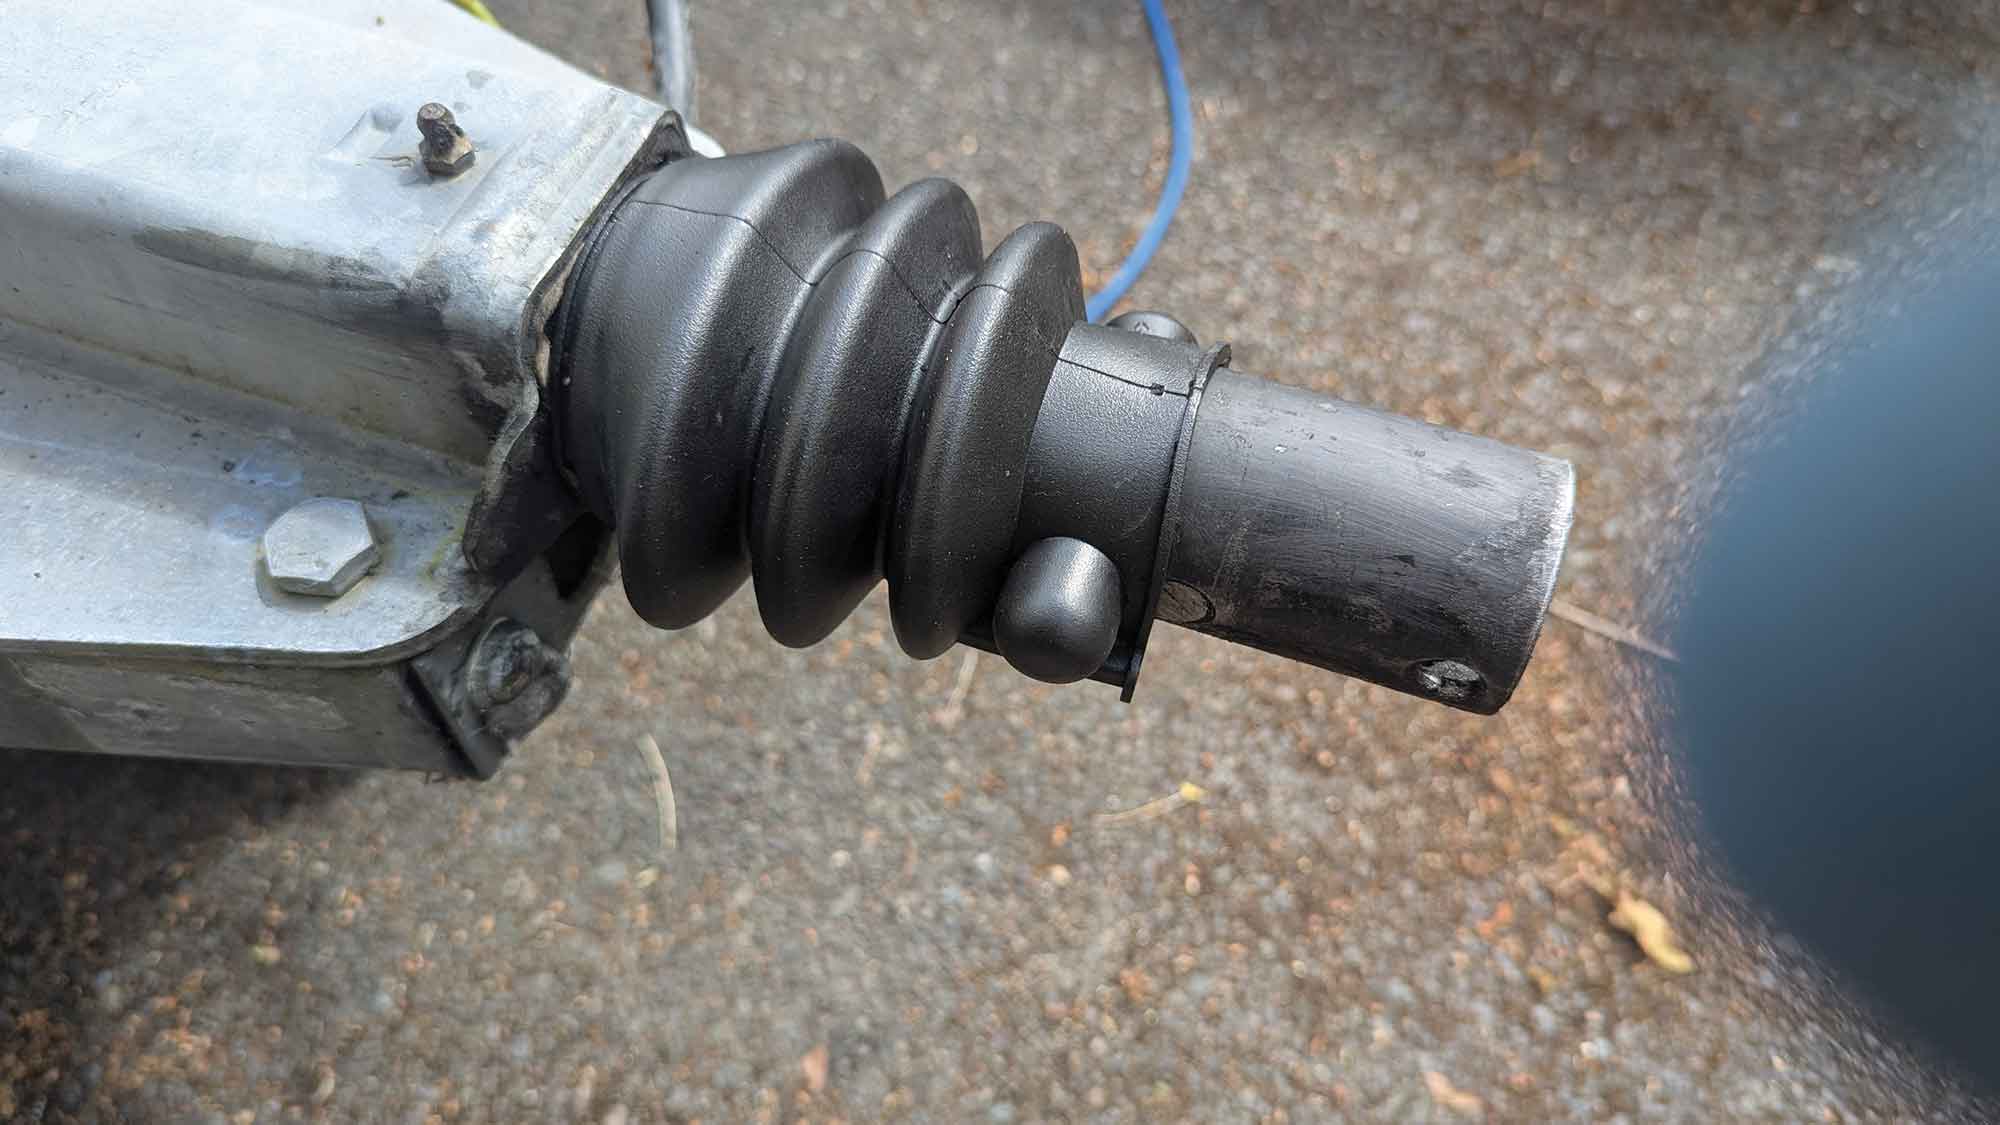
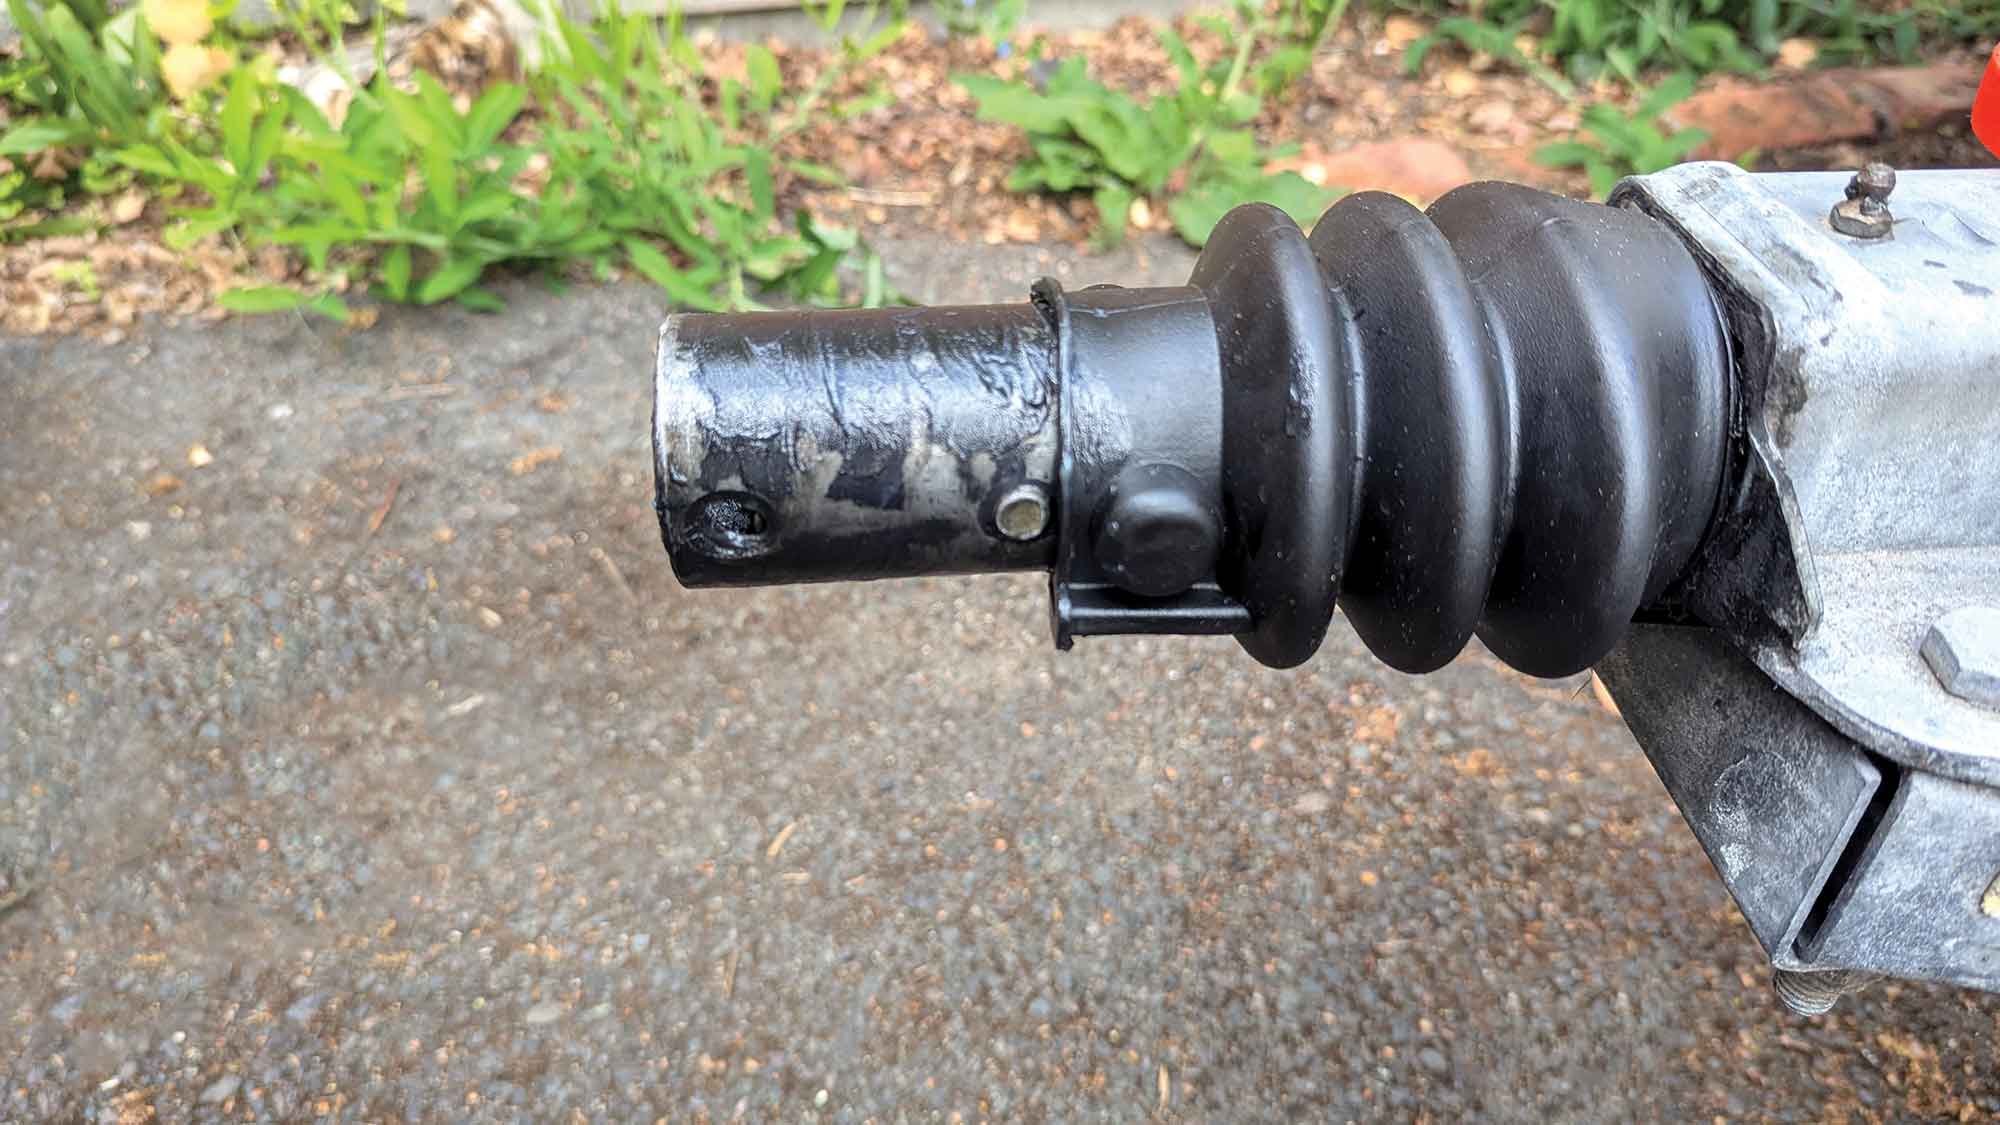
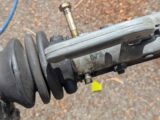
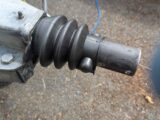
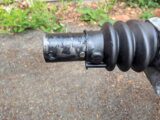
In our case, the gaiter behind the hitch-head was badly split and with the hitch-head now removed, it was the perfect time to swap it out.
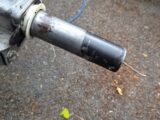
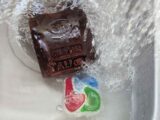
The drawbar was rusty too, so we cleaned away all of the old grease from the drawbar. We wiped it clean with kitchen paper and then used brake cleaner to degrease it.
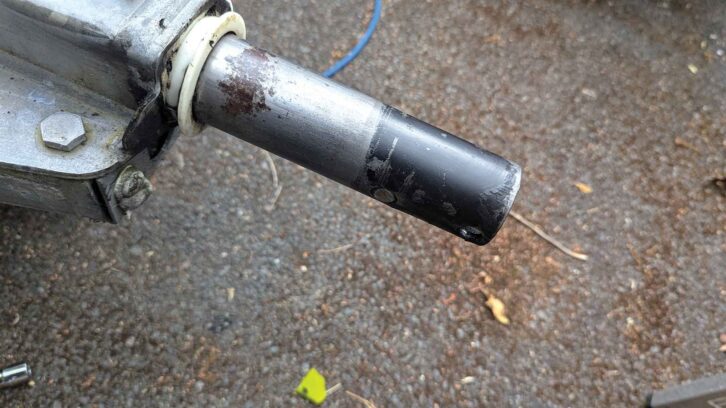
A light rub with emery cloth cleared the rust. After another wipe down, we lightly smeared grease on the drawbar, popped the new gaiter on the shaft and got ready to start bolting up the new hitch.

Although the old hitch can be lifted straight up, the stabiliser hitch must be slid on the front. There was a little bit of mucking about getting the hitch-head bolts lined up with the holes in the drawbar. Once we had them lined up, we drifted the dowel out of the hitch with the bolt.
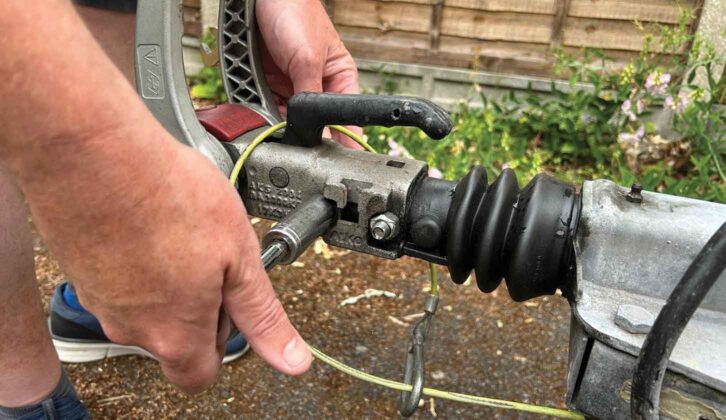
The front bolt was easy to fit and we used a torque wrench to get the nuts tightened to the correct 86Nm (59 lb ft) torque setting. Care needed to be taken because it is difficult to get the socket fully seated on the nut. That concluded the physical installation.
The final step in the job was to remember the towball on the car was still covered in grease. We spent 10 minutes with the brake cleaner removing the grease, as well as some extra paint from the towball. Dirt or paint on the towball can cause groaning and reduce the effectiveness of the stabiliser.
Something else you can do to upgrade your experience in your tourer is look at ways of improving your sleeping setup – Peter Baber’s tips on how to make a caravan bed more comfortable will come in handy here.
Future Publishing Limited, the publisher of Practical Caravan, provides the information in this article in good faith and makes no representation as to its completeness or accuracy. Individuals carrying out the instructions do so at their own risk and must exercise their independent judgement in determining the appropriateness of the advice to their circumstances and skill level. Individuals should take appropriate safety precautions and be aware of the risk of electrocution when dealing with electrical products. To the fullest extent permitted by law, neither Future nor its employees or agents shall have any liability in connection with the use of this information. You should check that any van warranty will not be affected before proceeding with DIY projects.
If you’ve enjoyed reading this article, why not get the latest news, reviews and features delivered direct to your door or inbox every month. Take advantage of our brilliant Practical Caravan magazine SUBSCRIBERS’ OFFER and SIGN UP TO OUR NEWSLETTER for regular weekly updates on all things caravan related.