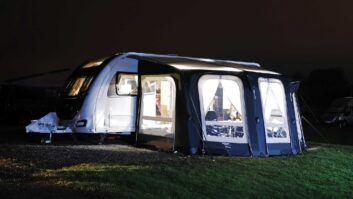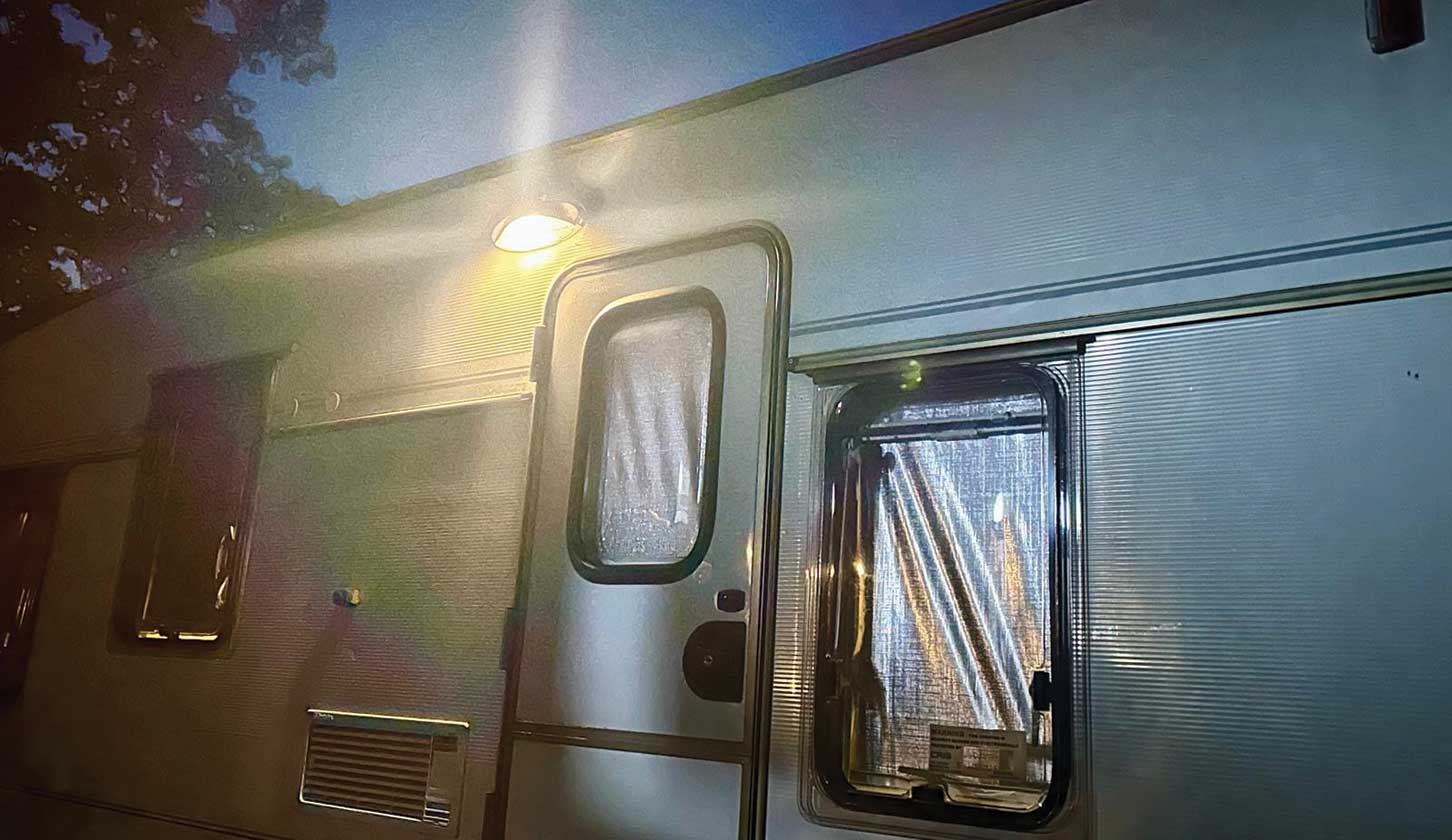

There is nothing quite like the inky darkness of a rural campsite for making you wish you had left the exterior light on when you had left the van.
Whether you absent-mindedly forgot to fire it up before leaving, or perhaps staggered home later than expected after a visit to a local hostelry, fumbling around to find your caravan door lock in the dark is not much fun, even if pitched up at one of the best caravan sites.
There are a few options here. Movement-sensing outside lights is one way to go, but are a nuisance if you are sat in the best caravan awning and have to wave at the caravan every five minutes to remind it you are there.
Carrying a torch is good if you’re organised enough to remember and don’t mind unlocking the van one-handed.
Our solution is a caravan upgrade for the exterior light to remote controlled operation. We spent less than £15, reached for the caravan tool kit and carried out some DIY over an hour or so neatly securing the cabling to allow us to turn on Penny’s exterior light with a remote as we walk up.
Essentially the task is the same for any type of caravan, although we have had to reconfigure Penny’s wiring previously to bring the switch inside the van.
I’ve included a simple wiring schematic diagram to show the basics, but Penny’s set-up is a little more complicated.
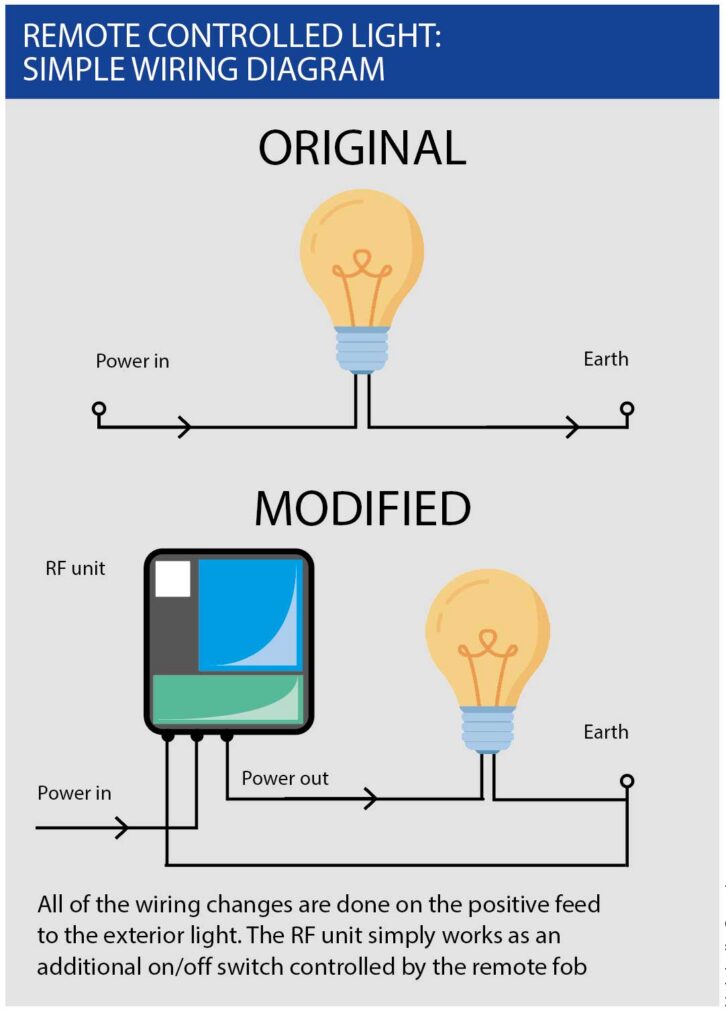
The wiring is essentially very basic. The remote fob (RF) module acts just like a normal light switch, but instead of poking it with your finger, you use the remote instead. Programming the device is more fiddly than the actual wiring. People with better eyesight may disagree!
There are two operating modes to choose from. One is a standard toggle (on/off) switch. We wanted to turn the light on approaching the van, and turn it off once inside.
If you prefer, though, you can program the light to come on for a fixed period before automatically shutting off.
You can set five, 10, 15 or 20 second delays but none were long enough to give us time to fumble with the van keys, so we stuck with manual mode.
Don’t miss how we went about fixing the soft floor in the rear corners of our caravan, either.
Lighting-up time
With the cabling tidied up and tucked away into the box, we are now the proud owners of a nearly 30-year-old caravan that has a remote key fob!
No more fumbling in the dark on the way back from the pub. Just a bright light to guide you right to the door.
The unit claims an operating distance of 50 metres which I suspect to be optimistic, but where we did the install, we could test at a range of around 10 metres without issue.
At around £12 plus a few terminals and cables, we are pleased with the outcome which we had ready to go within an hour or so of getting started.
Why lever lock connectors?
Lever-operated connectors are a great option for caravan DIY projects. Branded ones from WAGO are the most popular, but there are various unbranded equivalents that operate in the same way. Here are the reasons:
- Vibration resistant: Caravans are constantly shaking and bouncing around on the road. Unlike traditional screw terminal strips that can slowly wiggle loose over time – wrecking your reliability – lever connectors maintain a constant, spring-loaded grip on the wire. They simply do not vibrate loose.
- Neat joins: Instead of trying to force three wires into a single tiny terminal or soldering cables together in awkward gaps, these connectors let you snap each cable into its own dedicated jaw. From there, you can run a single neat line out to your component. Quick and tidy.
- Quick Changes: Stripping a wire, lifting the lever, inserting the conductor, and snapping it shut is incredibly fast. If you ever need to change the wiring layout or replace a component down the line, modifying the circuit takes seconds without the need for cutting or recrimping in a confined space.
A step-by-step guide to fitting a remote controlled unit to a caravan’s awning light
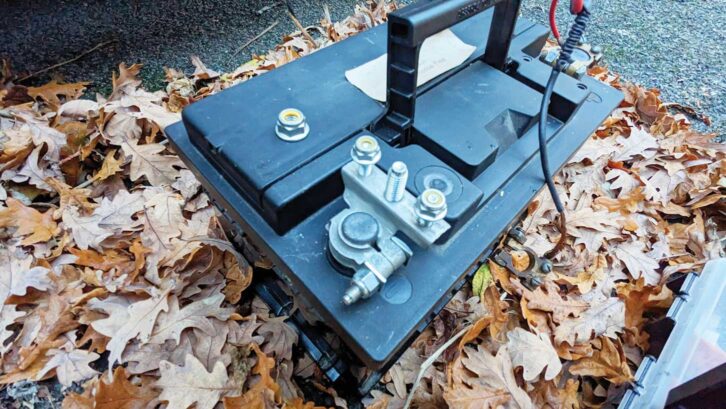
1 Before doing anything, safely isolate your caravan’s 12V power. Disconnect the negative side of the battery and if you have solar, isolate that too.
2 Each van will differ here, but in all cases, you need to access the exterior light wiring. In Penny, all the wiring is in a surface-mounted box.
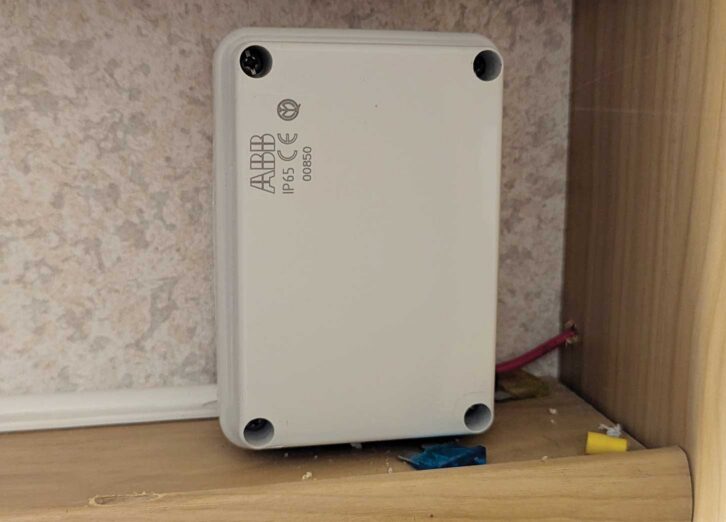
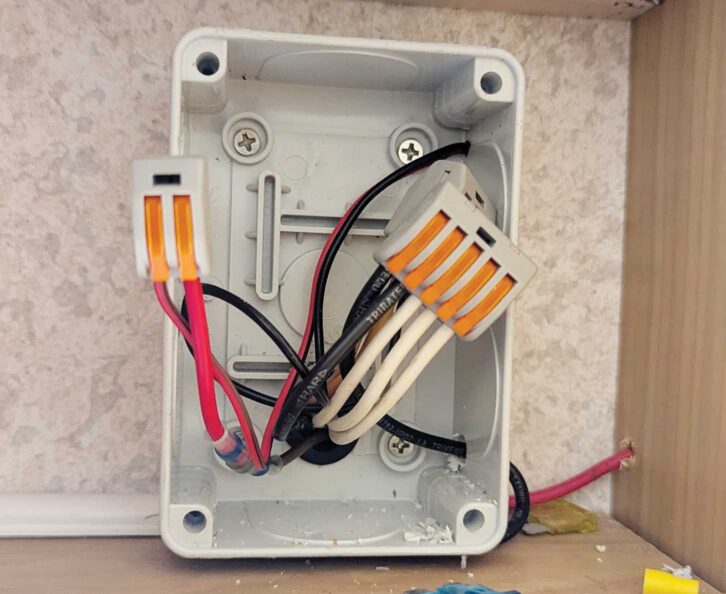
3 We had rewired the exterior light already so we knew where it all went. There were three lever-style connectors. We needed the red wires for the 12V switched power. The four-way connector is the ground or earth.
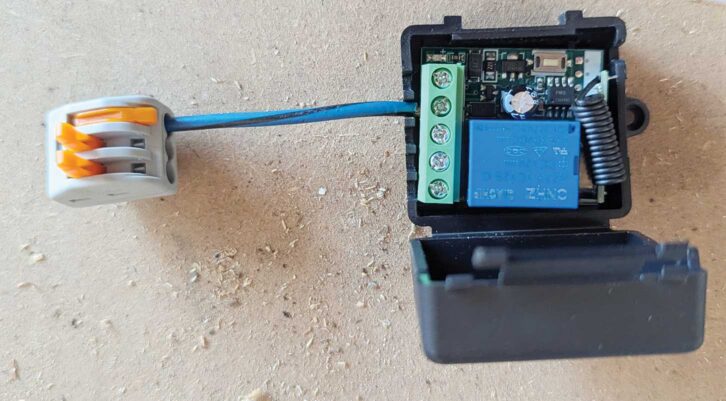
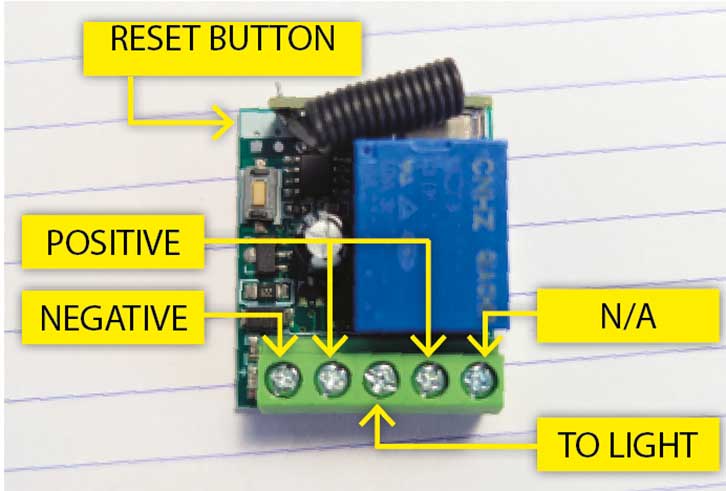
4 With the cables all identified, we cabled up the RF unit on the bench. The five terminals are visible but we are only using four.
5 The RF unit has various configurations but the one we need is the ‘12V Load Wiring Diagram’. That needs positive terminal 2 and ‘common’ terminal 4 linked. I connected them to a three-way connector. Short cables makes installation easier.
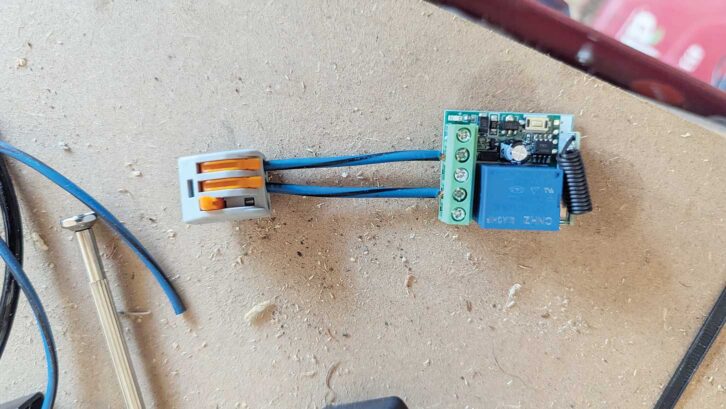
6 It looks complicated, but it really isn’t. Terminal 1 is the negative and needs to connect to all the earth cables. 12V power from the caravan light switch connects to terminals 2 and 4. Terminal 3 connects to the outside light as the positive.
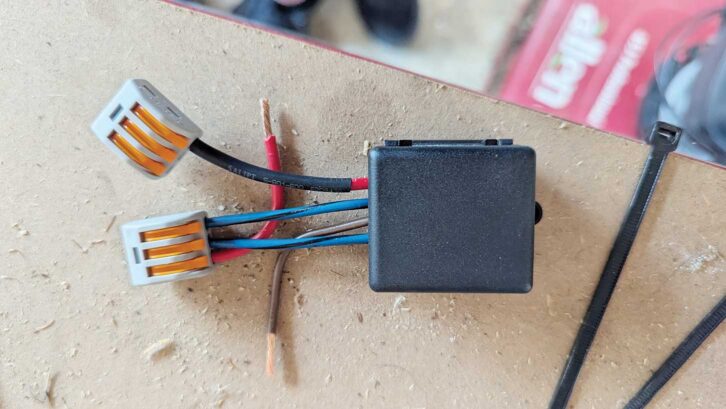
7 Not complicated, but space is tight. Terminal 1 gets a three-way connector on a short cable, ready to connect to other negatives. In most installs, a two-way connector is adequate. Finally, a short brown cable runs to terminal 3. This connects to the light fitting, via another two-way connector.
8 With this all done, we had the simple connections completed. Before we worried about how tidy it all was, we decided to have a trial run. We reconnected the battery and set up the unit.
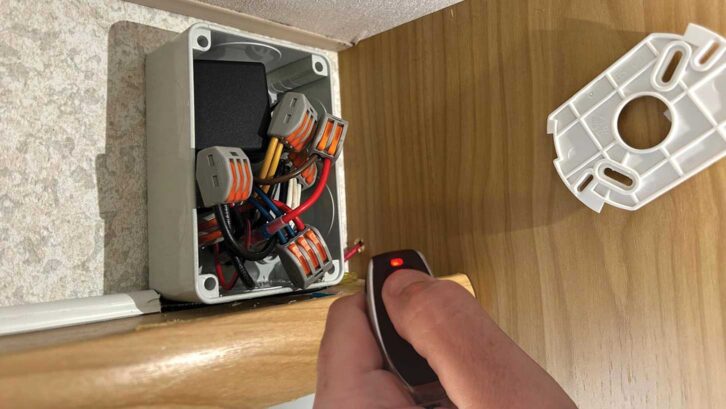
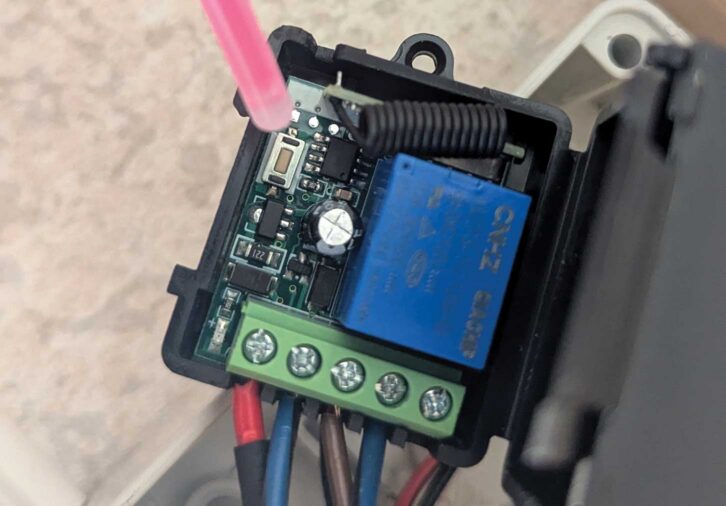
9 We pressed the tiny learning button eight times until the light flashed to clear it. Then we pressed it twice more before operating the first remote. To program the second remote, we simply pressed the learning button twice again and hit the button on the second fob. All done!
Future Publishing Limited, the publisher of Practical Caravan, provides the information in this article in good faith and makes no representation as to its completeness or accuracy. Individuals carrying out the instructions do so at their own risk and must exercise their independent judgement in determining the appropriateness of the advice to their circumstances. Individuals should take appropriate safety precautions and be aware of the risk of electrocution when dealing with electrical products. To the fullest extent permitted by law, neither Future nor its employees or agents shall have any liability in connection with the use of this information. Check that any van warranty will not be affected before proceeding with DIY projects.
If you’ve enjoyed reading this, why not get the latest news, reviews and features delivered direct to your door or inbox every month. Take advantage of our brilliant Practical Caravan magazine SUBSCRIBERS’ OFFER and SIGN UP TO OUR NEWSLETTER for regular weekly updates on all things caravan related.