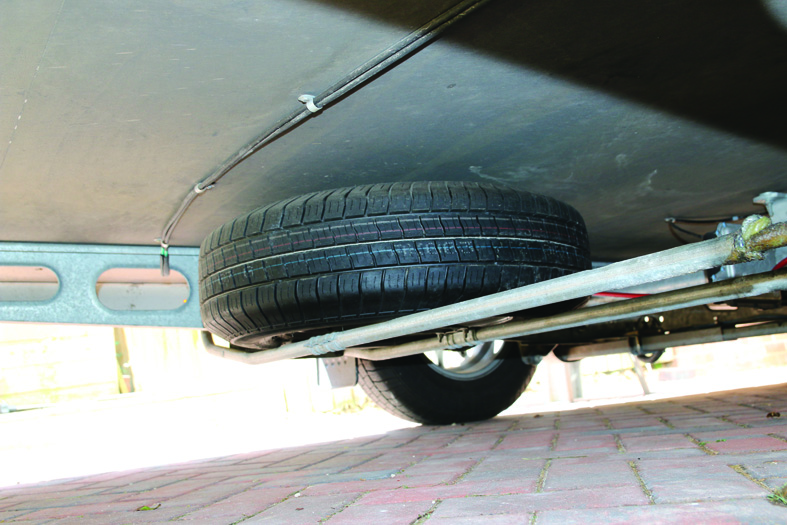


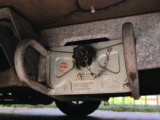


Al-Ko’s underslung spare wheel carrier was a revolution. Before, most spares (if the caravan had one) were mounted in the front locker. I had a couple of vans like this, and I dread to think what the noseweight was.
Al-Ko’s solution addressed the problem of storing the spare and, being mounted behind the axle, had very little effect on weight distribution.
Access issues
However, accessing the spare (even in ideal conditions) is tough enough, but imagine having to do it at the side of a motorway in the rain. And that brings me to another problem.
For the UK, the underslung carrier is installed so the wheel can be dragged out from the nearside – what if you take the van to the Continent?
Thankfully, I haven’t had the misfortune to suffer a puncture. But just imagine if we did. If we left the carrier as it was, it might mean having to drag the spare out into the nearside lane of a fast-moving motorway.
I’d prefer to limp to a safe place and risk destroying the tyre, and possibly the wheel.
So the solution would be to reverse the carrier, to make it accessible from the Continental nearside (right), wouldn’t it? Well, no, not really – what would happen if you had a puncture while travelling in the UK?
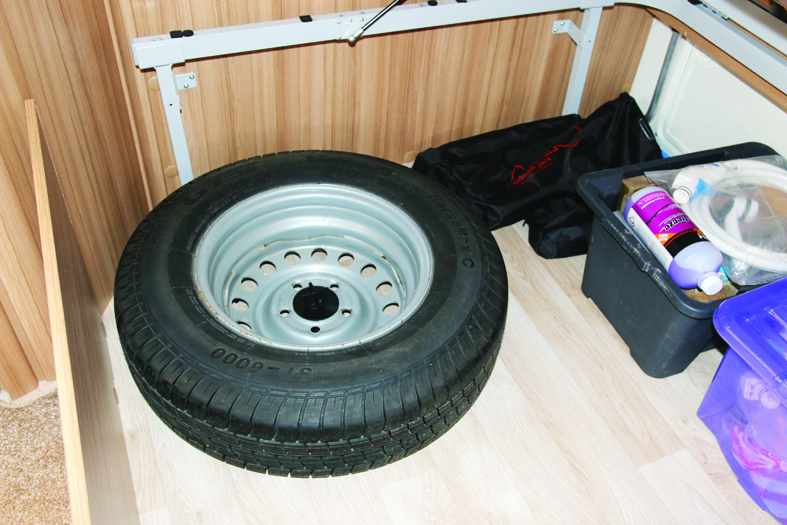
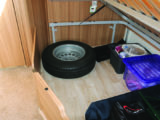
Then a couple of years ago, we were preparing the Swift caravans for the impending Tow Car Awards, testing many models with fixed beds, and we discovered they had a wheel mount inside, under the beds.
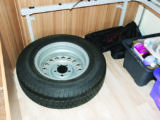
The ideal answer. Not only would the spare be accessible, it would stay cleaner, and it would be easier to check the pressure.
Soon, courtesy of Yorkshire Caravans, I had one of these mounts; similar items can be found elsewhere.
What is involved in removing the Al-Ko underslung carrier and fitting the internal mount? Tools required for the job are few:
- 19mm socket/spanner
- Pliers
- Cloths
- Screwdriver
- 4 x self-tapping screws (3/4in long maximum)
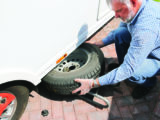
You will need to get partially underneath the caravan, so first and most importantly, ensure the handbrake is fully applied, that wheels are chocked and that the corner steadies are down.
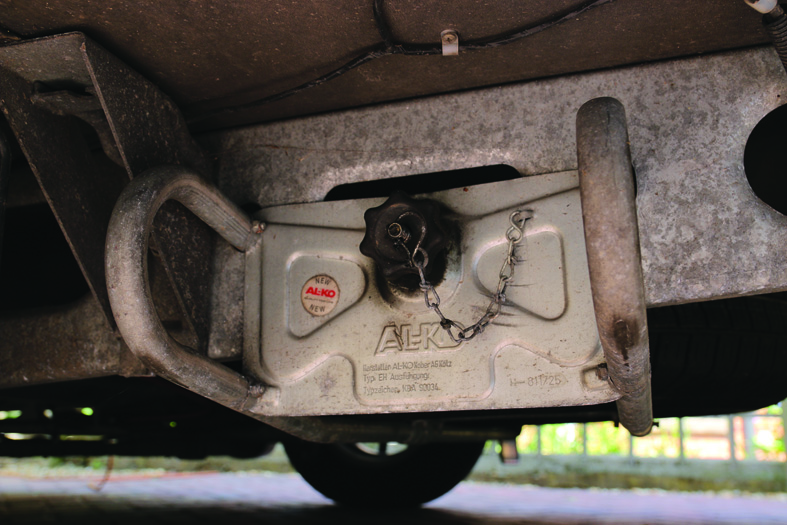
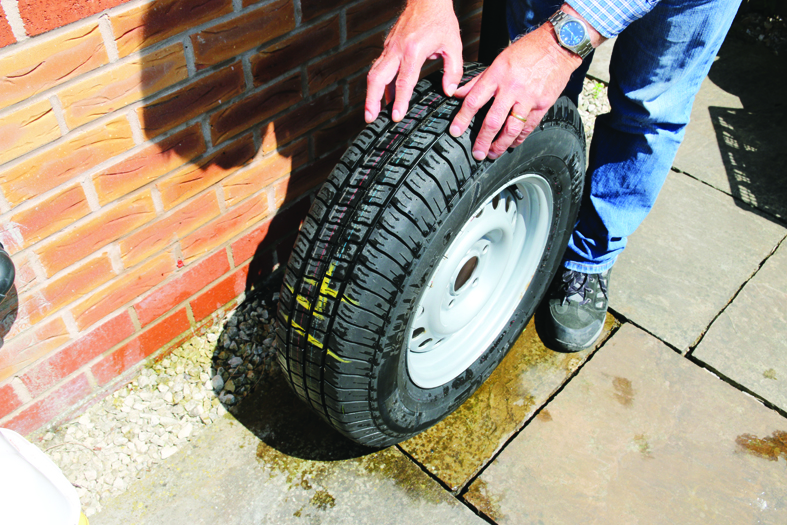
The next step is to remove the spare wheel. To do this, on the nearside end of the carrier, you’ll see a handwheel, which should have a clip on a chain through the thread. Remove the clip and the handwheel.
You should then be able to slide the spare out on the carrier. To remove it from the carrier, you need to remove the lock-nut, spacer (if fitted) and the plate holding the wheel in place, from the centre of the wheel , and then the nut that keeps the wheel in place. All are 19mm.
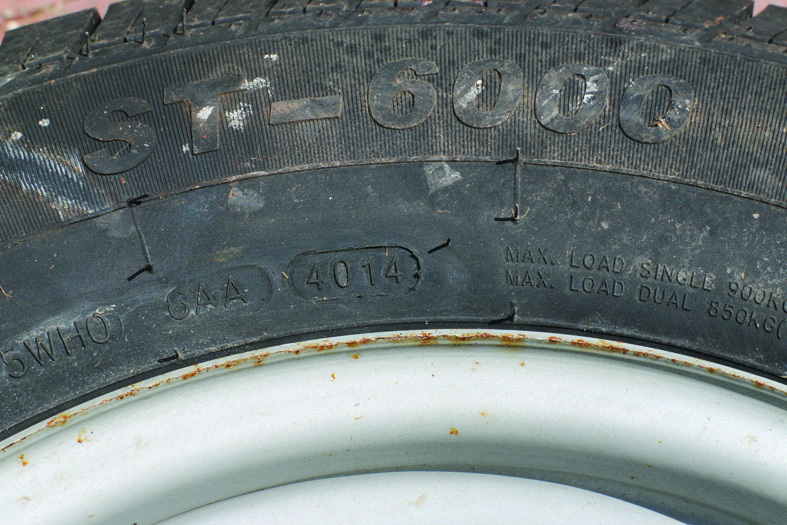
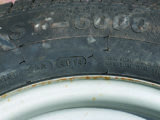
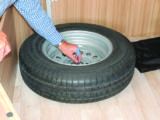
With the wheel removed, you’ll probably find it’s full of dirt and grit in the middle.
Give both wheel and tyre a wash, then inspect the tyre and its date stamp, and check the pressure. Next, remove the bolt holding the handwheel in place, and its lock-nut. Simply loosen the bolt with the socket/spanner and unwind it and the lock-nut.
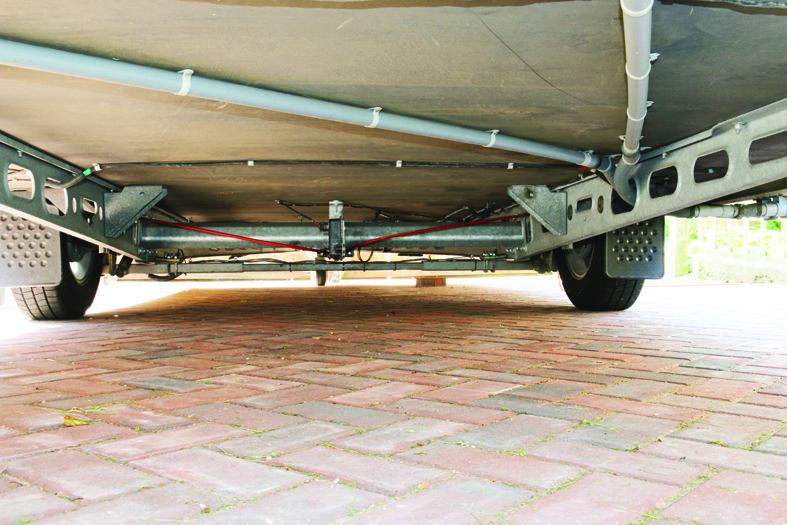
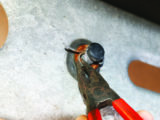
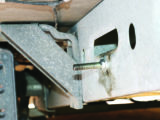
Moving to the offside, you’ll see split pins holding the carrier in place. There are two more on the inside of the chassis.
Remove the split pins and the washers from the inside and outside of the chassis, then the two black plastic bungs should pull out from the ends of each tube. The tubes push out of the rubber mounts in the chassis. I left the mounts in place, but you can remove those, too.
Now reassemble everything so that nothing goes missing!
Check noseweight
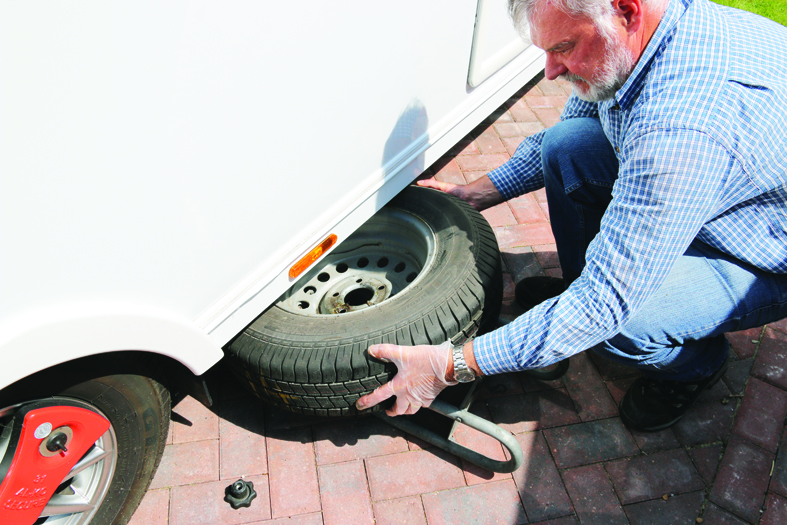
Find a suitable place inside the van to mount the spare. Think about when you might need to get at it and the effect it might have on the noseweight.
You’ve lost the weight of the carrier, but you don’t want to create towing instability, so it’s wise to measure the noseweight before securing the mount.
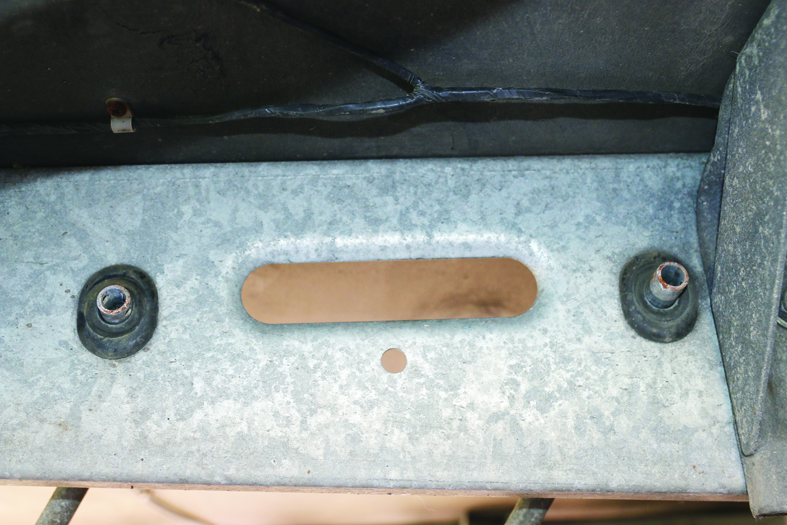
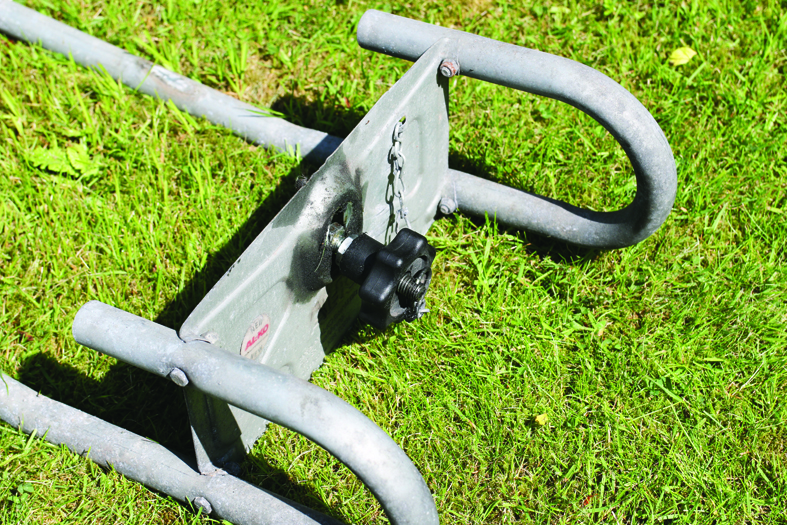
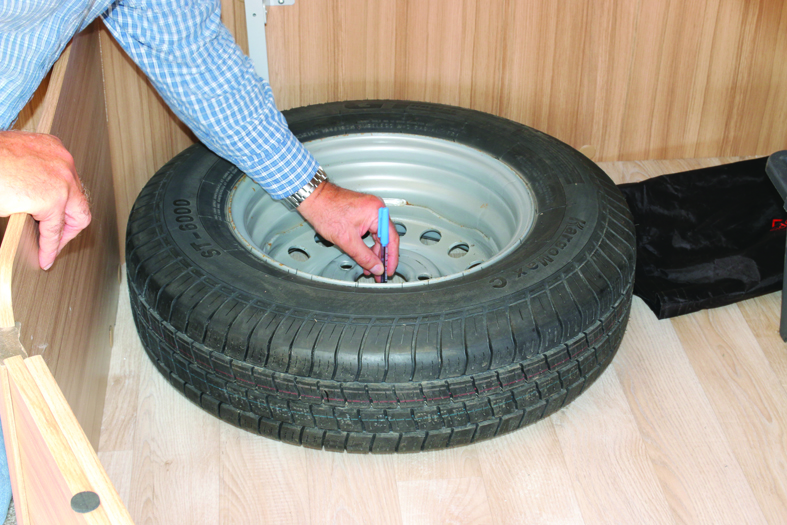
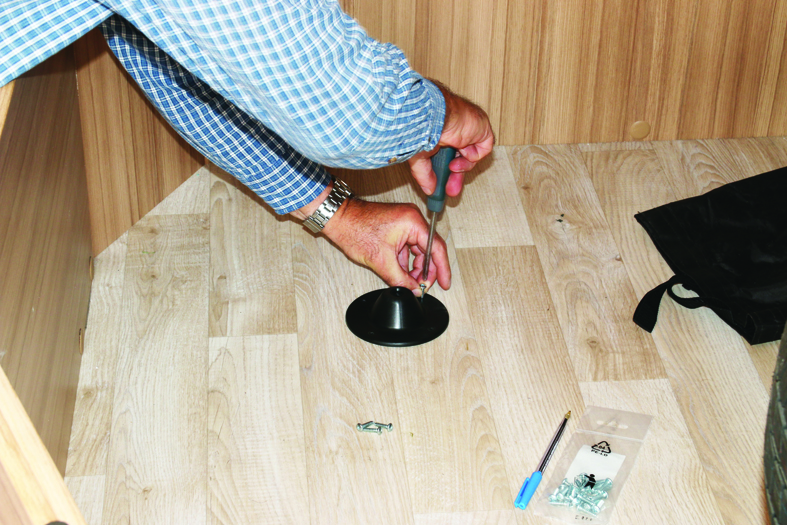
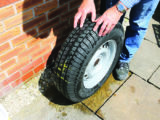
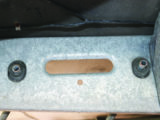
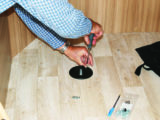
With a location chosen, mark the floor through the centre of the wheel and lift the wheel out of the way. Place the centre of the mount’s baseplate over the mark and secure it to the floor with four self-tapping screws.
Place the wheel over the baseplate and secure with the threaded thumbwheel and washer. Job done!
If you liked this… READ THESE:
How to choose the right towbar
If you’ve enjoyed reading this article, why not get the latest news, reviews and features delivered direct to your door or inbox every month. Take advantage of our brilliant Practical Caravan magazine SUBSCRIBERS’ OFFER and SIGN UP TO OUR NEWSLETTER for regular weekly updates on all things caravan related
Future Publishing Limited, the publisher of practicalcaravan.com, provides the information in this article in good faith and makes no representation as to its completeness or accuracy. Individuals carrying out the instructions do so at their own risk and must exercise their independent judgement in determining the appropriateness of the advice to their circumstances. Individuals should take appropriate safety precautions and be aware of the risk of electrocution when dealing with electrical products. To the fullest extent permitted by law, neither Future nor its employees or agents shall have any liability in connection with the use of this information. You should check that any van warranty will not be affected before proceeding with DIY projects.
Not only is the spare wheel more accessible, it stays cleaner and you can check the pressure