


It’s amazing how much caravan lighting has improved over the past few years, and in the main, that’s thanks to LEDs.
It’s not so long ago that vans were lit by power-hungry halogen bulbs and fluorescent strip lights: although some of us remember when all you had were a couple of gas lights, and the advent of 12V lights was miraculous!
Not only were halogen bulbs power-hungry, however – they also got very hot, which at times could make sitting underneath one quite uncomfortable.
Over the years, we have upgraded the lighting in our son’s 1999 Abbey caravan, swapping halogen bulbs for LEDs, as well as installing LED ambient lighting in the lounge (Practical Caravan, October 2016).
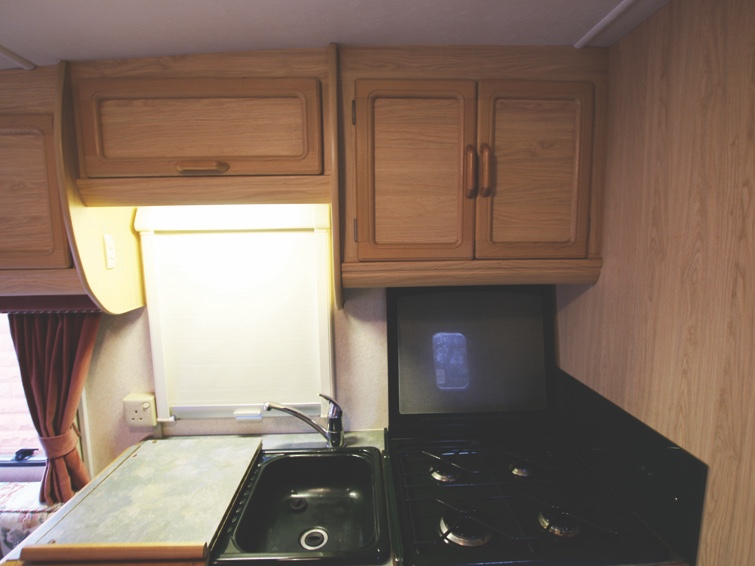
However, we’ve never changed the fluorescent striplight in the kitchen. Bearing in mind that Kay and I bought the caravan new in 1999, then my parents were its custodians last year, we’d never noticed how relatively poor that light was until Lisa, James’s wife, commented on it during a recent trip away.
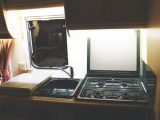
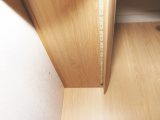
Part of the problem was that the overhead-locker bases are at different heights, with the one over the sink much higher than that above the cooker. The sink area was lit, the cooker wasn’t; and that was compounded by the fact that if you stood in front of the cooker, you blocked the illumination from a nearby ceiling light. So it was time to upgrade.
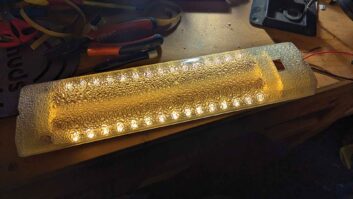
We had some self-adhesive 12V LED ribbon lighting left over from previous jobs that would be perfect for this, because we could not only replace the fluorescent light, but also add some lighting to the cooker area.
Before starting the job, ensure the 230V mains supply and the 12V battery are disconnected.
The electrical power to the original light fitting is more than sufficient for LED ribbons, so the wiring is pretty straightforward.
Cut the ribbons
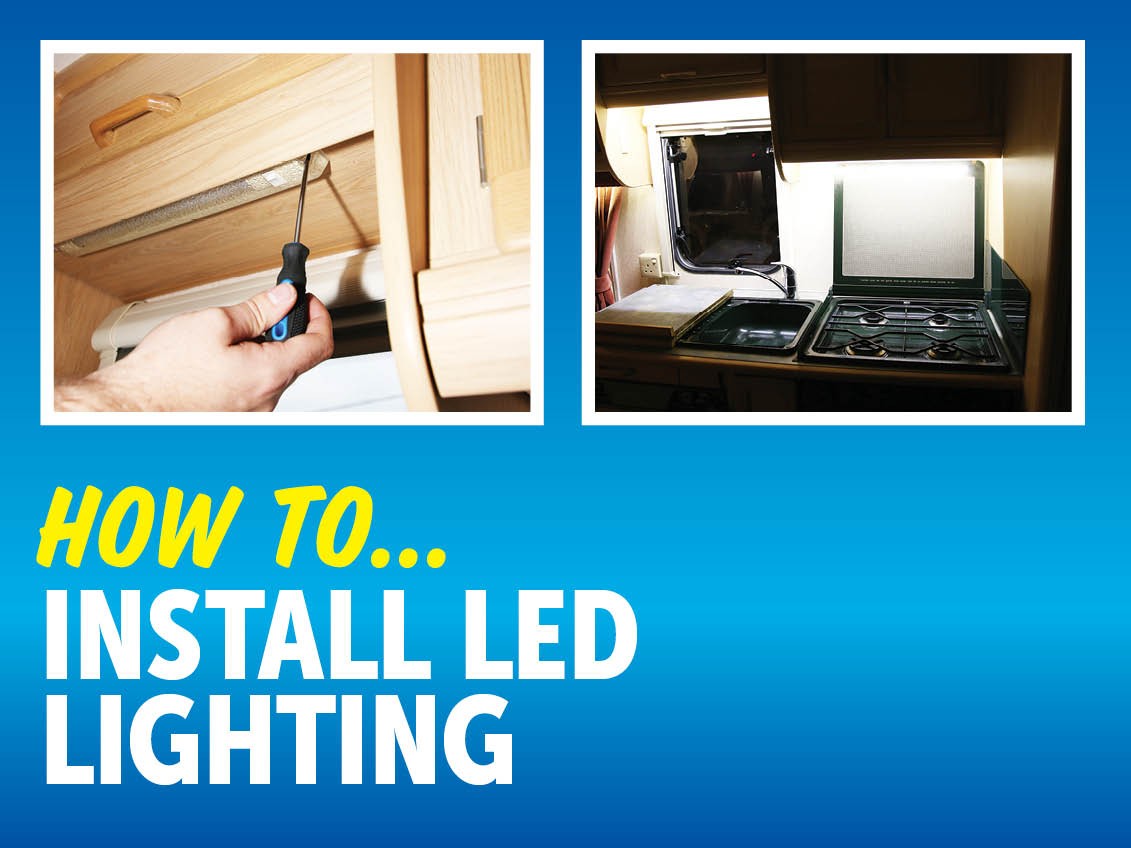
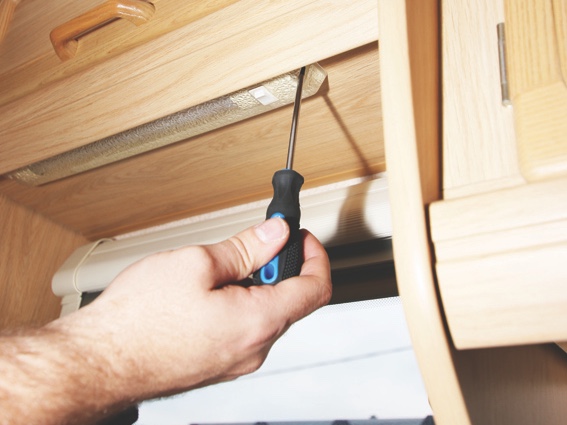
The first job is to remove the original fluorescent light fitting. Ours was held in place by a screw at each end. When these were removed, the fitting could be pulled down and the electrical connections unplugged. That fitting was then discarded.
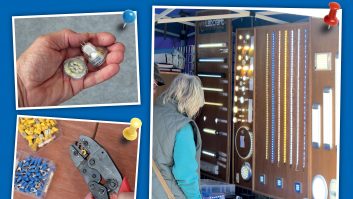
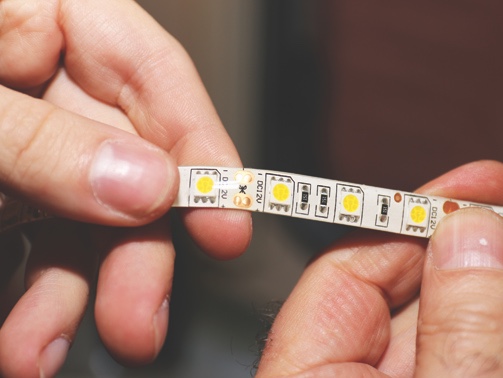
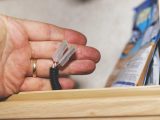
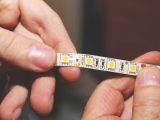
Next, starting with the LED ribbons, we measured and cut required lengths for each strip. If you look closely, you’ll see small copper areas on the ribbons with a scissor icon in between – this is where the ribbon must be cut.
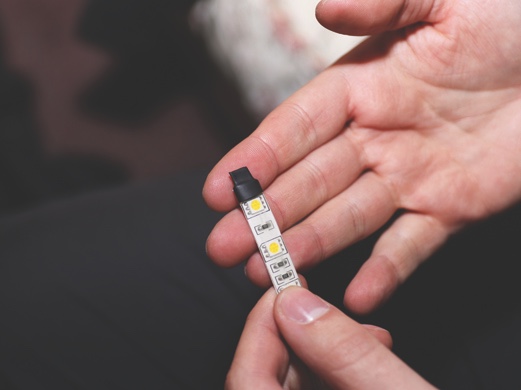
Then we needed to extend the wires on one strip – which already had black (-ve) and red (+ve) wires attached because it was at the end of the ribbon – and add them to the second. Before doing that, though, heat-shrink was put over the other ends of each strip to keep moisture at bay.
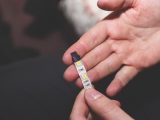
On the copper areas at the end of the ribbon, you’ll see a ‘+’ and a ‘-‘ sign. A red wire needs to be attached to the ‘+’ and a black wire to the ‘-‘. To do this, the silicone covering on the ribbon must be trimmed, to expose the copper.
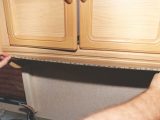
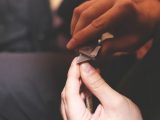
Solder enough of each wire (the red needs to reach the switch, the black needs to connect to the earth lead on the caravan’s original wiring) to allow them to reach their respective connections. Using the ribbon’s self-adhesive strip, and double-sided foam tape (trimmed to the same width as the strips) to ensure they stick firmly, the strips were attached underneath the lockers.
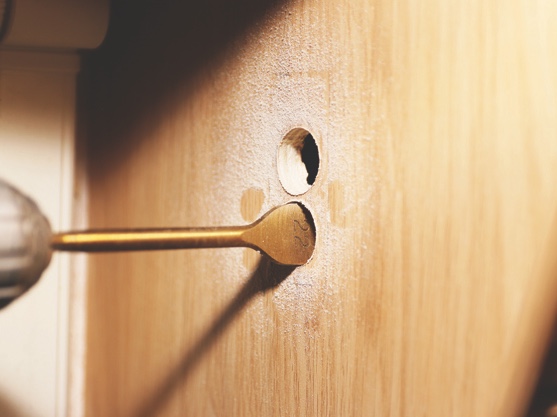
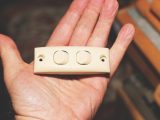
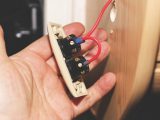
Then we found a suitable place for the switch, marked this on the panel and drilled a pilot hole in the centre. This was opened out to the desired size with a 22mm bit. Ours was a double switch (the only one we found to match other switches in the van), so two holes were needed. A slot was cut between the two for wiring.
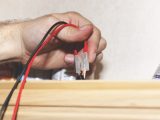
Starting with the power feed (red +ve), a male crimped spade terminal was attached to one end of the wire (this would attach to the original van wiring), and at the switch end, this and a piggy-back wire were crimped into pin terminals. The pin terminals were secured into the centre connections in the switch’s two terminal blocks. The red +ve wires from each of the LED strips were secured into the top terminals on the switches.
Both black (-ve) wires from the LED strips were joined in a female crimped spade terminal, which in turn was attached to the caravan’s original wiring spade terminal.
Test everything
Before securing the switch in place, the caravan battery was reconnected, so we could test that everything worked.
Then the switch was secured, and the wiring tidied and secured by cable ties so it wouldn’t get caught inside the cupboard that is over the cooker area.
We had to use a single switch for both strips, but the age of the van meant the only one on the accessory shop that matched the originals was a double. We could have wired both strips into one switch, but wiring them separately gives flexibility, and at least uses both switches!
Parts and tools required for this job are:
- Self adhesive LED ribbon lights
- Switch
- 1.0mm and 0.5mm core cable (red +ve and black -ve)
- Crimped spade terminals (male and female)
- Crimped pin terminals
- Double-sided foam tape
- Cable ties
- Heat-shrink
- Stanley knife
- Assortment of screwdrivers
- Scissors
- Soldering iron and solder
- Electric drill and wood bits
- Wire trimmers and cutters
- Heat gun
The electrical power to the original light fitting is more than sufficient for LED ribbons, so the wiring is pretty straightforward