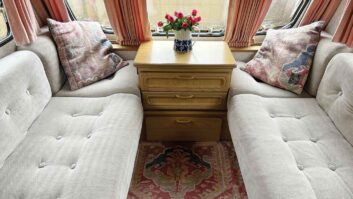
We would be fooling nobody if we were to suggest that a caravan approaching its 25th birthday was ‘merely’ dated by the interior lighting. While a modern caravan would come with LEDs, tourers of Penny’s era would have halogens, tungstens and fluorescents – her lighting needed an update.
There are plenty of things that can date even the best secondhand caravans over a certain age, particularly in the cast of a 25-year-old tourer, but one of the simpler ones to address is the quality and effectiveness of the interior lighting. After all, swapping out a few light fittings is well within the grasp of most DIYers, while maintenance tasks like cleaning a caravan roof should also be relatively straightforward, so long as you know what you’re doing. In contrast, upgrading cooking or heating equipment, or modifying furniture, is strictly A-level.
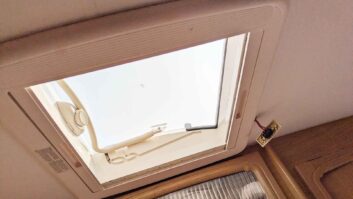
Simple this task might be, but one of the guiding lights of this particular project van is trying to keep the costs sensible. Looking for spare parts for an older caravan can have mixed results – sometimes, you can get a bargain, as I did when I replaced the roof vent in Penny.
However, shopping for caravan light fittings is not that cheap. Trawling for good secondhand units is a possibility, but in most cases, they are not much cheaper than new ones, they are an unknown quantity and they will use halogen or fluorescent technology. Most come from 10-year-old vans, which means they aren’t the last word in stylish interior finishes. It’s questionable how much of an upgrade many of them are, particularly after buying a used caravan anyway.
The other option is to go for all-new fittings. Some are nice, some are vile, but replacing all old with new was beyond the scope of Penny’s pocket money funding, anyway.
We wanted to look at some budget options – after all, we’d only bought Penny for £1,200. We might end up mixing new and old, but we needed to look at all options to find the right ones for us.
The advantages of LED strips in a caravan
The best caravans nowadays are festooned with LEDs and the reason is no mystery. They are happy in low-voltage applications, and can be tiny and incorporated into elaborate wiring schemes, using digital controllers, dimmers and even colour-changing.
No matter your type of caravan, if you want it to look like a nightclub, you can make it happen. However, our needs were a bit more prosaic. We wanted to swap the milky fluorescents for LED strips, but still use the same light fittings wherever possible.
The advantages of LED strips in a caravan over fluorescent tubes are pretty well understood, but they are worth going over. The main one, which is important to us, is energy efficiency.
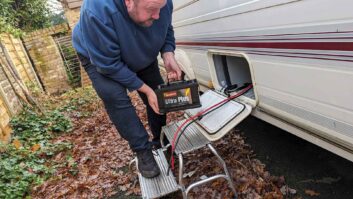
This isn’t because we are especially environmentally sensitive, but more because we want to use Penny away from a hook-up, be it at festivals of enjoying some off grid caravanning. That means the lights will be running on battery power. That in turn means light fittings which use less power can be used for longer from the same power supply. I wanted an idea of how much power could be saved here, so I planned to do some rudimentary maths later on to work this out.
There is a diminishing return on the other advantages, but none is worthless. A definite positive is that LED strips don’t give out a lot of heat. In an old box made of paper, wood and plastic, that’s no bad thing. We only want things designed to get hot to get hot.
Another plus point is that LEDs are instantly at their full brightness. One thing that was definitely the case in Penny was that the ceiling lights started off a dim yellow colour, ripening to something a bit brighter after about 15 minutes. This often meant you were up and down adjusting the lights when you should be relaxing and pouring your second glass!
LED strip lights are very robust, so they are a good match for bouncing along the road when towing a caravan. They have a long service life, too. Also great news, but it appeared to me that Penny’s lights had lasted nearly 25 years already, so this wasn’t top of my worry list.
The final plus point of LED strips is how small they are compared to solutions that were common in 1998. If you wanted to backlight something or illuminate a dingy corner,
it was fluorescent tubes or nothing back then, with the heat and power considerations that go with them.
LED strips are tiny, can be hidden anywhere and make backlighting the cupboards, pelmets or any other dark recesses a breeze.
We didn’t want to go for full floodlights in Penny, but there are definitely a few places that could do with brightening up. LED strip lights would be ideal for the task in our caravan, so we immediately began planning the job.
Getting started with LED strips in my caravan
The first point to note is that LED strip lighting is cheap. Seriously cheap if you can solder, and still reasonable value if you can’t, ideal if you’re caravanning on a budget.
The biggest issue with it is choosing from the thousands of vendors on Amazon, eBay and everywhere else. It seems overwhelming, but you need to zero in on a few details.
A lot of the LED strip lighting sold on Amazon comes with a power supply. In a caravan, you don’t need that so long as you are planning to run the lights off the low-voltage 12V circuit, which powers most of the other lighting. The caravan already has a 12V system, which is exactly what the LED strips want. Do specify that you want 12V strip, though, and not 24V.
The next thing to look out for is the warmth of the light. LEDs come in many different colour ‘temperatures’, ranging from sterile blue-tinged whites to warmer, yellower tones.
We wanted something at the cosier end of the spectrum in Penny, so went for the warmest of the three on offer.
A 5m length of warm LED strip cost us less than £6. It was now time to reach for the caravan tool kit and get to work. The strip can be cut to the length needed and, once cut, the remainder can be used as the next strip.
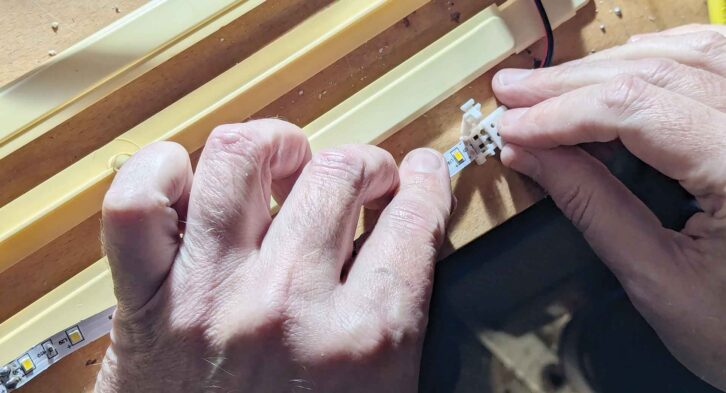
Each end comes with a cable soldered on, but for each cut end, you either need to solder more cables on to make a new circuit, or buy clip-on fittings which remove the need for soldering, but add to the cost.
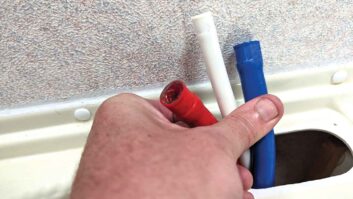
These cost nearly a tenner, but do remove a lot of headache from the task. We also chose to update the van wiring with modern electrical connectors, so we weren’t having to use screw terminal blocks in confined spaces. These cost £25 but will be used for other projects, too.
Removing a fluorescent light and converting it to LED strip lights
In the main living area, Penny has four fluorescent lights. Three are roof-mounted and another was mounted under the kitchen cabinet above the worktop. Each is being converted to use LED strip lights. Here’s an outline of the job:
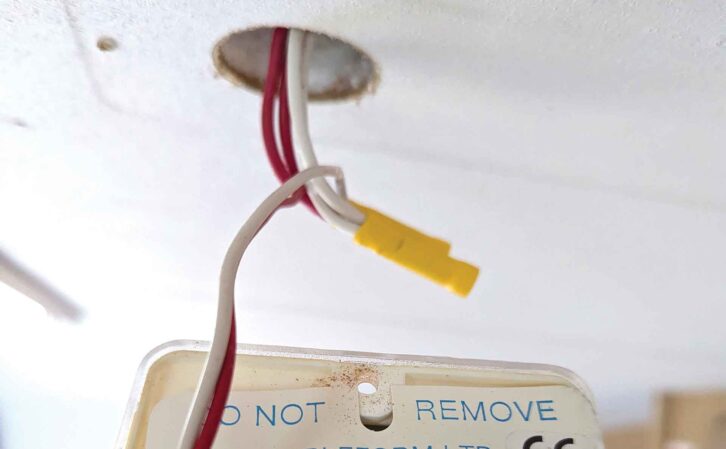
1. The first task is to safely unscrew the lights from the roof.
2. In Penny, the only way to remove the lights was to cut the cables, as they were crimped. Date stamp shows the light is the original from 1998.
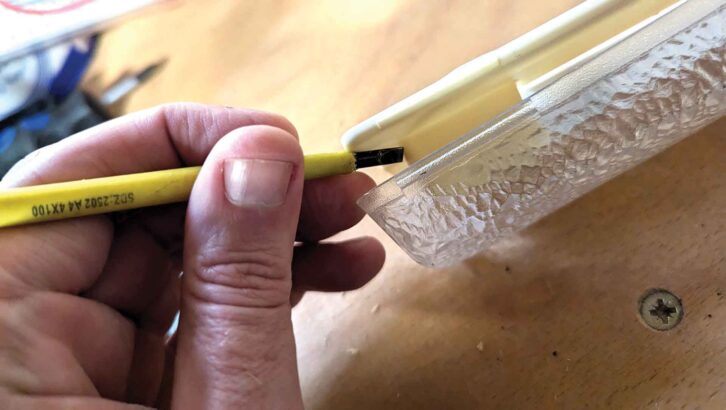
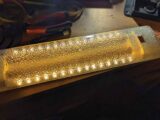
3. The light needs dismantling to remove the old electronics. We gently prised the diffuser from the base with a flat screwdriver.

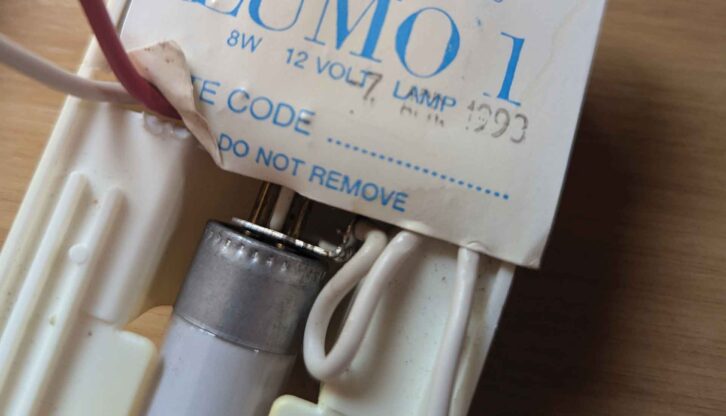
4. The glass fluorescent tubes were disconnected and safely stowed
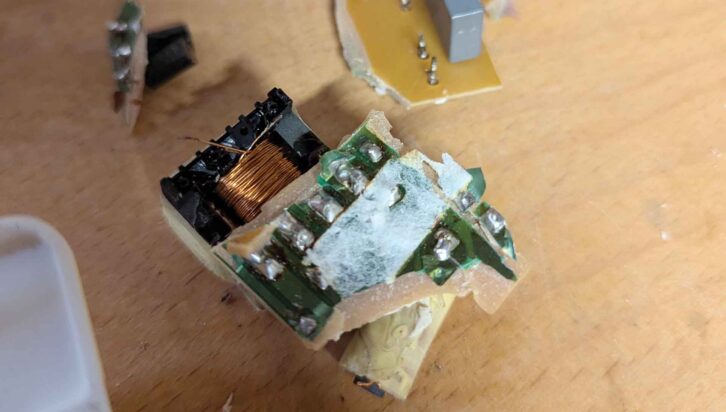
5. Fluorescent tubes need a ballast circuit to fire them up, but that is no longer needed. We broke up the circuit board and unsoldered the switch connectors, as we wanted to reuse it.
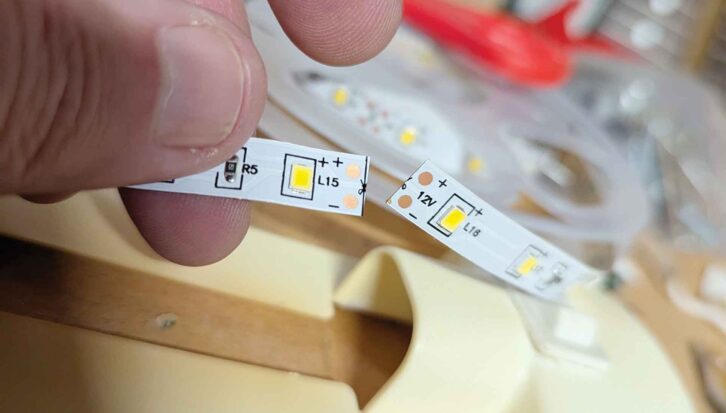
6. We measured and cut a suitable length of LED strip to go inside the fitting. Only cut it where the ‘scissors’ icon is shown – every 5cm on our strip.
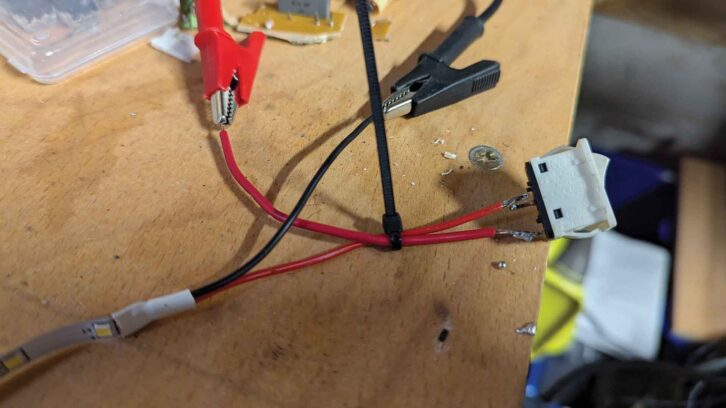
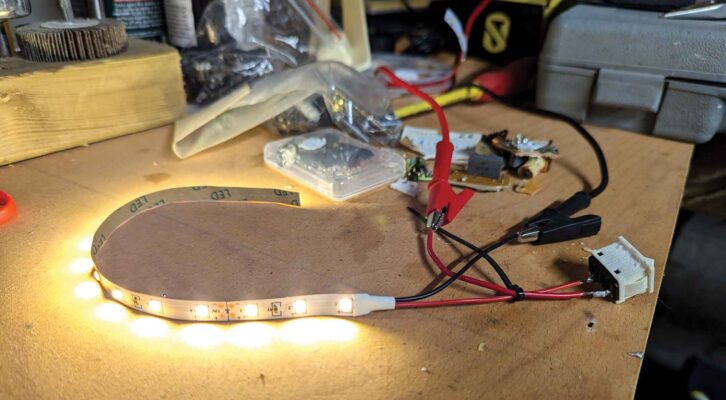
7. With that done, we had to make a simple circuit. The positive cable, which will connect to the caravan wiring, goes onto one switch terminal. A second length of cable is connected to the ‘+’ solder point on the strip. A third cable should be attached to the ‘–’ solder point to connect to the caravan negative cable.

8. Once the circuit has been tested, stick the self-adhesive LED strip to the chassis.
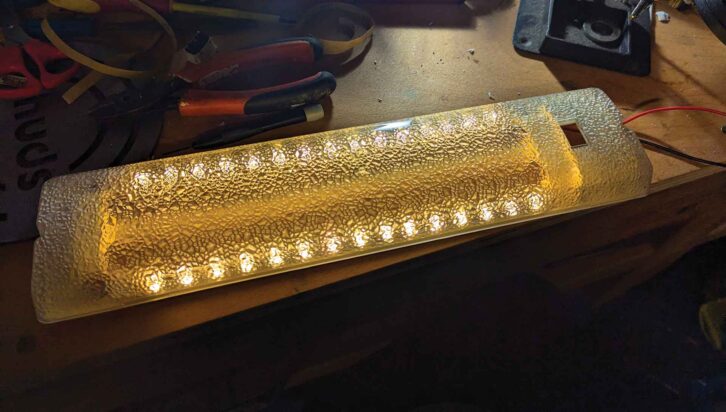
9. Reassemble the light fitting and get ready to refit the LED strips in the caravan.
Basic maths for LED strips versus Fluorescent tubes in a caravan
The power consumption of a small 12V fluorescent light compared to a similarly sized LED strip can vary, depending on the models, but this is a general comparison:
12V fluorescent lights in a caravan
A small 12V fluorescent light typically consumes 8W of power.
Fluorescents are generally less efficient than LEDs, so they use more power for the same amount of light output. They generate more heat, too, which uses more power.
12V LED strips in a caravan
A similarly sized 12V LED strip (to provide equivalent brightness) generally consumes closer to 4W of power.
LEDs are much more energy-efficient and provide the same or more light output while using less power.
Virtually all of that power will be used to generate light, rather than heat.
Without going too far into the maths, using one small 8W fluorescent light in Penny could consume about twice as much power as a similarly sized LED strip, for the same brightness.
Using our lighting as an example, we removed one 8W tube and replaced it with a 30cm length of LED strip. Our strip light uses around 2W of power over that 30cm run. We can roughly calculate the power usage from these numbers.
An 8W fluorescent will use 0.4 amps per hour. In theory, that means a fully charged 100Ah leisure battery (see: the best caravan leisure battery if you need one) could run that light for 230 hours – around 9.5 days. The 30W LED strip will use 0.16 amps per hour, in which case our leisure battery would last 625 hours, which is around 26 days.
If we convert every light in the caravan – allowing for batteries never giving what you hope, but also for the fact that you only need lights when it is dark – we think Penny stands a much better chance of lasting a week away from a hook-up with low-energy LEDs.
If you have an older tourer, one thing that can be retrofitted to it is Al-Ko ATC – it’s something our expert John Sootheran thinks you shouldn’t be without.
Future Publishing Limited, the publisher of Practical Caravan, provides the information in this article in good faith and makes no representation as to its completeness or accuracy. Individuals carrying out the instructions do so at their own risk and must exercise their independent judgement in determining the appropriateness of the advice to their circumstances and skill level. Individuals should take appropriate safety precautions and be aware of the risk of electrocution when dealing with electrical products. To the fullest extent permitted by law, neither Future nor its employees or agents shall have any liability in connection with the use of this information. You should check that any van warranty will not be affected before proceeding with DIY projects.
If you’ve enjoyed reading this article, why not get the latest news, reviews and features delivered direct to your door or inbox every month. Take advantage of our brilliant Practical Caravan magazine SUBSCRIBERS’ OFFER and SIGN UP TO OUR NEWSLETTER for regular weekly updates on all things caravan related.