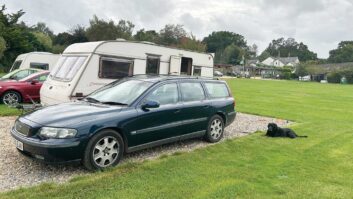


The conversation went something like this. “Everything go OK?” I asked Paul, a friend returning Penny, the 1998 caravan I’d bought off of Facebook Marketplace, after a week of touring.
“Yes, mate. Perfect,” he said. “It makes such a difference having your own toilet and a proper bed. It’ll be hard going back to a tent!”
I helped him unhitch Penny from his Passat, poured him a coffee, and we chatted before he headed home. As Paul was leaving, though, he said: “So is there a trick to getting the water and the lights to work?’
“No, no,” I assured him. “Just flick the main switch as you go in, and everything works.”
“Must have done it wrong,” Paul replied. “It didn’t matter to us. We had torches.”
As I waved him off, I was a bit surprised that he hadn’t put a touch more effort into getting the lights to work. He was there for four nights. Granted, he was a newcomer to caravanning, but he’s not an idiot and it’s not exactly brain surgery getting the lights on in a 25-year-old tourer. Puzzled, I decided to take a look.
Practical Caravan is supported by its audience. When you purchase through links on our site, we may earn an affiliate commission. Learn more
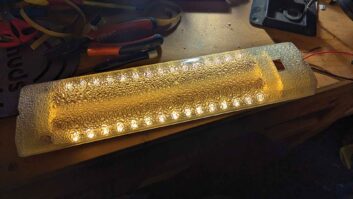
Looking at the lights
As soon as I stepped inside the van, it was obvious that something wasn’t right.
The Renogy 500A Battery Monitor that we had installed previously when getting Penny ready for the touring season was showing a blank screen, which was not very promising.
The main 12V power switch in the doorway was on, but none of the lights did anything. In fact, nothing did anything.
Given that I had updated the battery cables and the clamps, I thought perhaps something had come loose. In the locker, all the connections were tight.

My multimeter, however, told the story. Running the meter between the two battery cables inside the van gave a reading. Just over 3V. The first check I should have done was to see the leisure battery wasn’t flat.
Outside the van, we swung the locker door open and put the meter across the battery terminals. Confirmation. The battery was toast.
In truth, it was not new, and because it spends much of its time on a hook-up when not in use, it was not obvious there was a problem when we packed the van off for the weekend.

But as the sun came down on the festival camping field, there would have been little doubt – it was time to look for the best caravan leisure battery.
At least the fix is easy, even if finding the £120-odd needed to replace it is not. I was confident that we had the smoking gun for our dry, dark caravan.
Half a problem solved
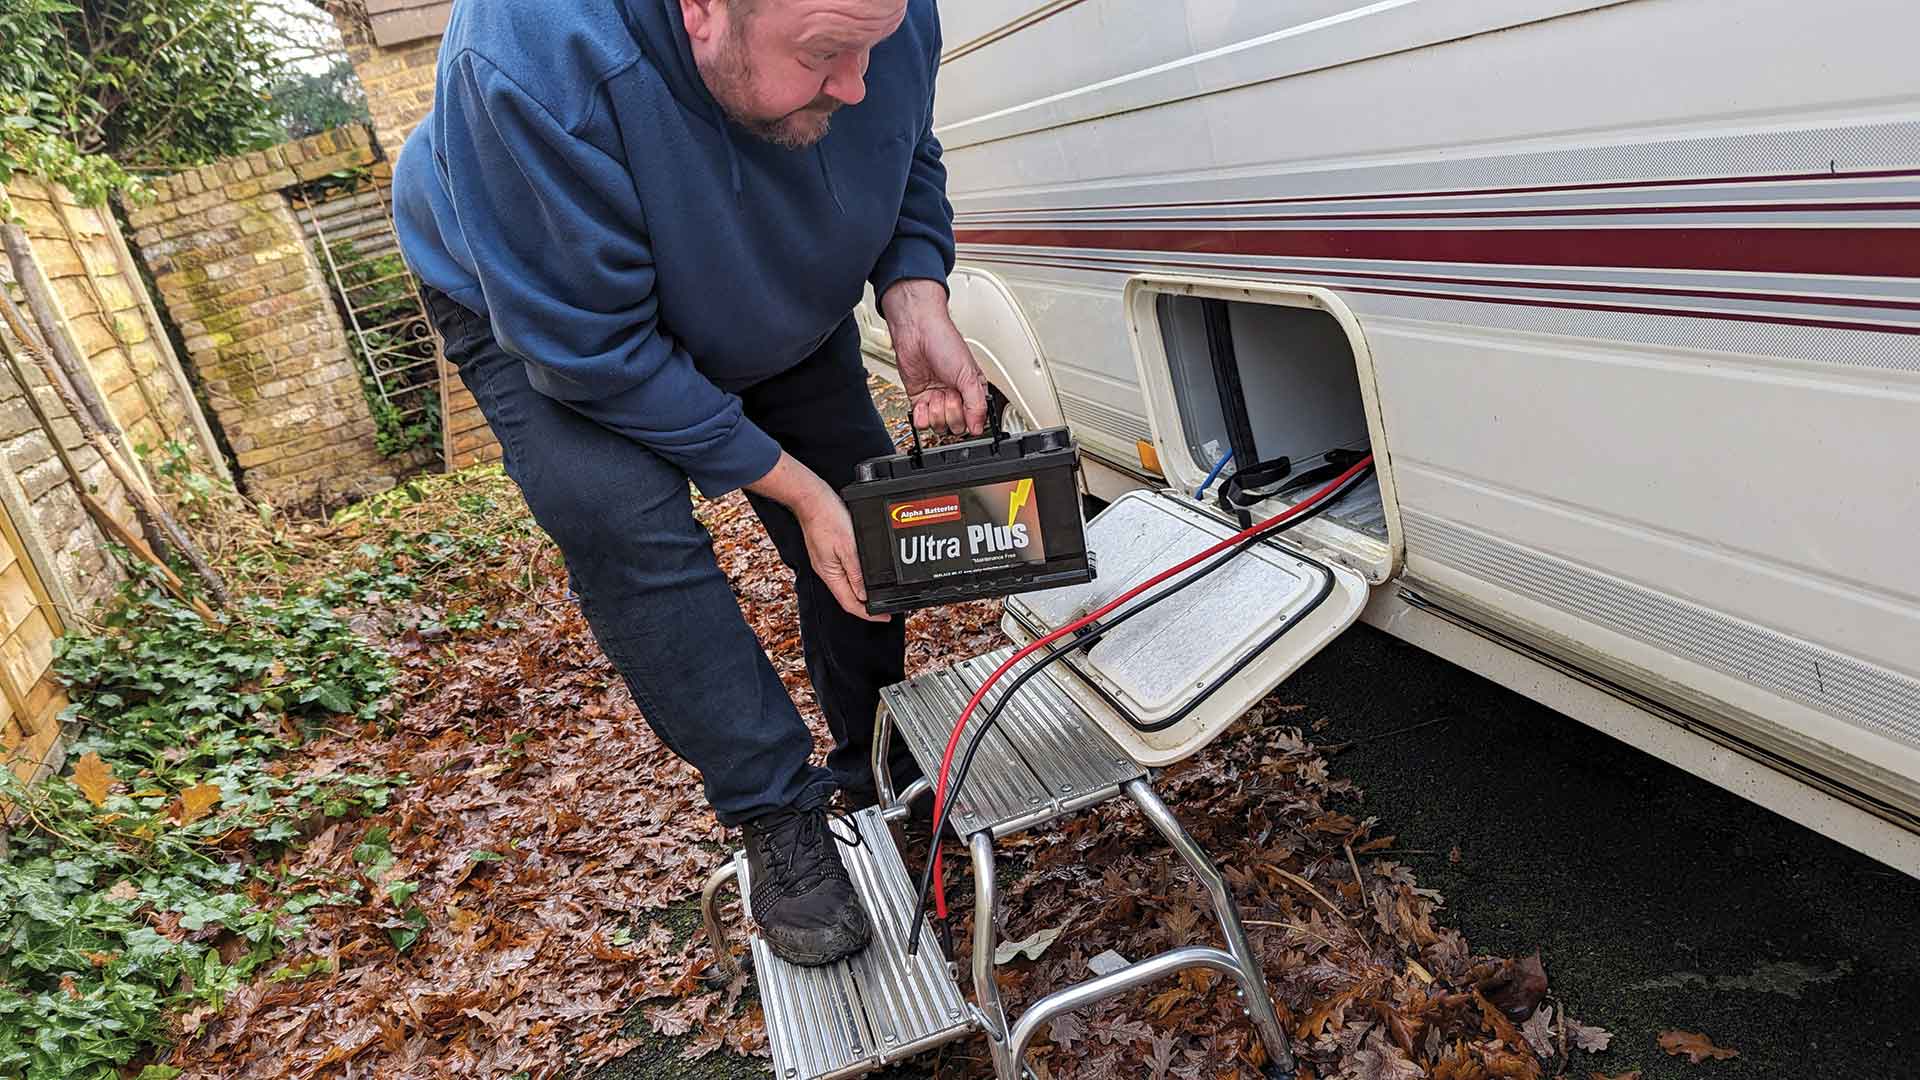
With the shiny new battery hooked up, Penny came back to life in a heartbeat.
The battery monitor sprang back to life, too, although it was confused by the new battery, which had a larger capacity than the previous one.
The reconfiguration involved a few button presses, but was not urgent at that moment.
More pressing was to make sure the lights were back on. A quick flick of the switches showed that everything was powered up – we were done.
Turning on the tap
One final check, just before I patted myself on the back, was to try the caravan water system. I turned on the tap. Nothing.
That was odd, because it had all worked before, and I assumed this had also been down to a lack of power.
Apparently not, so I set about investigating further.
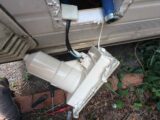
Penny has an external water pump and work has been done before to restore this to service. The plastic retaining tabs had snapped off, and without them, the pump could be pushed into position and coaxed into life, but it wasn’t very robust.
A fiver’s worth of new plastic tabs were fitted and everything seemed to be fine. However, a closer look showed that there was actually still a problem.
The new plastic tabs were there, the pump was in place, there was water in the Aquaroll (a caravan essential) but the pump was not running.
I barely touched the pump fitting, but even that slight adjustment brought the pump to life. This suggested a bad connection, so I pulled the pump away from the van, squirted some switch cleaner into the electrical connectors, did my best to clean out the contacts with cotton buds soaked in methylated spirit and generally gave everything the best chance of success.
I hooked it back up and it worked, but a slight wiggle killed it once again.
Plainly, the problem wasn’t the connections. They were spotless. The issue was those new plastic tabs. They held the pump in place, just about, but they slipped forward under the vibration of the pump operating until the tabs moved forward. At a certain point, the whole fitting moved forward enough to break the contact and stop the pump. So this was a whole new problem. Or at least, a revisitation of an old one.
New fitting needed
The fix is not that difficult, provided you have £50 or so to spend on a new fitting.
The original Carver unit is long obsolete, but Filtapac makes a straight replacement for the original, which even uses the same filter cartridges and allows the existing pump to be reused.
A click or two and the new unit was on the way. Just a couple of days later, it was time to install it.
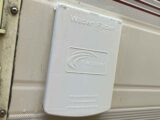
Fitting the Filtapac inlet was straightforward, but it is surface-mounted, making it vital to remove the old one and carefully clean the mounting surface on the wall.

The four stainless-steel screws were removed from the mounting and put aside for reuse. A blunt plastic scraper was pressed between the body of the van and the filter housing, and worked all the way around to break the seal.
With the faceplate released, the assembly could be pulled forward from the wall and the fittings behind it accessed.

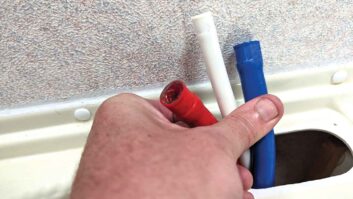
The water inlet hose attaches with a worm-drive clip. Some gentle force released this from the inlet. Then the fitting could be rotated to give access to the electrical connections. With those uncrimped, the assembly could be removed and binned.

Cleaning up
After 30 minutes of removing old sealant, using white spirit to soften the remnants and a plastic scraper to remove the excess, and a final wipe down with acetone, we were ready to assemble the new inlet.

We wiped down the back of the new fitting with acetone, before applying a continuous bead of non-setting mastic from corner to corner.
The worst part of the job was trying to attach the electrical connections and the hose without getting covered in the mastic. After a few near misses, and with a helpful assistant holding things steady while I tightened everything up, we were ready to push the fitting into position. With the screws wound in, the excess sealant was cleaned down and the filter cartridge and pump fitted.
Inside, we had happy taps and the water was running again. Penny was ready to go!
If you’re heading off on a tour soon and are looking for ways to beat the chill, don’t miss our tips on how to keep a caravan warm in winter to ensure you stay cosy in your van.
Future Publishing Limited, the publisher of Practical Caravan, provides the information in this article in good faith and makes no representation as to its completeness or accuracy. Individuals carrying out the instructions do so at their own risk and must exercise their independent judgement in determining the appropriateness of the advice to their circumstances and skill level. Individuals should take appropriate safety precautions and be aware of the risk of electrocution when dealing with electrical products. To the fullest extent permitted by law, neither Future nor its employees or agents shall have any liability in connection with the use of this information. You should check that any van warranty will not be affected before proceeding with DIY projects.
If you’ve enjoyed reading our guides, why not get the latest news, reviews and features delivered direct to your door or inbox every month. Take advantage of our brilliant Practical Caravan magazine SUBSCRIBERS’ OFFER and SIGN UP TO OUR NEWSLETTER for regular weekly updates on all things caravan related.