


Smartening up caravan interiors is a bit of a fine art. For properly vintage vans or ones with damaged interiors, there might be no alternative to cracking open the Annie Sloan Chalk Paint to liven up a crusty-looking cabin.
The effects are not bad at all if done with care, but too much colour or careless application can ruin the interior of even the best used caravans.
Light touch
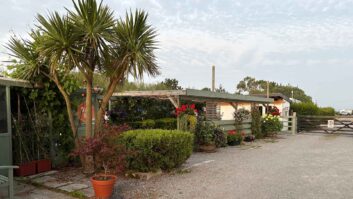
Some of you may know I bought a 1998 caravan from Facebook Marketplace and have been in the process of doing her (Penny) up.
As Penny’s décor is basically pleasant, just a little scuffed and dated, we wanted to find some light-touch improvements that wouldn’t divide opinion when the time comes for her
to go to a new home.
We decided to take our lead from general interior design trends, as well as what is being done in some of the best caravans nowadays to break up and demarcate the various interior zones without overpowering a compact space.
Typically, this is achieved with contrasting cabinets for the kitchen, richer wall coverings and fabrics in the lounge, and different lighting in each zone.
We’ll subsequently be looking at the cabinet doors in the kitchen, but our first port of call was going to be making the kitchen look a little more special – it was time to reach for my caravan tool kit and get to work.
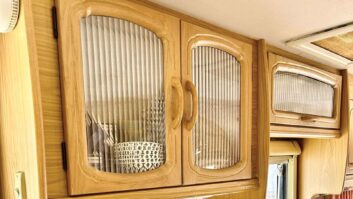
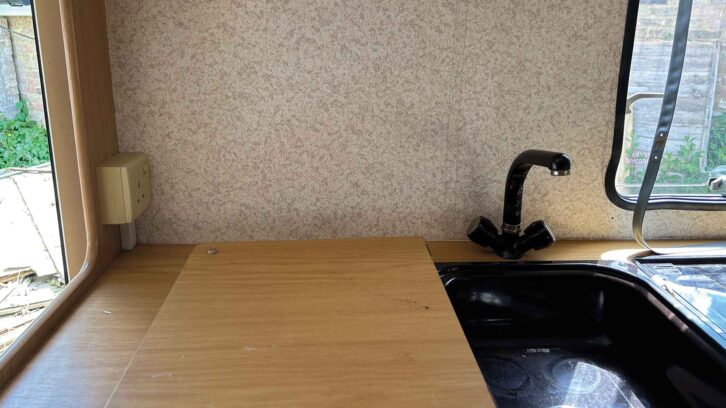
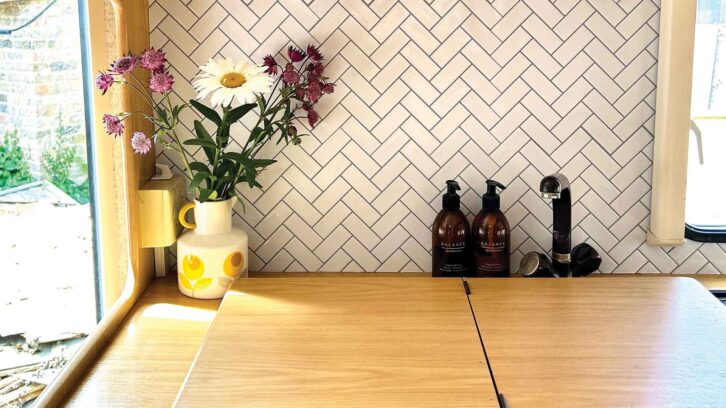
Common to many caravans of the era – and something you may find if you’re buying a secondhand caravan from the time, Penny is fitted with mid-tone, wood-effect cabinets throughout. Every cabinet frame and door, seat base and worktop is the same colour. The walls throughout are a lightly patterned neutral finish, which is modern enough for our tastes, but the kitchen wall was ripe for an update.
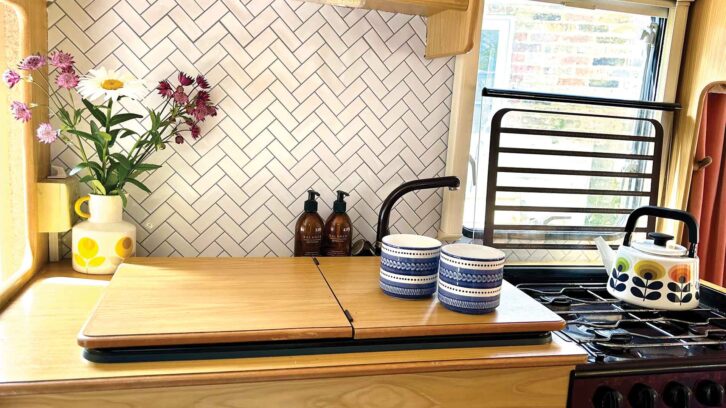
This is a small area, about 0.5sq m, and is framed by the cabinet uprights on either end. We’ve seen lots of folk online who got great results by using tiles in their caravan interior, so we decided to look into using them in the tourer’s kitchen.
Anyone who has held a box of ceramic tiles knows we weren’t going to be using those in our caravan kitchen. Heavy and brittle, they are completely ill-suited to being bounced down the road behind a car.
A far better solution – and what we were going to do in our caravan kitchen – is use one of the many self-adhesive tiles available online.
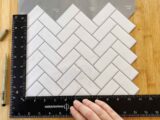
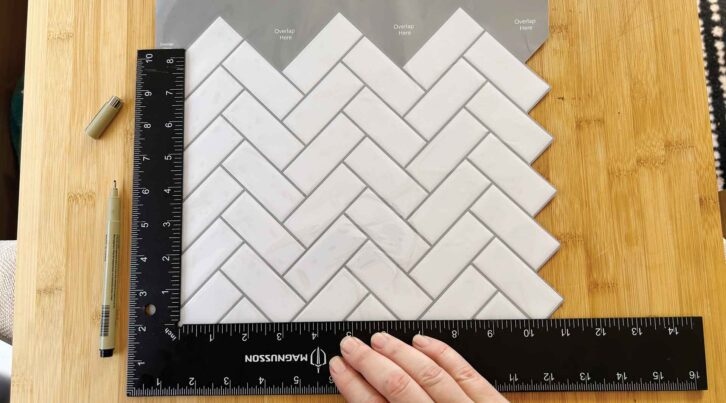
We started searching and quickly came across something suitable. The ones we liked had the appearance of 30 x 60mm tiles in a herringbone pattern. Laying tiles that size would be super-fiddly, but these come in interlocking sheets, so each sheet applied to the wall sticks up around 30 tiles at a time.
Sticky-backed stuff
We bought two packs, which gave us enough spare for a couple of bad cuts or a few experiments. To be expected, given that we hadn’t done this before and we were also buying the product unseen.
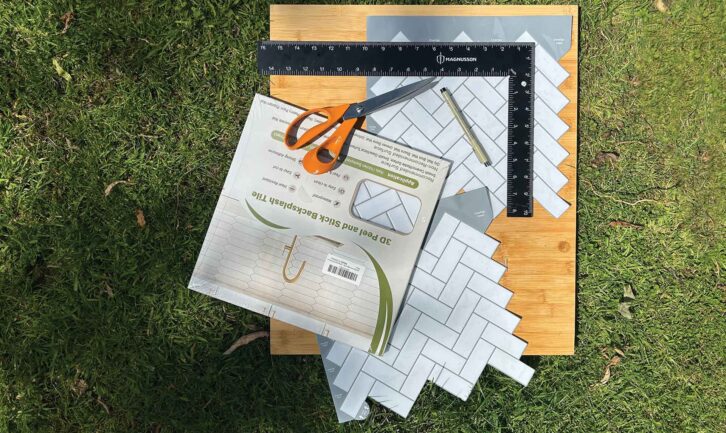
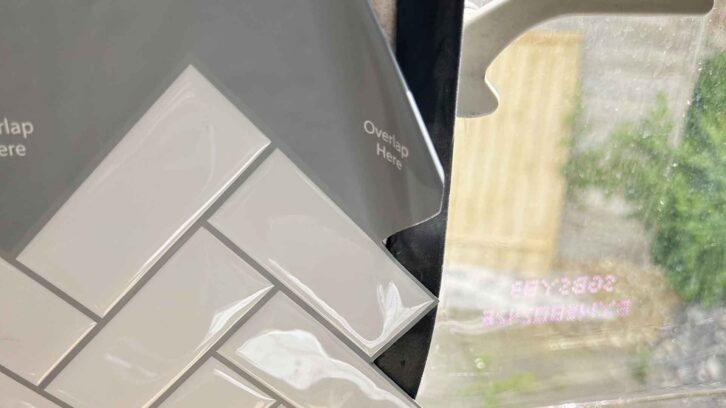
When the tiles arrived, we noticed a few things to help us get going. All the edges of the tiled sheets are stepped. This makes sense. You want them to tessellate neatly. In our case,
we needed the stick-on tiles to go between the worktop and the upright of the kitchen units, so we would have to precut the sheets to fit properly.
Cutting and fitting the tiles in our caravan kitchen
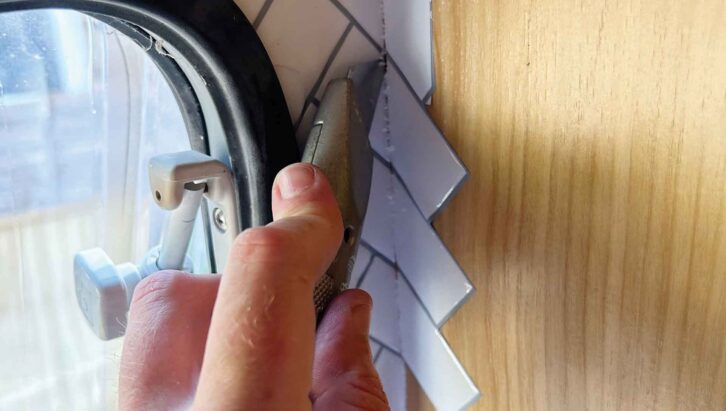
It is vital that you get nice clean edges to ensure a sharp result. Penny doesn’t actually have any 90° corners after a quarter of a century of bobbing about on the road, but they were still close enough.
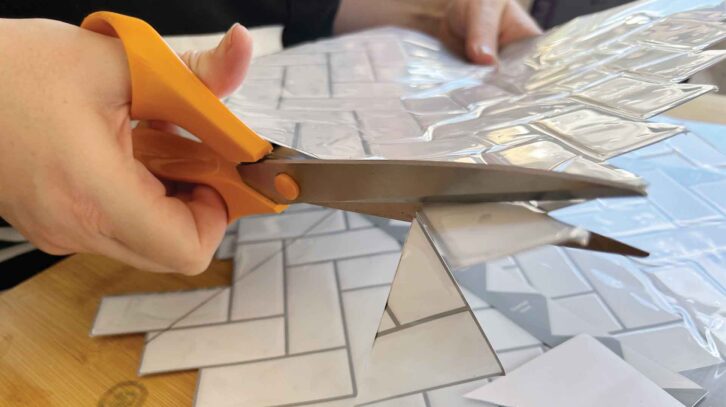
We cut a right-angle corner with a good pair of kitchen scissors, then snugged the sheet into the corner and trimmed the edges with a Stanley knife once we had finished.
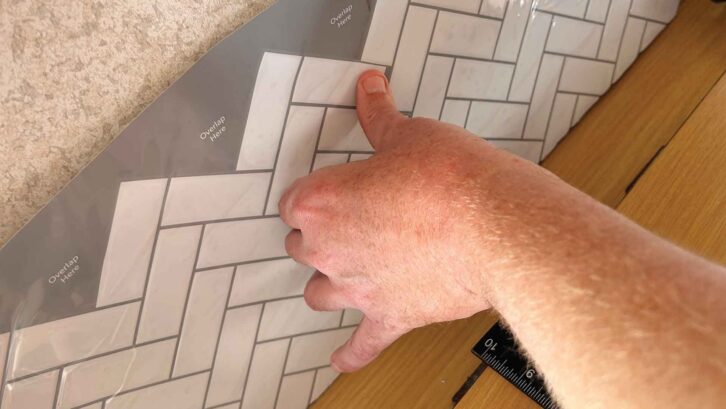
The tiles are made of flexible, soft, shiny plastic. They are sold in sheets that are about 30cm long, so you don’t need to stick individual tiles on the wall. You fix the sheets to the wall and very carefully line up the next row before sticking them in place. Each sheet also has an underlap along the top edges, to make lining up a bit easier.
You simply stick the next row of tiles onto the underlap of the previous one, to aid lining up. It’s a great system and we managed good results with no previous experience.
The secret to achieving a fine finish is to ensure that you have good joints between the tile sheets and neat edges where the tiles meet other surfaces.

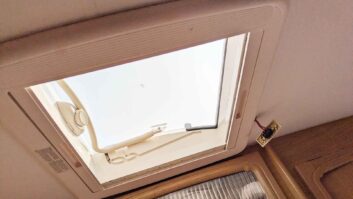
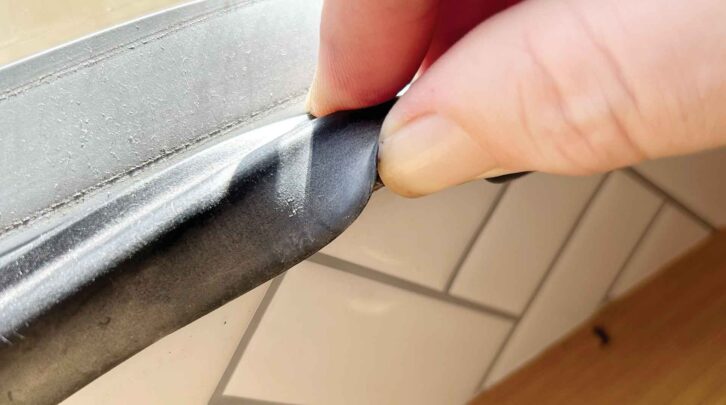
To make this easier, we removed the kitchen cassette blind and peeled back the window rubber. We then laid the tiles right up to the edge of the window frame, trimmed it around the opening and fitted the rubber back over the top. This gave us perfect edges, which looked as good as you’d get from the factory. Similarly, the mains socket over the worktop was safely removed from the wall while the tiles were applied. Once in place, the plug went back and saved us having to try to make fiddly cuts around it.
The joint between the tiles and the work surface was kept sharp by applying a neat bead of kitchen sealant. Although not strictly necessary, we did the same underneath the roof cabinets, just for neatness.
The finishing touch was to refit the blind. Given that the hardest bit of the tiling was going around the window, and 90% of it would be covered by the blind, perhaps we should have worried less about it!
Tiling success
It took us around three hours from start to finish to complete the retiling project.
We had a couple of missteps along the way, resulting in some wastage, but that was why we bought extra. The overall result is very smart. Yes, there are a couple of minor places that are not perfect, but we won’t point them out, and we doubt most people would spot them!
How we used stick-on tiles in our caravan kitchen
1. To achieve a neat finish, we first removed the existing sealant and degreased the wall.
2. Measuring up and marking the tiles for cutting, we started from the bottom left-hand corner and worked across.
3. The tiles were easily cut with a good pair of scissors. We kept the offcuts in case we needed spare bits!
4. The tile sheets have overlaps for simpler lining up.
5. We removed the cassette blind and laid the tiles over the window rubbers, cutting them roughly to size.
6. Once we were happy with the fit, we lifted the rubbers, applied the tiles, trimmed them and refitted the rubbers.
7. For good corners, we trimmed the excess with a sharp knife.
8. Careful alignment is vital,

9. A bead of kitchen sealant is the finishing touch.
After carrying out some van DIY, it’s likely that you will want to give the interior of your tourer a freshen up. Take a look at our best caravan vacuum cleaner guide to see our favourite options for achieving a tidy tourer.
Future Publishing Limited, the publisher of Practical Caravan, provides the information in this article in good faith and makes no representation as to its completeness or accuracy. Individuals carrying out the instructions do so at their own risk and must exercise their independent judgement in determining the appropriateness of the advice to their circumstances and skill level. Individuals should take appropriate safety precautions and be aware of the risk of electrocution when dealing with electrical products. To the fullest extent permitted by law, neither Future nor its employees or agents shall have any liability in connection with the use of this information. You should check that any van warranty will not be affected before proceeding with DIY projects.
If you’ve enjoyed reading this article, why not get the latest news, reviews and features delivered direct to your door or inbox every month. Take advantage of our brilliant Practical Caravan magazine SUBSCRIBERS’ OFFER and SIGN UP TO OUR NEWSLETTER for regular weekly updates on all things caravan related.