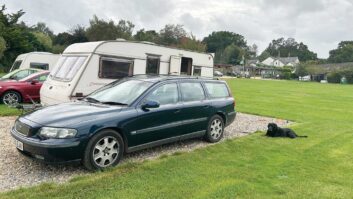
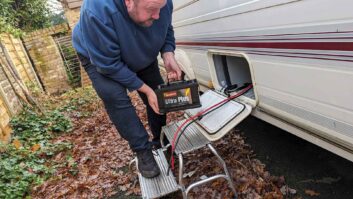
To the untrained eye, all caravans look the same. They come in various lengths, widths and layouts, but at a certain level, they are essentially a box on top of a chassis, with a kitchen, a washroom and living space arranged inside.
The points of difference come at the next level down. Decals, fabrics and names are all used to make models stand out to new buyers, but even then, look closely enough and there aren’t that many parts of a caravan structure that could be considered ‘unique’. This helps when you’re thinking of buying a used caravan that is knocking on a bit.
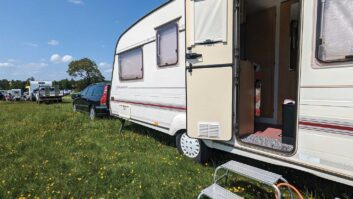
The Bailey project van we bought from Facebook Marketplace dates from the late 1990s and, in caravan terms, is now past its expected service life. As a general rule, dealerships work with caravans from new to around 10 years old. The mid-life for a tourer can be considered as between 10 and 20 years old. Beyond this, a van can be considered properly old. And much like an elderly person, you can expect bits to break and fall off as time wears on.
The good thing about all vans being so similar is that when you are shopping for spare parts for the best used caravans, you often don’t need to be particularly specific. With a bit of ingenuity, you can usually dig up the spare parts you need – but there are some tips to make life easier.
Sourcing spare parts for the caravan lights
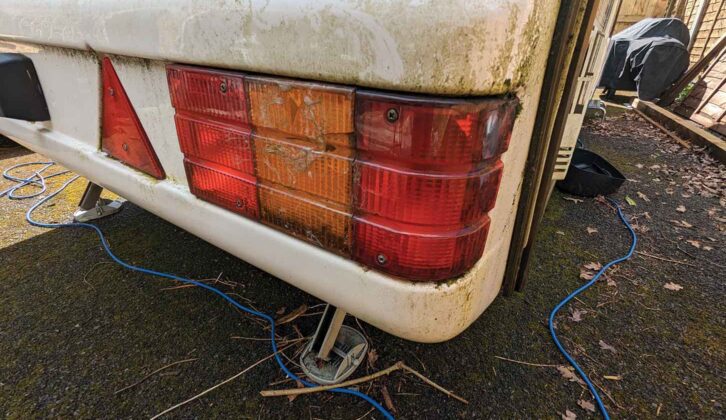
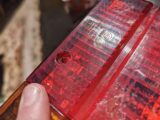
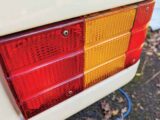
Since we acquired Penny, I have been aware that we needed a rear light lens. Both of Penny’s are cracked, but one of them has a large piece of sticky tape covering the missing section. The light works, but fills with water when it rains. It looks shabby and the replacement is a simple task. But first, you have to find one. While modernising the interior fabrics of my van had been a relatively straightforward task, this was going to be a little trickier.
Penny is a 1997 Bailey Mere Delamere. The Mere was a dealer special range – based on a standard Bailey but lightly customised at the retailer’s request, with the aim of standing out from the crowd on forecourts. I decided to concentrate on eBay for my spare parts search. Many caravan breakers list parts on there, and private sellers might also list odd stuff when clearing out sheds and garages. But with so much to choose from, if you’re going to unearth the treasure buried among the millions of items, you need to search smart.
Looking for ‘Bailey Mere’ rear lights is an accurate search term, but very niche. They are pretty rare caravans.
I knew, however, that the Mere range was based on the late-1990s Bailey Ranger line-up, so I searched for Bailey Ranger rear lights instead. This gave me hundreds of results to leaf through and see if I could find anything useful.
After half an hour, I had worked out what we needed. The problem is that the road light market for obsolete vans is not exactly red hot. Initially, there was just a single listing for the correct light unit.
There were lots that looked almost right, but it is vital to check the images on the listing and compare them with your van. Bailey Senator lenses from the same era look similar and are very cheap. But they are also very different.
The correct light unit was listed on eBay as a new ‘old stock’ item, but at £119, it was too much money. We needed to sit tight and wait.
Waiting for the right spare parts
The problem with finding old caravan parts is that often, the sellers don’t know what they fit. Units may have come from one type of caravan, but they may be identical to dozens of other models. That means you can’t rely on a simple ‘Bailey Ranger lights’ search. You also need to dedicate a reasonable amount of time to sifting through a lot of irrelevant stuff with a saved ‘caravan rear lights’ search. Unless you want to spend £120 on a light for a £1200 caravan, this is the best option. It’s what we did here.
It took around three months before the correct lights turned up on an eBay auction.
I watched with interest, but my price limit of £50 was soon rinsed – the auction finished at around £100. For that money, I’d rather buy the new one for £120. But I still didn’t want to spend the cash. So I carried on looking while researching ways to fix the existing lens, in case that was the better option.
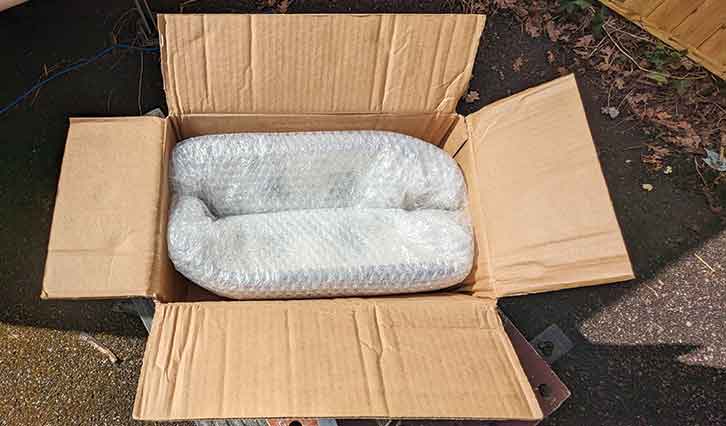
Another month went by until another listing appeared. This looked interesting. There were two lenses listed individually. There was no make or model.
The listing simply stated: ‘Caravan, rear wrap-round tail light, bulbs and back, Hella’ and the price was £25 plus postage.
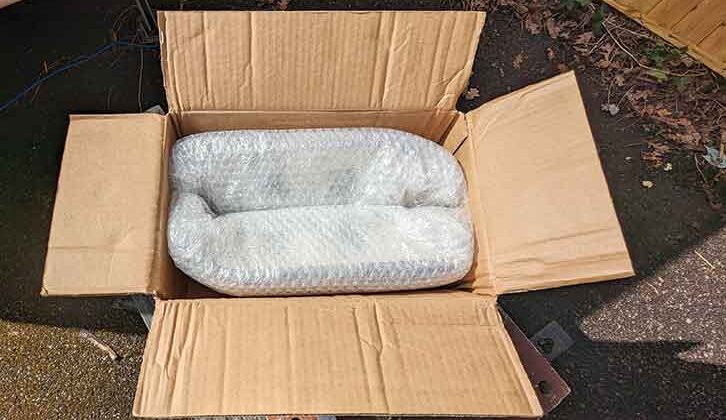
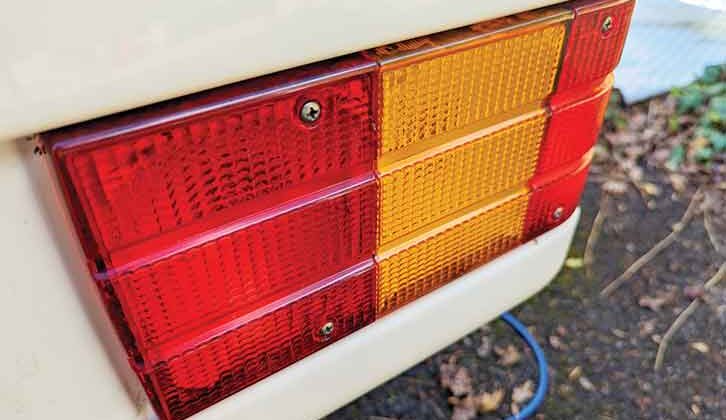
Comparing photos from the listing with our broken light, everything matched our Bailey. Despite being secondhand, the lights looked in great condition and included all the connectors, holders and bulbs. Given that the lights are not handed, I bought both, in case one had undisclosed damage. I could use either light on either side of the van, so at worst, I would have a spare. They turned up a week later and were perfect.
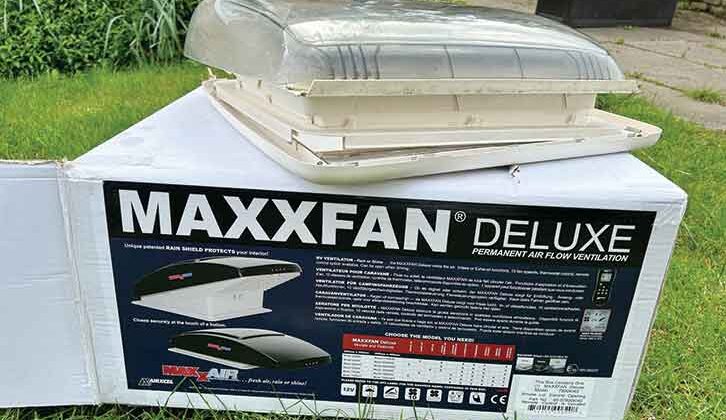
Among the other parts we needed were a shower mixer tap to replace our broken one, and a new roof vent. We also want to replace the missing fridge. All of these are still on our various eBay watch lists.
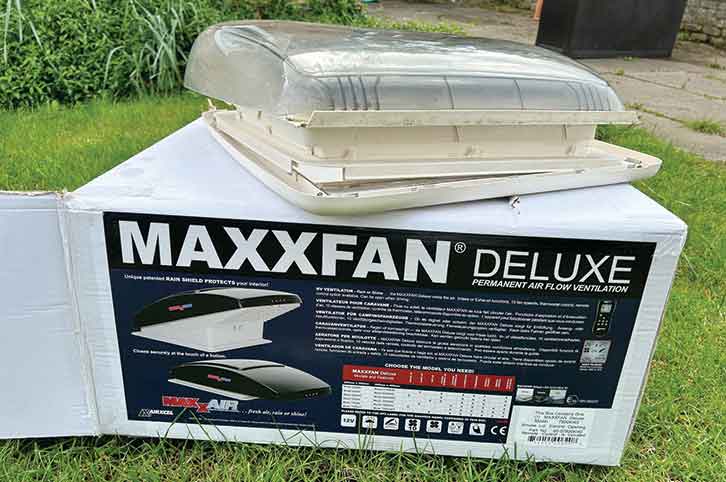
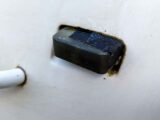
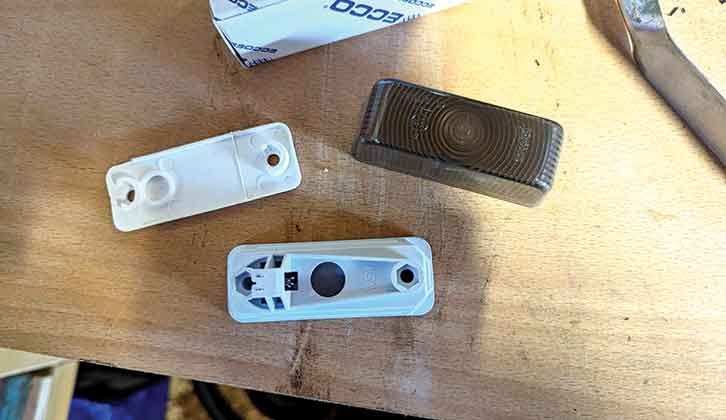
One item that we also needed was a new marker light lens for the front, but examination of this quickly showed it was a far simpler issue to solve.
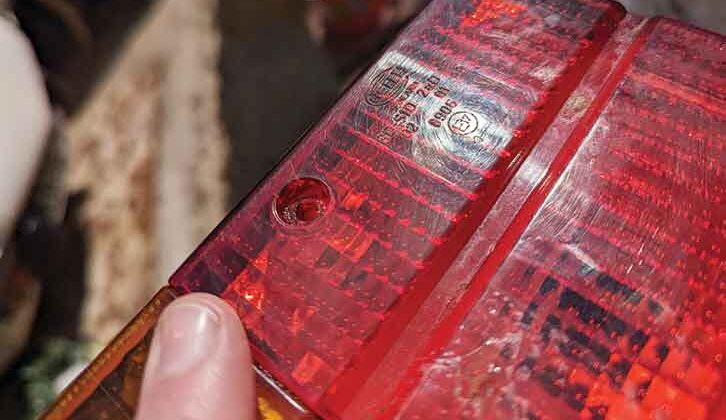
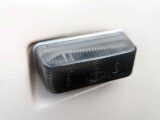
The Britax lenses used on the front of the caravan are widely available, and they have a part number stamped on them. A simple Google search for ‘Britax 881’ directed me
to an eBay listing, where a complete new lamp unit was available cheaply. I got a pair of lights, new in their boxes, for £17 delivered.
Fitting the spare parts to the caravan
With two replacement lights now in stock, it was time to fit them to the van. This proved easier than finding them.
The rear light was smashed and full of grime and water, and I worried there might be hidden damage. Removing the four securing screws allowed the unit to pull forward. Luckily, there was no damage behind.
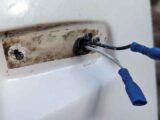
The bulb carrier had been attached to the caravan with spade connectors, but as the new unit was identical, I didn’t need to remove them. The bulb carrier was detached by simply releasing the spring clips.
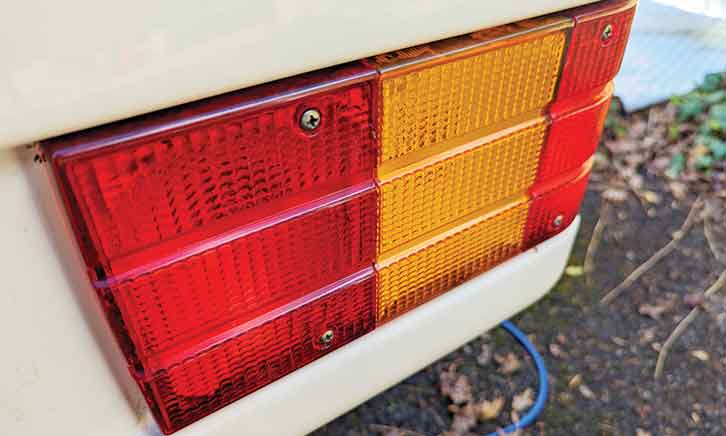
Discarding the old lamp unit gave access to the back panel, which was then cleaned up with some regular van cleaner (see: our best caravan cleaner guide if you’re in need of some). After that, the replacement unit could be installed. The total time needed to fit it was less than 30 minutes.
The front marker light was a little more involved, because it was obvious that somebody had been mucking about with it previously.
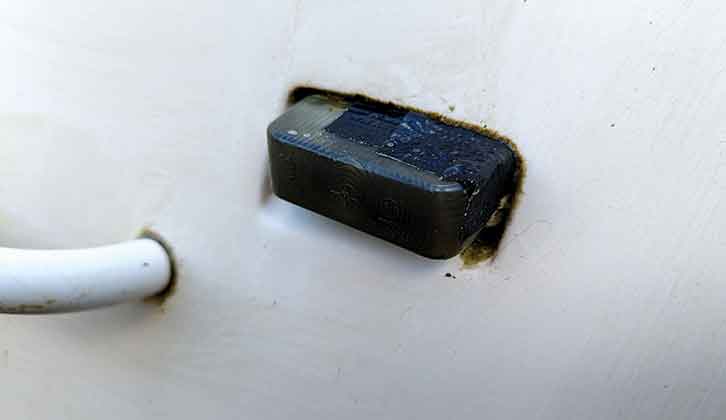
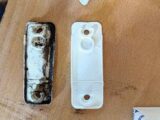
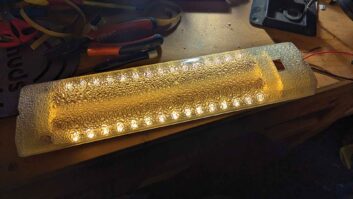
The Britax unit consists of a lens, a bulb carrier fitting and a soft rubber gasket, which goes between the bulb carrier and the body of the van.
The light unit had a corner missing and this allowed water to get into the fitting. It had been taped up and smeared with silicone sealant between the gasket and the body.
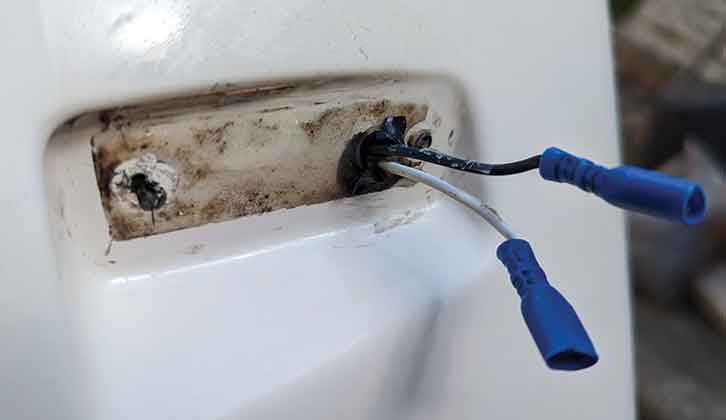
It was evident the screws holding the fitting against the body had been wound so tight, the gasket was distorted and damaged. Originally, I thought swapping the lens would be sufficient, but the previous repair work didn’t inspire confidence.
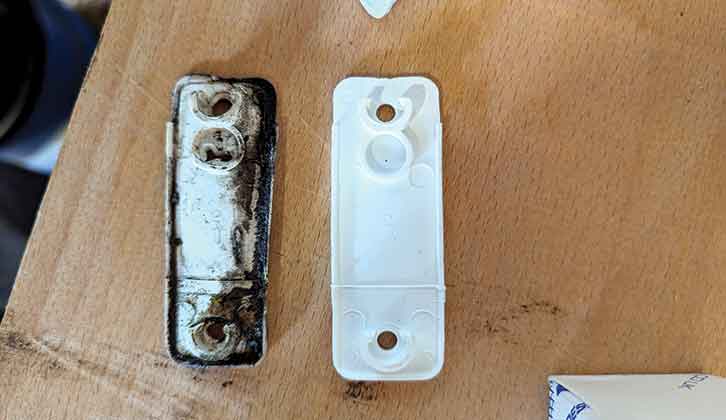
Five minutes had the light fitting removed and it was clear that the body of the van was fine, and it was just the fitting which was damaged.
I decided to replace the whole unit with the new one. The hardest bit was scraping off all of the old silicone, which was firmly adhered to the front panel. After about an hour of cleaning, scraping, polishing and trial-fitting, everything was ready to go, and we had cleaned up the electrical connections.
In line with the guidance, no sealant was applied, with the soft rubber gasket providing weather protection once the screws were tightened.
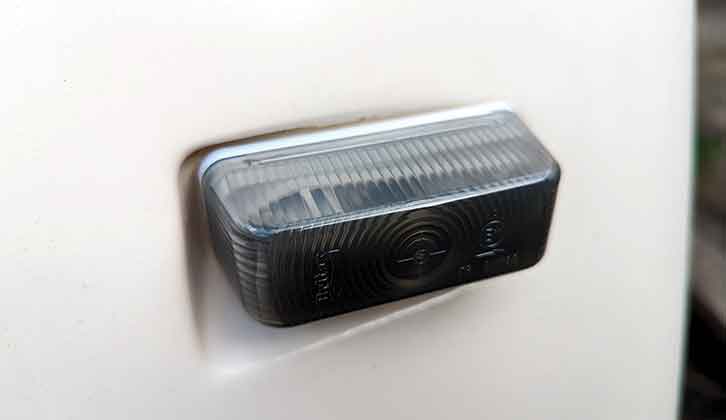
We were very careful not to overtighten the screws, so that the gasket was not distorted and sealed effectively.
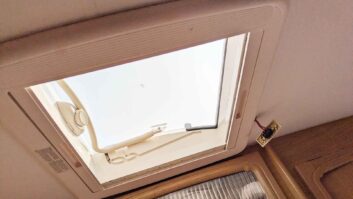
Our parts search has recently rewarded us with a used Heki rooflight and a used Whale Elegance mixer tap. We are still on the lookout for that elusive fridge, but our new mastery of classified searches makes us confident we’ll strike gold soon.
Are you looking for a way to protect your tourer from the elements as we approach the offseason? A cover offers an efficient way of doing just this, as John Soothern reveals as he answers ‘are caravan covers a good idea?’.
Future Publishing Limited, the publisher of Practical Caravan, provides the information in this article in good faith and makes no representation as to its completeness or accuracy. Individuals carrying out the instructions do so at their own risk and must exercise their independent judgement in determining the appropriateness of the advice to their circumstances and skill level. Individuals should take appropriate safety precautions and be aware of the risk of electrocution when dealing with electrical products. To the fullest extent permitted by law, neither Future nor its employees or agents shall have any liability in connection with the use of this information. You should check that any van warranty will not be affected before proceeding with DIY projects.
If you’ve enjoyed reading this article, why not get the latest news, reviews and features delivered direct to your door or inbox every month. Take advantage of our brilliant Practical Caravan magazine SUBSCRIBERS’ OFFER and SIGN UP TO OUR NEWSLETTER for regular weekly updates on all things caravan related.
