


Until recently, I’d never had any problems accessing electrical sockets fitted to the side of a conventional, fixed, flange-type towball.
Now I have the removable swan-neck type, I have to lie down full length on the ground to connect the caravan plug to the car socket.
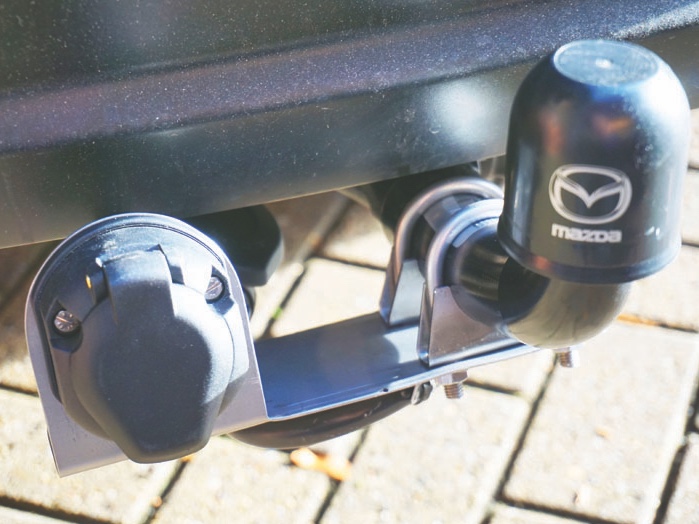
This socket is behind the car’s bumper and hinged down for use. You need one hand to open its spring lid and the other to insert the plug and twist.
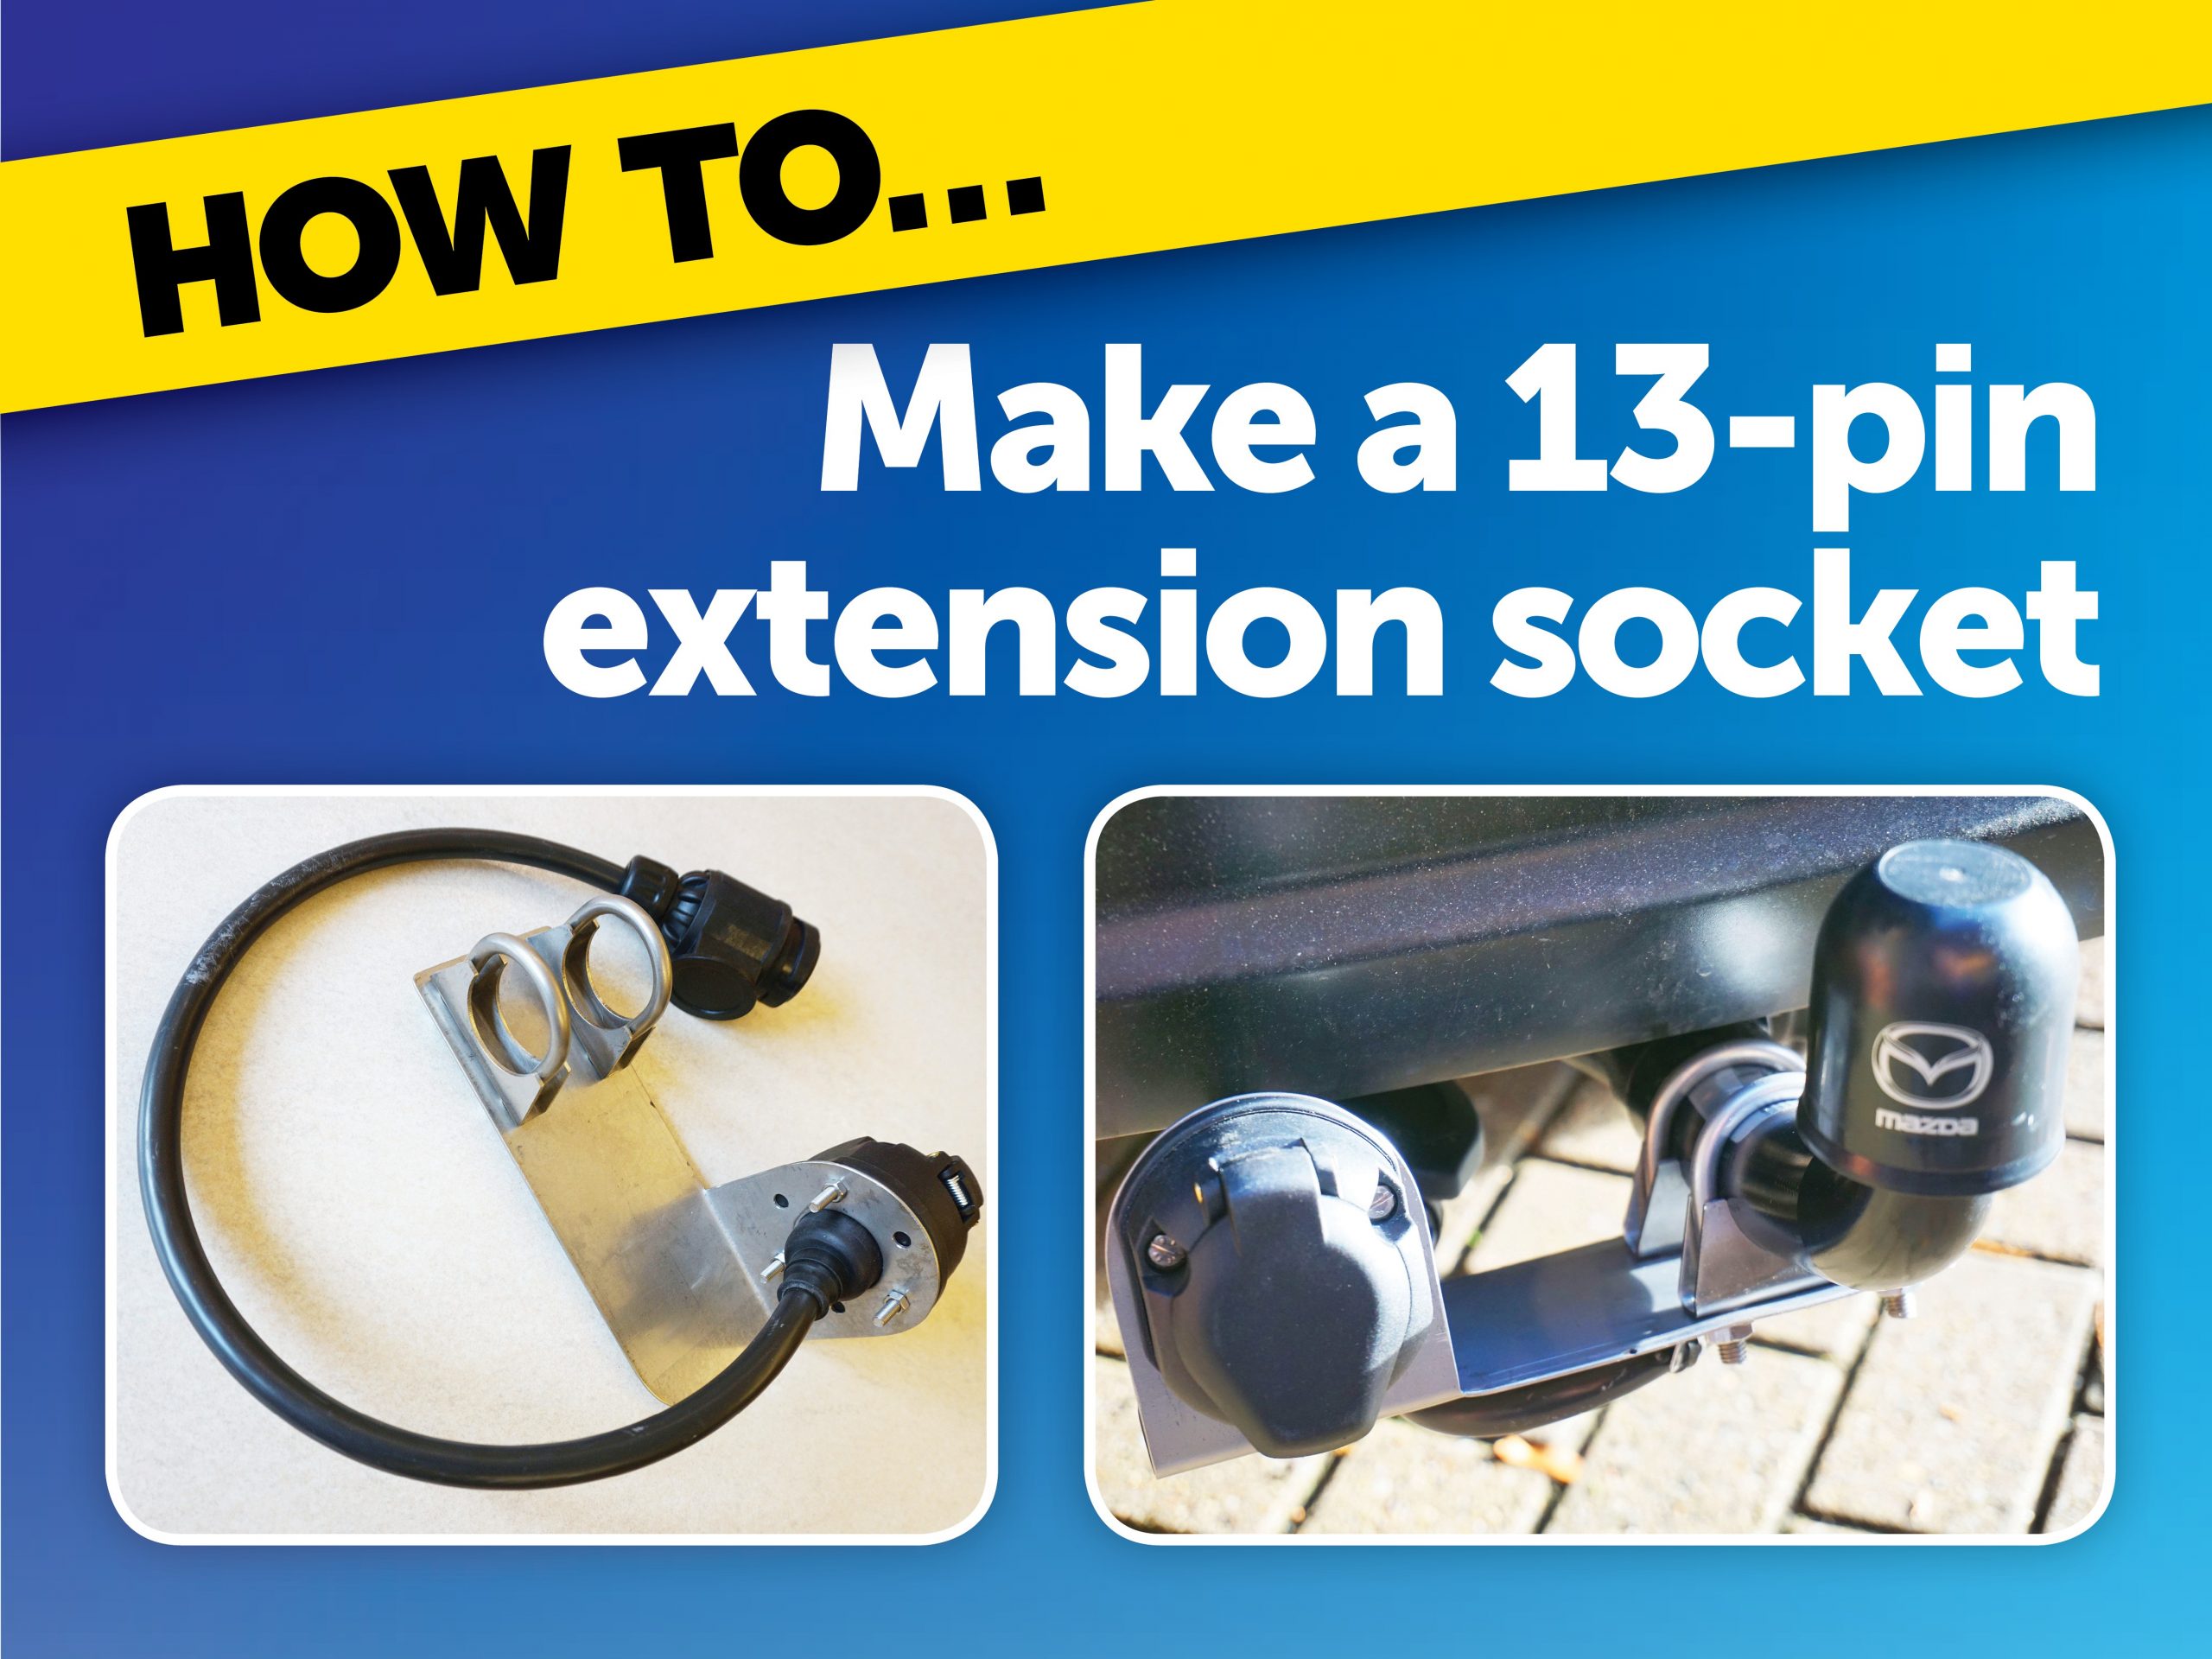
My solution to the problem of the inaccessible socket was to make a short extension lead, which remains plugged into the socket and is only disconnected when the swan-neck ball, with its extension socket and bracket, is removed for winter.
The project involves two stages:
- First, designing a swan-neck, ball-mounted bracket to support the new socket.
- Second, making a short 13-core extension lead (750mm in my case, including length of plug and socket).
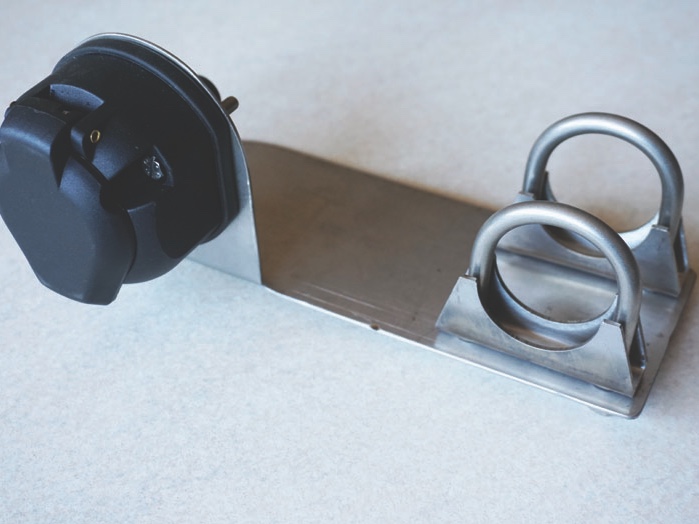
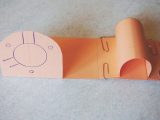
Fabricate the socket mounting bracket
The mounting bracket can be made in stainless steel, which is rust-proof but difficult to drill; mild steel, which tends to rust; or aluminium, which might suffer electrolytic corrosion in this wet, salty environment, unless insulated from the steel swan-neck, for example by a few layers of gaffer tape.
I chose stainless, because my friendly local stainless steel fabricator could drill the seven holes required and make the 40mm hole for the 13-core cable at the back of the socket.
Much measuring was done using a conventional towball and socket mounting plate on the workbench, to establish exactly where a socket is situated with respect to the ball.
Thin card was used to make a template, and was stuck to the bottom of the swan-neck for final checks. The plate was also checked from time to time when the caravan was hitched on.
This was to ensure that there would be no problems when the van turns a corner. In practice, there was more of a problem avoiding the obstruction from the car’s existing 13-pin socket with the new plug inserted.
If I were to repeat this project, I’d probably move the bracket’s position to the offside, where there is no such problem.
The plate was to be attached to the swan-neck using exhaust clamps, also commonly known as U-bolt clamps. The ‘clamp’ part is important – if you use U-bolts on their own, there is a risk of bending the plate when it is being tightened.
These components should be available locally in mild steel and in stainless steel via the internet. The size, measured between the U-bolt legs, will need to correspond with the diameter of your swan-neck.
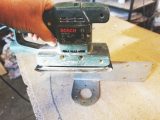
The information from the template was transferred to a 1.5mm stainless steel offcut, covered with wide masking tape, marked up and delivered to the fabricator for hole drilling. The plate was then cut and ground to the marked shape with a hacksaw and grinder, and the edges smoothed with a belt and then an orbital sander.
The flat plate was then mounted in the vice, with the upstanding socket-mounting part gripped.
A piece of hardwood was used to apply hammer blows to the plate just above the vice edge, until a 90-degree angle had been achieved for the socket mounting section.
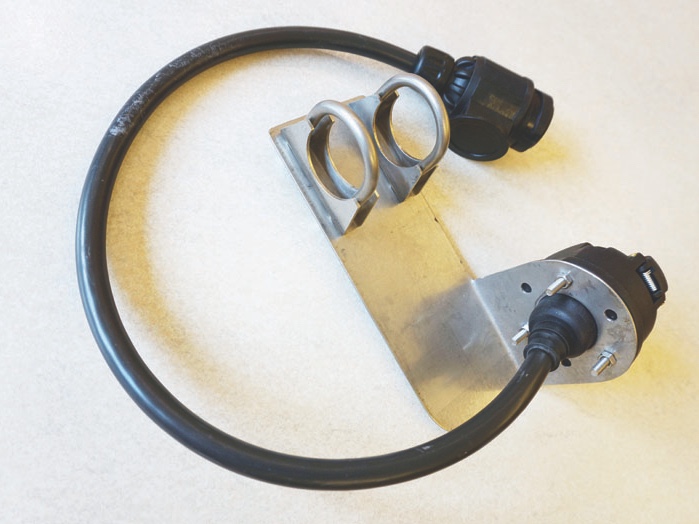
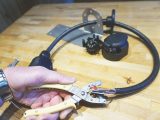
Make the 13-core extension lead
It is very difficult to find a fully wired 13-pin/core extension lead anywhere on the internet – they almost exclusively use only eight of the 13 pins and are designed for road lights only. I managed to find a Maypole 3m complete lead, which was more convenient and cheaper than buying the plug, socket and 13-core cable separately. The 3m extension lead now needed shortening.
It is best to allow some spare cable length, in case you need to make new connections in future, but the wire is bulky and has to be coiled round somewhere, so do not overdo it.
Saw through the cable at the appropriate length and remove the outer black insulation to access the 12 cores (one pin on the socket is not used).
Remember to feed the cut end of the 13-core cable through the hole in the bracket and the rubber gasket before proceeding to electrical connections.
The socket on the cut-off length can be dismantled, to indicate the colour-coded connections to be remade. The original cores had small brass tubes pressed onto the ends to keep all the individual strands together, so it would be best, having stripped the core ends, to solder each core end.
Finally, check the depth of the terminal sockets and cut each soldered end to the right length to ensure no bare copper is left exposed after the socket has been rewired.
After all the cores have been connected, use a meter or battery and buzzer to recheck both plug and socket, to ensure the rewiring is correct.
Unless your car was recently wired for caravan electrics, you will find that the poorly plated steel bolts normally supplied have probably seized up with wet and salt, and need grinding off. Please always fit stainless steel bolts, which do not suffer from this problem.
A trip to a towball/electrics fitter will allow for an additional electrical confirmation to be done on their test rig, with the new extension fitted.
In my case, this revealed that two cores of the cable had not been connected when the original electrics were fitted!
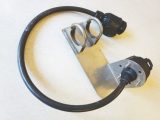
The new extension unit can now be fitted to the swan-neck using the U-bolt clamps and the extension plug fitted to the car socket. A small stainless steel bracket placed under one of the U-bolt nuts provides an anchorage for a cable tie, which keeps the loop of 13-core-cable off the ground. By means of this extension bracket, the 13-pin socket has been moved upwards and rearwards and is now 200mm more accessible.
Materials needed
- 1.5mm stainless steel plate 215 x 165mm (material of choice)
- 13-pin fully wired extention lead or 13-pin plug, socket and 1m of core cable
- 2 x 40mm stainless steel exhaust pipe clamps and U-bolt (size according to swan-neck)
- 3 x stainless steel socket attachment bolts from Trailer Tek or local supplier
IMPORTANT! Electricity is dangerous. Disconnect any mains supply and the 12V battery before starting DIY work. Seek the advice of a professional if in doubt. Future Publishing Ltd, the publisher of Practical Caravan, provides the information in this article in good faith and makes no representation as to its completeness or accuracy. Individuals carrying out the instructions do so at their own risk and must exercise their indepenedent judgement in determining the appropriateness of the advice to their circumstances. Individuals should take appropriate safety precautions and be aware of the risk of electrocution when dealing with electrical products. To the fullest extent permitted by law, neither Future nor its employees or agents shall have any liability in connection with the use of this information.
The plate was also checked from time to time with the caravan hitched on, to ensure no problems when turning a corner