


Window blinds and flyscreens were a revelation to the caravanning world when they were introduced many moons ago. Prior to their advent, the only provision was curtains that barely covered windows (if they were pegged together to stop them from gaping). Sometimes there were heavy velvet caravan curtains in caravan interiors – how times change!
Despite being among the mod-cons fitted to pretty much all new caravans, they can occasionally be problematic.
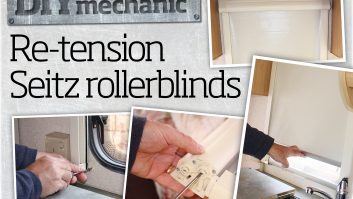
If you have roller blinds in your caravan, please see the Practical Caravan DIY guide on how to retension Seitz roller blinds and flyscreens.
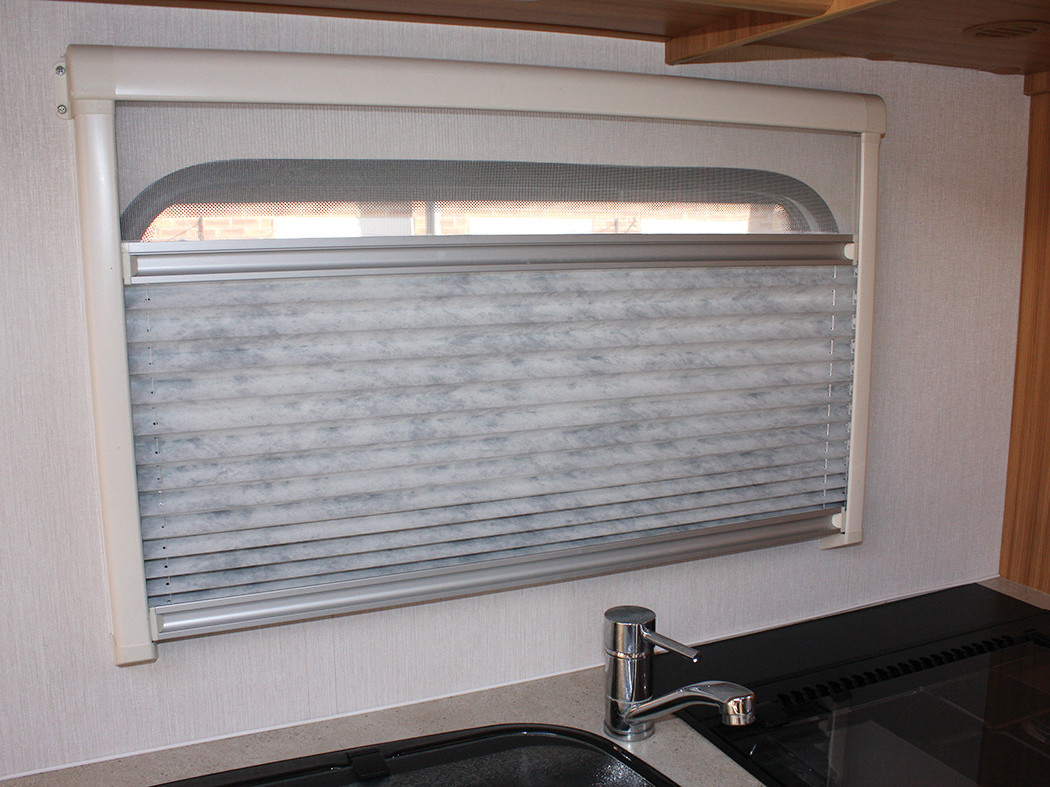
In this Practical Caravan DIY guide, we’ll discuss the Seitz pleated combined blinds/flyscreens – sometimes known as ‘concertina blinds’.
Tools to fix pleated blinds
Some tension is necessary for blinds to operate properly, but they may become stiff over time. If stiff pleated blinds are left untreated, they are likely to break. This is not ideal if you’re in the middle of an otherwise enjoyable holiday — to say nothing of being very expensive to replace.
The tools required for both maintaining and replacing blinds are fairly basic. You will need:
- A can of silicone spray
- A clean cloth/kitchen paper
- A crosshead screwdriver
- A thin, flat-blade screwdriver
- Four 3.0mm x 16mm self-tapping screws
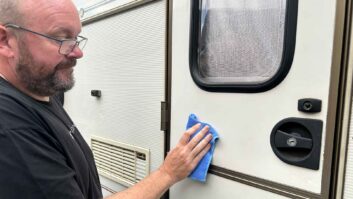
Ensure it’s clean
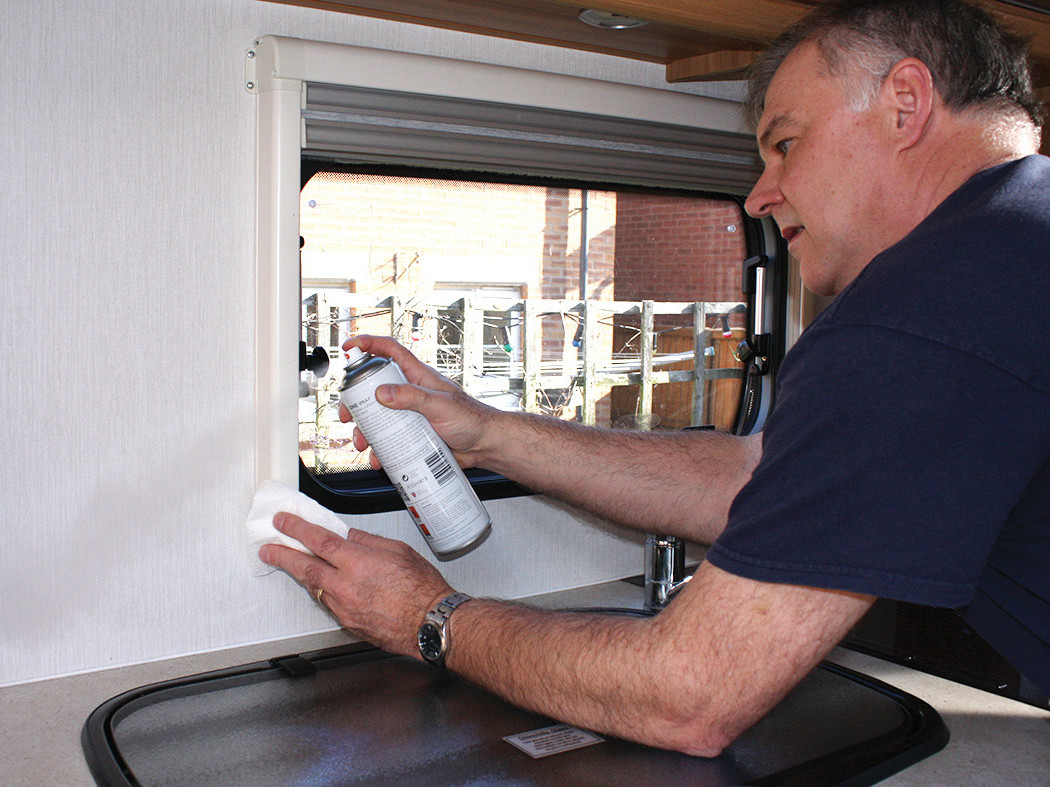
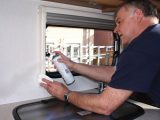
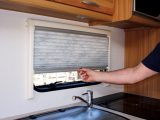
If any blind in your caravan has become excessively stiff, first be certain that this hasn’t been caused by dirty runners. Wipe inside them with a damp cloth or kitchen paper; you can even apply a little silicone spray and wipe them clean with a cloth.
Once you’re happy that the runners are clean, lubricate inside them with the silicone, but take care not to over-spray. Cover all surrounding surfaces to protect them from the chemical and wipe off any excess afterwards.
Remove the pleated blind
If the blind still resists being raised or lowered:
- It’s faulty and needs replacing.
- The blind may have been damaged.
- A plastic cap has fallen from either end of the aluminium finger grip that runs along the top or bottom of the blind.
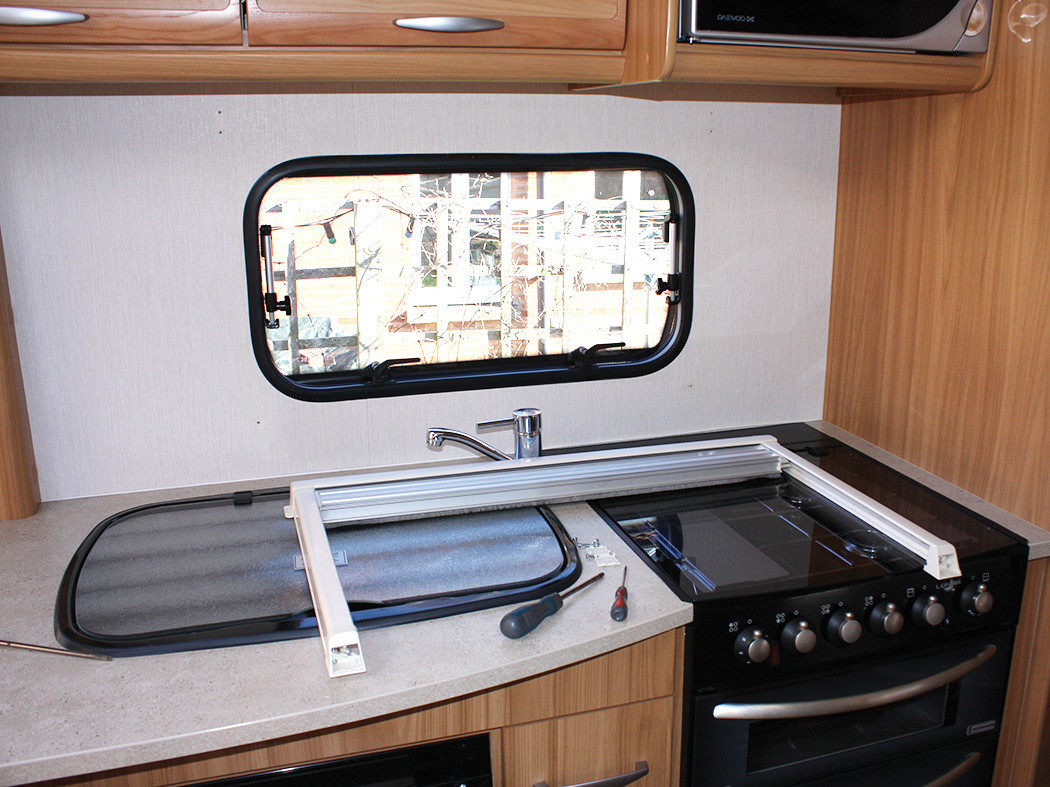
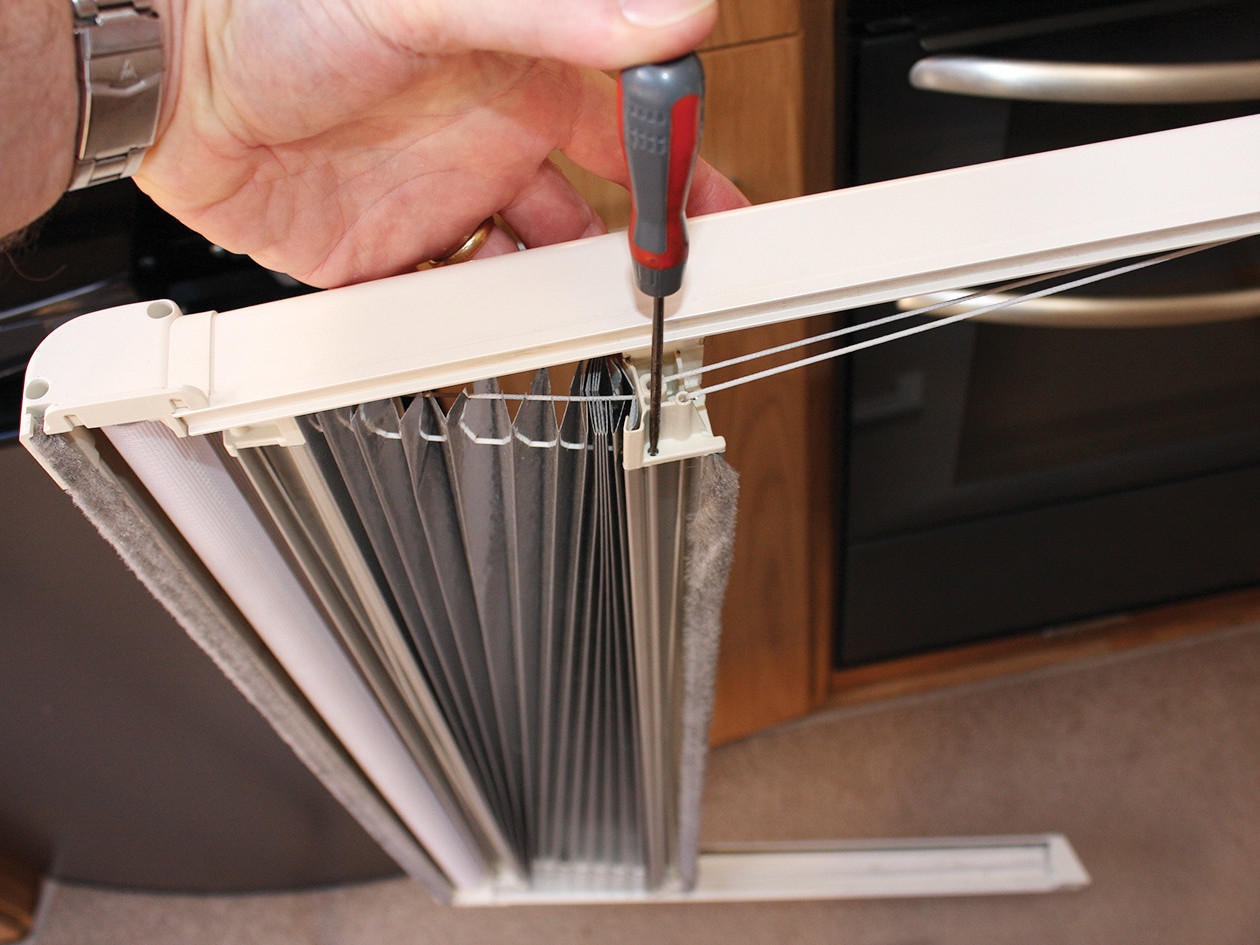
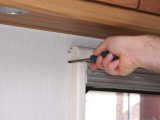
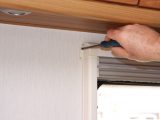
If the pleated blind is damaged, you’ll need to replace it. To remove it, you’ll need to take out the six screws that hold it to the wall: two on each side at the top and single ones at the bottom. Sometimes the top ones can be difficult to access because they’re behind pelmets or other features. The correct size of screwdriver should overcome these obstacles.
Leave the topmost screws for the moment and start unscrewing those just below. Using the flat-bladed screwdriver, prise out the plastic clip-in covers from the very bottom of the runners. (There should be slots in which to insert the blade.) This will expose the bottom screws, which are removed next.
Finally, undo the top pair of screws and take the assembly from the wall. Handle it with care because blinds can be floppy.
Refit the blind
To reattach the pleated blind (or fit the new one), secure the top screws first to hang the unit in the right place. Do not over-tighten the screws, which are only fastened into the soft inner wallboard.
Replace the bottom screws and clip the plastic covers into place. Finally, replace the second screws from the top and test the blind. It should operate smoothly; if not, a squirt of silicone spray may help.
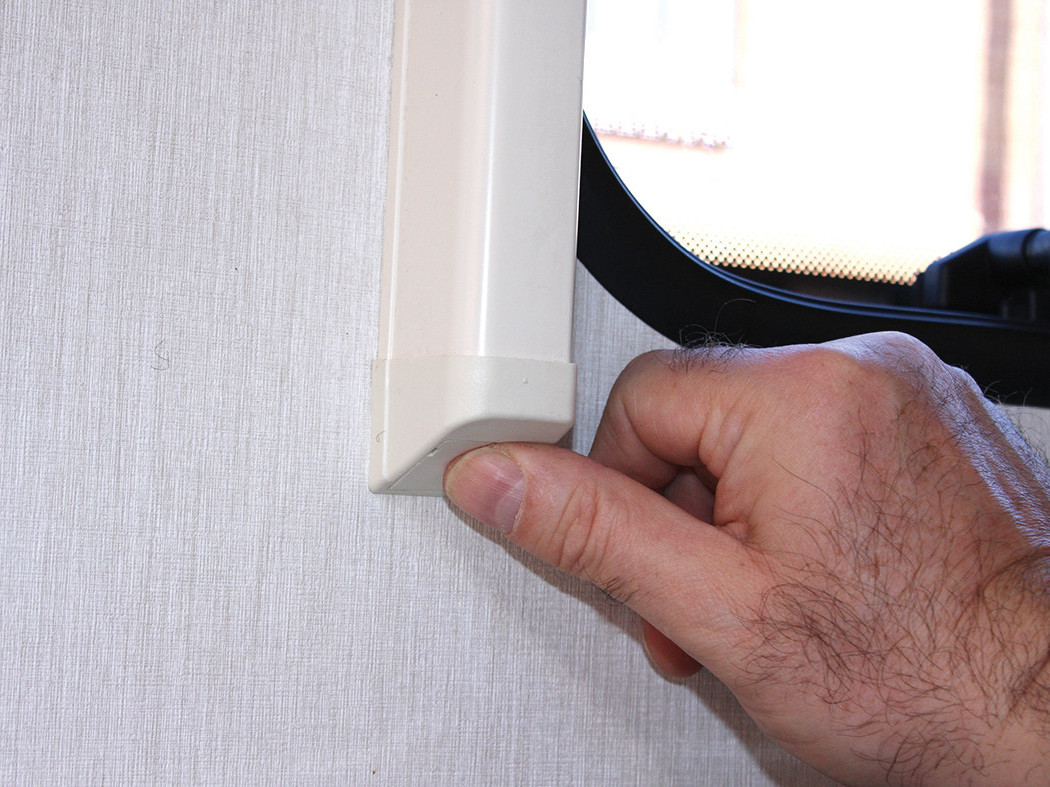
Secure the end caps
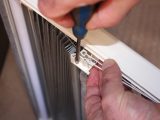
Look at the plastic end caps; you’ll see that these are inserted into the runners that flank the window. The caps, however, are prone to falling out of the finger grips, which can result in damage to the blinds themselves.
This is easily remedied.
The pleated blind/flyscreen can be left in-situ while you do the following job, but I find the task easier if the unit has first been removed. Otherwise, carefully ease one end of the blind from the runner.
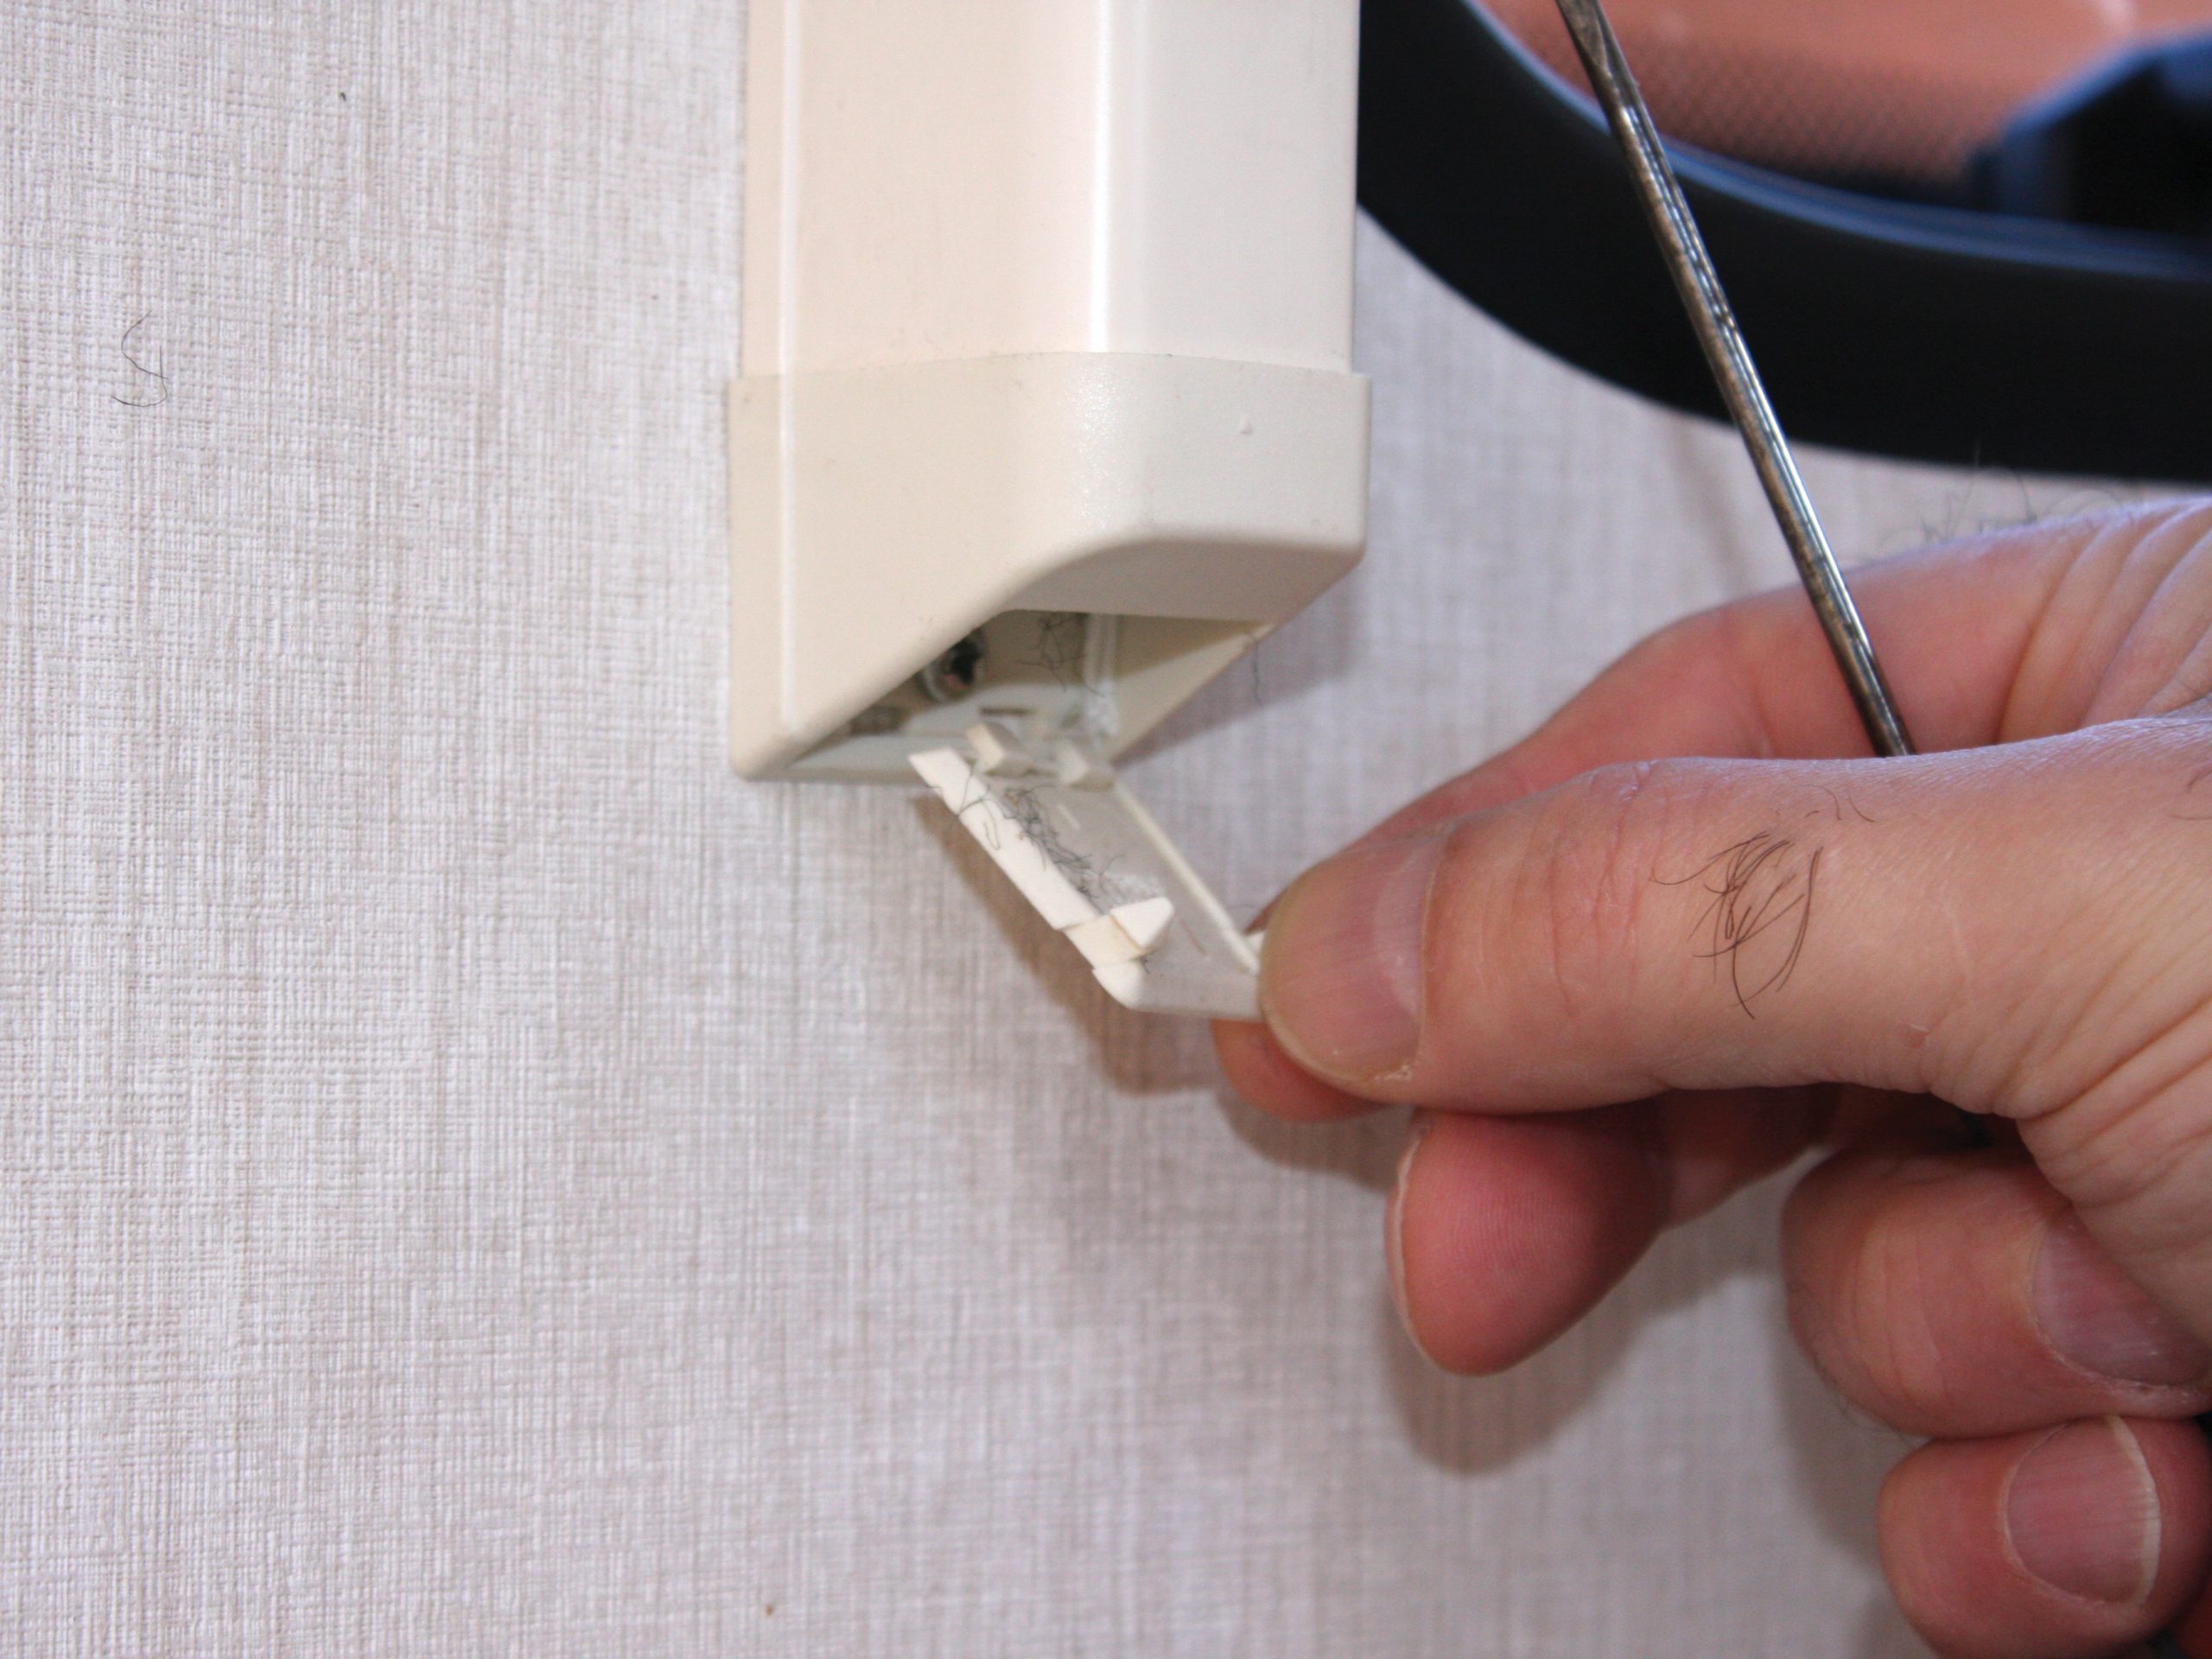
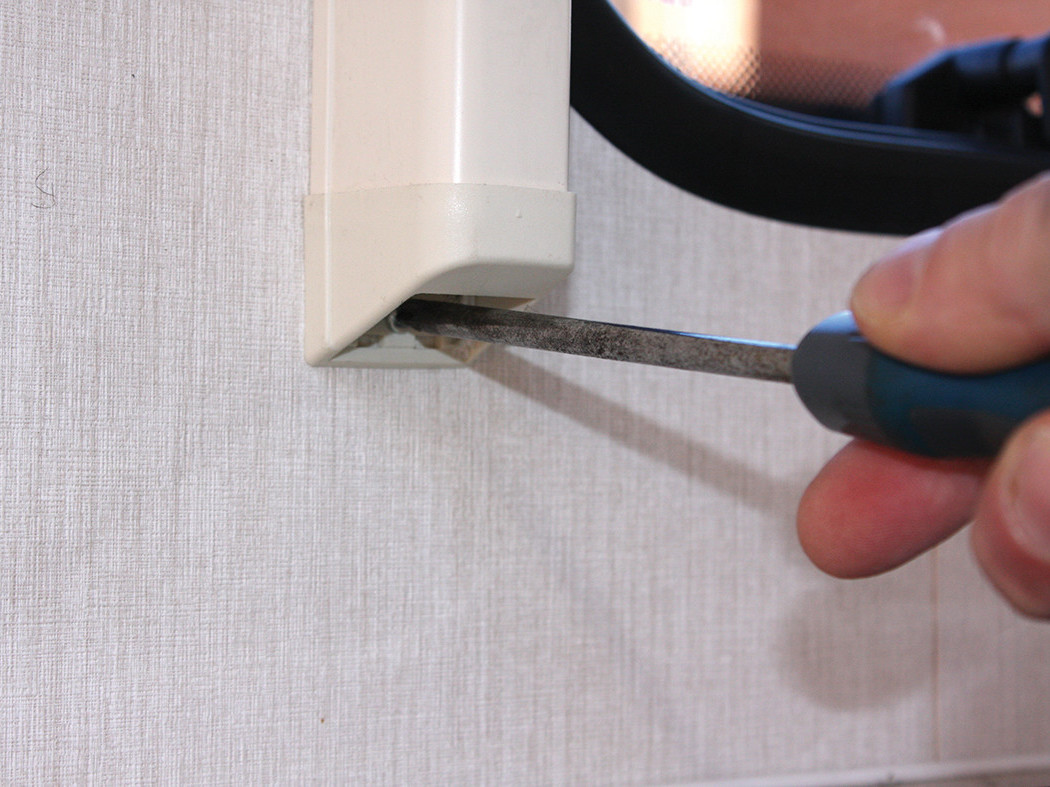
In either case, look at the end of the plastic cap and you’ll see two small holes that correspond with narrow slots at the end of the aluminium finger grip. Insert one of the self-tapping screws into each of these holes and drive it home. Take care that they enter the slots in the aluminium.
The self-tappers can be quite tight to be fully secure, but they should be screwed all the way in. Once they are, the plastic end caps cannot come out again, and the screw heads won’t interfere with any of the blind unit’s workings. It’s almost as if Seitz had originally intended to secure the caps with screws.
Slot the end cap into the side runner, and then repeat the procedure at the opposite end. If you’ve removed the entire unit, follow the procedure described above for refitting it and then slot the end caps in the runners.
Your Seitz pleated blind and flyscreen should now work much more smoothly and is less likely to break.
If stiff pleated blinds are left untreated, they are likely to break