


As Dad is thinking of changing his tow car to one fitted with the current 13-pin system, we thought we would look at upgrading his caravan’s electrics.
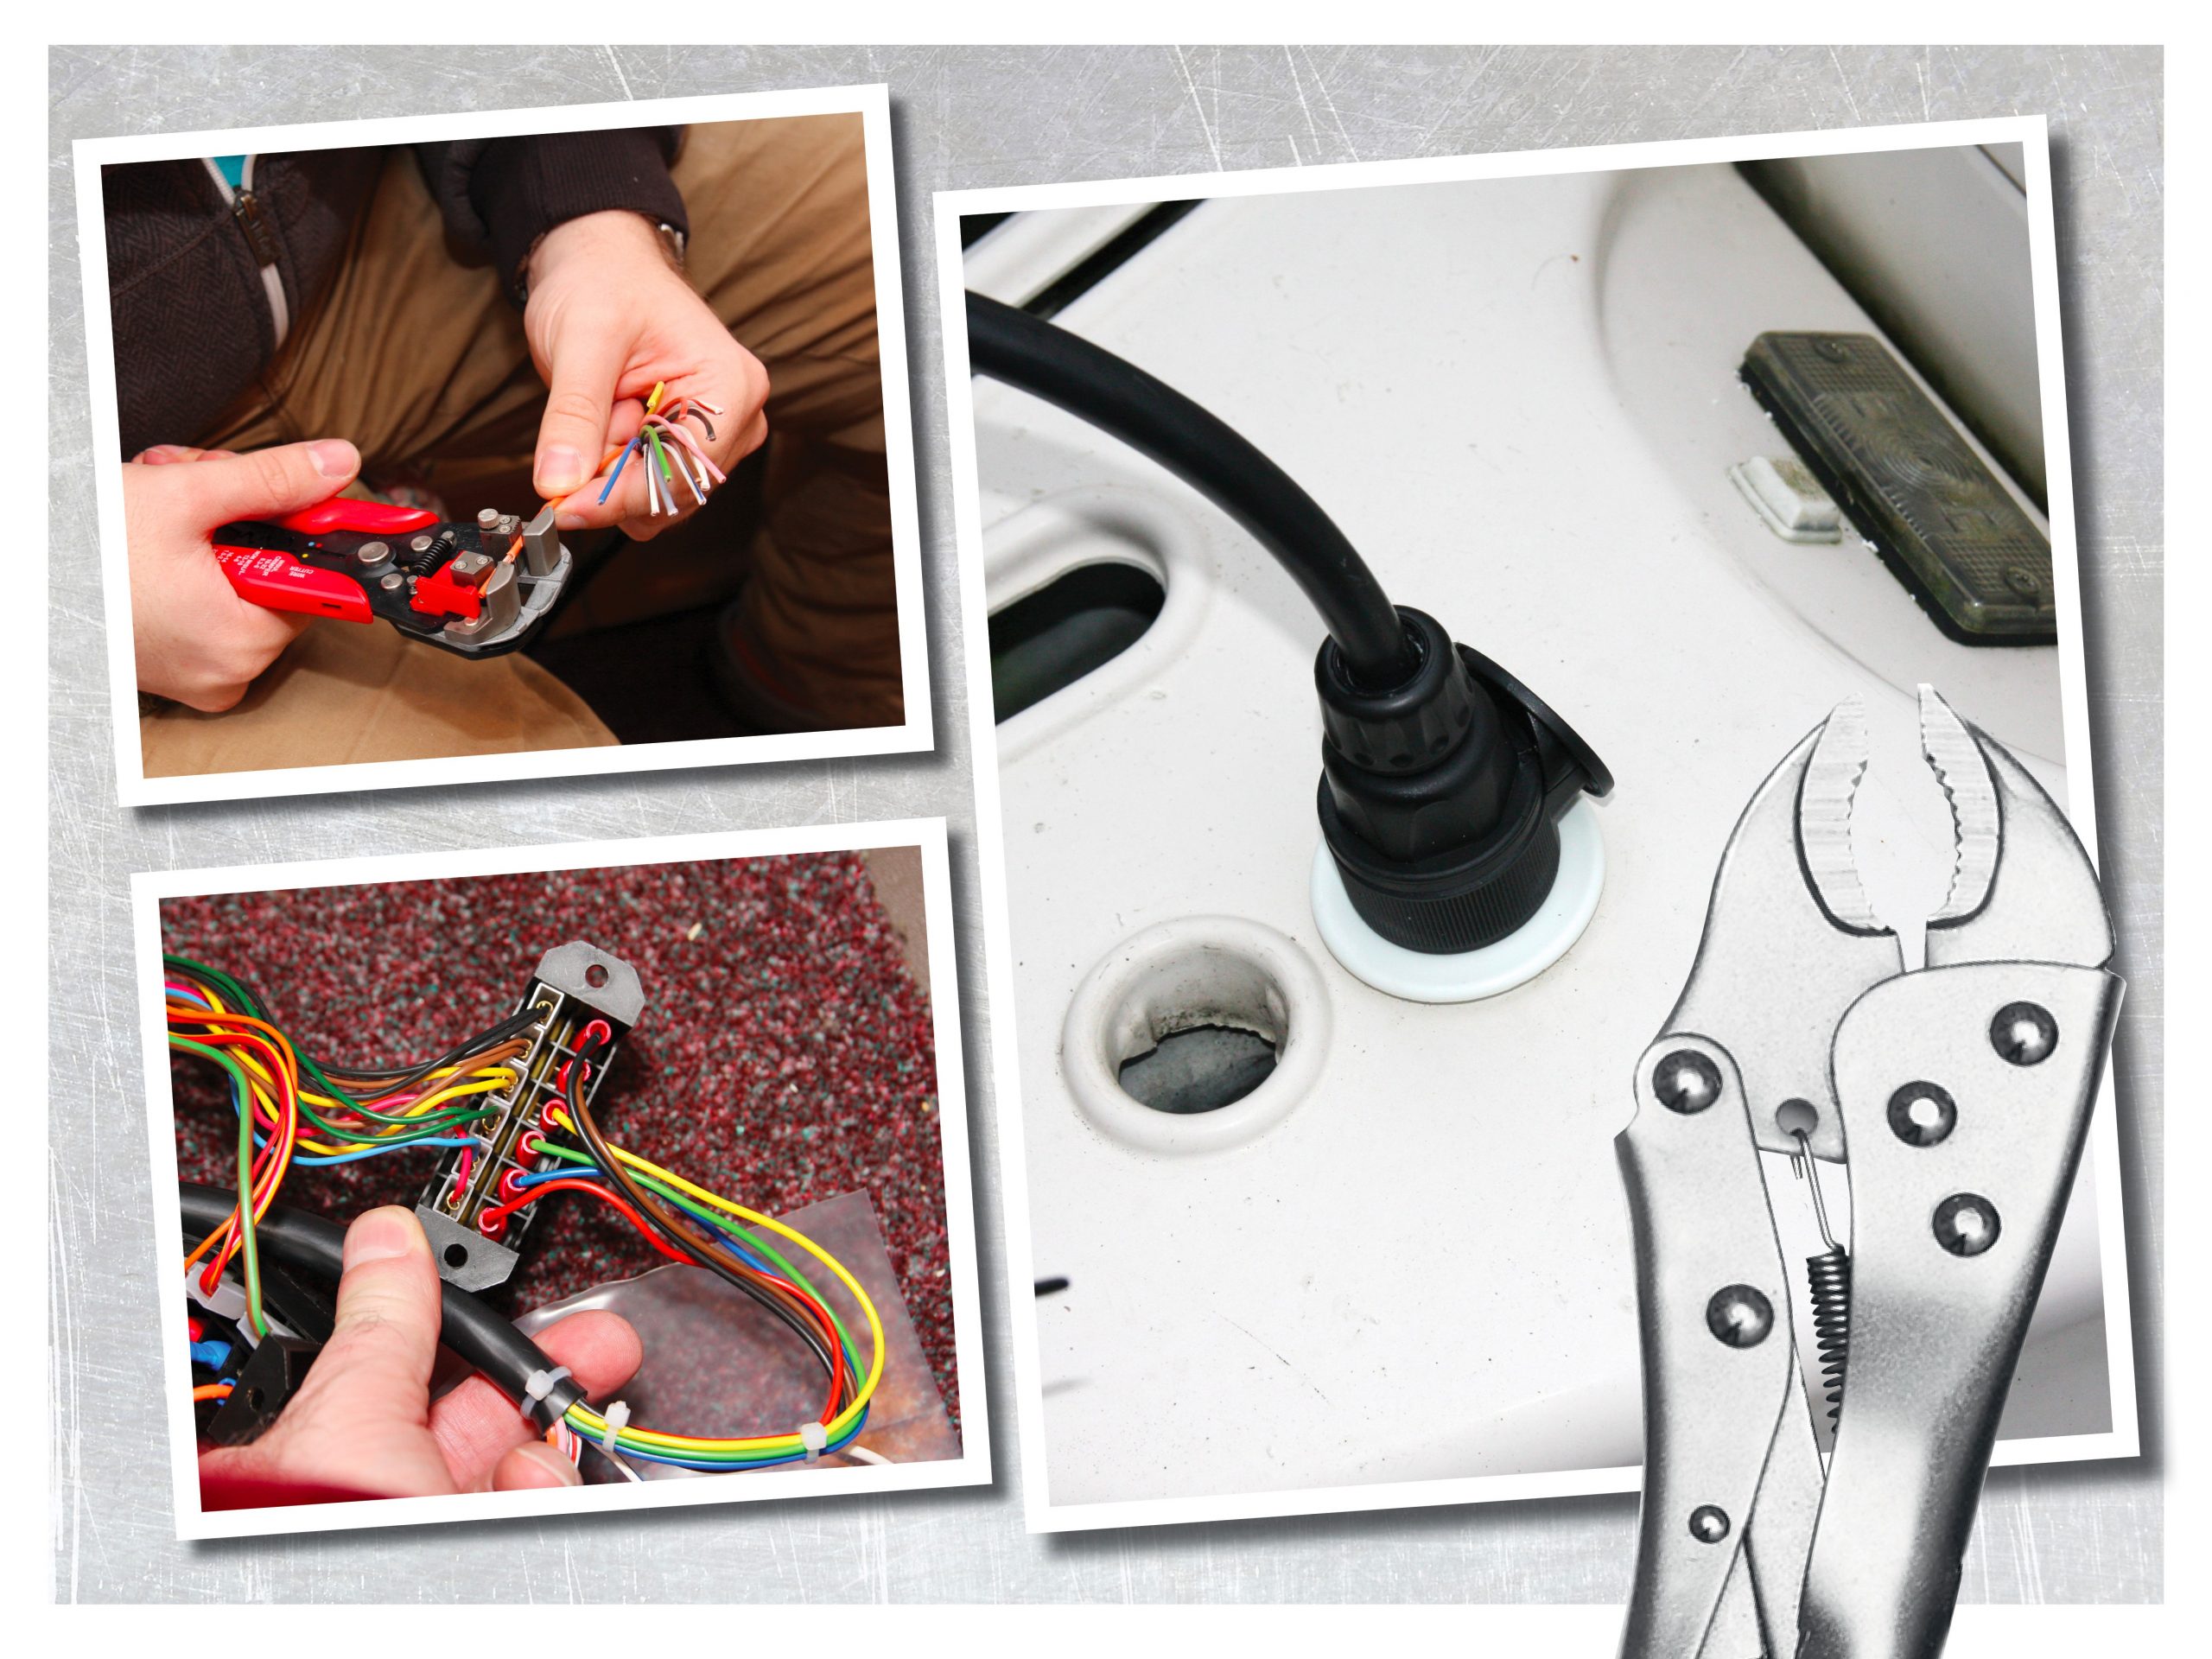
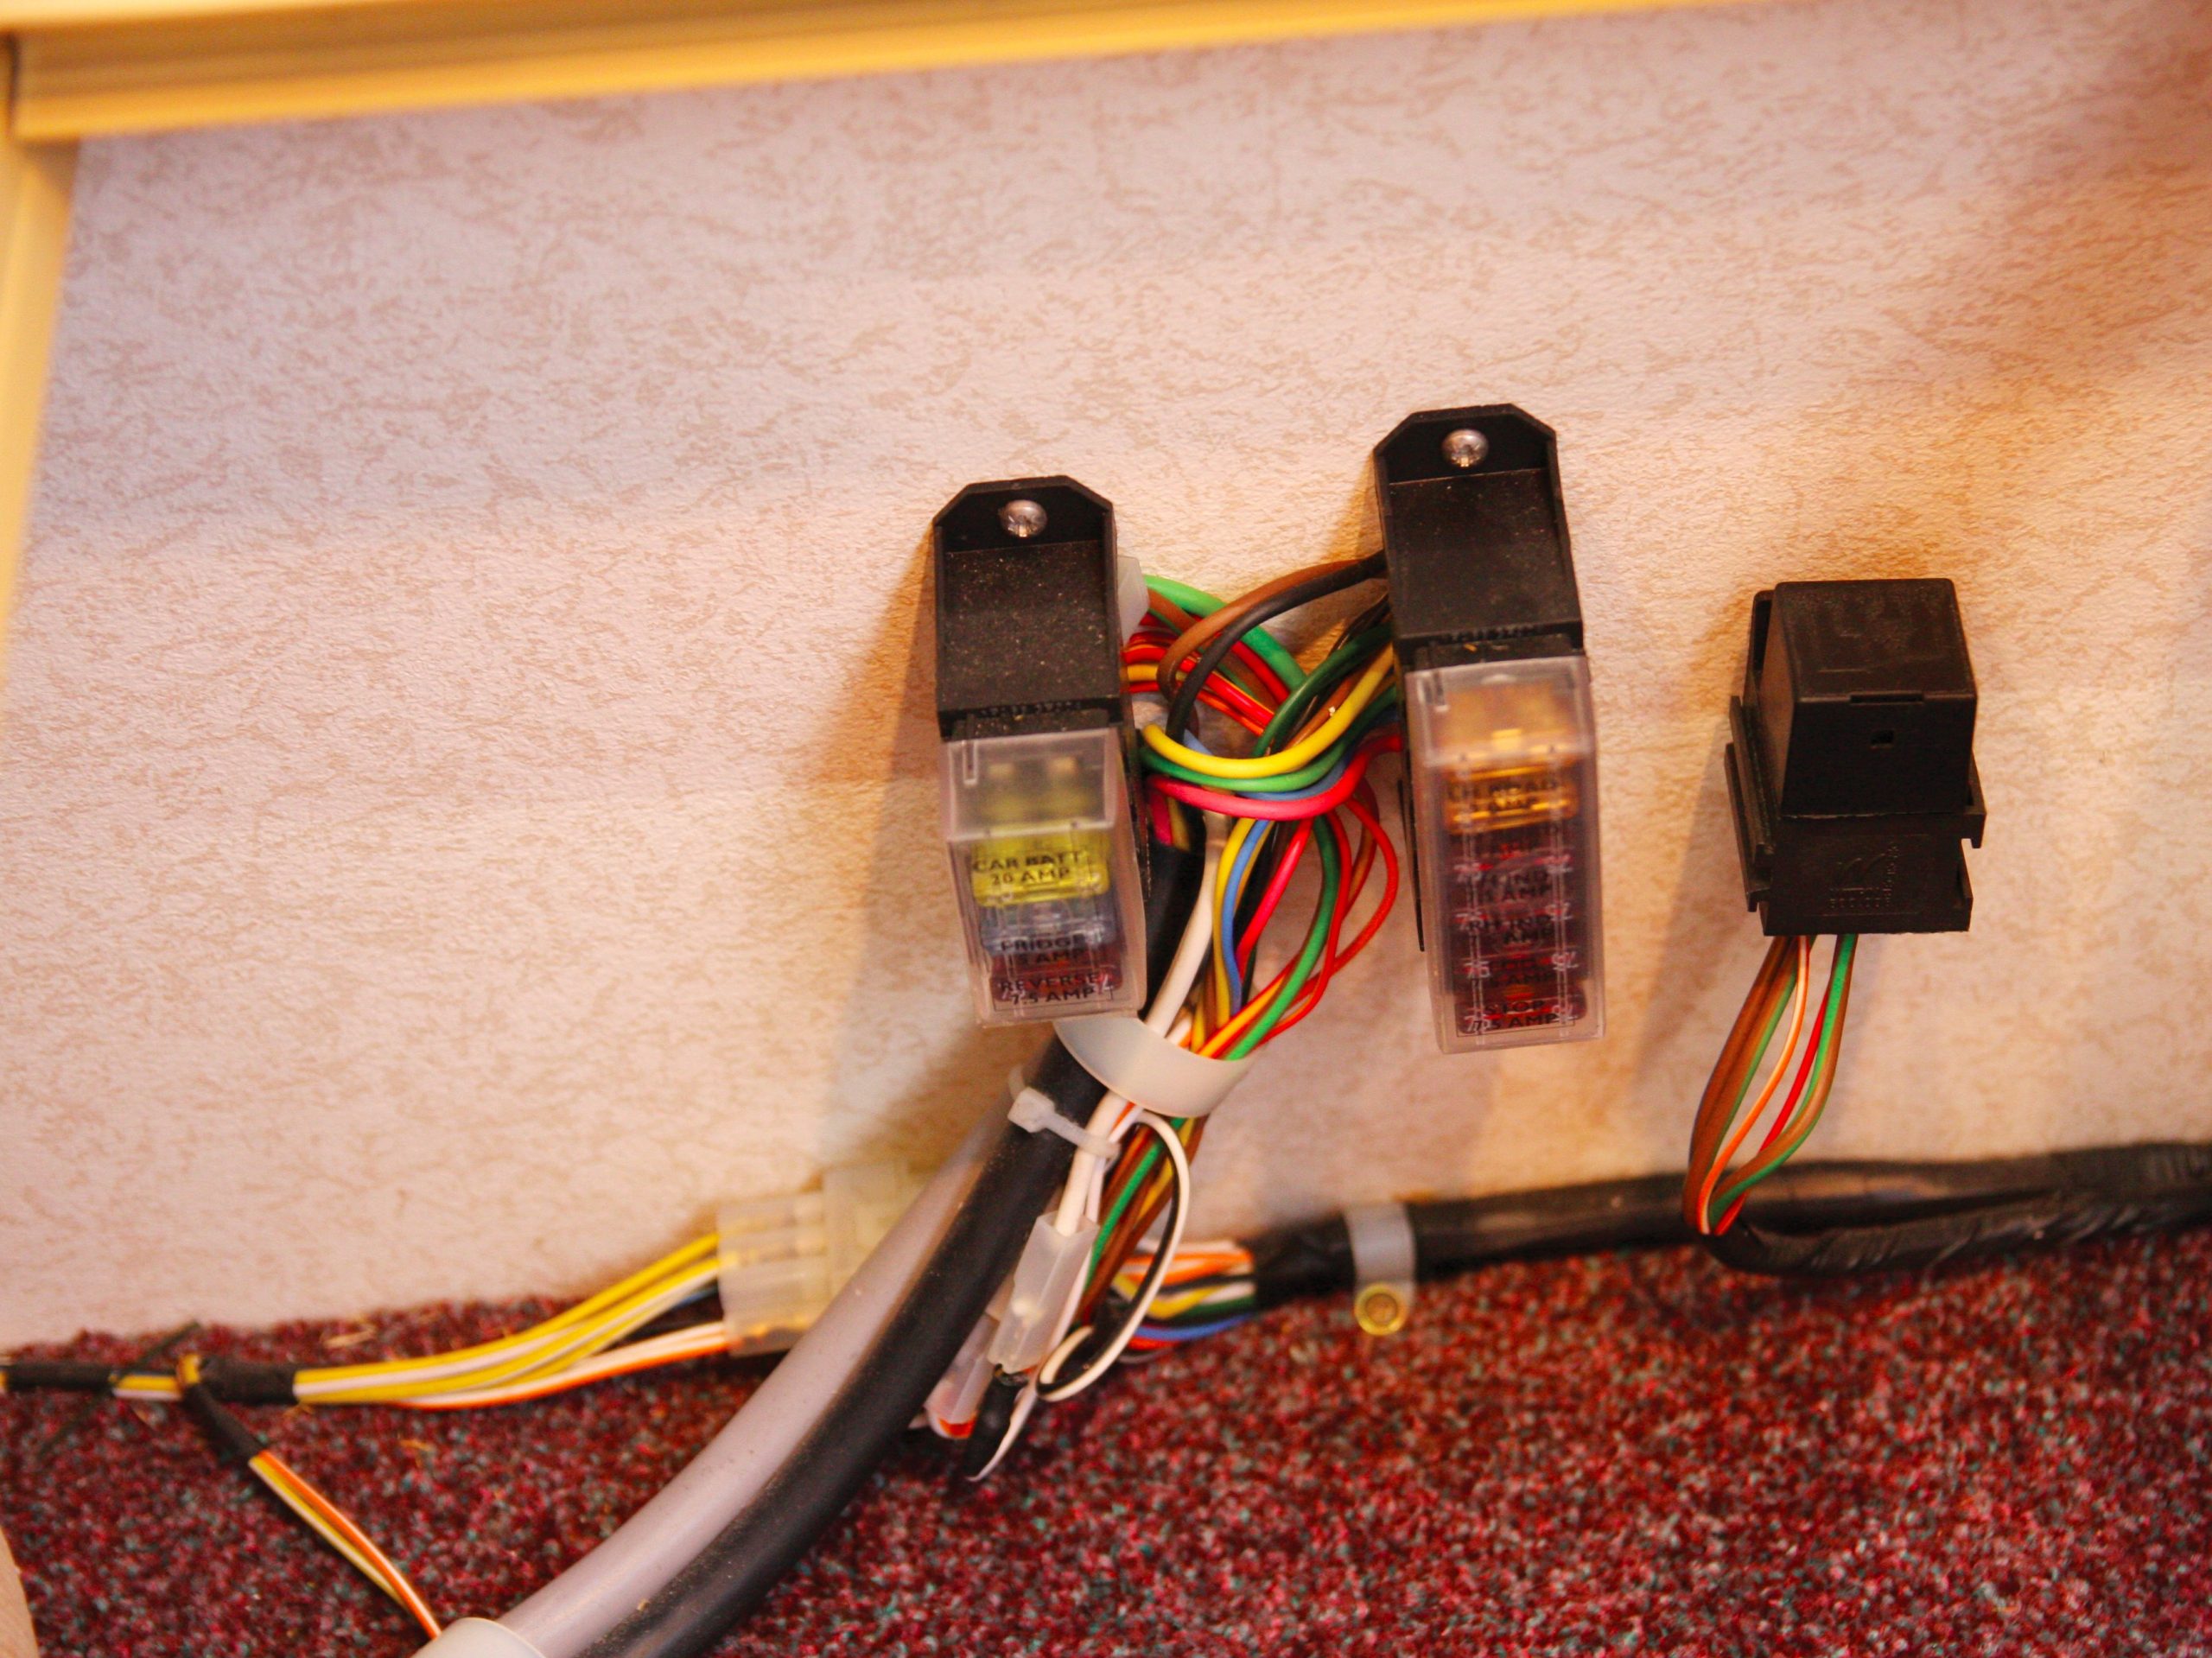
I wasn’t quite sure what to expect inside the caravan where the two seven-core cables entered (actually one seven-core, the other for the 12S plug was five-core), but it was very simple.
The cables terminated at a pair of fuse boxes mounted to the van’s front wall, and all the connections were made with spade terminals.
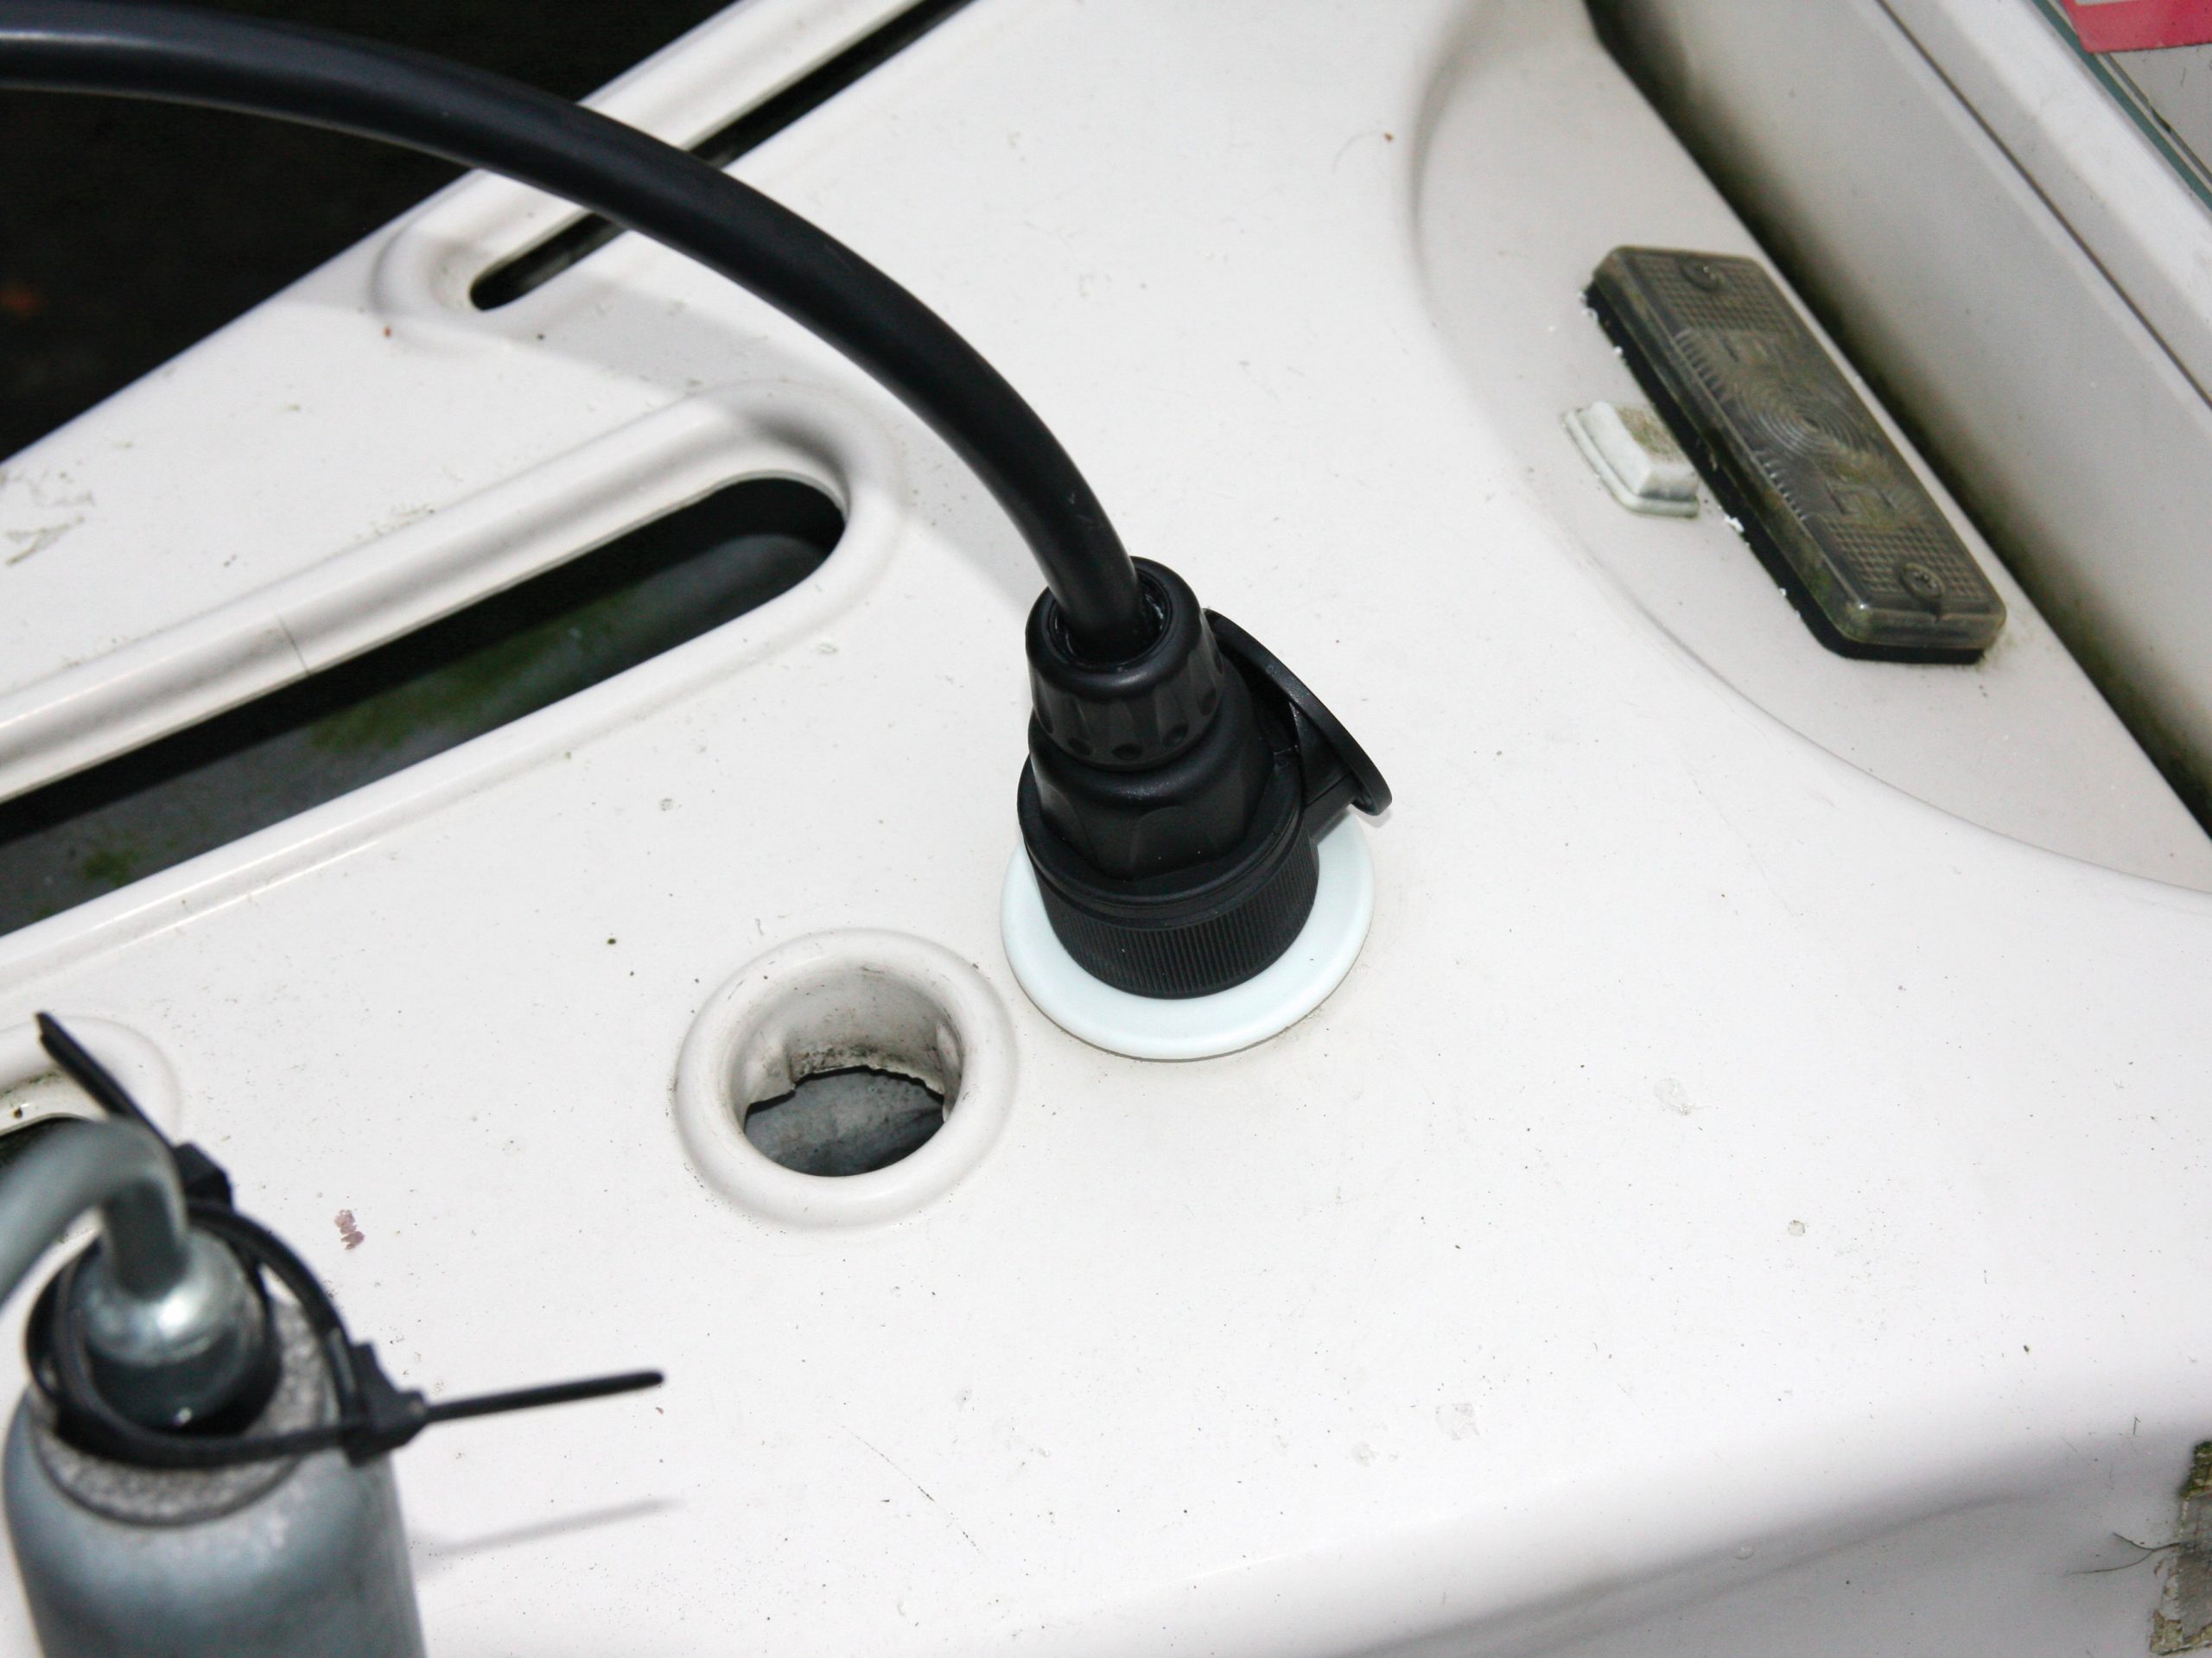
Thanks to Yorkshire Caravans, I was soon equipped with a couple of metres of 13-core cable, a 13-pin plug and a new storage socket.
Tools required:
- Crosshead screwdriver
- Small flathead screwdriver
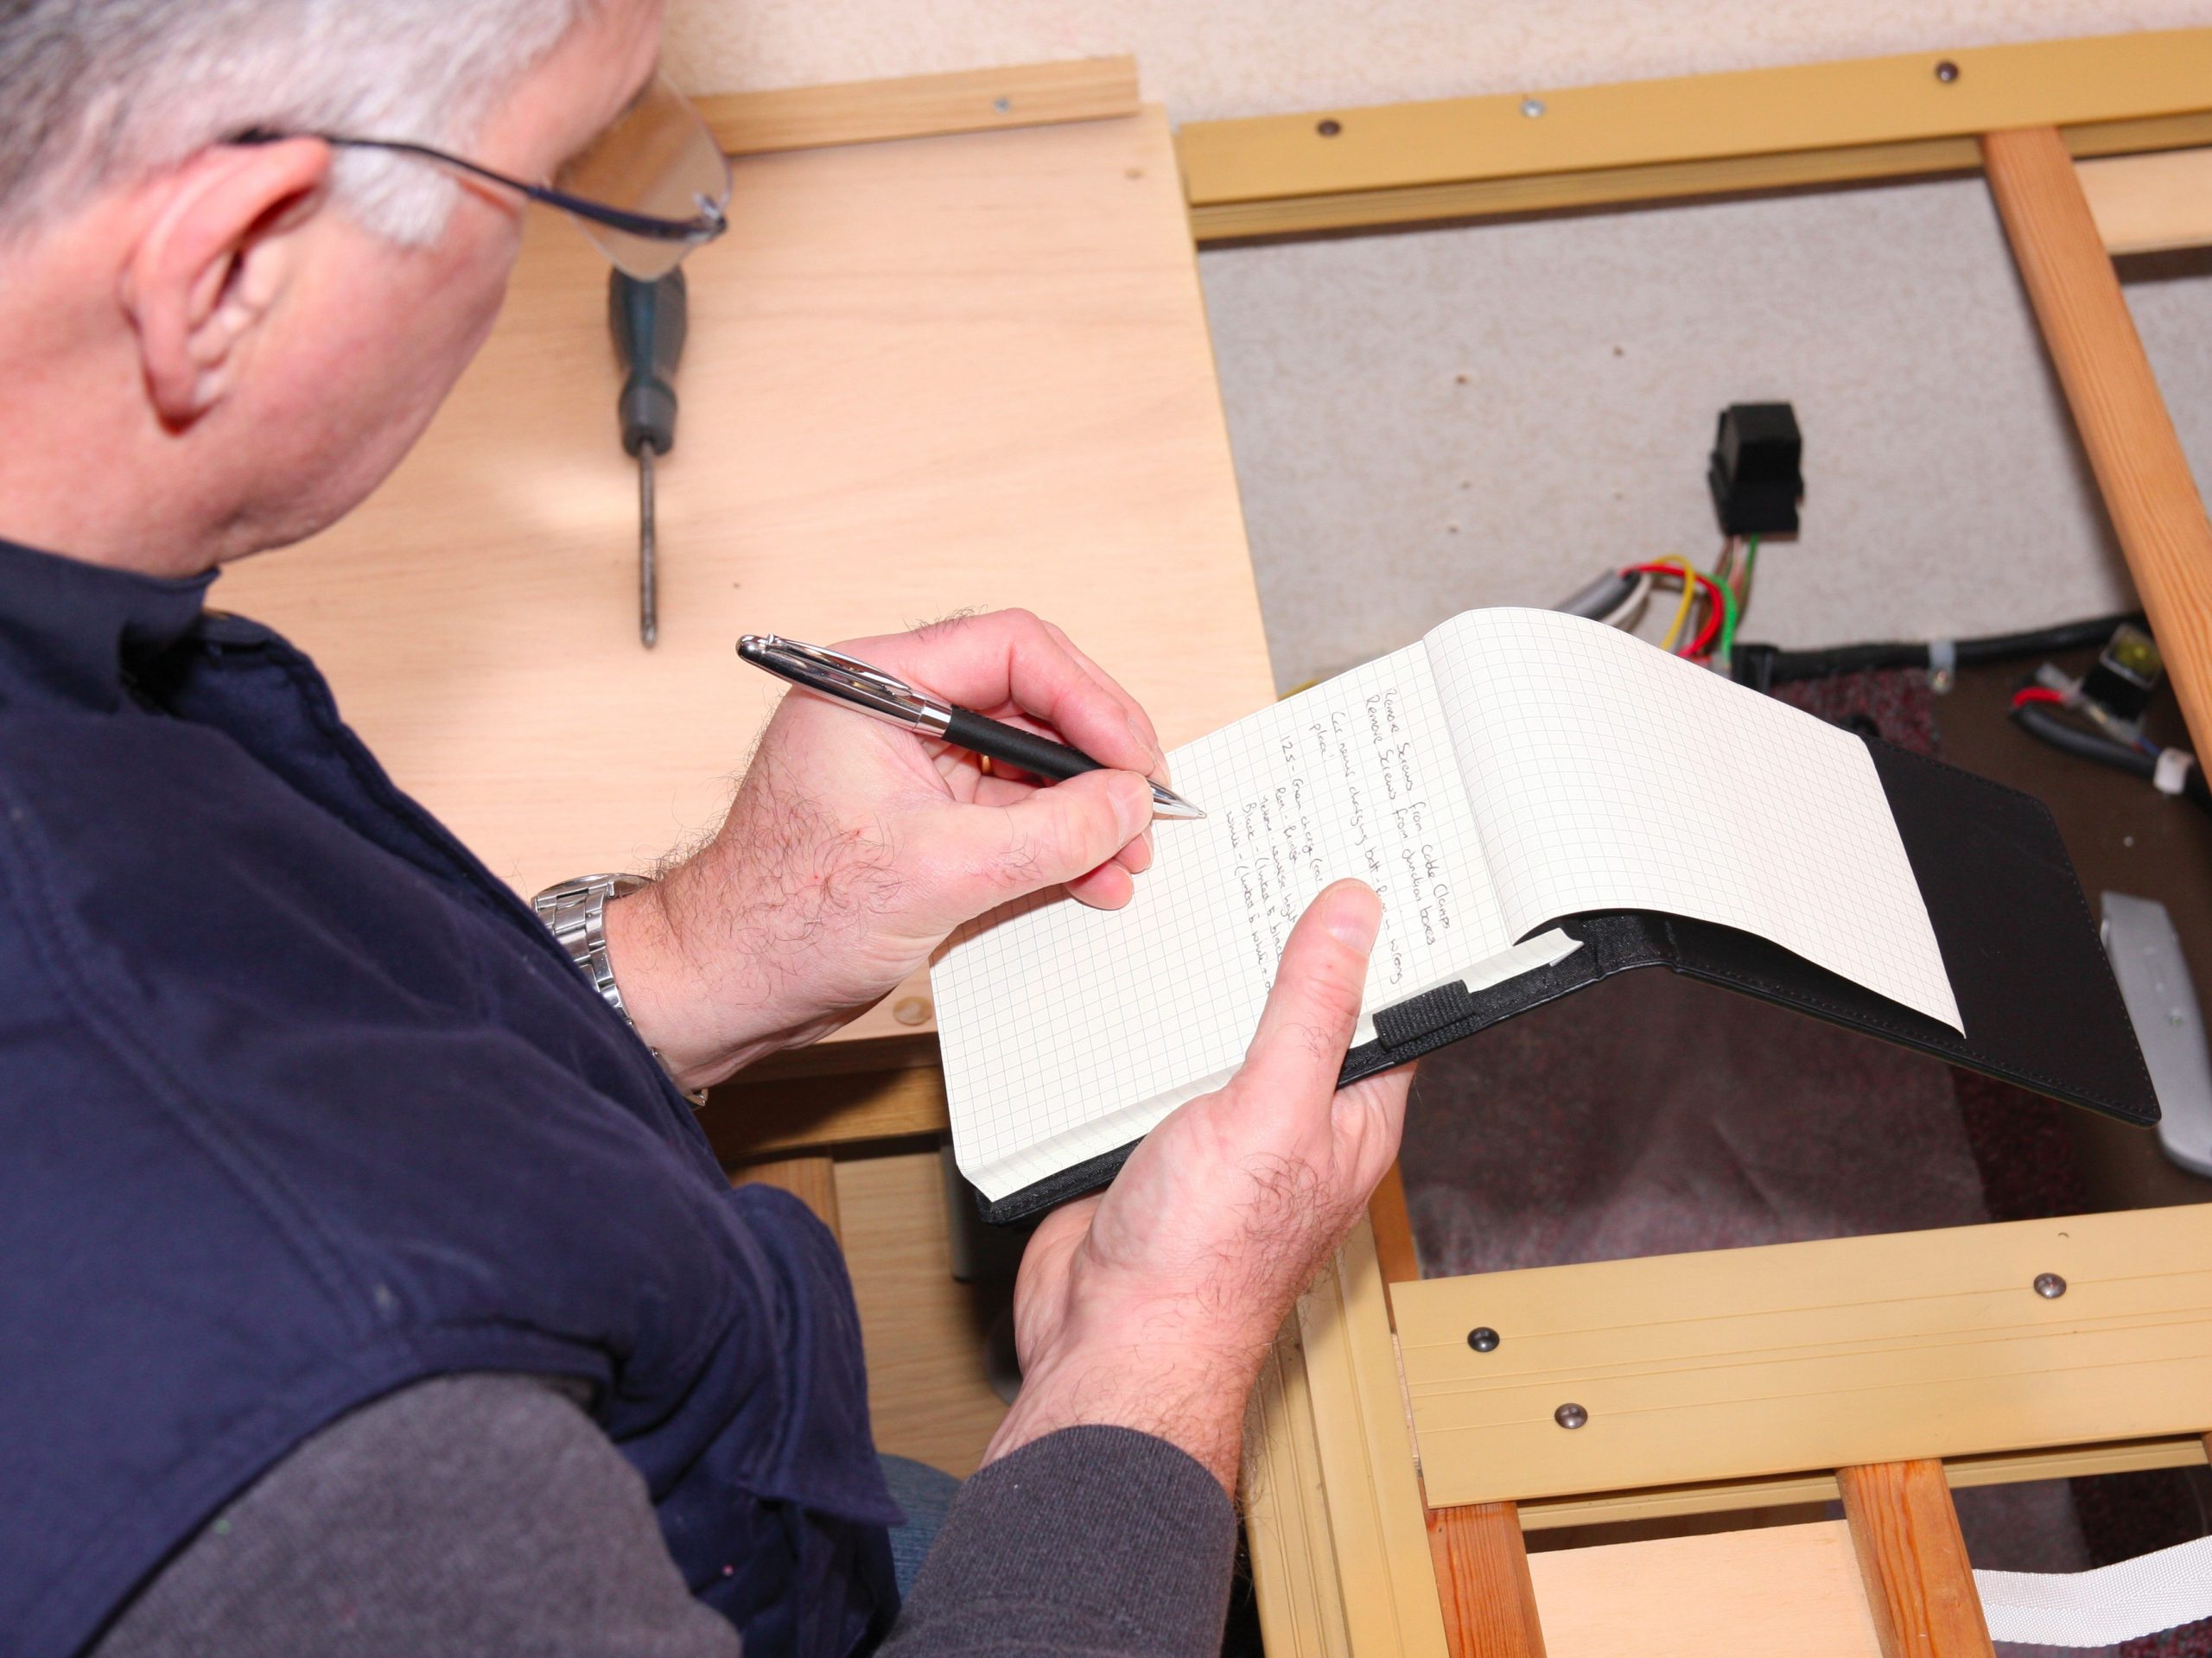
- Pen and notepad
- Wire strippers/cutters
- Spade connector crimping tool and crimps suitable for 1.5mm and 2.5mm cables
- Hole-cutter and drill
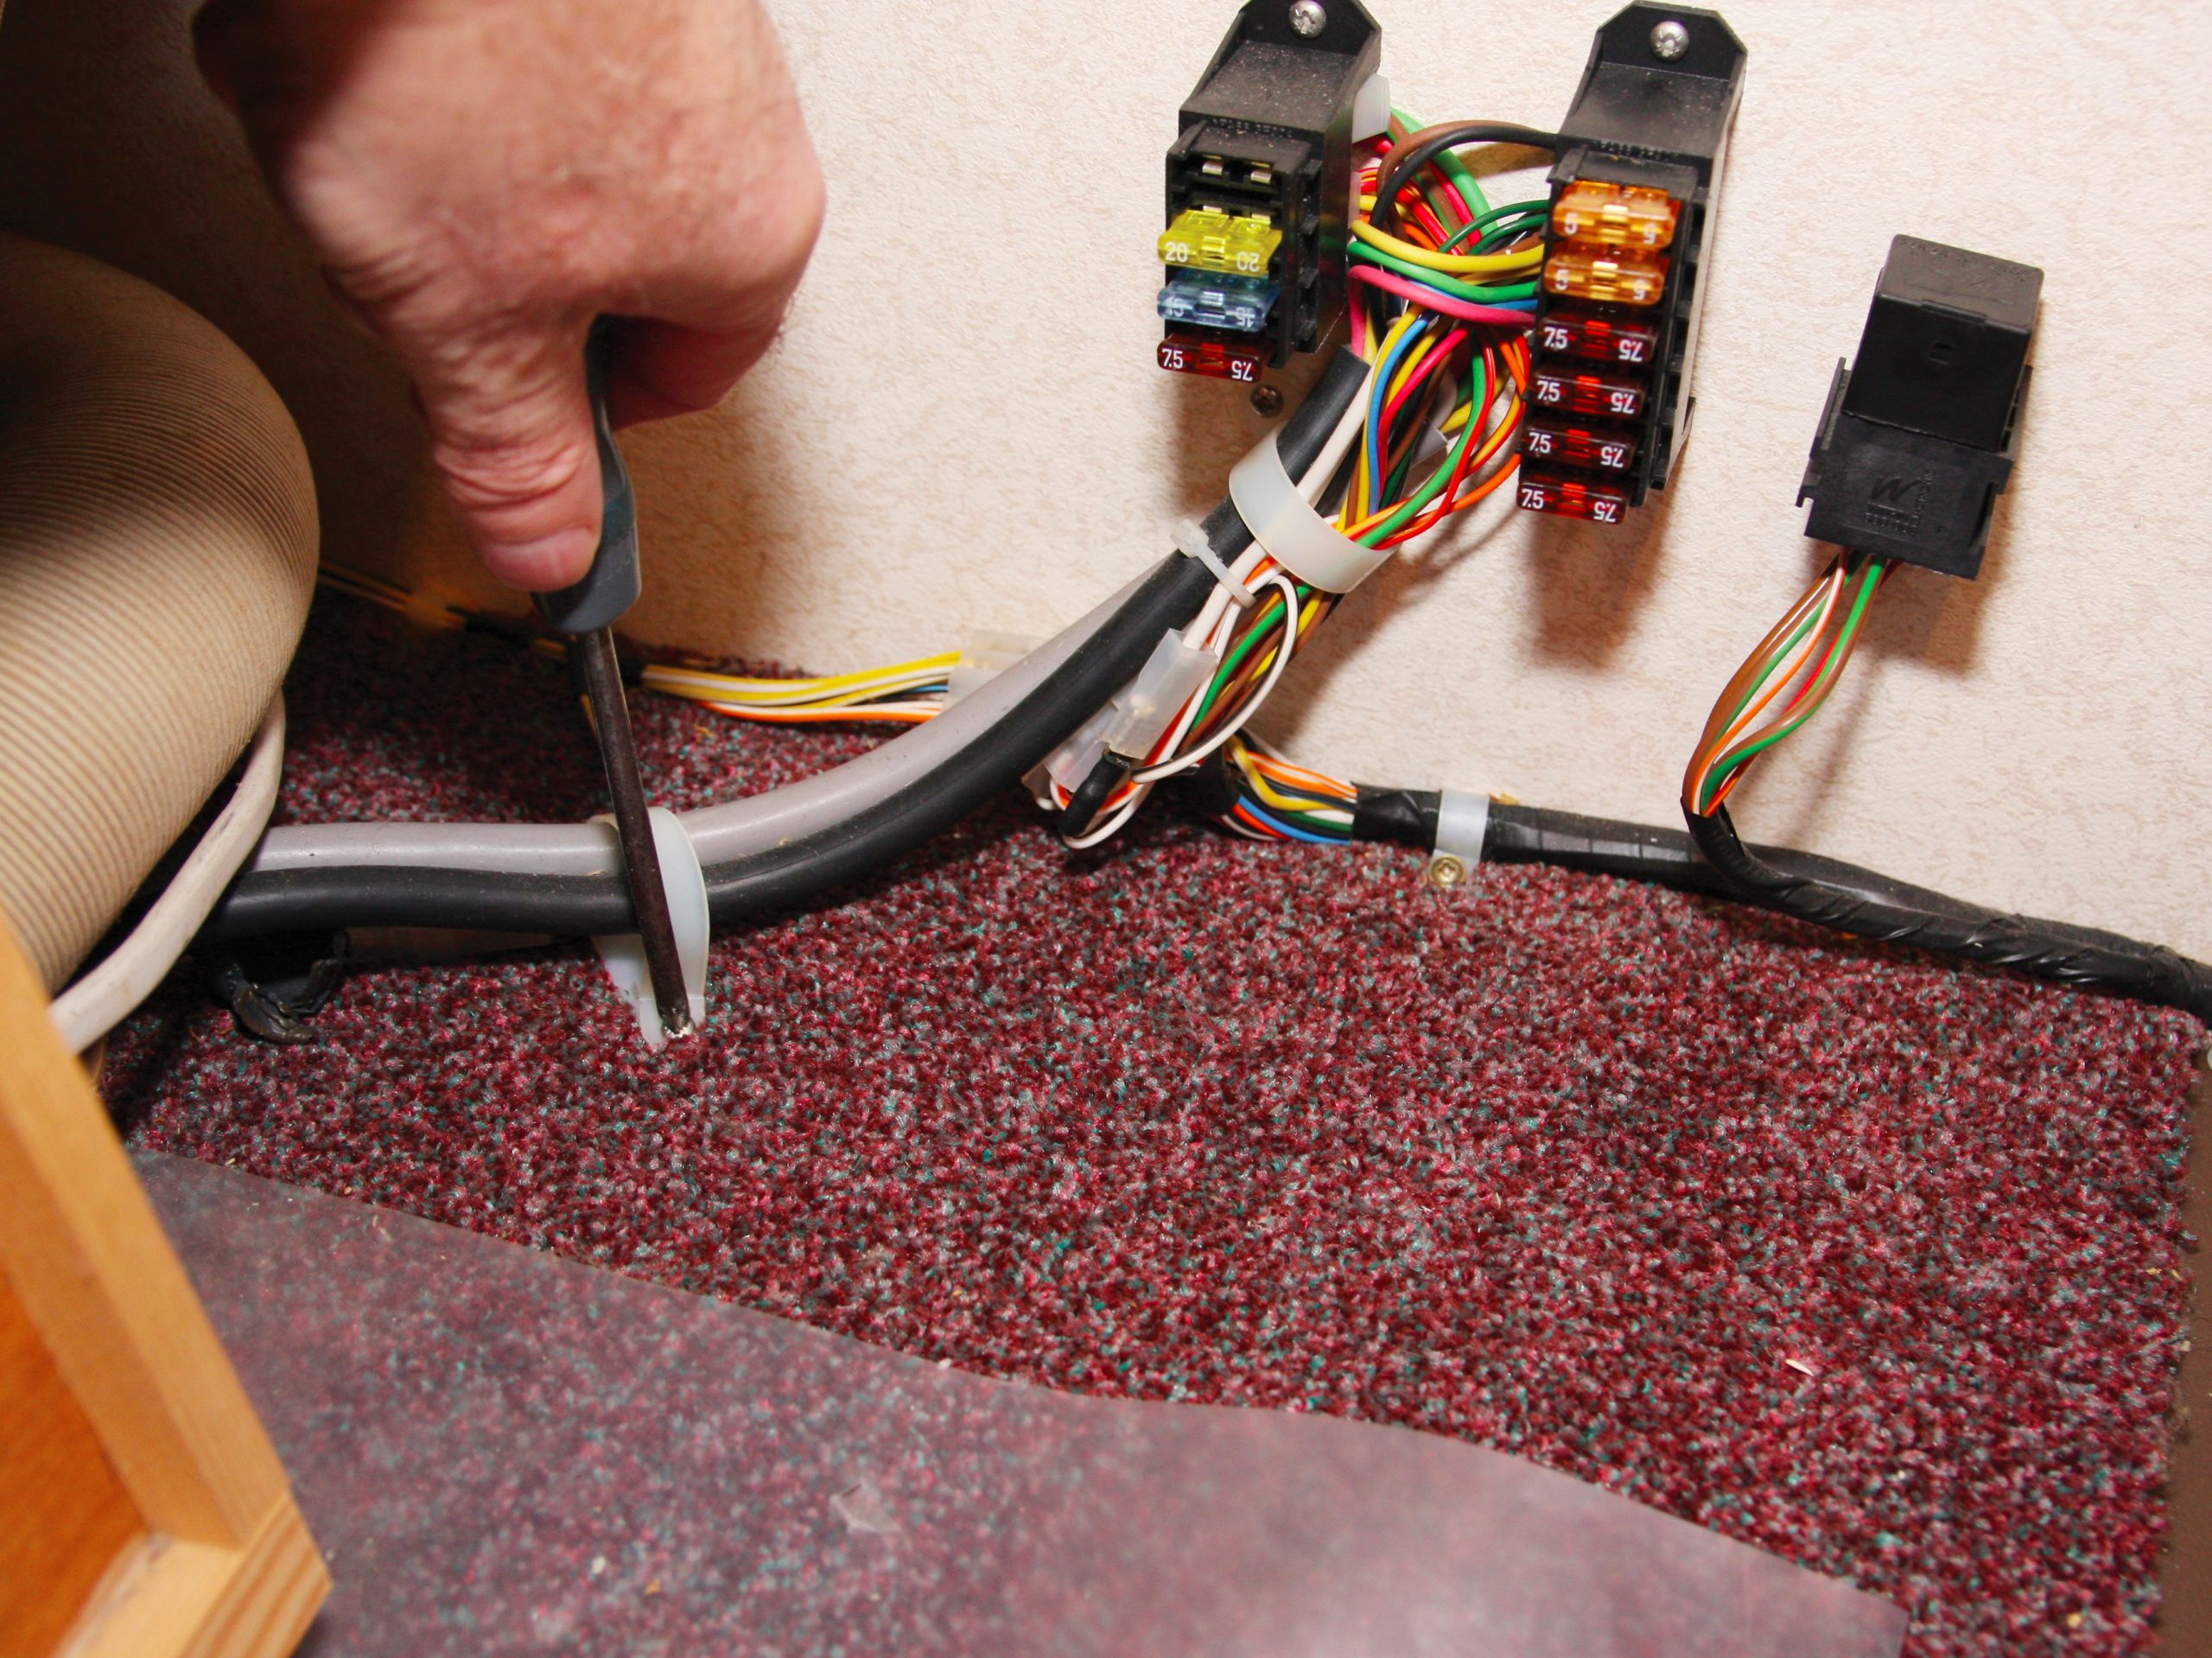
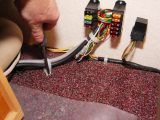
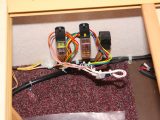
First, the fuse box covers were removed. Each set of connections was labelled on the covers, which was handy.
Next, the fuse boxes were unscrewed from the caravan wall, and the cable clip holding the seven-core cables to the floor was removed.
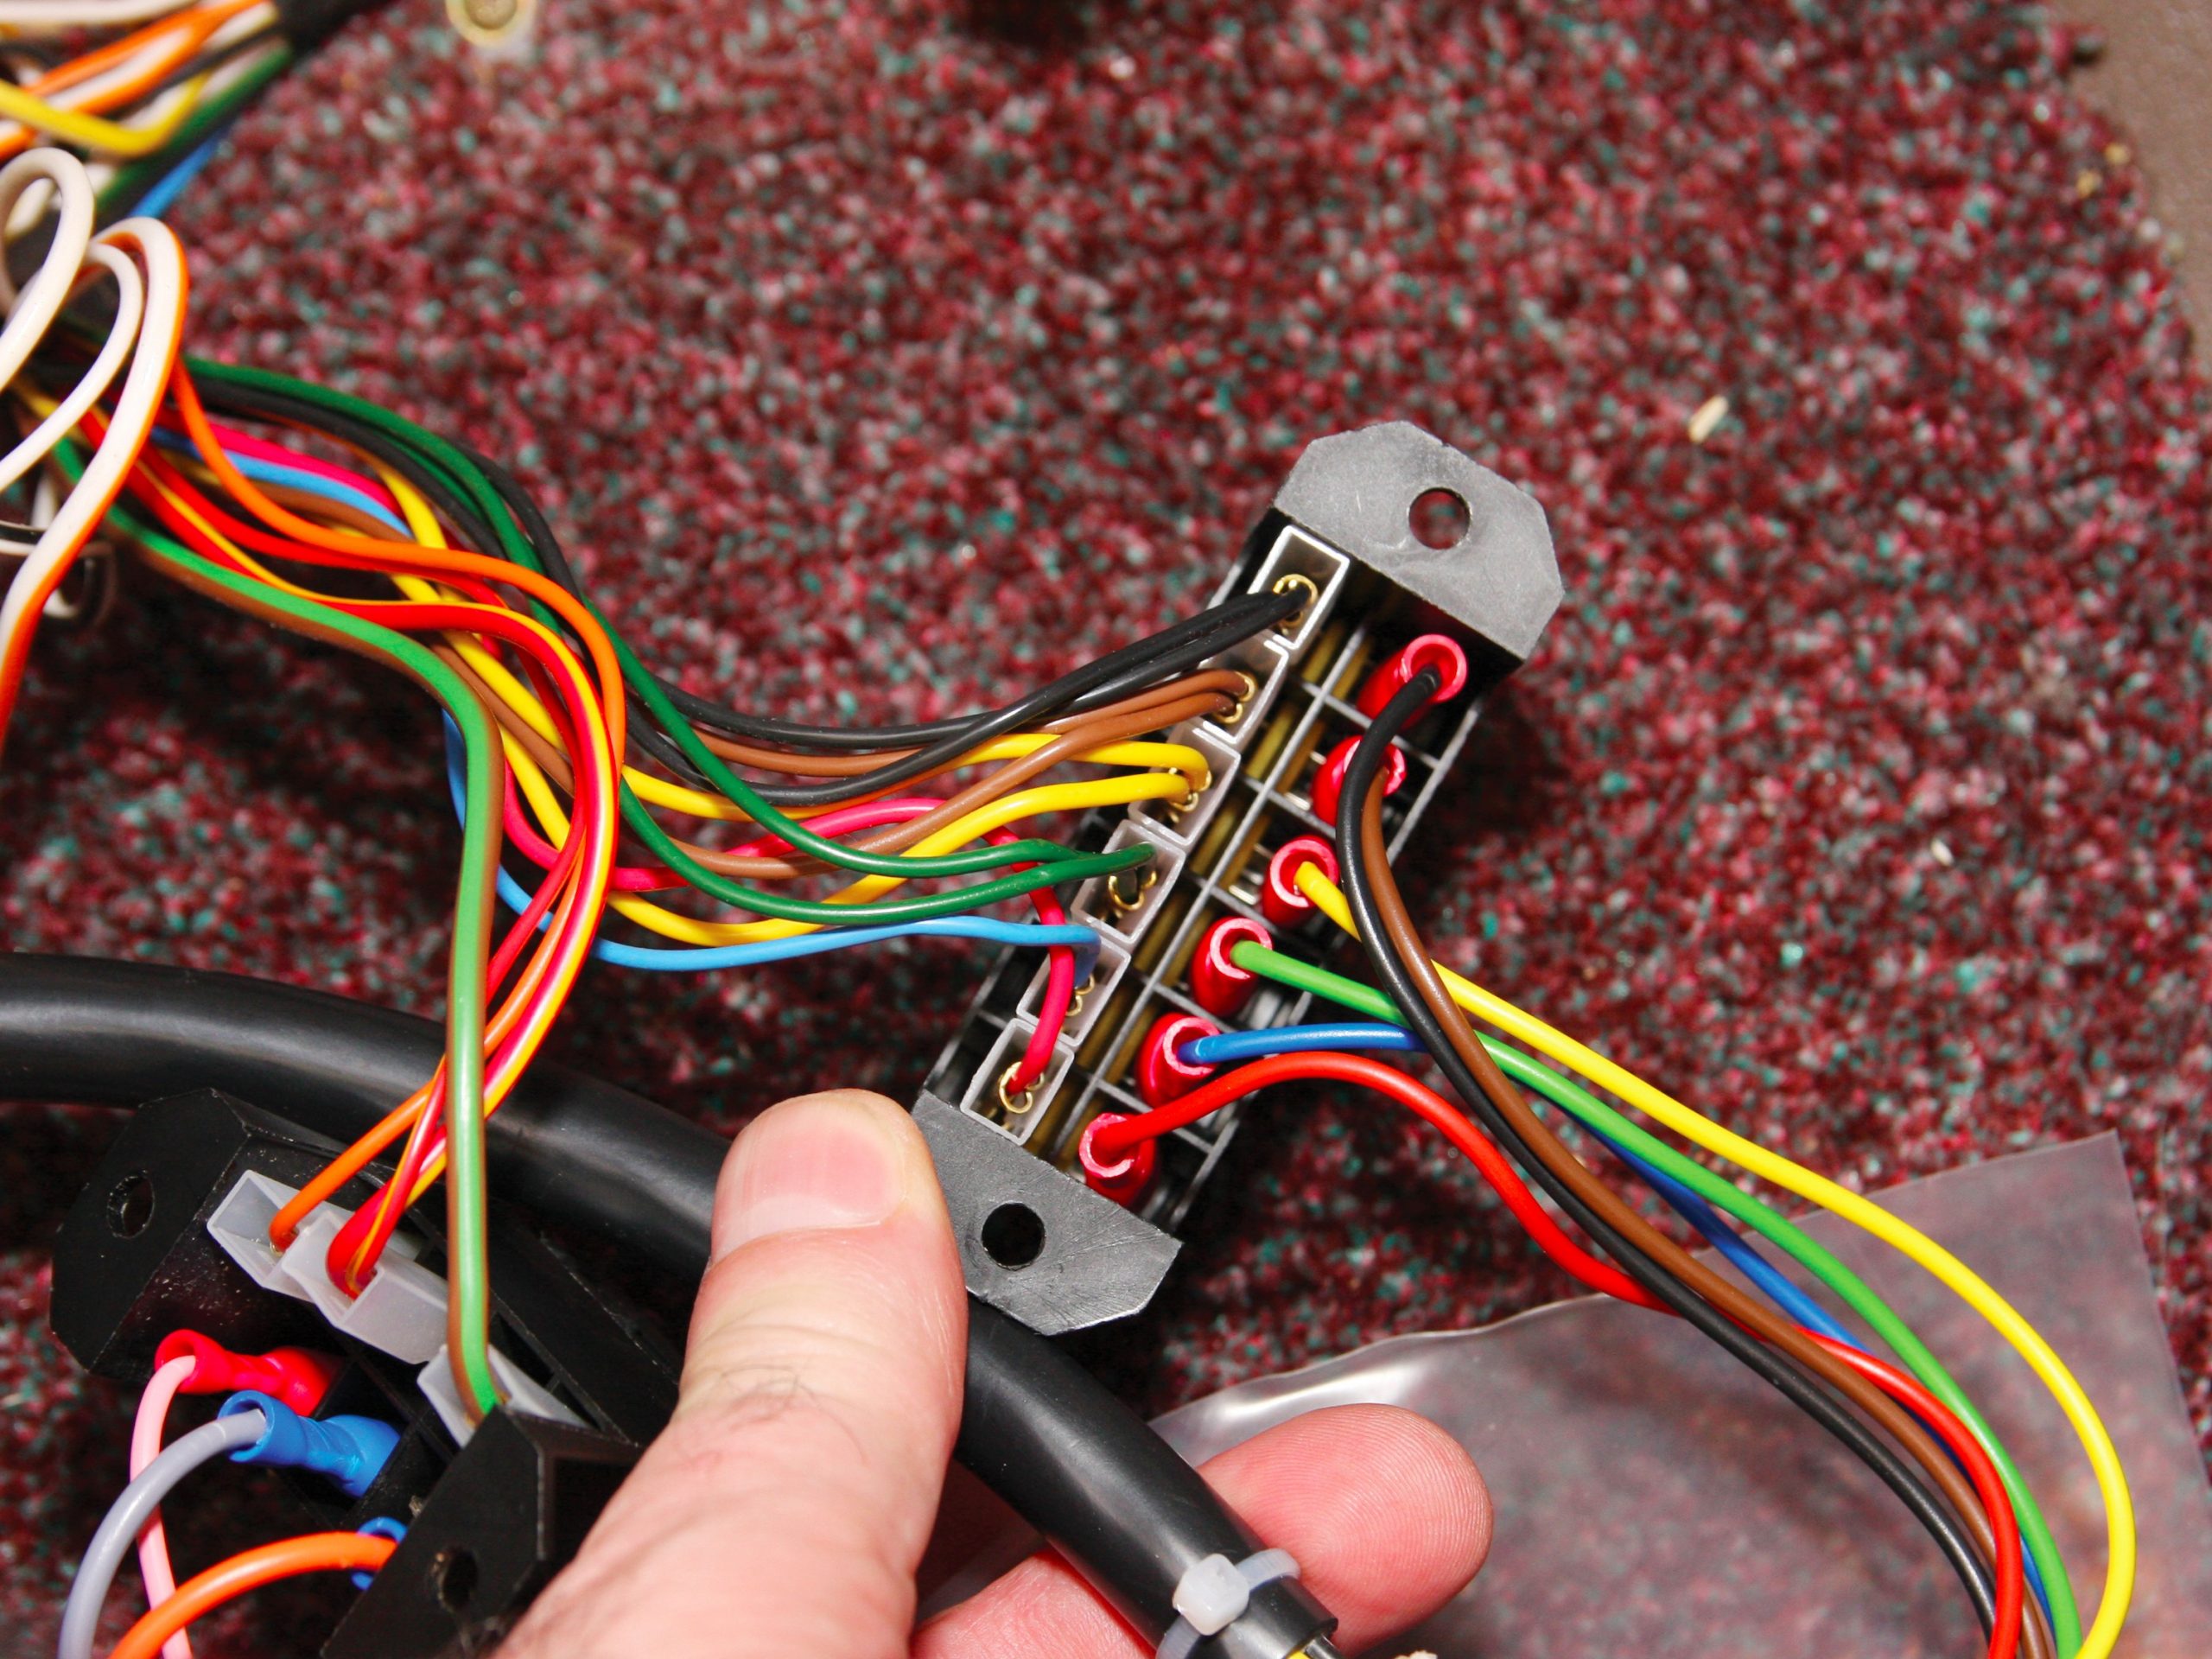
Looking at the rear of the fuse boxes, a note was made of which wire in the seven-core cables was matched to what colour wire on the caravan’s circuitry.
In our example, wiring for the road lights was very simple, and all the colours corresponded (blue-to-blue, brown-to-brown etc).
The auxiliary wiring was not quite so convenient, but was simple enough to follow.
The three earth cables didn’t pass through the fuse boxes (as expected), but a note was made of where each was connected, as was the fact that two of the new 13-core wires would need male connections for the earth (all the others were female).
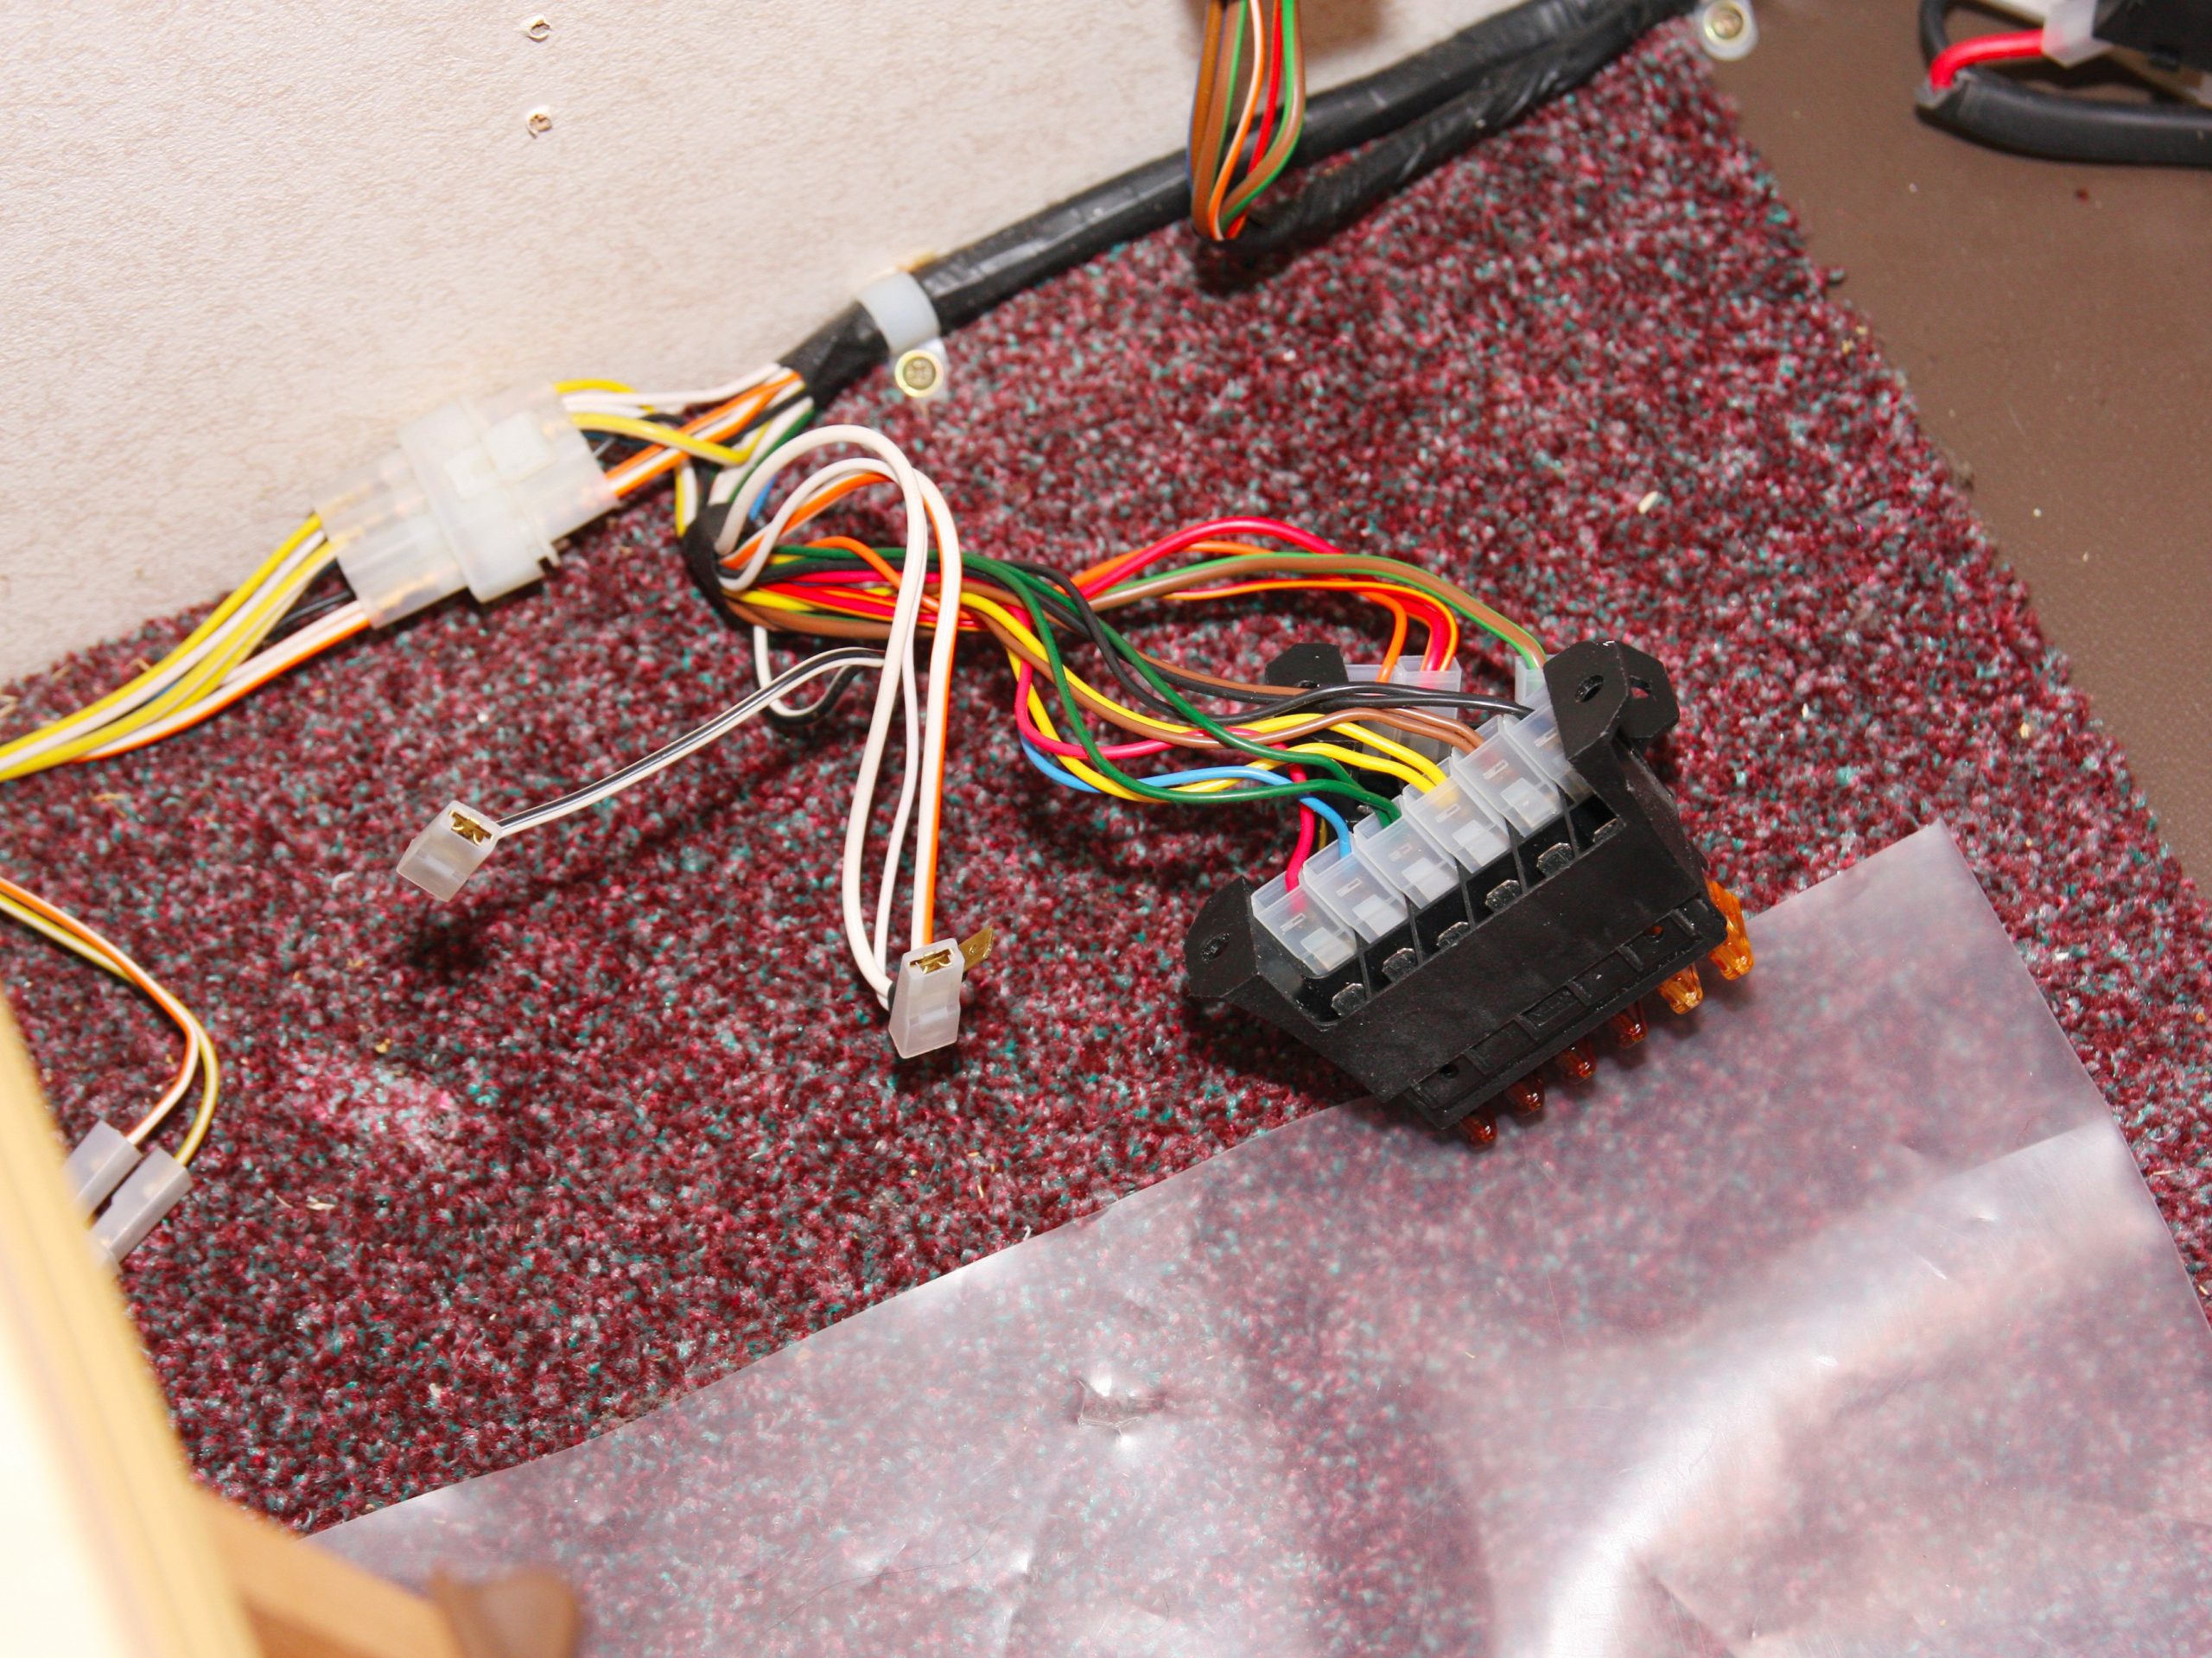
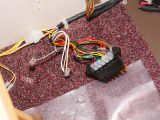
All the spade connections on each of the old seven-core cables were then disconnected, and the cable itself was pushed through the floor, because they were now redundant.
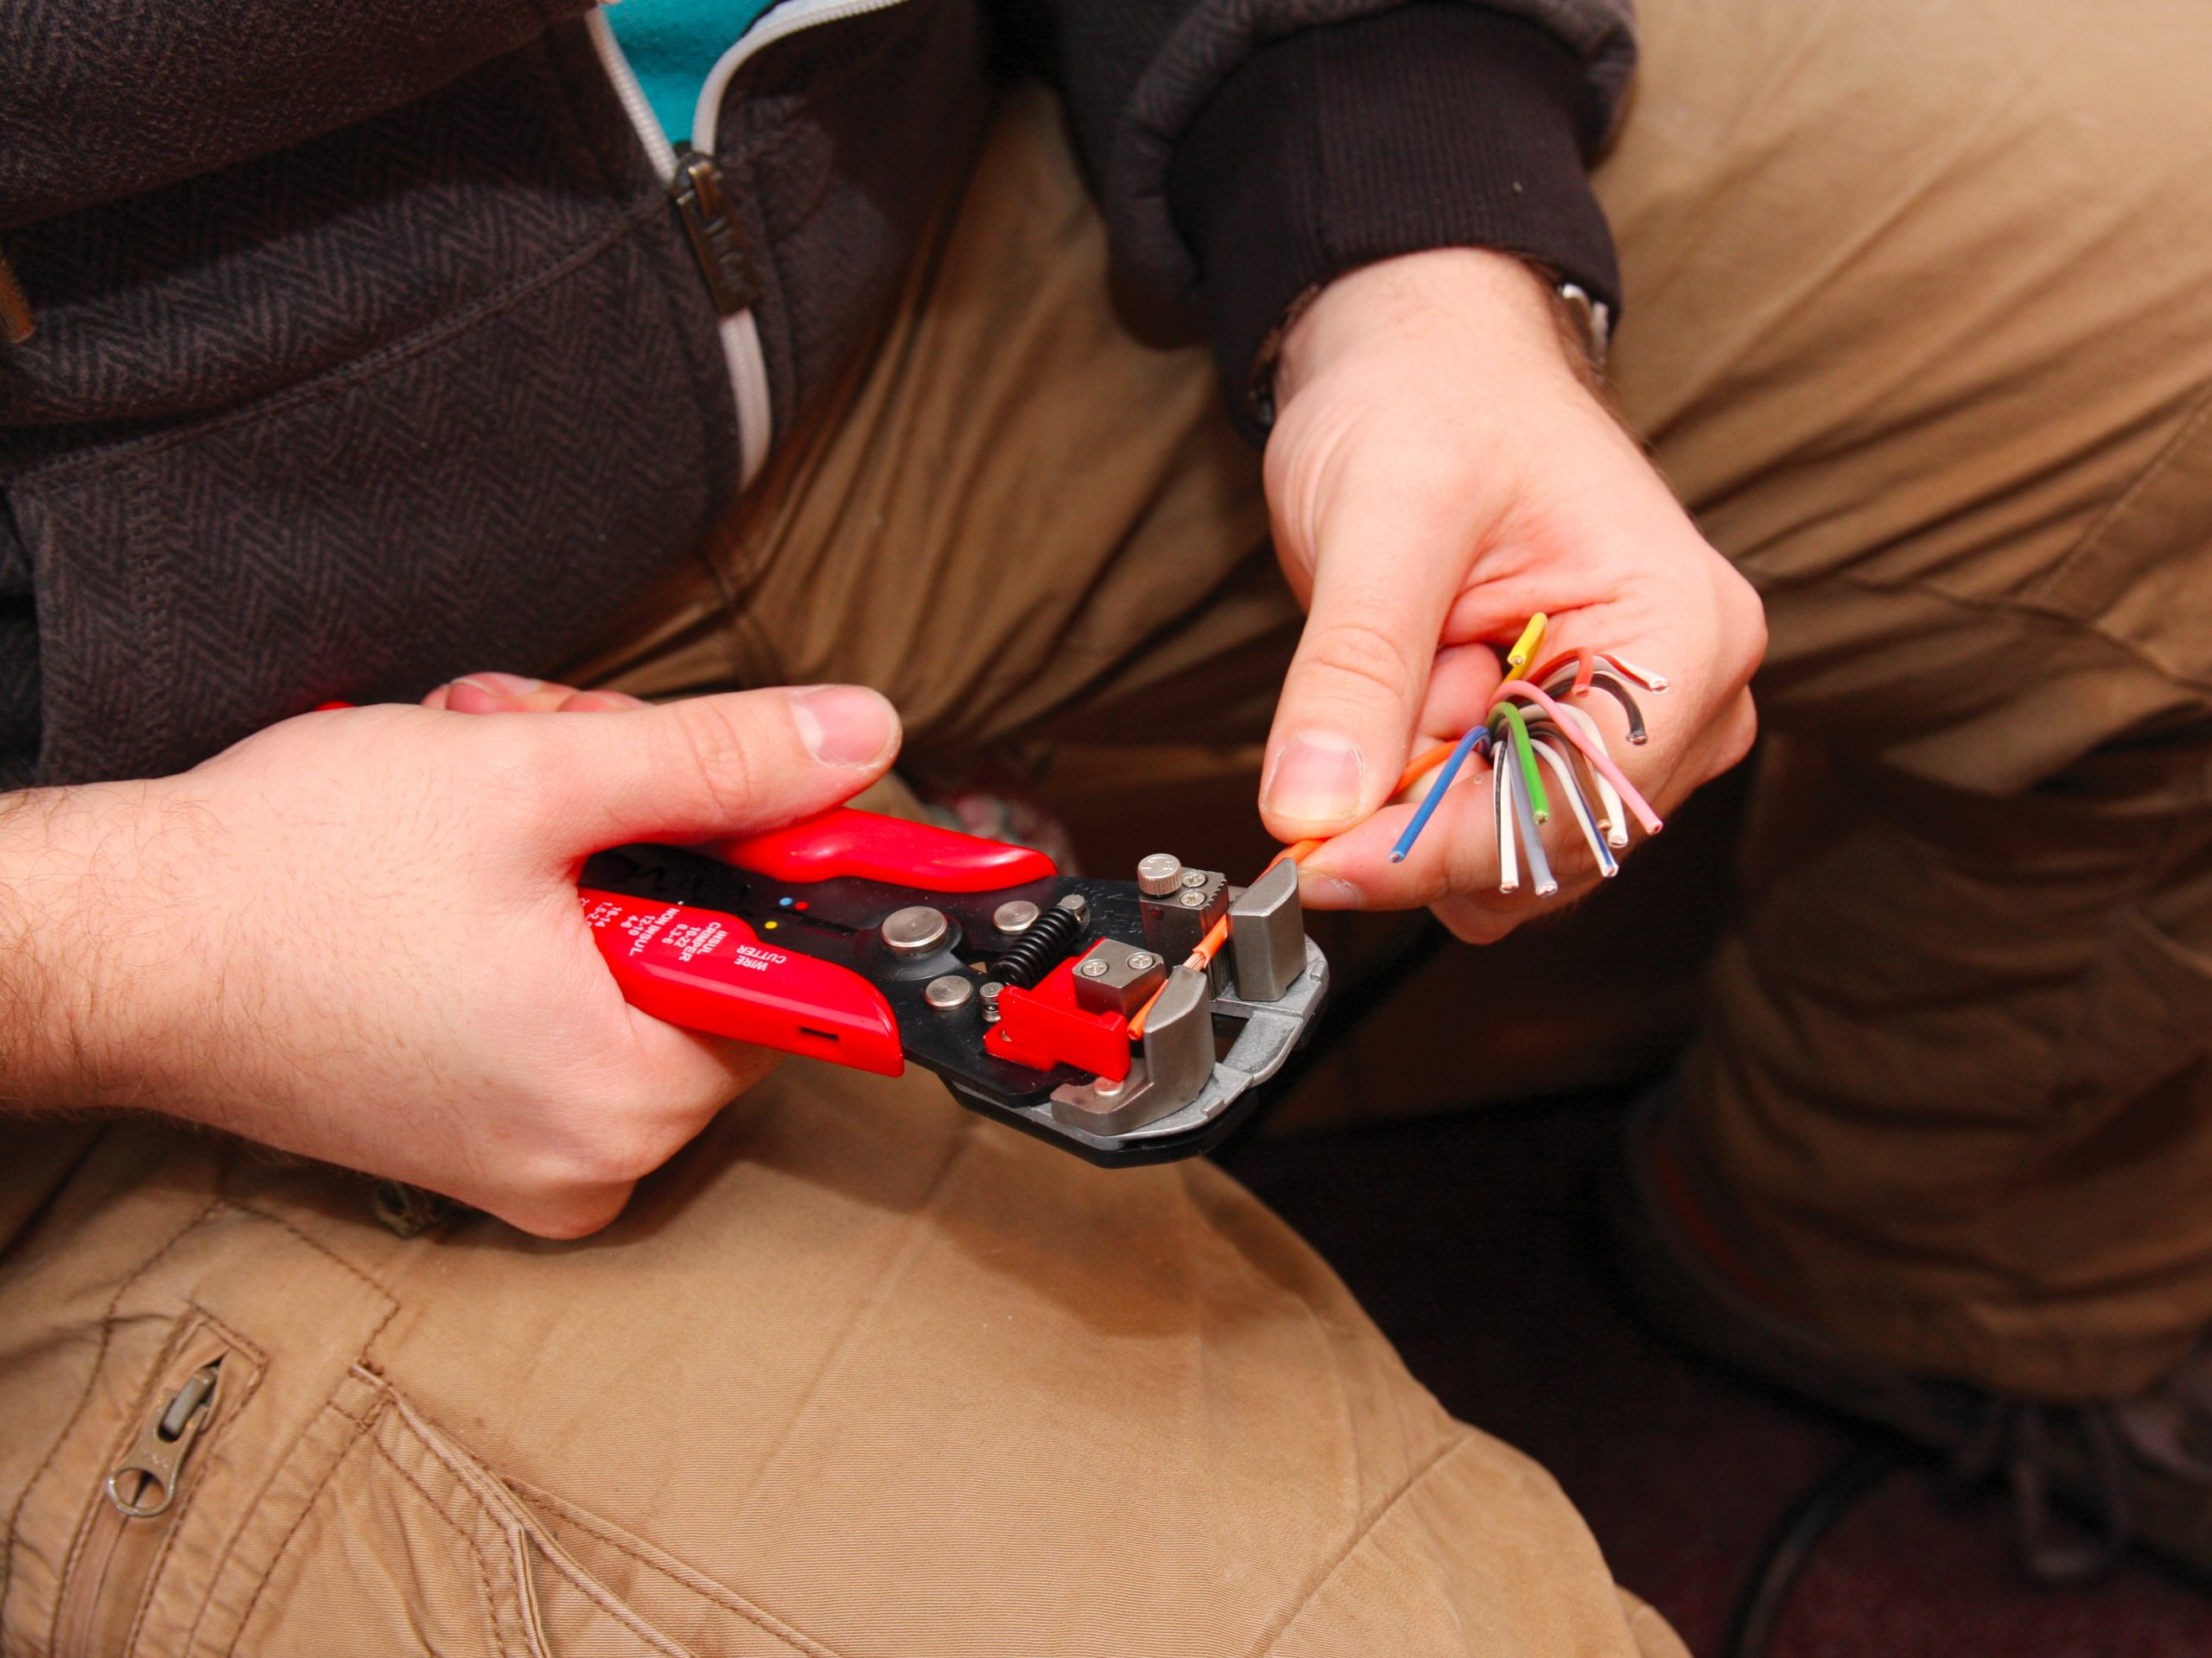
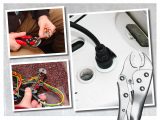
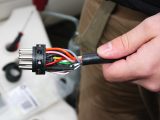
The 13-core cable’s outer sheathing was stripped back by about 20cm, taking care not to cut into any of the internal wires’ sheathing.
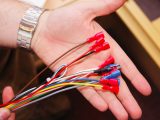
After stripping the coloured sheathing from all of the wires (except the redundant white/blue) by about 1cm, crimped spade terminals were attached to each of the wires.
What goes where?
- Red female to the yellow, blue, green, brown, red, black and pink 1.5mm wires
- Blue female to the orange, grey and white 2.5mm wires
- Blue male to the white/black and white/red 2.5mm wires
- Because the white/blue wire wasn’t used, it was looped and cable-tied to itself
All of the wires were then connected to their corresponding terminals in either the fuse boxes or earth points, and the other end of the 13-core cable was fed through the hole in the caravan’s floor.
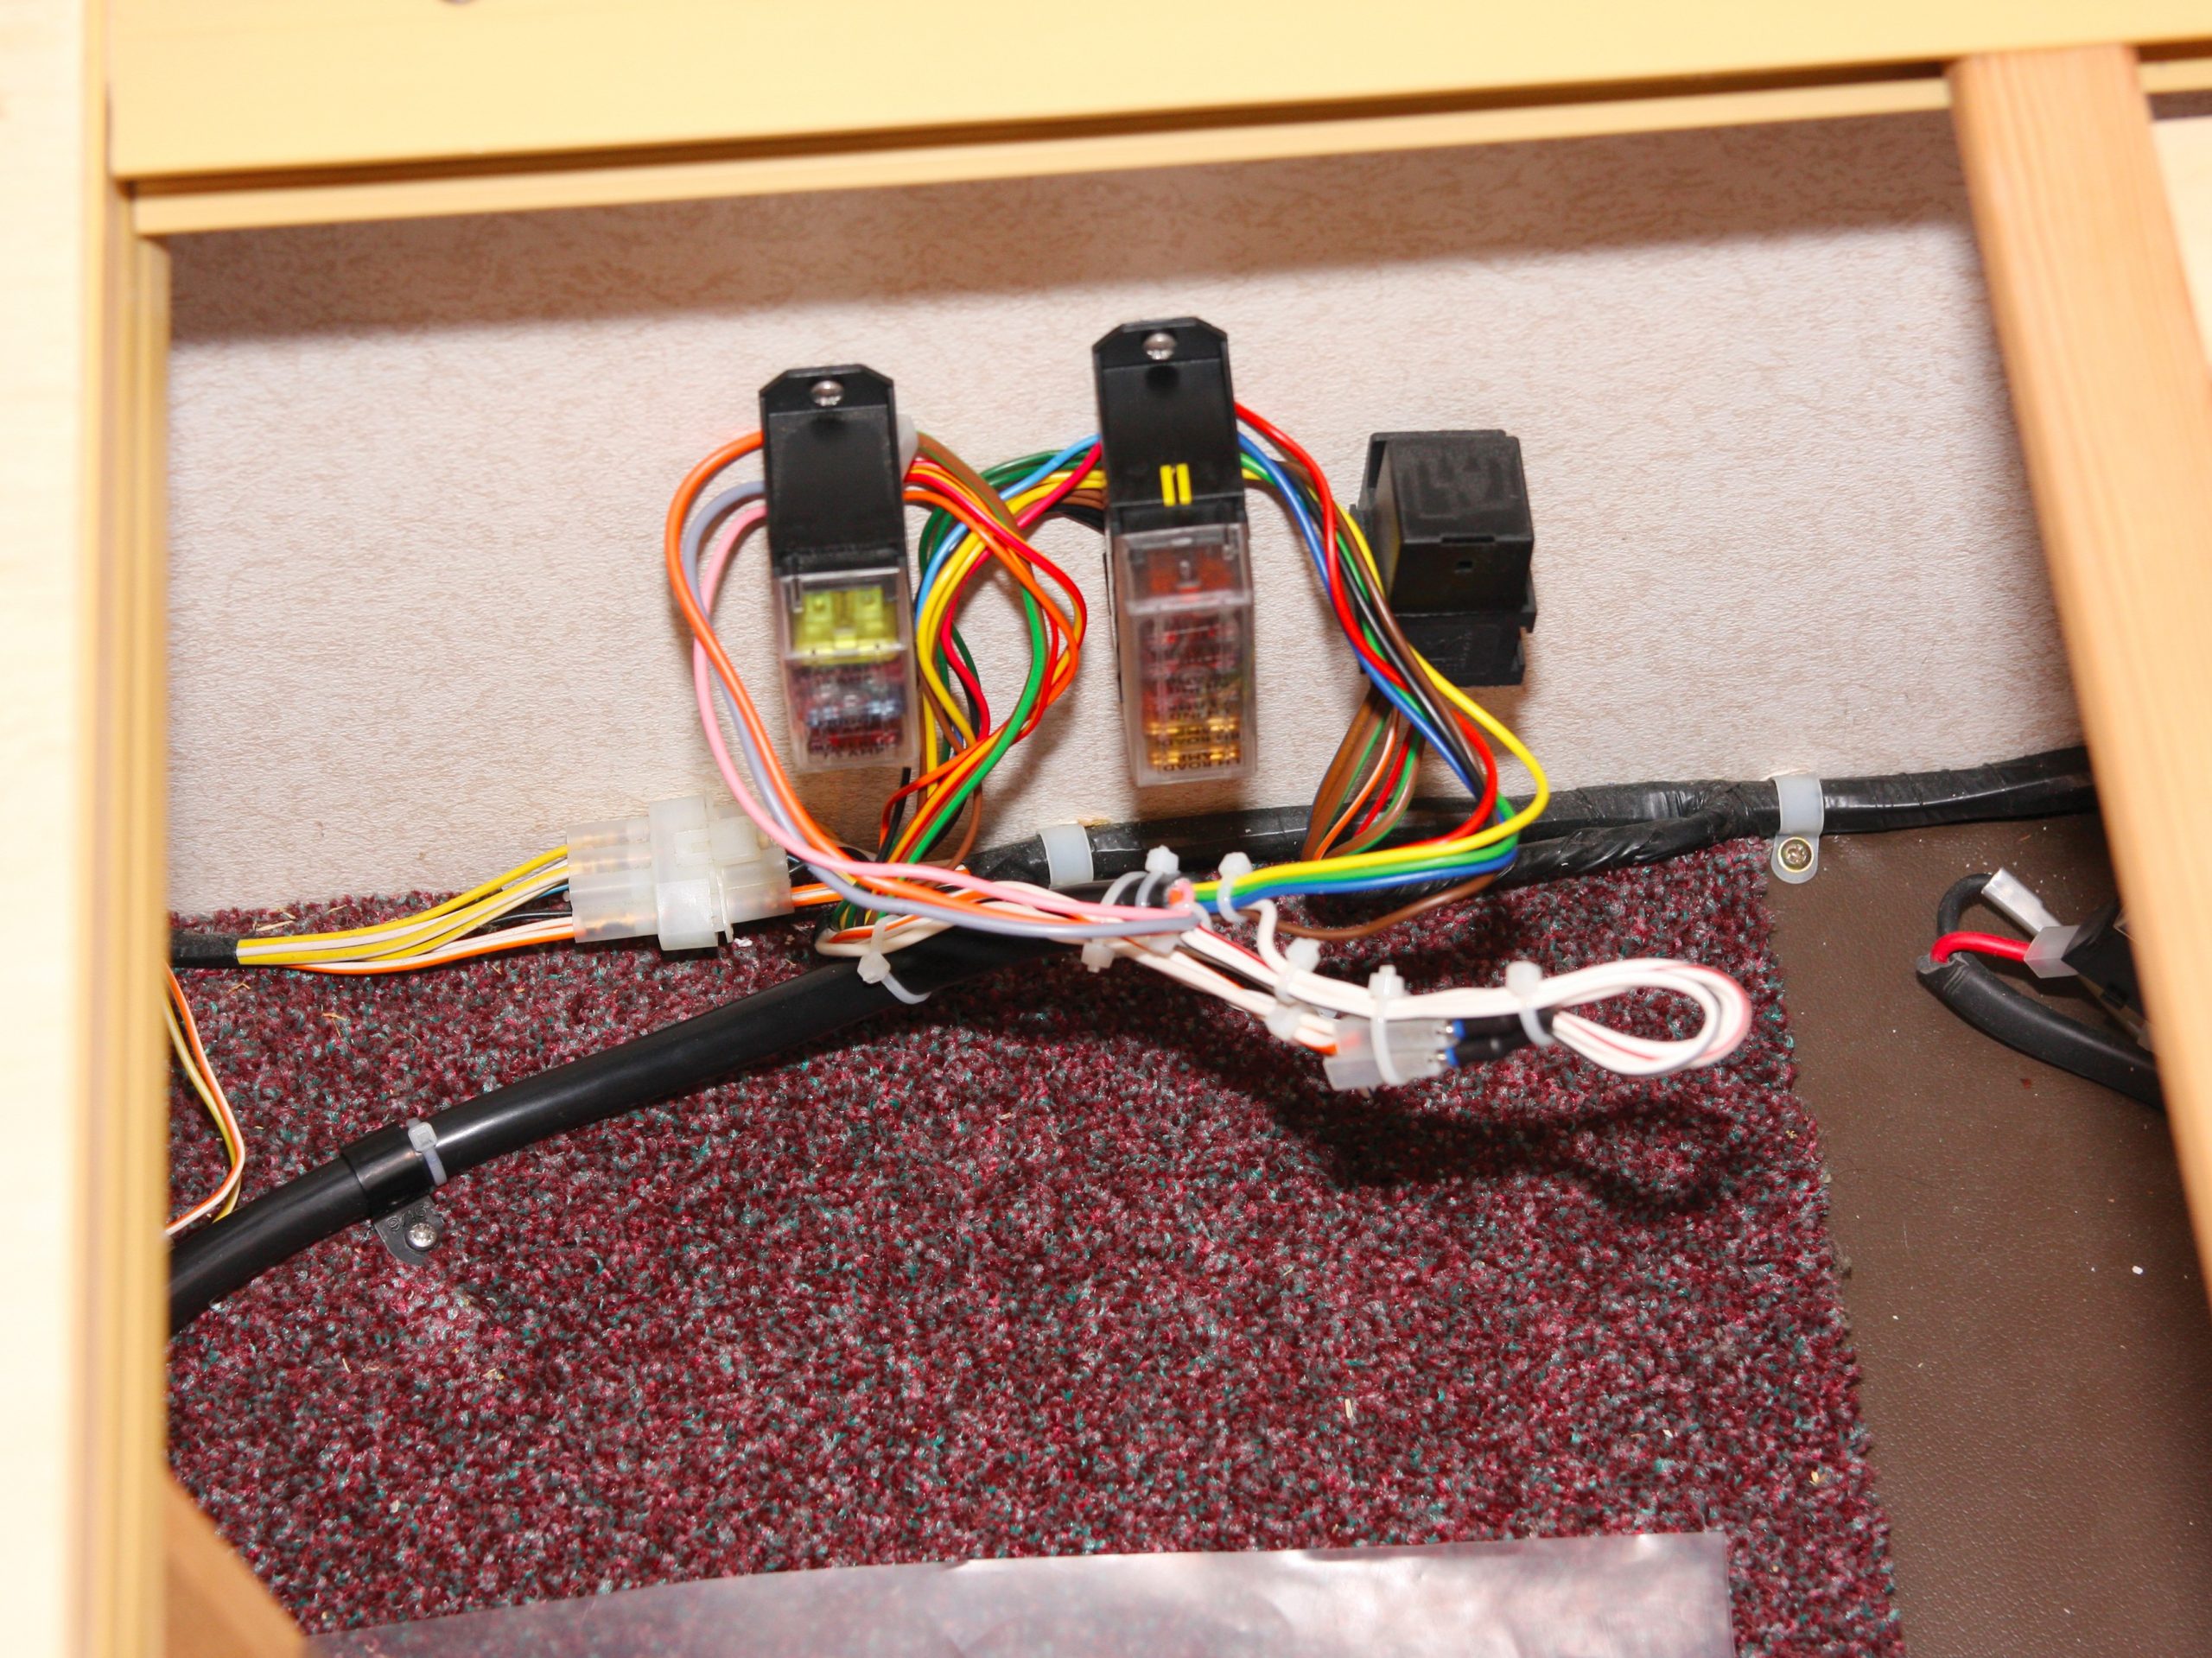
With all of the connections securely made, the fuse boxes were fixed back on to the caravan wall.
Rather than forcing all of the wires down one side of the fuse boxes, the wires from the new 13-core cable were fed around the outside.
This wasn’t perhaps quite as neat as the original, but there was less strain on the screws and caravan wall, and wasn’t unsightly because everything was hidden inside the bed box.
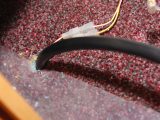
The cable was then secured to the caravan floor, and the hole through the floor was filled with sealant (as per the original).
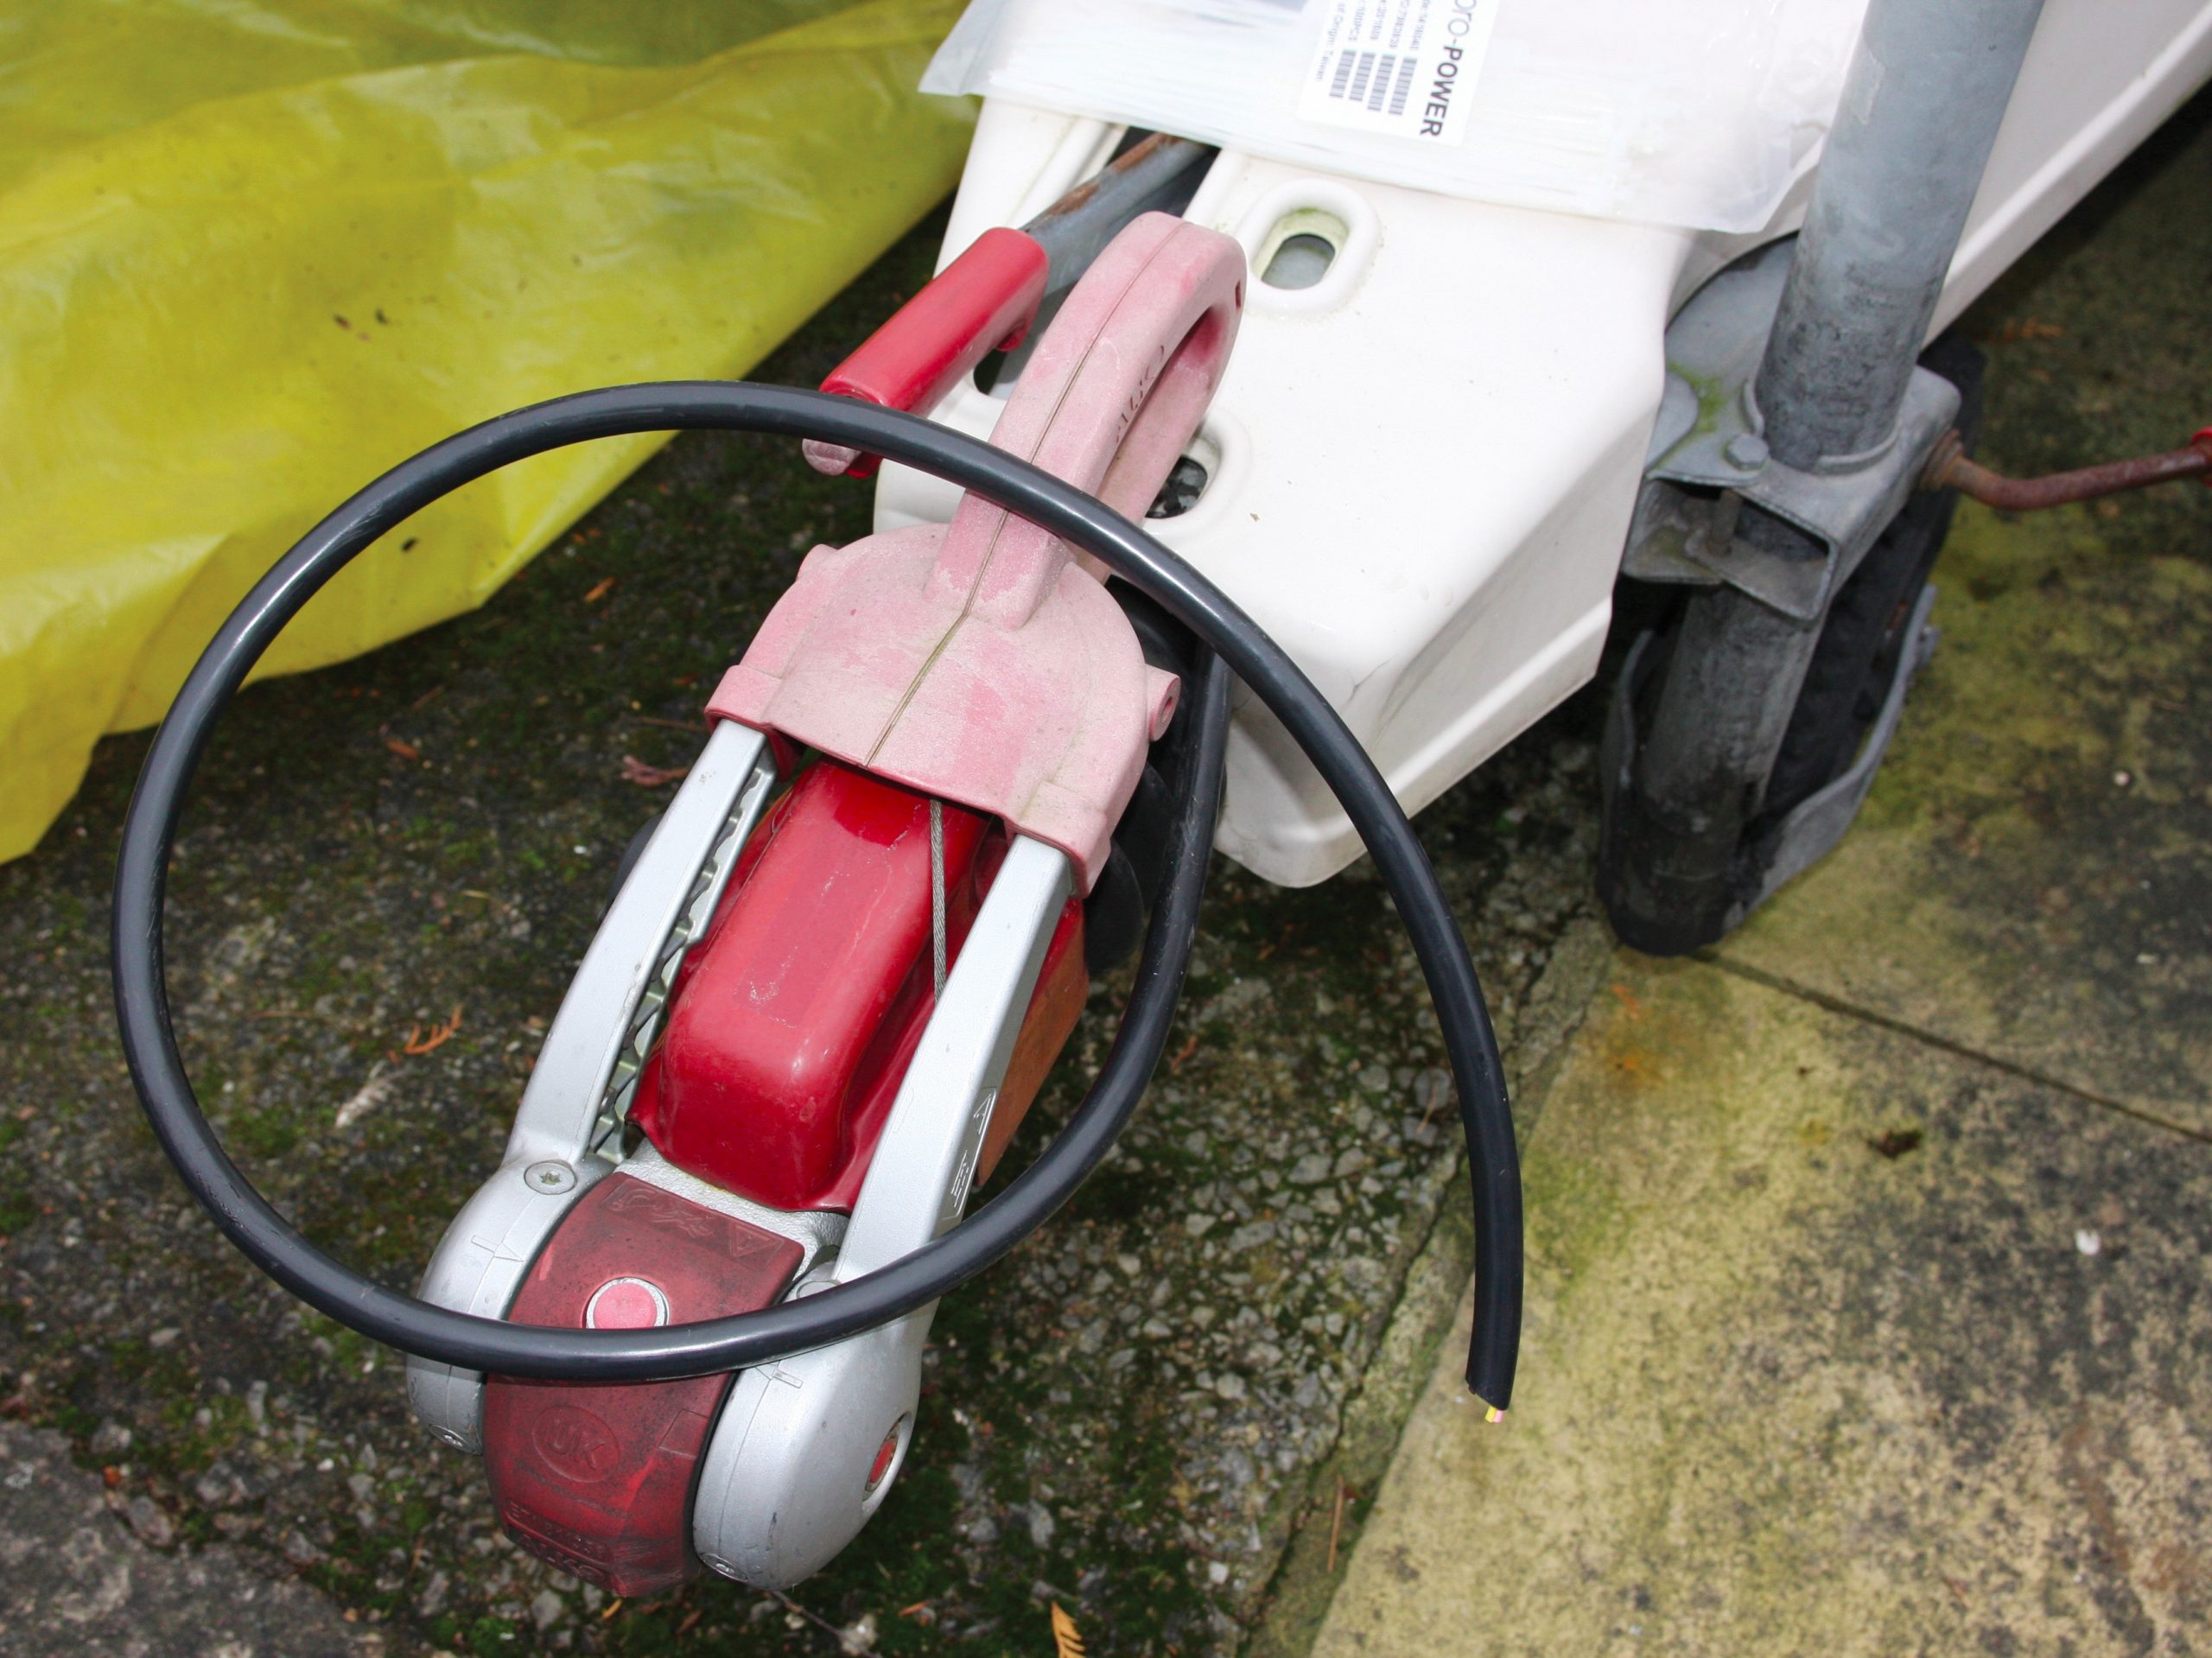
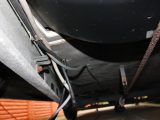
Next, working outside and underneath the caravan, the old seven-core cables were unclipped (the black cable was held to the chassis by metal clips and the grey by plastic cable-ties) and pulled out from the front of the A-frame fairing.
The 13-core cable was fed into the chassis clips and out through the fairing (following the route of the old cable), then secured by cable-ties.
It was then a case of wiring up the new 13-pin plug as follows:
- Pin 1 – Yellow – Left indicator
- Pin 2 – Blue – Rear foglights
- Pin 3 – White – Earth (pins 1-8)
- Pin 4 – Green – Right indicator
- Pin 5 – Brown – Right sidelight
- Pin 6 – Red – Brake lights
- Pin 7 – Black – Left sidelight/numberplate
- Pin 8 – Pink – Reverse lights
- Pin 9 – Orange – Power
- Pin 10 – Grey – Refrigerator
- Pin 11 – White/Black – Earth (pin 10)
- Pin 12 – White/Blue – No allocation
- Pin 13 – White/Red – Earth (pin 9)
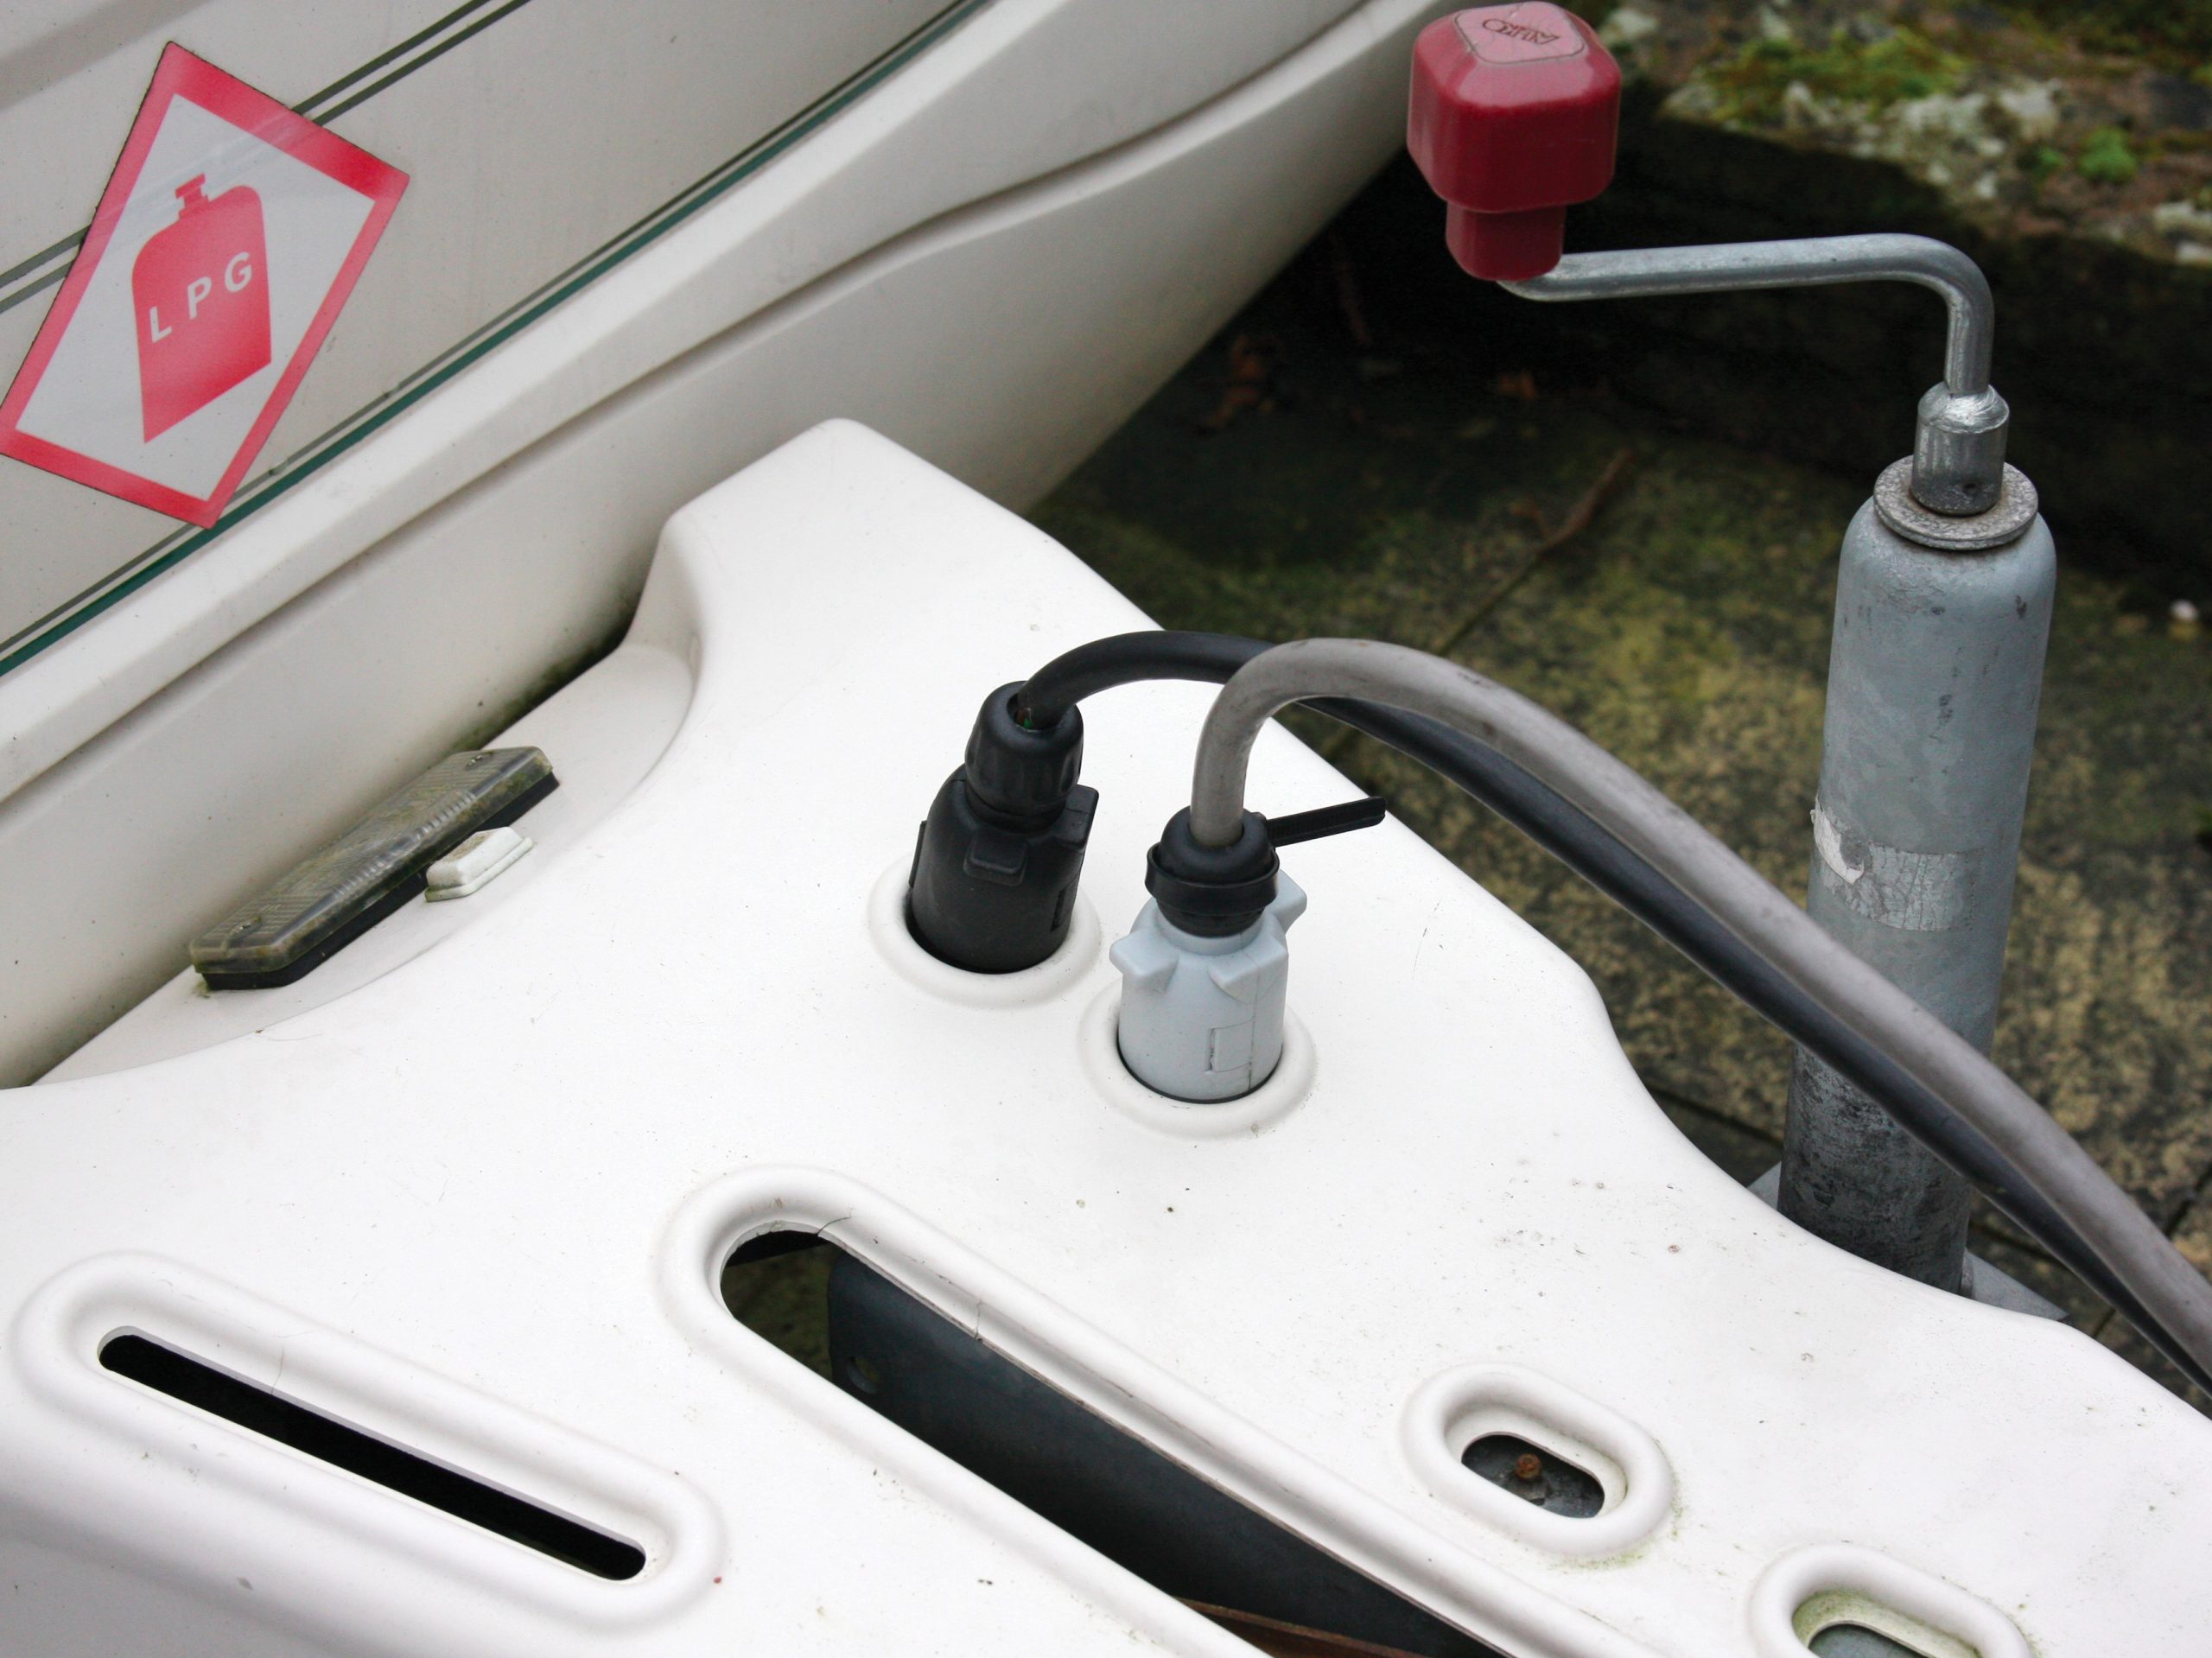
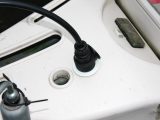
Finally, using a hole-cutter, one of the old moulded storage sockets on the A-frame fairing was cut out and the new one was fitted in its place.
With the caravan’s 12V battery connected, the last job was to connect it to the car and test that everything worked.
Fortunately, it did!
IMPORTANT! Ensure that any mains electricity connection is disconnected, and also disconnect the caravan’s 12V battery before starting work