


Want to understand more about your caravan chassis and axles? In simple terms, caravans are big white boxes built on a rolling steel chassis, consisting of a steel frame and axle(s).
This very practical design has been around for some 100 years and is a very straightforward, cost-effective solution to the conundrum of creating towable accommodation.
Over the years, chassis design has evolved to maximise safety, towing manners and longevity, and to reduce weight.
The chassis is a steel frame, stretching the length and width of the caravan, onto which the living accommodation is bolted and (sometimes) bonded.
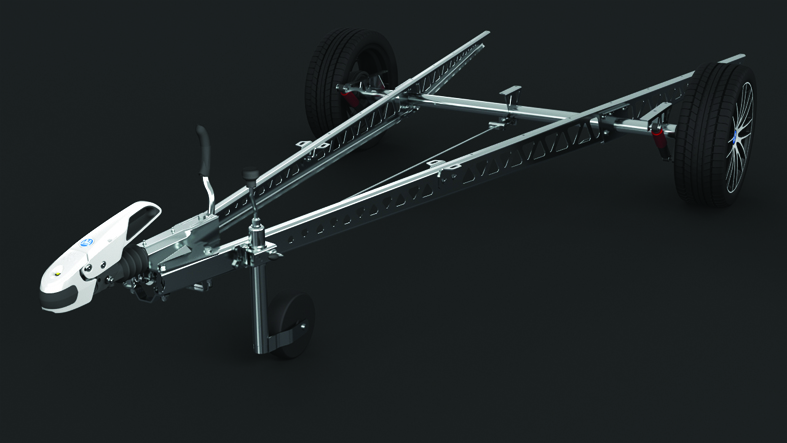
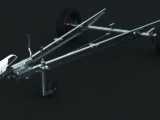
At the front end of the chassis is the hitch head, the A-shaped frame housing the handbrake, breakaway cable, jockey wheel and lowball, and connecting the caravan to the car.
Modern caravan chassis are galvanised to prevent or at least minimise corrosion. This involves the steel members being coated with a layer of corrision-resistant zinc. For caravans, a ‘hot-dipped’ process is employed, whereby the metal chassis members pass through a bath of molten zinc, heated to around 460°C. Once coated, the zinc reacts with oxygen in the air to form zinc oxide.
This reacts again with carbon dioxide to form zinc carbonate.
The final result is a fairly tough (in terms of dents and abrasions) protective coating that prevents the steel beneath from corroding.
It’s usually quite easy to tell if metal has been galvanised, as it develops a sort of scaly finish, known as ‘spangle’.
Chassis suppliers
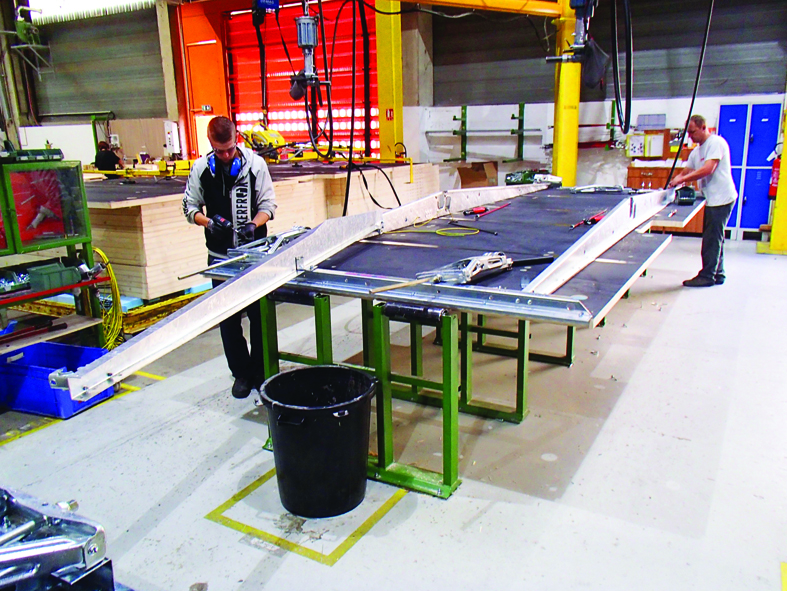
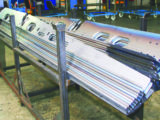
In the UK and Europe, modern chassis are bolted together like giant Meccano pieces.
In some countries, and on older caravans, they might be welded together, although this destroys the galvanised finish in the area of the weld, so they have to be recoated afterwards.
Remember, if your chassis required a welded repair for any reason, you’d need to reapply some form of protection, ideally a paint-on zinc finish.
There are two main chassis manufacturers supplying UK caravan-makers, both based in Germany. The biggest is Al-Ko, but a firm called BPW also makes these components. Some major manufacturers, such as the Trigano Group in France (maker of Caravelair, Sterckeman and Silver vans), produce their own chassis.
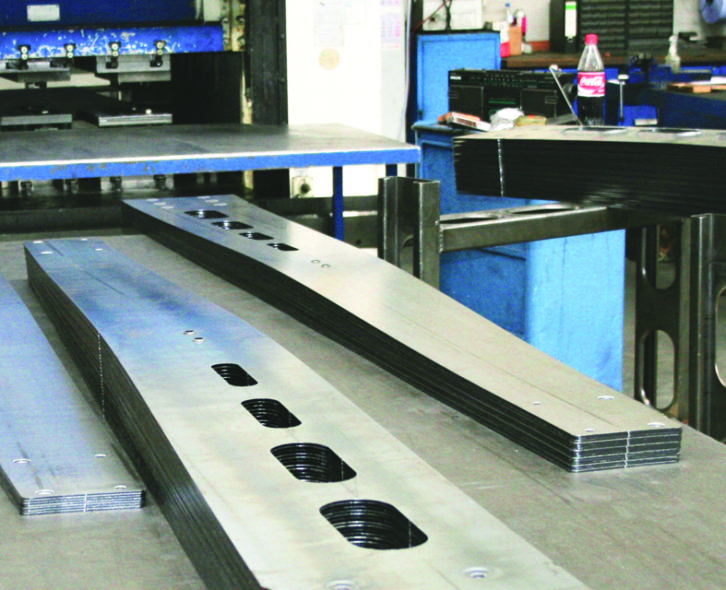
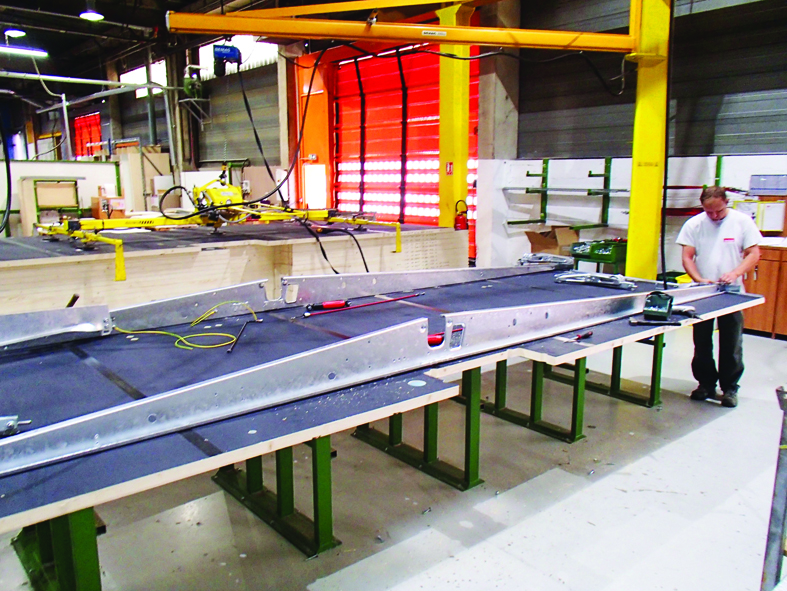
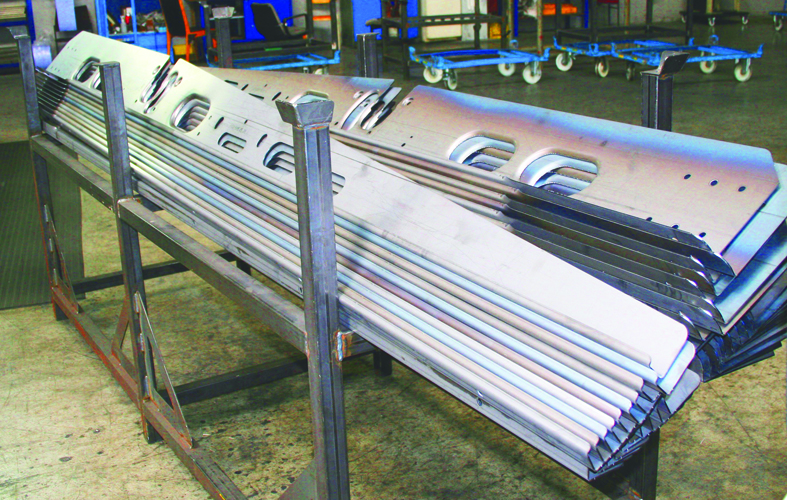
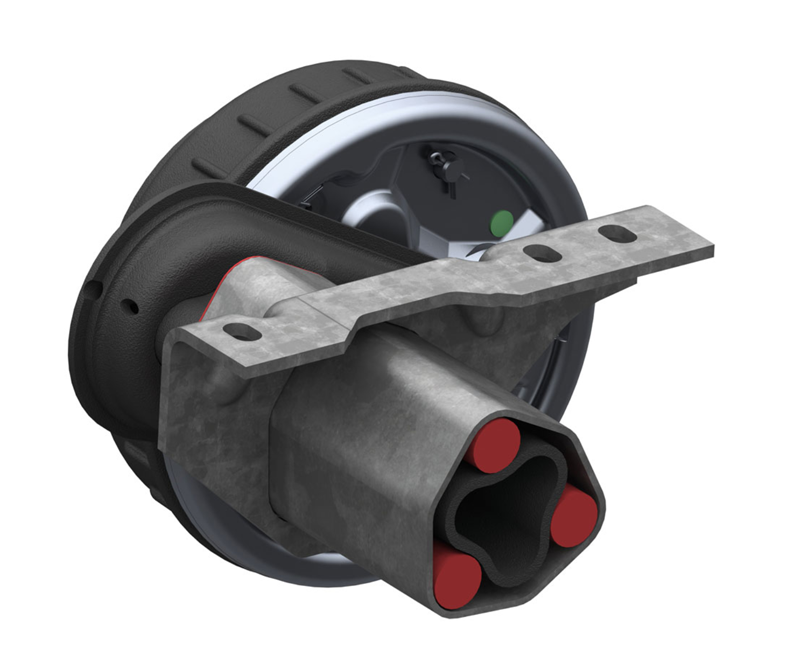
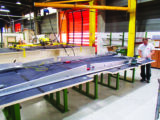
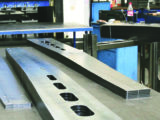
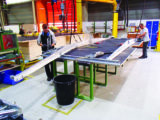
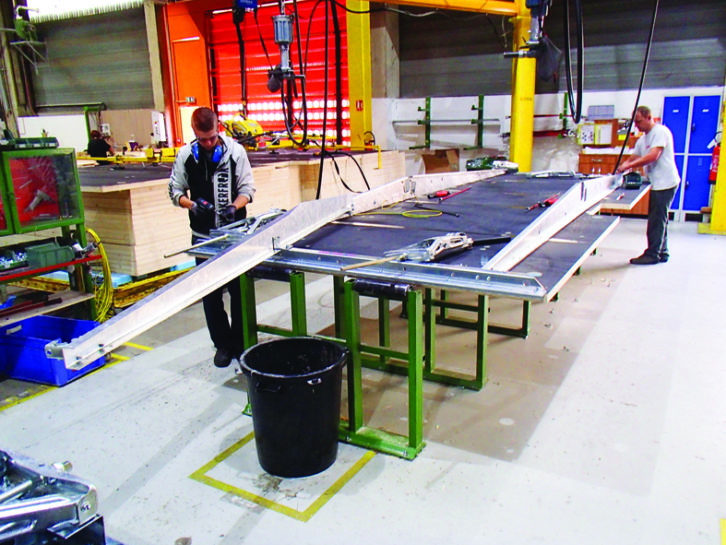
These companies take sheets of mild steel, cut out templated shapes, then press them to form the chassis members.
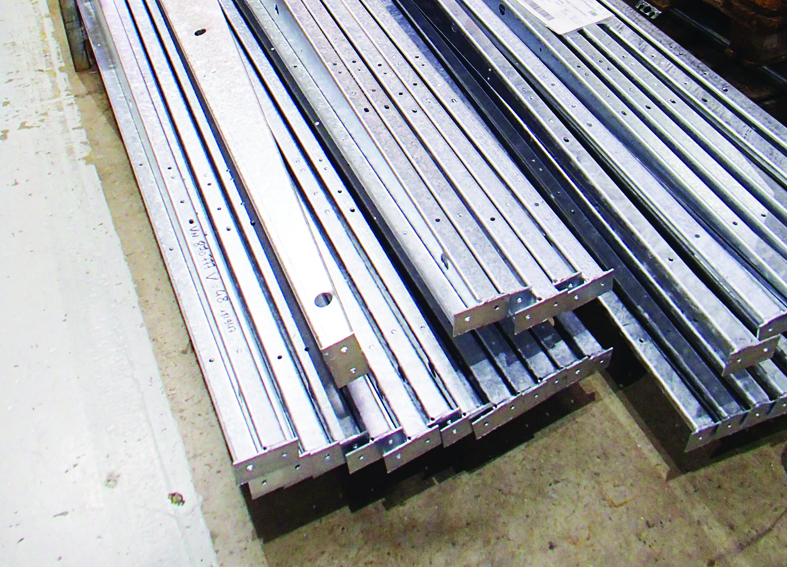
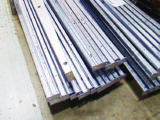
The typical chassis is not tubular, but a C-shaped profile, with all of the edges slightly curled over for added rigidity, to minimise flex.
In an effort to achieve lower caravan weights, apertures are cut into the chassis members and large sections of steel are removed. The edges of these holes are also folded slightly all around their perimeter, again for increased rigidity.
In the US and Australia, where vehicle weight is less of a concern and touring tends to be a bit more ‘extreme’, chassis members are often rectangular in profile and much stronger (and heavier) than their European counterparts.
On a typical caravan chassis, two side members extend back from the A-frame/hitchhead out to the axle, creating a rigid triangular shape that resists twisting. On some caravans, especially twin-axles, these members reach the edge of the van and straighten up before they get to the first axle. Sometimes, side rails or outriggers are added, to support the floor.
The sections of chassis bolt together and are designed in a modular way, so that the same fittings can be used for a wide range of caravans, thus cutting production costs.
Chassis numbers
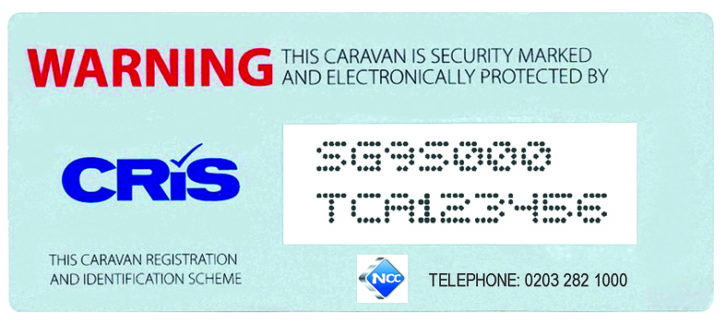
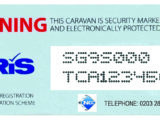
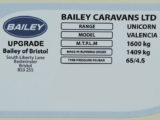
In 1992, the CRiS security system was implemented, whereby every van is given a 17-digit chassis/vehicle identification number (VIN) during manufacture.
This number is usually imprinted on the side of the A-frame and etched onto most of the caravan’s windows, thus making it an expensive job to remove them.
Since 2016, VIN Chip stickers have been applied by all of the major UK manufacturers. You’ll find them on the caravan’s front window and in a front locker.
These numbers should match the one on the chassis. If you are looking to buy a caravan and you are offered one that has damaged or non-matching CRiS markings, walk away.
Caravan suspension
Caravan suspension systems are pretty rudimentary set-ups compared with what we’re used to in modern cars.
They carry out the same job, though, cushioning the body of the caravan from the worst bumps and impacts the road surface (or campsite) might have to offer.
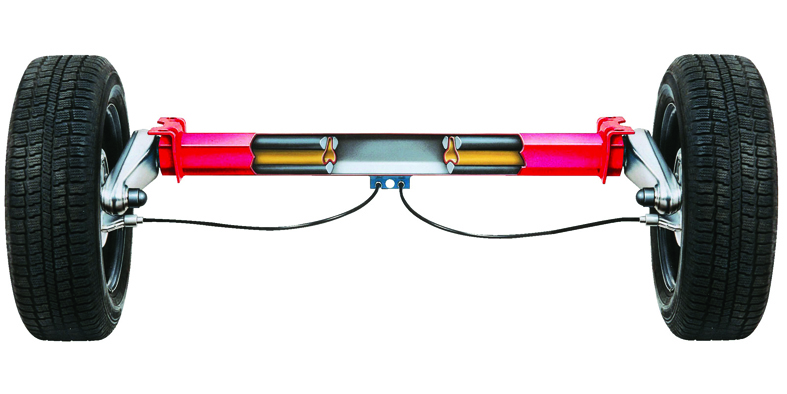
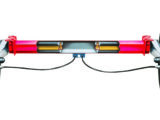
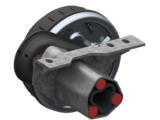
The basic rubber torsion suspension system features an axle tube, which stretches right across the caravan and is bolted to the chassis.
The wheel is attached to a shaped bar, which slides inside the axle tube and is held in the centre by strips of rubber. These strips absorb the impact of any bumps, as the wheel moves up and down on its swing-arm, causing the bar to twist within the axle tube.
This system is simple, cheap, and totally maintenance-free, and it allows each wheel to act independently.
Rubber is also the perfect material for this task, because the more it is twisted, the more resistance it offers.
To prevent any uncontrolled bouncing or rebound, many caravans will have dampers/shock absorbers fitted between the shin-arm and the chassis.
A more advanced Al-Ko suspension system, called the Delta semi-trailing arm axle, is designed to act against centrifugal force, improving both ride and cornering, and therefore safety.
Axles
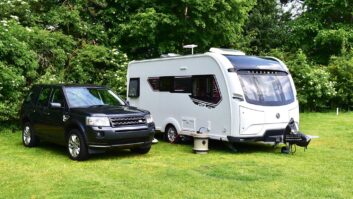
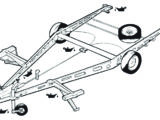
Caravans come in single- or twin-axle configurations, with two or four wheels, respectively. Larger caravans require twin axles, and many people think that this layout provides more secure and confidence-inspiring towing manners. Single-axles are lighter and nimbler.
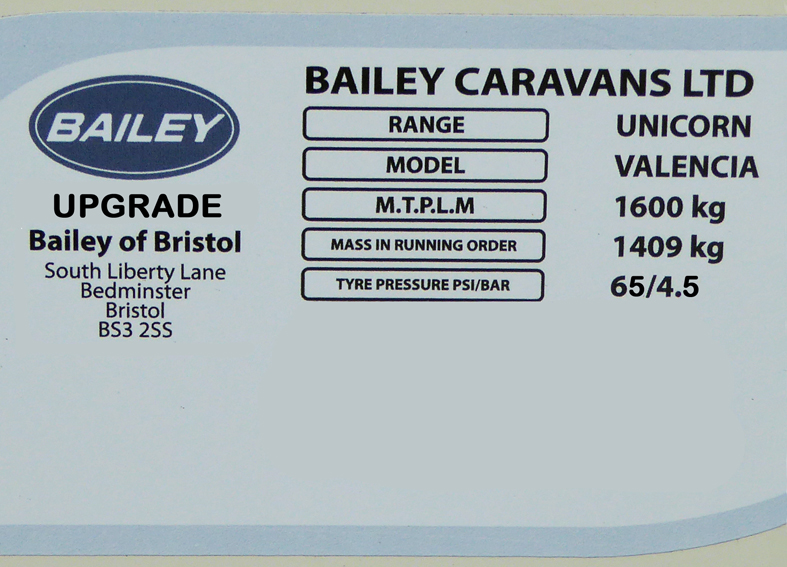
Weight plate upgrades
Caravan manufacturers often specify an axle for a caravan that is more highly rated than is actually required.
For example, a caravan with an MTPLM of 1500kg might have an axle fitted that can take up to 1540kg, because this means a greater range of tow cars will be able to pull it.
It also means that the owner can request an administration upgrade to their weight plate, giving them more payload, without having to modify the caravan itself.
This can be requested when you purchase a caravan (and might not be charged for at that stage). Afterwards, an administration fee of up to £100 could be incurred.
Typically, this would be done through the supplying dealership, but upgrades for Bailey caravans can be requested directly from its subsidiary, Prima Leisure.
Any new weight plate must be accompanied by relevant documentation, including an NCC certificate confirming the upgraded MTPLM, and a manufacturer’s letter that corroborates the upgrade and the associated VIN.
Remember, when you upgrade your MTPLM and carry greater payloads, you might also need to increase your tourer’s tyre pressure. Your dealership will advise about this.
Axle upgrades
Caravan axles can be physically upgraded with stronger rubber inserts, allowing more weight to be carried. This procedure requires specialist knowledge and equipment, and the axle will have to be returned to the manufacturer.
Speak to your dealership for further details, but bear in mind that your caravan might be off the road and on axle stands for up to a month.
Caravan brakes and bearings
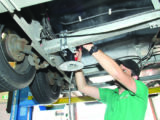
The caravan’s wheels and drum brakes are fitted to its stub axles. Drum brakes feature brake shoes. These are sealed inside the drum (as the name suggests) and pushed outwards, against the inside surface of the brake drum, when the brakes are applied.
The drum brakes should be checked and cleaned annually, and new shoes fitted when the friction material wears low. This is definitely a job for your AWS-approved service centre.
Likewise, wheel bearings should be checked each year to assess the amount of ‘play’. These sit between the wheel and the stub axle.
The large centre nut that holds the brake drum and the wheel in place is single-use only and should be replaced every time it is removed. It should be tightened to the manufacturer’s recommended specification when fitted.
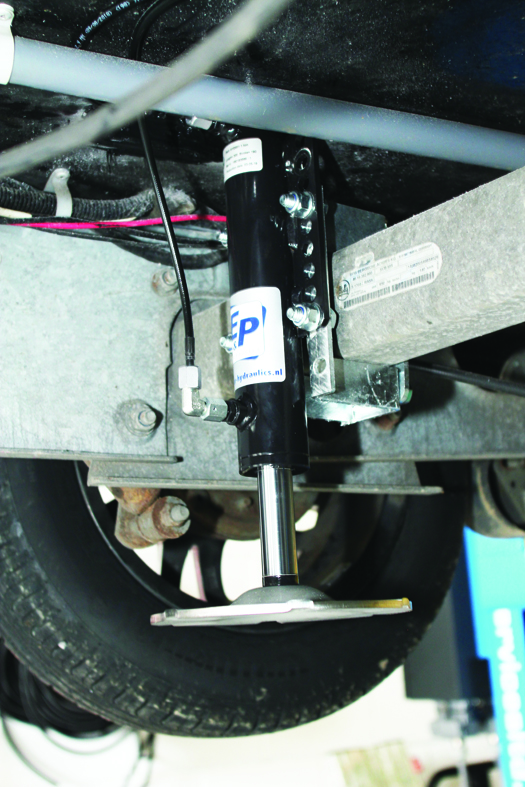
Chassis-mounted accessories
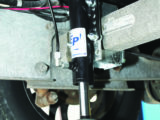
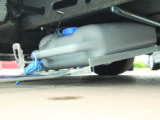
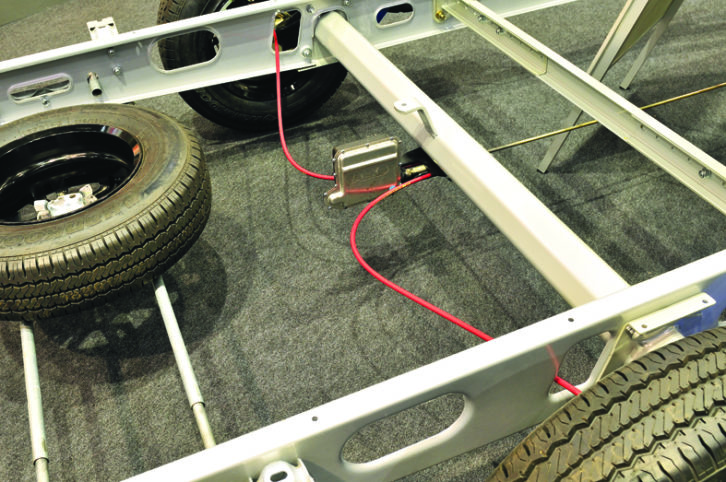
There are various accessories and appliances that can be mounted on the chassis underneath the caravan.
These might include, for example, anti-snake systems, motor movers, automatic levelling systems to help with levelling a caravan, water and waste tanks, and heater units.
Maintaining your chassis and axles
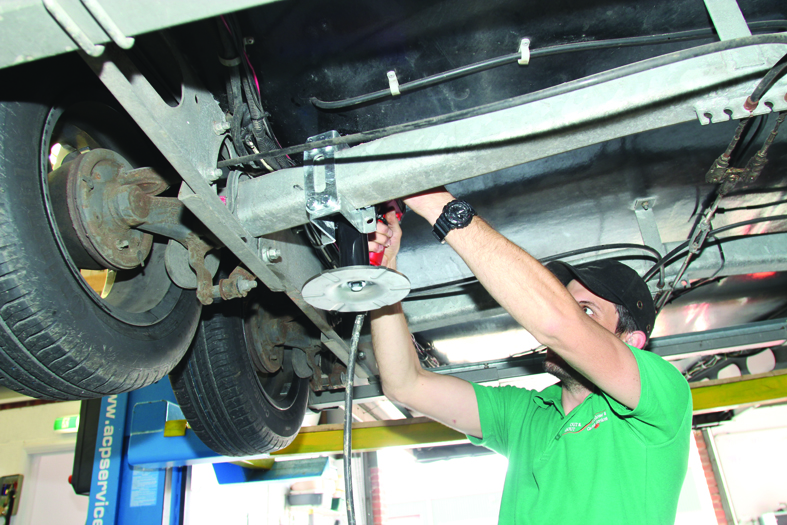
Both the chassis and the axle(s) of your caravan are relatively maintenance-free, bar the equipment on the A-frame.
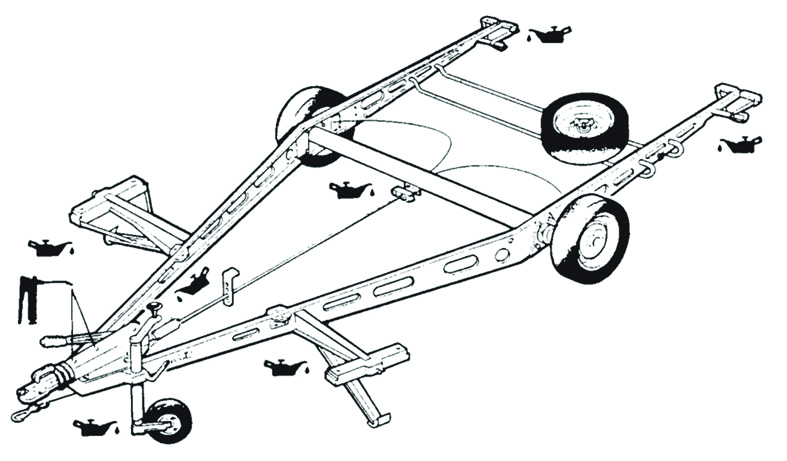
Apart from checking your chassis and axle(s) for any corrosion, and cleaning them if necessary, the only thing that you can really carry out yourself in the chassis department is lubrication.

The diagram (above) indicates where you will need to oil and grease the various moving parts on the chassis, including the corner steadies, brake mechanisms, the jockey wheel and the spare wheel holder mechanism.
Top Tips for Chassis Care
1. Never jack up a caravan by placing the jack under a chassis member, because they are not designed to withstand this kind of localised stress, and they will bend. Always position a jack under the caravan’s axle, which is much stronger and more rigid.
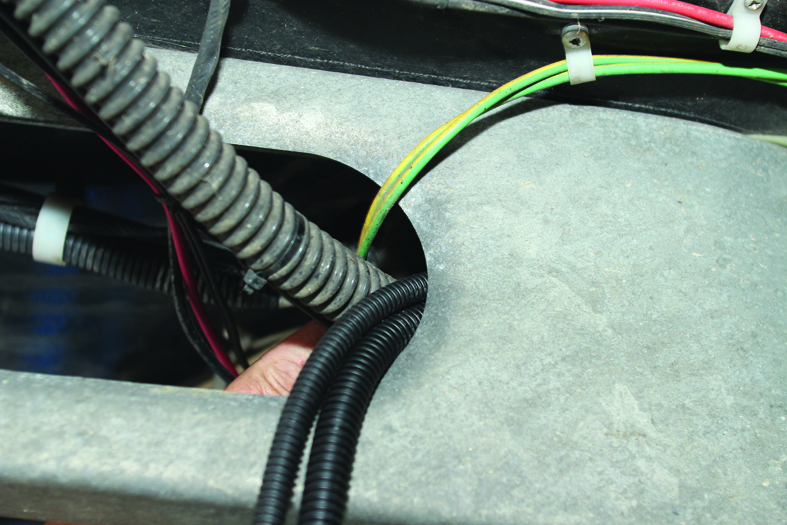
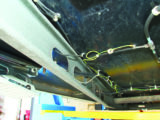
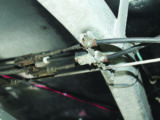
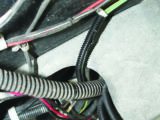
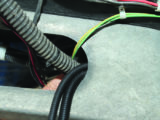
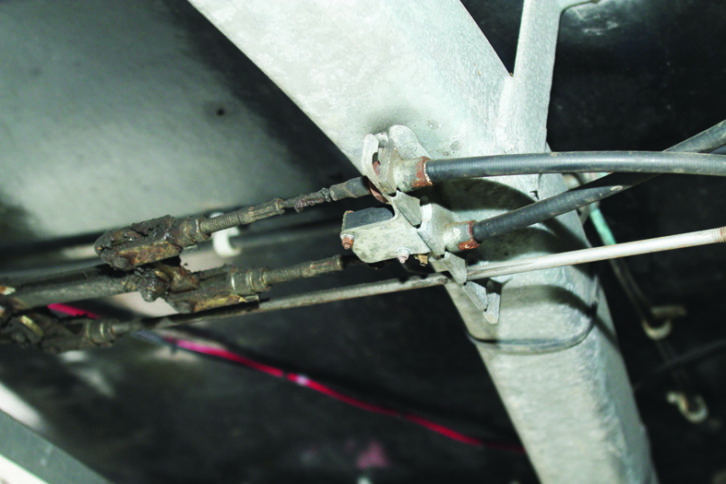
2. Numerous unsightly cables and pipes run under the caravan to feed its facilities. Often, these will pass through the apertures cut into the chassis members.
Where this happens, the cables or pipes should be protected by a short length of plastic trunking, to prevent them rubbing on any sharp edges, as this could cause electrical shorting or leaks.
Good service agents should spot if anything has been missed during manufacture, or in the addition of, for example, a motor mover.
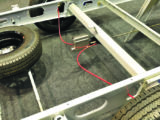
3. Caravan spare wheels are often transported in a chassis-mounted frame slung underneath the caravan. Once undone the mechanism should simply slide out, bringing the spare wheel to the edge of the van, making it easy to retrieve.
However, these basic sliders often seize up, owing to water, dirt and grit on the road, and when they do, can take some serous ‘unsticking’!
The last thing you want is to be on a hard shoulder, unable to access the spare, so ensure the mechanism is regularly extended and well lubricated.
4. Certain combinations of metals can react together after long-term contact for example, when a motor mover is bolted to a chassis member.
Zinc, a highly anodic finish, can be particularly affected by this galvanic (or bimetallic) corrosion. Barrier greases are used to keep the two surfaces separate and prevent this.
5. Do not apply paint to a galvanised finish, as moisture can be trapped between the galvanised surface and the layer of paint. This increases the possibility of corrosion.
6. Galvanised steel soon transforms from a shiny to a dull-grey finish. Occasionally, you’ll find small patches that don’t match the overall effect and have a different finish.
These marks are known as wet storage stains, and are thought to be caused by salty road conditions.
You can avoid them by ensuring a free flow of air under your caravan when it’s in storage, but don’t worry about them too much, because they don’t affect the performance or longevity of your chassis.
7. If you scrape of damage your chassis on a speed bump or kerb, bare steel might be exposed, as the protective zinc layer is removed. This is not a problem for the competent DIYer – the area can be recoated using a cold-galvanising spray or paint. Sprays start from about £5, while a tin of high-quality paint costs around £30.

If you liked this… READ THESE:
Skills School: What you need to know about gas
If you’ve enjoyed reading this article, why not get the latest news, reviews and features delivered direct to your door or inbox every month. Take advantage of our brilliant Practical Caravan magazine SUBSCRIBERS’ OFFER and SIGN UP TO OUR NEWSLETTER for regular weekly updates on all things caravan related.
Future Publishing Limited, the publisher of practicalcaravan.com, provides the information in this article in good faith and makes no representation as to its completeness or accuracy. Individuals carrying out the instructions do so at their own risk and must exercise their independent judgement in determining the appropriateness of the advice to their circumstances. Individuals should take appropriate safety precautions and be aware of the risk of electrocution when dealing with electrical products. To the fullest extent permitted by law, neither Future nor its employees or agents shall have any liability in connection with the use of this information. You should check that any van warranty will not be affected before proceeding with DIY projects.
Chassis sections bolt together and are designed in a modular way, so the same fittings can be used for a range of vans