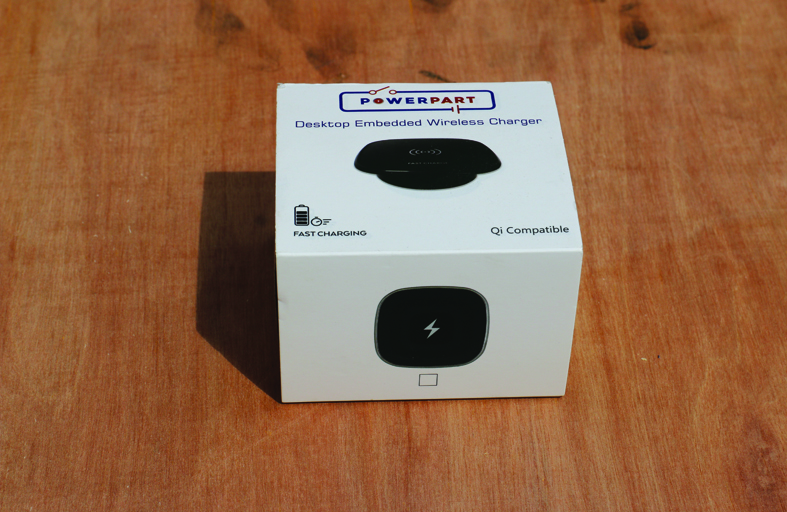


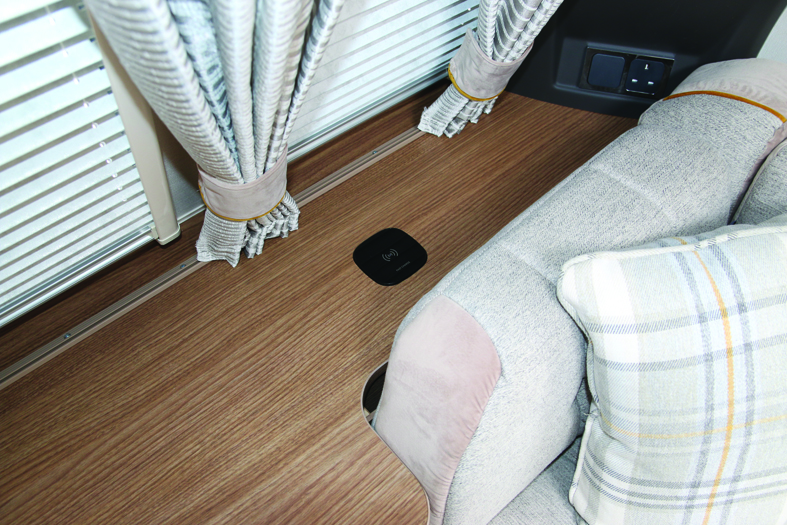

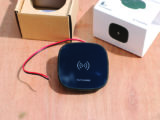
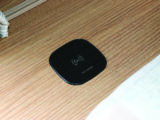

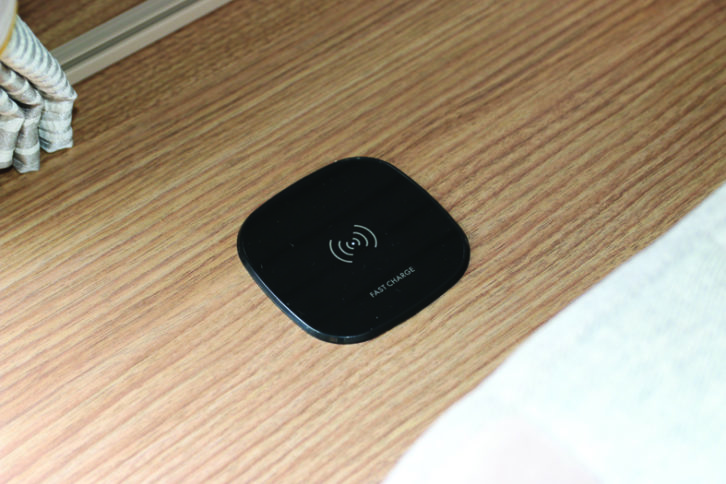
One of the perks of writing about all things caravan is that you are invited to press events, such as the new-season launches – something that I feel very privileged to be part of. And at the launch of a range of Coachman models, one thing caught my eye. On this occasion I’m not talking about the swanky vans, but a very neat BCA wireless charger integrated into the shelf between the front windows and offside seat on the VIP and Laser ranges. It struck me a brilliant idea for a caravan!
Cable confusion
I’m sure that if you’re like us, you end up with numerous charging cables dangling from USB sockets, radios or light fittings (those with USBs). Although this is not a huge problem, a wireless charger is a much neater solution.
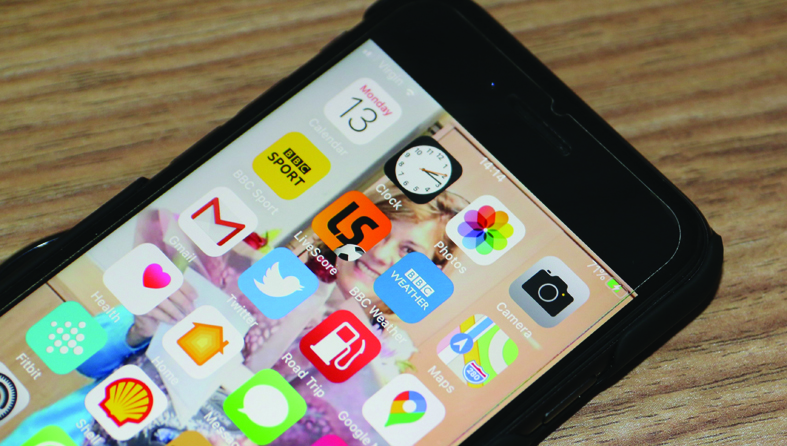
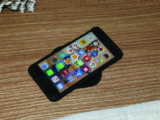
Of course, the device you need to charge must be capable of being charged wirelessly – my wife Kay has an iPhone 6 that isn’t, but my iPhone 8 is, plus I’ve just bought a smart set of wireless earbuds that charge in their case, which in turn will charge via cable or wirelessly.
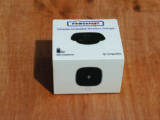
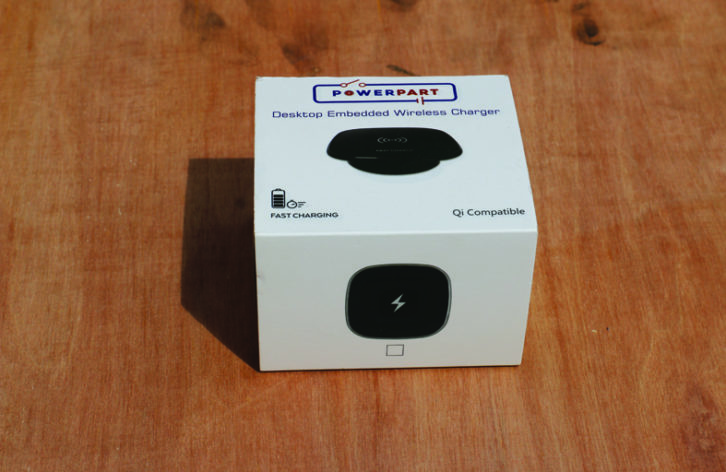
I know many of the electrical components in Coachman vans are made by West Yorkshire company, BCA, so a little bit of digging led me to A&L Leisure, based in Somerset, who very kindly sent me a BCA wireless charger to fit to our caravan.
The right spot
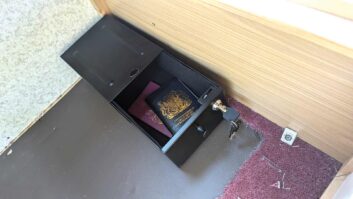
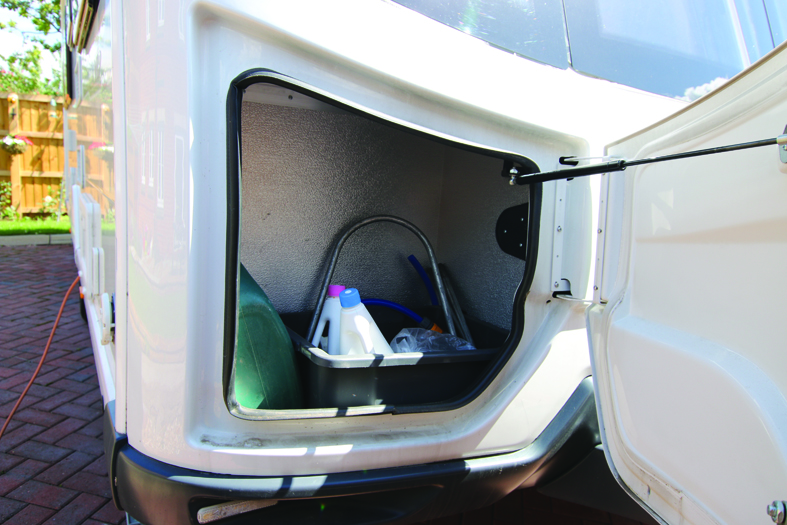
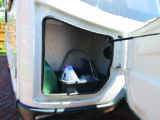
Coachman caravans are unusual in having two front lockers. The one on the nearside houses the gas bottles, while the one on the offside is purely for storage – and that’s the one where the wiring for the factory-fitted charger was run.
If you have a large single locker that houses the gas bottles, you should not run wires through it, so it would be wise to find a more suitable place to install the wireless charger.
Any other flat surface would do, provided you can get access to the underside, where you’ll need to connect the power supply (inside a cupboard, for example, would be good).
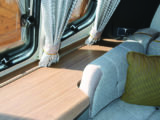
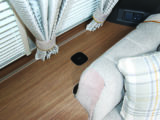
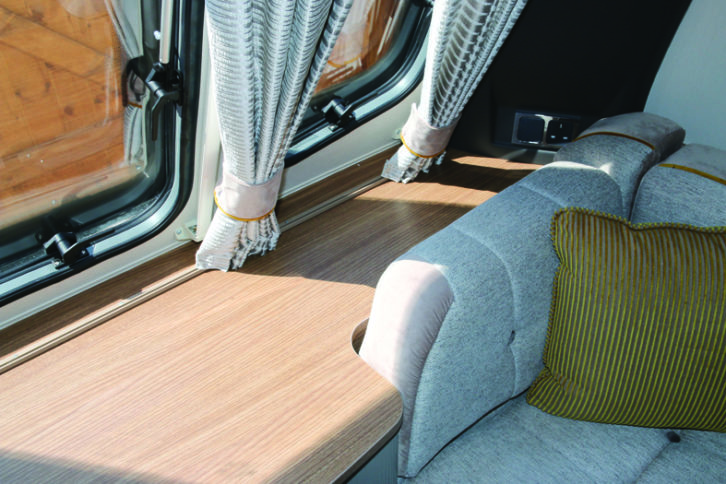
I wanted our charger to have the ‘factory-fit’ look, so it would be placed on the front shelf.
A look around a Coachman VIP showed me where they run the wires and how they protect the underside of the charger in the front locker. I also managed to obtain the measurements I needed to ensure that it would be in the right place.
It was now time to fit the charger. The first task is to disconnect the caravan battery. The tools required are:
- An electric/cordless drill
- A couple of small drill bits (2mm and 3mm, for pilot hole and for wires to pass through)
- A 59mm hole saw
- 10mm screws and appropriate screwdriver
- Several 6mm P-clips
- Insulating tape
- Soldering iron
- Double-core cable (to extend the wire from the charger and make the electrical connections)
- Heat-shrink, crimps and spade terminals (we were wiring to a pre-fitted fusebox)
- Cable ties
- Unless you are also wiring to a pre-fitted fusebox, you’ll need a fuse holder and a 2A fuse
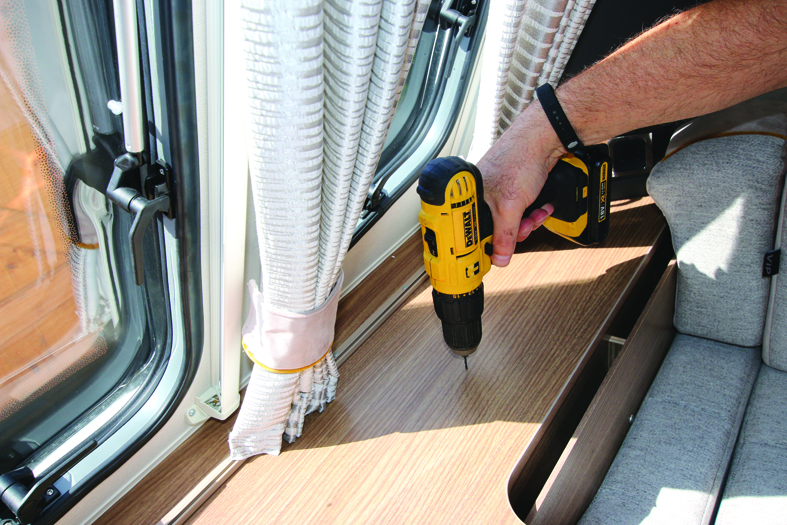
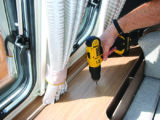
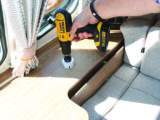
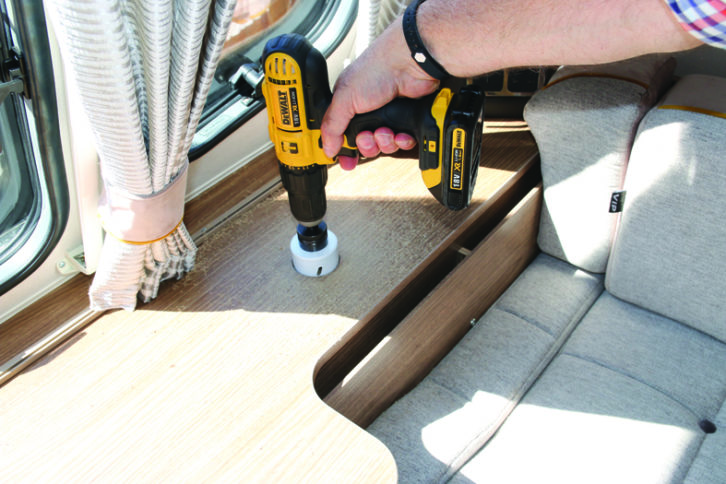
With a suitable position selected, carefully drill a small pilot hole through the depth of the surface. Most caravan surfaces have a laminate type upper, a card honeycomb centre and a laminate bottom.
Then, carefully cut the 59mm hole using the hole saw. The instructions say 60m, but 59mm gives you a snug fit.
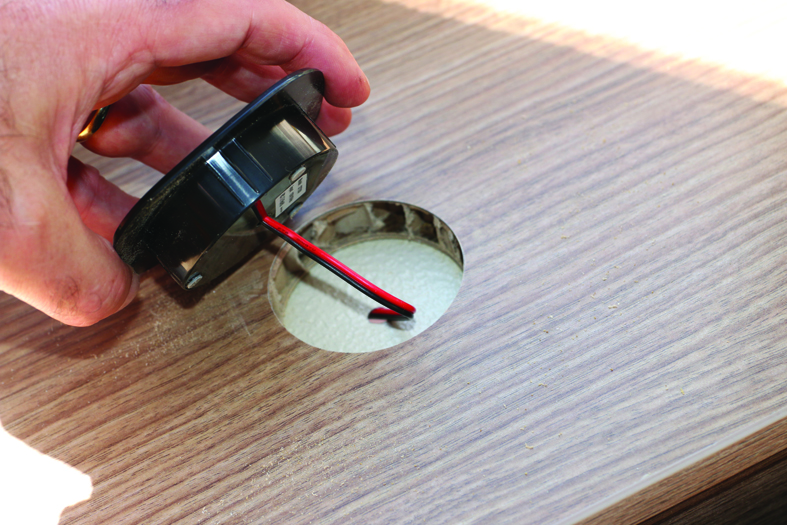
On our Coachman, there’s an additional layer of thin aluminium lining the front locker. I carefully cut through the top three layers making up the shelf, but deliberately didn’t cut through the metal with the saw, instead letting the guiding drill cut through, as the wires from the charger would neatly pass through this hole when it was inserted. Any sharp edges on the metal were filed away.
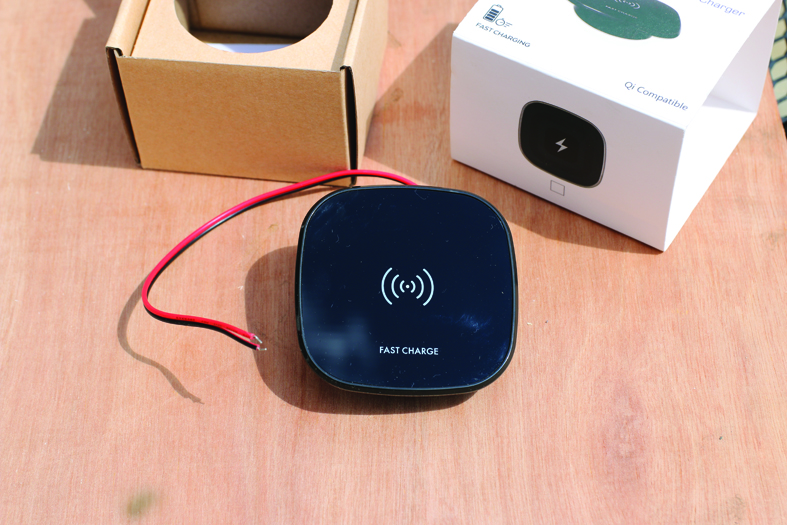
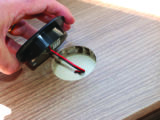
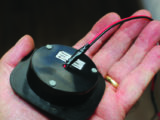
Test that the charger will slot into the hole and sit flush on the surface.
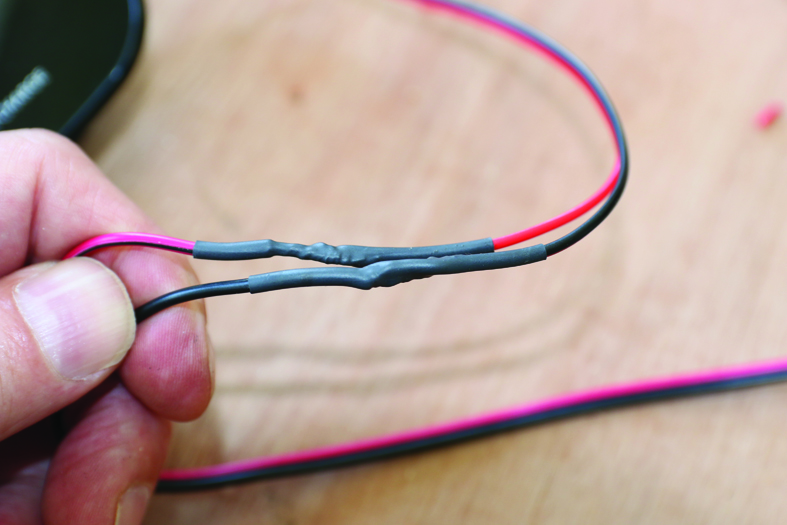
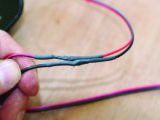
Next, extend the wiring to the charger, making soldered joints and covering each with heat-shrink. If your wiring is going to be exposed, you can also put heat-shrink over both soldered joints, thus forming a doubly protective layer. Don’t forget to put the heat-shrink onto the wires before you solder them together!
Added protection
The wiring from our charger would be passing through the metal lining to the front locker, so I wrapped insulating tape around it for added protection (even though nothing should move or get caught there).
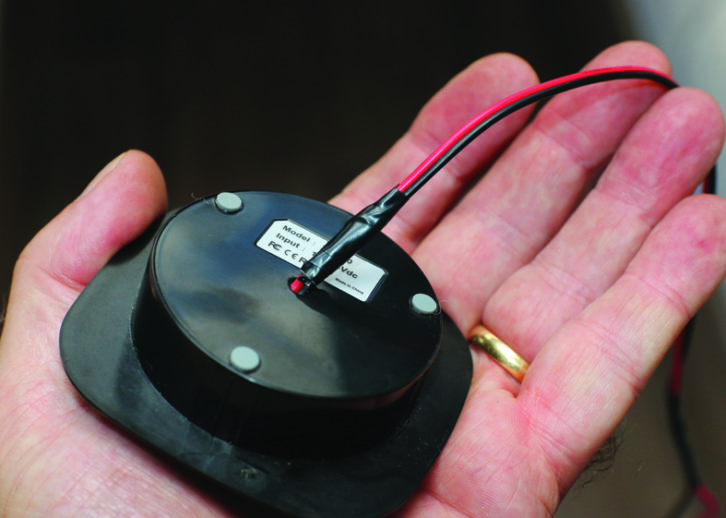
With that done, feed the wires through the hole and insert the charger into its hole.
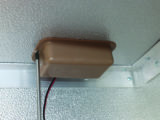
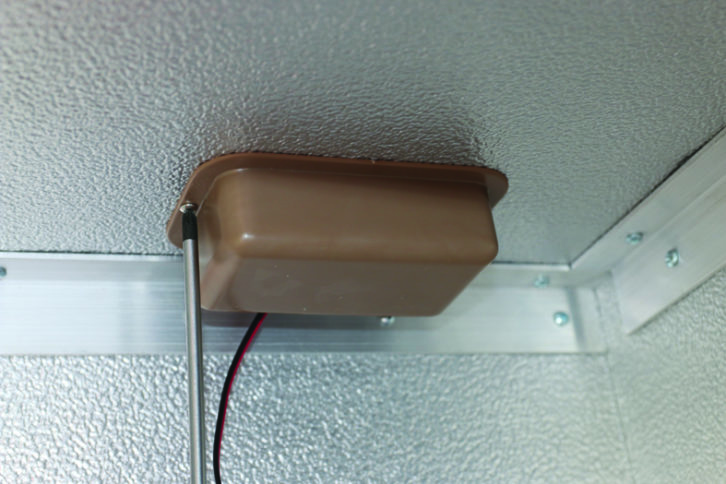
I fitted a protective cover to the underside of where the charger fits on ours (as per the factory-fit unit), just to make sure the wires can’t be pulled, and left a few spare centimetres inside the cover, so if needed, I can remove the charger without having to release all the wiring.
If the underside of where you put yours is exposed, a cover is well worth considering.
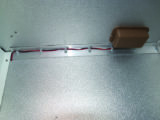
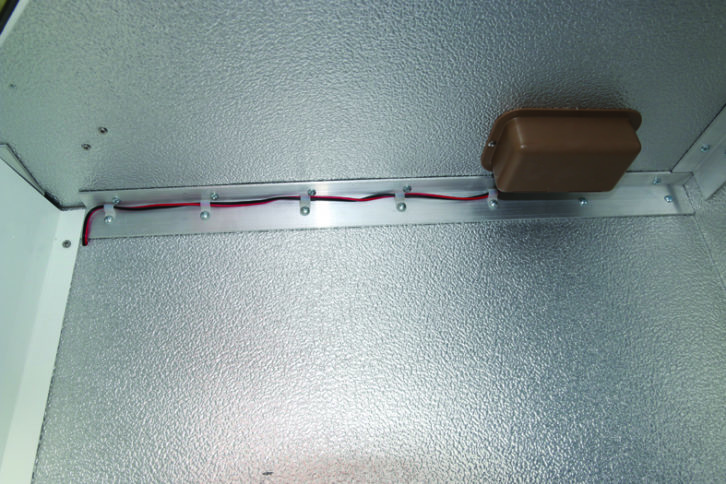
Run the wires to your power source (inserting the fuse holder into the red +ve feed wire) and secure them using clips and/or cable ties.
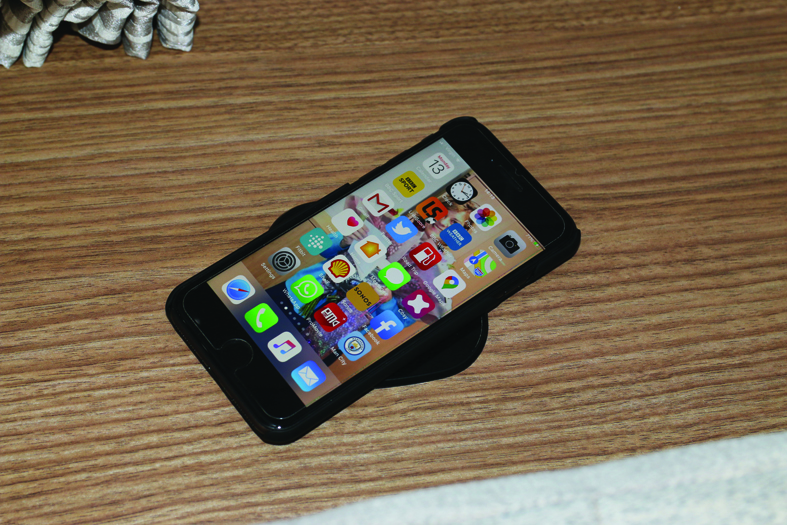
With all connections made, reconnect the caravan battery and test the charger.
When I was happy all was well, I lifted the charger out of its hole and put a very small amount of adhesive on a couple of the corners on the underside before replacing it. That way, it is secure and won’t twist inside the hole, but removable if you need to do so for any reason (if it fails and needs replacing, for example). I think that the charger is a very neat addition.
Step-by-step guide


If you liked this… READ THESE:
How to fit USB sockets and upgrade your TV signal amplifier
How to make a portable 12V battery power supply
If you’ve enjoyed reading this article, why not get the latest news, reviews and features delivered direct to your door or inbox every month. Take advantage of our brilliant Practical Caravan magazine SUBSCRIBERS’ OFFER and SIGN UP TO OUR NEWSLETTER for regular weekly updates on all things caravan related.
Future Publishing Limited, the publisher of practicalcaravan.com, provides the information in this article in good faith and makes no representation as to its completeness or accuracy. Individuals carrying out the instructions do so at their own risk and must exercise their independent judgement in determining the appropriateness of the advice to their circumstances. Individuals should take appropriate safety precautions and be aware of the risk of electrocution when dealing with electrical products. To the fullest extent permitted by law, neither Future nor its employees or agents shall have any liability in connection with the use of this information. You should check that any van warranty will not be affected before proceeding with DIY projects.
If you're like us, you will often end up with numerous charging cables dangling from USB sockets, radios or light fittings (those with USB points)