


I have long been an advocate of Tyron Bands, which should prevent a deflated tyre from coming off the rim, keeping a driver in control of car and caravan until they can safely stop. But they give no warning of any imminent deflation.
The advantage of a Tyre Pressure Monitoring System (TPMS) is that it should give you a warning of deflation, and because most punctures tend to be of the slow variety (unless you strike a kerb or something that tears the tyre sidewall), that warning will sound well before there’s likely to be any loss of control.
Pressure monitors
From a personal point of view, I know I am a bit late to the party in fitting a TPMS to our own van, but I have experience of using TyrePal – perhaps the most well-known system – on Bailey’s Arctic Adventure and Sahara Challenge trips, as each of the caravans had them fitted for these long-haul tours.
Now it was time to address the question of my own van, and I took delivery of a TyrePal TC215 kit.
As our tow car has TPMS, all I needed was the basic TyrePal TC215 kit, which contains two sensors for our single-axle van, a Coachman Laser 575 Xtra.
If you own one of the best twin-axle caravans, you’d need to order two more sensors, to provide one for each wheel. The monitor can accommodate up to 22 sensors!
The system has an effective operating temperature range of +80°C to -20°C and can monitor pressures up to 99psi (6.8 bar).
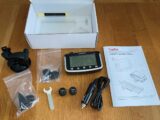
As you’d expect, the TyrePal TC215 kit kit comes complete with all you need for it to operate.
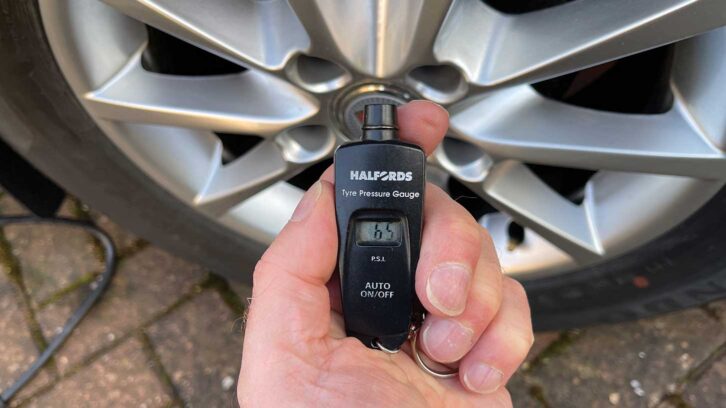
With the batteries installed in the sensors, put those to one side for now. Start by checking the tyre pressures. Ours were set to the required 65psi.
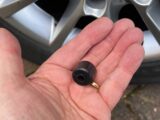
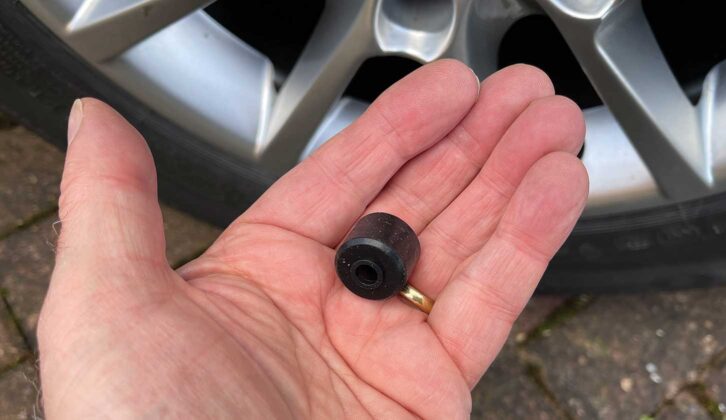
Next, install the rubber dust shields and then fold them back on themselves – this makes it easier to fit the locknuts and sensors. Now fit the locknuts, screwing them as far onto the tyre valve thread as possible.
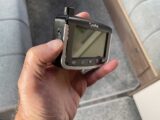
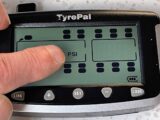
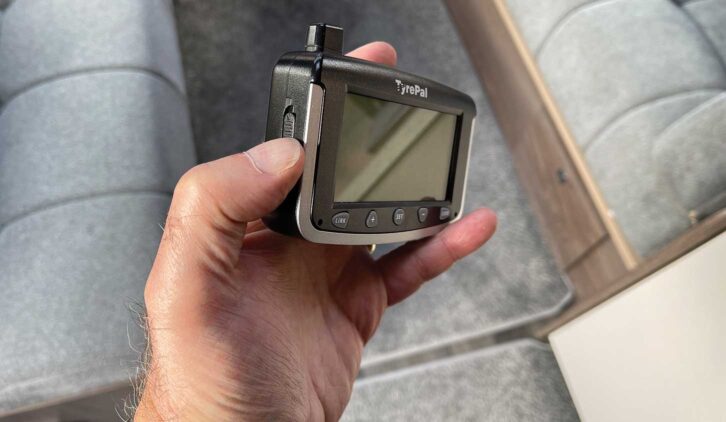
The next step is to turn on the monitor, when you’ll see a ‘tractor’ unit and a ‘trailer’. Obviously, we’re only interested in the trailer function here.
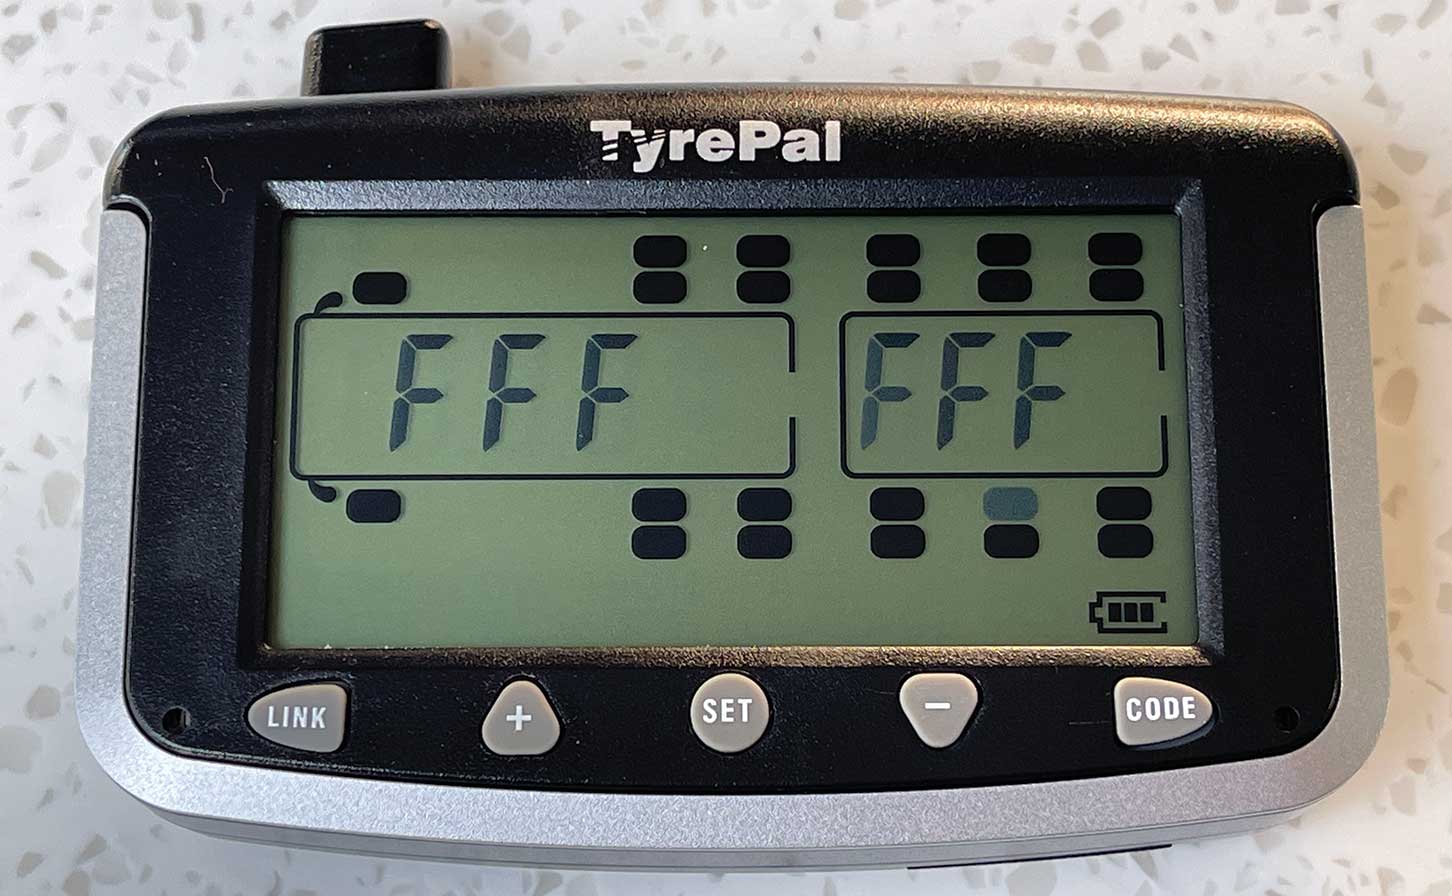
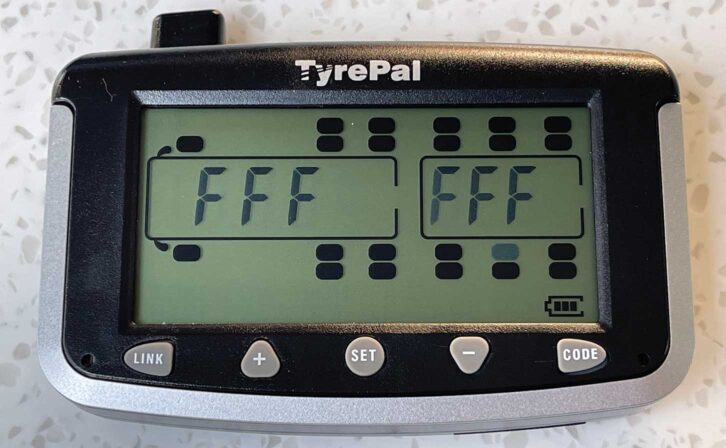
Press and hold the ‘Code’ button for four to five seconds and the front offside ‘tractor’ tyre icon will start flashing, together with ‘FFF FFF’, which means that no sensors are registered with the monitor.
Press the ‘+’ or ‘-’ button repeatedly until the required tyre icon starts to flash (I used the inner centre-axle one on the nearside, although it doesn’t really matter, as all of the trailer tyres will be set the same).
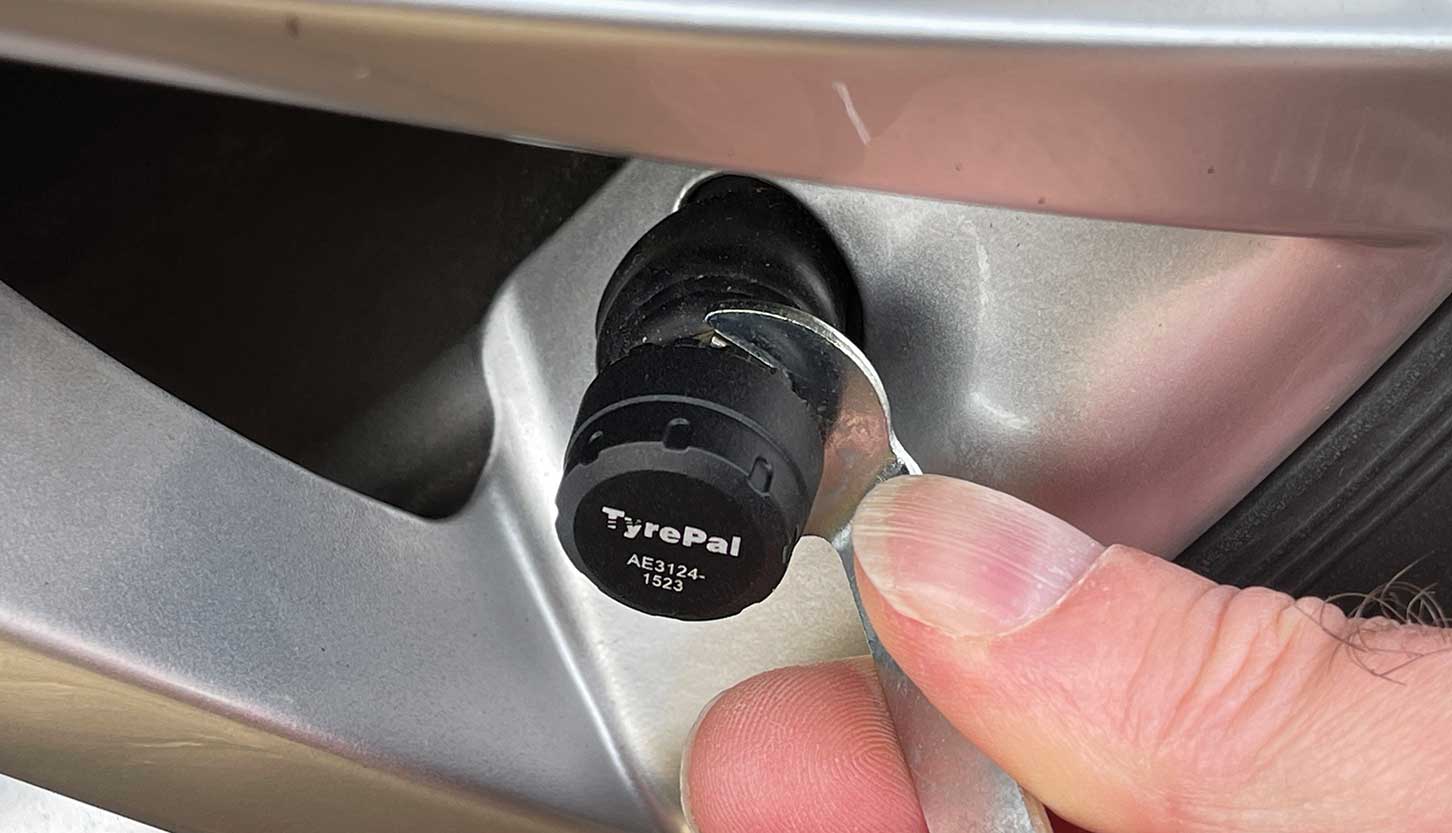
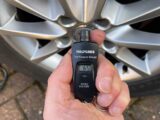
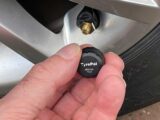
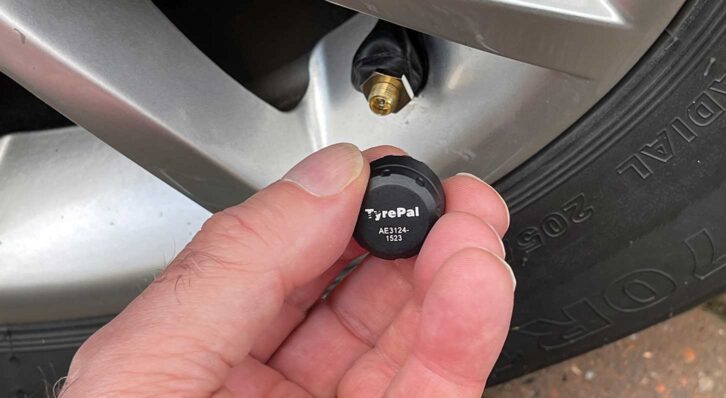
Screw on one of the sensors as far as it will go (taking care not to overtighten it). While doing this, you’ll briefly hear air escaping from the tyre, but that should stop as you tighten the sensor.
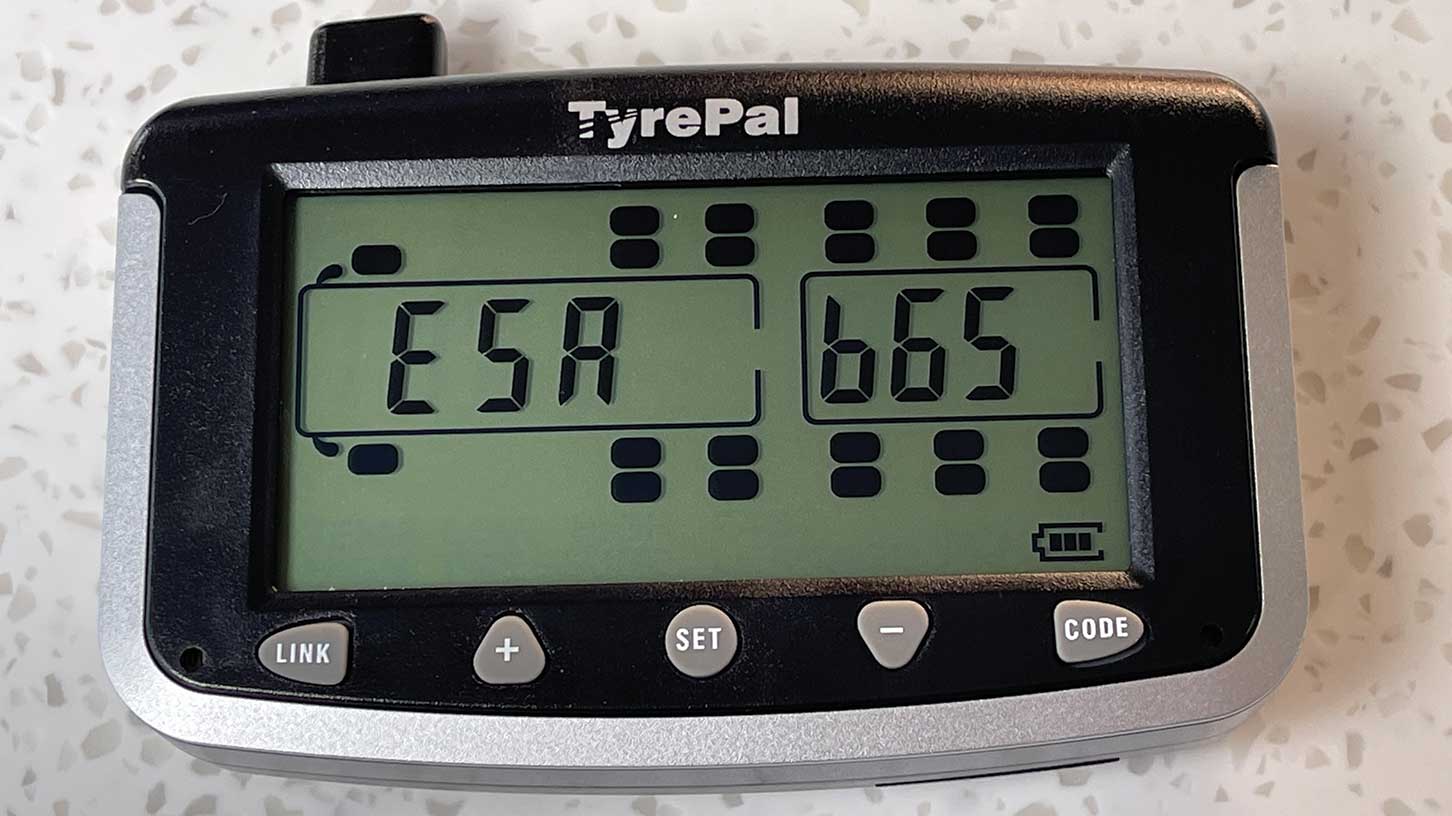
After a moment, the monitor will beep and a sensor ID code appears on the screen (in our case, ESA 665 for the nearside). Press the ‘+’ or ‘-’ button to select the next tyre position (inner centre-axle on the offside) and attach that sensor (again, you’ll get a beep and the code for that sensor).
Check for leaks
To check that there are no air leaks, you can spray the sensor area with soapy water. If any bubbles appear, the sensor hasn’t been installed properly, in which case you would need to repeat the previous process until no bubbles appear. Don’t tighten the locknuts yet.
Installation and registration of the sensors is now complete, and it’s time to set the alarms.
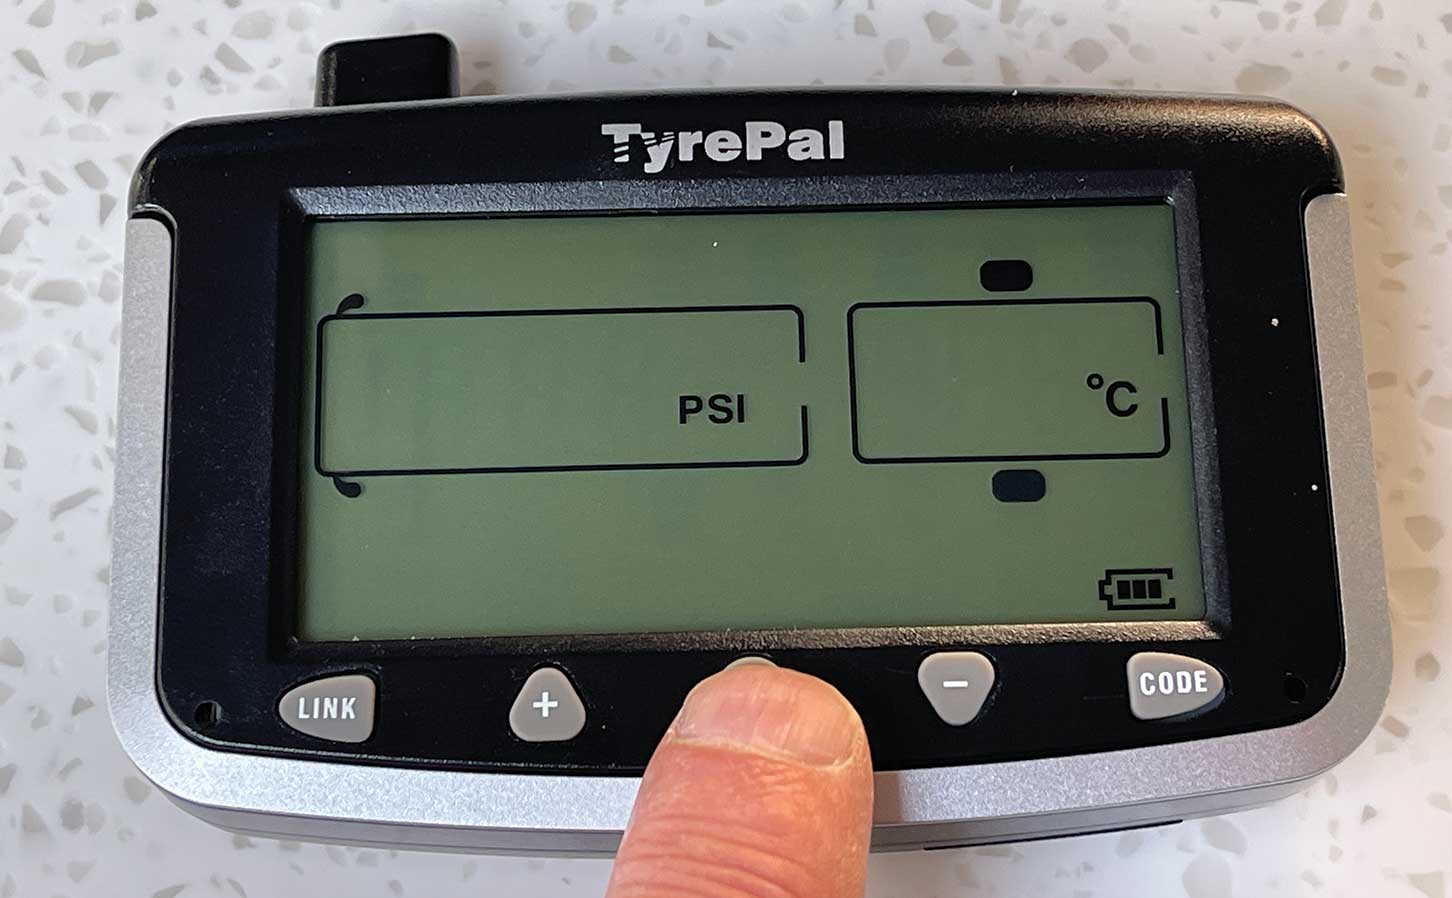
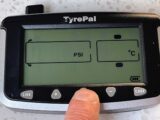
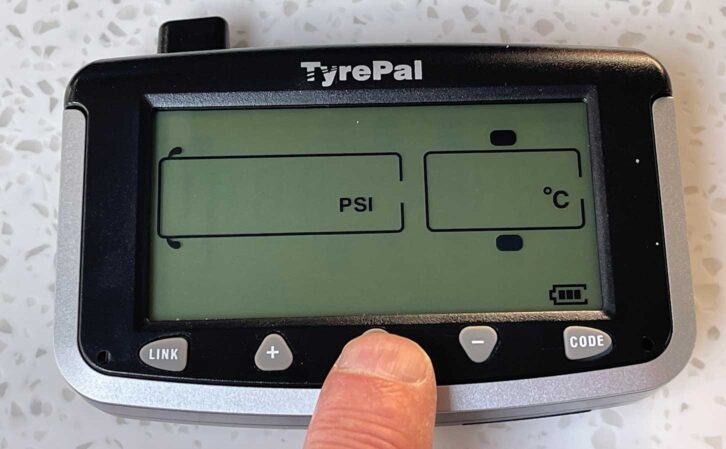
You will have the choice of measuring the pressures in psi or bar, and the temperatures in degrees Celsius or Fahrenheit.
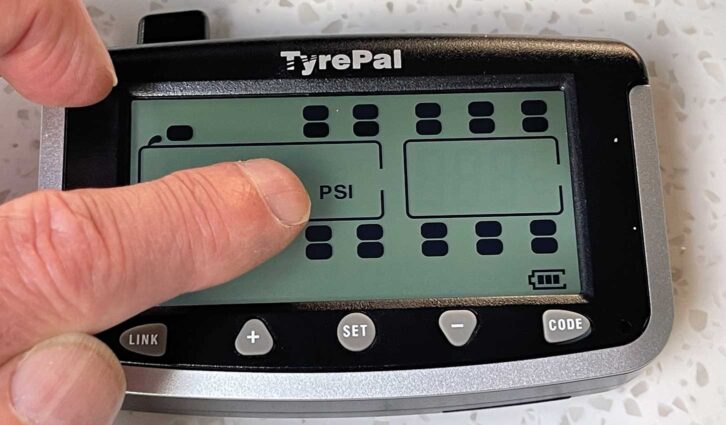
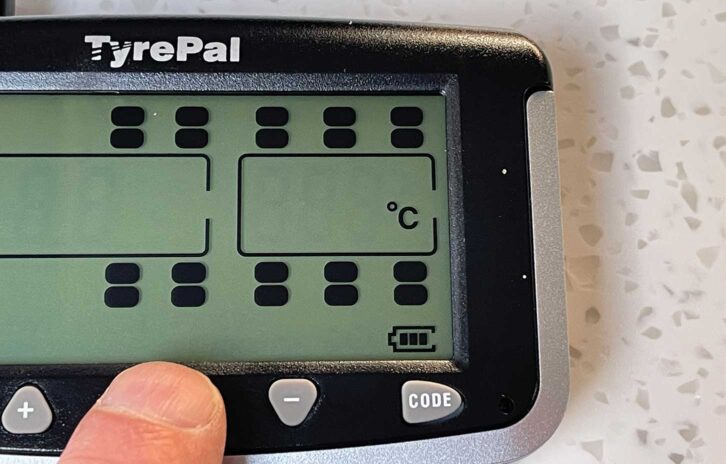
Press and hold the ‘Set’ button for four to five seconds and the pressure units will flash on the monitor. Use the ‘+’ or ‘-’ buttons to select the preferred unit. Press ‘Set’ for a second and the temperature units will flash. Again, use the ‘+’ or ‘-’ buttons to select the required units. Finally, press and hold the ‘Set’ button for four to five seconds to register the units that you have selected.
Setting the alarm system
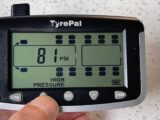
To set the alarms, press and hold the ‘Set’ button for four to five seconds again, and the pressure units will begin to flash. Keep pressing ‘Set’ until all of the trailer tyre icons start to flash. All of the trailer tyre settings will be the same.
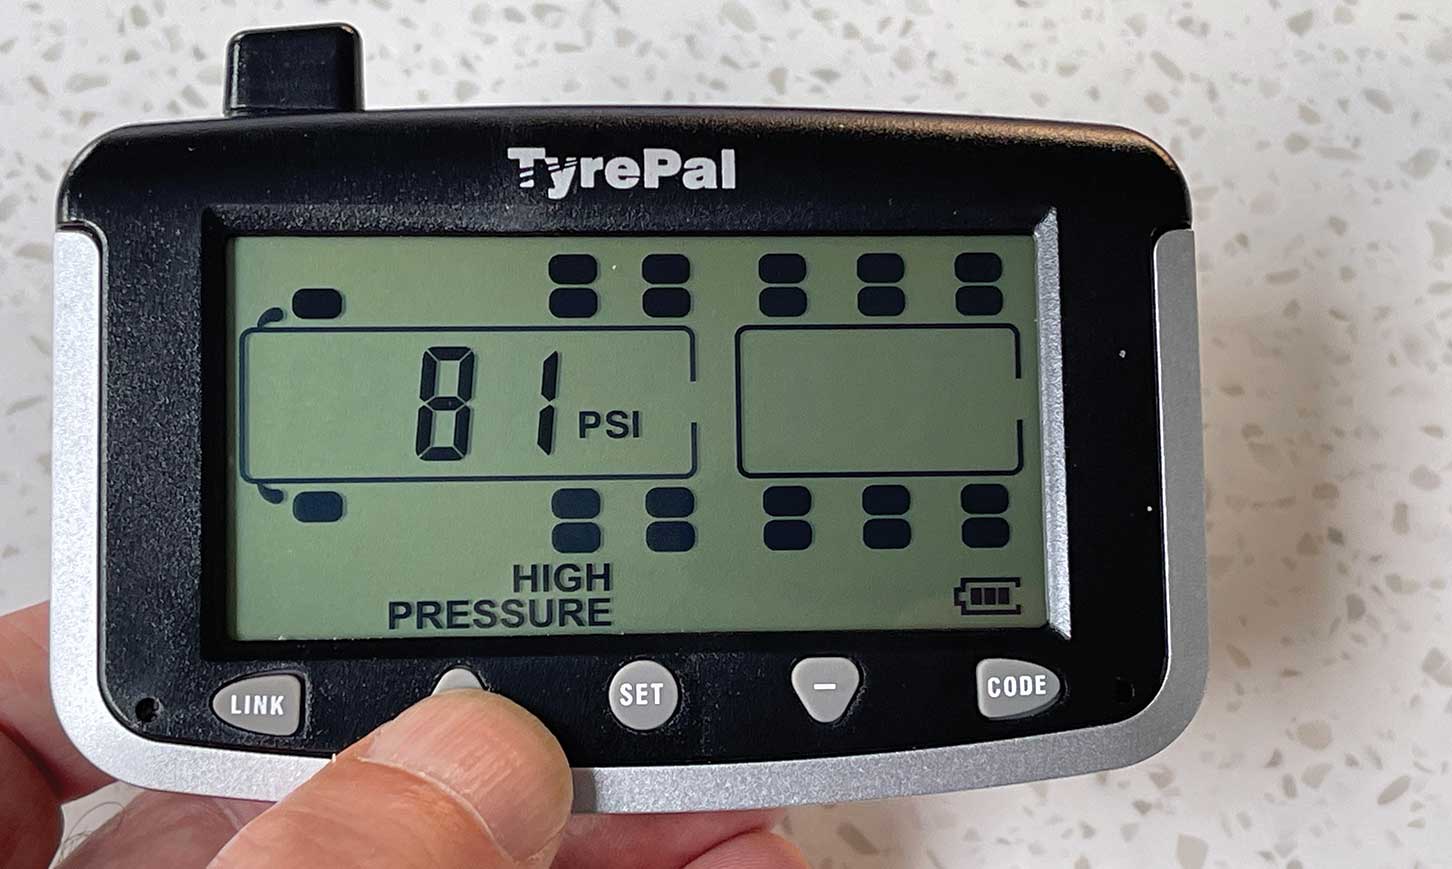
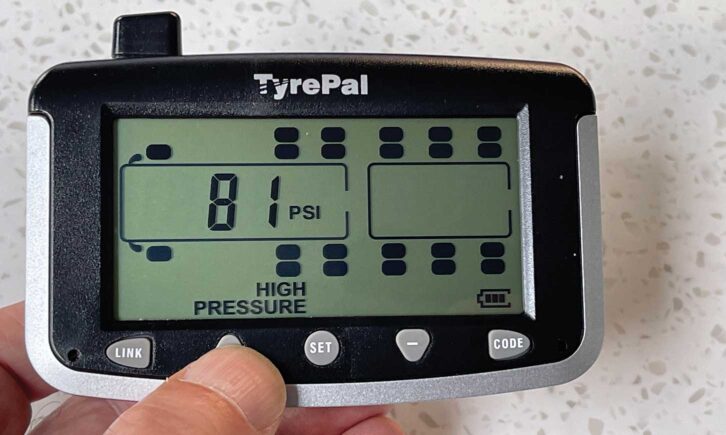
Now set the ‘High pressure’ alarm figure, using the ‘+’ or ‘-’ buttons. TyrePal suggests that this figure is the recommended tyre pressure plus 25%, so in our case, 65psi + 25% = 81psi.
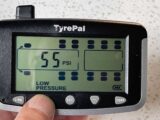
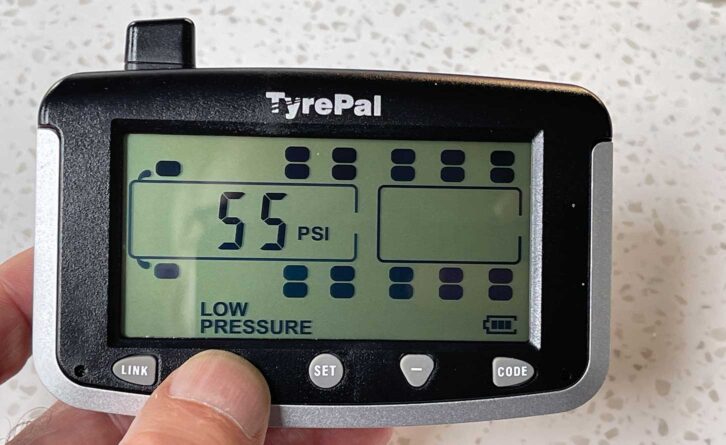
Press the ‘Set’ button again and set the ‘Low pressure’ alarm figure. This will be the recommended tyre pressure minus 15%, so 55psi in our case.
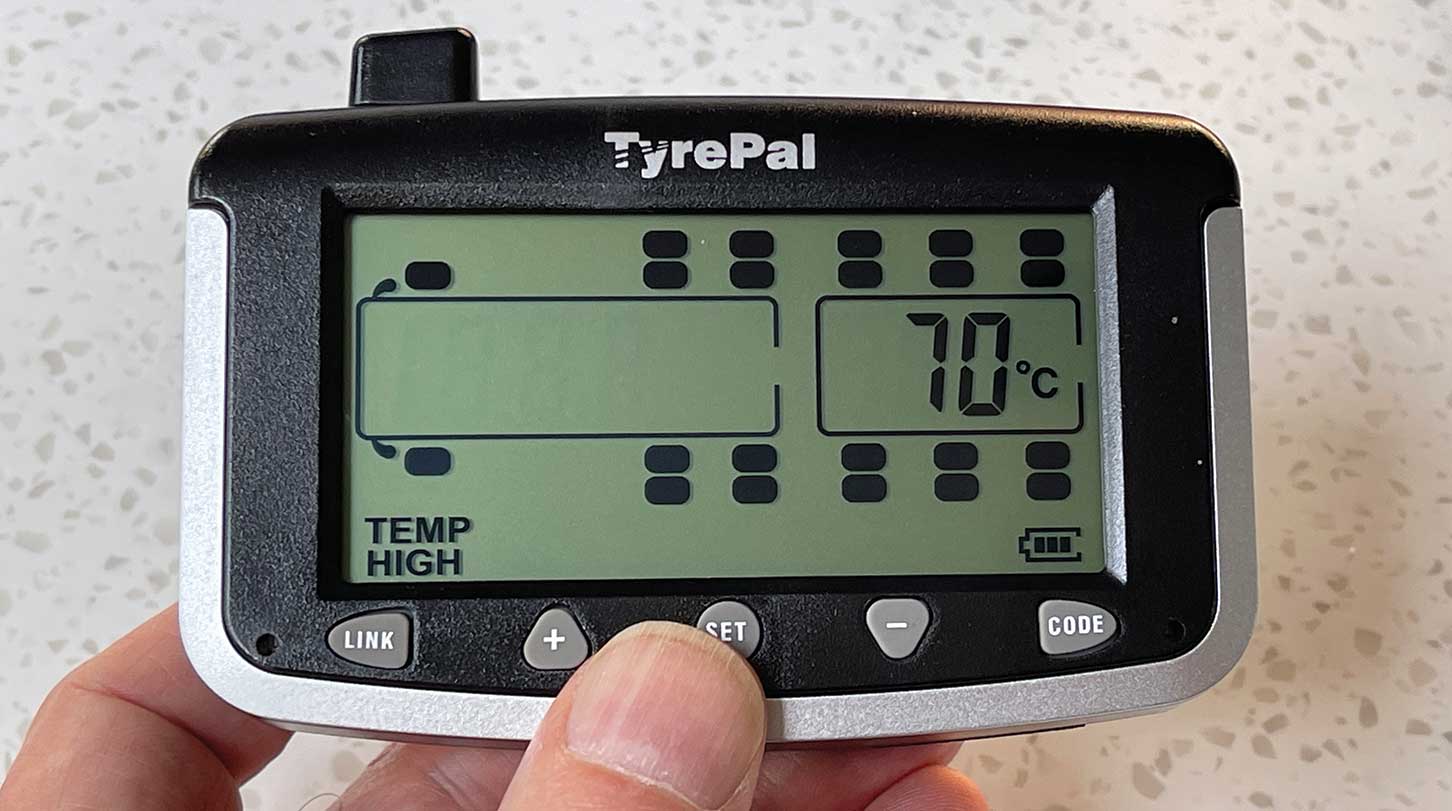
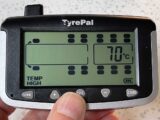
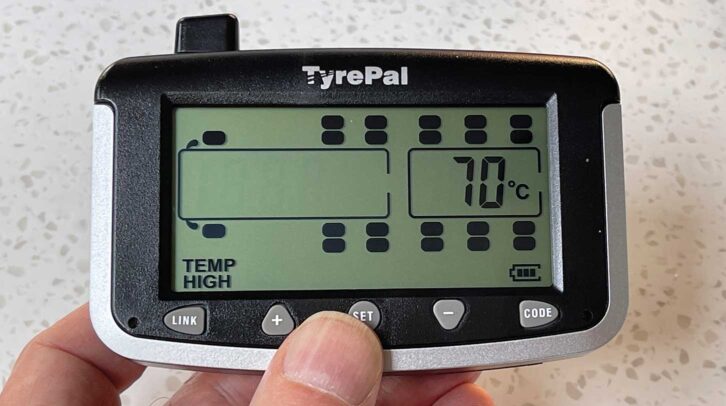
Press the ‘Set’ button again to set the ‘High temperature’ warning. The recommended upper limit is 70°C (158°F).
Press and hold the ‘Set’ button for four to five seconds to register the alarms.
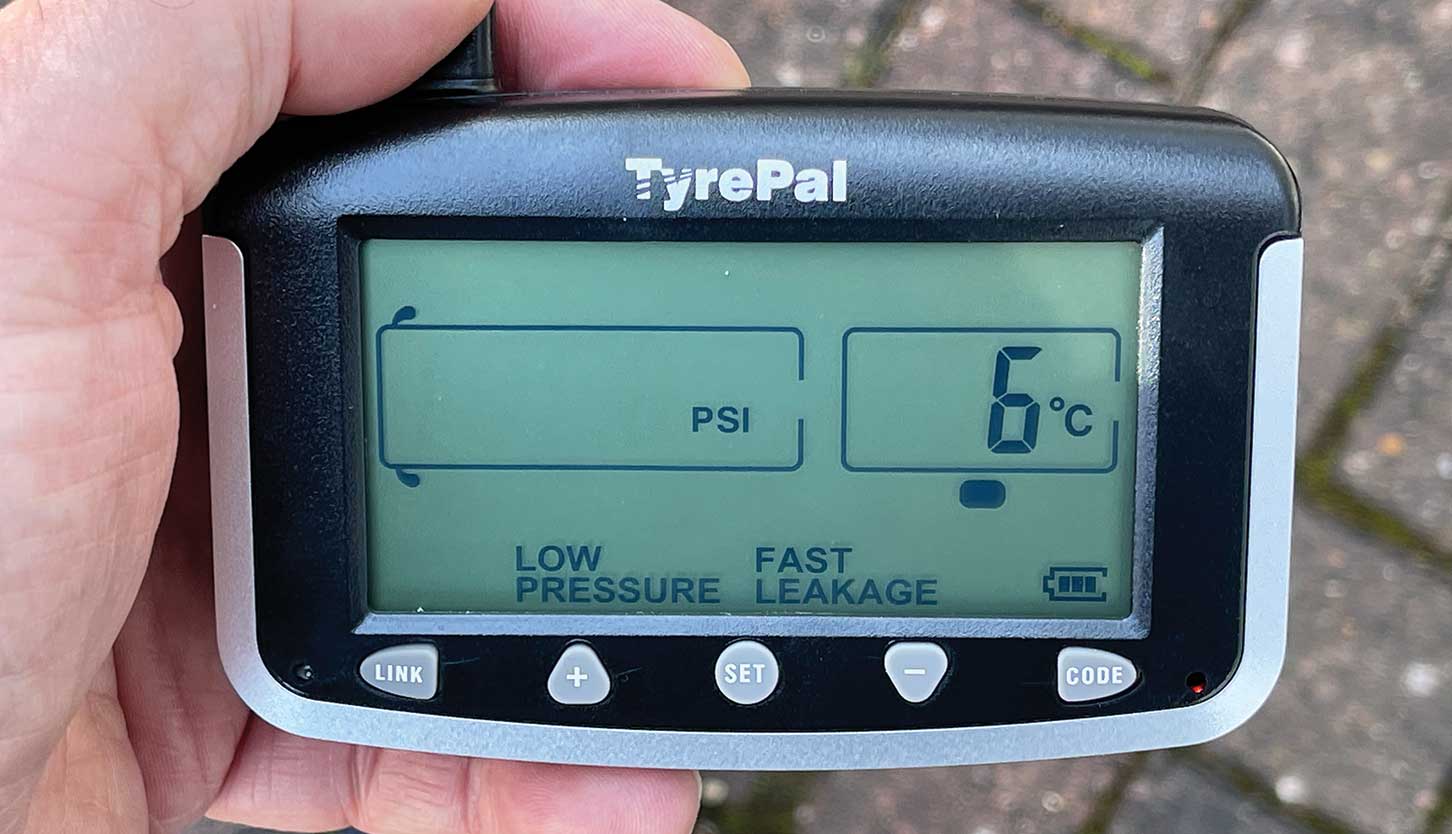
The system is now ready to go. To test that everything is working as it should, remove a sensor from one of the tyres. After a moment or two, you’ll get an audible alarm, and the message ‘Low pressure’ and ‘Fast leakage’ will be displayed.
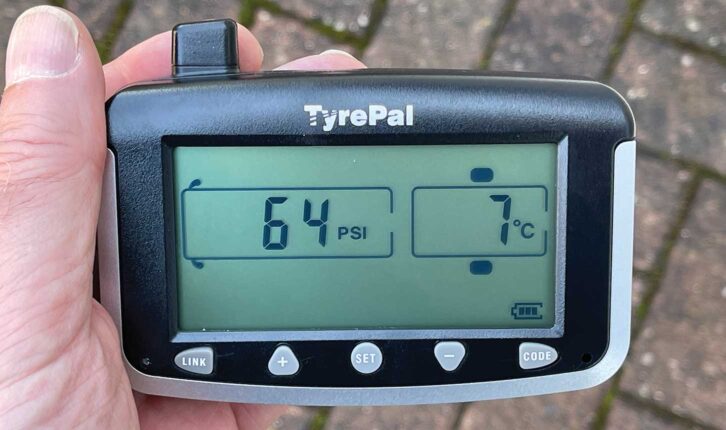
Replacing the sensor cancels the alarm and the current tyre pressure/temperature will be displayed. With that completed, using the supplied cranked spanner, tighten the locknut to the bottom of the sensor, then fold back the dust shield so it covers the sides of the sensor.
It’s recommended that you repeat this for all of the sensors, to check they are working.
Place the monitor
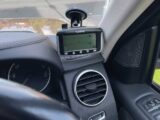
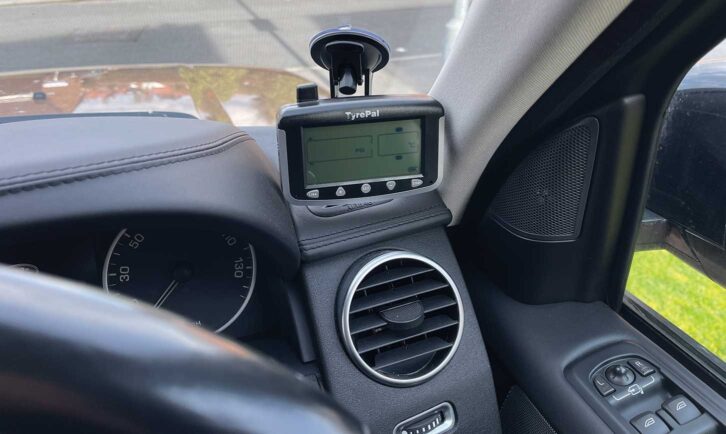
The monitor can be mounted on the car’s windscreen using the mount provided (just be careful not to obscure your driving view), or simply laid in the centre console nearby. You wouldn’t fail to hear the audible alarm!
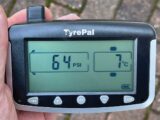
It may be that in use, when you first switch on the monitor, the tyre pressures won’t be displayed and there’ll be an audible beep. This is normal, and within a few seconds of you beginning to drive, they should be displayed, and the beep will stop. The pressures and temperatures that are shown will alternate between the monitored tyres (with the relevant icon flashing).
There might be a slight difference between your tyre gauge setting and the pressure being displayed on the monitor – there is a +/- 1.5psi tolerance on the sensors which would account for this.
I hope never to hear or see the alarm warnings while out on the road, but at least with the TyrePal TC215 system, I should be able to stop safely if I do.
A step-by-step guide to installing the TyrePal TC215
1. First, check that your tyre pressures are correctly set.
2. Put the dust shields and locknuts onto valve stems.
3. Now turn on the monitor.
4. Press ‘Code’, then ‘+’ or ‘-’ buttons to select the correct tyre position.
5. Attach a sensor and it will be coded to the monitor. Repeat for opposite side.

6. Select the units of measurement you’ll be using (psi/bar and °C/°F).
7. Set ‘High pressure’, ‘Low pressure’ and ‘High temperature’ figures.
8. Test sensors by removing them in turn. You’ll get audible and visual warnings.

9. Tighten the locknuts and cover the sensors with the dust shields.

10. Place monitor where it can be heard/seen without causing obstruction.
With thanks to TyrePal for supplying the TC215 kit for us to review.
Looking for more DIY guides? Then find out how to fit an Alde AquaClear UV-C water purifying system in your tourer.
Future Publishing Limited, the publisher of Practical Caravan, provides the information in this article in good faith and makes no representation as to its completeness or accuracy. Individuals carrying out the instructions do so at their own risk and must exercise their independent judgement in determining the appropriateness of the advice to their circumstances and skill level. Individuals should take appropriate safety precautions and be aware of the risk of electrocution when dealing with electrical products. To the fullest extent permitted by law, neither Future nor its employees or agents shall have any liability in connection with the use of this information. You should check that any van warranty will not be affected before proceeding with DIY projects.
If you’ve enjoyed reading this article, why not get the latest news, reviews and features delivered direct to your door or inbox every month. Take advantage of our brilliant Practical Caravan magazine SUBSCRIBERS’ OFFER and SIGN UP TO OUR NEWSLETTER for regular weekly updates on all things caravan related.