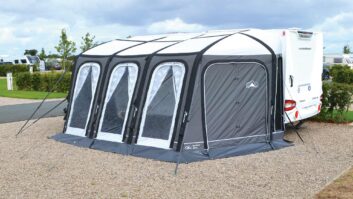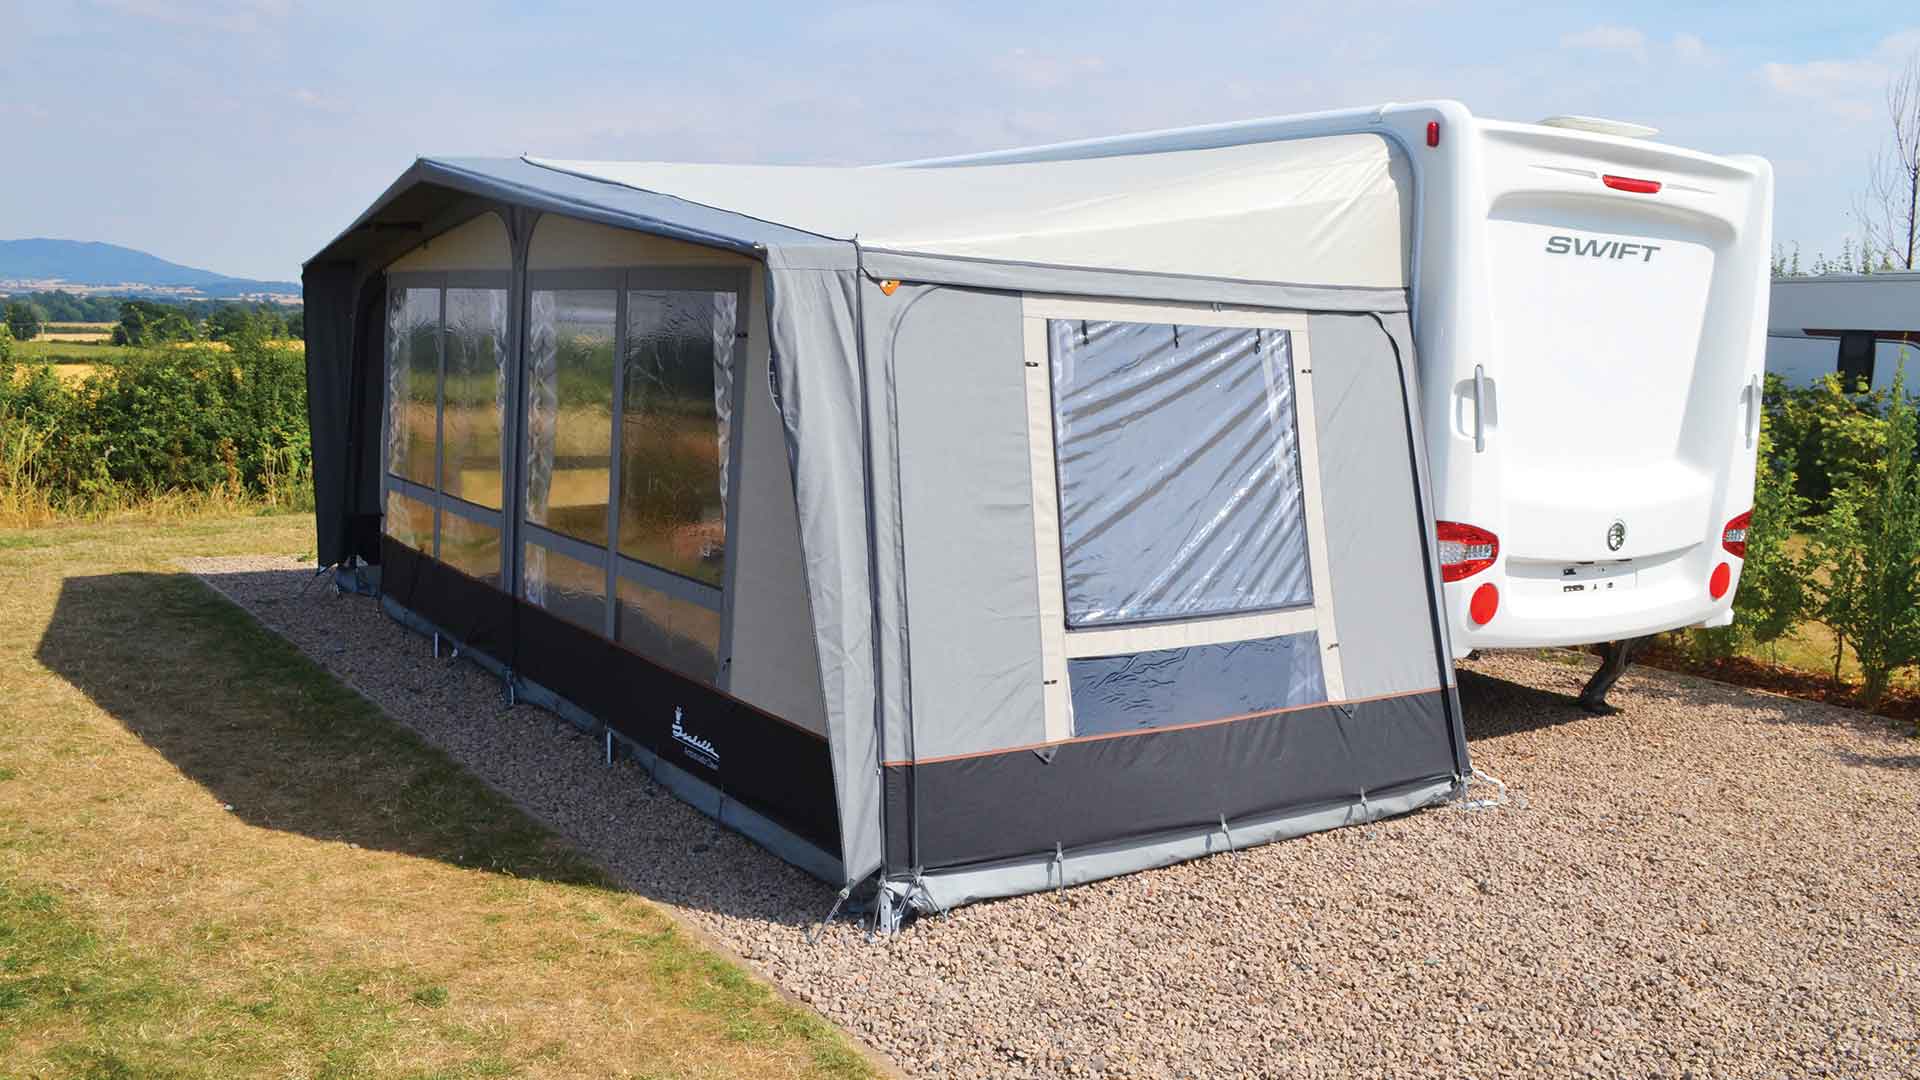
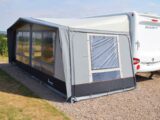
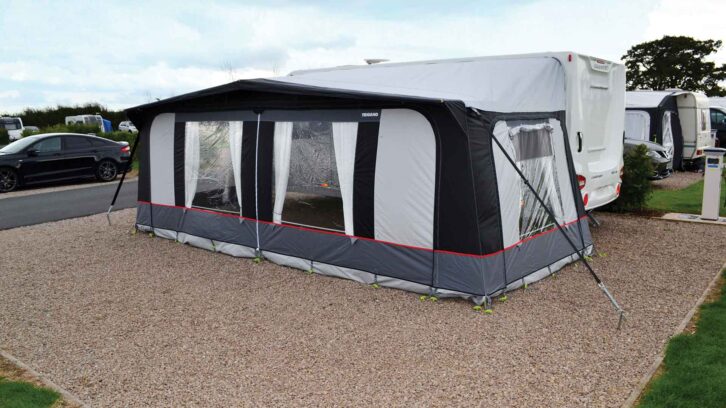
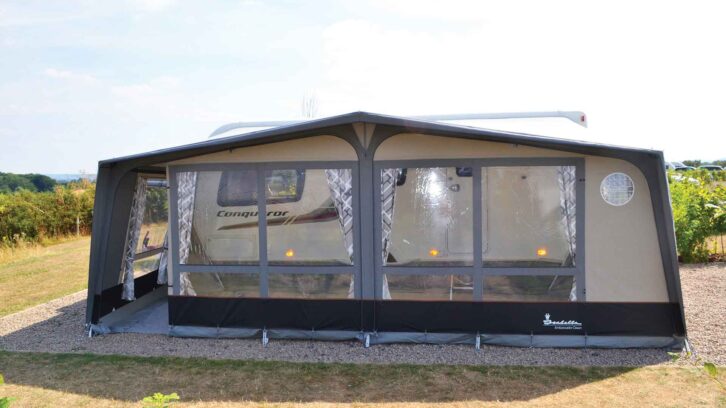
Knowing how to put up a full poled caravan awning is a useful skill for any caravanner. After all, the best caravan awning can provide some valuable extra living space when pitched up at your chosen site, giving you additional room for storage, as well as offering protection from the elements should the weather turn.
They can even offer extra sleeping space (see what we have to say when we answer “can you sleep in a caravan awning?” for more on this).
It doesn’t matter whether you’re pitching up at one of the best caravan sites with luxurious facilities or are enjoying some off-grid caravanning – these can be real touring essentials. However, before you can benefit from that, you need to get your awning erected.
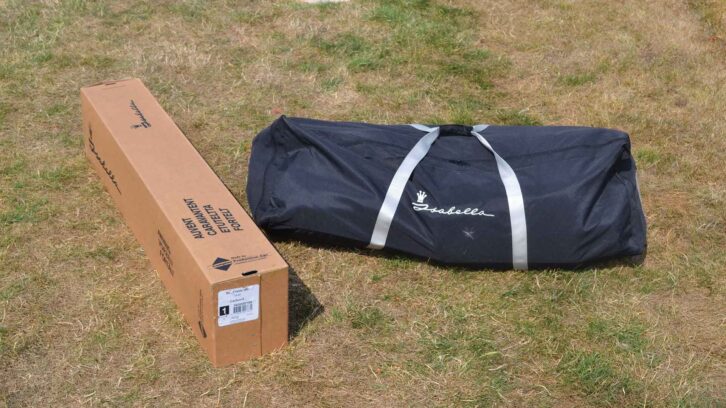
The good news for those who have never put one up before is that a bit of preparation can help to make the task in front of you that much easier. It’s a simpler task if there are two of you doing it and it’s also one of those jobs which will get increasingly straightforward the more regularly it’s done.
There are a wide number of caravan awning manufacturers to choose from, but whichever one you have opted for, we’d recommend the same first task – read the supplied instructions.
Frames are made up of three sub-assemblies: the roof poles, the vertical legs, and the front, right and left sections which will join the centre and side vertical poles. We’d advise familiarising yourself with each of these different types of pole – easily identifying them will make the process much more straightforward when you’re at your pitch!
After you’ve found the front frame, the remaining poles will be for the roof – these should stand out thanks to the hooks that they have at one end. It could be worth reaching for the coloured insulating tape in your caravan tool kit, if you have any. This can give you an efficient method of telling individual poles apart. Some manufacturers have also started labelling or numbering the poles to make life easier.
We’d also advise spraying a silicone lubricant or a silicone-based furniture polish to the awning channel to help prevent the awning from getting jammed. You can also use the best caravan awning cleaner to give it a freshen-up if it’s in need of some TLC (and if you’re not sure what’s involved when you’re doing this, our guide to how to clean a caravan awning will talk you through it).
A step-by-step guide to putting up a full poled caravan awning
1. You don’t want to damage the awning canvas or get dirt on it, so you could start by laying the groundsheet down. Before doing so, however, make sure groundsheets are allowed on the caravan site you are on. Many site owners do not allow them, at least on grass pitches, because of the damage an awning left in place for several days can do to the grass. If you are allowed to put a groundsheet down, you can make sure it stays in place by pegging the corners down. Don’t worry too much about accuracy here, as you may subsequently need to move it.
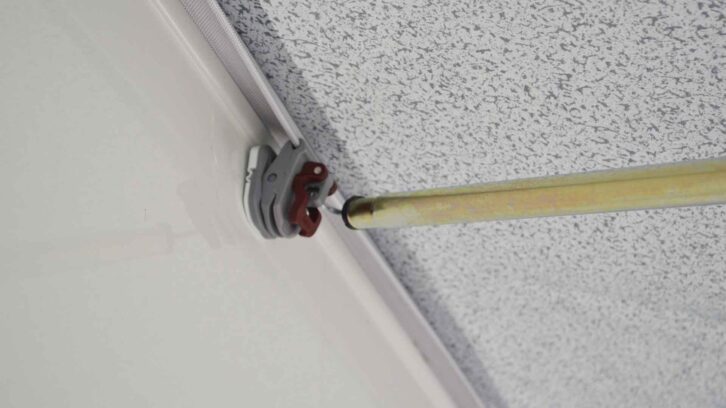
2. Now that the channel has been sprayed with silicone lubricant, take the skirt, if you have one, and insert it into the channel along the bottom of your tourer before pegging it in place. Next, again if there is one, put the wheel-arch cover in place – suction pads, press studs or Velcro are among the options that you may find the awning maker has used for this.
3. Next, lay the poles on the groundsheet in their rough positions before assembling the frame’s front section. Extend the centre pole, but, for the moment, you are leaving the two front horizontal poles that will connect it to the side verticals.
4. It’s now time to unpack the canvas. Take the right-hand end of the bead on the awning roof and then thread it into the awning channel’s front end. Pull it through as much as possible.
5. The centre of the roof section should be in line with the middle of your tourer, so it may need some adjusting. Any slopes will also need factoring in – these could otherwise affect the skirt’s level from the ground at either end of the caravan on the pitch.
6. The roof poles will fit into bracket pads that will either slide or clip into position on the awning bead. Avoid locking the pads in place before you have the roof poles in place correctly.
7. Take the front centre vertical pole and fit it through the roof canvas, leaving it at an angle to ensure the roof is supported. If there’s a breeze when you’re erecting it, you should get someone to hold the central pole in position once it’s up.
8. Take the roof pole and insert it into the middle bracket pad, before extending the pole and connecting it to the central vertical pole. Tension the roof pole and, as long as it is square with your caravan, you can lock the pad in place, but make sure the vertical pole is still angled.
9. Get the side vertical poles and fit them to the extended front connecting pole. Tension the connecting pole and then extend the vertical poles to the ground. Finally, take the roof poles and insert them into the bracket pads, fitting them to the side poles.
10. In some cases, you may find your awning has a canopy. If yours does, take the short extension poles and fit them to the centre and side vertical poles. You then feed the long canopy poles through the canopy’s sleeves, before finally joining them to the extension poles.
11. It’s now time to adjust the vertical poles as required. How you do this will depend on whether or not your awning has tabs. If your awning has tabs, fit the spikes to the bottom of the poles through the tabs, before you extend the poles. If there are no tabs, all you need to do is adjust the poles, allowing the canvas to securely fit against them.
12. You’re nearly there! The panels will now need fitting. These will require zipping into place, so to do this, the roof may require slackening. Then, once you’ve released the roof and vertical poles a tad and put the panels in, you can retighten it as required.
13. And now it’s time for the final step – the pegging. First peg down each rear corner, including any flaps, then the front corners, and then the central vertical pole. If any of the various poles needs retensioning once you have pegged these points in, see to that before you peg down the remaining elastics. You’ve done it! All that’s left now is to enjoy relaxing in it.
If you’re after a bit of protection from the elements and will only be embarking on shorter tours, the best sun canopy for a caravan could be worth considering. They also have the additional benefit of not taking up as much space when packed away.
Don’t forget, too, that taking the awning back down again also involves a fair amount of planning.
Our awning expert, Peter Baber, advises: “It is often wise to take the awning down and at least fold it away on the afternoon or evening before you are due to leave your pitch, particularly if the weather is fine. The last thing you want is to wake up on the final awning to find it pouring down with rain and be forced to take your awning down when it still wet and soggy and then fold it up where it will remain in that condition for some hours before you find a place to dry it out.”
Peter added: “Be aware that awnings left for a long time in this condition stand a much higher risk of attracting mould. So make sure you do dry out the awning thoroughly at home before you put it away completely back in its bag. You could be surprised at how much damp accumulates just in the process of folding all that fabric back together, so make sure everything is perfectly dry.”
As a final point, Peter says: “Remember too that awnings need regular reproofing, to ensure they remain waterproof. It’s probably best to do check that kind of thing at the start of the season.”
If you’ve decided you would prefer an inflatable awning instead, don’t miss our picks for the best caravan air awning to see our favourite options on the market.
Written with contributions from Peter Baber.
Future Publishing Limited, the publisher of practicalcaravan.com, provides the information in this article in good faith and makes no representation as to its completeness or accuracy. Individuals carrying out the instructions do so at their own risk and must exercise their independent judgement in determining the appropriateness of the advice to their circumstances. Individuals should take appropriate safety precautions and be aware of the risk of electrocution when dealing with electrical products. To the fullest extent permitted by law, neither Future nor its employees or agents shall have any liability in connection with the use of this information. You should check that any van warranty will not be affected before proceeding with DIY projects.
If you enjoyed reading this article, why not get the latest news, reviews and features delivered to your door or inbox every month? Take advantage of our brilliant Practical Caravan SUBSCRIBERS’ OFFER and SIGN UP TO OUR NEWSLETTER for regular weekly updates on all things caravan related.